


I offer you ideas to give as a gift or to start a business, decorate your home.
Greetings, my dears!
What fond memories come to my mind!
Yes, for what I offer you today is a practice that my mom and I shared and enjoyed doing together. I remember we would exchange our crafts, I would keep the ones she made and she would keep mine. Wonderful memories.
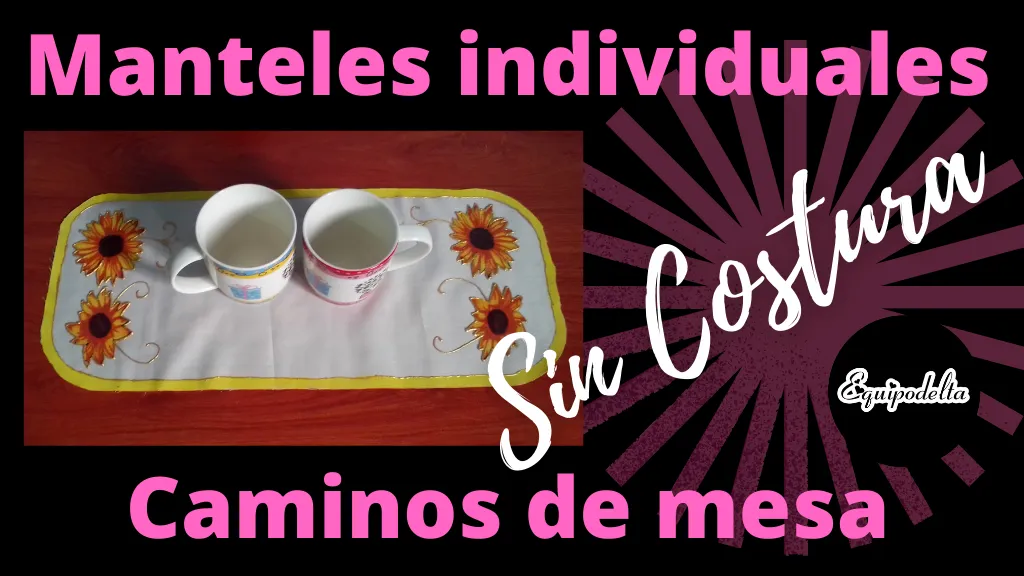
And with this joy and lots of love, I share this knowledge with you, I will show you how to make your own table runners or placemats, yourself, in a few simple steps, no sewing, no threads, no complications.
They are durable, you can wash them, you can iron them on the back even.
Join me and I will explain you step by step.

Te ofrezco ideas para regalar o emprender, decora tu hogar.
¡Saludos, queridos!
¡Qué gratos recuerdos llegan a mi mente!
Si, pues lo que te ofrezco hoy es una práctica que mi mamá y yo compartíamos y disfrutábamos mucho hacer juntas. Recuerdo que nos intercambiábamos nuestras manualidades, yo me quedaba con las que ella hizo y ella con las mías. Maravillosos recuerdos.
Y con esta alegría y mucho amor, comparto estos conocimientos contigo, te mostraré cómo hacer tus propios caminos de mesa o individuales, tú mismo, en pocos y simples pasos, sin costura, sin hilos, sin complicaciones.
Son duraderos, los puedes lavar, los puedes planchar por la parte de atrás inclusive.
Acompáñame y te explico paso a paso
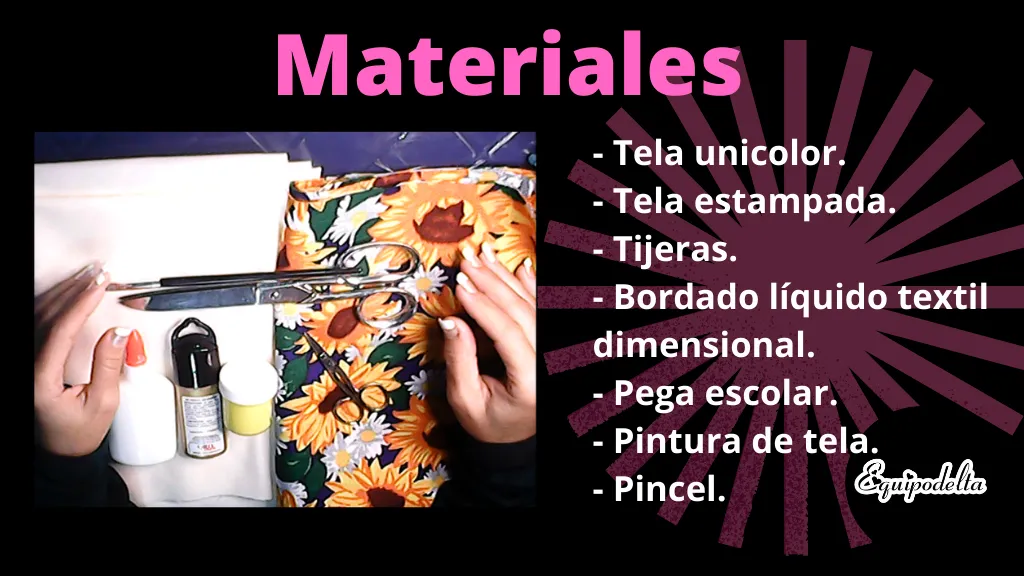

❤️ Unicolor fabric.
❤️ Printed fabric.
❤️ Scissors.
❤️ Dimensional liquid textile embroidery.
❤️ School glue.
❤️ Fabric paint.
❤️ Paintbrush.

❤️ Step 1
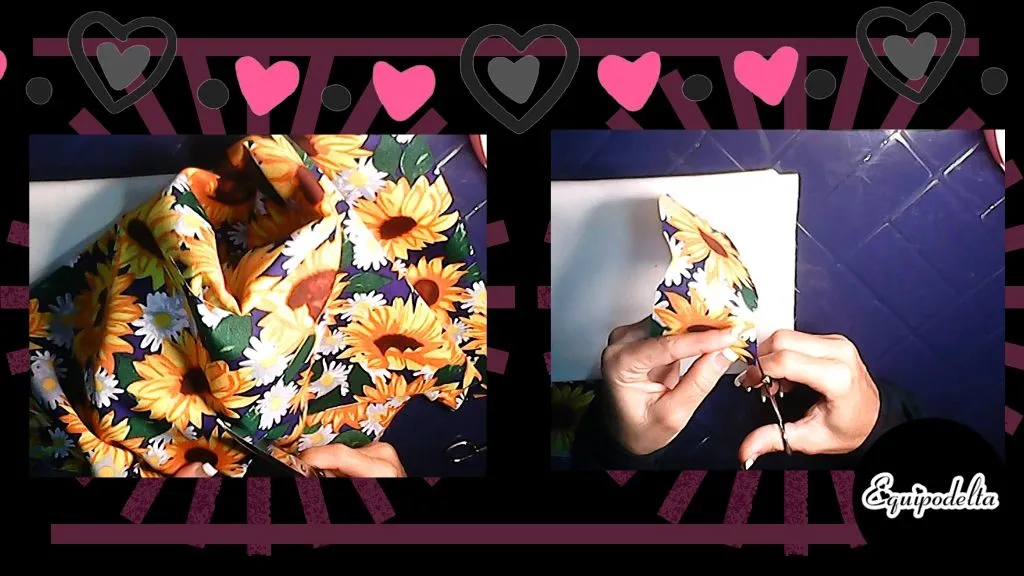
Cut out a rectangle of fabric measuring approximately 50 centimeters long by 30 centimeters wide. Fold in half and trim the edges to make a rounded shape.
❤️ Paso 1
Recorta un rectángulo de una tela cuyas medidas sean 50 centímetros de largo por 30 centímetros de ancho aproximadamente. Dobla a la mitad y recorta los bordes para que quede una forma redondeada.
❤️ Step 2
Cut out various motifs (flowers) from the printed fabric. Preferably choose fabrics that do not shed many threads. For the background I recommend poplin and for the motifs you can use printed rayon. But choose the ones you can afford.
❤️ Paso 2
Recorta varios motivos (flores) de la tela estampada. Preferiblemente elige telas que no suelten muchos hilos. Para el fondo recomiendo Popelina y para los motivos puedes usar rayón estampado. Pero elige las que tengas a tu alcance.
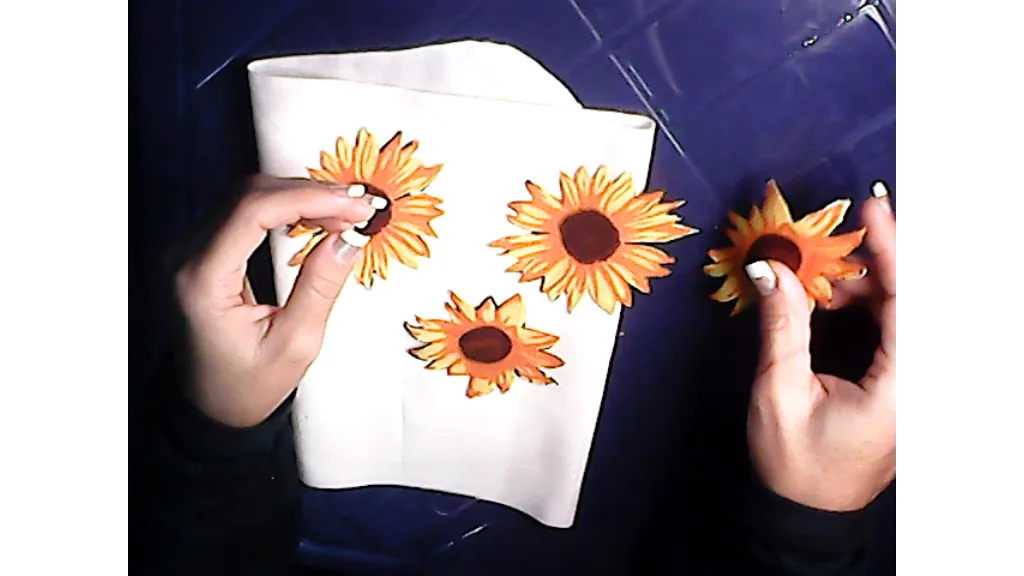
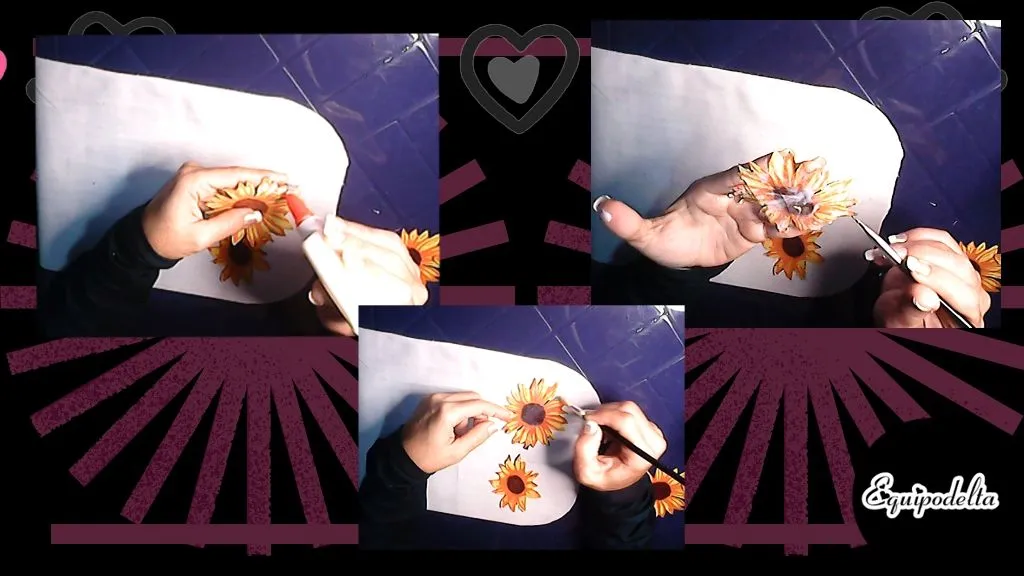
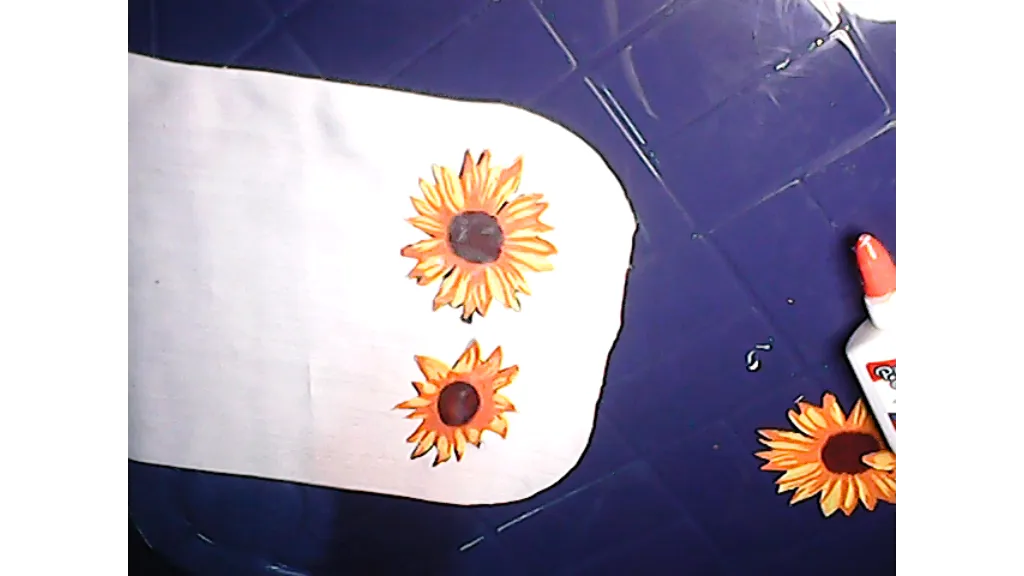
❤️ Step 3
Take the flowers that you previously cut, pour some school glue over it, you can help you spread the glue with a brush, make sure that the glue reaches all the edges and that it stays wet. Then glue the flower on the unicolor fabric, preferably on the corners. Repeat this step with each flower.
❤️ Paso 3
Toma las flores que previamente cortaste, vierte un poco de pega escolar sobre ella, puedes ayudarte a esparcir la pega con un pincel, asegúrate que la pega llegue a todos los bordes y que esta se mantenga húmeda. Luego pega la flor en la tela unicolor, preferiblemente en las esquinas. repite este paso con cada flor.

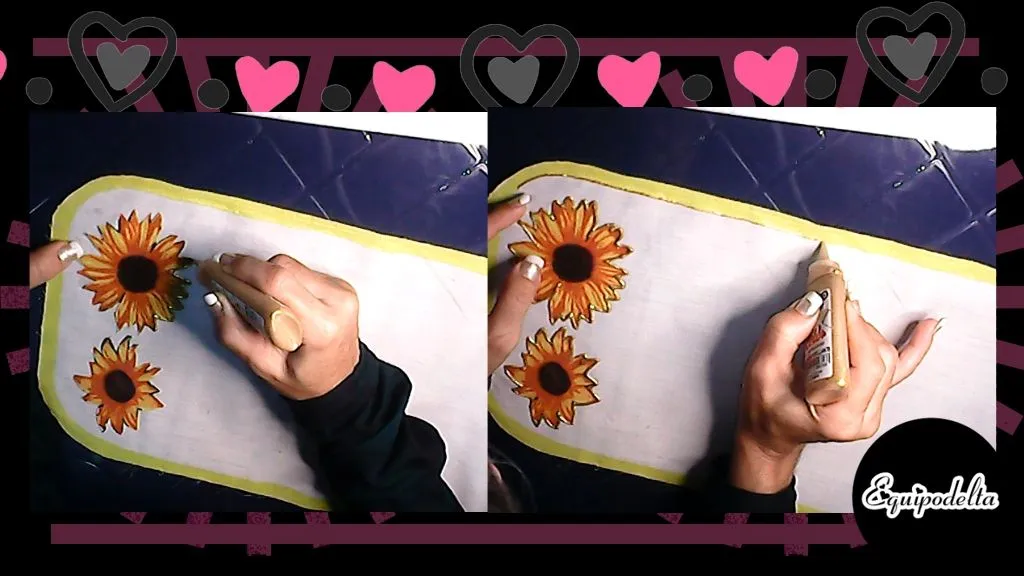
❤️ Step 4
Use the fabric paint, the color of your choice and a brush, to paint the edges of the unicolor fabric, this will prevent the fabric from loosing threads in the future (tip), let it dry for a few moments, remember to place some paper under the fabric to avoid staining your work place.
❤️ Paso 4
Utiliza la pintura de tela, del color de tu preferencia y un pincel, para pintar los bordes de la tela unicolor, esto servirá para evitar que suelte hilos a futuro (tip), deja secar por unos momentos, recuerda colocar algún papel debajo de la tela para no manchar tu lugar de trabajo.
❤️ Step 5
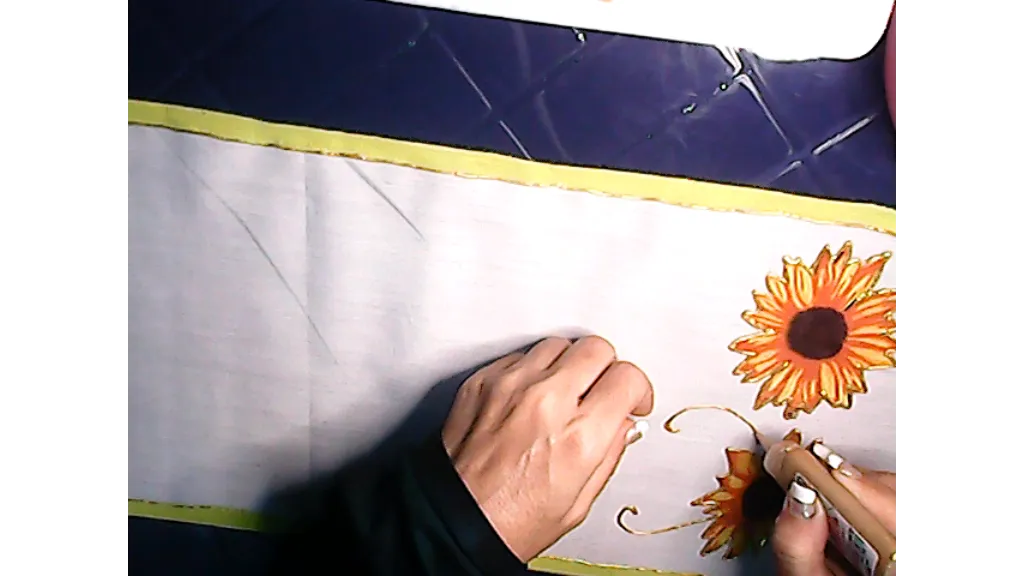
Use dimensional liquid embroidery for fabric, and border the outline of the flower, this will prevent it from peeling off over time as well as give it a more elegant finish. Let dry.
Repeat this step with the flowers at the other end. Let the liquid embroidery dry.
With the dimensional liquid embroidery, border the inside edge of the painting and add some detail with it.
❤️ Paso 5
Usa el bordado líquido dimensional para tela, y bordea el contorno de la flor, esto evitará que se despegue con el tiempo además de darle un acabado más elegante. Deja secar.
Repite este paso con las flores del otro extremo. Deja secar el bordado líquido.
Con el bordado líquido dimensional, bordea la orilla interna de la pintura y agrega algún que otro detalle con el mismo.
Done!
What do you think?
Remember to watch my video, it looks spectacular.
¡Listo!
¿Qué te parece?
Recuerda ver mi vídeo, está espectacular.
I hope you like it and I encourage you to make these table runners or placemats, they will surely be the center of attention.
Espero que sea de tu agrado y te animes mucho a hacer estos caminos de mesa o individuales, seguro será el centro de las miradas.
Detalles Técnicos / Technical Details
Tutorial Video

Edition:
Program: MediBang Paint Pro.
Graphics tablet: Huion (Usb Pen Tablet). Model 420.
Music Video:
––––––––––––––––––––––––––––––
Track: Retro Future — Another Kid [Audio Library Release]
Music provided by Audio Library Plus
––––––––––––––––––––––––––––––

Mi canal Youtube, tiene un montón de tutoriales muy útiles para ti.
My Youtube channel, has a lot of very useful tutorials for you.

Hacks, DIY, Crafts, handmade arts Community
Discord
![]() 👉
👉 ![]() 👉
👉 ![]() 👉
👉  👉
👉 ![]() 👉
👉