Hello, Friends!
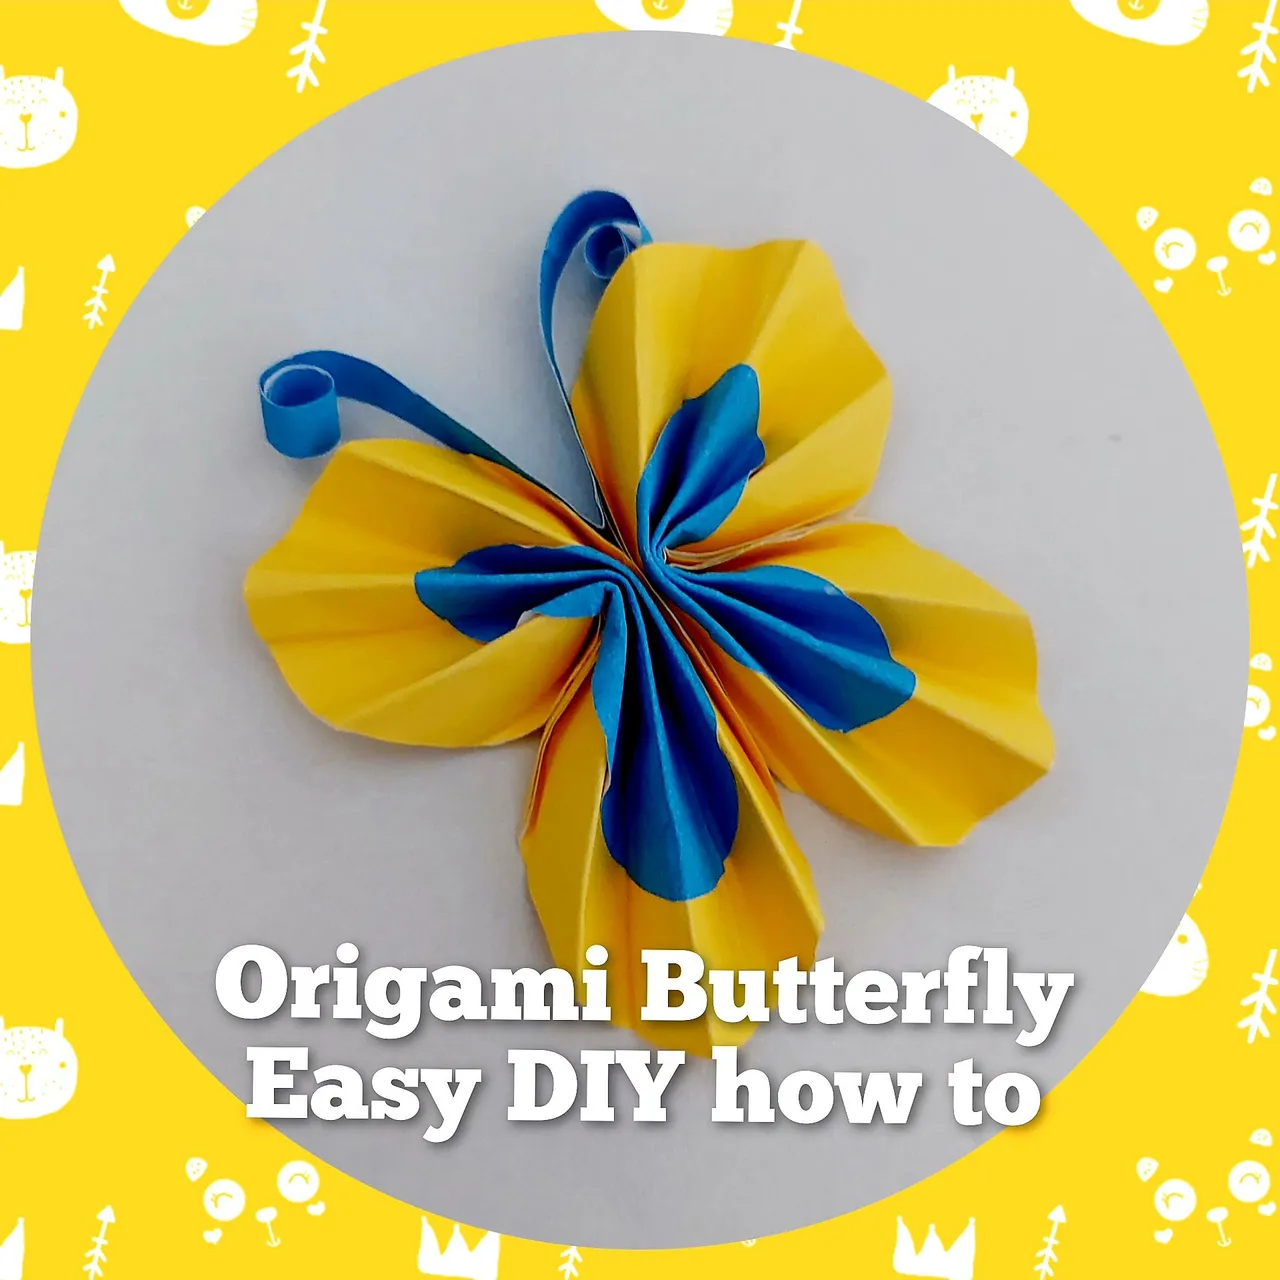
Today I would like to share how I made this cute butterfly with origami, which was really easy but fun to make and the result was pretty.
MATERIALS & THINGS NEEDED:
· Origami papers in blue and yellow
· Scissors
· Pencil
· Glue
· Two circle shaped things in different size
· Double Sided Tape
HOW TO MAKE IT:
1ST
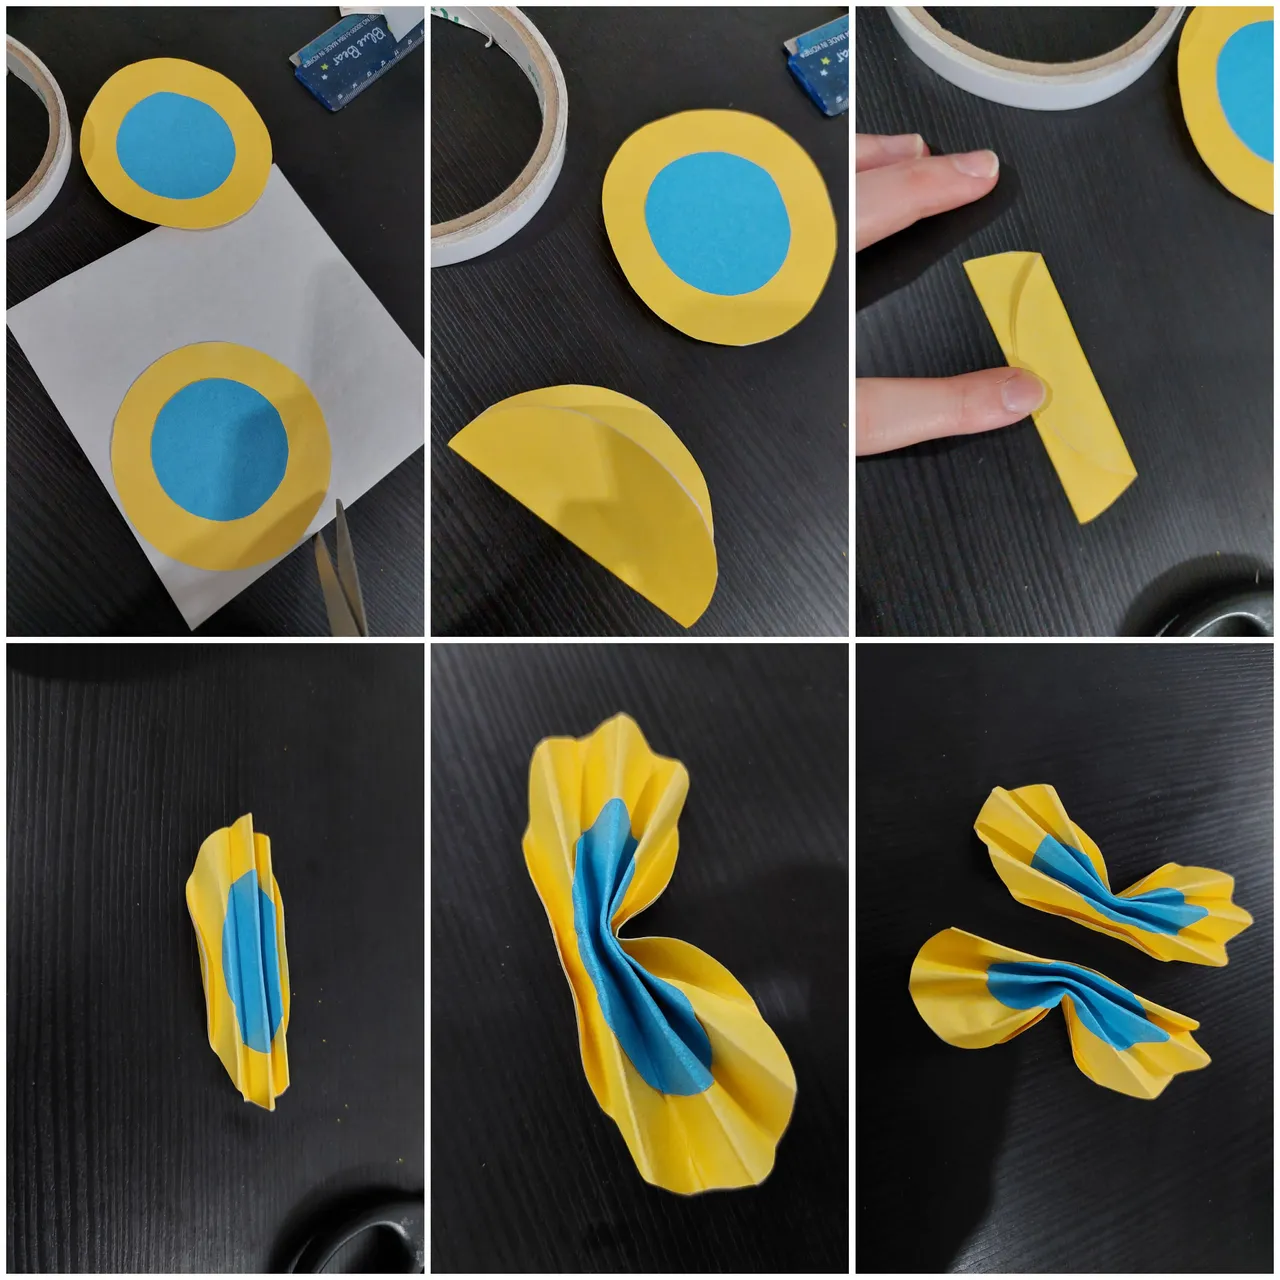
Copy the bigger circle unto the yellow paper. Because my paper is not a double sided origami, I needed to make two pieces of the yellow circles. Then I cut them off. Then I made another smaller circle with blue, I only made also two pieces for it. After I glue the blue on the yellow circle. Then paste them on another yellow paper.

2nd
I cut the yellow paper to the size of the upper part which has the blue circles on its’ middle. After that I folded them to 8 smaller parts like below. Then folded them in the middle like below.
3rd
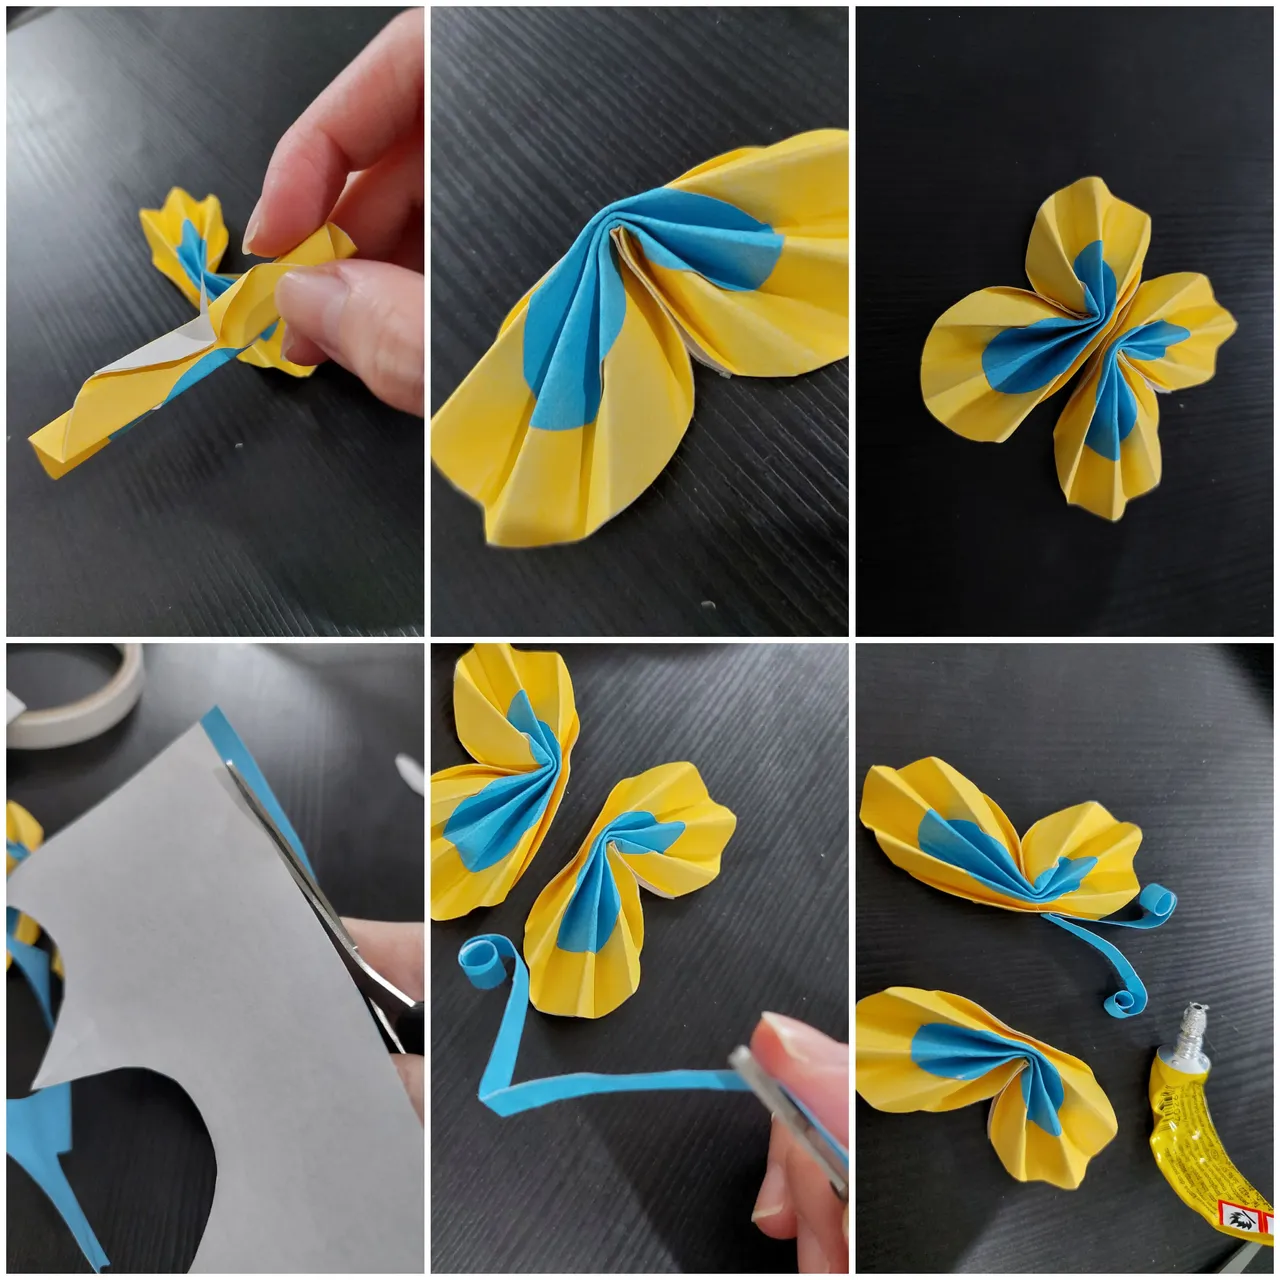
To paste the outter part of each yellow circle I used the double sided tape. Then I used the multipurpose glue to join them together in the middle. Last, I add the antennas by cutting the blue origami, fold and paste them in the middle. Then I made it a bit curly on two corners and last I added it to the center of the butterfly.
NOW it’s ready to fly, Fly… Fly… Butterfly!

Thanks for reading my article and hope you enjoy it.. See ya!