Hola a todos mis amigos de hive amantes de las manualidades! hoy quiero compartir con ustedes la realización de un topper para torta de mariquita y un banderín de nombre para decorar un cumpleaños.
Hello to all my friends of hive craft lovers! Today I want to share with you the making of a ladybug cake topper and a name banner to decorate a birthday.
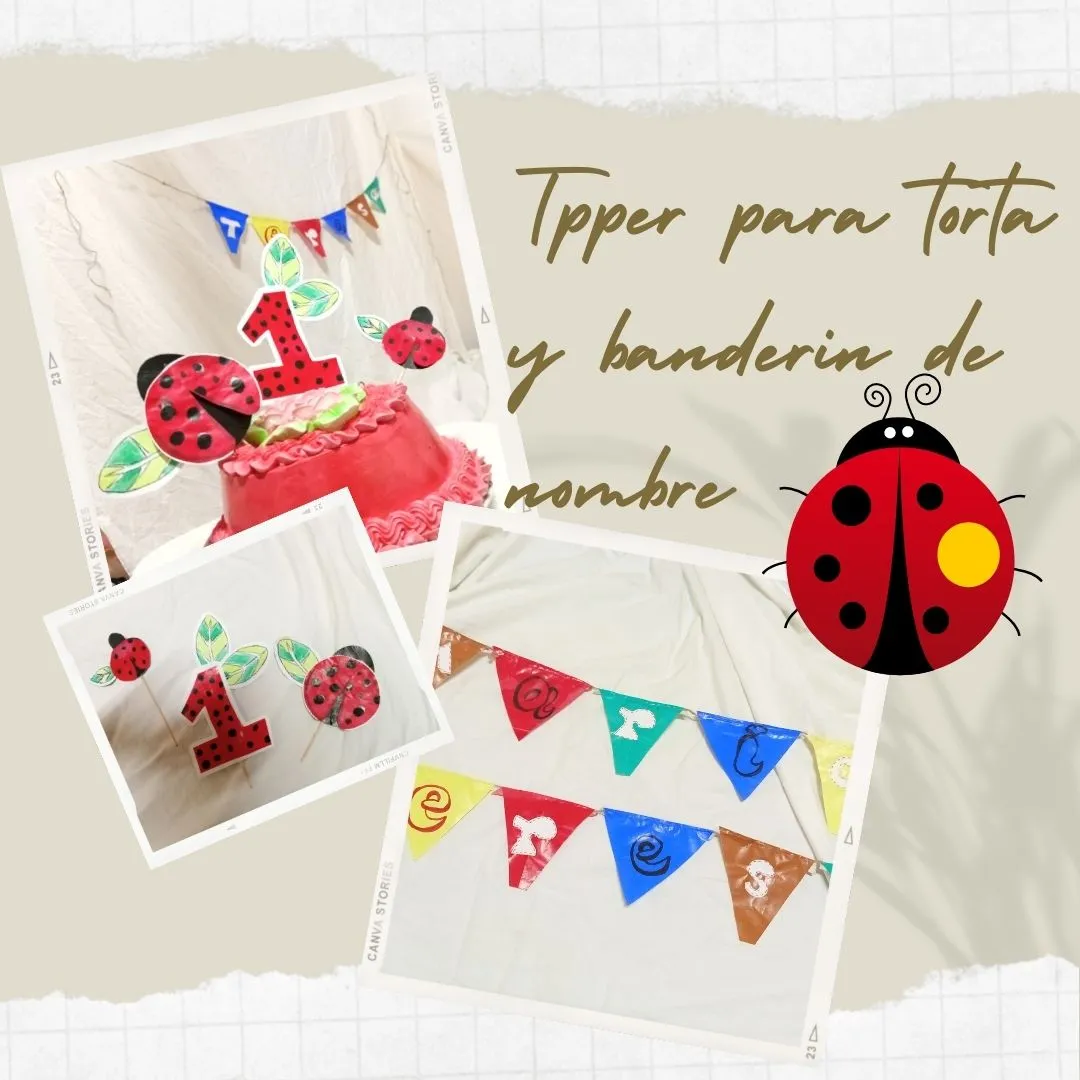
Este topper de mariquita🐞 para torta y banderin de nombre, los hice el mes pasado para el cumpleaños #1 de mi bebé. Fue muy sencillo y divertido decorar su fiesta yo misma. Sobre todo fue hecho con mucho amor.
This ladybug 🐞 cake topper and name banner, I made last month for my baby's #1 birthday. It was so easy and fun to decorate her party myself. Most of all it was made with lots of love.
Materiales:
🐞Papel de colores
🐞Hojas blancas recicladas
🐞Pegamento blanco
🐞Marcador de color rojo
🐞Cuerda
🐞Tijera
🐞Palitos de brocheta
🐞Acuarelas
Materials:
🐞Colored paper.
🐞Recycled white sheets.
🐞White glue
🐞Red colored marker.
🐞Ropes
🐞Scissors
🐞Skewer sticks
🐞Candlesticks
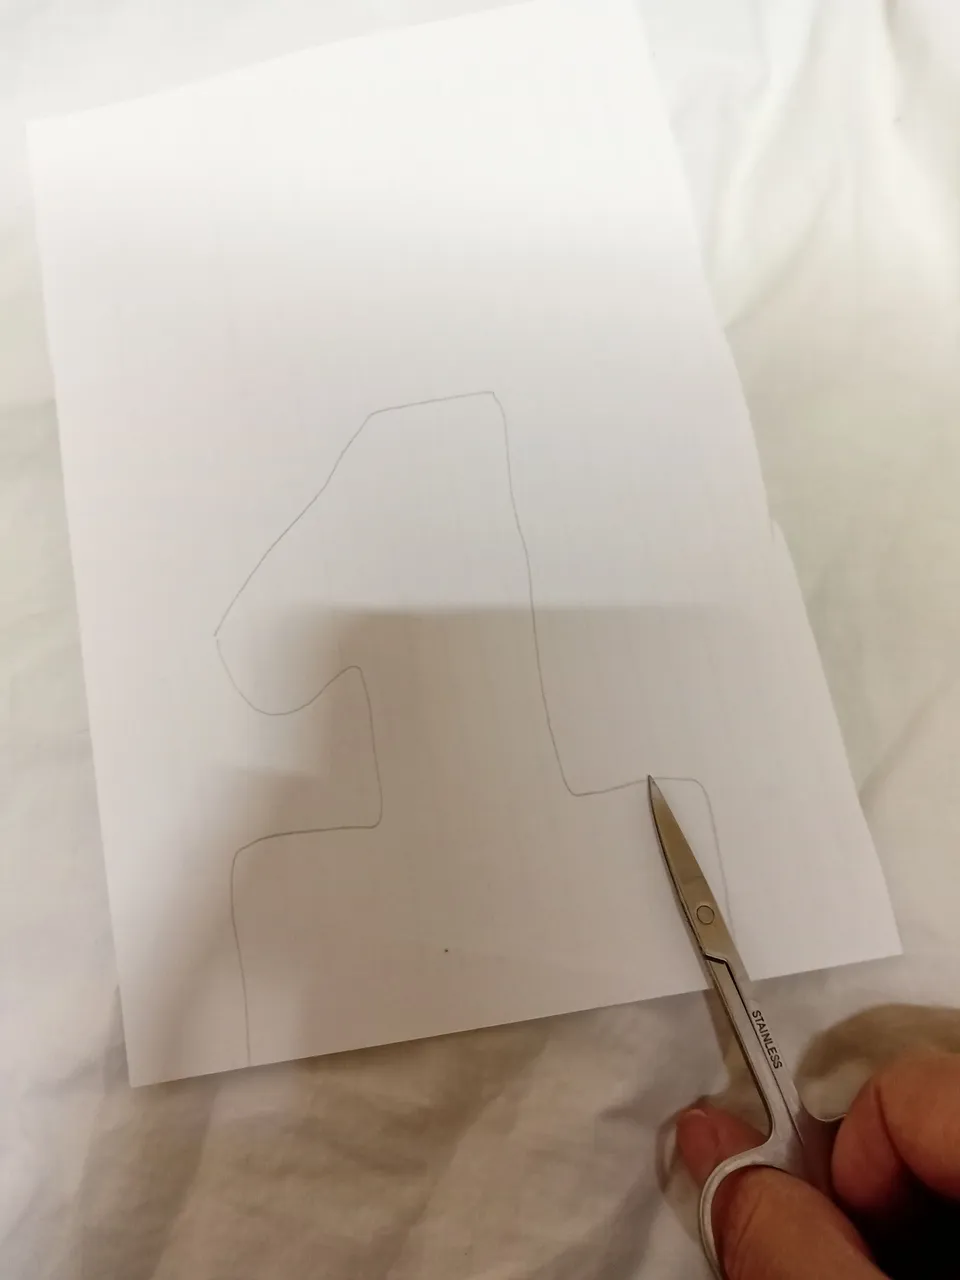
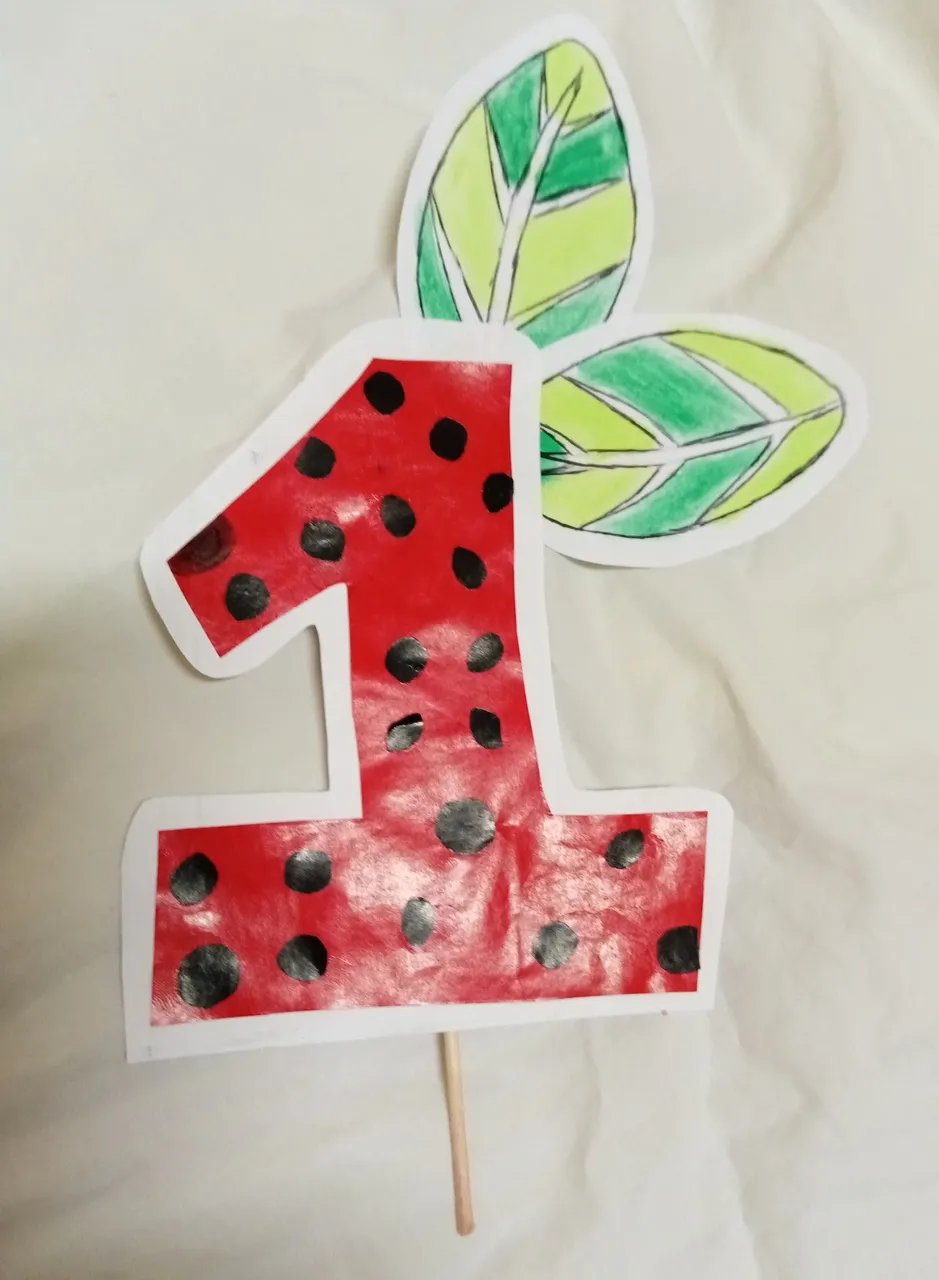
-Lo primero que haremos es marcar el número 1 sobre la hoja blanca y recortamos.
-The first thing we will do is mark the number 1 on the white sheet and cut it out.
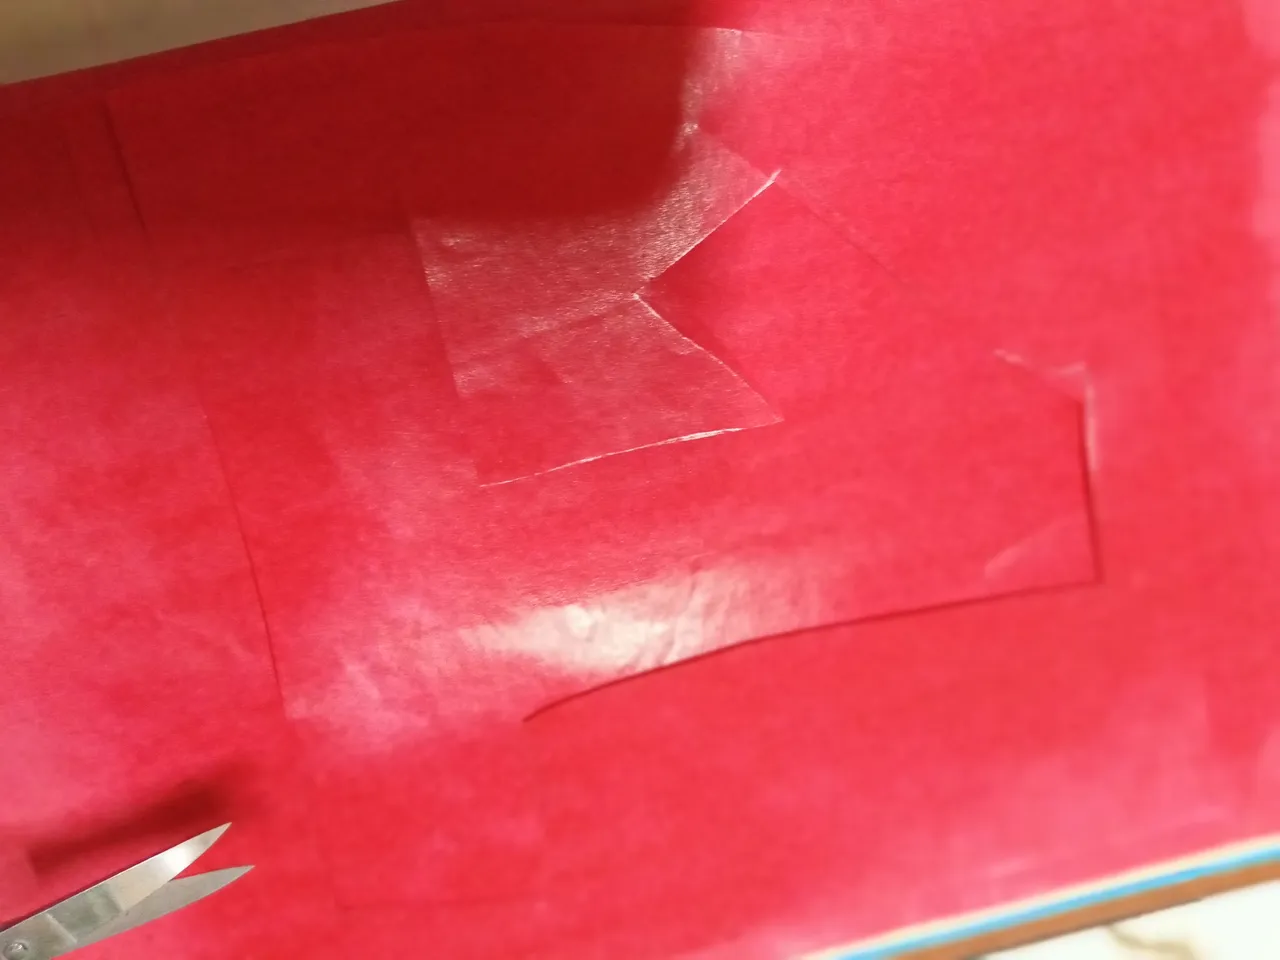
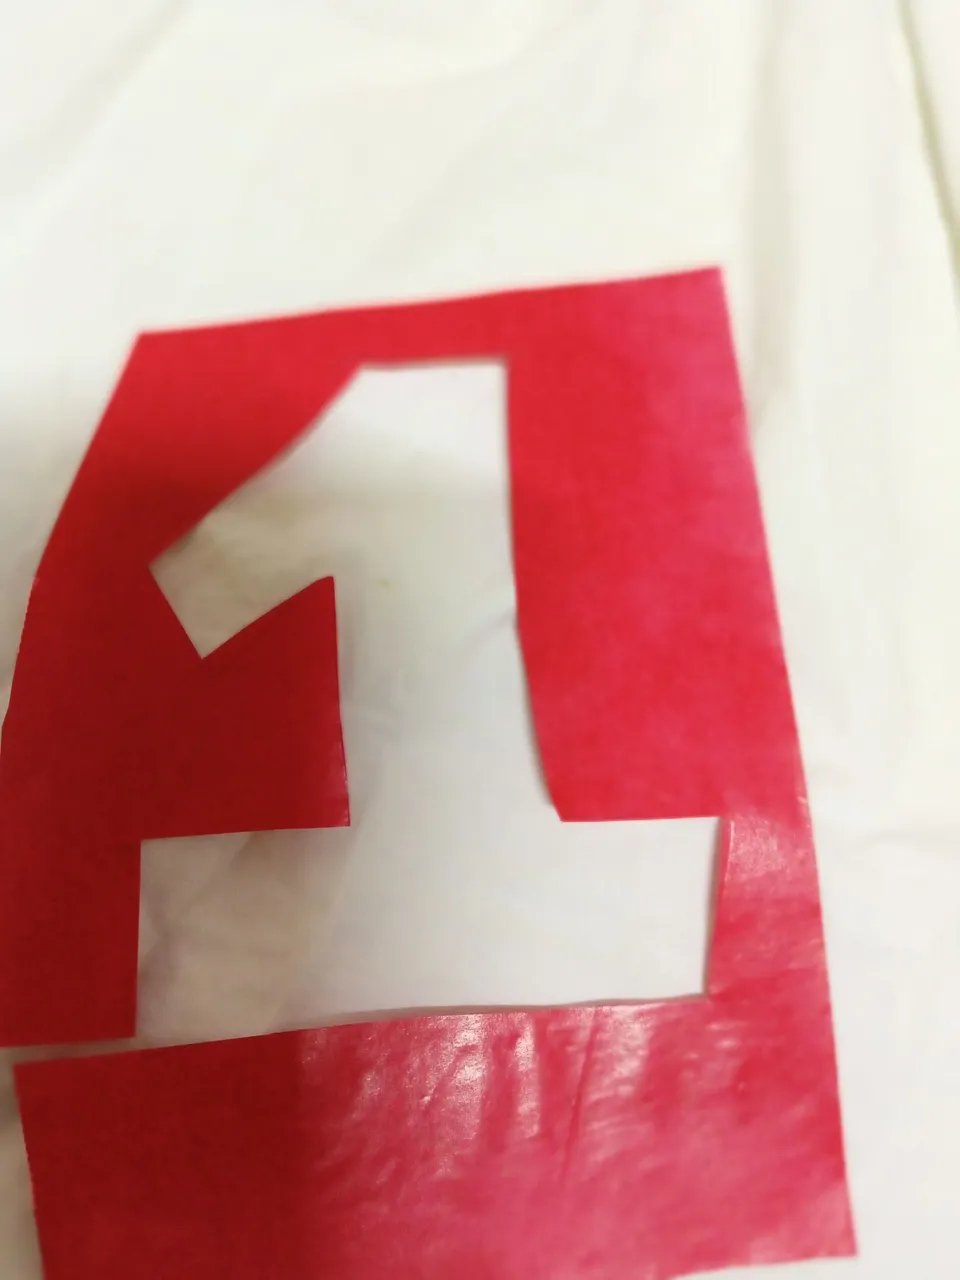
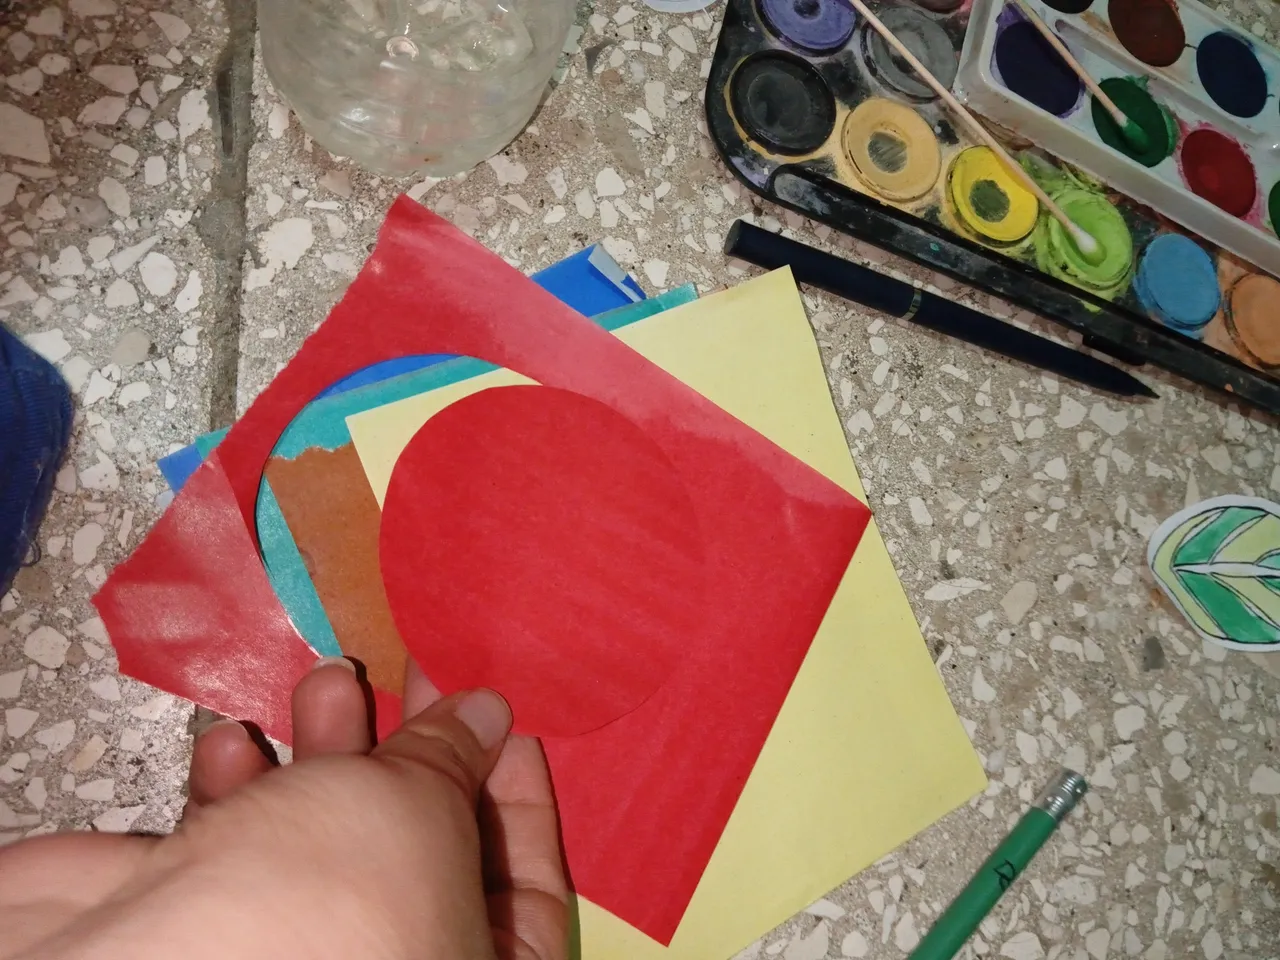
-Marcamos el numero 1 sobre el papel rojo y recortamos, esta vez el numero debe ser unos milímetros mas pequeño .
-Mark the number 1 on the red paper and cut it out, this time the number should be a few millimeters smaller.
 |  |
|---|---|
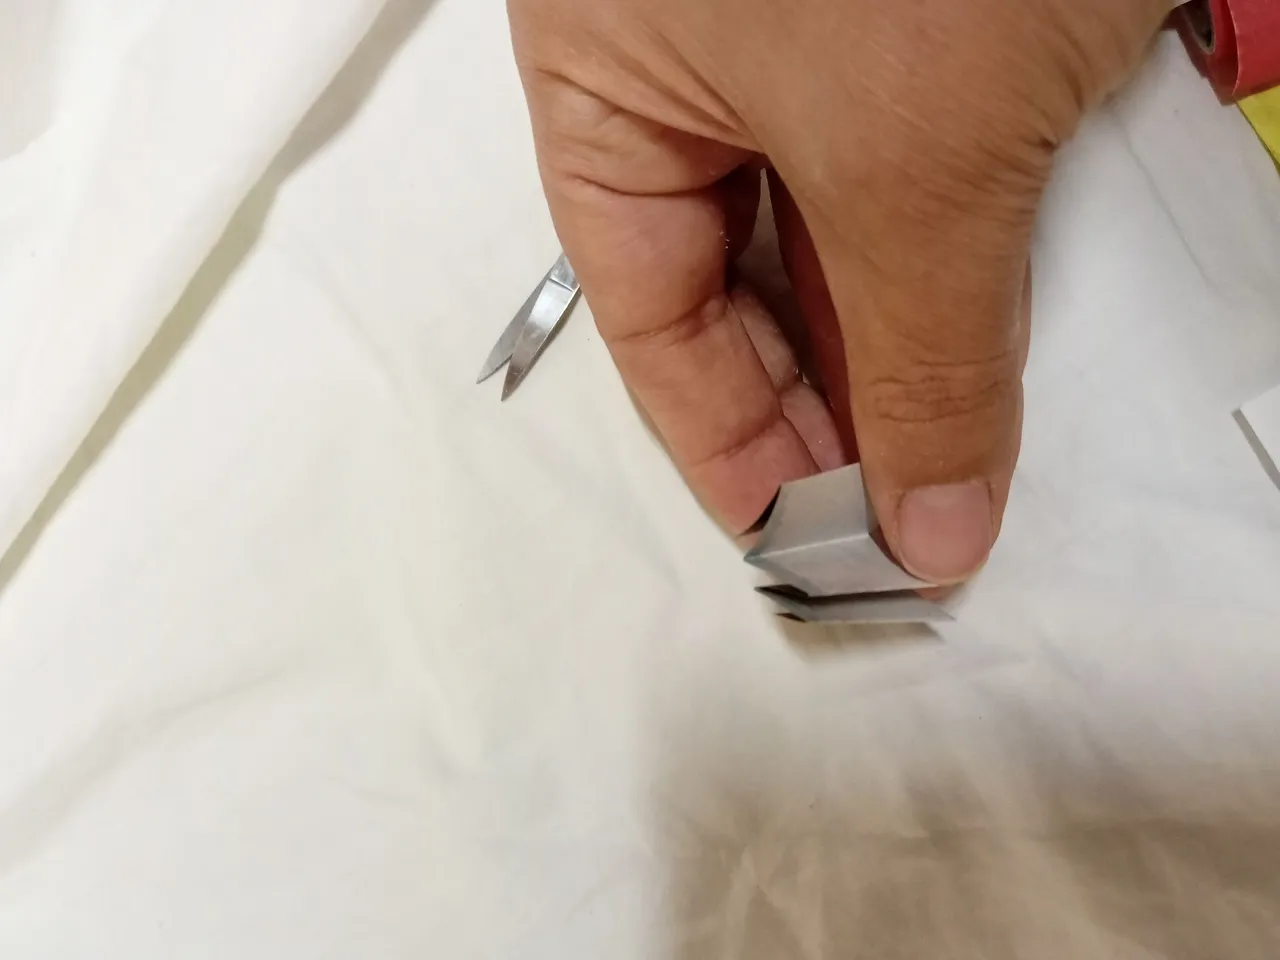
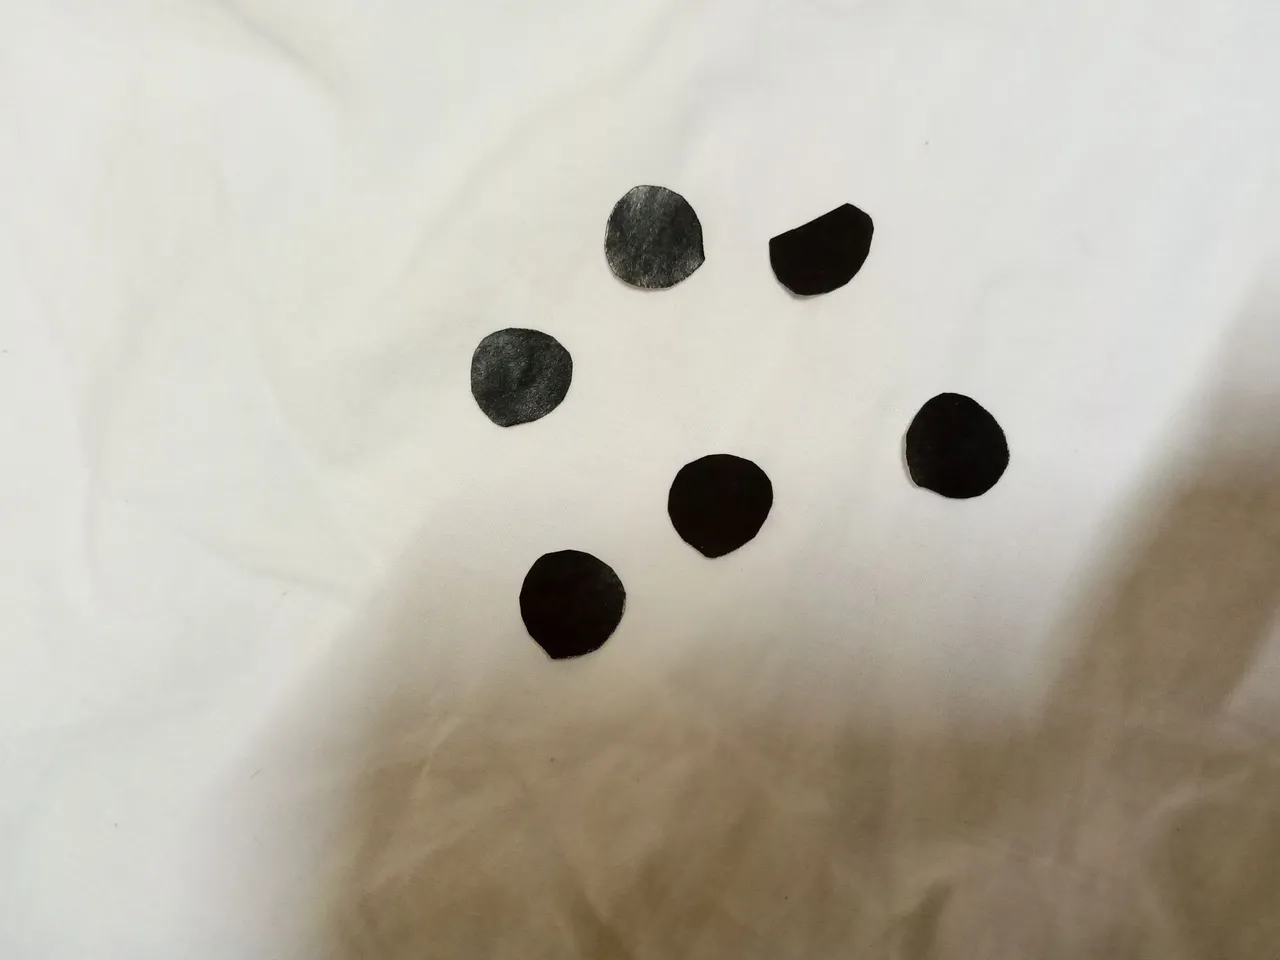
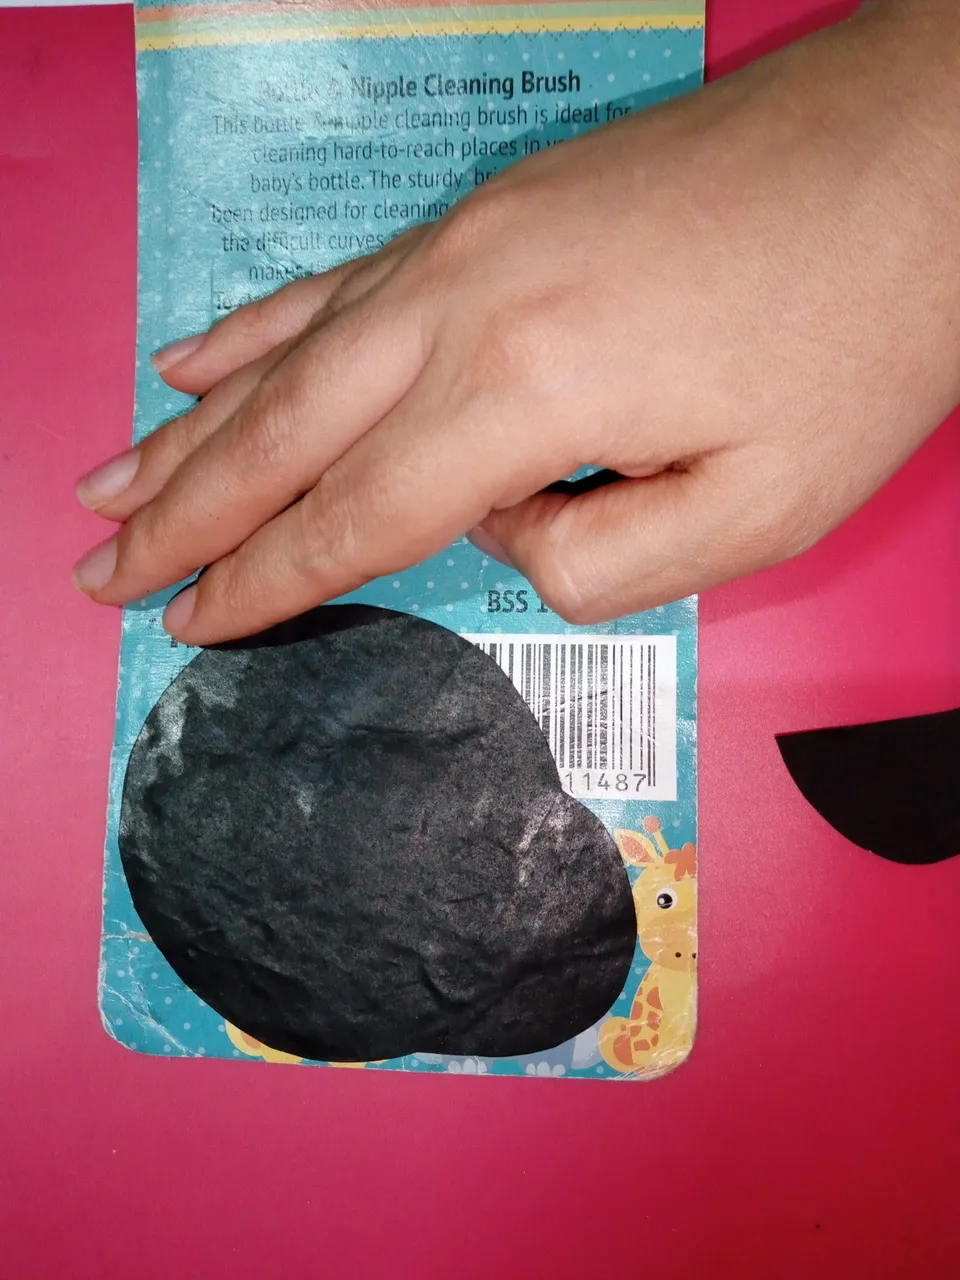
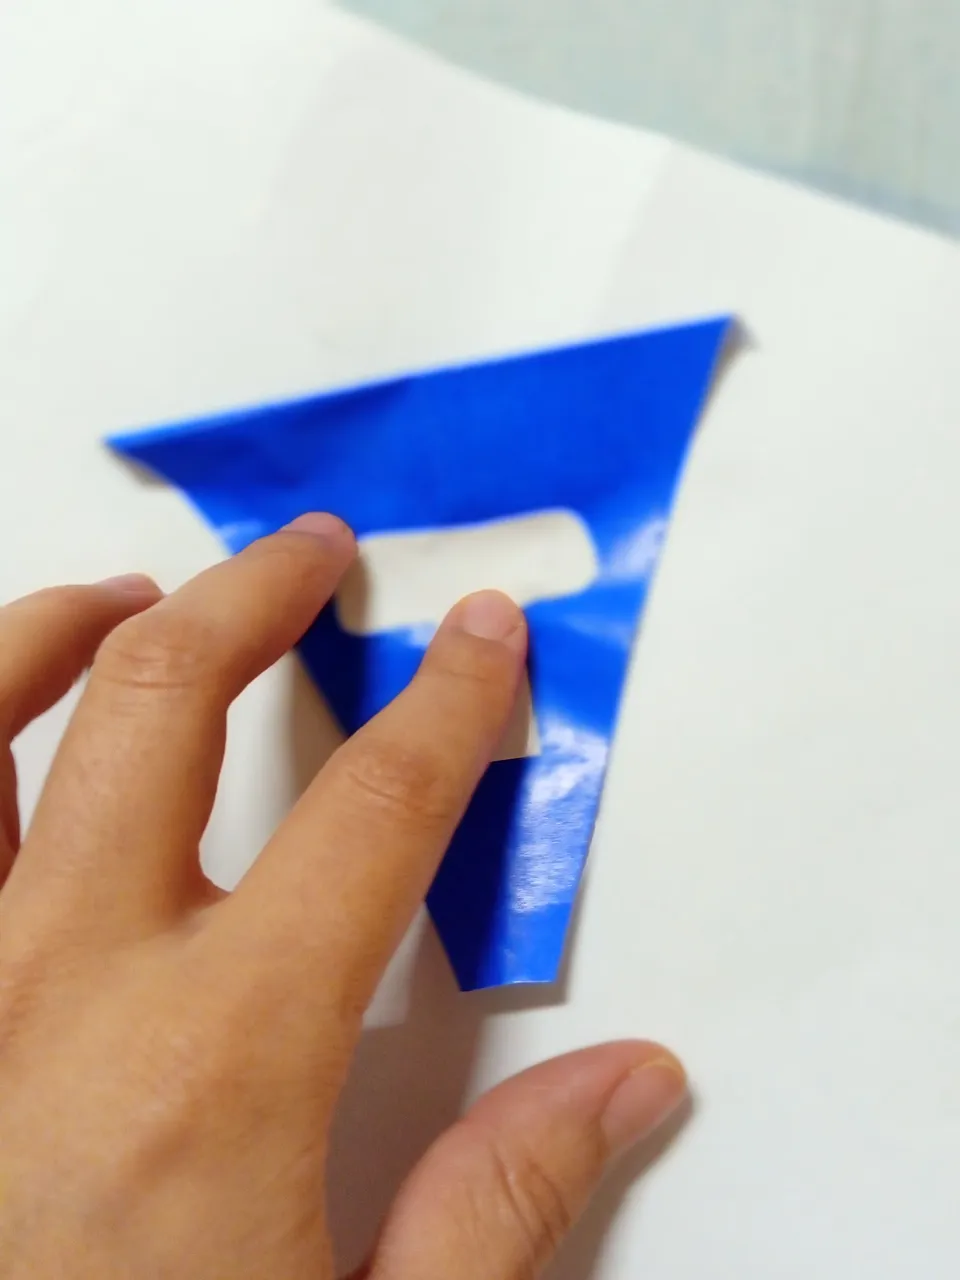
-Tomamos una tira de papel color negro y vamos a hacer un pequeño acordeón para hacer un solo corte y sacar varias piezas de círculos que será las manchas negras de la mariquita y mi número 1.
-We take a strip of black paper and we are going to make a small accordion to make a single cut and get several pieces of circles that will be the black spots of the ladybug and my number 1.
 |  |
|---|---|
 |  |
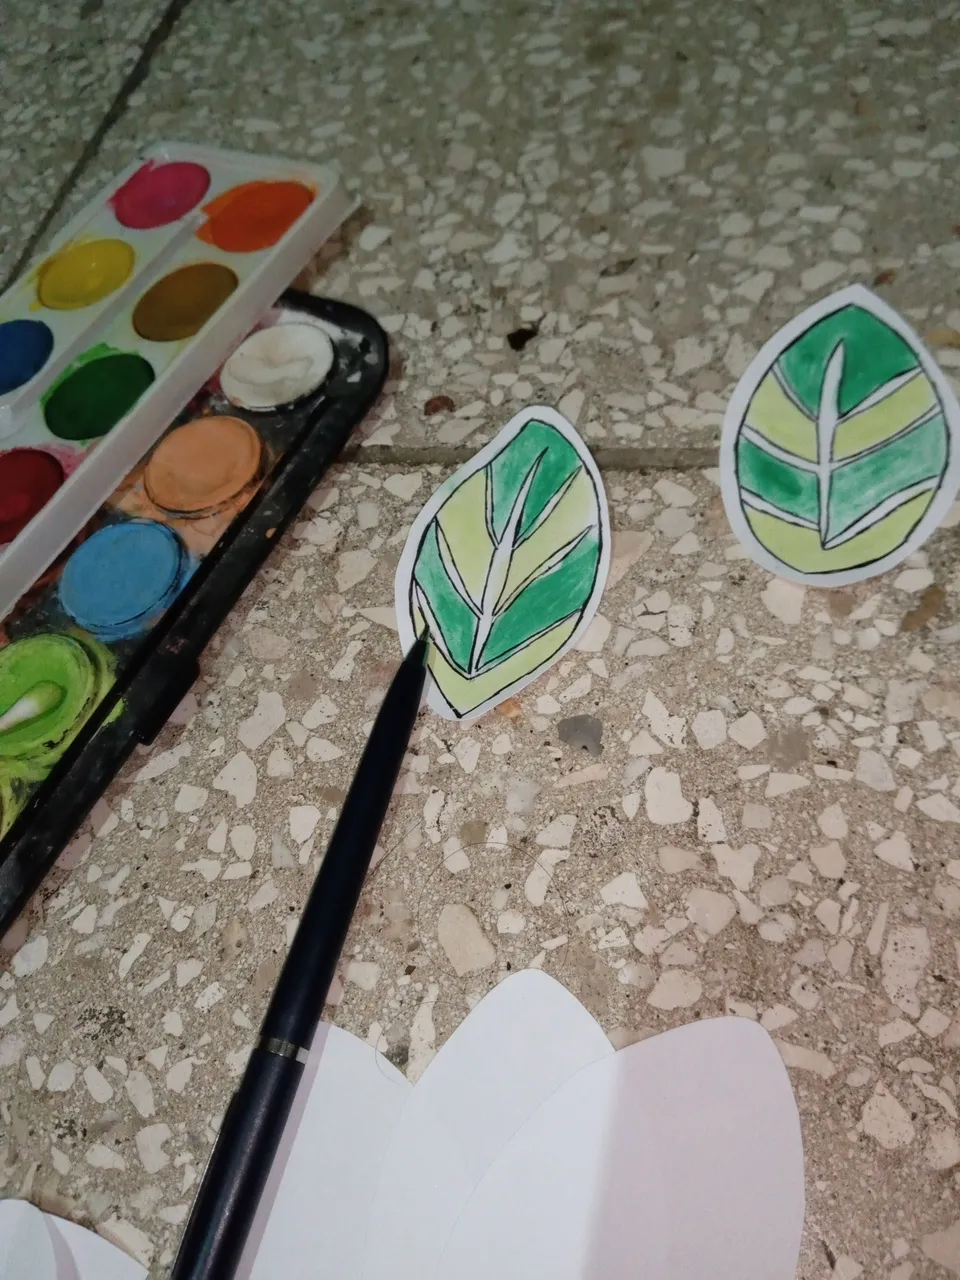
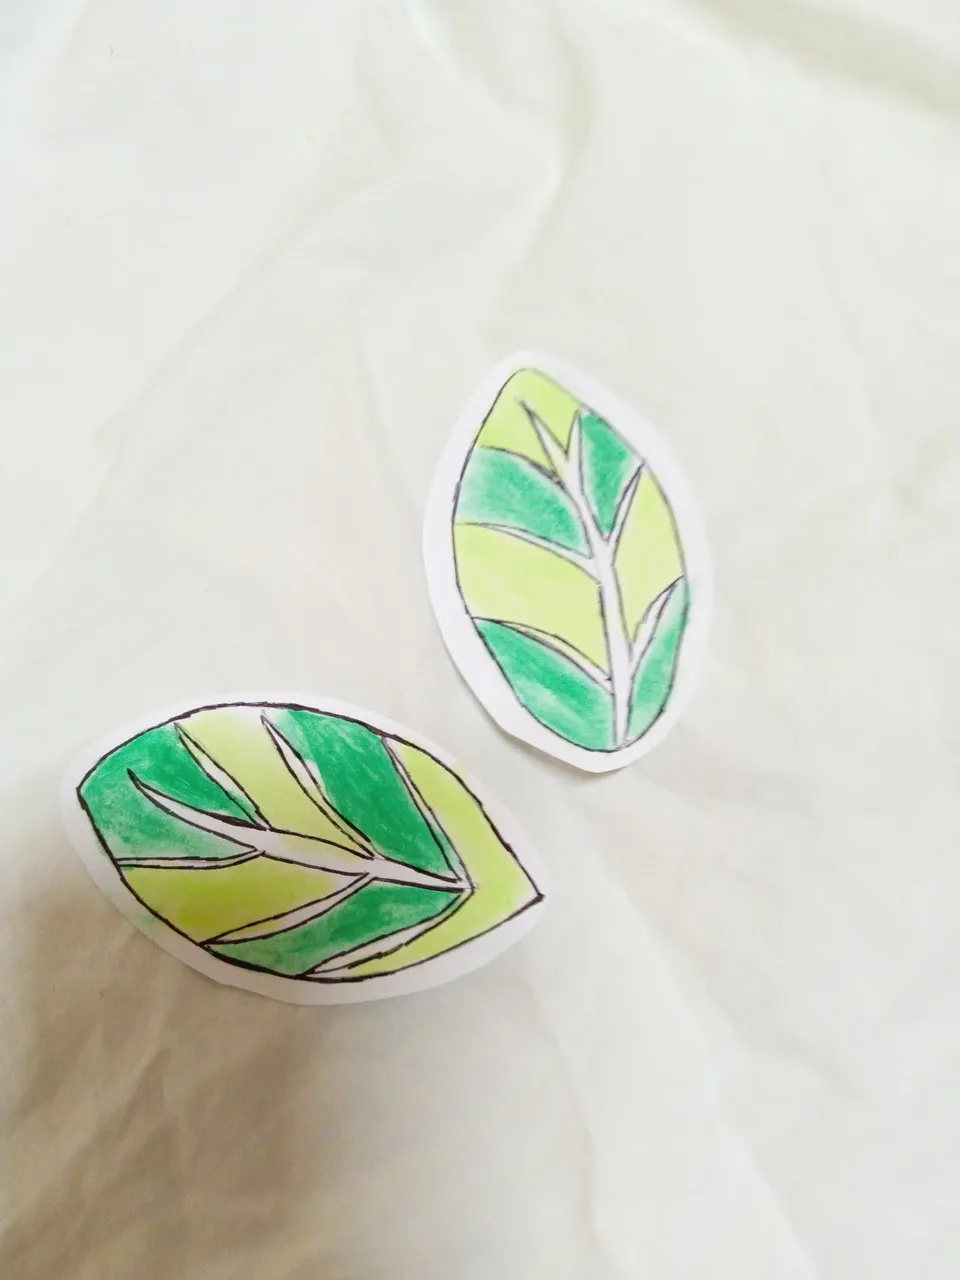
-Hacemos un par de hojas con 2 tonos de verde en acuarela. Y vamos a delinear con un lapicero negro para darle un acabado mas elegante.
-We make a pair of leaves with 2 shades of green in watercolor. And we are going to outline with a black pencil to give it a more elegant finish.
 |  |
|---|---|
-Para hacer las mariquitas: Vamos a cortar en papel de color negro, un círculo grande para el cuerpo y uno más pequeño para la cabeza. y lo pegamos sobre un cartón resistente.
-To make the ladybugs: We will cut a large circle for the body and a smaller one for the head out of black paper and glue it on a sturdy cardboard.
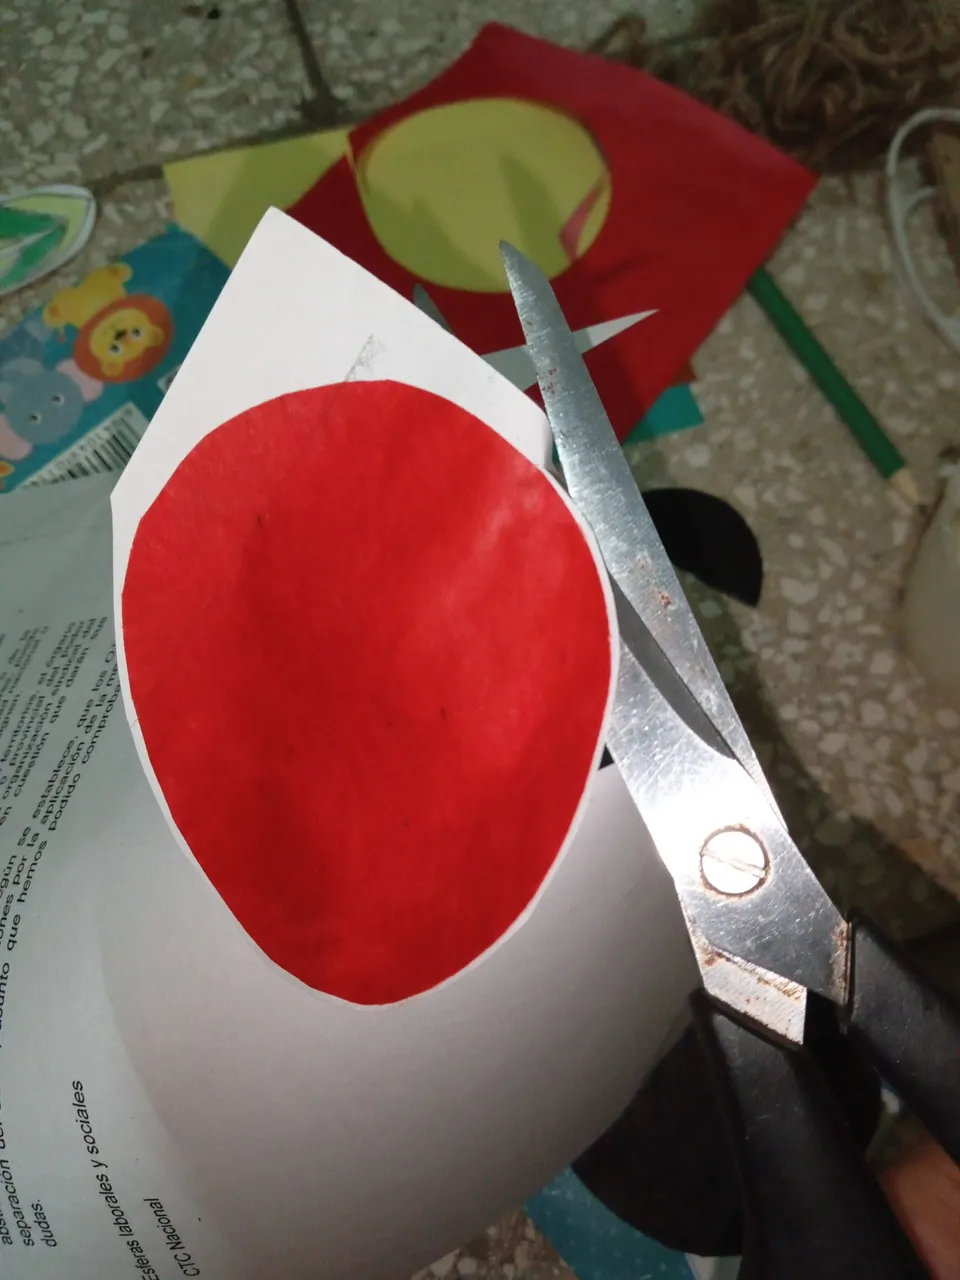
-Luego cortamos un circulo del mismo tamaño del cuerpo de la mariquita, pero esta vez de color rojo. lo pegamos sobre una hoja de papel blanco para que quede un borde y para que le de resistencia a las alas de la mariquita.
-Then we cut a circle the same size as the ladybug's body, but this time in red. We glue it on a sheet of white paper to make a border and to give strength to the ladybug's wings.
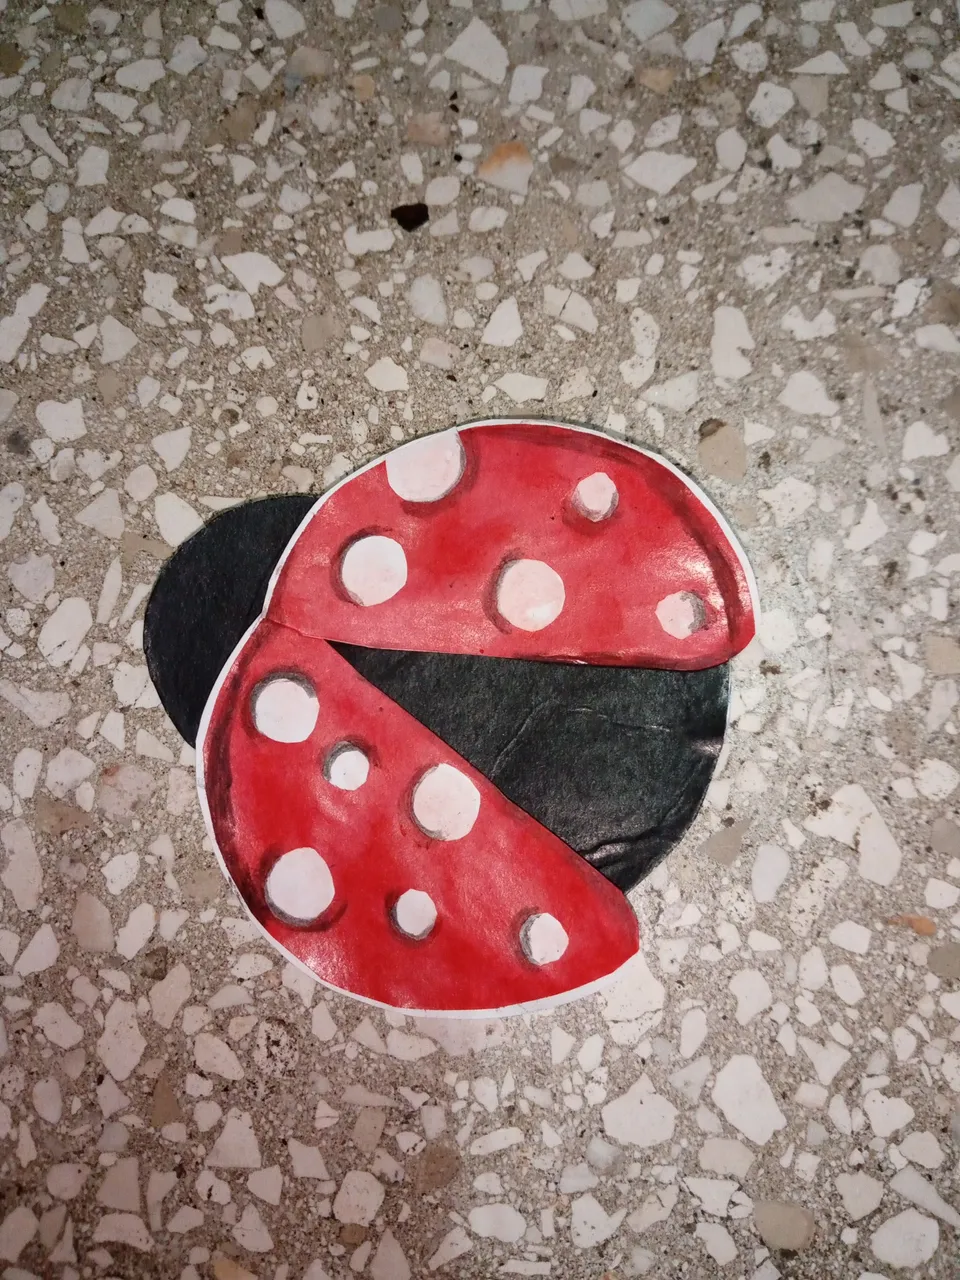
Hice algunas mariquitas con lunares blancos y les di sombra con acuarela negra. y otras con lunares negros para que combinara.
I made some ladybugs with white polka dots and shaded them with black watercolor and some with black polka dots to match.
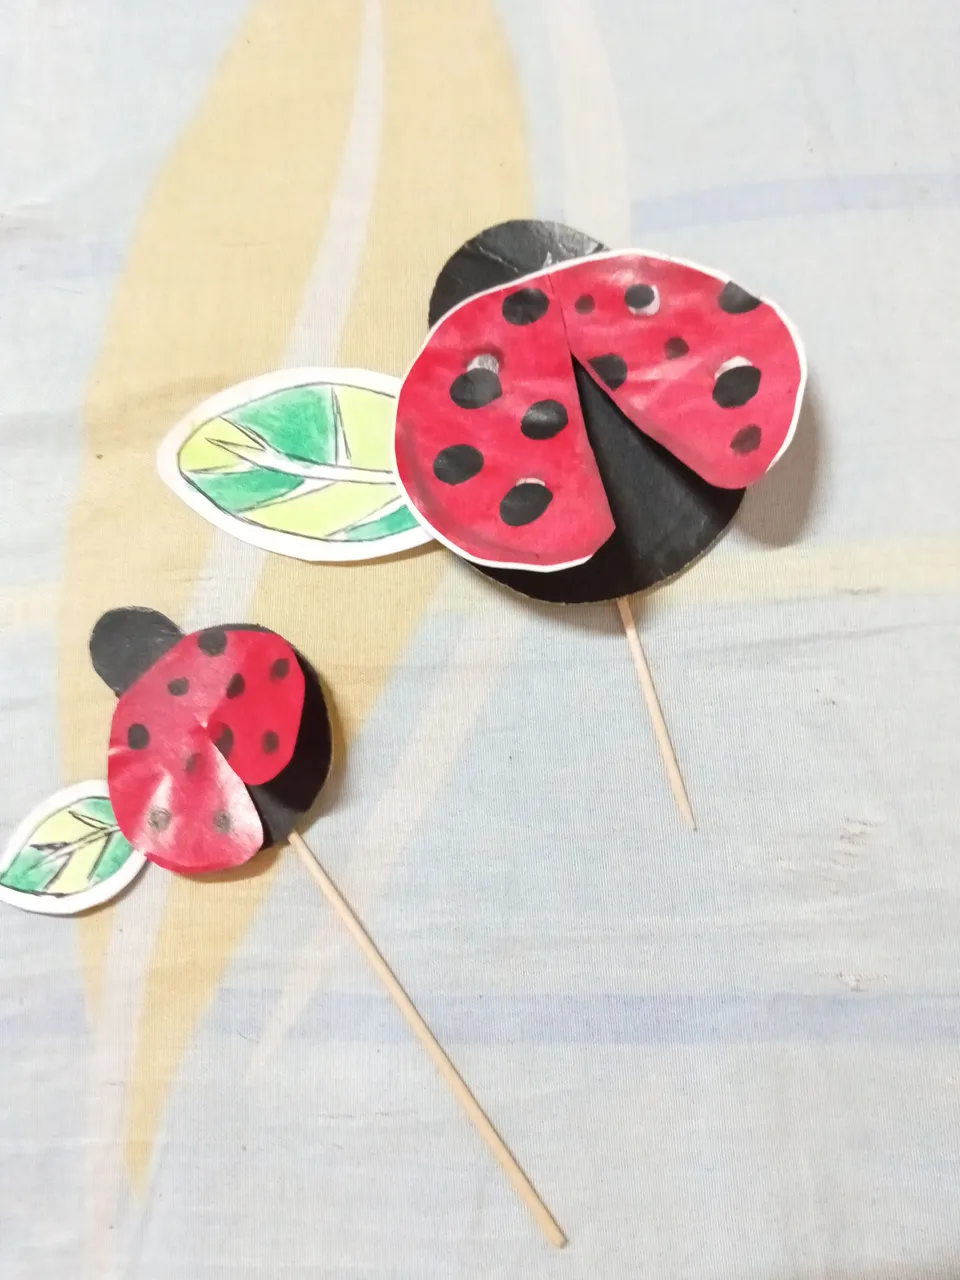
-Una vez que tenemos todas las piezas cortadas, comenzamos a armar los topper. Pegamos una pieza sobre otra con el pegamento blanco y por detrás podemos pegar el palito de brocheta para poder ponerlos sobre la torta.
-Once we have all the pieces cut, we begin to assemble the topper. We glue one piece on top of the other with the white glue and from behind we can glue the skewer stick to be able to put them on the cake.
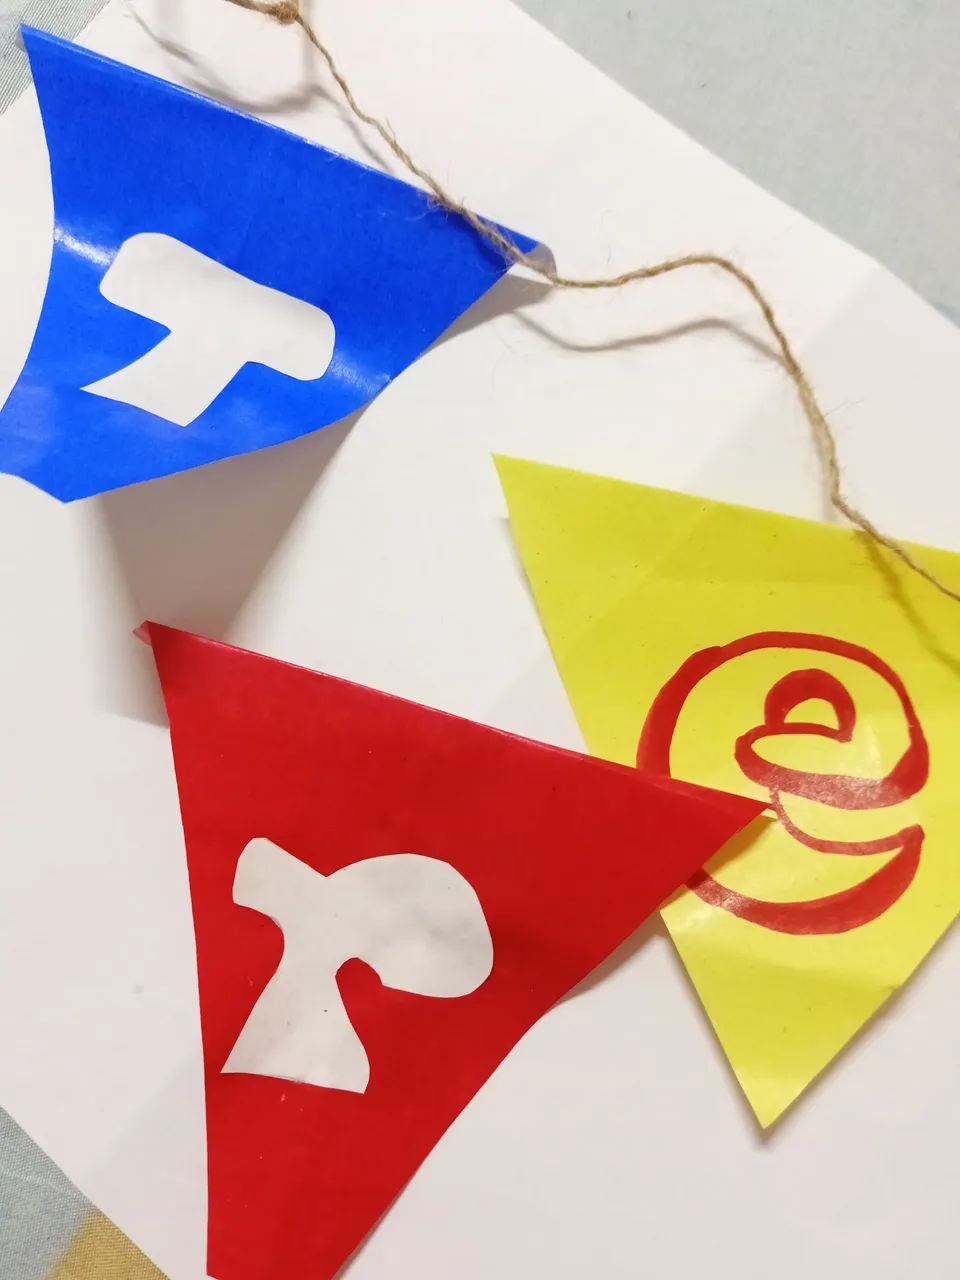
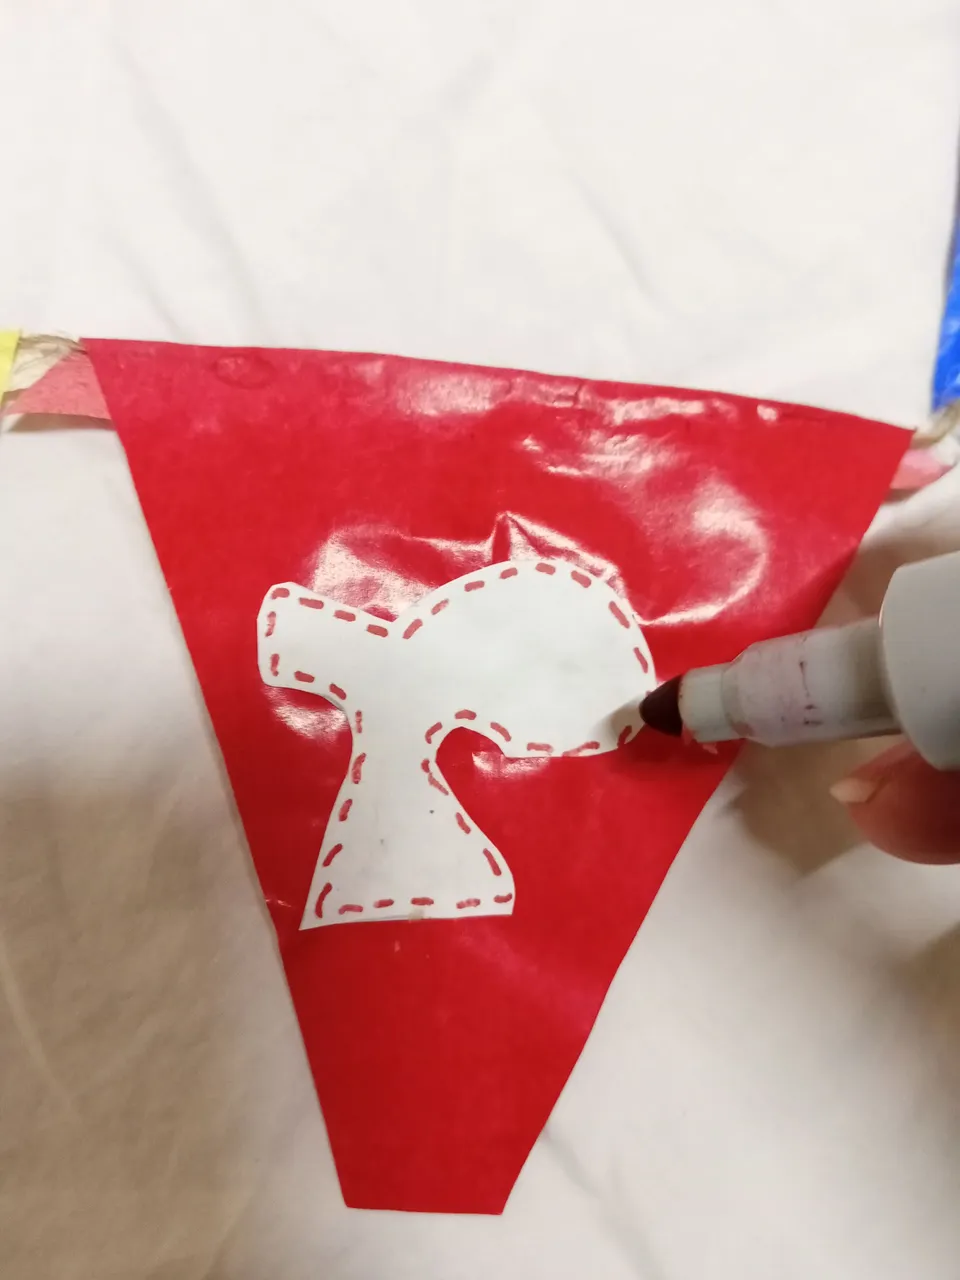
-Para el banderín: contamos triángulos de diferentes colores, uno por cada letra del nombre del homenajeado. Luego vamos a cortar las letras en una hoja blanca y con un marcador de color rojo, en mi caso, marcamos una línea punteada para dar un mejor acabado a las letras. finalmente con suficiente pegamento blanco pegamos pon el borde del triangulo la cuerda.
-For the pennant: we count triangles of different colors, one for each letter of the honoree's name. Then we will cut the letters on a white sheet and with a red marker, in my case, we mark a dotted line to give a better finish to the letters. finally with enough white glue we glue the rope on the edge of the triangle.
 |  |
|---|---|
 |  |
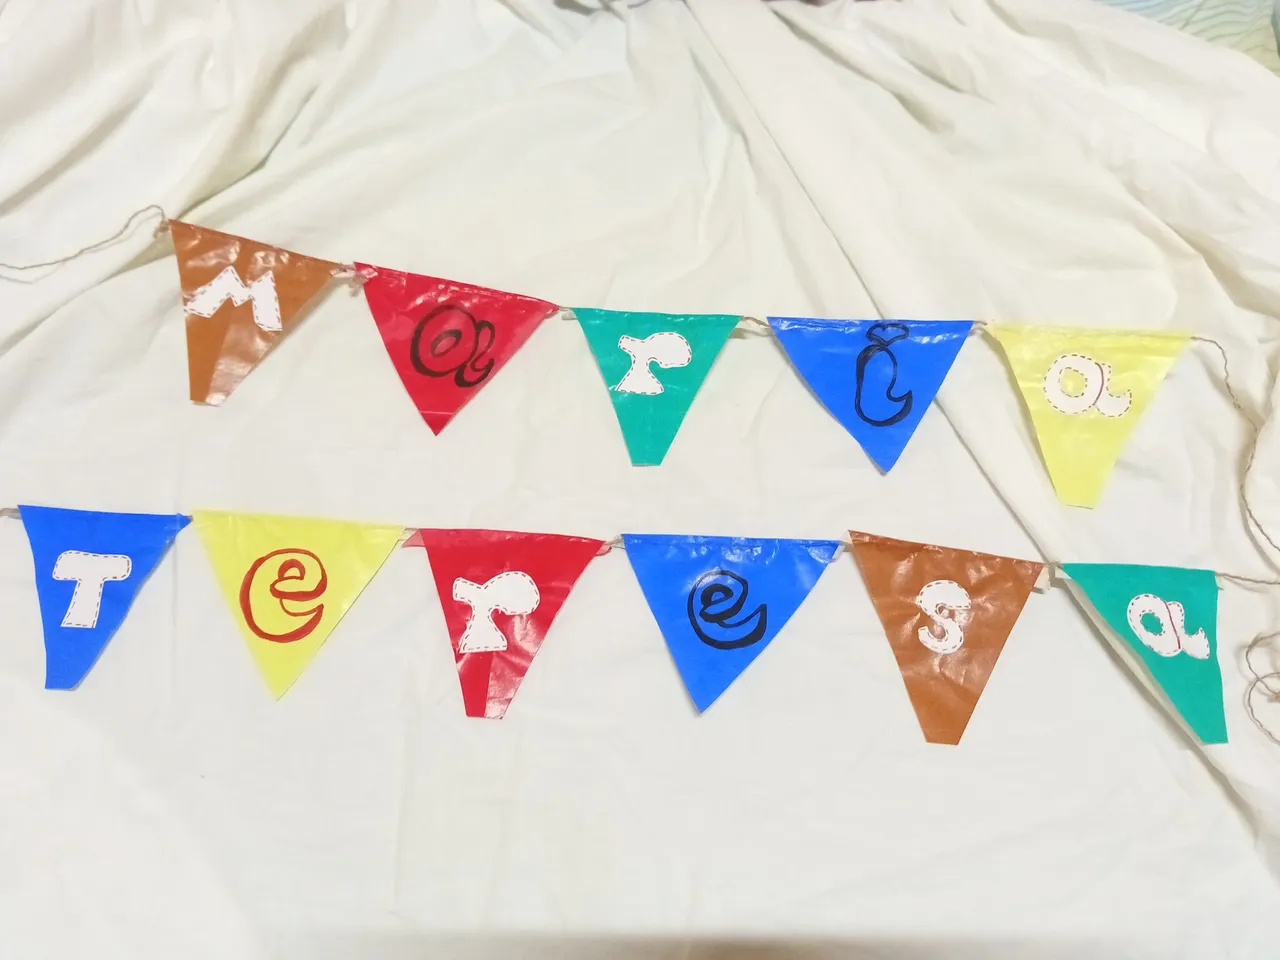
También puedes dibujar directamente las letras en los triángulos, o hacerlos combinados como hice yo.
You can also draw the letters directly on the triangles, or make them combined as I did.
Y así están listos los adornos de nuestra fiesta. Rápido, sencillo de hacer y con materiales que seguro tienes a la mano.
And so our party decorations are ready. Quick, easy to make and with materials that you surely have on hand.

Espero que les guste, que se animen a hacer sus propios adornos para fiesta y que dejen sus comentarios. Gracias por visitar mi blog hasta la próxima.
I hope you like it, that you are encouraged to make your own party decorations and leave your comments. Thanks for visiting my blog until next time.

Contenido original del autor.
Recursos: Power Point/ Canva || 📷Sony Cyber-Shot / Alcatel 3 5029E Smartphone
Traducido con Deepl.com
✿ Todos los Derechos Reservados || © @chacald.dcymt // 2021 ✿
💌 Discord: chacald.dcymt#3549
_
Original content by the author.
Resources: Power Point/ Canva || 📷Sony Cyber-Shot / Alcatel 3 5029E Smartphone
Translation done with Deepl.com
✿ All Rights Reserved || © @chacald.dcymt // 2021 ✿
💌 Discord: chacald.dcymt#3549