
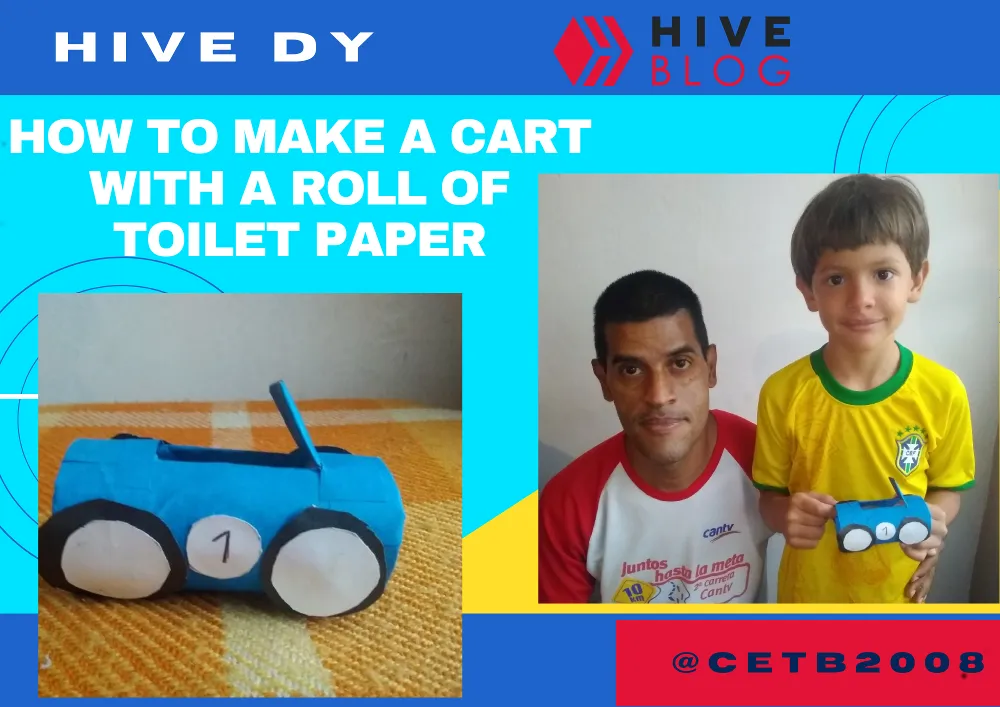
Greetings dear Hive community, today I present a tutorial on How to make a car with a Roll of Toilet Paper. For this craft, my seven-year-old son Carlos and I worked together to make this beautiful race car. For this practice, refer to a material found on the web.
Realizando con mi Hijo un Carro con un Rollo de Papel Higiénico/Making with my Son a Car with a Roll of Toilet Paper:
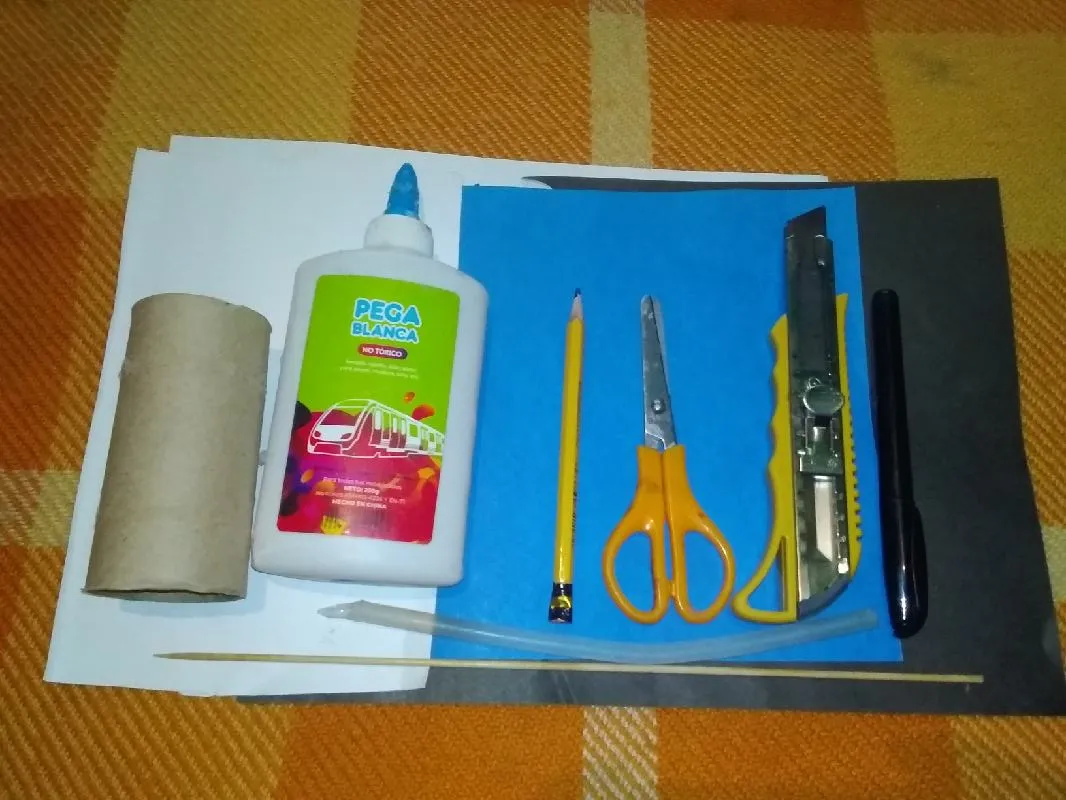
Materiales/ Materials:
- 1 Rollos de papel higiénico
- Cartulina de color blanco, azul y negro
- 1 Lápiz
- Pega blanca
- Marcador negro o boligrafo negro
- 1 Cuter
- 1 Silicón
- 1 Regla
-1 Tijera
-1 rolls of toilet paper
- White, blue and black card stock
- 1 Pencil
- White glue
- Black marker or black pen
- 1 Cuter
- 1 Silicone
- 1 Ruler
-1 Scissors
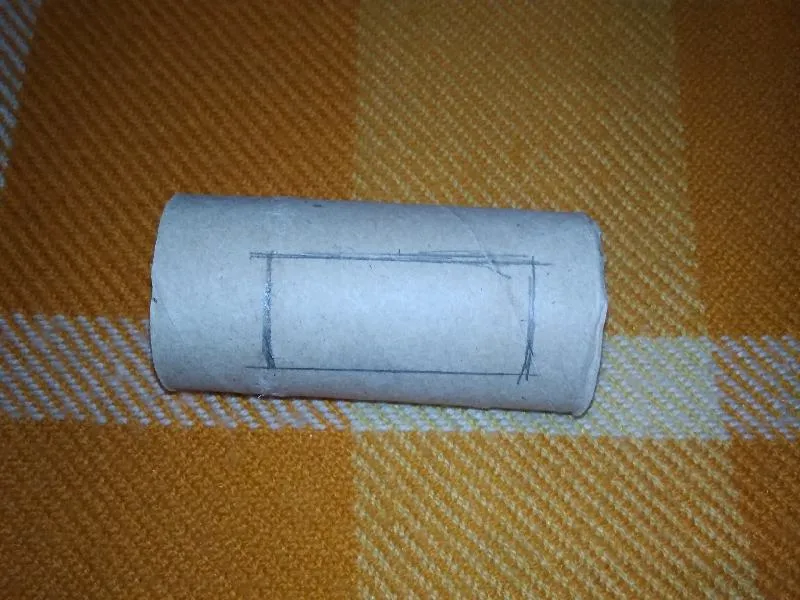
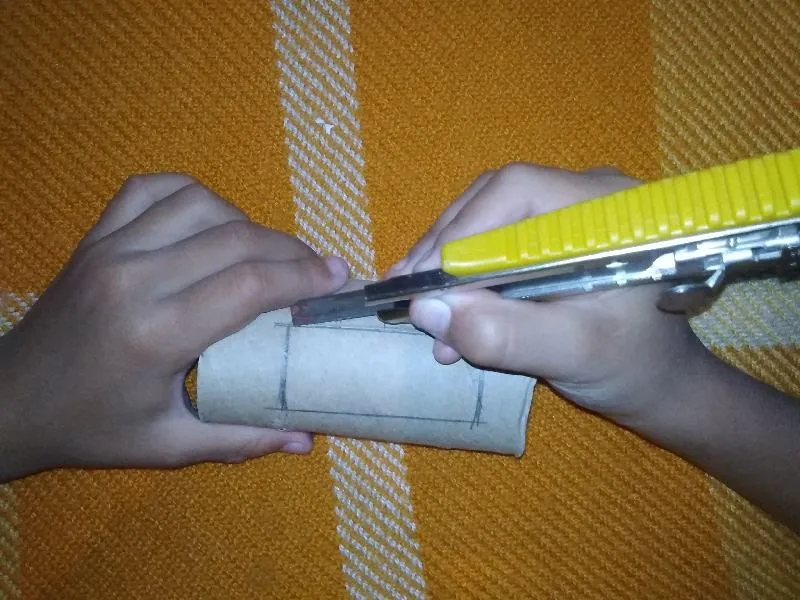
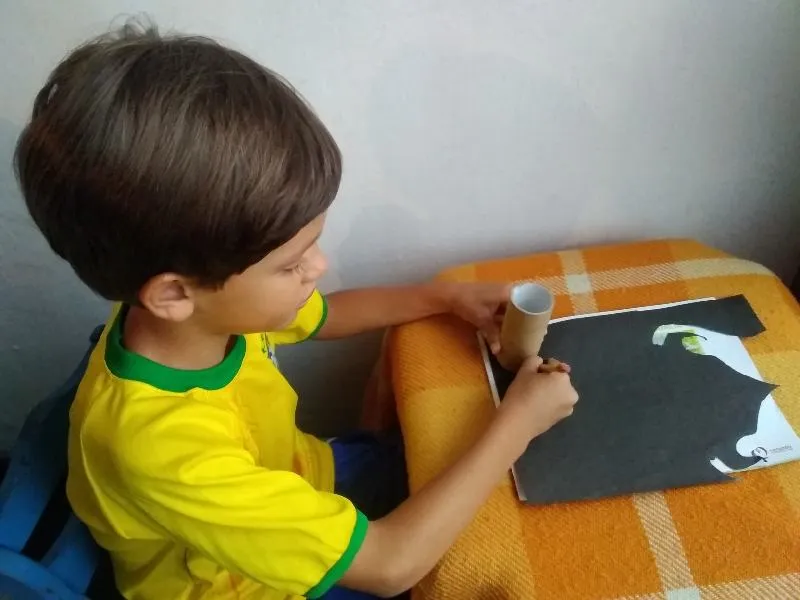
Paso 1/Step 1:
Se realiza un rectángulo sobre el rollo de papel higiénico utilizando una regla.
A rectangle is made on the toilet paper roll using a ruler

Quedando así:
Being that way:
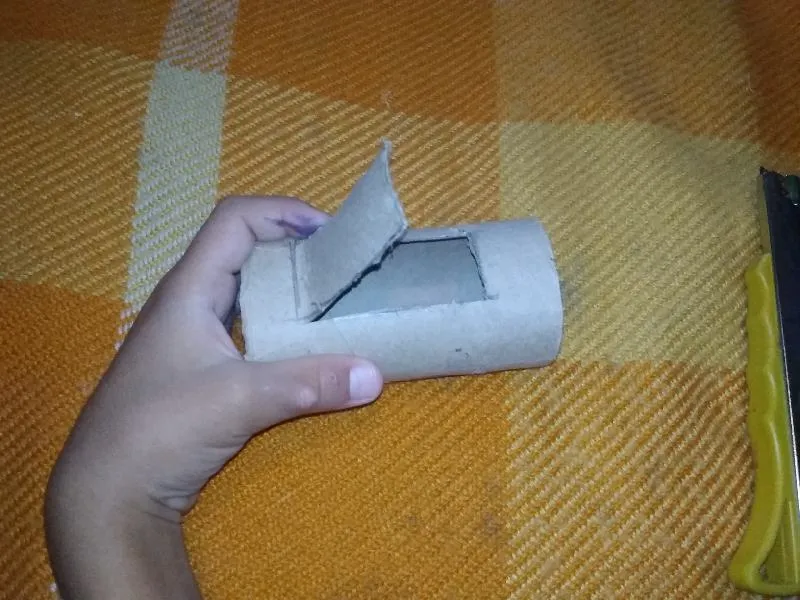
Paso 2/Step 2:
Se corta el rollo de papel higiènico con el cuter.
Cut the toilet paper roll with the cutter
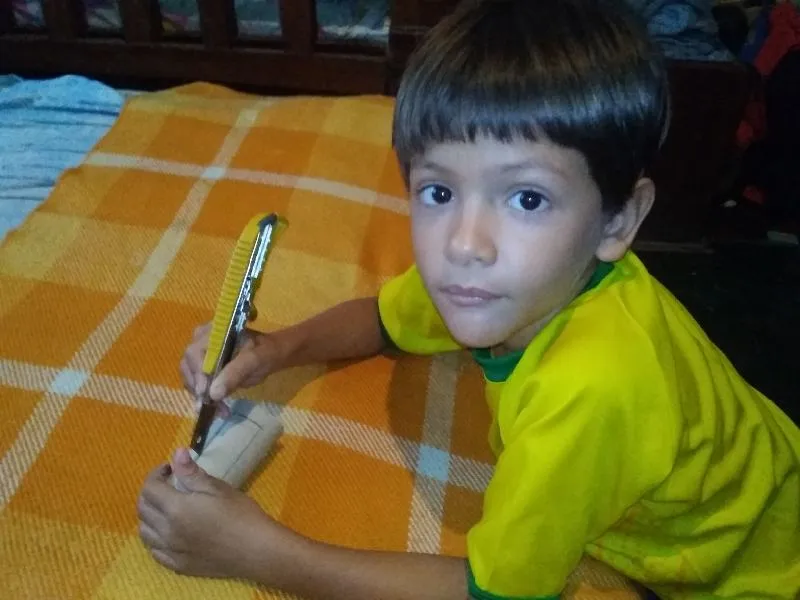
Quedando así:
Being that way:
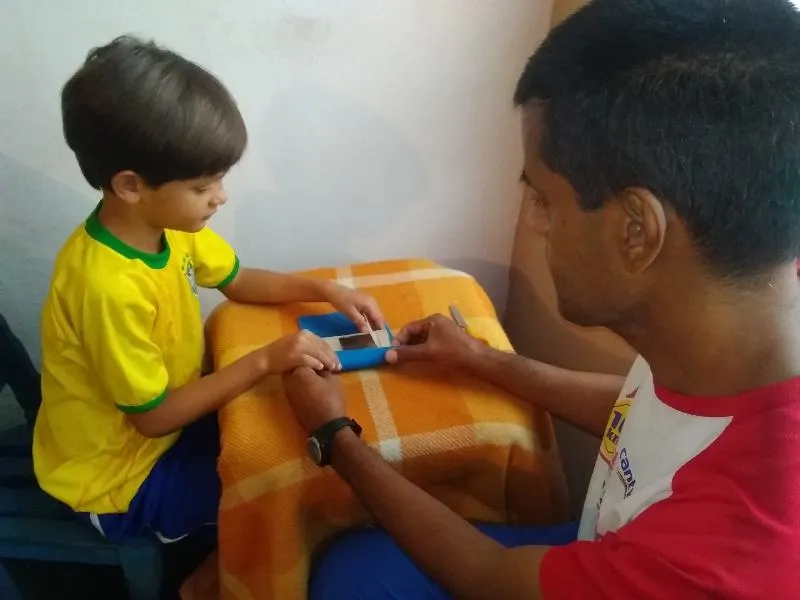
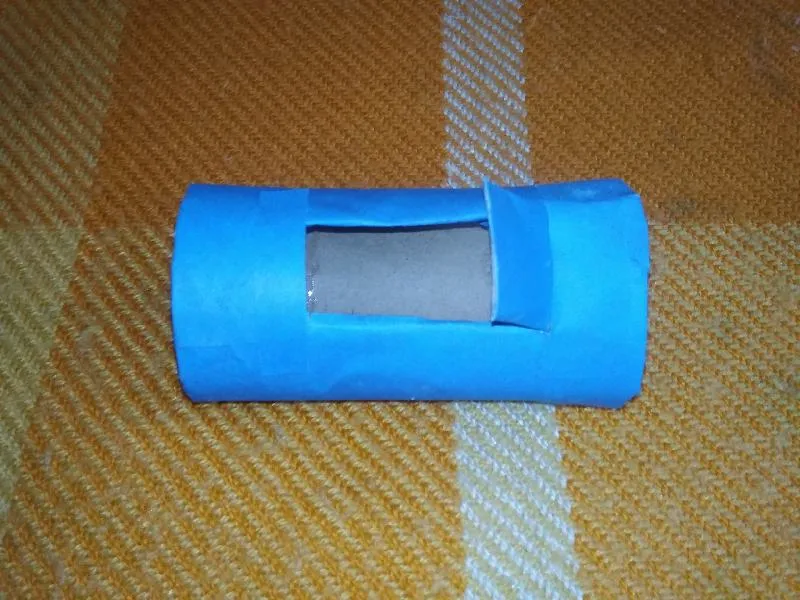
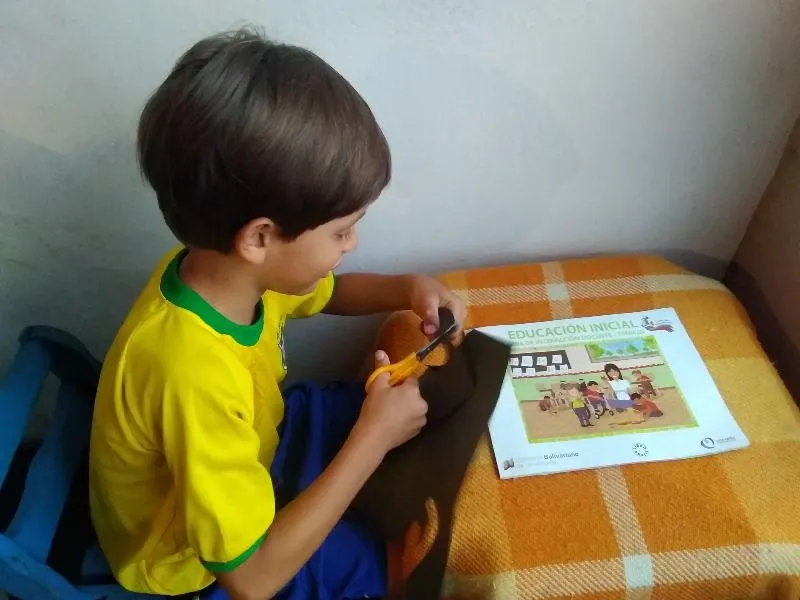
Paso 3/Step 3:
Se forra el rollo de papel higiènico, con la cartulina azul.
The toilet paper roll is lined with the blue cardboard.
Quedando así:
Being that way:
Paso 4/Step 4:
Se dibujan cuatro circulos en la cartulina negra, utilizando otro rollo de papel higiénico que serán las ruedas del carro.
Four circles are drawn on the black cardboard, using another roll of toilet paper that will be the wheels of the cart.
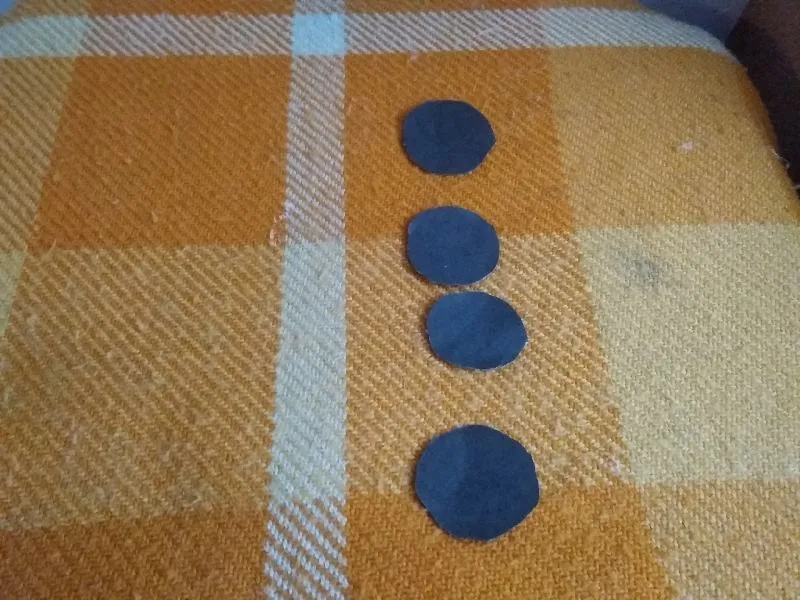
Paso 5/Step 5:
Se recortan los cìrculos dibujados anteriormente.
Circles drawn earlier are cut out.
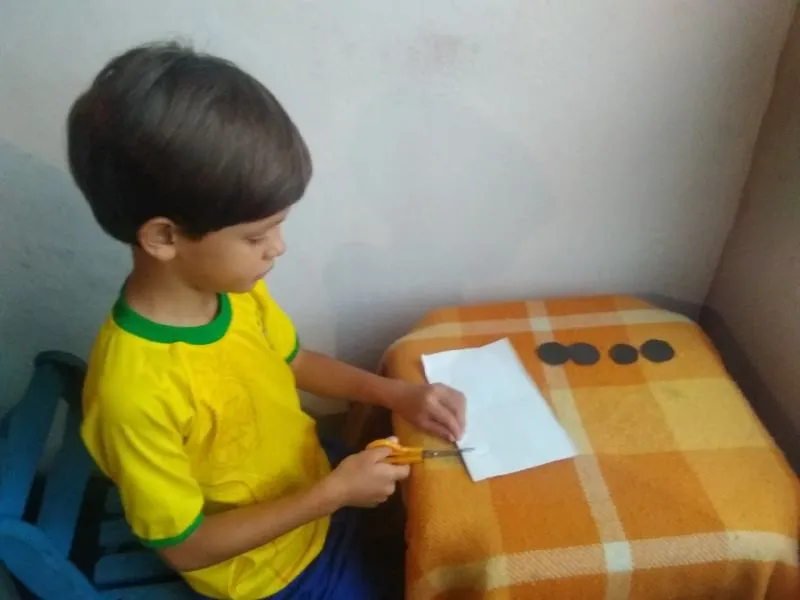
Paso 6/Step 6:
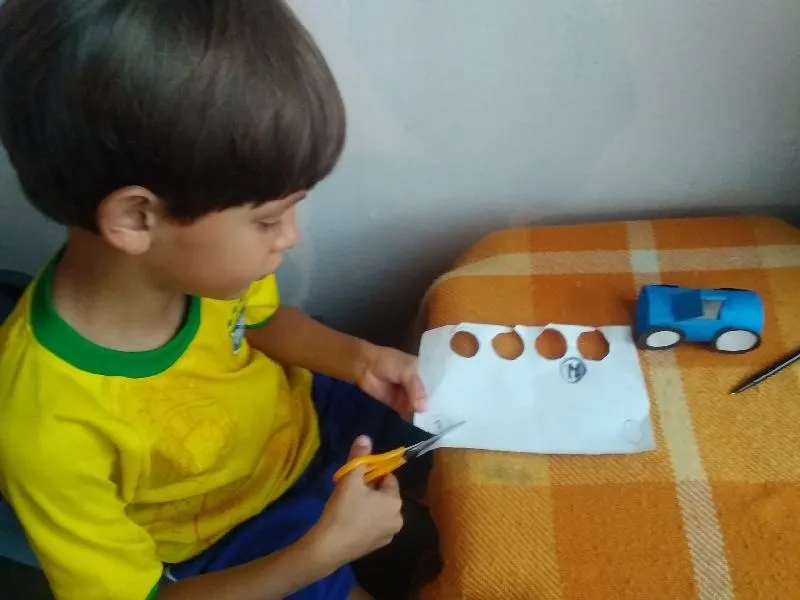
Se dibujan cuatro cìrculos más pequeños y se recortan con la tijera.
Four smaller circles are drawn and cut out with the scissors.
Paso 7/Step 7:
Se pegan los circulos blancos encima de los círculos negros
The white circles are glued on top of the black circles
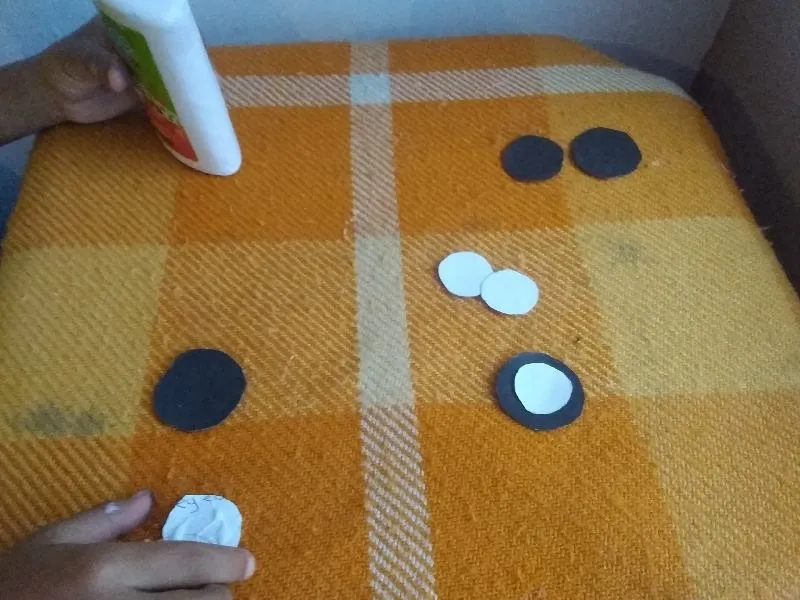
Quedando así:
Being that way:
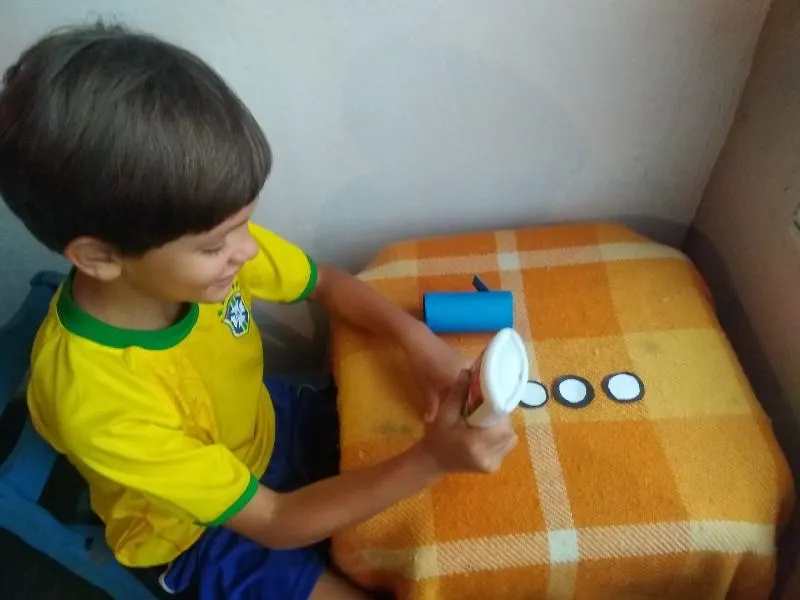
Paso 8 / Step 8:
Se pega las ruedas utilizando la pega blanca.
The wheels are glued using the white glue.
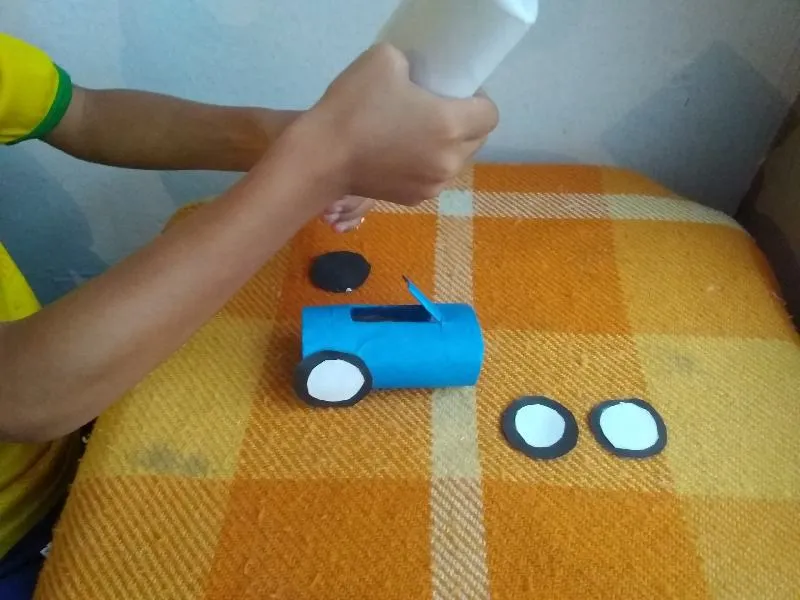
Así va quedando el carro:
This is how the car looks:
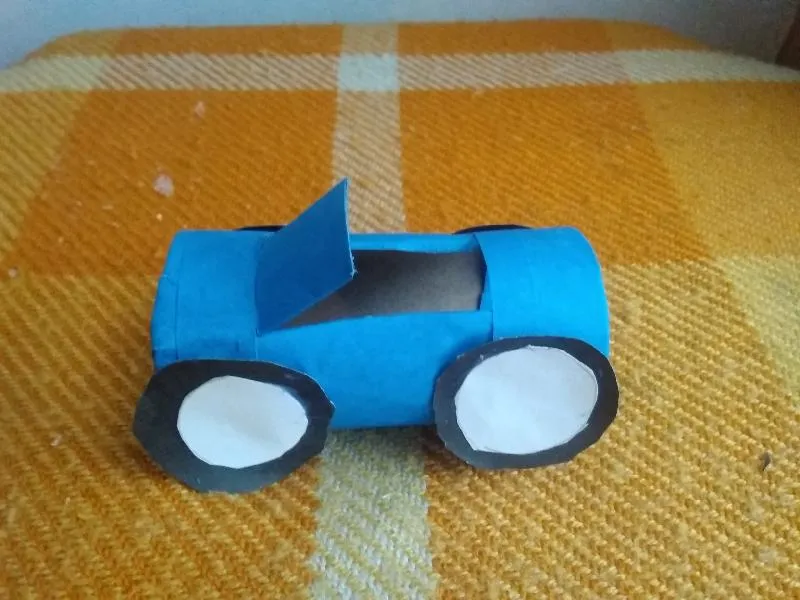
Paso 9 / Step 9:
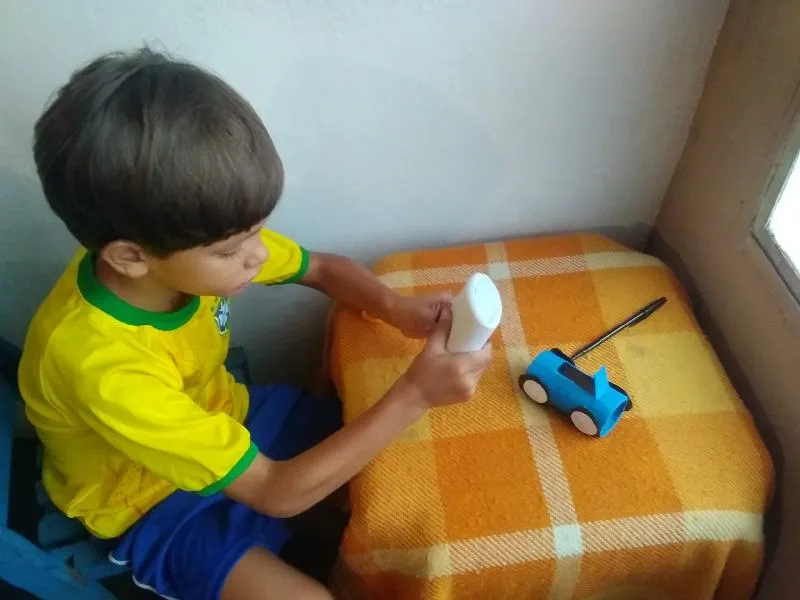
Se dibujan 1 círculo en la cartulina blanco y se escribe el número 1 que tendrá el carro.
1 circle is drawn on the white card and the number 1 that the car will have is written.
Paso 10 /Step 10:
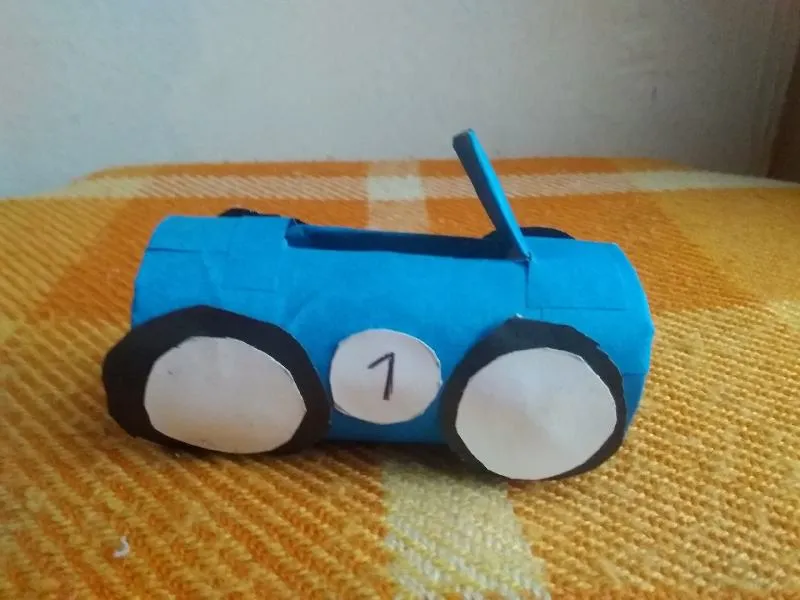
Se pega el número en el medio de las dos ruedas y tenemos listo nuestro carro.
The number is pasted in the middle of the two wheels and we have our car ready.

Sonido utilizado en el video Fuente
Manualidad Fuente
Sound used in video (Source)
Craft
Espero que les haya gustado mi tutorial, nos vemos en el próximo.
I hope you liked my tutorial, see you in the next one.

▶️ 3Speak