Hola bella comunidad reciban un cordial saludo. Hoy les mostrare como hacer un hermoso joyero hecho de paletas
Hello beautiful community receive a warm greeting. Today I will show you how to make a beautiful jewelry box made of pallets.
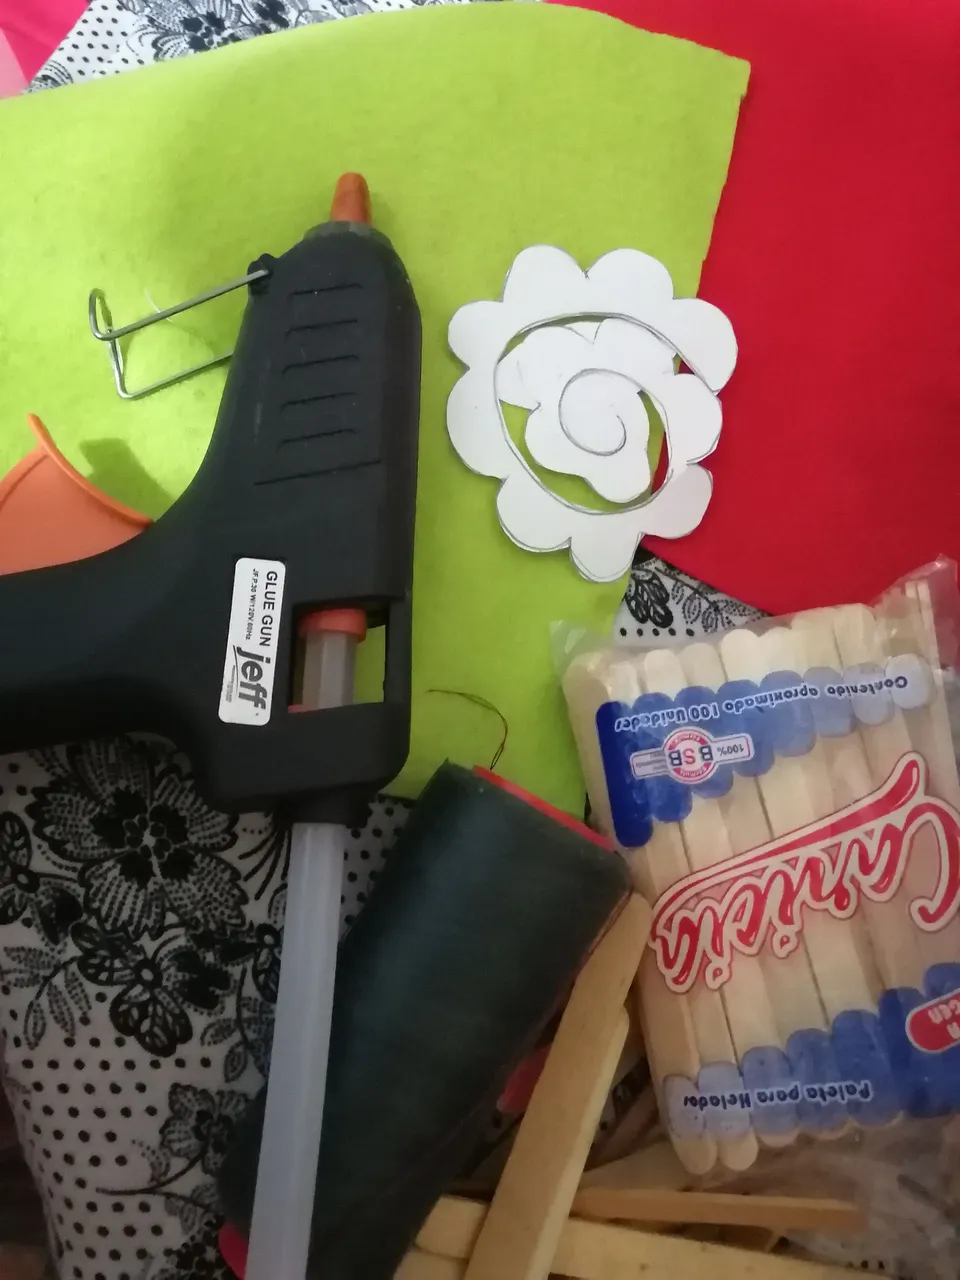
MATERIALES:
Paletas
silicon
fieltro rojo y verde
Tijera
hilo
aguja
patrones
**MATERIALS
Pallets
silicon
Red and green filter
Scissors
thread
needle
patterns
Elaboremoslo Juntos
Let's work it out together
Procedimientos
Procedures
- Marcamos el patrón de la flor y la hoja
- We mark the flower and leaf pattern.
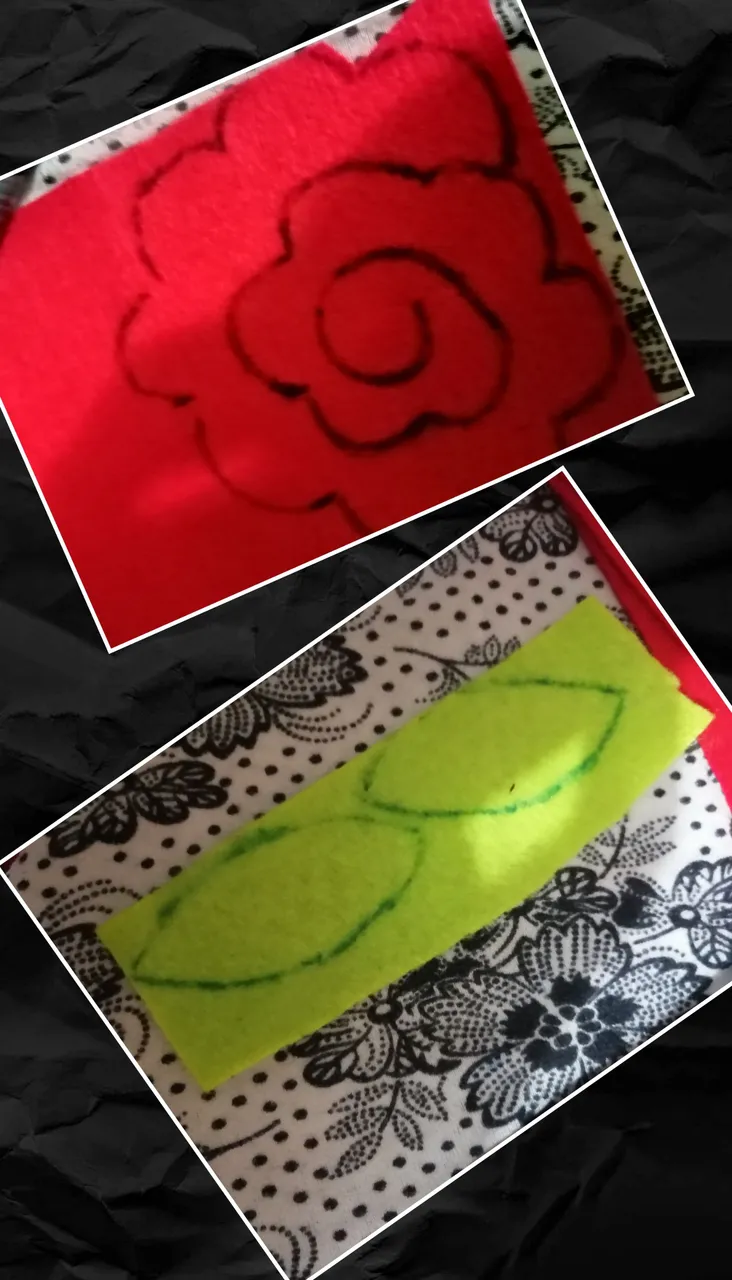
- Recortamos la flor y la hoja del fieltro
- We cut out the flower and the leaf from the felt.
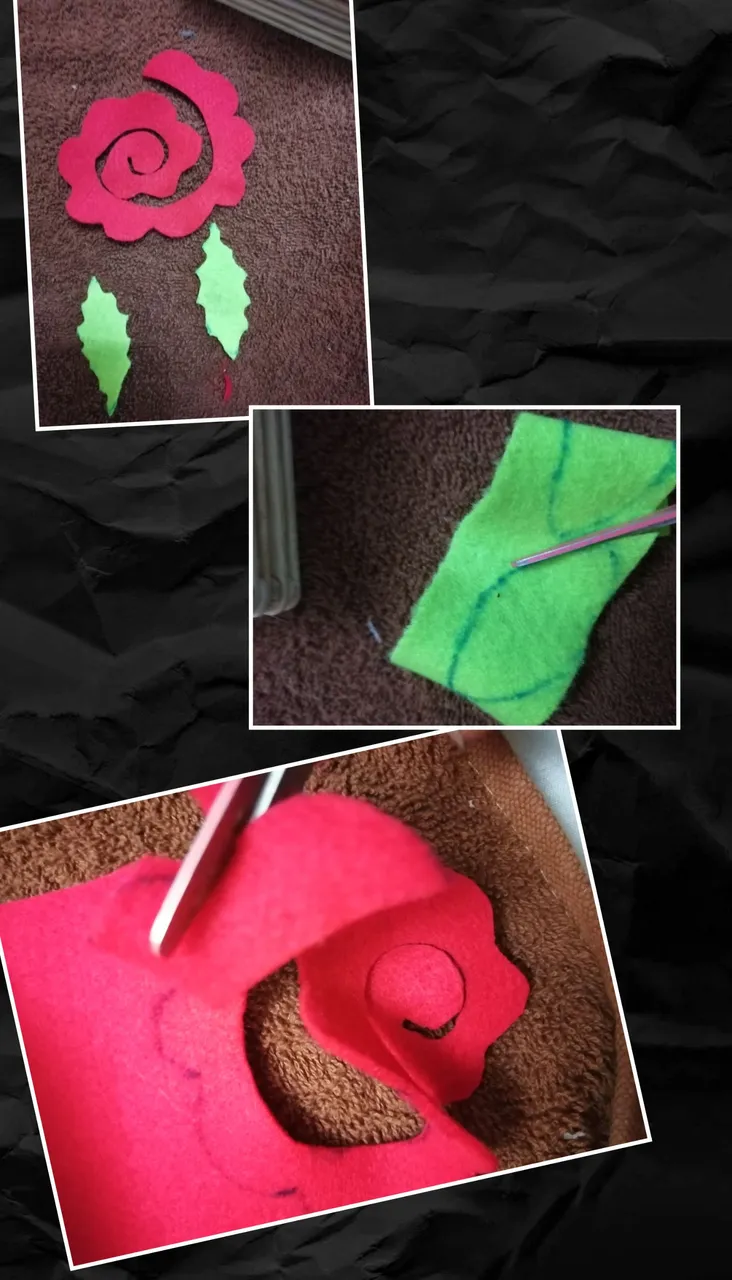
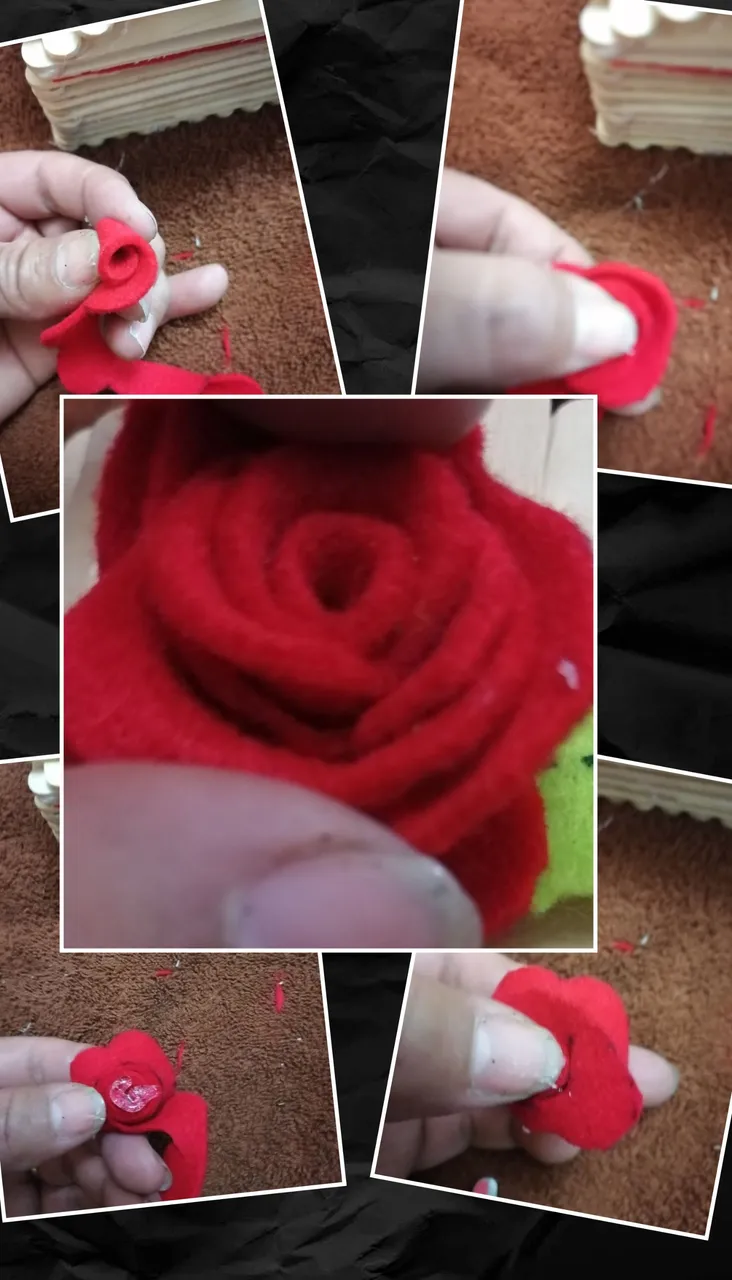
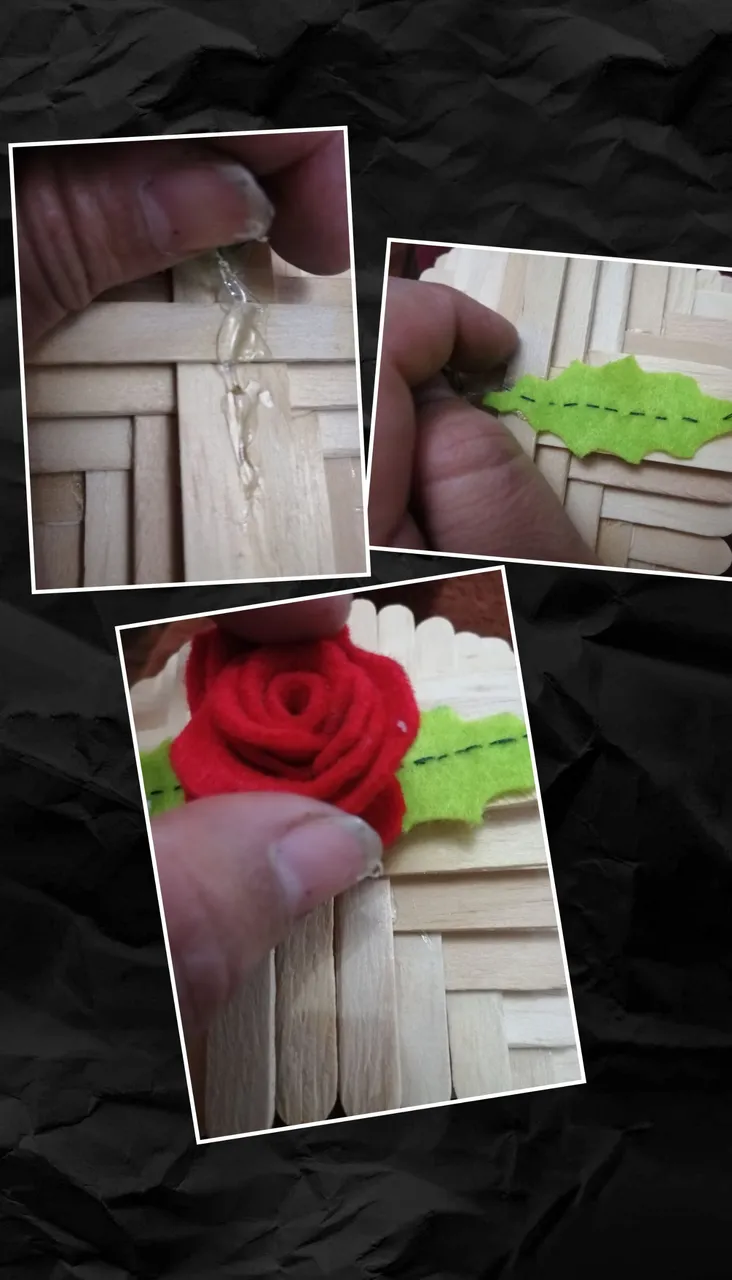
- enrrollamos poco a poco el molde de la flor para darle forma y pegamos en el fondo.
- We roll the flower mold little by little to give it shape and glue on the bottom.
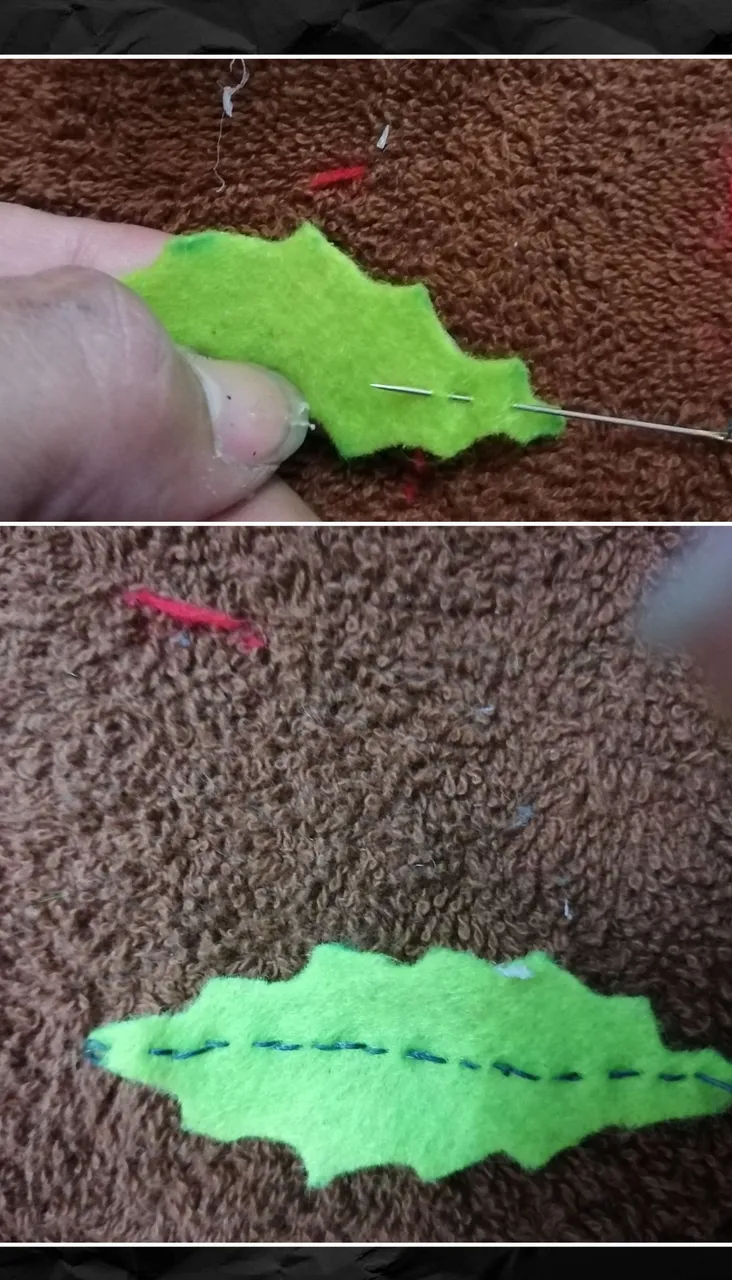
- Tomamos las hojas y con la aguja e hilo le hacemos puntadas.
- We take the leaves and with the needle and thread we make stitches.
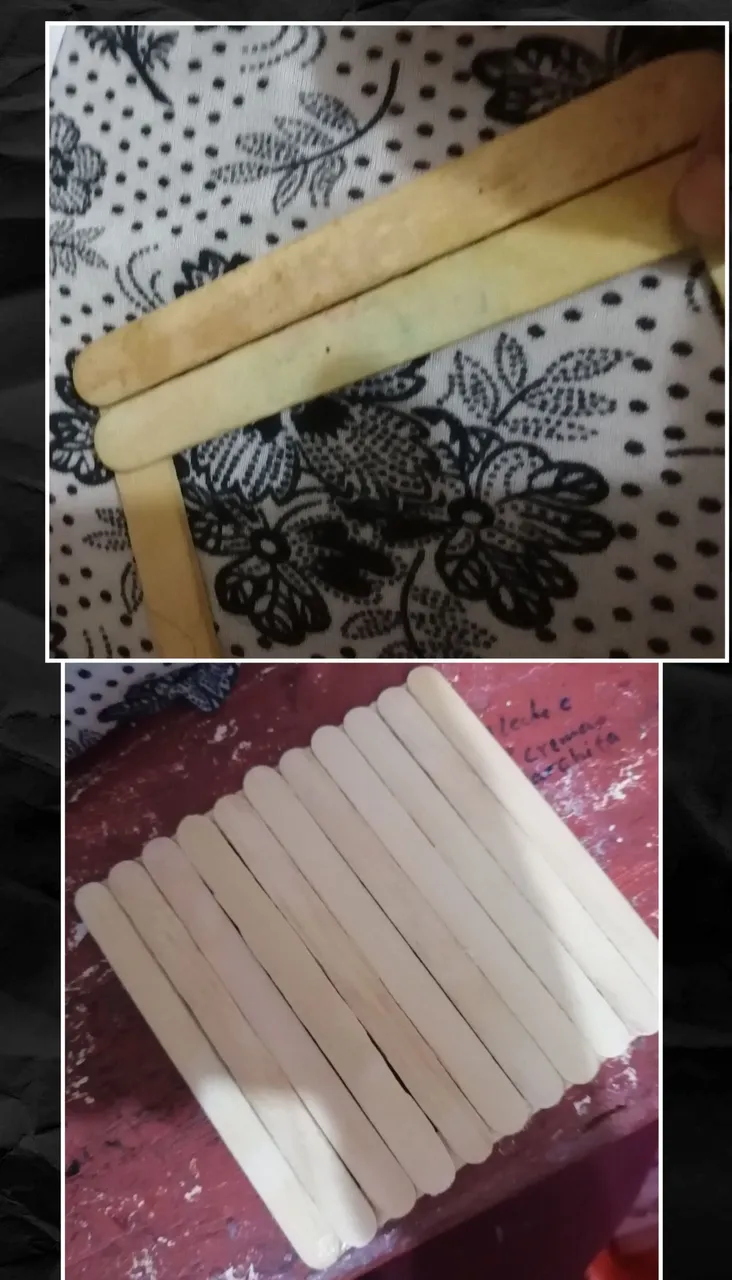
- Tomamos las paletas y armamos un cuadrado.
- We take the pallets and assemble a square.
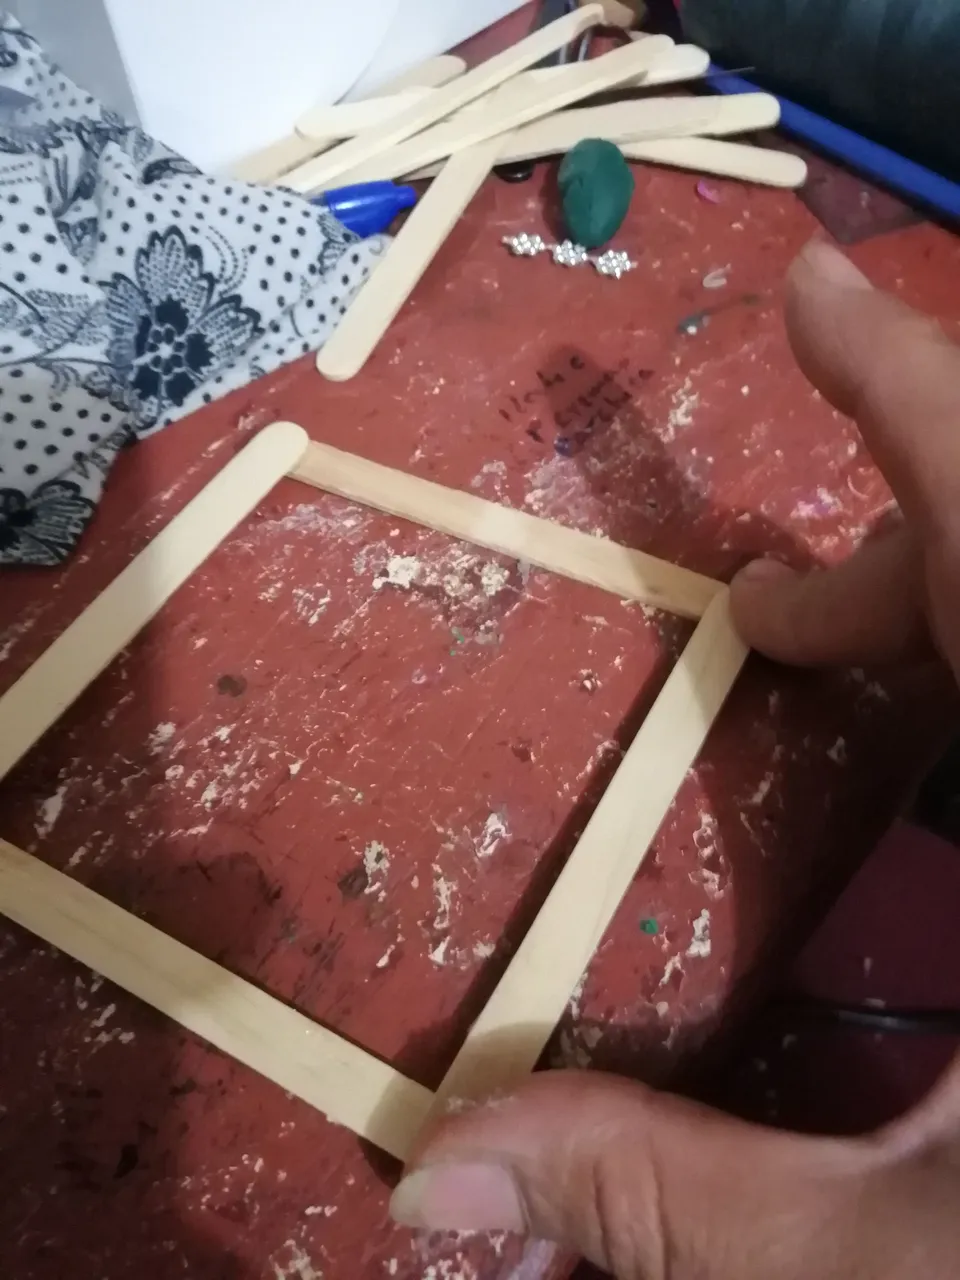
- Luego pegamos una paleta al lado de la otra esto nos servirá como la base del joyero.
- Then we glue one pallet next to the other this will serve as the base of the jewelry box.
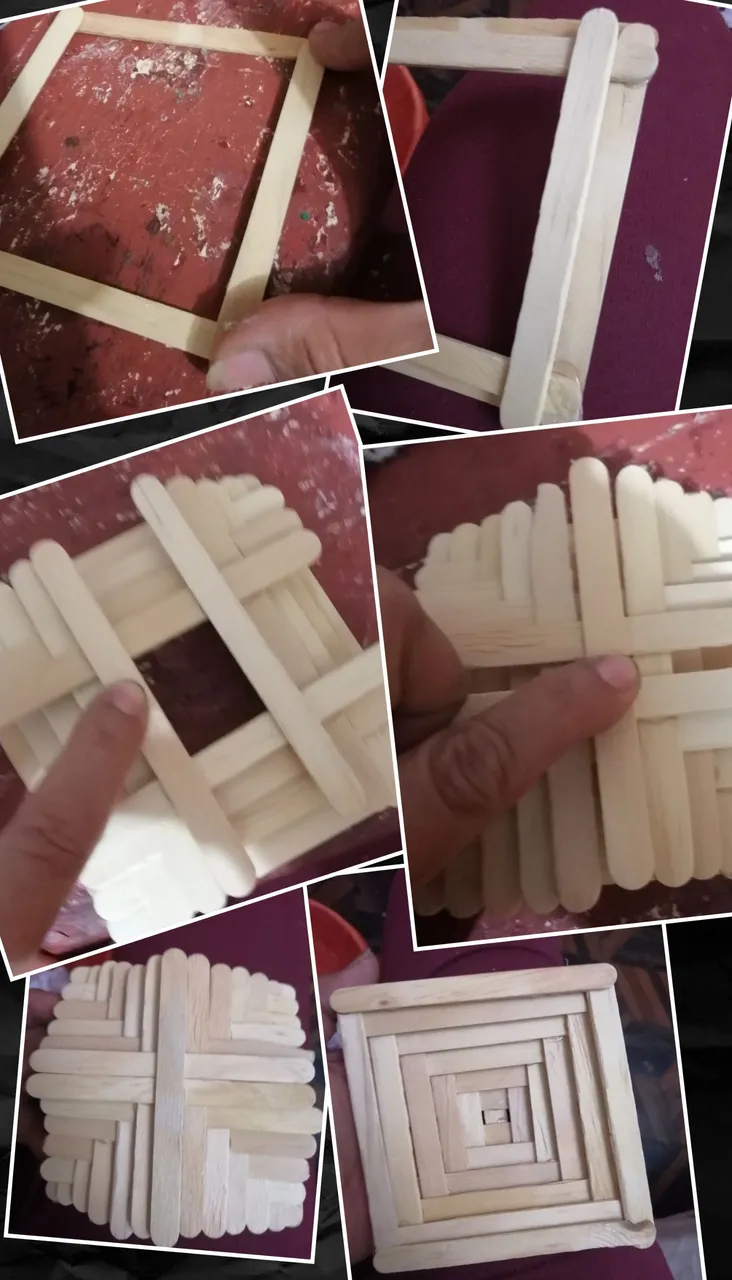
- Ahora volteamos y empezamos a pegar de manera alterna las paletas hasta llegar a la altura deseada.
- Now we flip and start gluing alternately the pallets until we reach the desired height.

- Ahora armamos la tapa
Volvemos hacer un cuadrado y pegamos las paletas una al lado de la otra pero esta vez de manera alterna. Hasta formar una especie de tejado como lo indicamos en la fotos.
- Now we assemble the lid
We make a square again and glue the pallets one next to the other but this time alternately. Until we form a kind of roof as shown in the pictures.
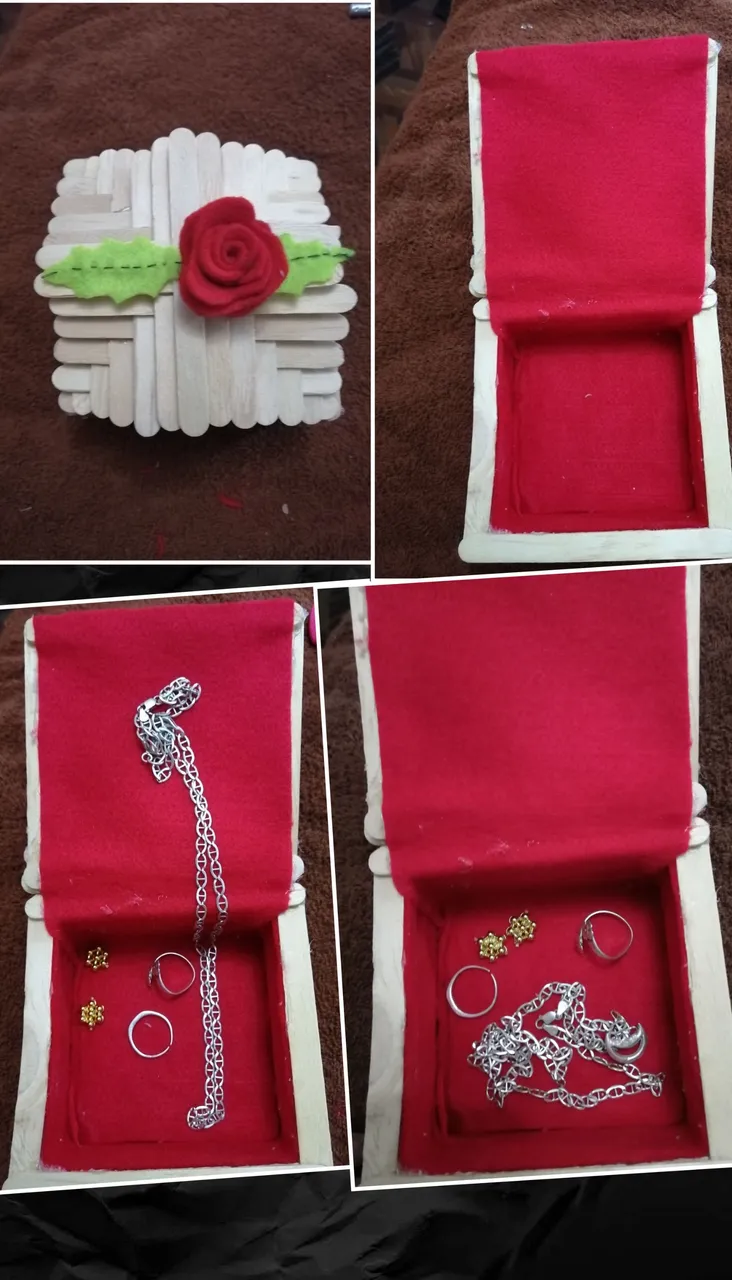
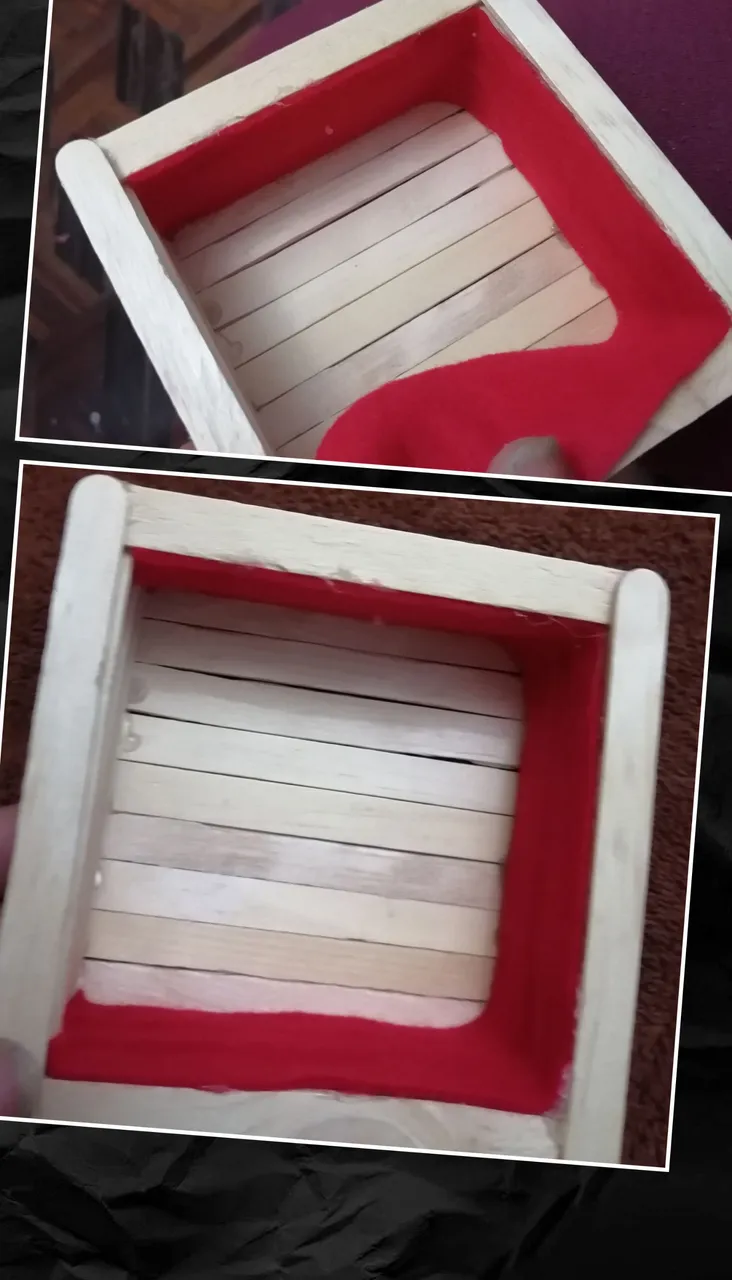
- Recortamos una tira de fieltro rojo del tamaño y altura de la base del cofre y pegamos al rededor de los lado en mi caso fue de 2 1/2 cm por 30cm de largo dejando un lado sin pegar.
- We cut a strip of red felt the size and height of the base of the chest and glued around the side in my case was 2 1/2 cm by 30cm long leaving one side unglued.
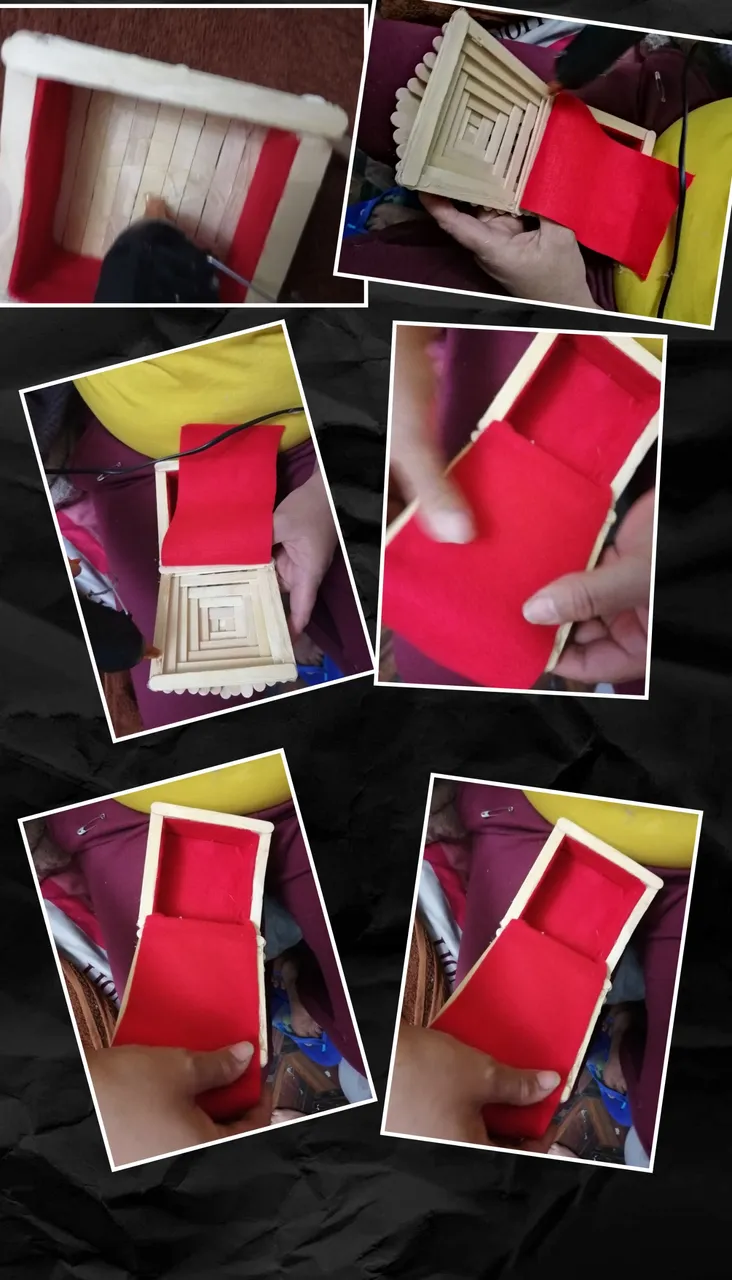
- Recortamos una cinta de fieltro de 10cm de ancho y 24cm 1/2 de largo y pagamos desde el fondo hasta la punta de la tapa para poder abrír y cerrar.
- We cut a ribbon of felt 10cm wide and 24cm 1/2 long and pay from the bottom to the tip of the lid to be able to open and close.
- Por ultimo pegamos las hojas en la parte de arriba de la tapa y ensima de ellas la flor para darle un toque personal.
- Finally we glue the leaves on the top of the lid and on top of them the flower to give it a personal touch.
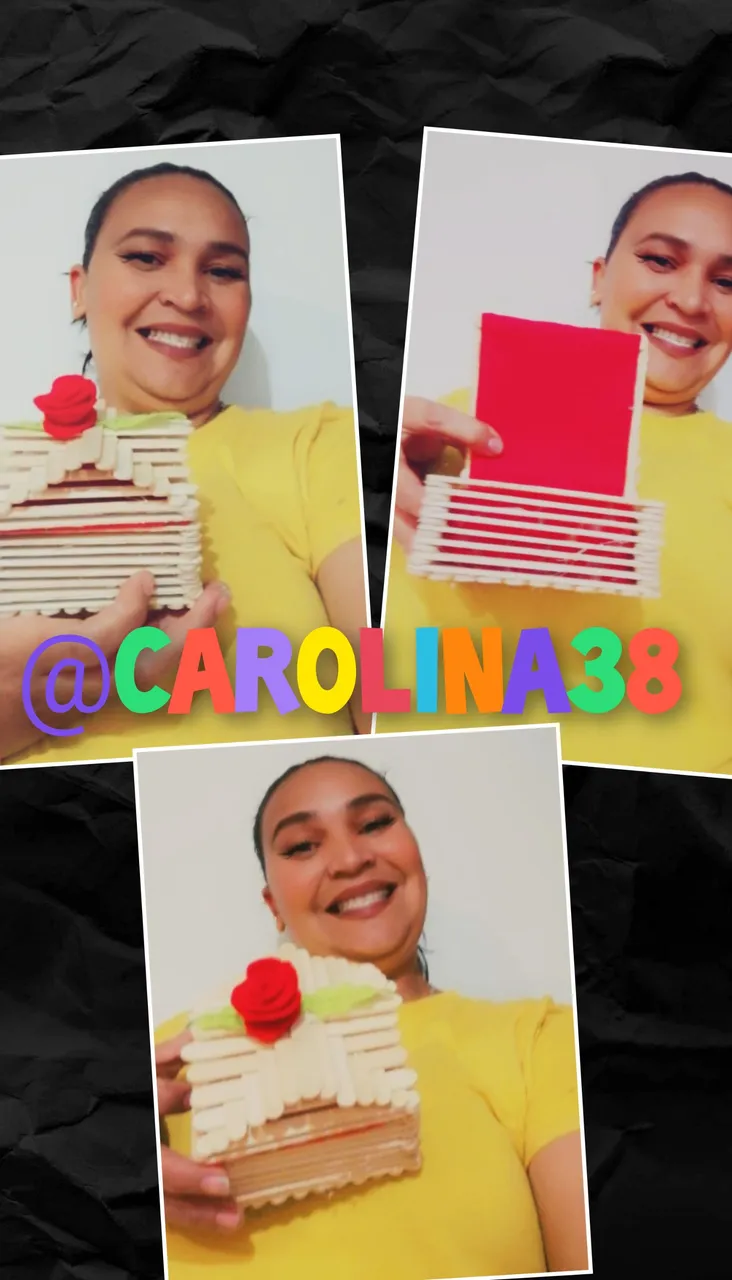
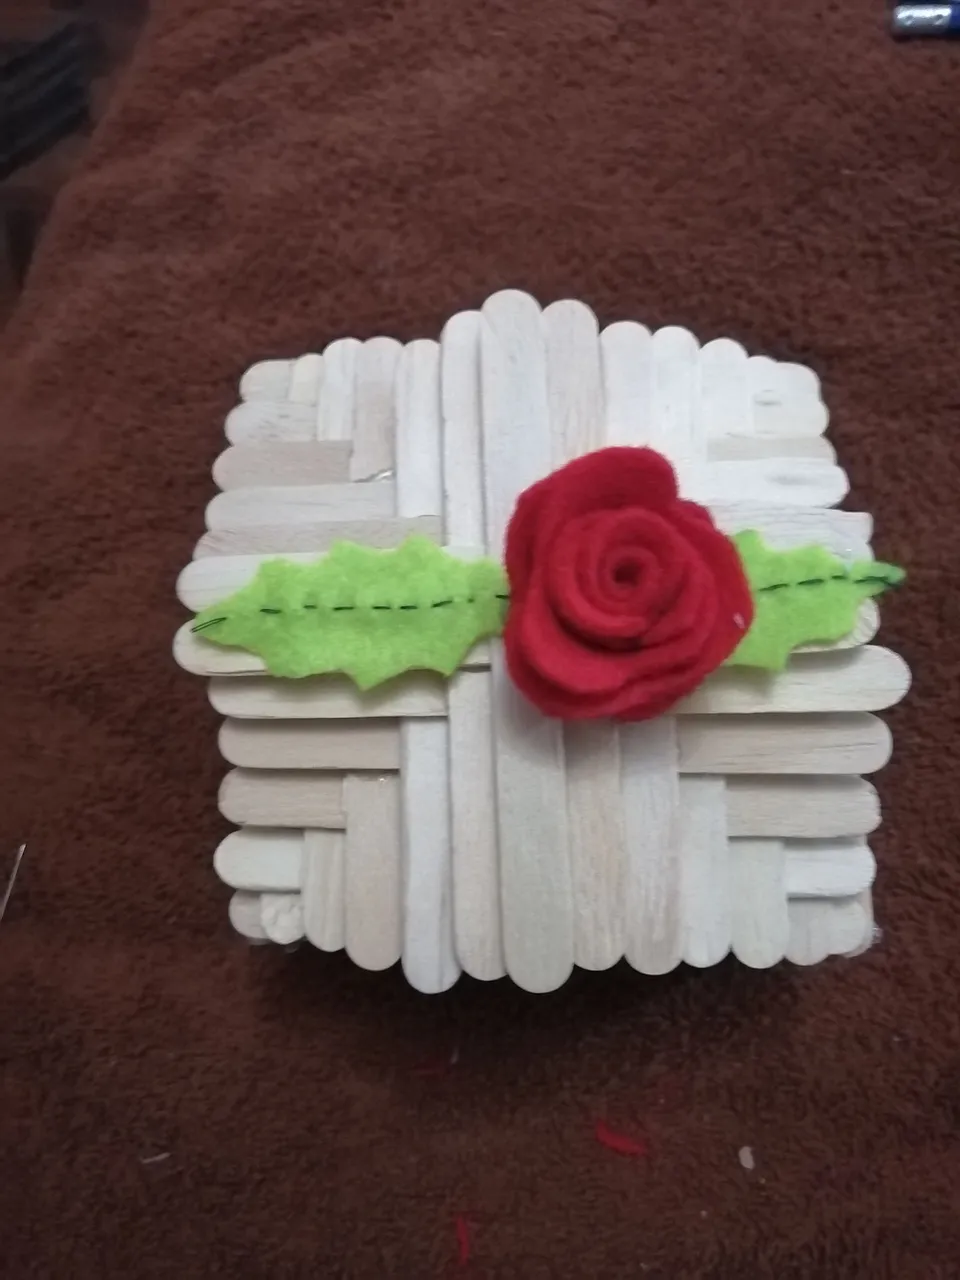
VEAMOS EL RESULTADO
LET'S SEE THE RESULT
Muchas gracias por leerme, espero que te haya gustado, que Dios te bendiga, hasta la próxima.
Thank you very much for reading me, I hope you liked it, God bless you, until next time.