🌺HOLA HIVERS🌺
I hope you are well, today I want to share with you an easy way to change the look of flannels in a simple and fun way. For this you don't need to know how to paint you just have to put them desire and a little creativity.
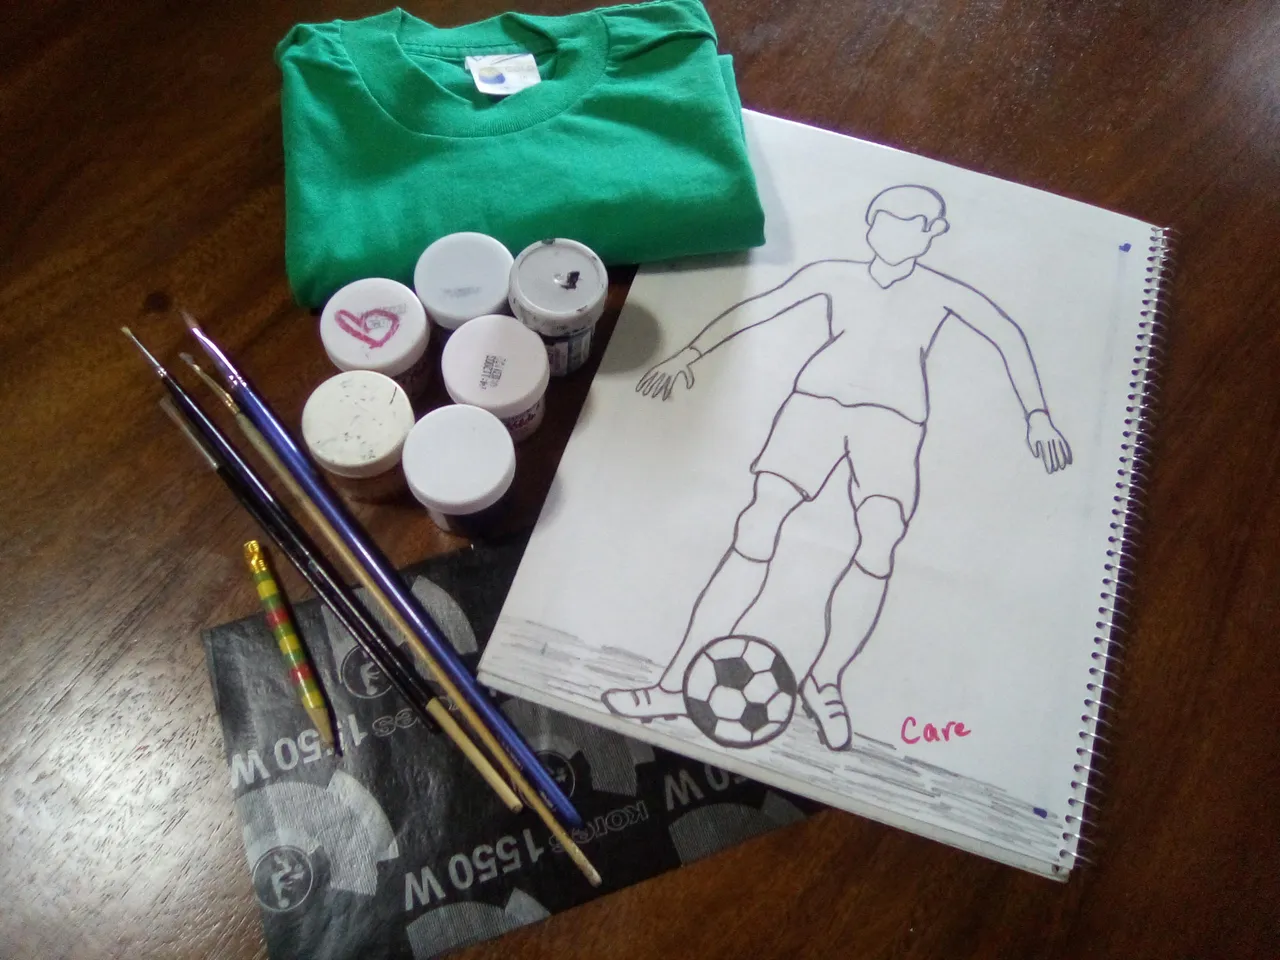
🎨For this you need the following materials:🖌
.- A flannel
- Brushes of different thicknesses
- Fabric paint
- A brown folder or a hard cardboard
- A recycled white sheet of paper
- A drawing
- Pins
- A sheet of carbon paper
- A pencil

🎨Steps for Elaboration:🤓🤔
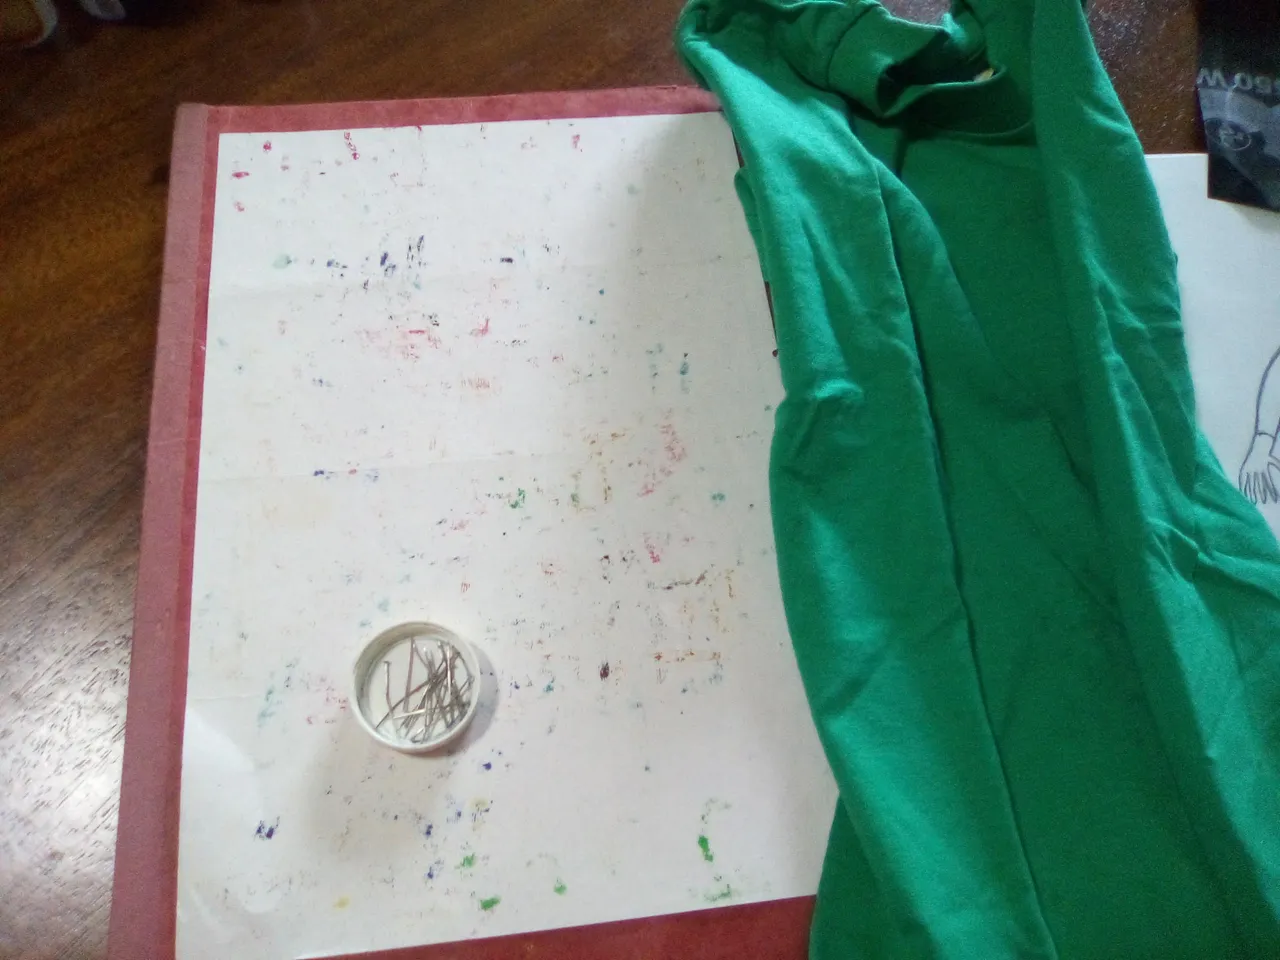
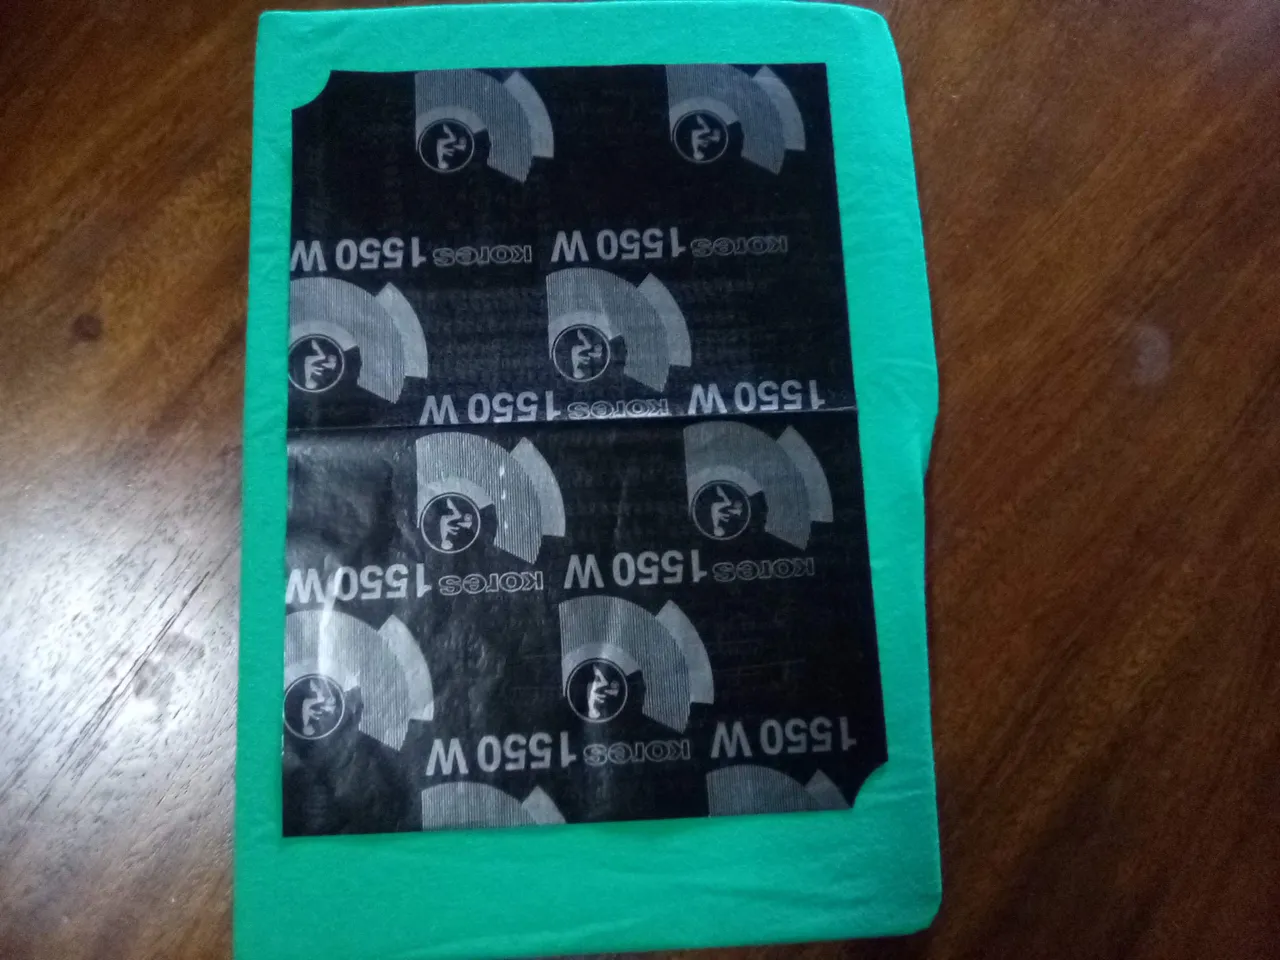
.1️⃣ We grab the flannel, the brown folder, the recycled sheet (so it absorbs the paint and dries fast) and the pins. Next, a brown folder is inserted through the bottom of the flannel, you can also use a hard cardboard.
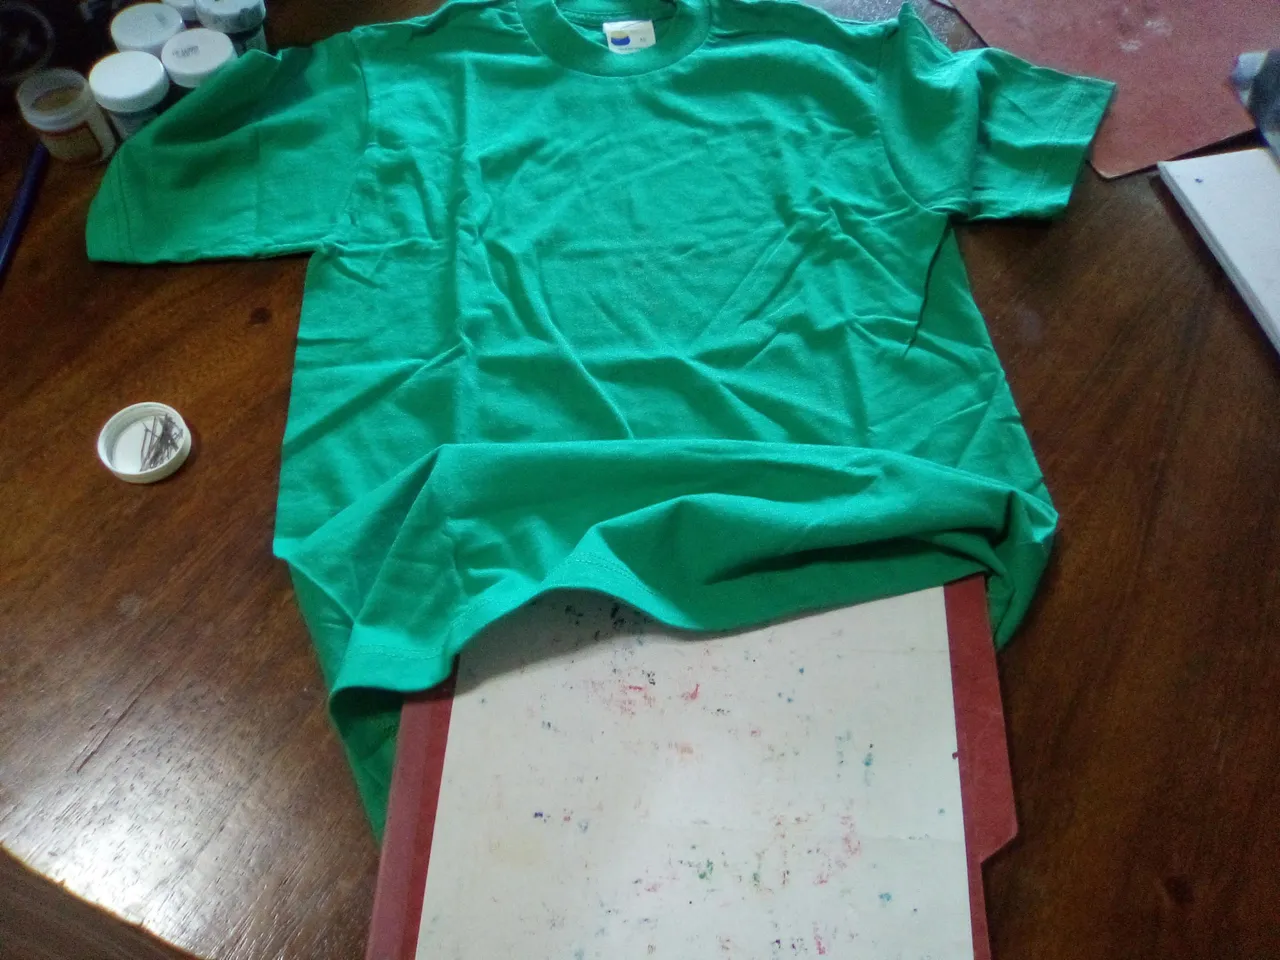
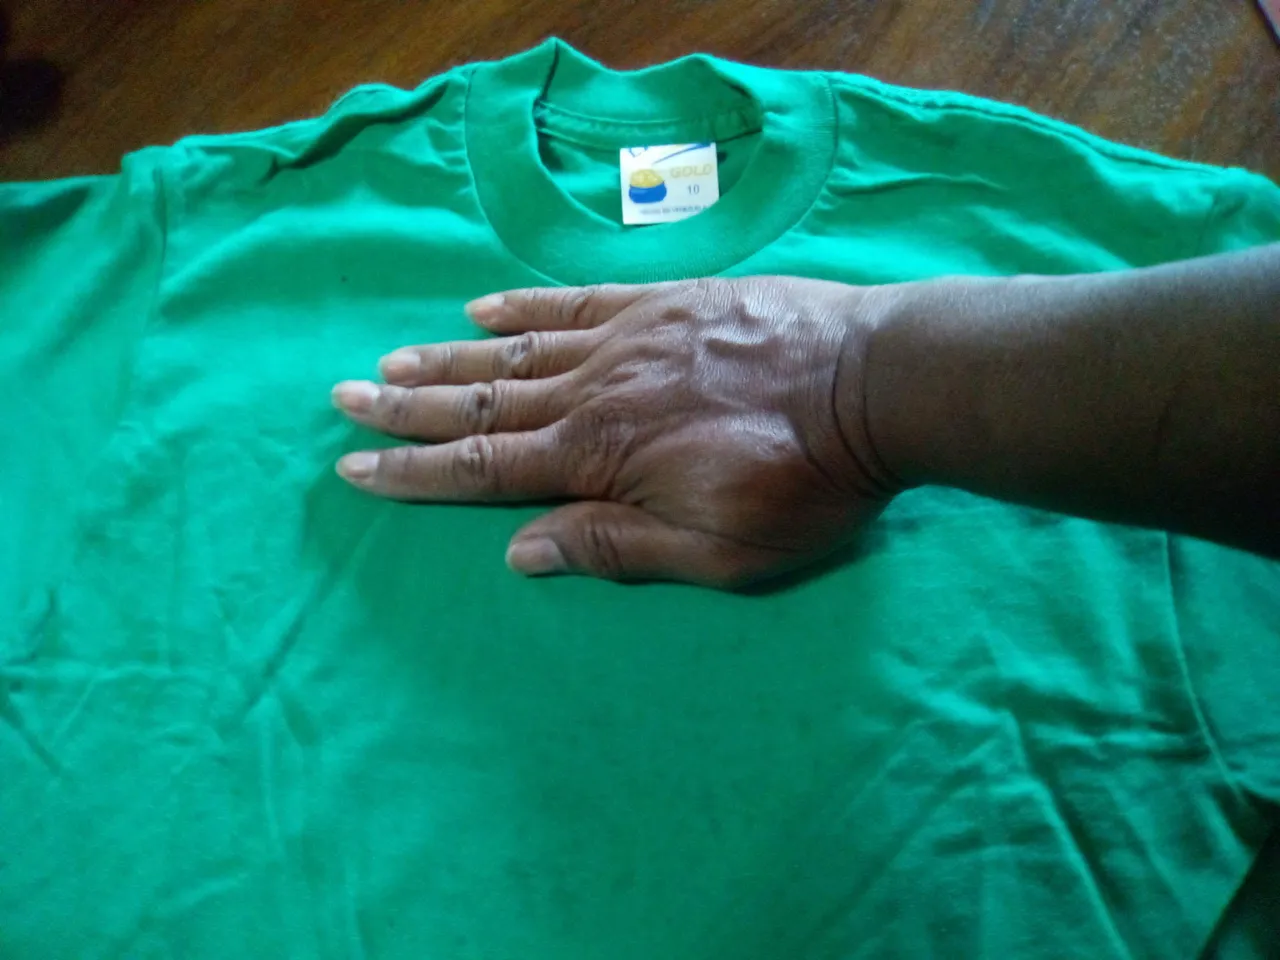
2️⃣ With the hand horizontally measure from the neck (this is so that the drawing is in the center); where the flannel is going to be folded; and then fasten it with two pins, do the same at the bottom.
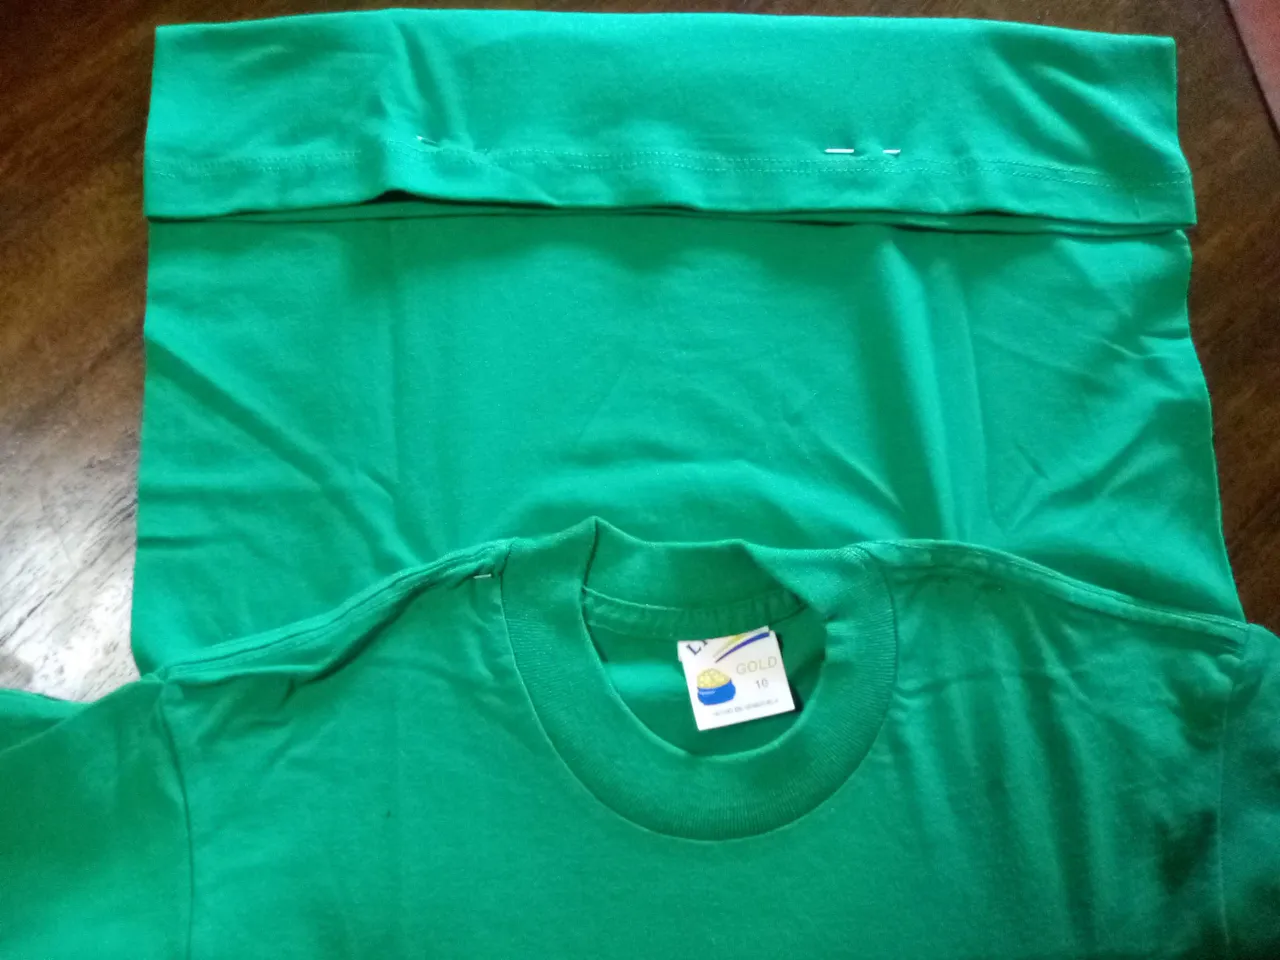
3️⃣ Finally, grab the sleeves and pin together; do the same with the sides and pin at the bottom; as shown in the picture. It is like covering the folder with the flannel. This process must be done tightly, the purpose is that the flannel does not move when it is going to be painted.
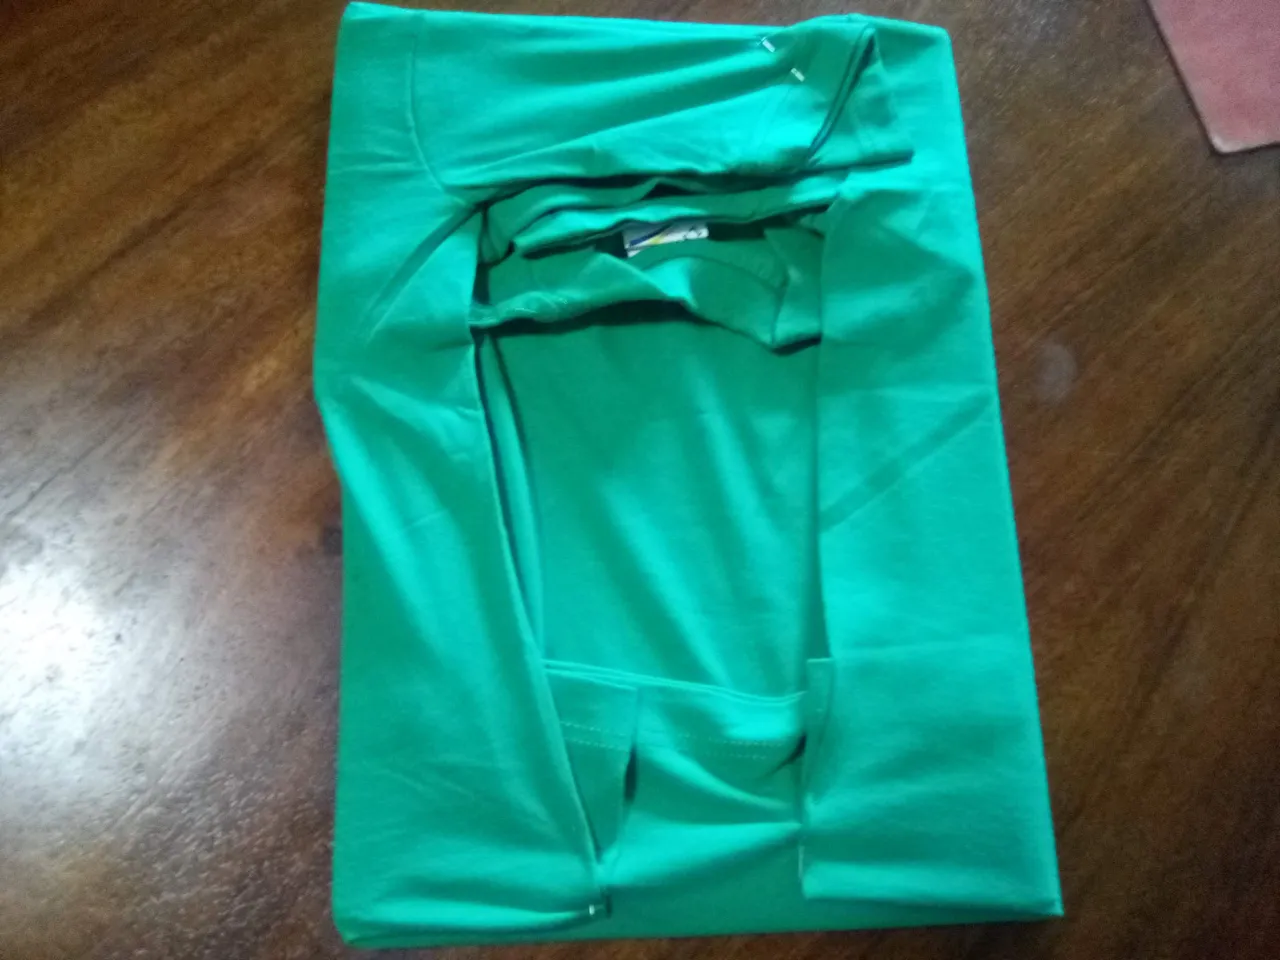
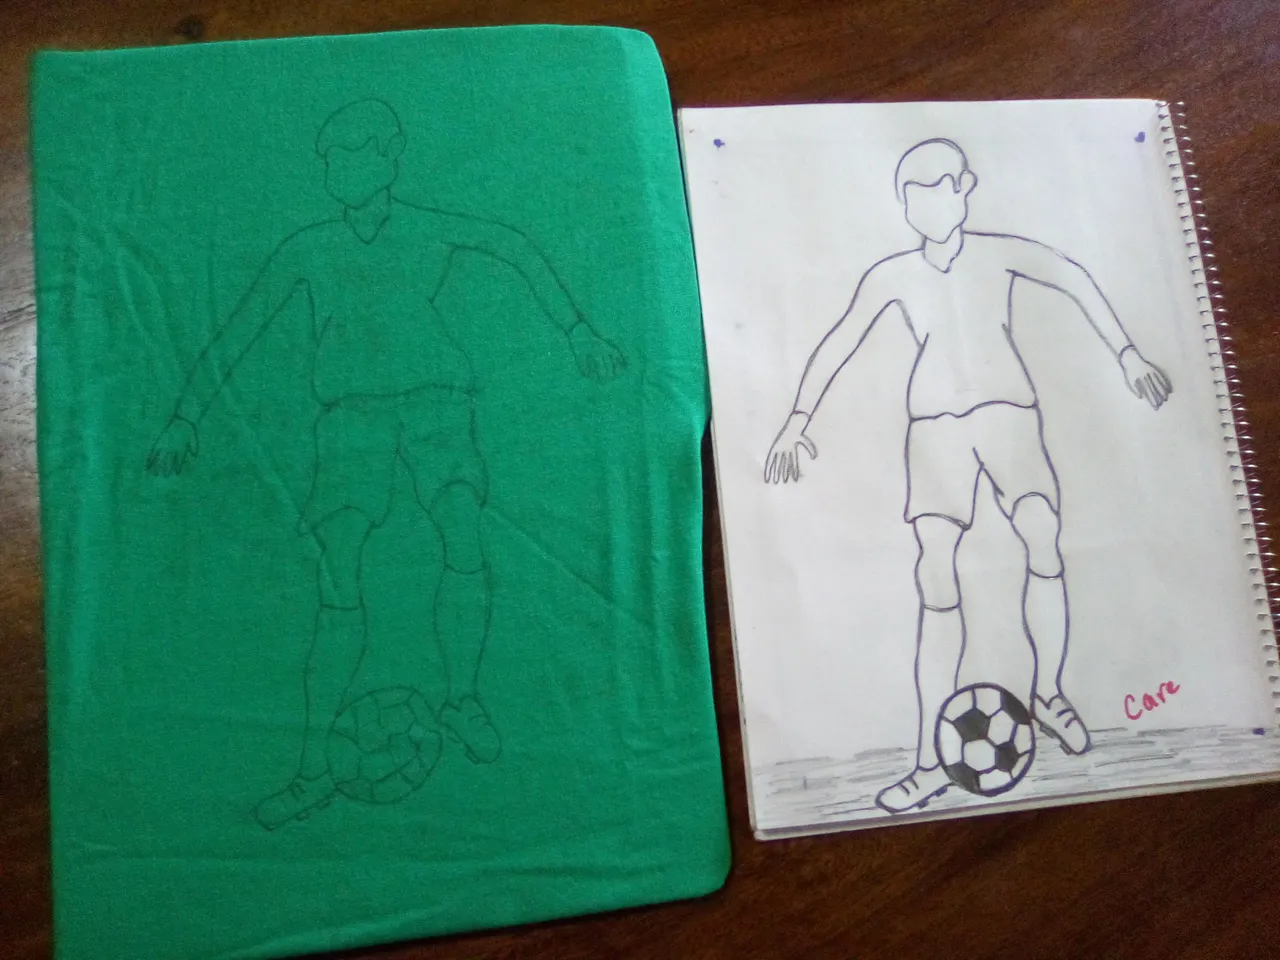
4️⃣ Once the process of assembling the flannel (this is how I define it) is completed, we proceed to mark the drawing; for that we are going to use the carbon paper, the same is placed on the flannel, on top of it we put the drawing and with a pencil we outline it.
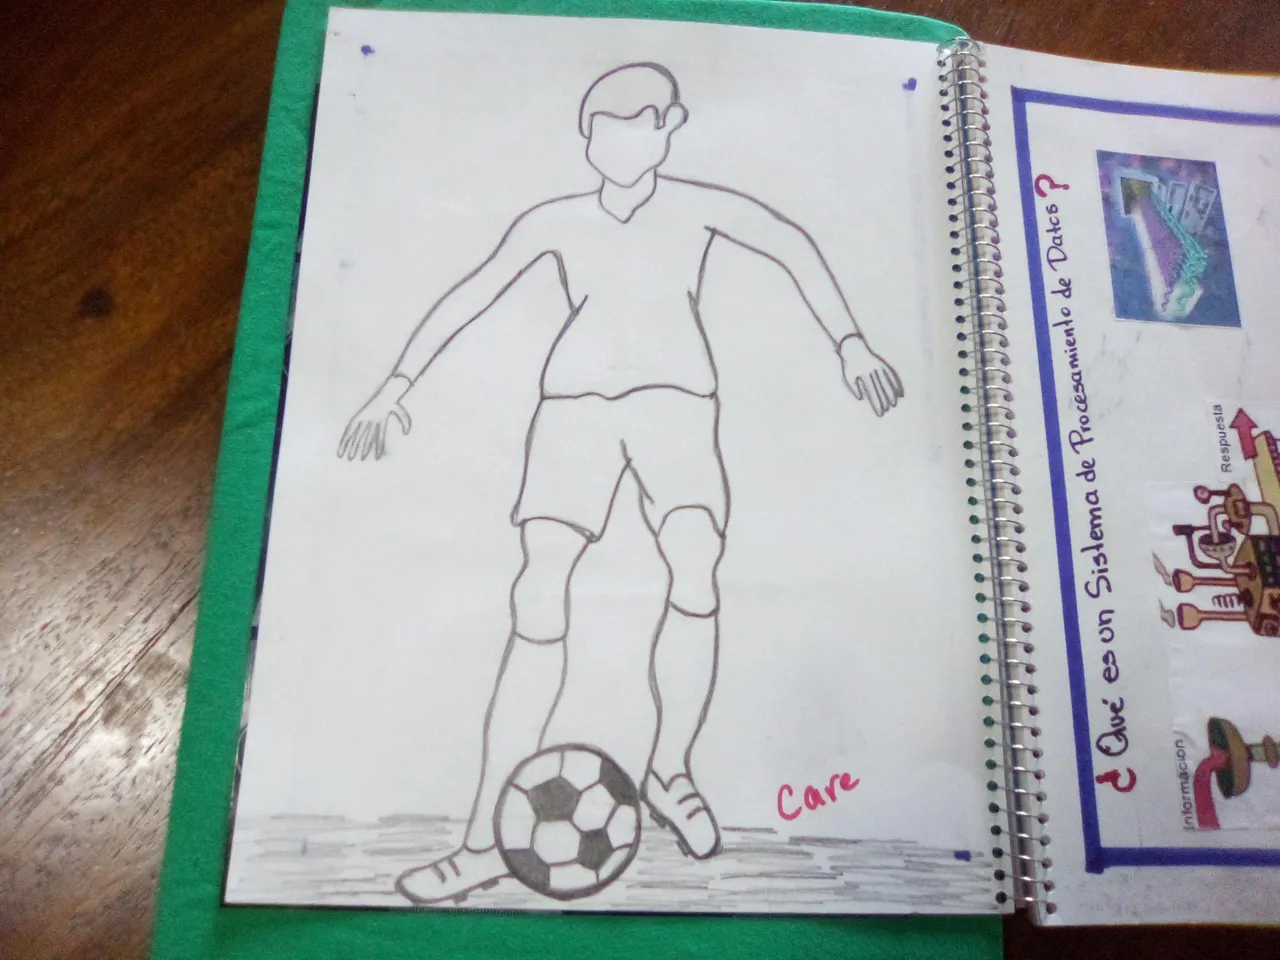
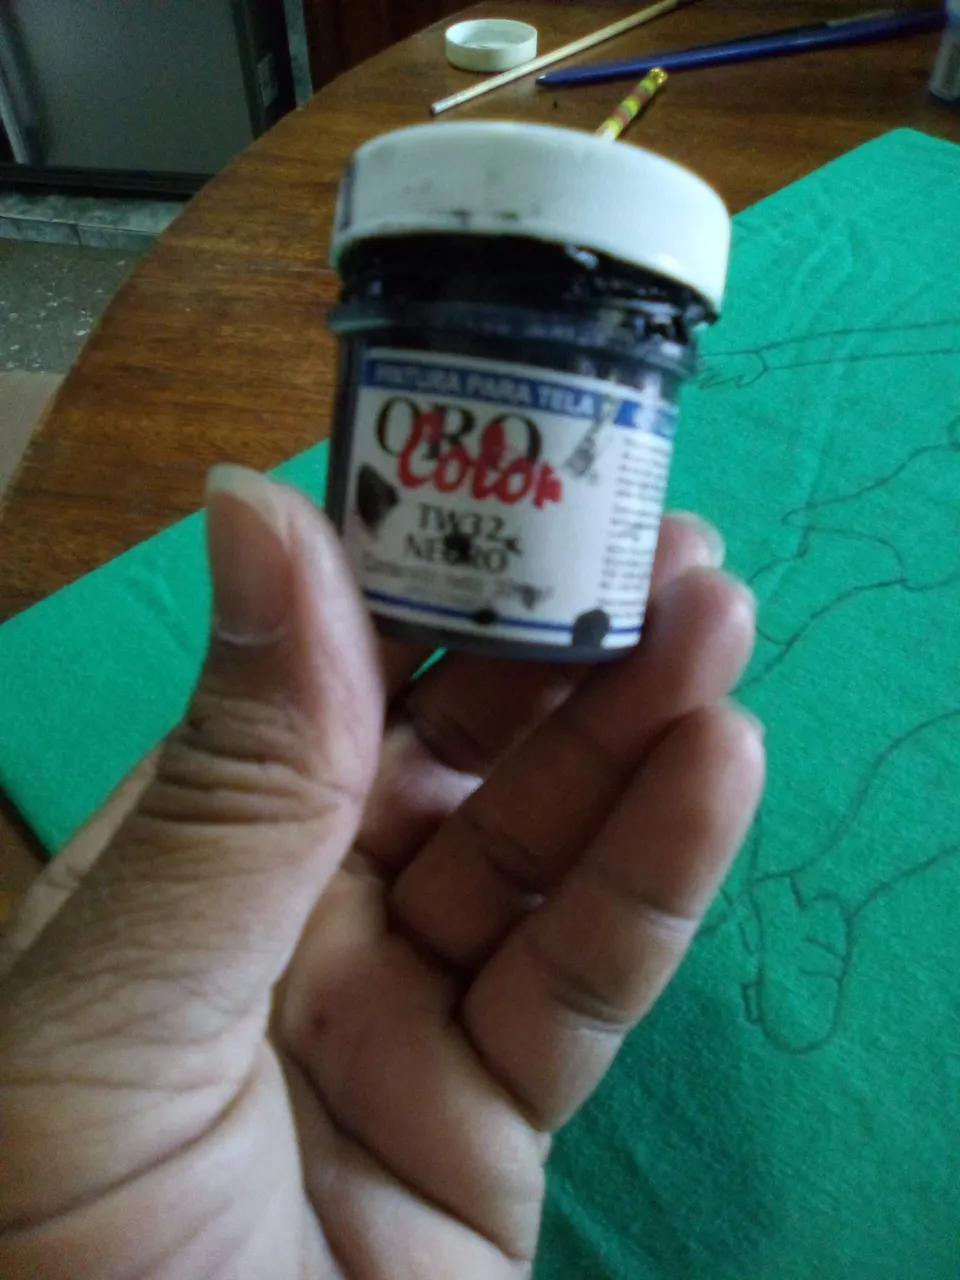
5️⃣ While you are highlighting the image, you are checking that if you are copying the image, then you remove the drawing; if it does not look right; on the fabric with a pencil "B " you mark it again. The painting process begins, the paint must say on the package that it is for fabric, as it must be resistant to washing.
⚽️🎨⚽️🎨⚽️🎨⚽️
.6️⃣ The image is outlined in detail and without haste, so that it does not drip or drip the drawing.
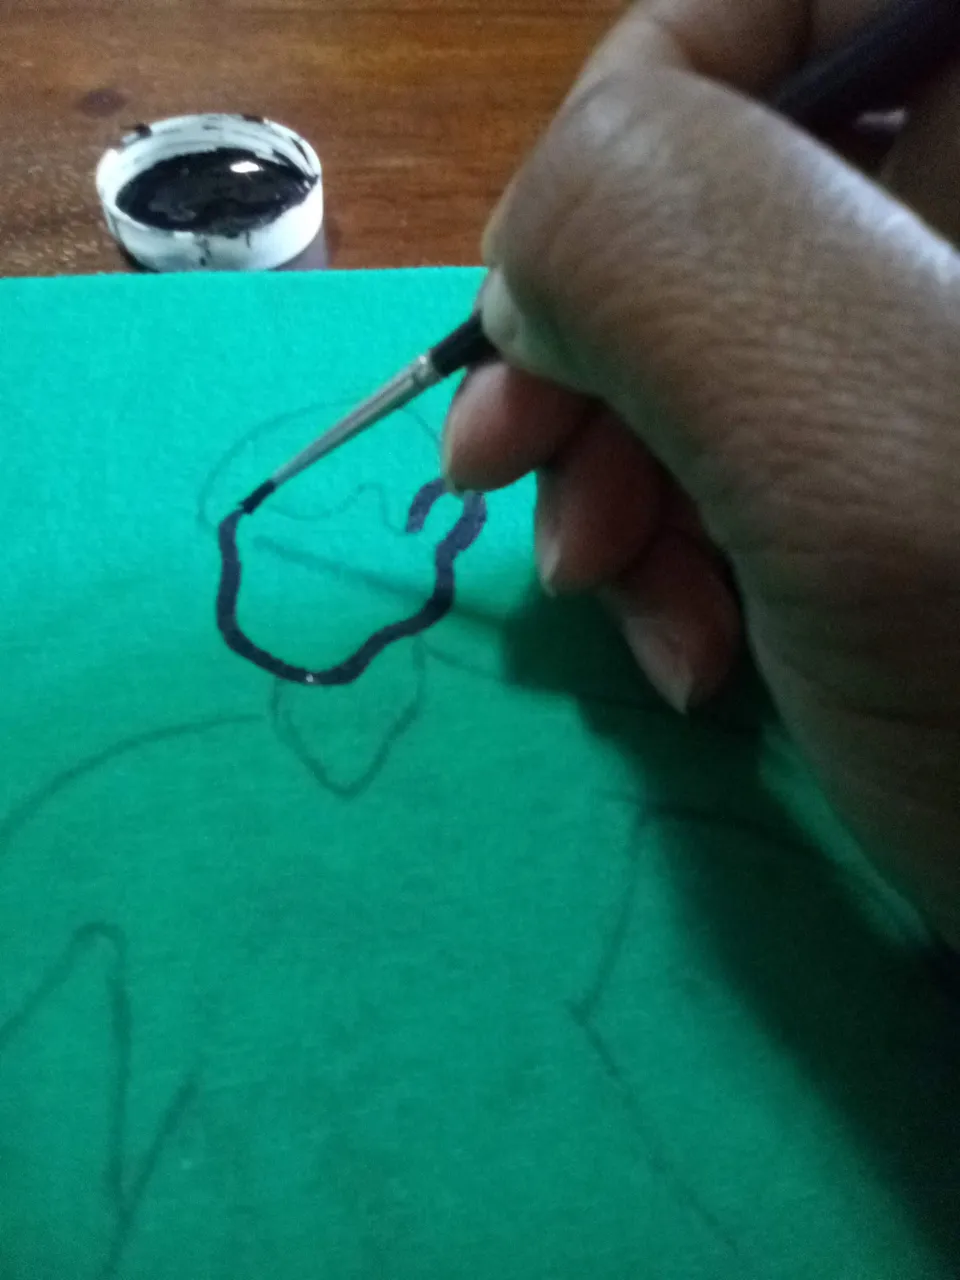
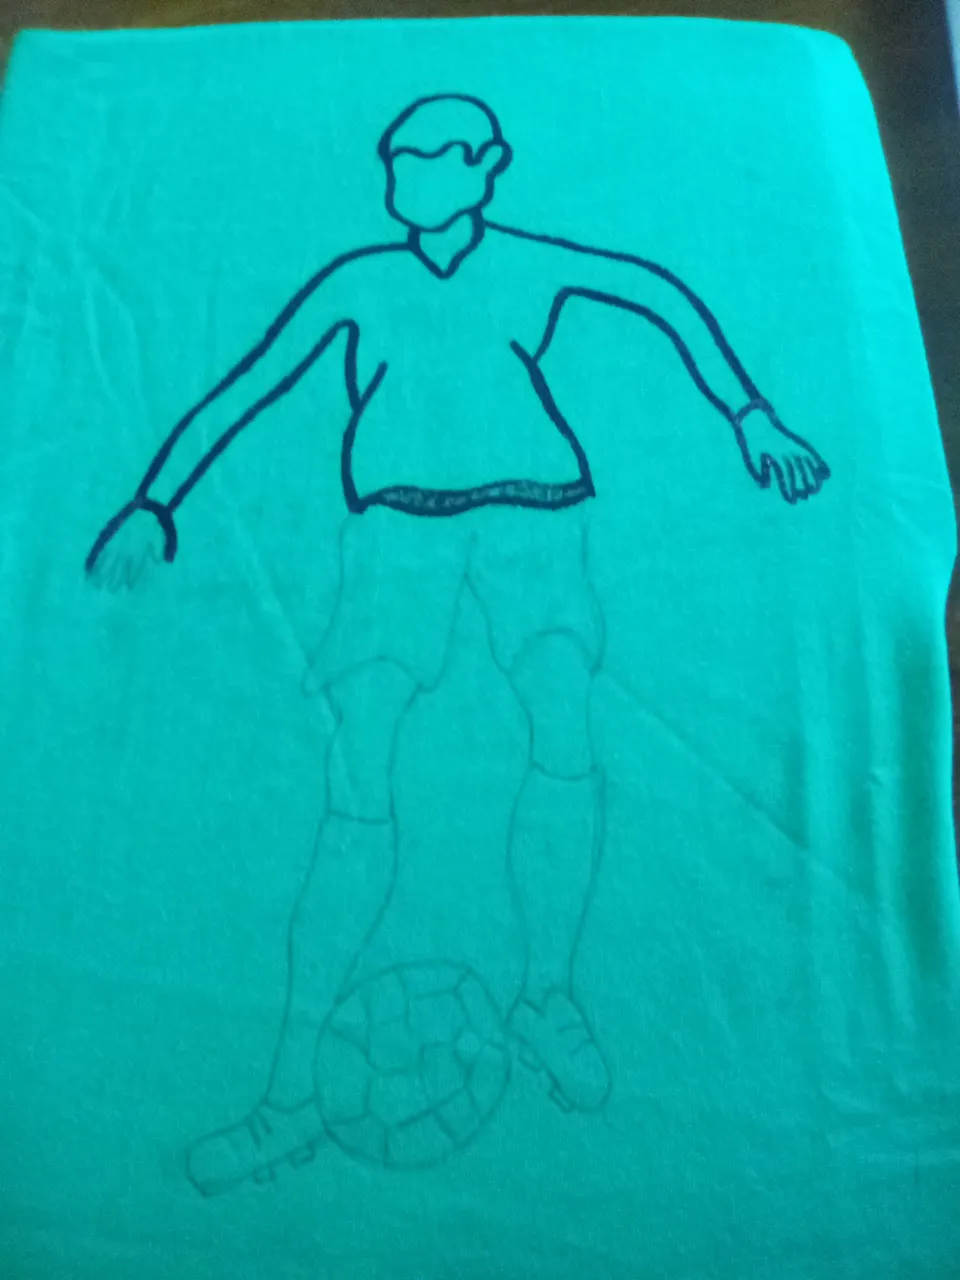
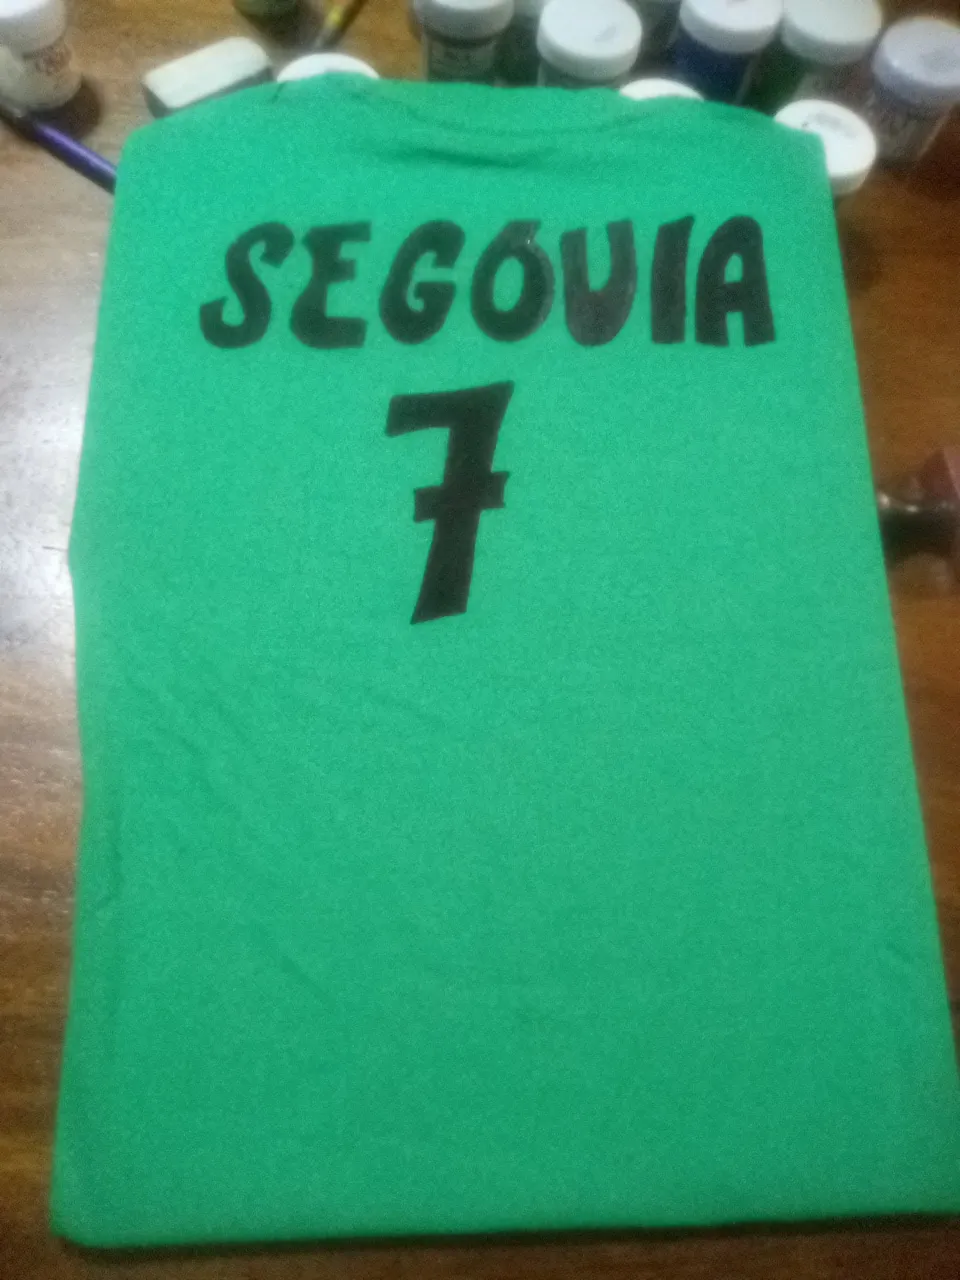
7️⃣ You paint everything black, wash and dry the brush well and proceed to paint the ball using white. As this flannel is green, you must wait for it to dry well and apply the white color several times. (5 times)😏😏😏😏
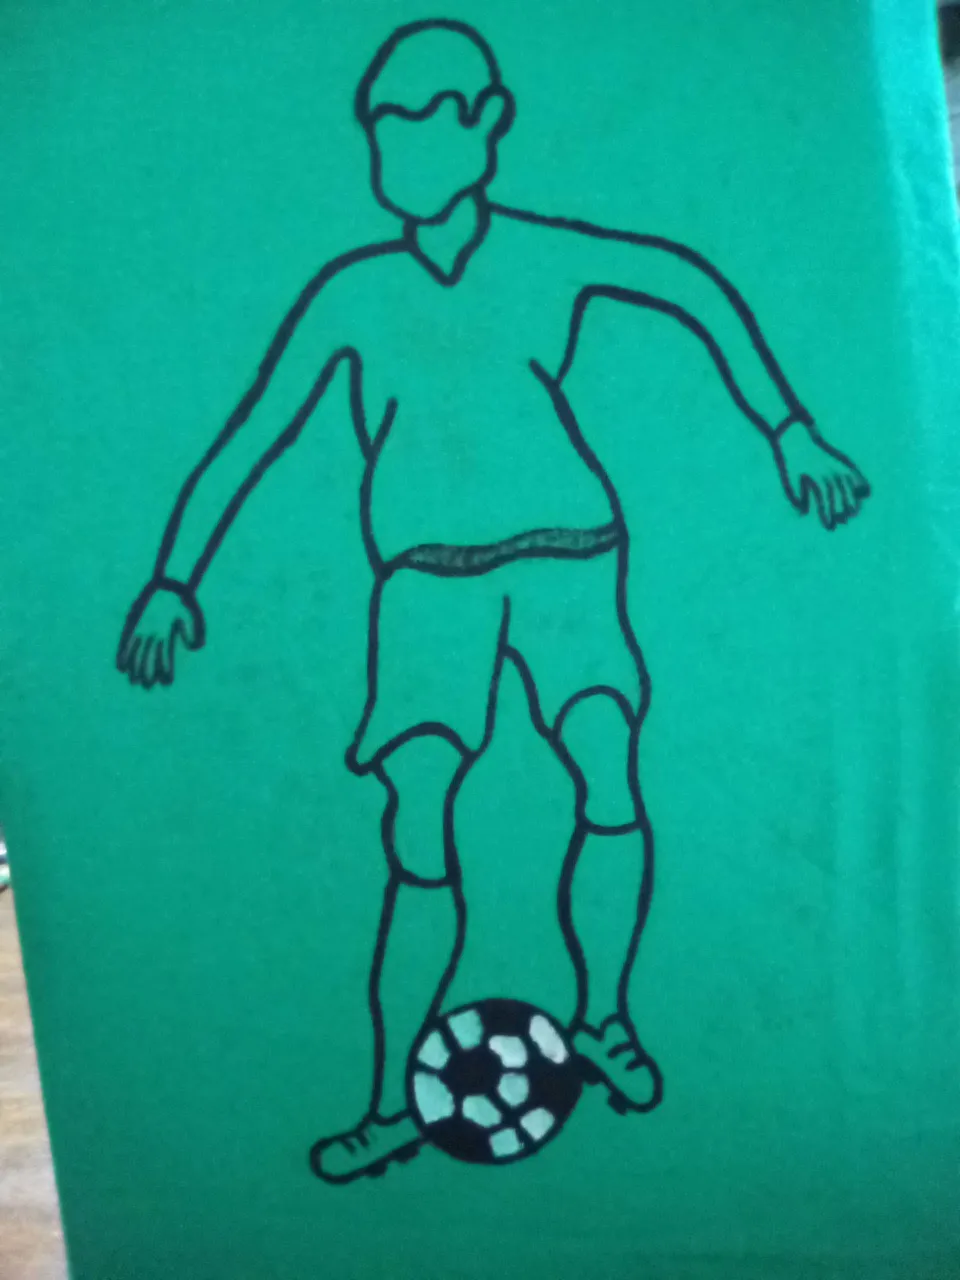
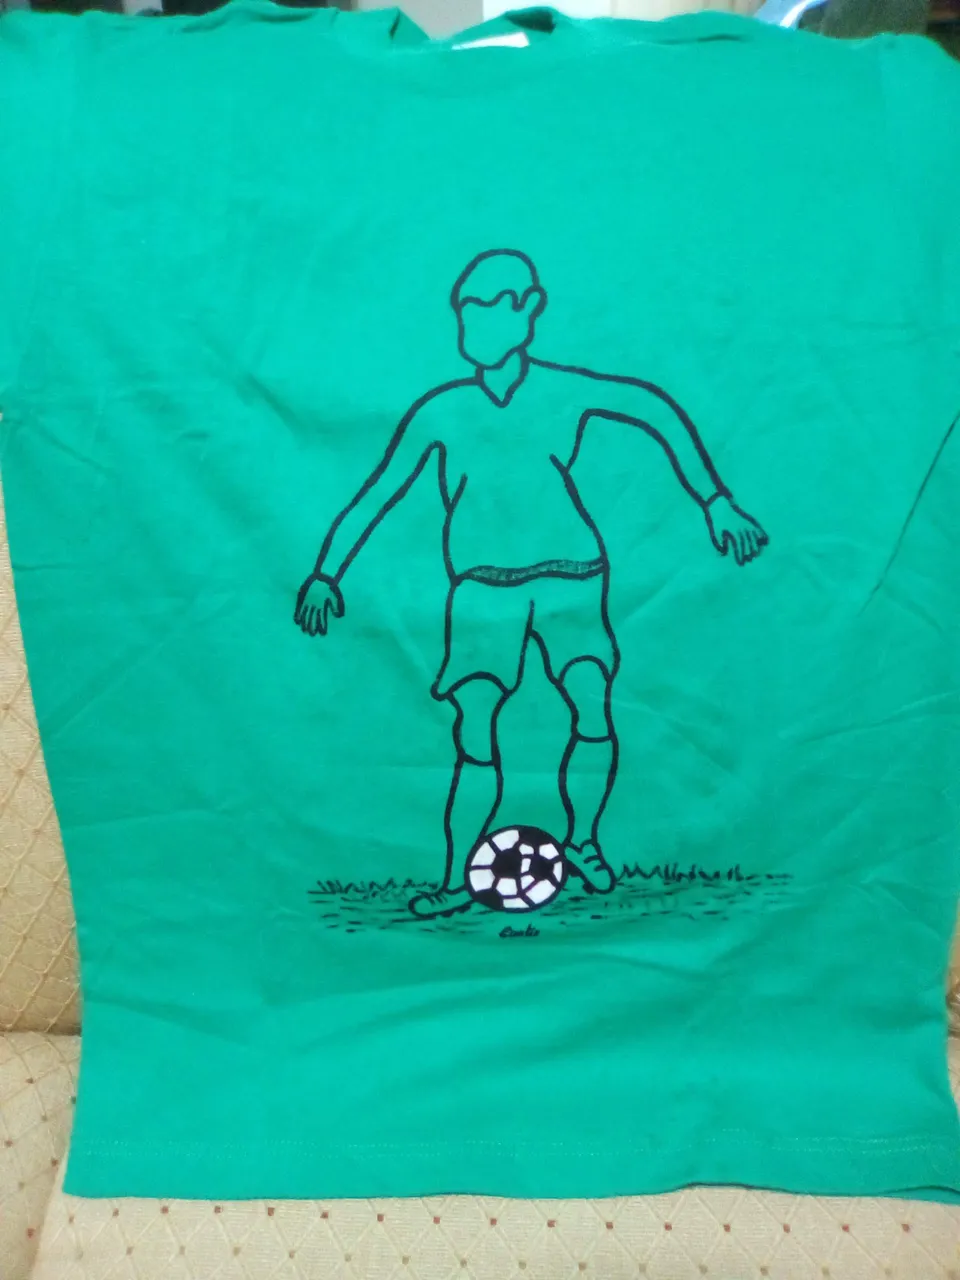
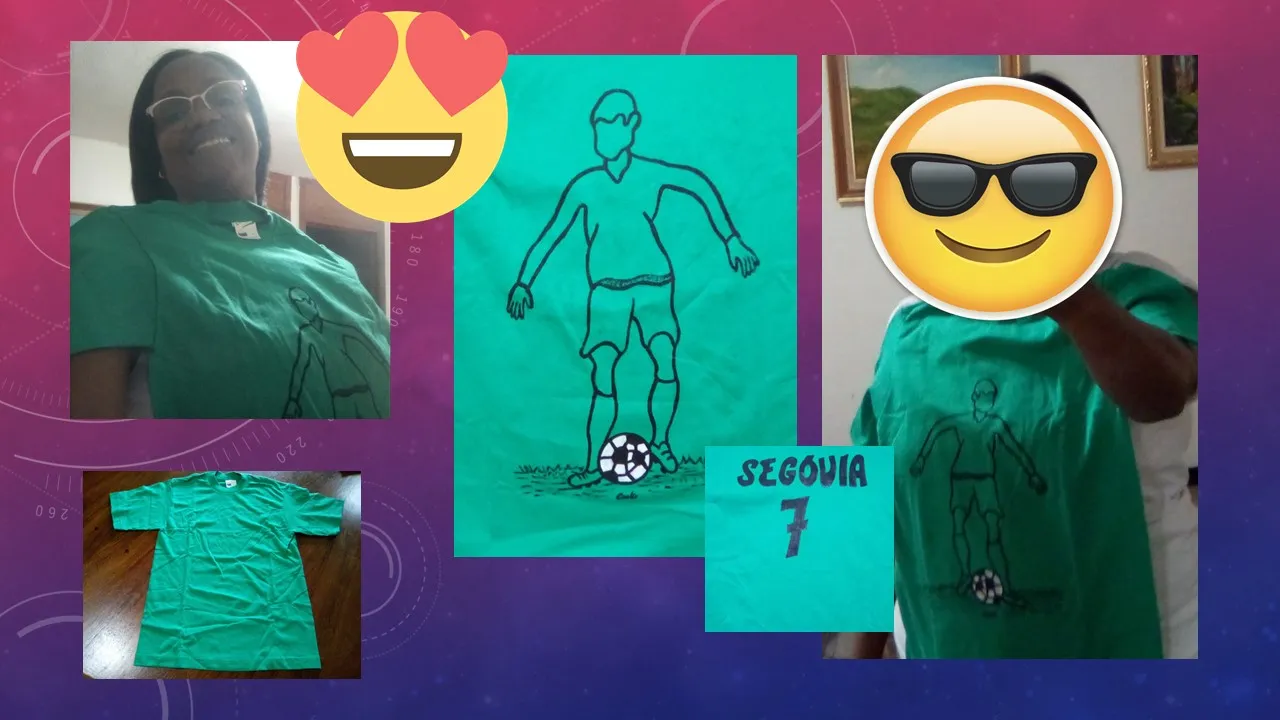
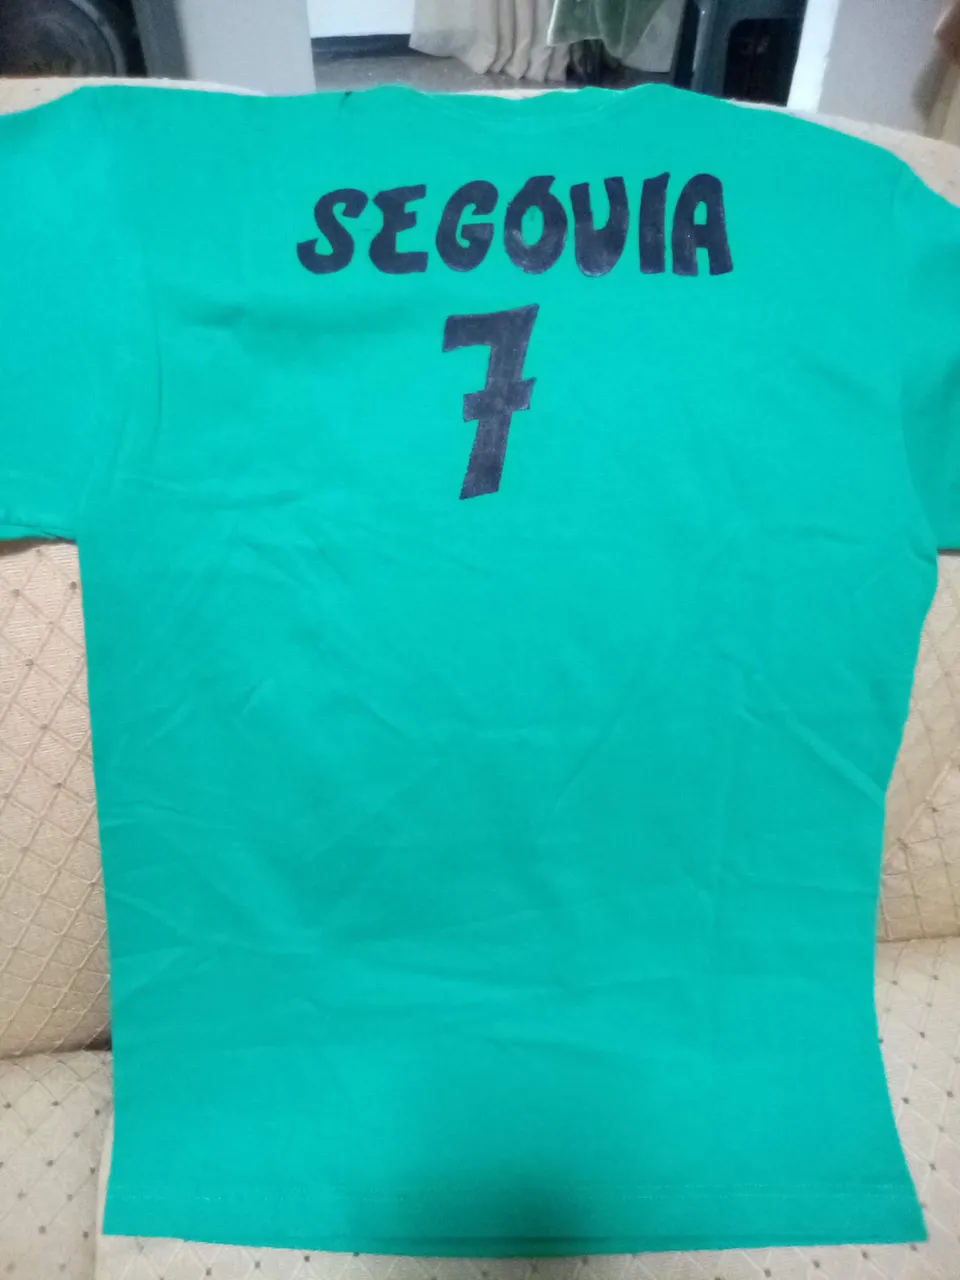
8️⃣ This flannel is for a boy who really likes soccer, I personalized it for him, I put his last name and the number of his favorite player. Then once the flannel was dry I flipped it over and did the same procedure; but, this time on the back side.
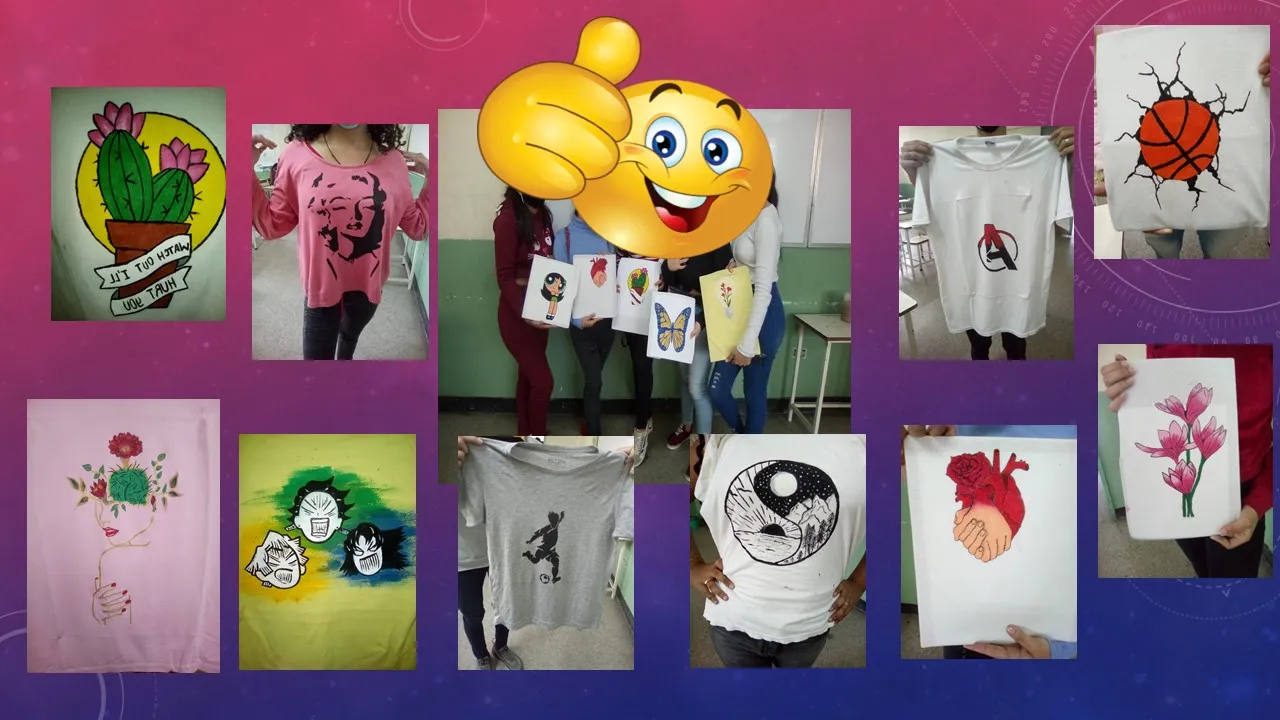
To finish I want to show you that, if you follow the instructions you can do it. This technique was the social work of the 5th year students. Here is a sample of the different designs they used. If the flannel is white everything is easier and faster. First you use all the colors and at the end after they dry, outline and highlight all the details with the black color.
The photos are mine, edited in power point.
Translator Deepl
💖HOLA HIVERS💖💖
Espero se encuentre bien, hoy les quiero compartir una fácil manera de cambiar el aspecto de las franelas de una forma sencilla y divertida. Para ello no necesitas saber pintar solo tienes que ponerles ganas y un poco de creatividad.
🎨Para ello se requieren los siguientes materiales:🖌
- Una franela
- Pinceles de diferentes grosores
- Pintura para telas
- Una Carpeta marrón o un cartón duro
- Una hoja blanca reciclada
- Un Dibujo
- Alfileres
- Una hoja de papel carbón
- Un lápiz
🎨Pasos para la Elaboración:🤓🤔
1️⃣ Agarramos la franela, la carpeta marrón, la hoja reciclada (para que absorba la pintura y seque rápido) y los alfileres. Seguidamente, se introduce por la parte de abajo de la franela una carpeta marrón, también puedes usar un cartón duro.
2️⃣ Con la mano de manera horizontal se mide a partir del cuello (esto es para que el dibujo quede en el centro); por donde se va a doblar la franela; y luego se sujeta con dos alfileres, se hace lo mismo en la parte de abajo.
3️⃣ Finalmente, se agarran las mangas y se juntan con un alfiler; se hace lo mismo con los laterales y se sujetan en la parte de abajo; tal como lo muestra la imagen. Es como cubrir la carpeta con la franela. Este proceso debe hacerse bien ajustado, la finalidad es que la franela no se mueva cuando se vaya a pintar.
4️⃣ Una vez concluido el proceso de montar la franela (así lo defino) se procede a marcar el dibujo; para eso vamos a utilizar el papel carbón, el mismo se coloca sobre la franela, encima de éste se pone el dibujo y con un lápiz se remarca.
5️⃣ Mientras se va remarcando la imagen, se va revisando que si se está copiando la imagen, luego se retira el dibujo; sino se ve bien; sobre la tela con un lápiz "B" se vuelve a marcar. Comienza el proceso de pintar, la pintura debe decir en el envase que es para tela, ya que debe ser resistente al lavado.
⚽️🎨⚽️🎨⚽️
6️⃣ Se delinea la imagen detalladamente y sin prisa, para que no gotee ni chorree el dibujo.
7️⃣ Se pinta todo lo que va en negro, se lava y se seca bien el pincel y se procede a pintar el balón usando el color blanco. Como esta franela es verde, se debe esperar que seque bien y aplicar varias veces el color blanco. (5 veces)😏😏😏
8️⃣ Esta franela es para un niño que le gusta mucho el fútbol, yo se la personalicé, le puse su apellido y el número de su jugador favorito. Entonces una vez seca la franela la volteé e hice el mismo procedimiento; pero, esta vez por la parte de atrás.
Para finalizar les quiero mostrar que, si siguen las instrucciones lo pueden hacer. Esta técnica fue la labor social de los estudiantes de 5to año. Aquí les dejo una muestra de los diferentes diseños que ellos usaron. Si la franela es blanca todo es más fácil y rápido. Primero se usan todos los colores y al final después que sequen, se delinea y se resaltan todos los detalles con el color negro.
Las fotos son mías, editadas en power point
Traductor Deepl