Entre los materiales que utilicé esta el cartón y el plástico, pero la diferencia del cartón es, que es biodegradable y el plástico no, por esta razón el plástico son desechos dañinos al ambiente causando contaminación al suelo, por lo tanto podemos crear juguetes, adornos para la casa, entre otros; así nos sentiremos orgullosos de cuidar nuestra querida tierra. Comencemos con el paso a paso.
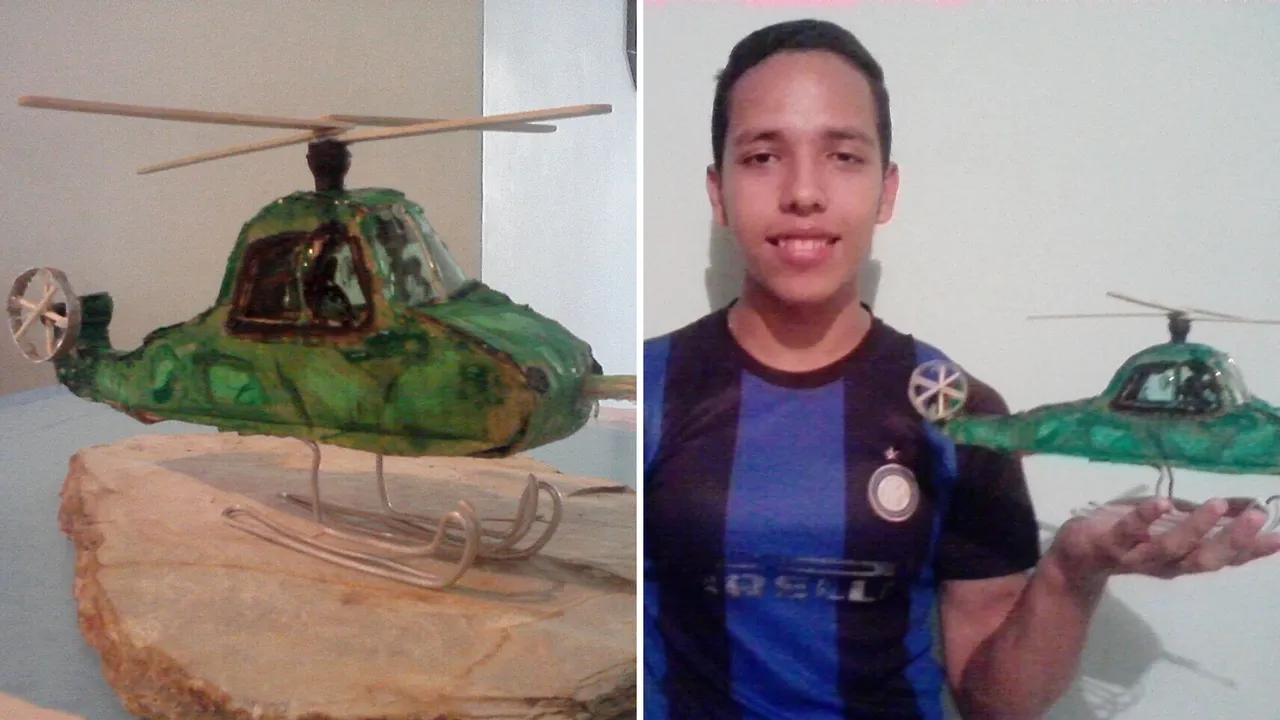
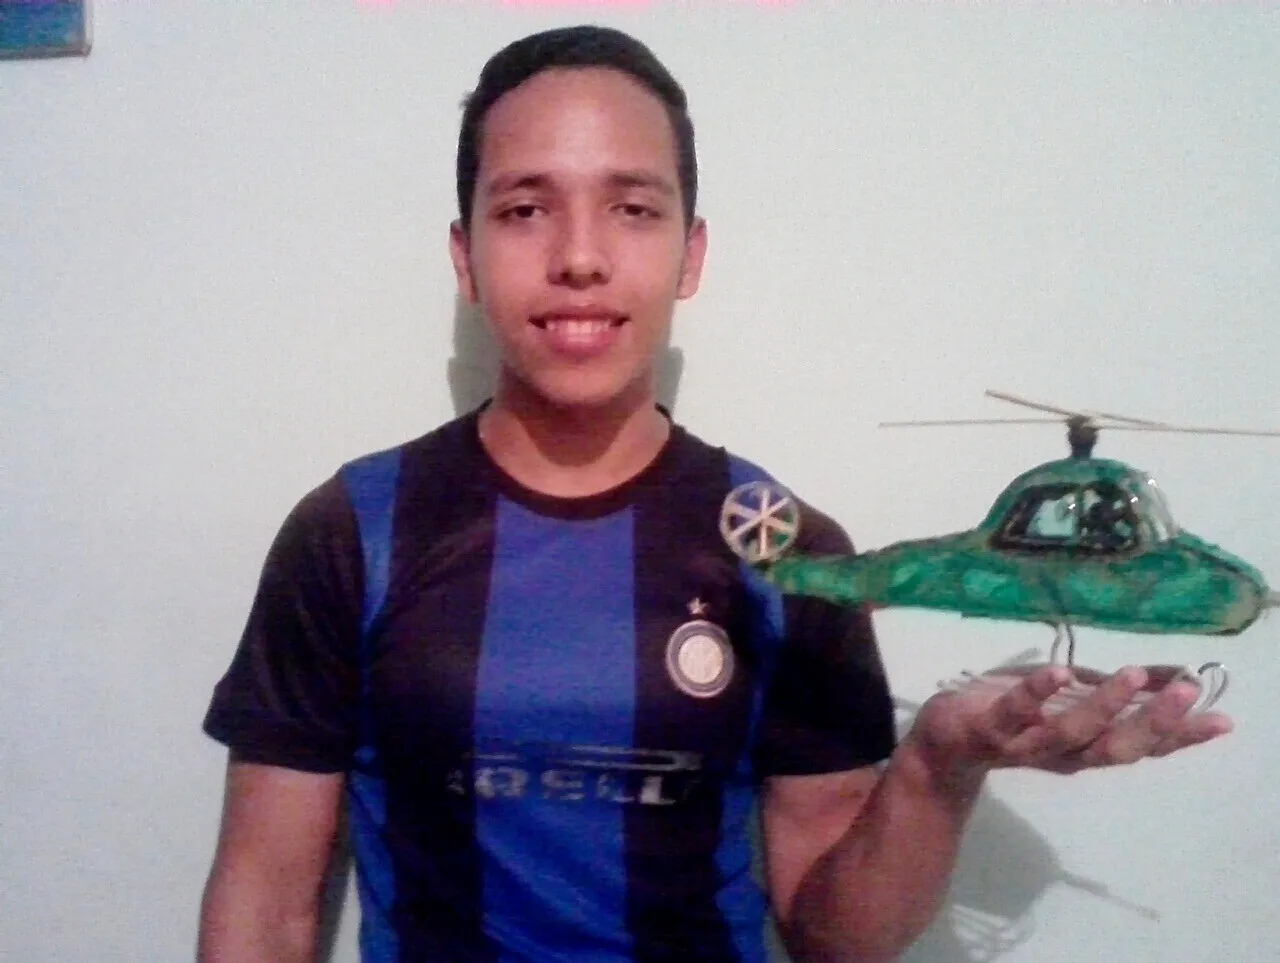
Hello friends of this lovely community, today again with you, it fills me with joy to share new creativities, made with recyclable material, joining to participate in the recycling contest (#14) sponsored by the friend @jennyzer, where she invites us to raise awareness about recycling. I made a beautiful helicopter ideal for children to play, it can also be used to decorate, the important thing is that you take advantage of those materials that you think are useless and you throw them away without realizing that you are harming the environment.
Among the materials that I used is cardboard and plastic, but the difference of cardboard is that it is biodegradable and plastic is not, for this reason the plastic is harmful waste to the environment causing soil pollution, so we can create toys, ornaments for the house, among others; so we will feel proud to take care of our beloved earth. Let's start with the step by step.
Español
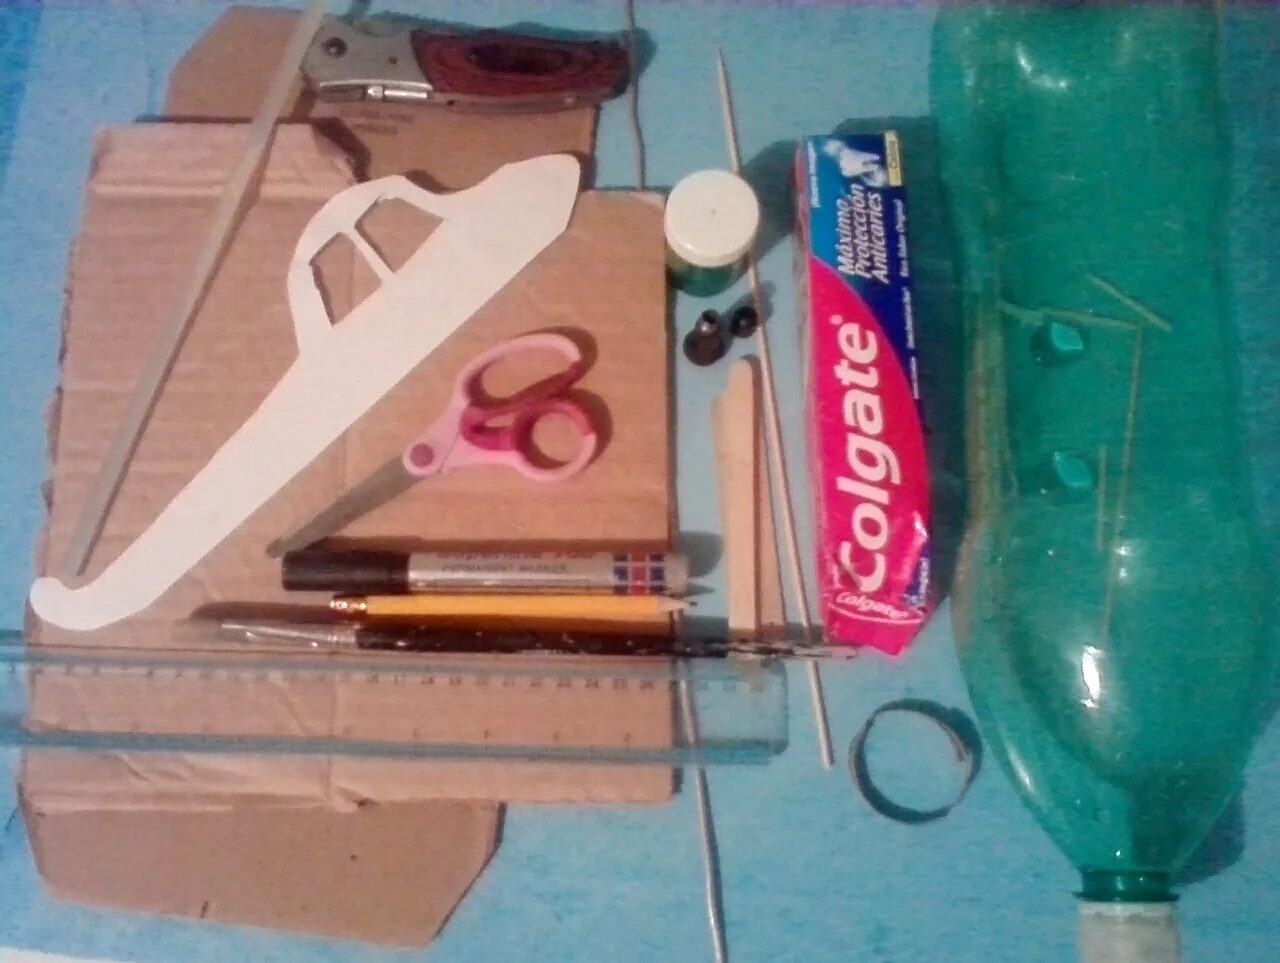
Materiales:
- Cartón de caja.
- (1) botella de plástico.
- (1) caja de crema dental.
- Lápiz.
- Tijera.
- Marcador.
- Regla.
- Silicón.
- Pincel.
- (1) palillo de altura.
- (4) paletas de helados.
- Pintura verde.
- (1) tira pequeña de aluminio.
- (1) varilla de aluminio.
- (1) navaja.
- (1) tapa de plástico alargada.
English
Materials:
- Carton box.
- (1) plastic bottle.
- (1) box of toothpaste.
- Pencil.
- scissors.
- marker.
- Ruler.
- Silicone.
- Paintbrush.
- (1) height stick.
- (4) Popsicle sticks.
- Green paint.
- (1) small aluminum strip.
- (1) aluminum rod.
- (1) pocket knife.
- (1) elongated plastic lid.

Español
Paso 1:
- Con un patrón de un helicóptero, previamente ya dibujado y recortado, lo marcamos en el cartón para sacar dos moldes, recortando también (2) tiras del mismo cartón, luego pegamos en ambos lados de la caja de crema dental, los dos moldes del helicóptero. Una de las tiras de cartón la pegamos en la parte delantera.
English
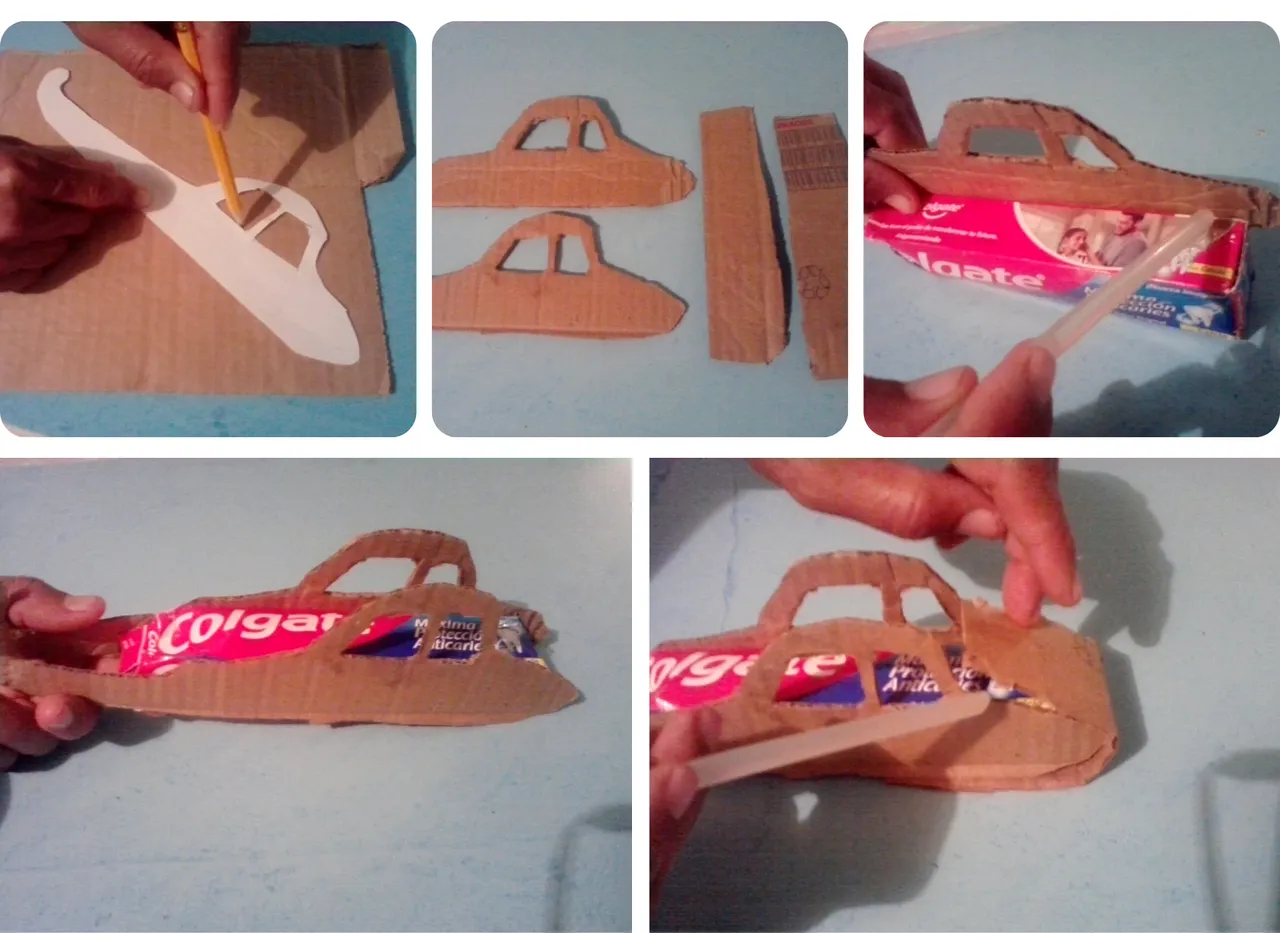
Step 1:
- With a pattern of a helicopter, previously drawn and cut out, we mark it on the cardboard to get two molds, also cutting out (2) strips of the same cardboard, then we glue on both sides of the toothpaste box, the two molds of the helicopter. One of the cardboard strips is glued to the front.
Español
Paso 2:
- Ahora con la navaja recortamos la botella de plástico, para comenzar a marcar y recortar los vidrios del helicóptero, y pegarlos en la parte frontal y los laterales de las ventanillas.
English
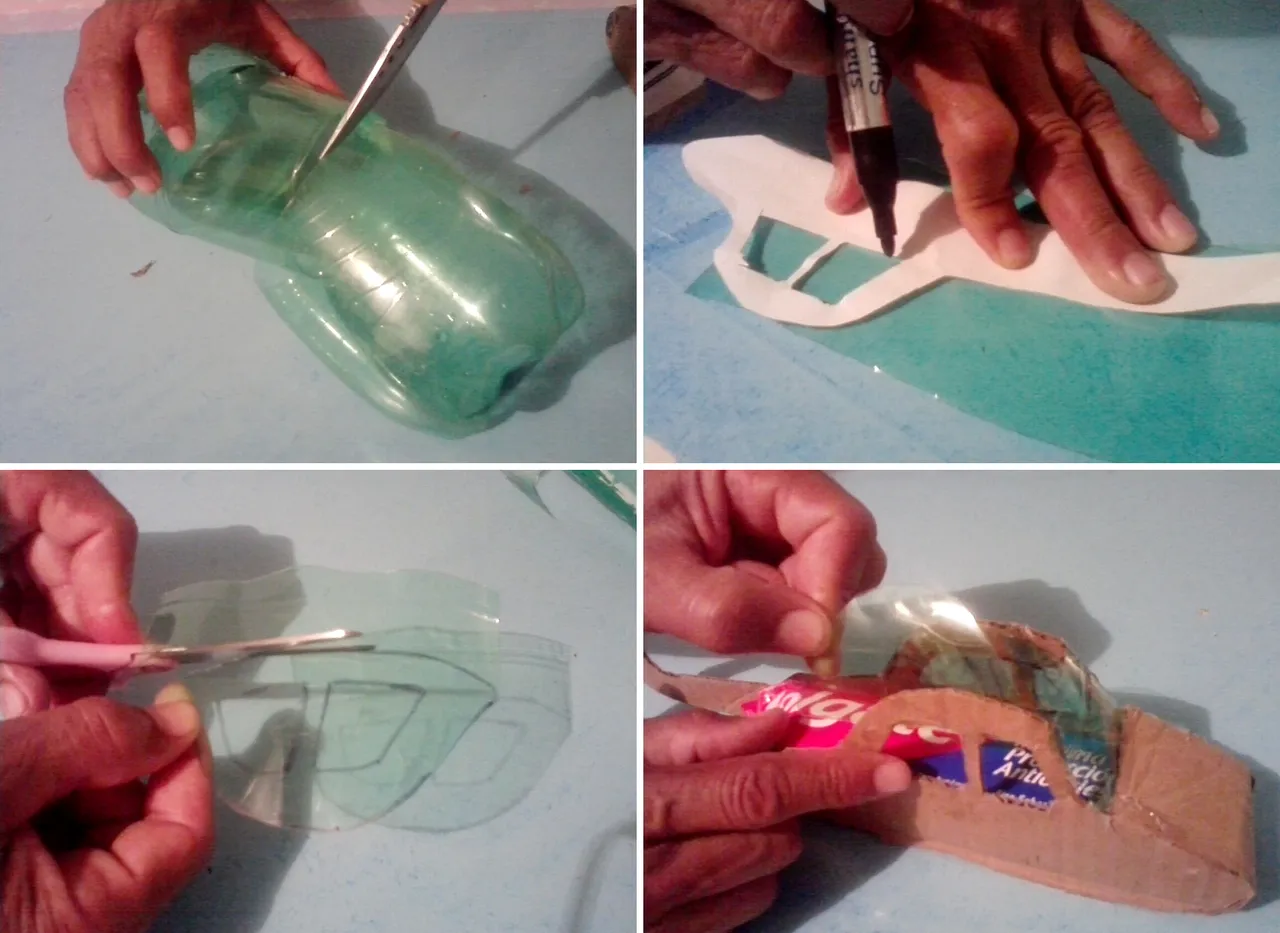
Step 2:
- Now with the knife we cut the plastic bottle, to start marking and cutting the helicopter glasses, and glue them on the front and sides of the windows.
Español
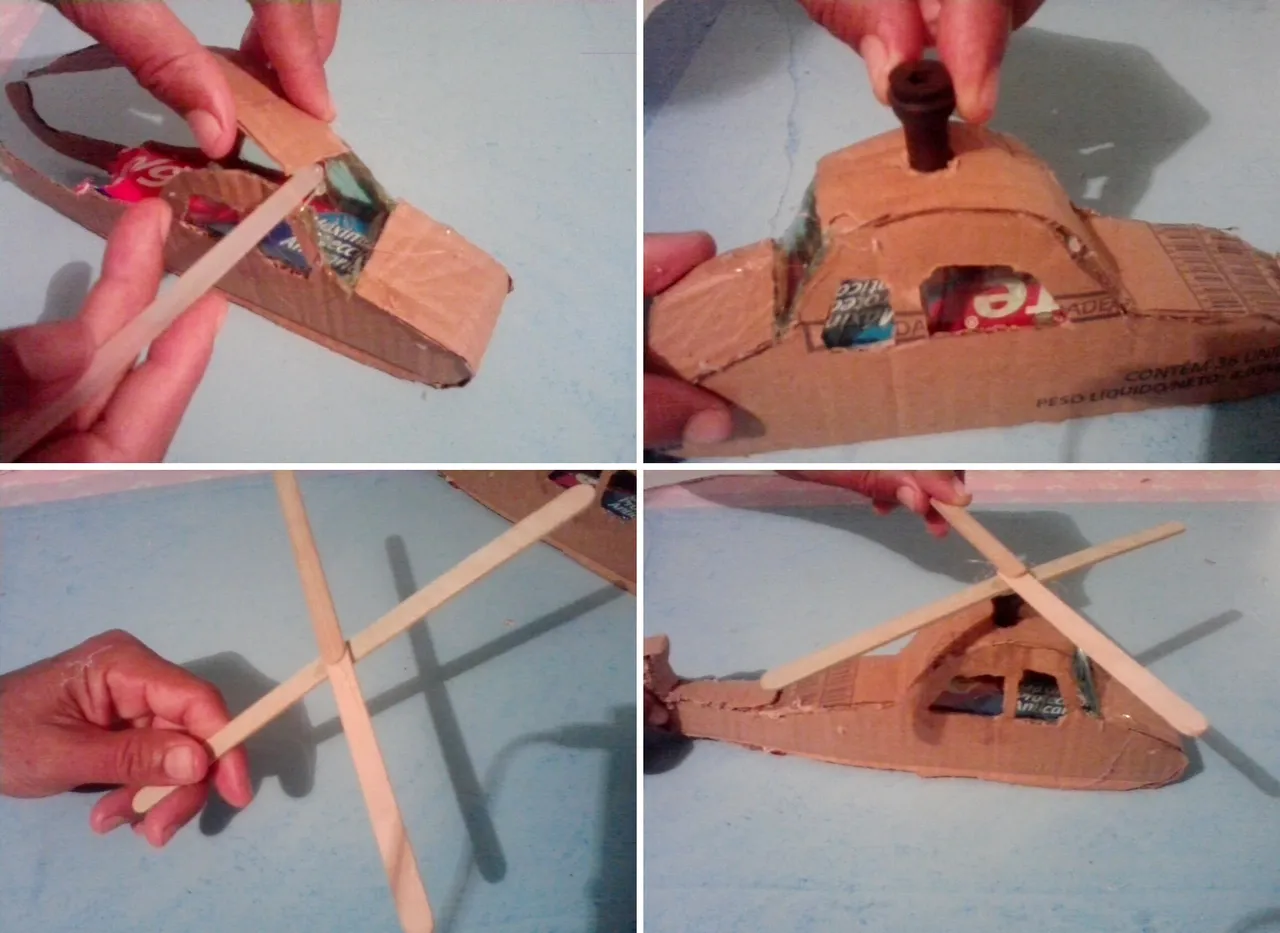
Paso 3:
- Seguidamente, procedemos a pegar la parte de arriba con la otra tira de cartón, colocando la tapa de plástico encima, luego armamos en forma de x con las paletas de madera la hélice, para pegarla en la tapa.
English
Step 3:
- Next, we proceed to glue the top part with the other strip of cardboard, placing the plastic lid on top, then we assemble the propeller in the shape of an x with the wooden paddles, to glue it on the lid.
Español
Paso 4:
- Con el palillo de altura, lo recortamos en pedazos pequeños, para así pegarlos a la lamina de aluminio en forma de círculo, para luego ser pegado en la cola del helicóptero, después con el palillo de altura armamos el cañón de ataque uniendo (4) pedacitos , uno más largo que los demás. Ahora con la varilla de aluminio doblamos realizando el patín de aterrizaje, luego terminamos coloreando con la pintura verde nuestro helicóptero.
English
Step 4:
- With the height stick, we cut it into small pieces, in order to glue them to the aluminum sheet in the form of a circle, then to be glued on the tail of the helicopter, then with the height stick we assemble the attack cannon joining (4) little pieces , one longer than the others. Now with the aluminum rod we bend making the landing skid, then we finish coloring with the green paint our helicopter.
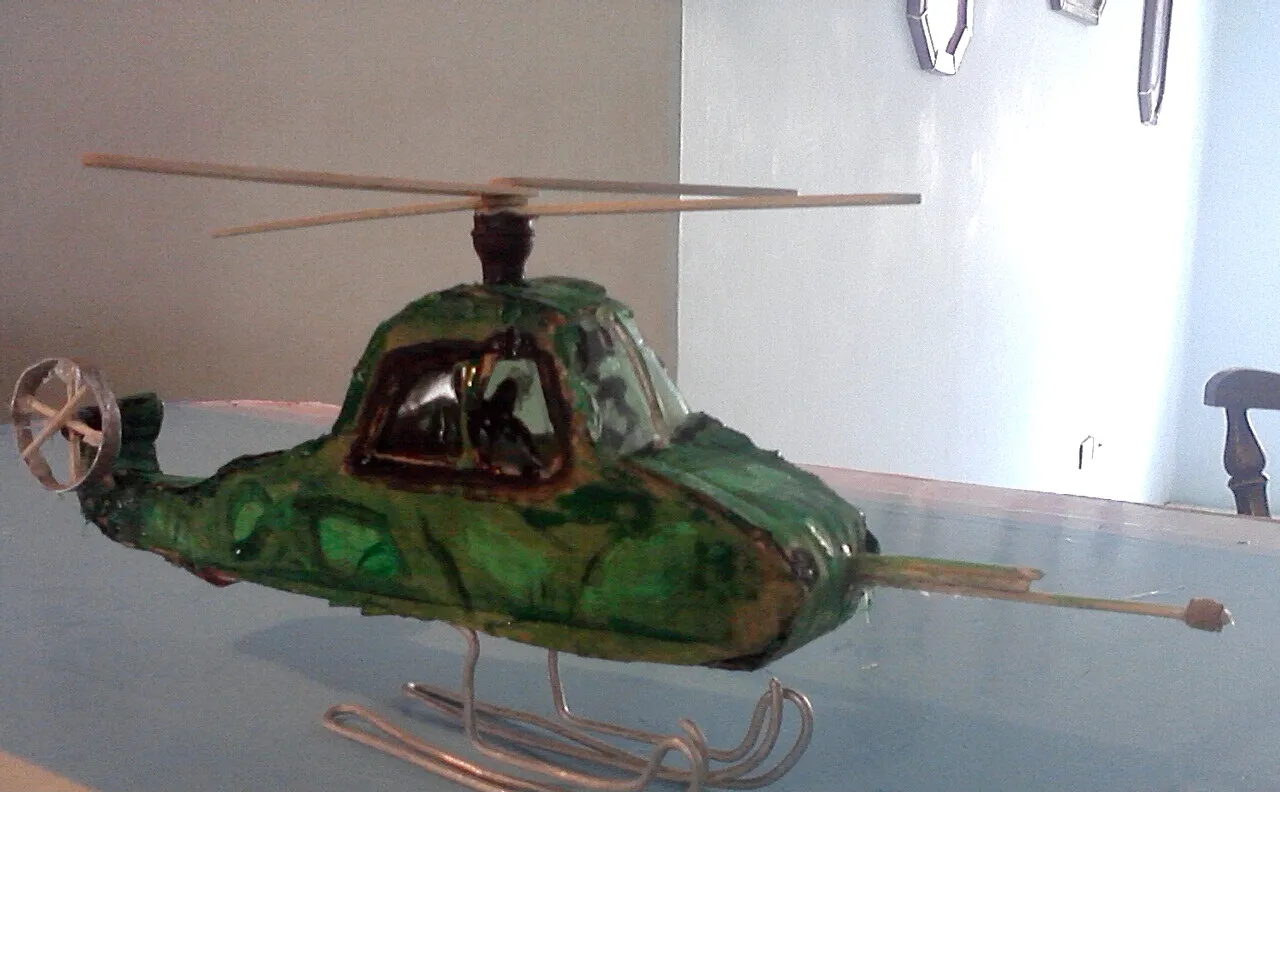
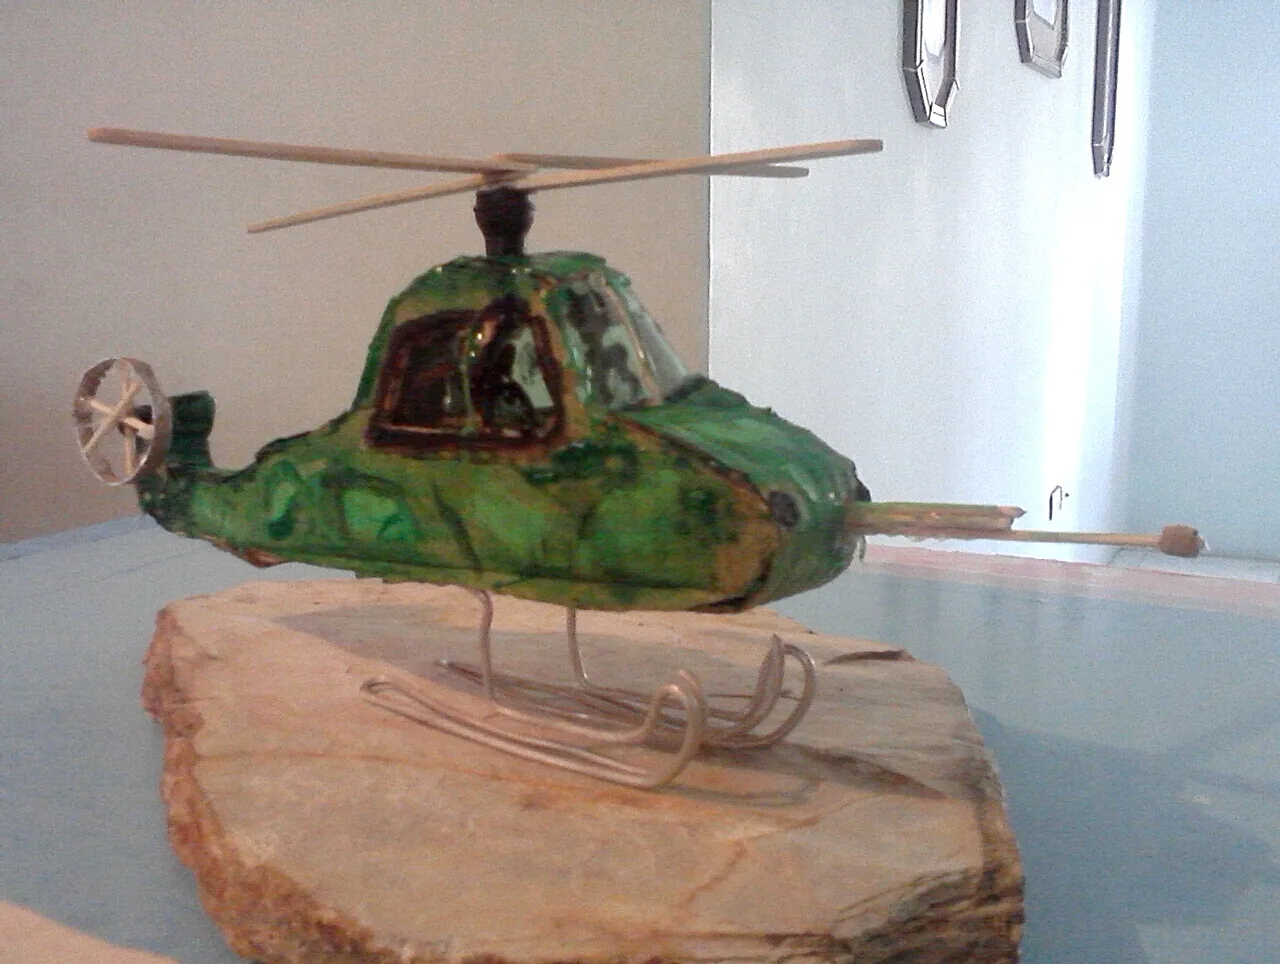
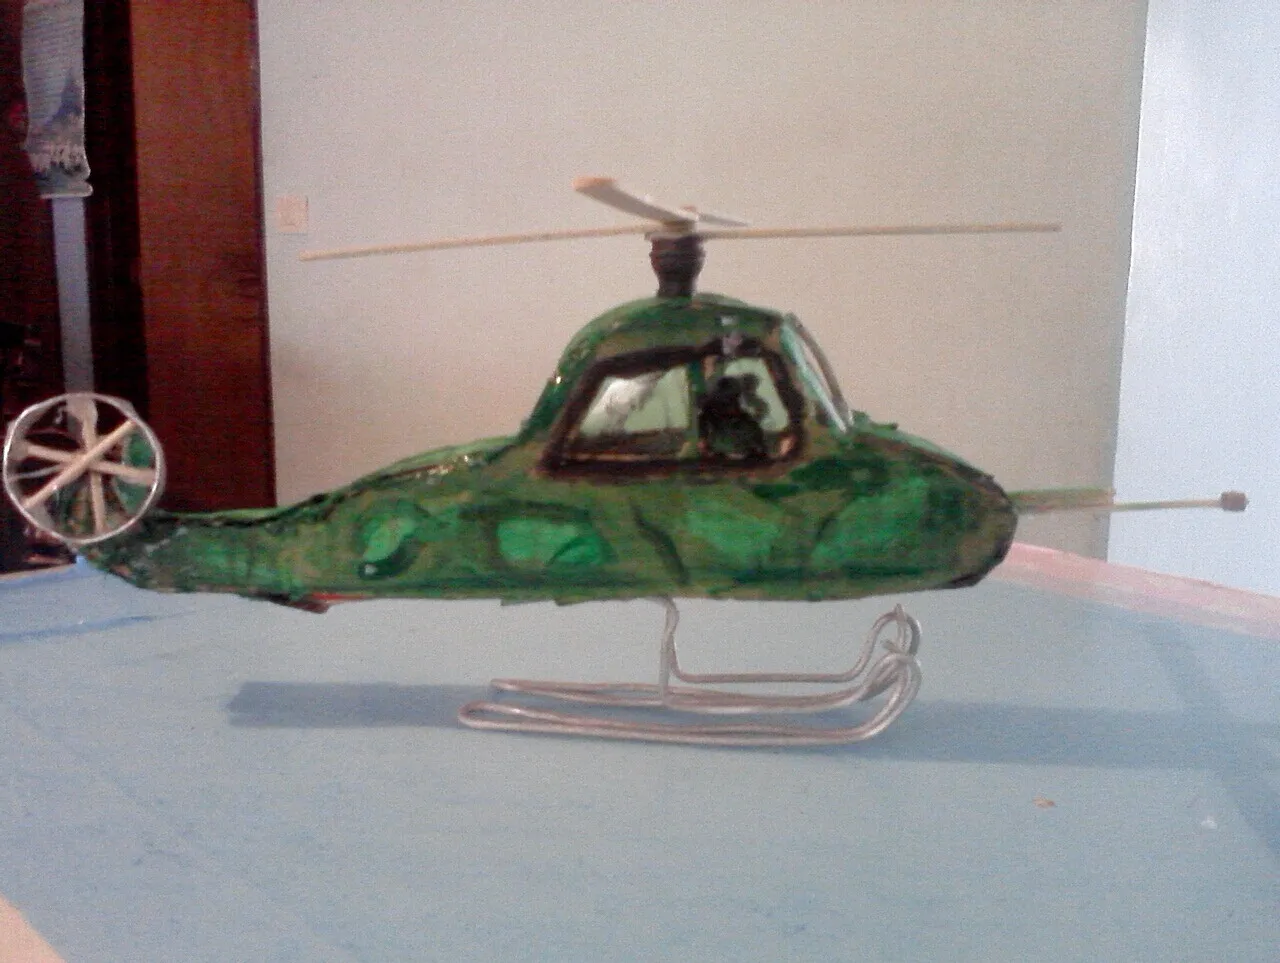
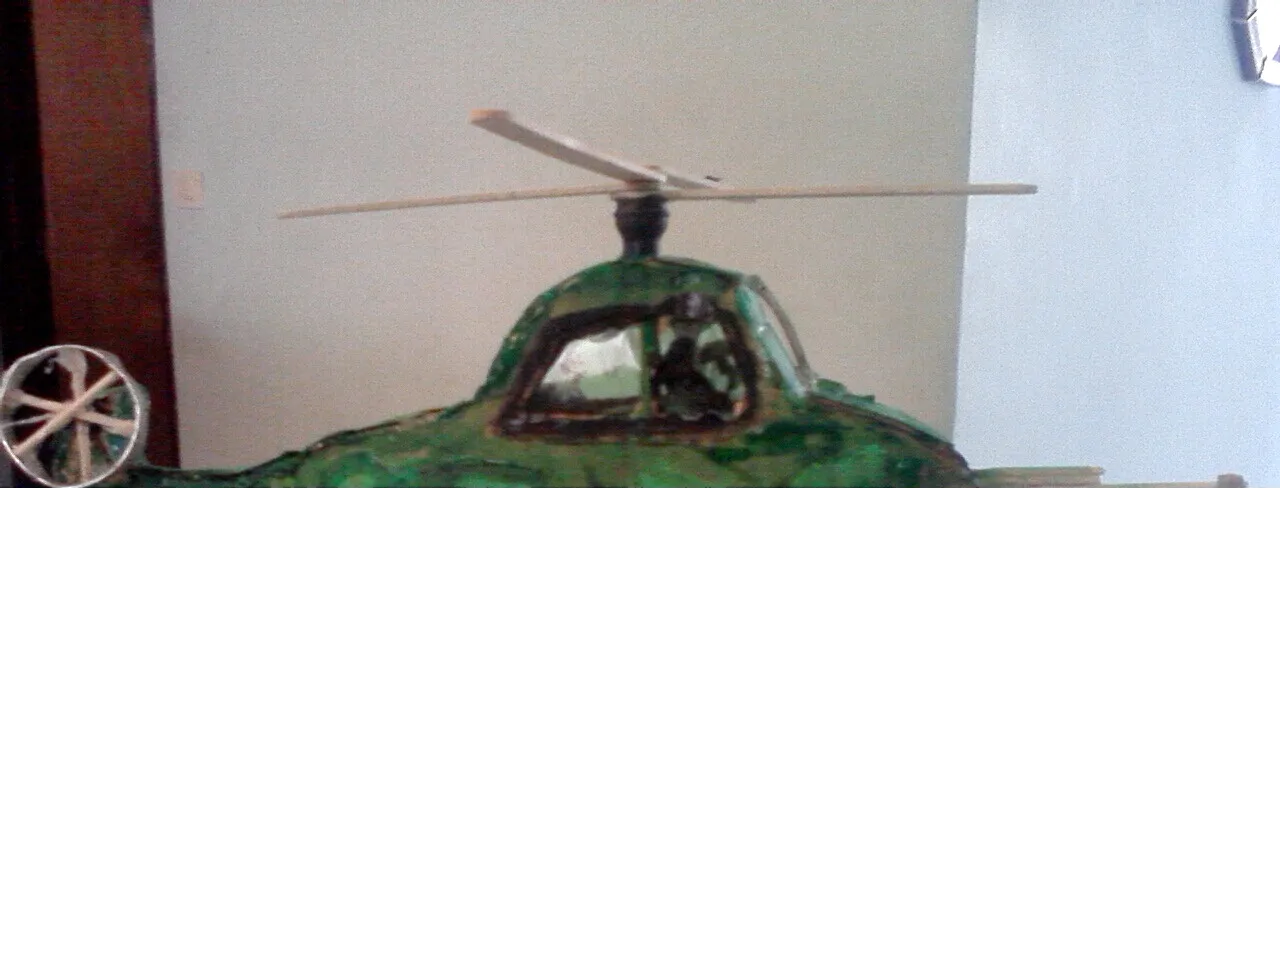
Así quedo mi bello helicóptero, espero les haya gustado.
This is how my beautiful helicopter turned out, I hope you liked it.
Invito a participar a @yannet80 al concurso.
Invito a participar a @yannet80 al concurso.
Todas las fotos son de mi autoria y editadas con canva.
All photos are my own and edited with canva.