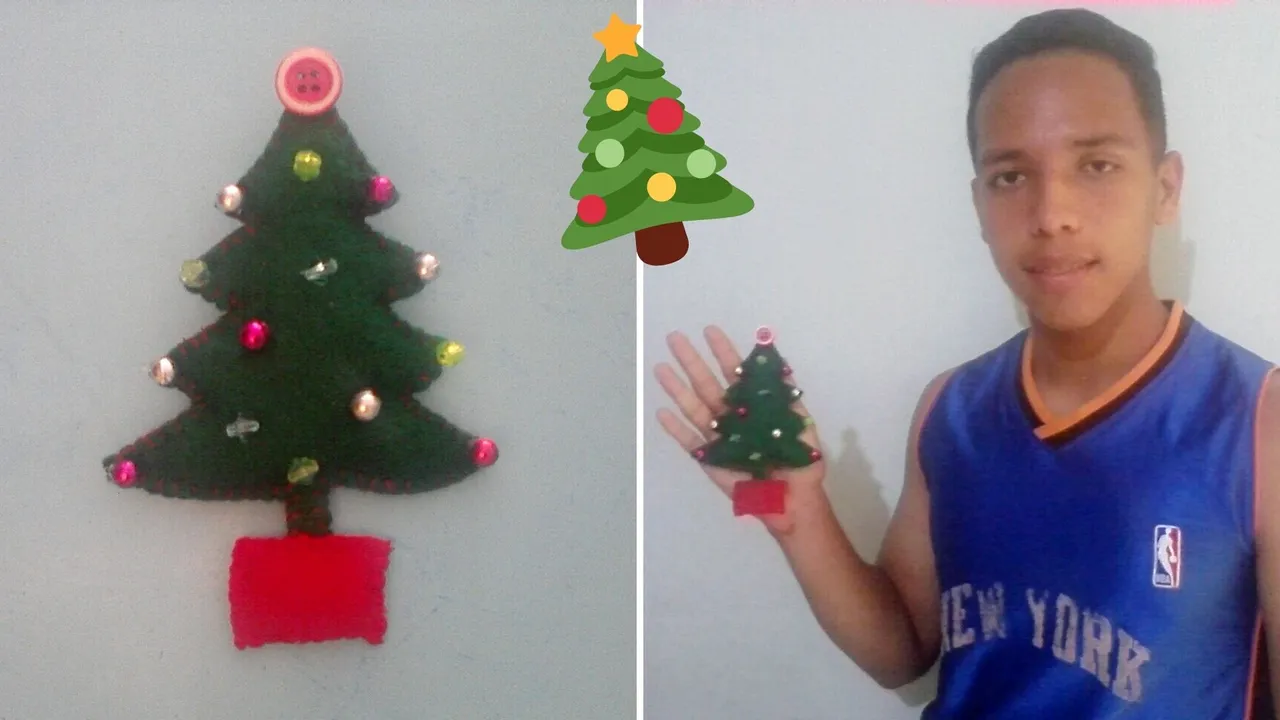
Hello my beautiful Hive Diy family, I am pleased to participate today in the contest "Felt World ", moderated by @equipodelta. I decided to make a little Christmas tree to decorate my fridge at home during the Christmas season.

Español
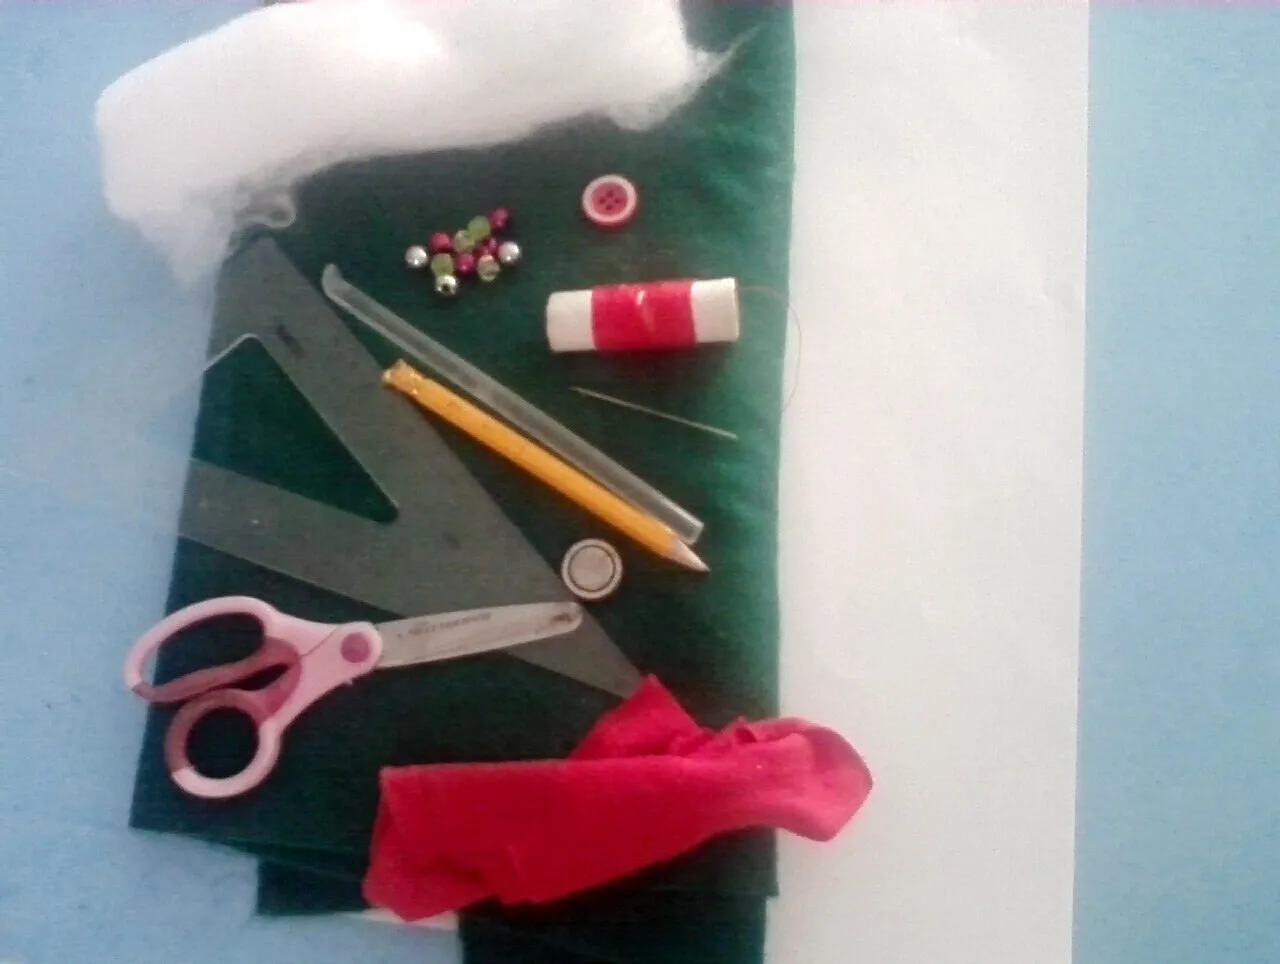
Materiales:
- Fieltro verde.
- Guata.
- Tela roja.
- Hilo de coser rojo.
- Piedritas decorativas.
- Un botón de costura.
- Silicon en barra.
- Aguja de coser.
- (1) hoja blanca.
- Lápiz.
- Imán.
- Tijera.
English
Materials:
- Green felt.
- Wadding.
- Red fabric.
- Red sewing thread.
- Decorative stones.
- Sewing button.
- Silicon stick.
- Sewing needle.
- (1) white sheet.
- Pencil.
- Magnet.
- Scissors.
Español
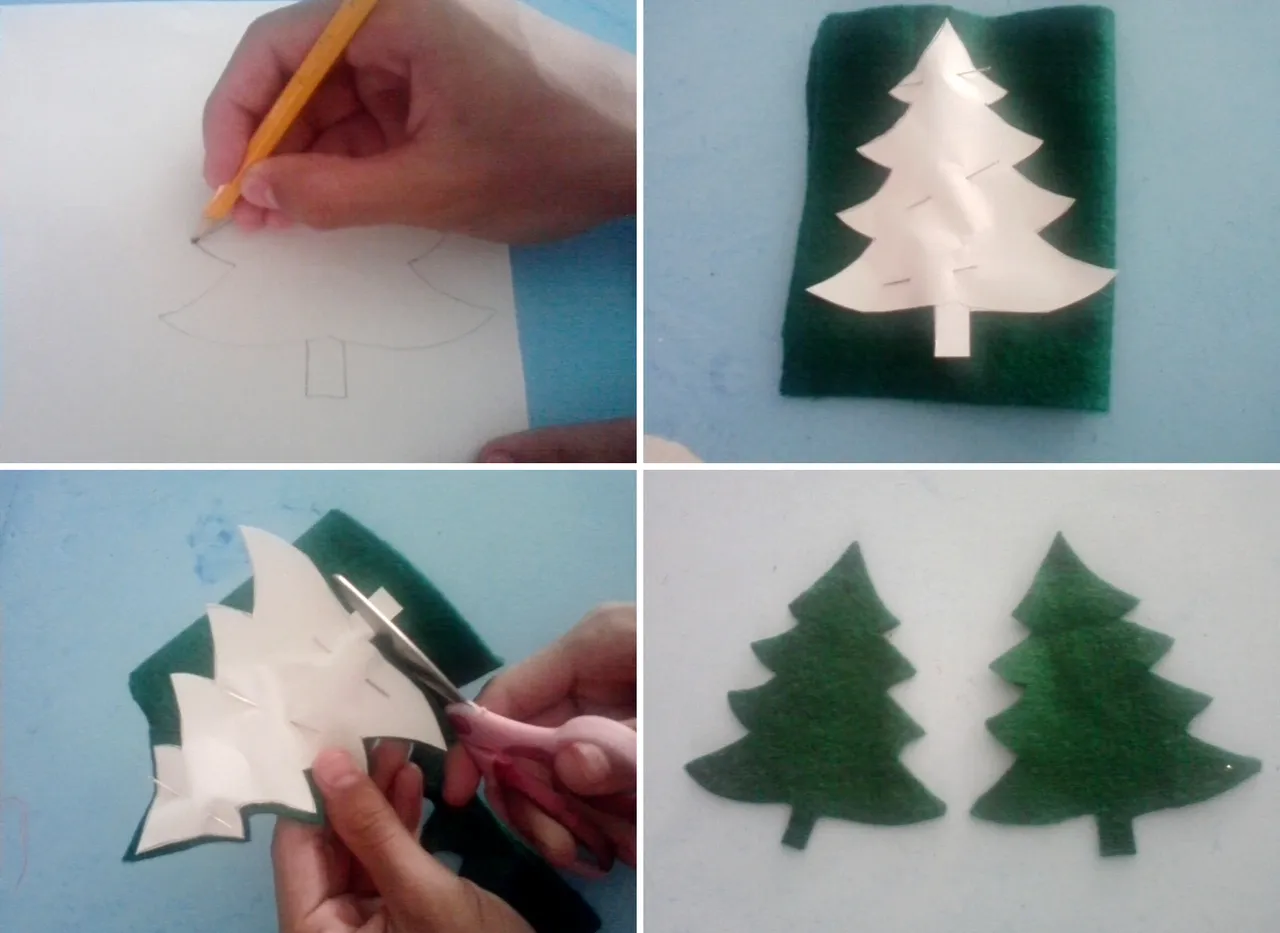
Paso 1 :
- Comenzamos dibujando el arbolito en la hoja blanca, lo recortamos para sacar el patrón, luego lo colocamos en el fieltro y fijamos con unas agujas, recortamos y sacamos 2 arbolitos de fieltro.
English
Step 1 :
- We start by drawing the little tree on the white sheet, we cut it out to get the pattern, then we place it on the felt and fix it with some needles, we cut it out and get 2 little felt trees.
Español
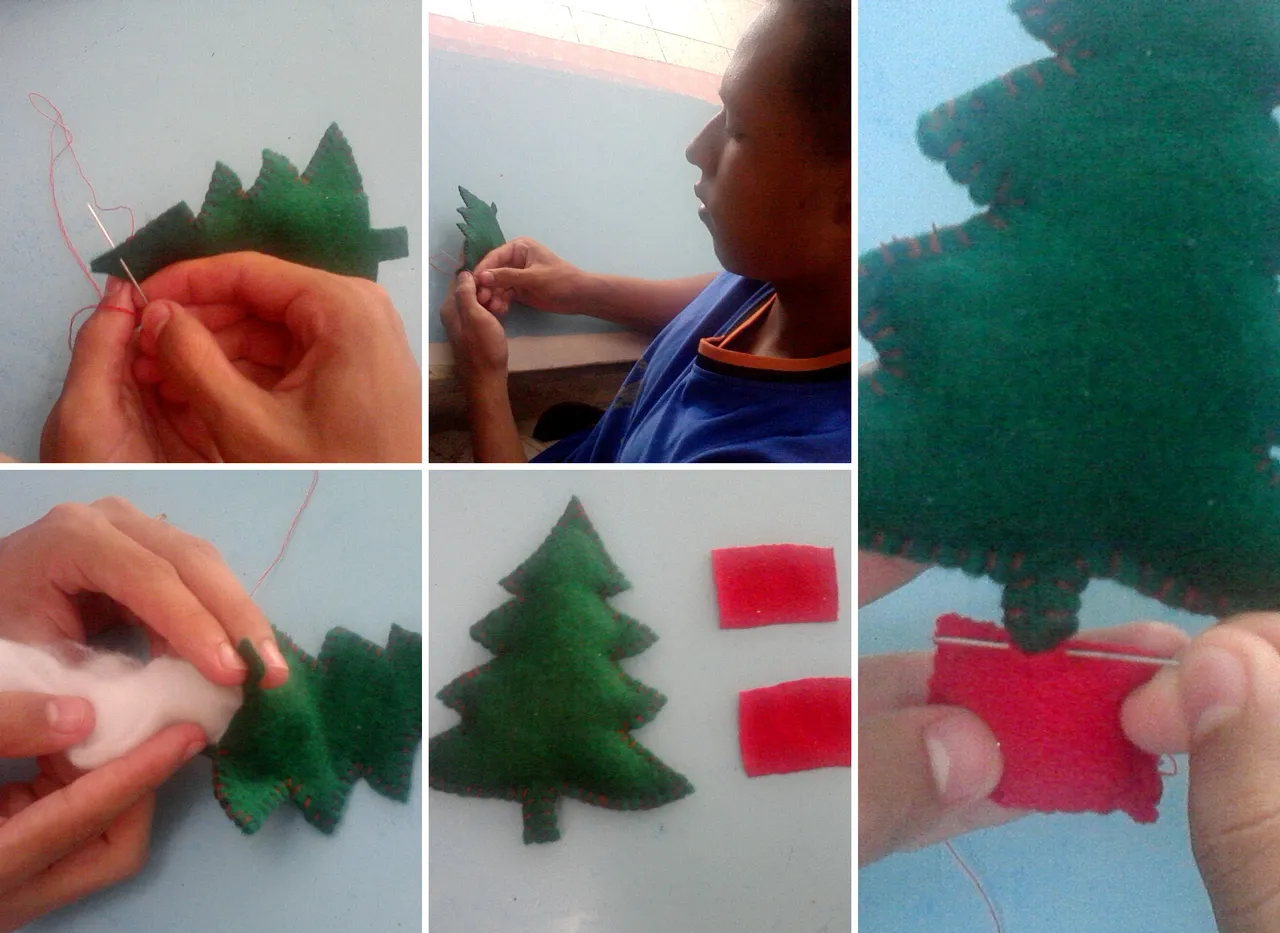
Paso 2:
- Con los 2 arbolitos de fieltro lo colocamos uno encima del otro para comenzar a coser por todo el borde, dejando una pequeña abertura en la parte de abajo, para introducirle el relleno con un poquito de guata, y terminar de coser la abertura. Ahora cortamos 2 cuadritos de tela roja, cosemos del mismo modo que el arbolito y rellenamos igualmente con guatas, para después coserlo al pie del arbolito.
English
Step 2:
- With the 2 felt trees we place one on top of the other to start sewing around the edge, leaving a small opening at the bottom, to introduce the stuffing with a little wadding, and finish sewing the opening. Now we cut 2 squares of red fabric, sew in the same way as the tree and fill it with wadding, and then sew it to the foot of the tree.
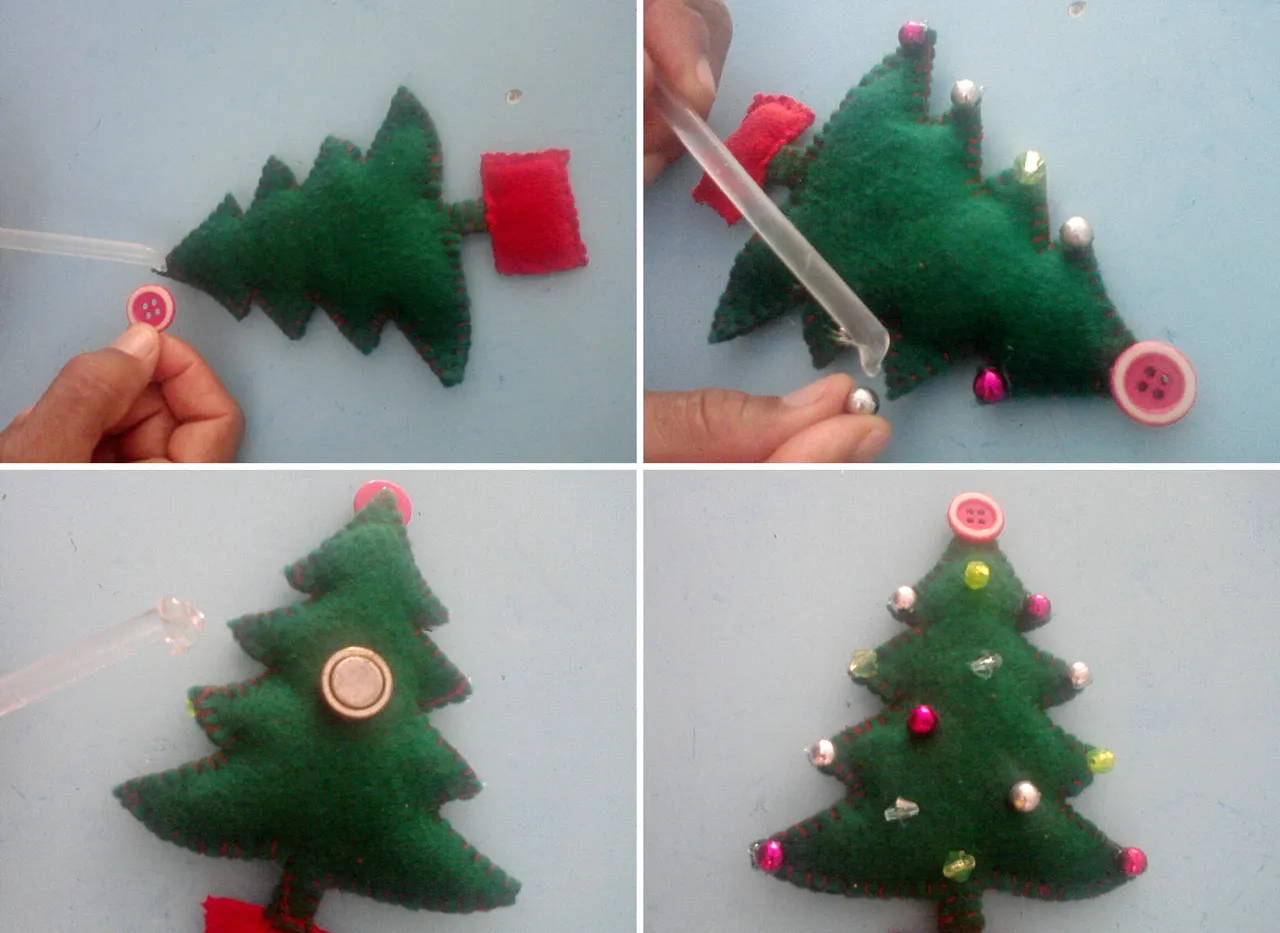
Español
Paso 3:
- Procedemos a pegar con el silicon el botón en la punta de arriba, y continuamos pegando las piedritas decorativas en todas las puntas y en el centro del arbolito, después por la parte de atrás pegamos el imán.
English
Step 3:
- We proceed to glue with the silicone the button on the top tip, and continue gluing the decorative pebbles on all the tips and in the center of the tree, then on the back we glue the magnet.
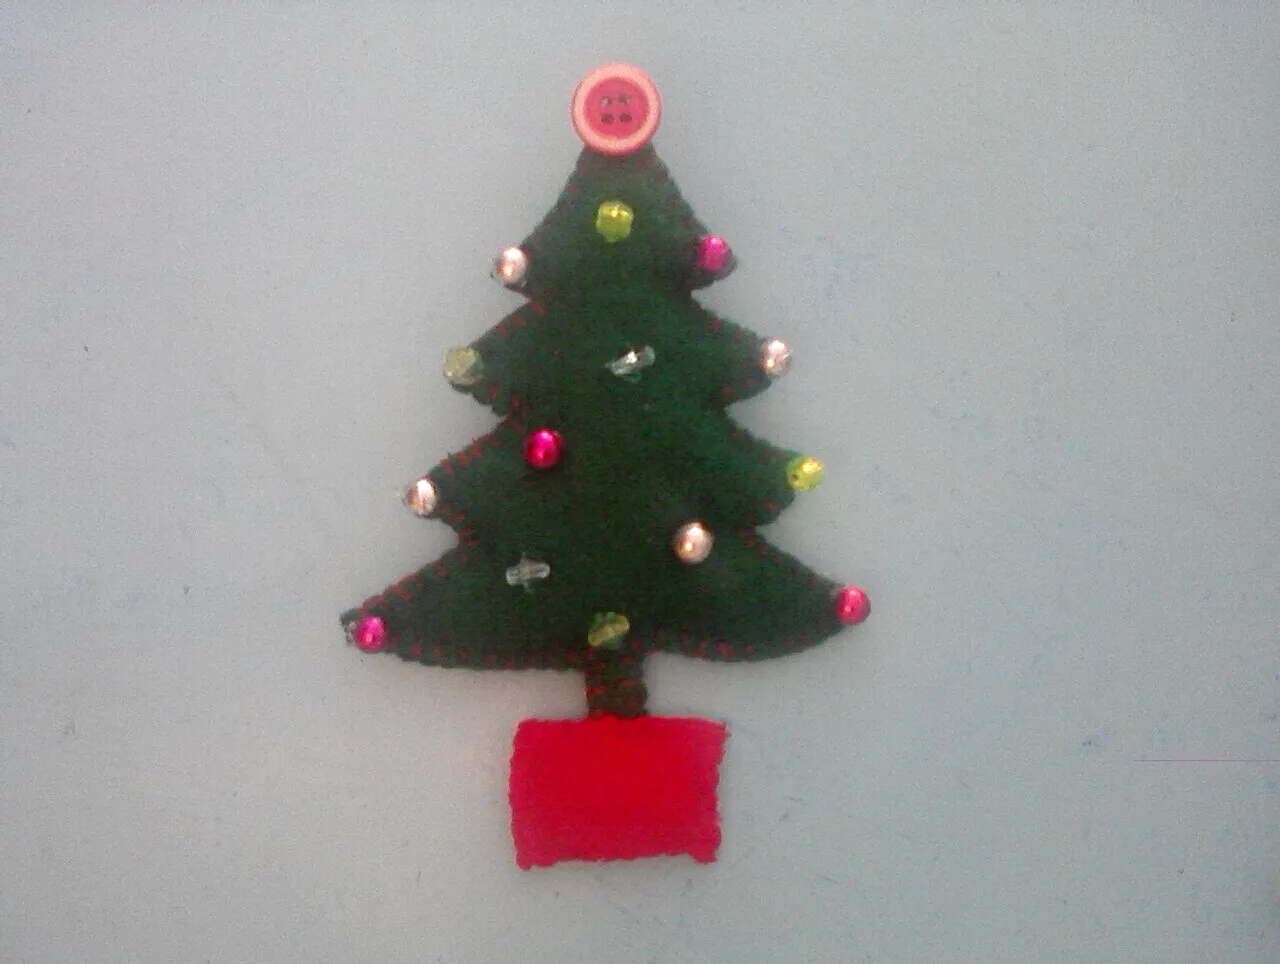
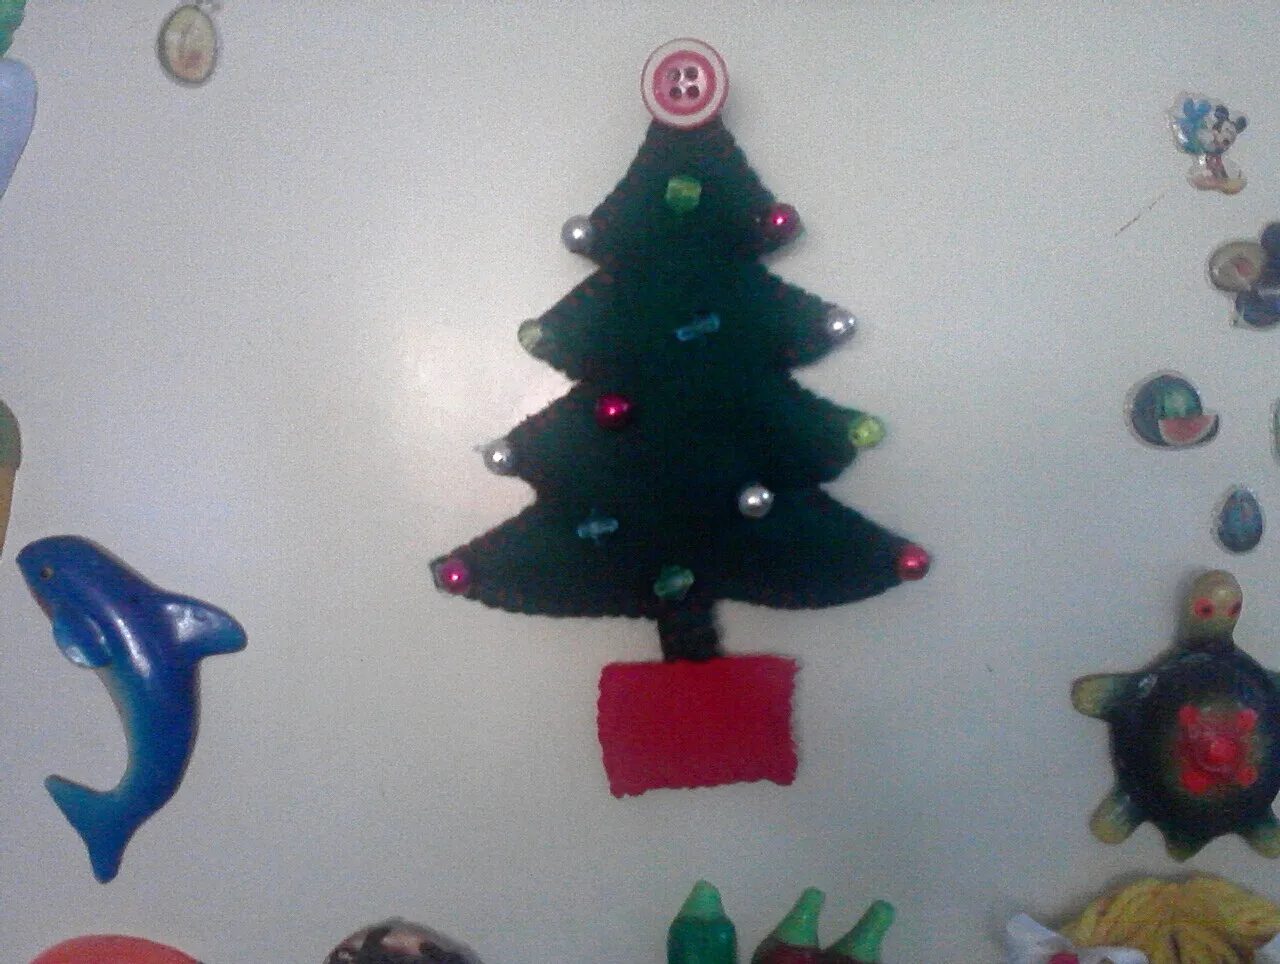
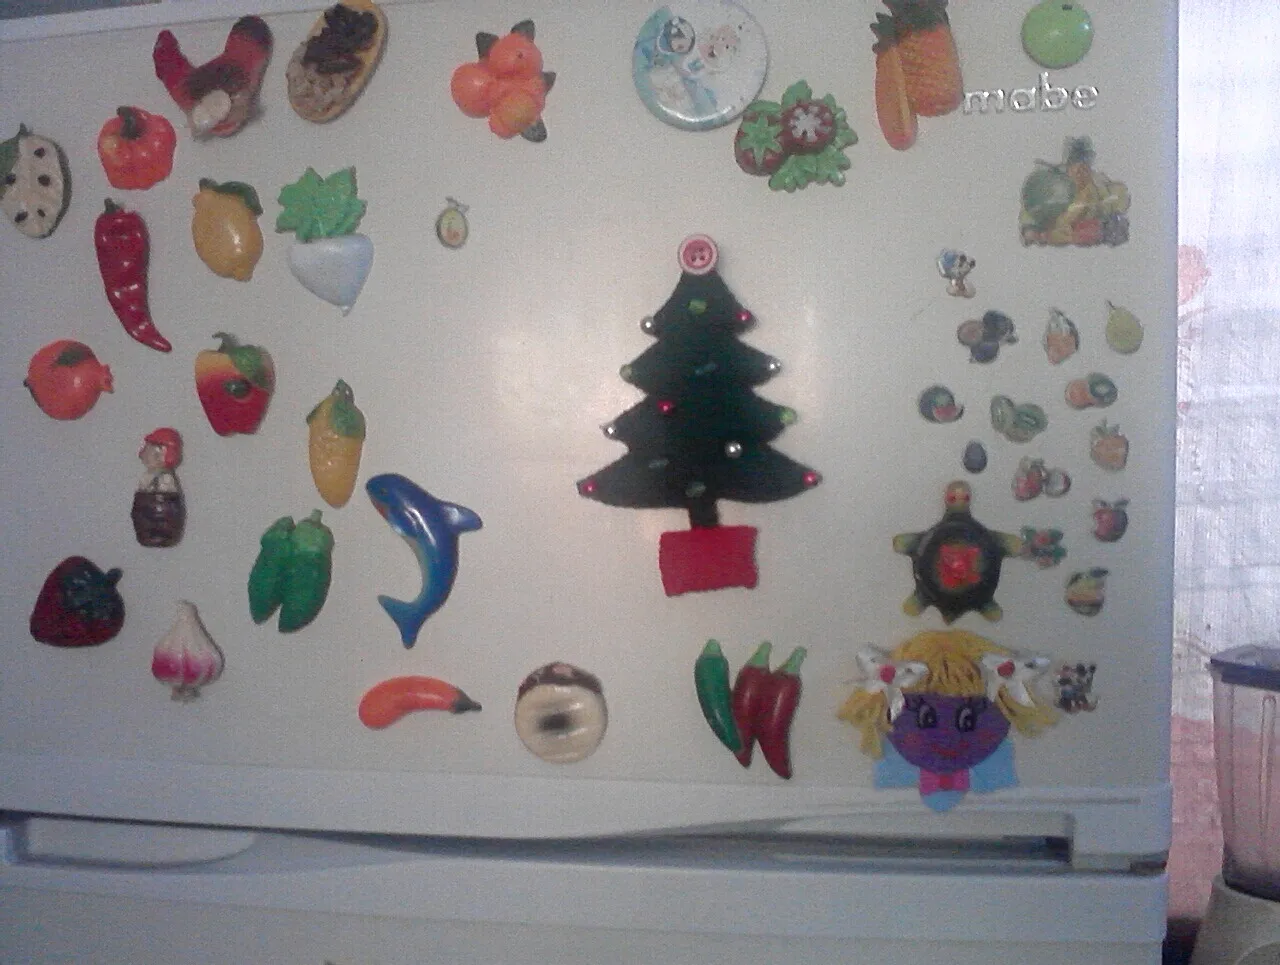
Así quedo el resultado final de mi arbolito.
This is the final result of my tree.


Invito a mi amiga @betzy25, a formar parte de este concurso. Link del Concurso
I invite my friend @betzy25, to be part of this contest. Enlace del Concurso
Todas las fotos son de mi autoria y editadas con canva.
All photos are my own and edited with canva.