
Happy day my beautiful family, many greetings and blessings to all, today I made an excavator machine with recyclable material, it is easy to make. Let's see the step by step.

Español
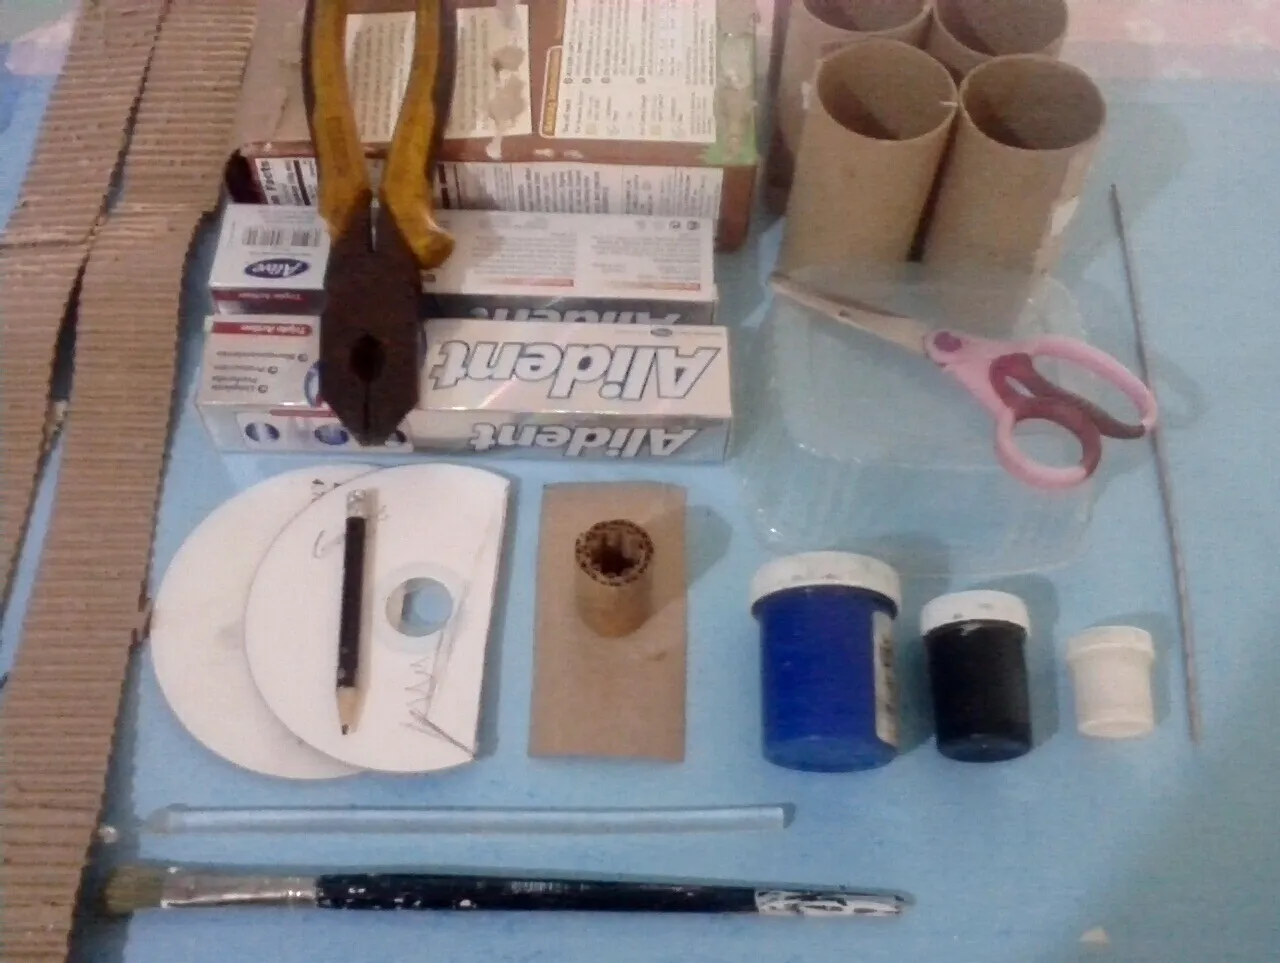
Materiales:
- (1) caja de cartón mediana (de cereal).
- (2) caja de pasta de diente.
- (6) tubos de cartón del papel higiénico.
- (1) bandeja de plástico pequeña.
- (2) tiras de cartón corrugado.
- (2) CD.
- Alicate.
- Lápiz.
- Tijera.
- Pincel.
- Barra de silicon.
- Tempera.
- (1) varilla de metal.
- (1) pedacito de cartón.
English
Materials:
- (1) medium cardboard box (cereal).
- (2) box of toothpaste.
- (6) cardboard toilet paper tubes.
- (1) small plastic tray.
- (2) corrugated cardboard strips.
- (2) CD.
- pliers.
- pencil.
- Scissors.
- Paintbrush.
- Silicone stick.
- Tempera.
- (1) metal rod.
- (1) piece of cardboard.
Español
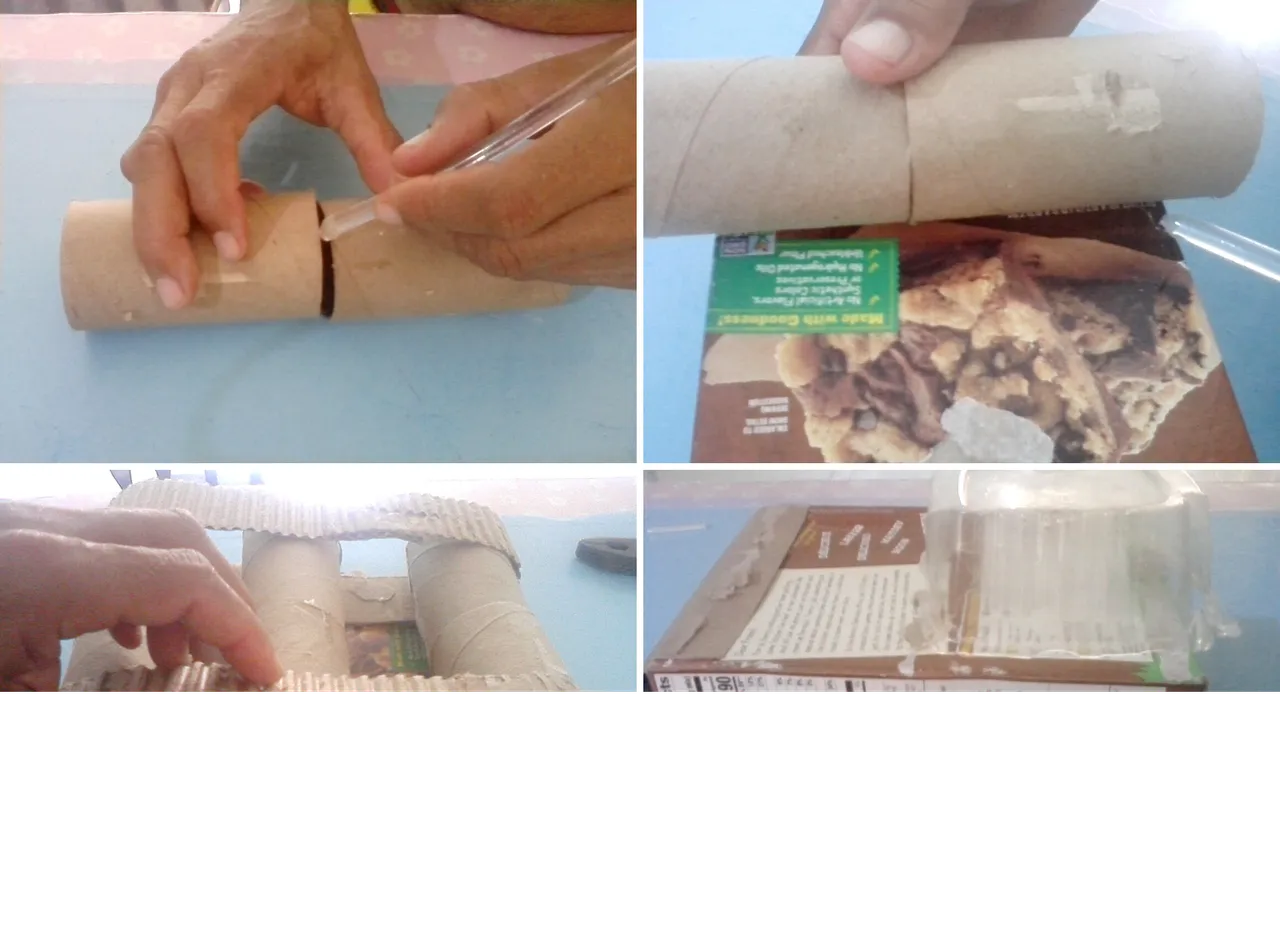
Paso 1 :
- Pegamos los (6) tubos de cartón de dos en dos, luego lo pegamos en (3) filas a la caja, después procedemos a pegar las (2) tiras de cartón corrugado, dando la vuelta a los tubos de ambos lados, ahora pegamos la bandeja de plástico en una esquina de la parte de arriba de la caja.
English
Step 1 :
- We glue the (6) cardboard tubes two by two, then we glue it in (3) rows to the box, then we proceed to glue the (2) corrugated cardboard strips, flipping the tubes on both sides, now we glue the plastic tray in one corner of the top of the box.
Español
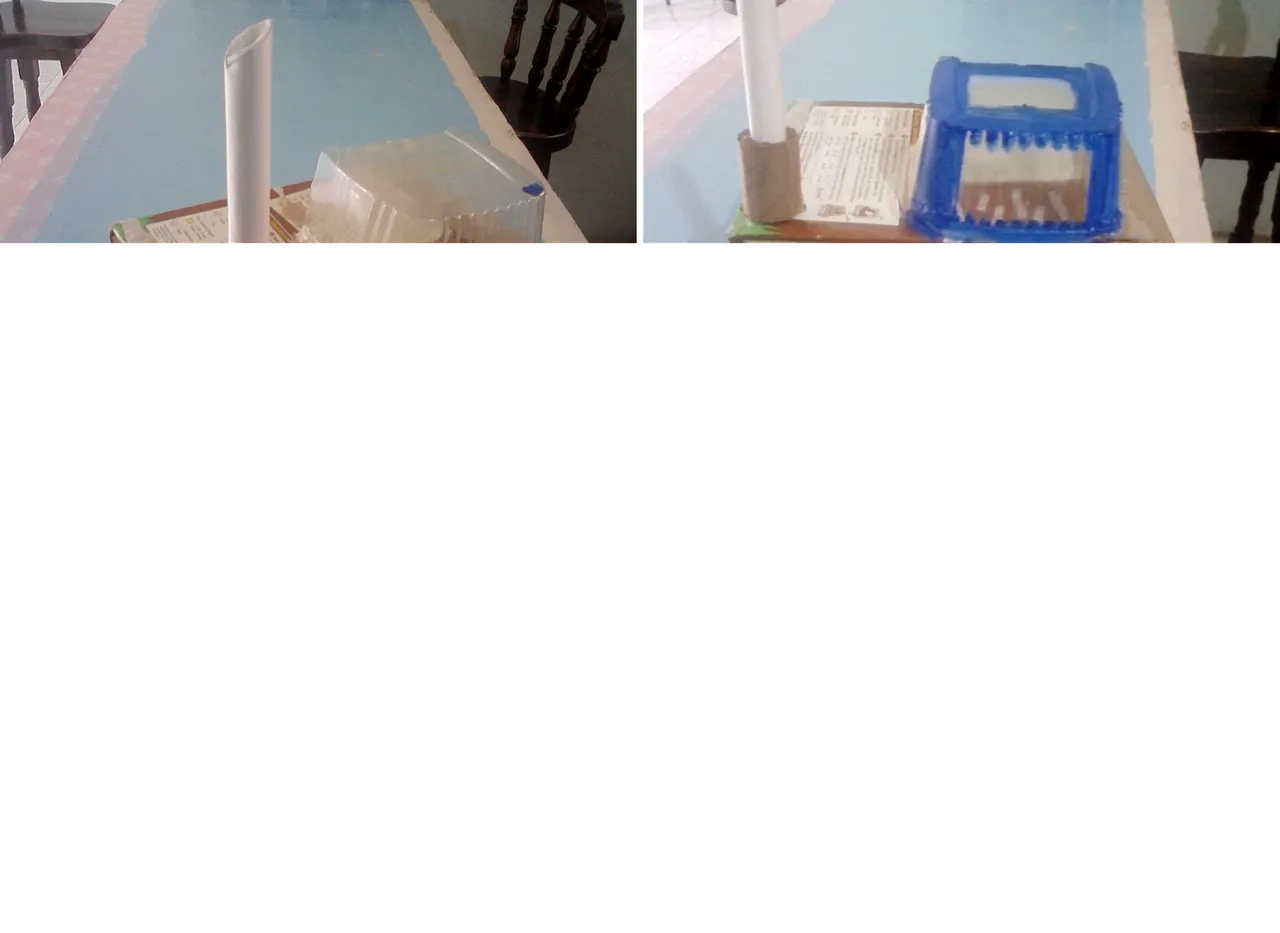
Paso 2:
- Luego pegamos un rollito de cartón en la otra esquina, y con un pedacito de hoja de papel lo enrollamos y pegamos encima del rollito de cartón, seguidamente pintamos de azul la bandeja plástica dejando cuadros sin pintar para simular las ventanas, ahora recortamos los CD y lo pegamos en una de las caja de pasta de diente como lo muestra la foto, después pegamos la otra caja semi curvada colocando en la unión un tubíto para que tenga mejor aguante entre las dos cajas.
English
Step 2:
- Then we glue a cardboard roll on the other corner, and with a piece of paper we roll it and glue it on top of the cardboard roll, then we paint blue the plastic tray leaving unpainted squares to simulate the windows, now we cut the CDs and glue it on one of the toothpaste boxes as shown in the photo, then we glue the other semi curved box placing a small tube at the junction to have a better hold between the two boxes.
Español
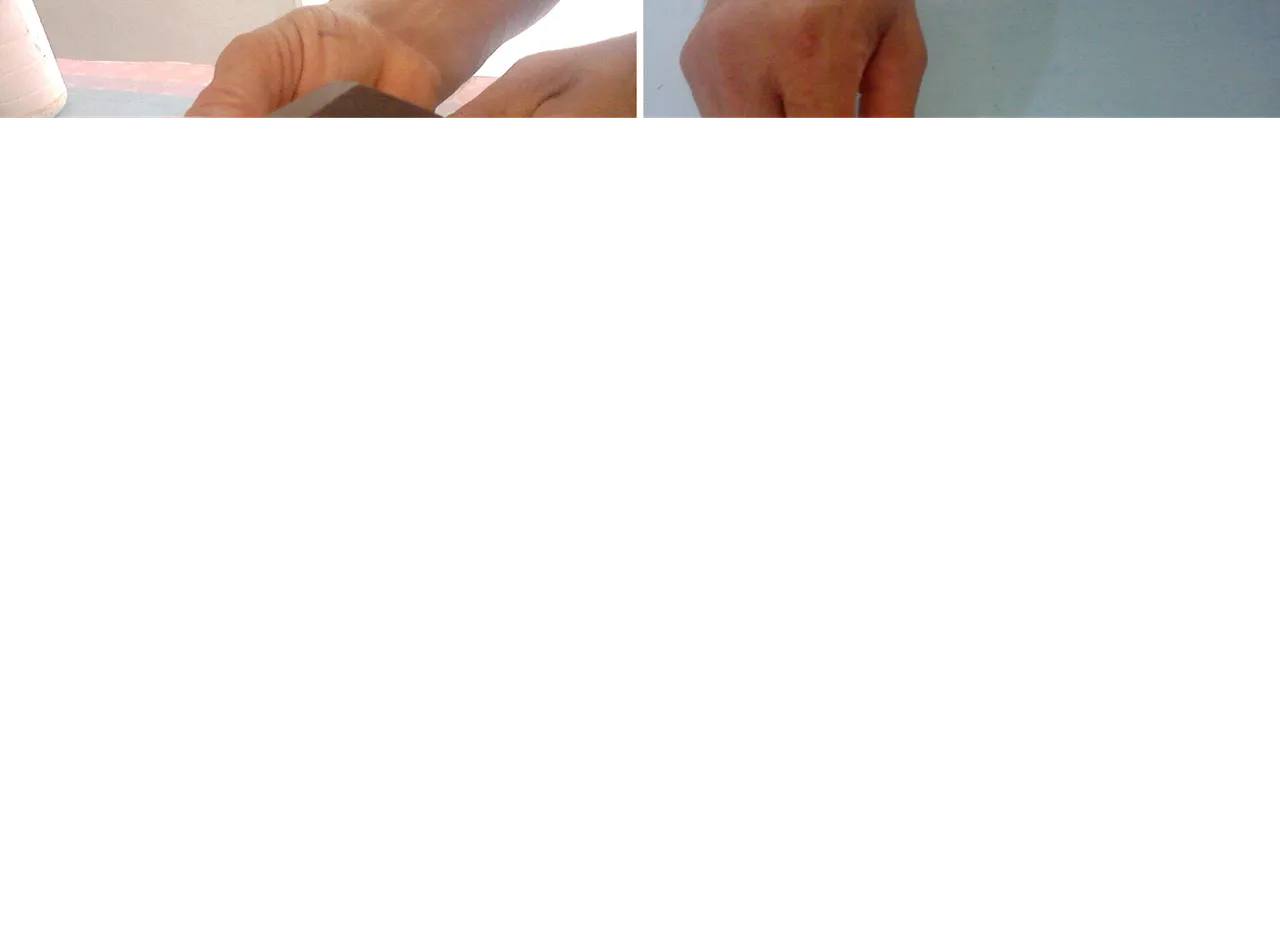
Paso 3:
- le realizamos un pequeño dobles con el alicate a la varilla de metal y la pegamos del lado de abajo en la unión de las dos cajas, para mejor soporte, cortamos otro pedacito de varilla y la pegamos debajo de los CD, luego pintamos la caja con el color blanco, para terminar con el pedacito de cartón, doblamos en forma de acordeón la pegamos a un lado como escalera.
English
Step 3:
- We made a small bend with the pliers to the metal rod and glued it on the bottom side at the junction of the two boxes, for better support, we cut another piece of rod and glued it under the CDs, then we painted the box with white color, to finish with the piece of cardboard, folded in accordion shape and glued it to one side as a ladder.
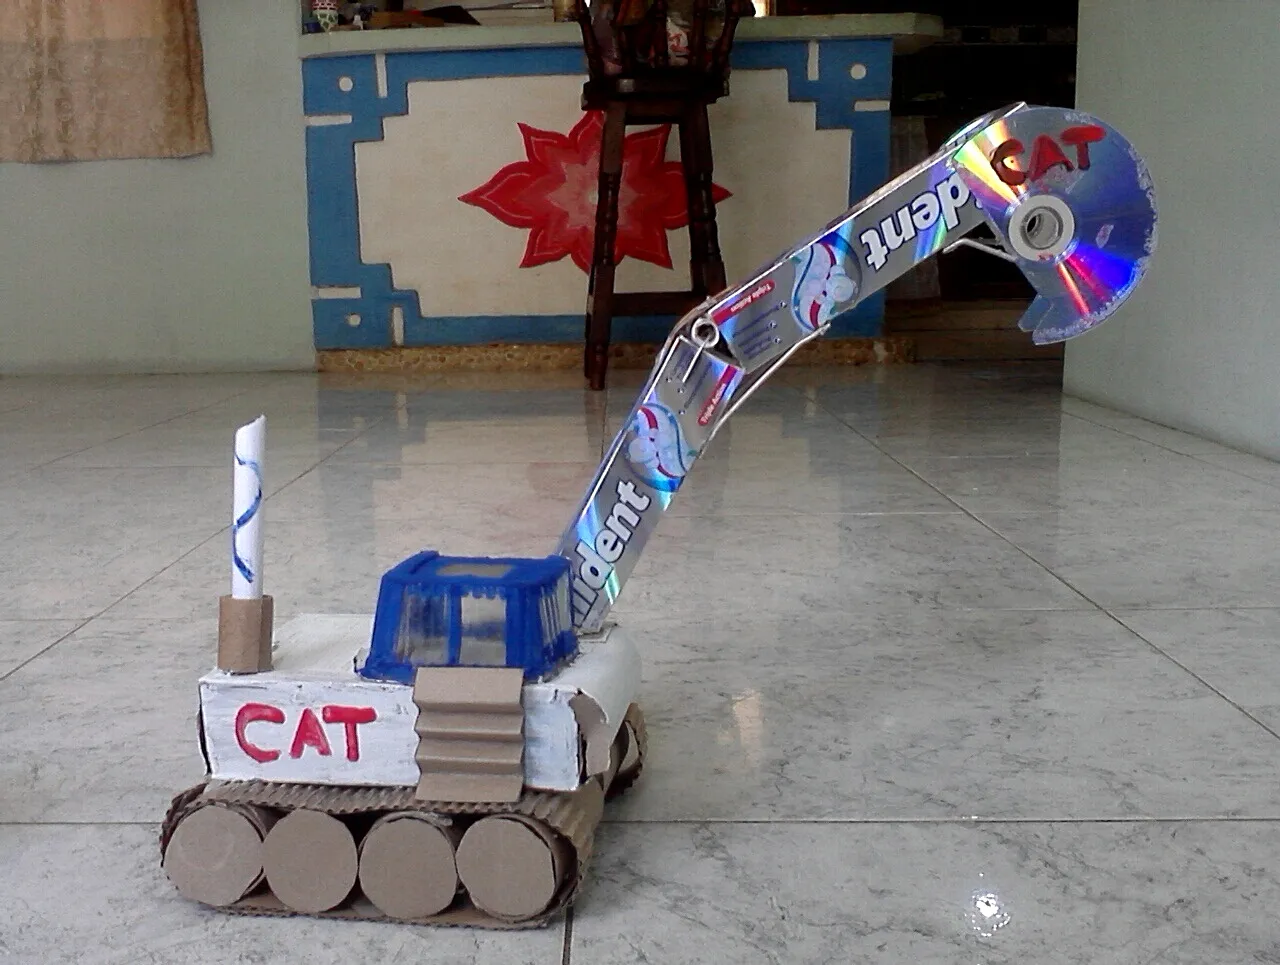
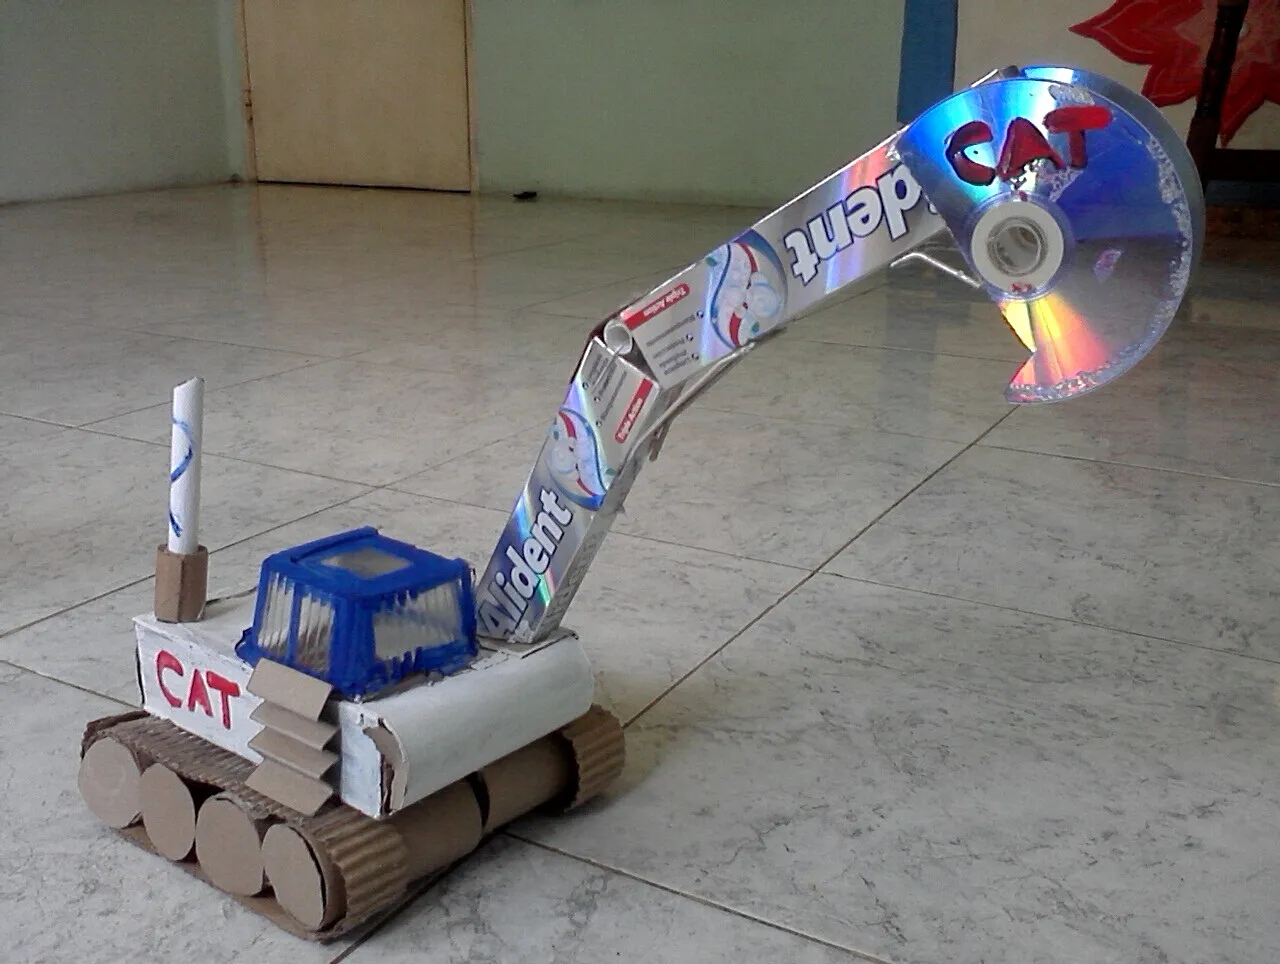
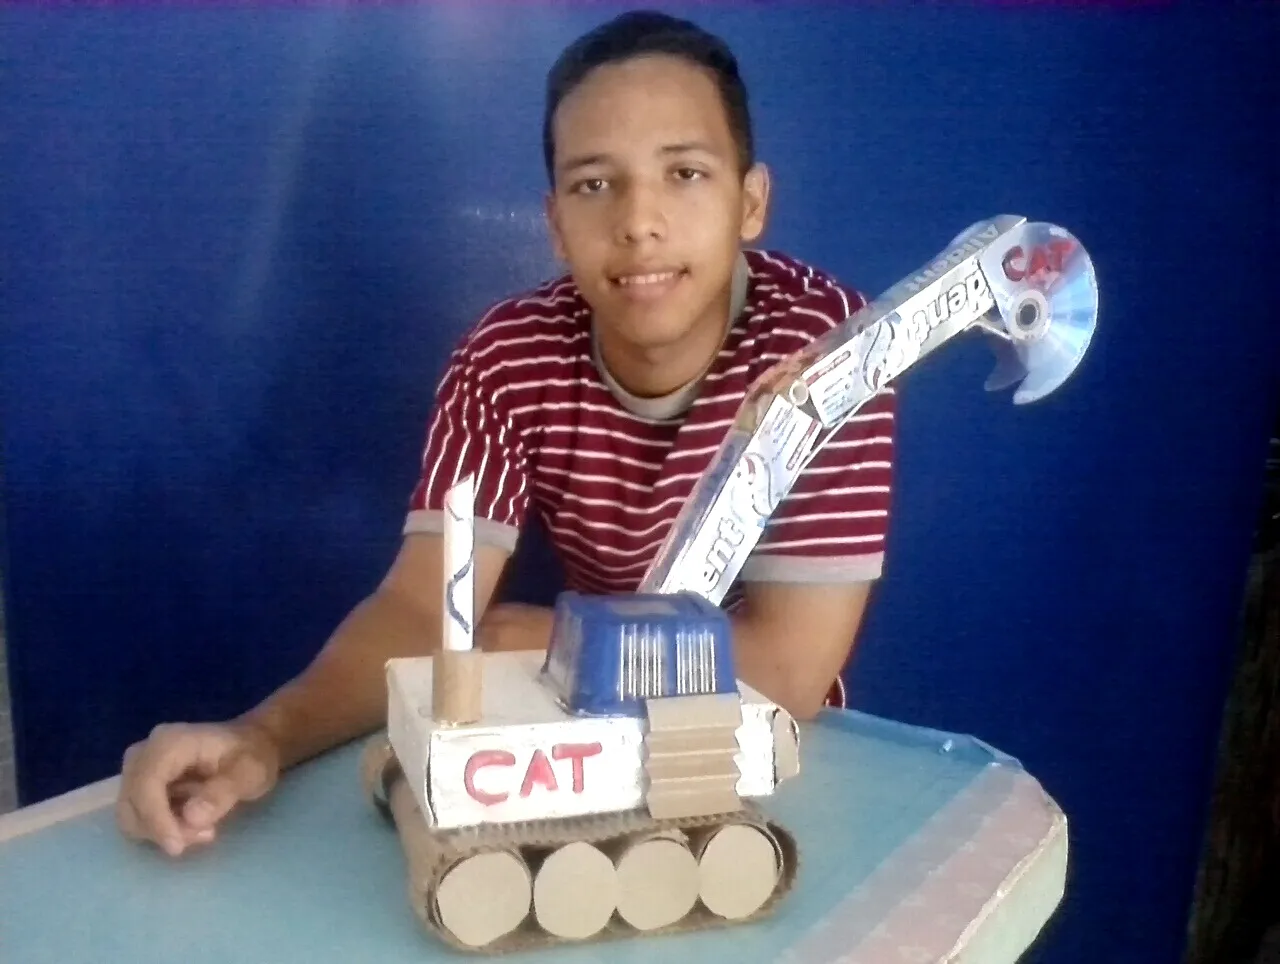
Así quedo el resultado final.
This is the final result.
Todas las fotos son de mi autoria y editadas con canva.
All photos are my own and edited with canva.