
I was waiting for the right moment to show you my other skills in addition to graphic design, which I mainly deal with. I think that passing the milestone of 1000 posts on the platform (including comments) is the moment I've been waiting for to introduce you with my other hobbies and skills I own. Now we're talking about production, post production and VFX (Visual Effects). It's mainly all the sci-fi, unrealistic effects you can see everyday in various videos and movies. I'm a big fan of VFX, and been dreaming about becoming a designer one day when I was a kid.

What actually VFX means?
Description on MasterClass Website:
- "In filmmaking, visual effects (VFX) is the creation or manipulation of any on-screen imagery that does not physically exist in real life. VFX allows filmmakers to create environments, objects, creatures, and even people that would otherwise be impractical or impossible to film in the context of a live-action shot. VFX in film frequently involves the integration of live-action footage with computer-generated imagery (CGI)."


The first step was to find materials. Usually the first step is to get creative, to form the idea and the concept itself. In this case I was following the tutorial by Herman which already had crafted idea and product, I was just polishing my After Effect skills. Learning new techniques, rules and even learning something absolutely new and entertaining.
All the visual project files are on the --> Link provided by guys I've mentioned.
The workflow contains few crucial steps: Tweaking and cutting a footage so it fits the idea and doesn't have unnecessary movement. The footage should be clean as well. After the footage lenght and timing is correct, it was about making a graphic (wireframe) of the camera from the real footage. The last one was post production, doing all the effects and finishing the process.
I will be sharing some of the steps I find interesting and needed to get more into the theme and to explain to you in more detail what is all behind one small project. In short, a lot of work!
Creating Graphic/Wireframe
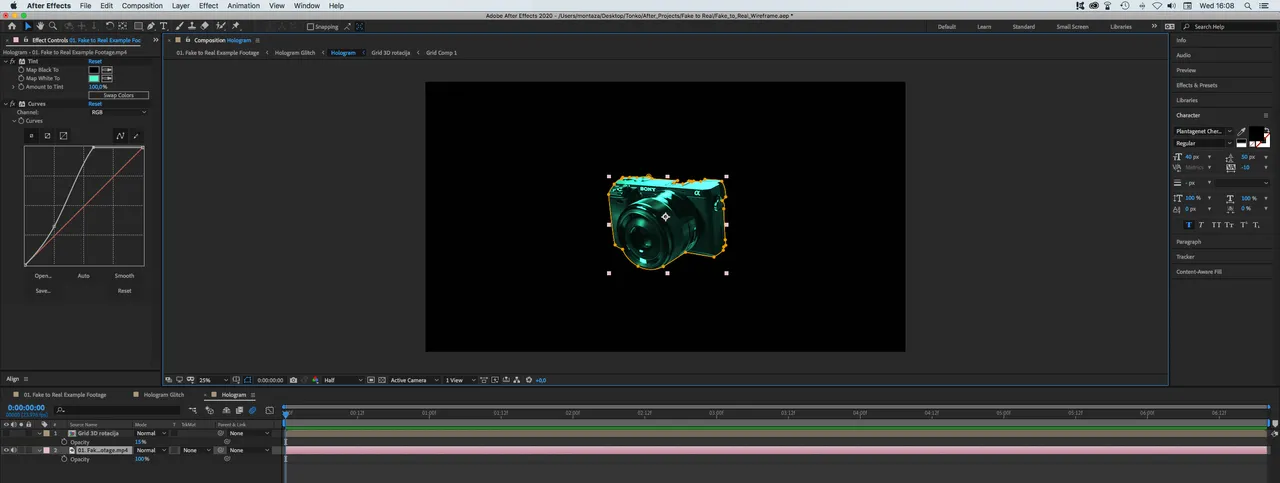
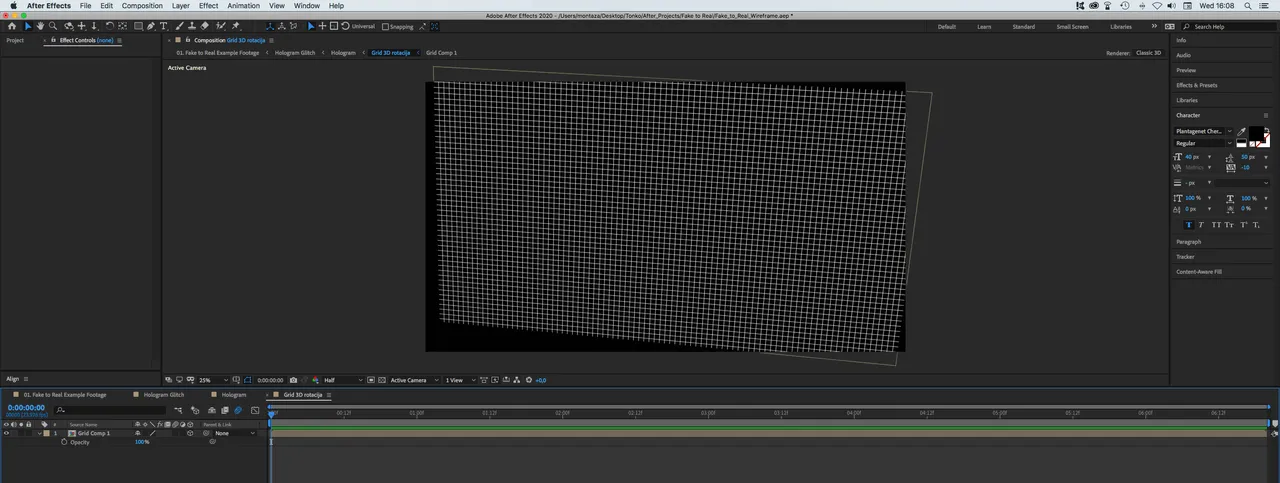
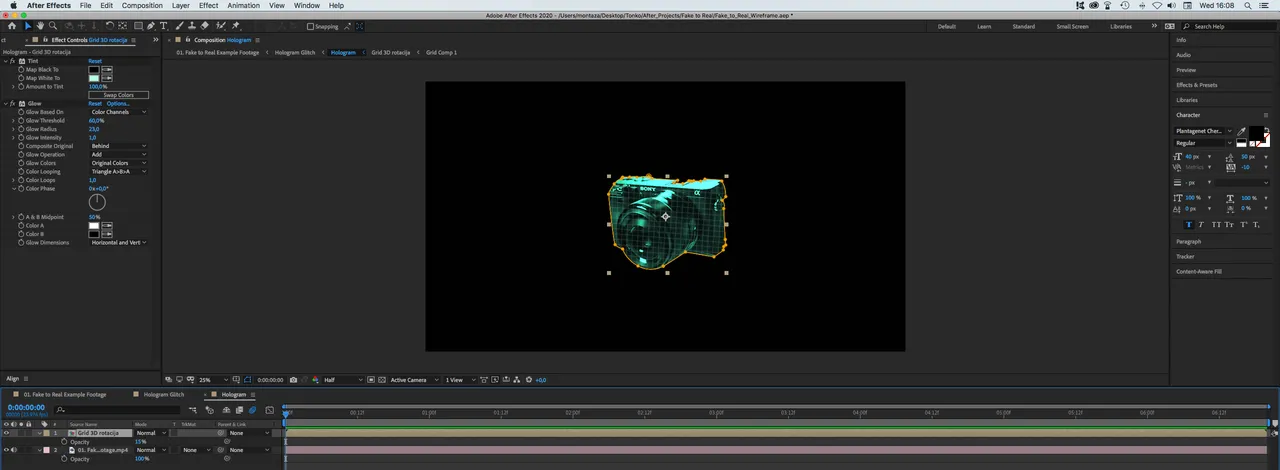
I've masked out the camera from the real footage, played with "Tint" & "Curves" effects and attributes until I achieved a great result of dark green color effect which reminds of a 3D sci-fi element from the movies. After I achieved that result, it was time to add a grid on the element. I've made separate Layer, made dense grid, then implemented it into the mask so it looks like real 3D render although it's not. We have 1 crucial element ready, now it's time to make the transition between fake and real one.

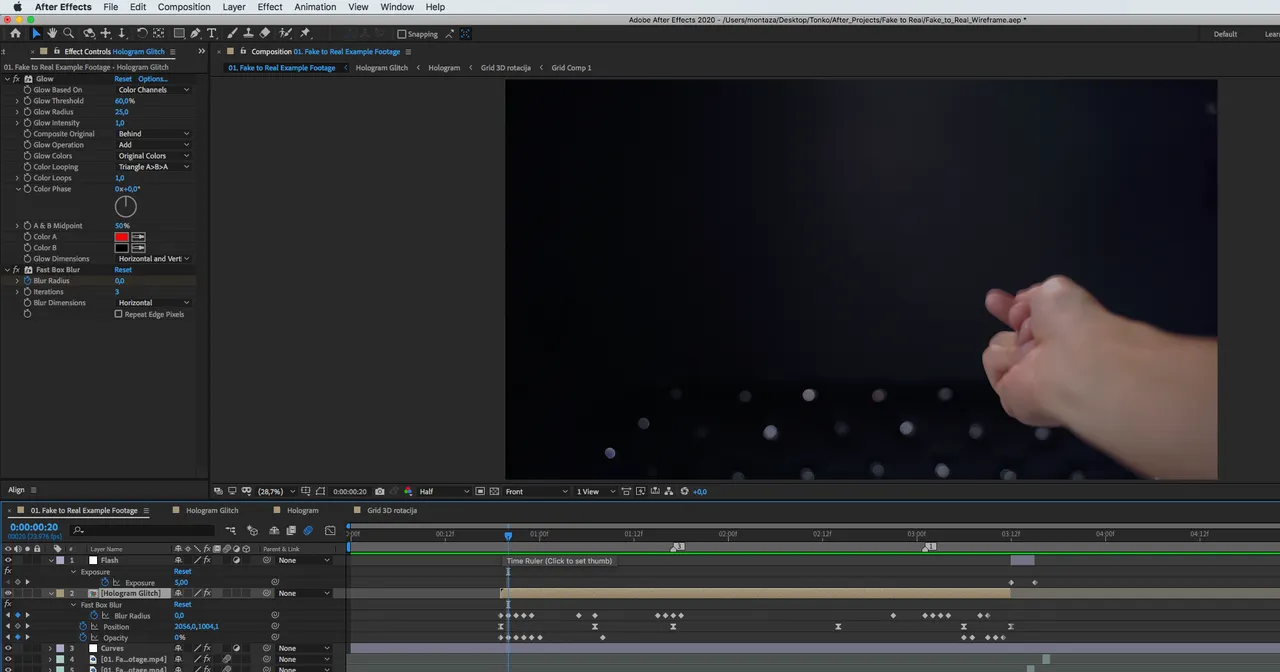
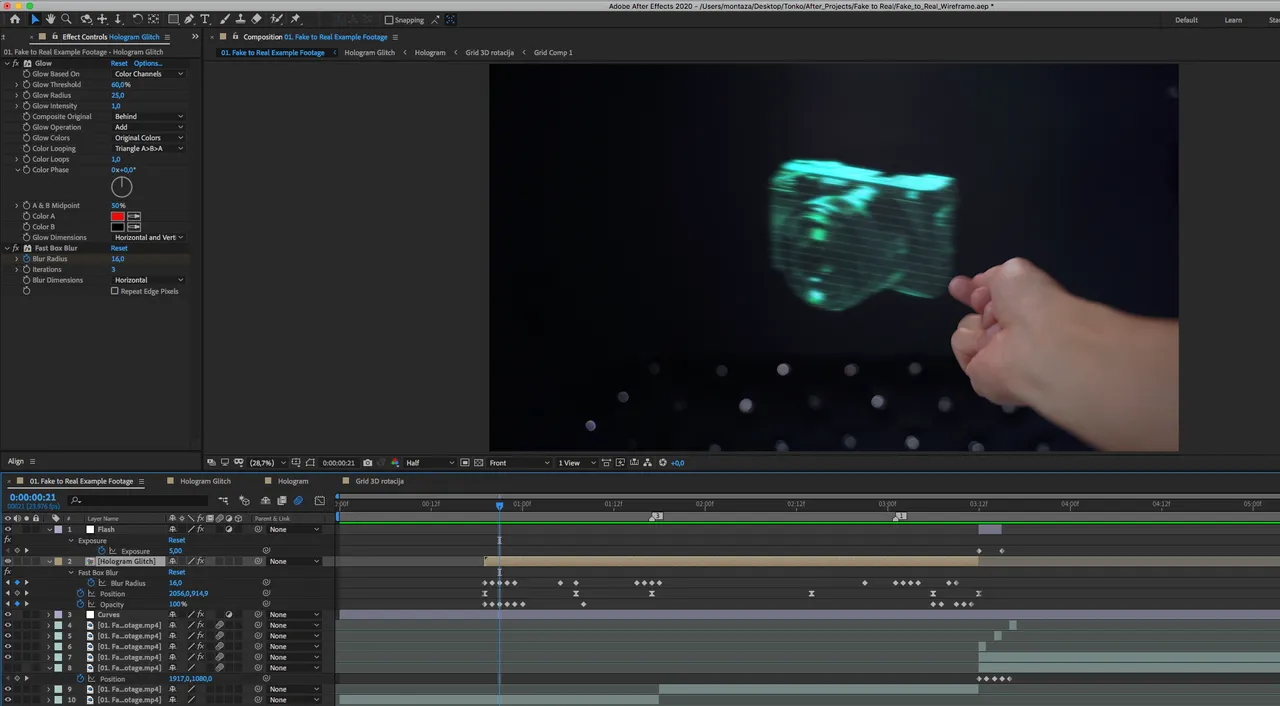
The trick in the VFX, Graphic Design as well, is to fake things in a way human eye can't catch it. All those little dots below a footage are keyframes.
- "A key frame (or keyframe) in animation and filmmaking is a drawing or shot that defines the starting and ending points of any smooth transition. These are called frames because their position in time is measured in frames on a strip of film or on a digital video editing timeline." Wiki
Keyframes are used to make animation. They present the amount or value of the specific attribute. In this case I was playing with Blur & Opacity to make that flickering, buggy effect.
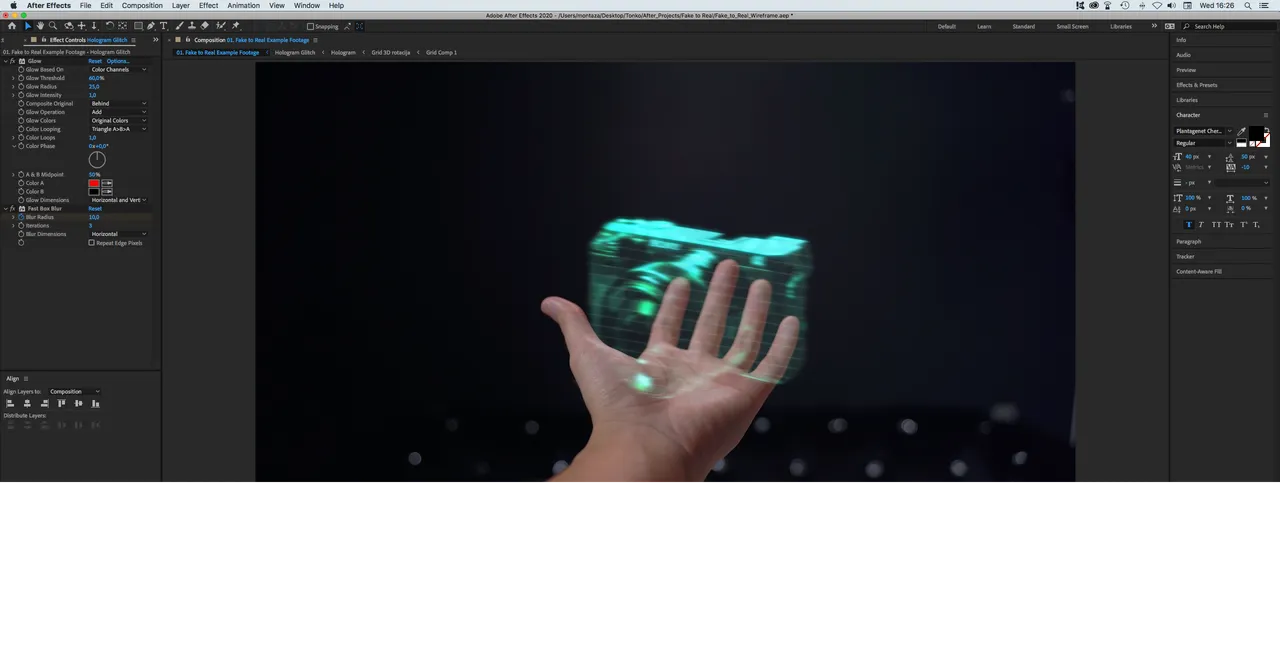
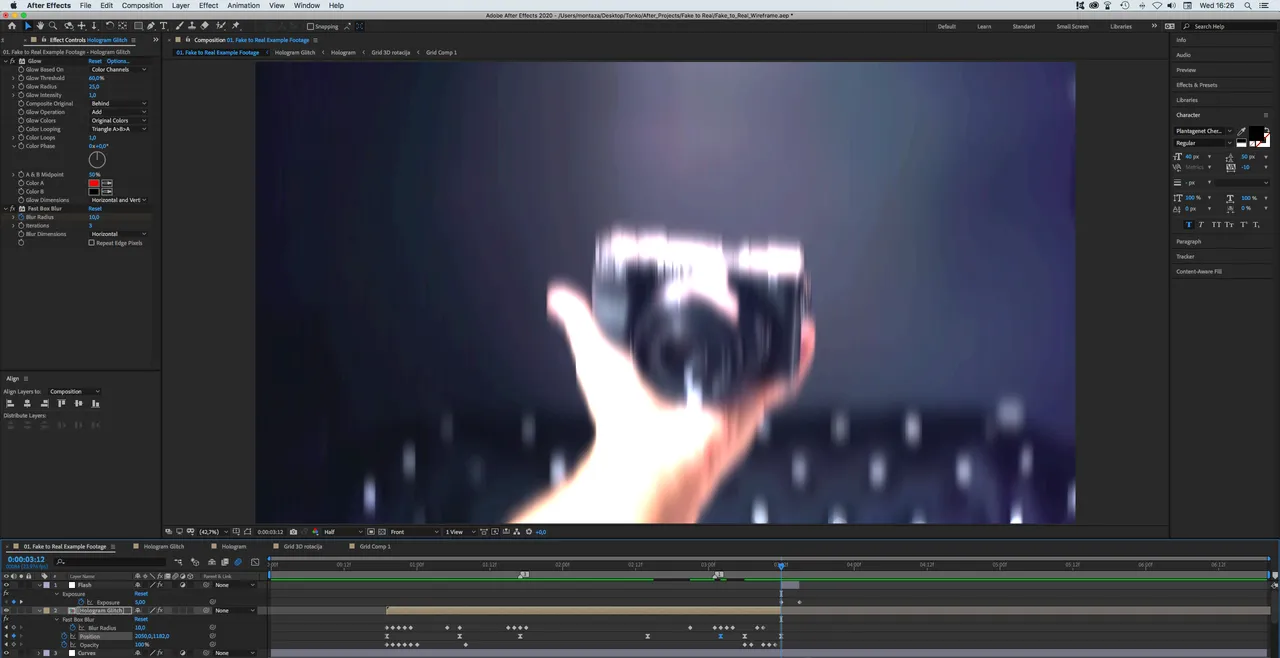
Those images presents the last and the first frame of the transition. The framerate of the video is 24 frames per second, which means this is 1/12 of the second. Pretty amazing how the human eye perceives it, isn't it?
© This content is originally made by @tonac

Have a wonderful day. 💚
▶️ 3Speak