Hello friends of Hive, how good to be here with you again.
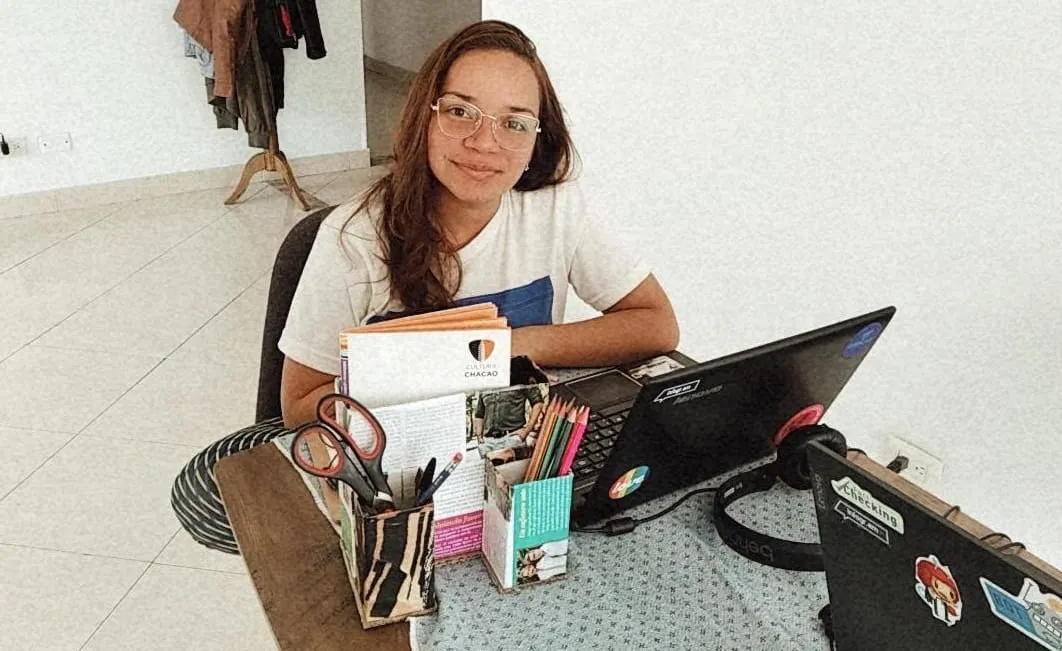
Hoy quiero mostrarles otro proyecto con materiales de desecho que realicé en mi nueva casa, como ya les conté emigré hace poco y no tengo casi organizadores ni espacios para tener mis materiales, es por ello que me hice este organizador para tener mis materiales mis lapices y cuadernos.
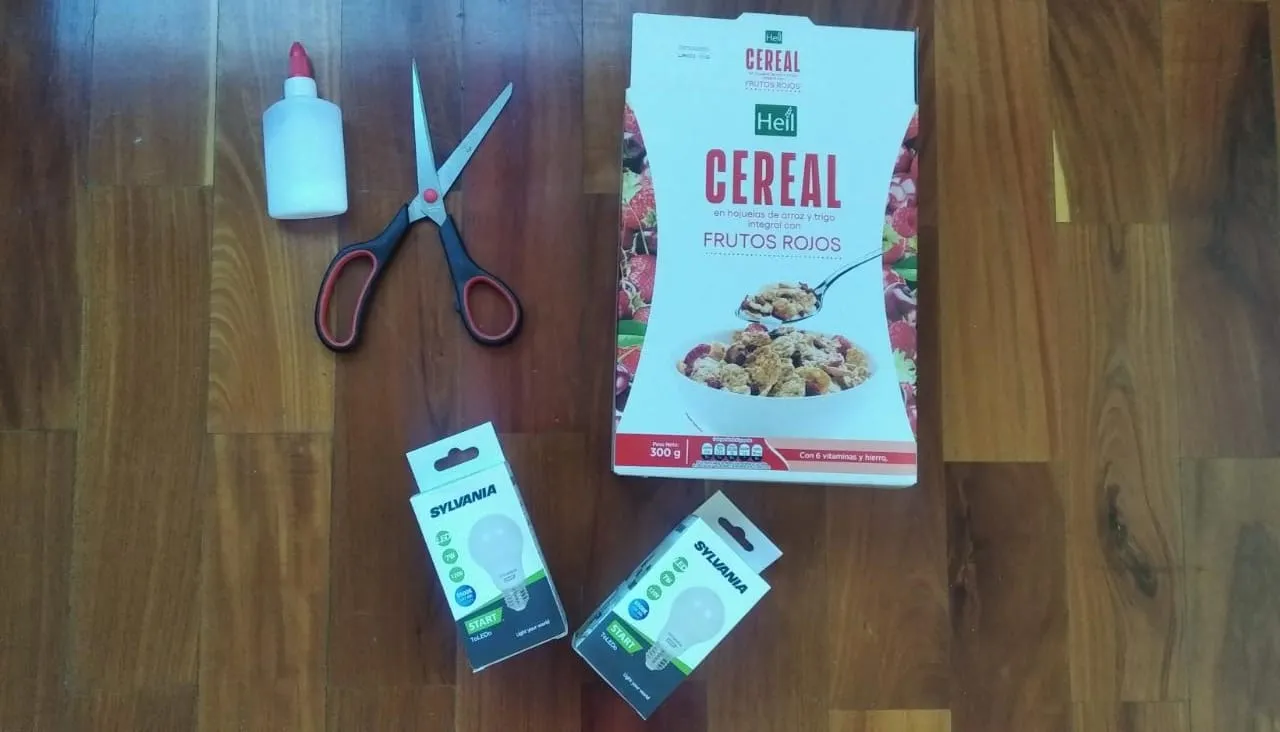
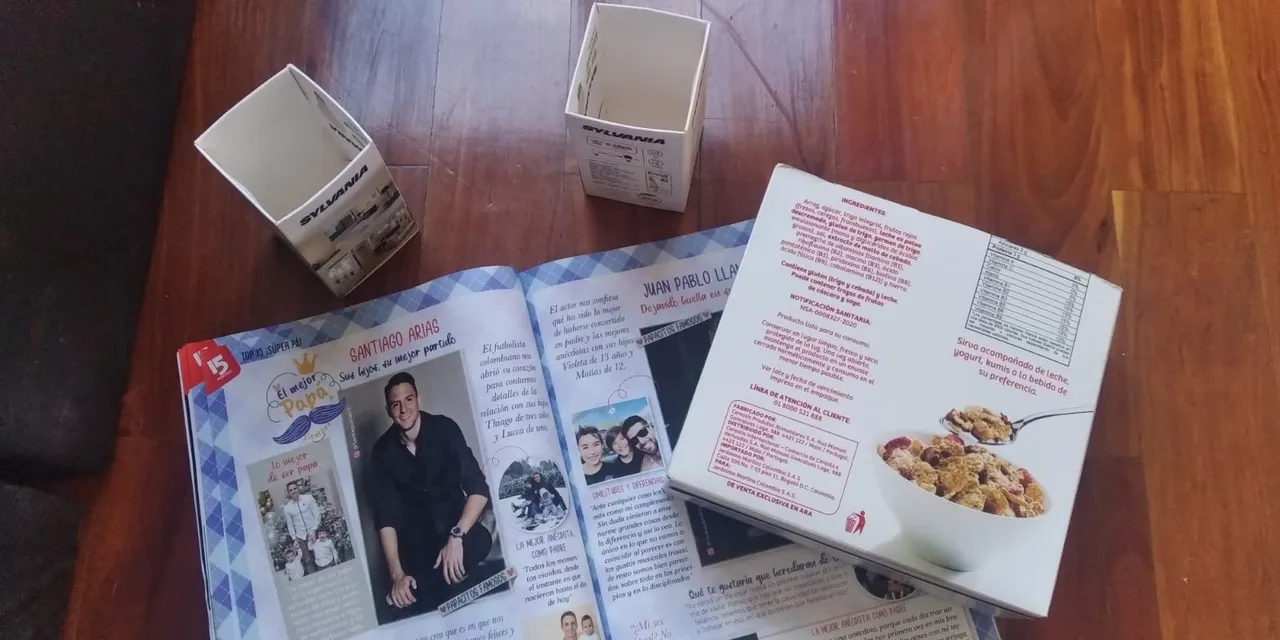
Materiales:
- Caja de cereal.
- 2 Cajitas de bombillos.
- Tijera.
- Revista vieja.
- Pega.
Today I want to show you another project with waste materials that I made in my new house, as I already told you, I emigrated recently and I have almost no organizers or spaces to have my materials, that is why I made this organizer to have my supplies, my pencils and notebooks.
Materials:
- Cereal box.
- 2 Boxes of light bulbs.
- Scissor.
- Old magazine.
- Job.
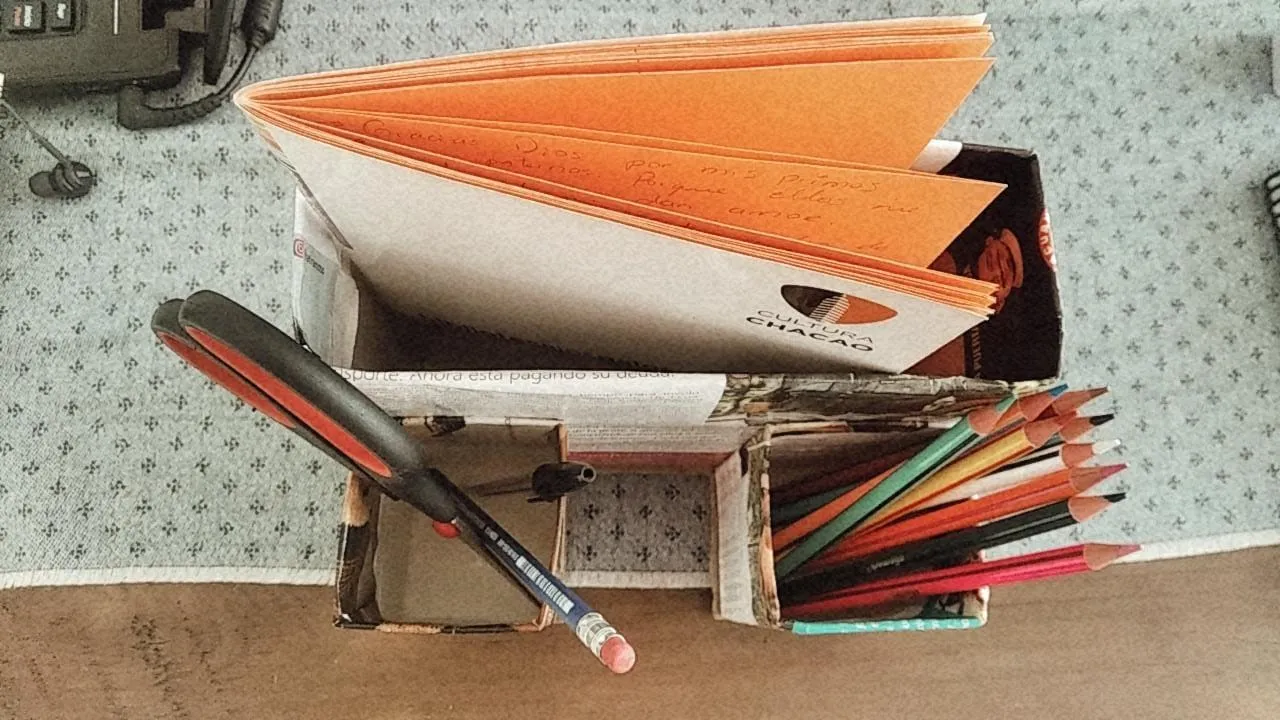
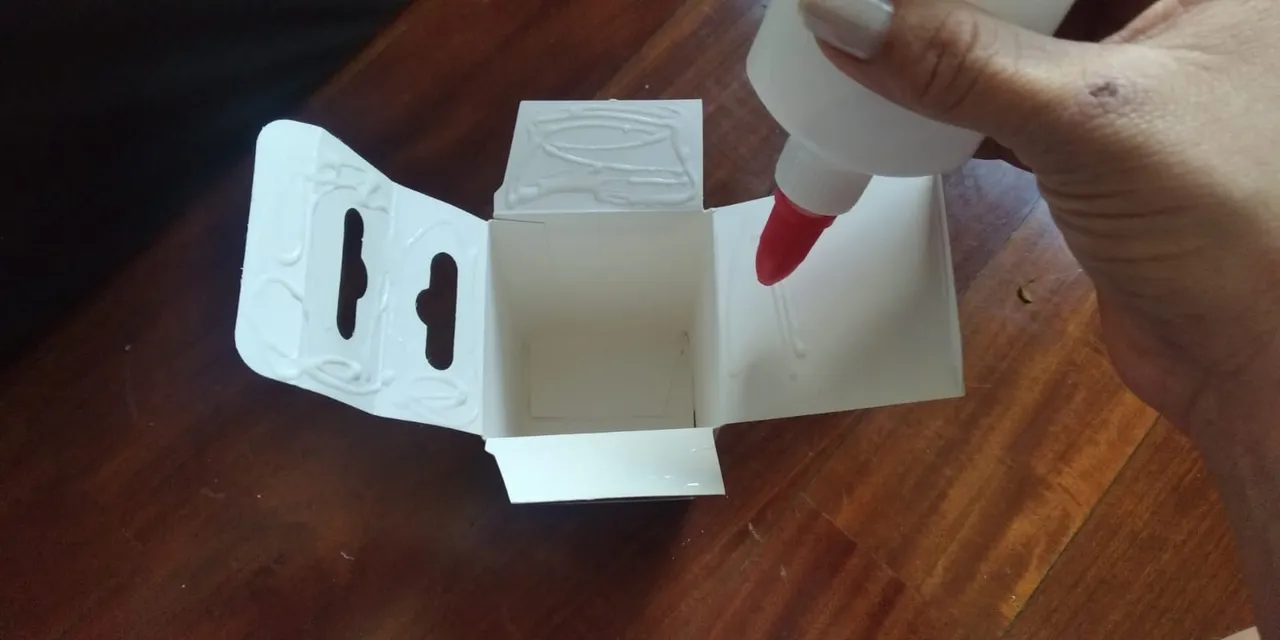
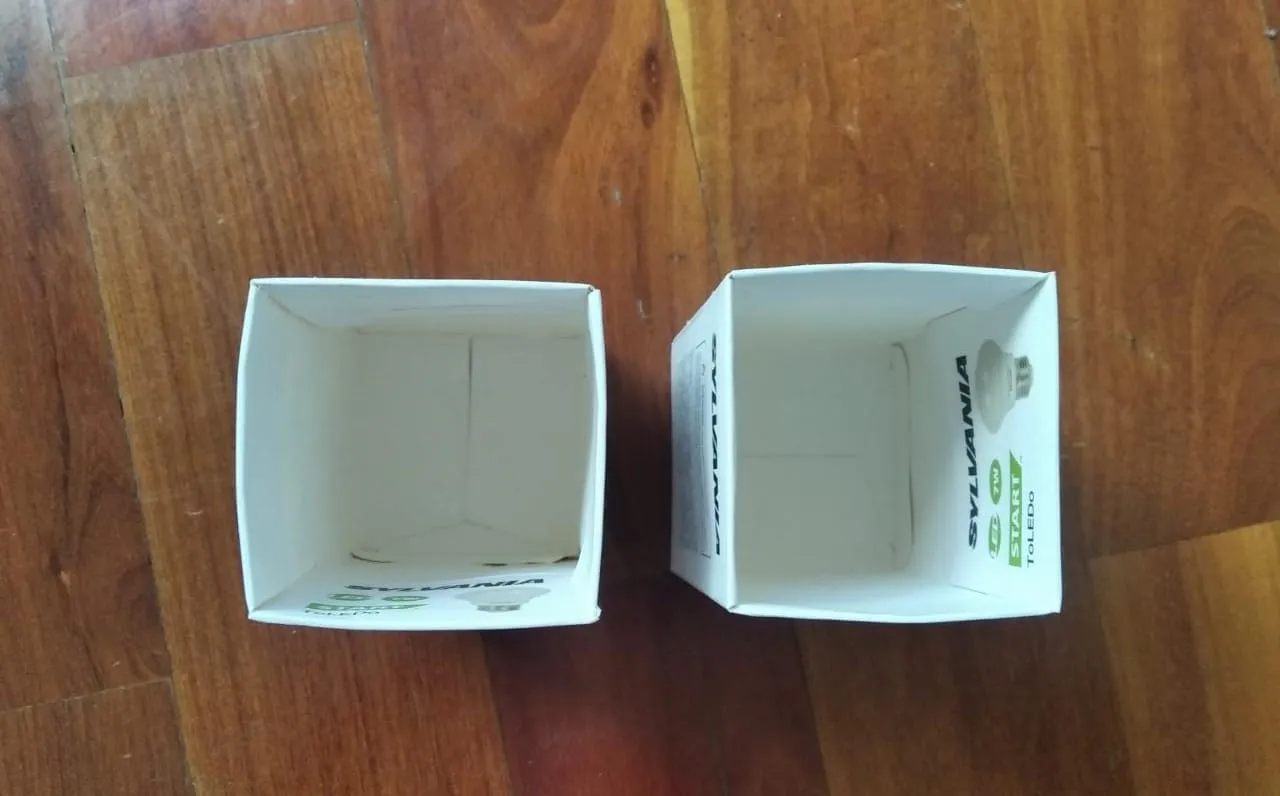
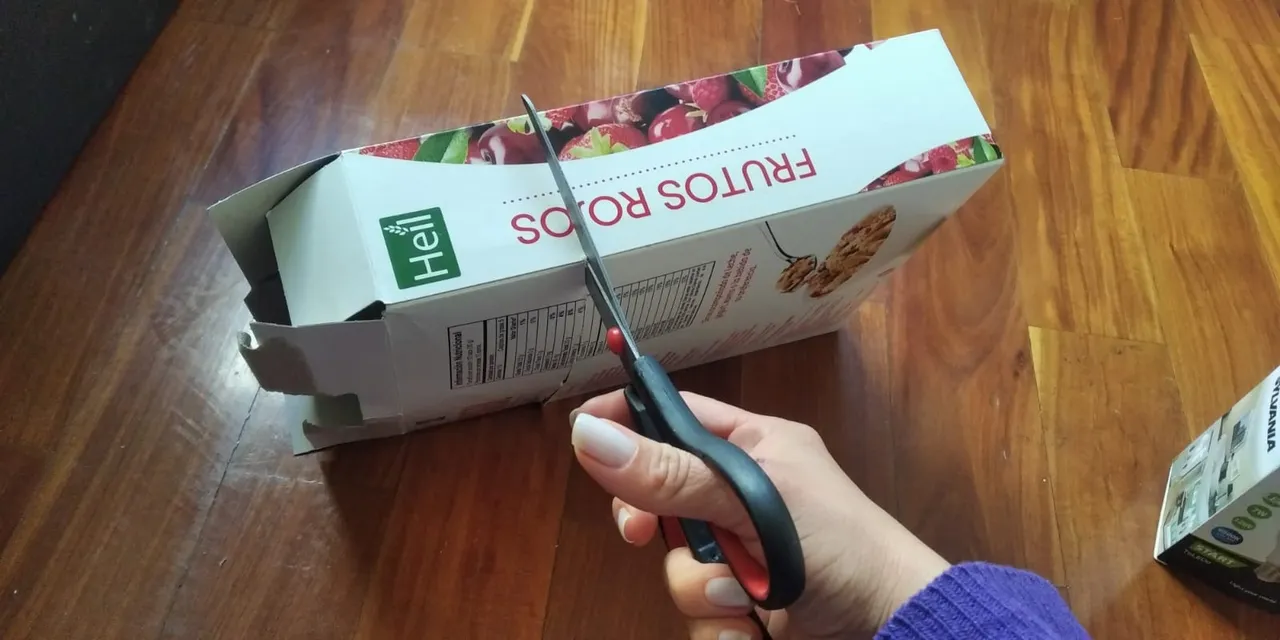
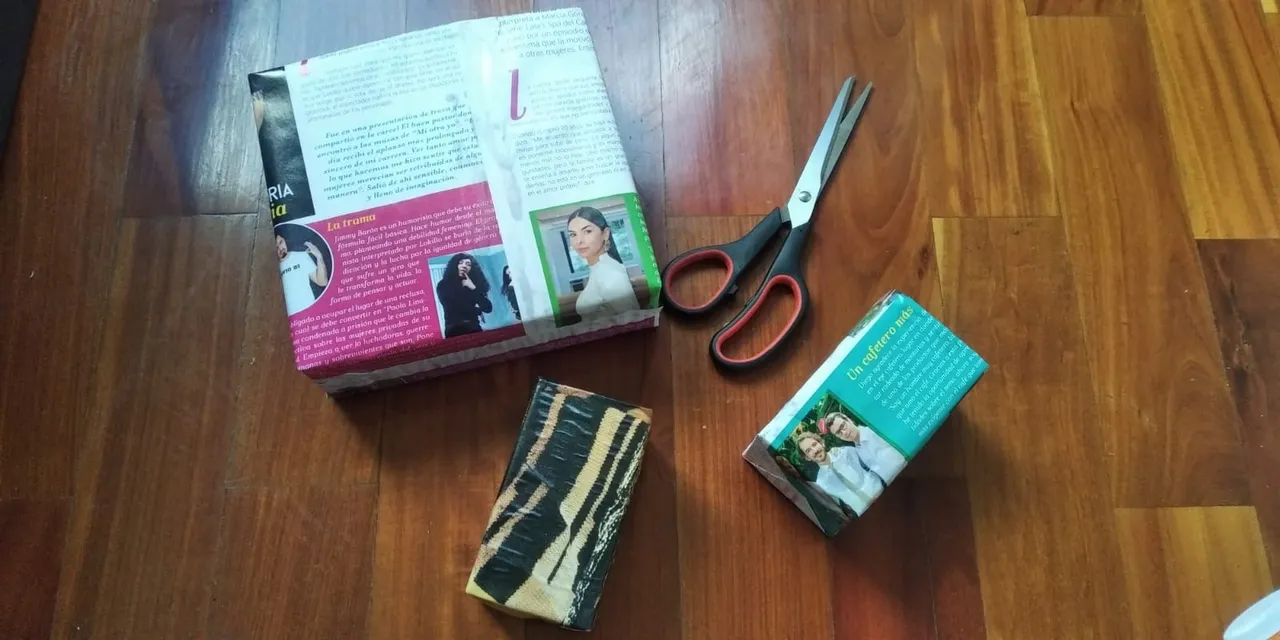
El primer paso será pegar las asas de nuestras cajas de bombillos por dentro de la caja, podrías quitárselas pero pegarlas hacía dentro le da mayor firmeza, luego cortamos nuestra caja de cereal a la altura que creamos más adecuada.
The first step will be to glue the handles of our lightbulb boxes inside the box, you could take them off but sticking them inside gives it more firmness, then we cut our cereal box to the height that we think is most appropriate.
Luego de que tenemos la altura y forma que buscamos, comenzaremos a forrar con nuestro papel de revista, recuerda que esto igual lo puedes hacer con tela, papel de regalo o como se te ocurra forrarlo, yo lo hago así porque aún no tengo materiales acá para hacerlo más personalizado, y me parece una buena manera de reutilizar materiales y no generar desechos ni gastos extras.
After we have the height and shape that we are looking for, we will begin to cover with our magazine paper, remember that you can do this with fabric, wrapping paper or whatever you think of to cover it, I do it that way because I still don't have materials here to make it more personalized, and it seems to me a good way to reuse materials and not generate waste or extra expenses.
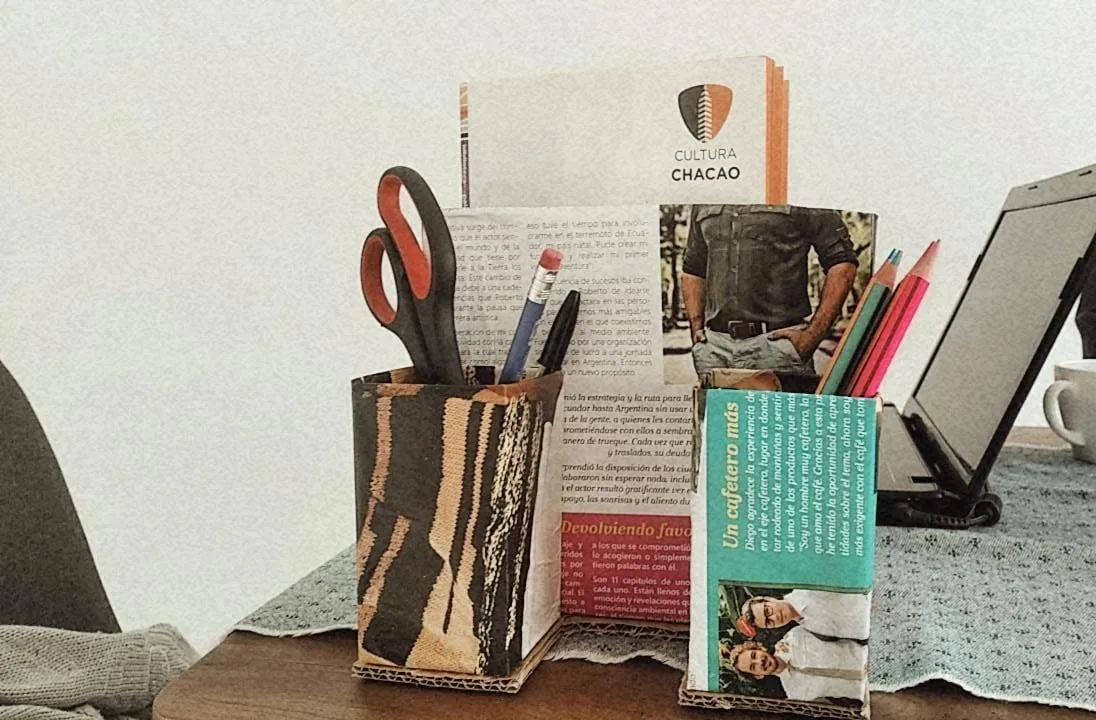
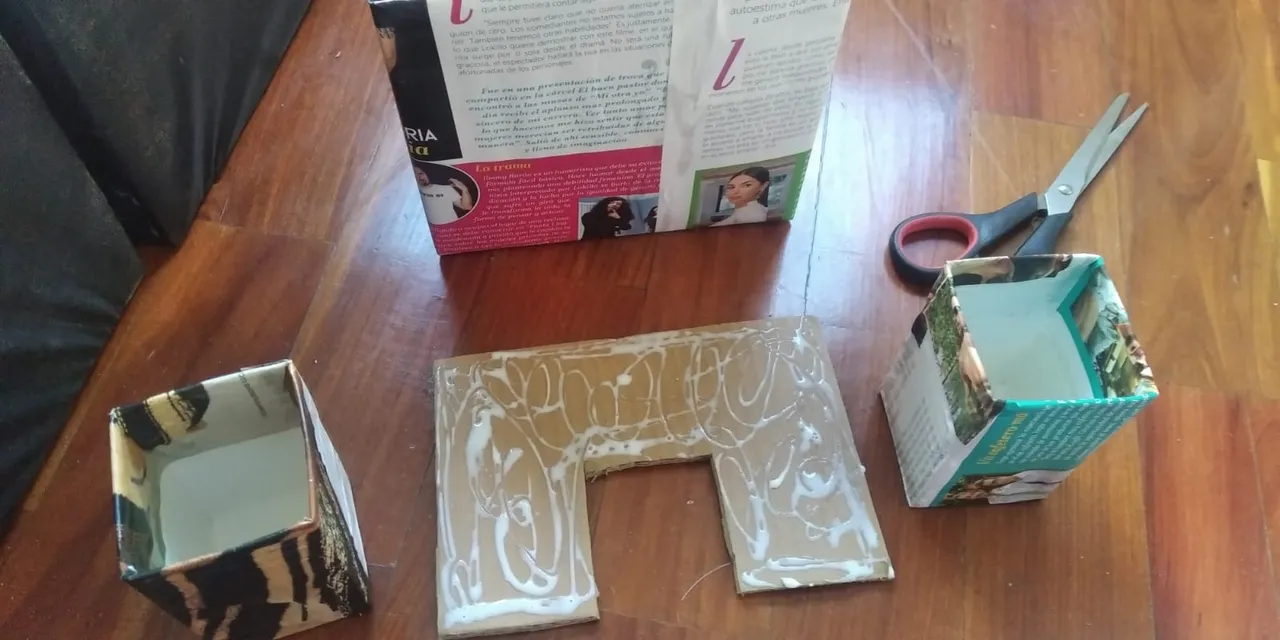
El último paso será buscar una base de cualquier cartón, marcas y cortas la forma que quieres que tenga y pegas con suficiente pega las cajitas ya forradas. Yo las coloqué sobre la base y metí cositas pesadas que le ayudaran a pegar bien.
The last step will be to find a base from any cardboard, mark and cut the shape you want it to have and glue the already lined boxes with enough glue. I placed them on the base and added heavy things to help it stick well.
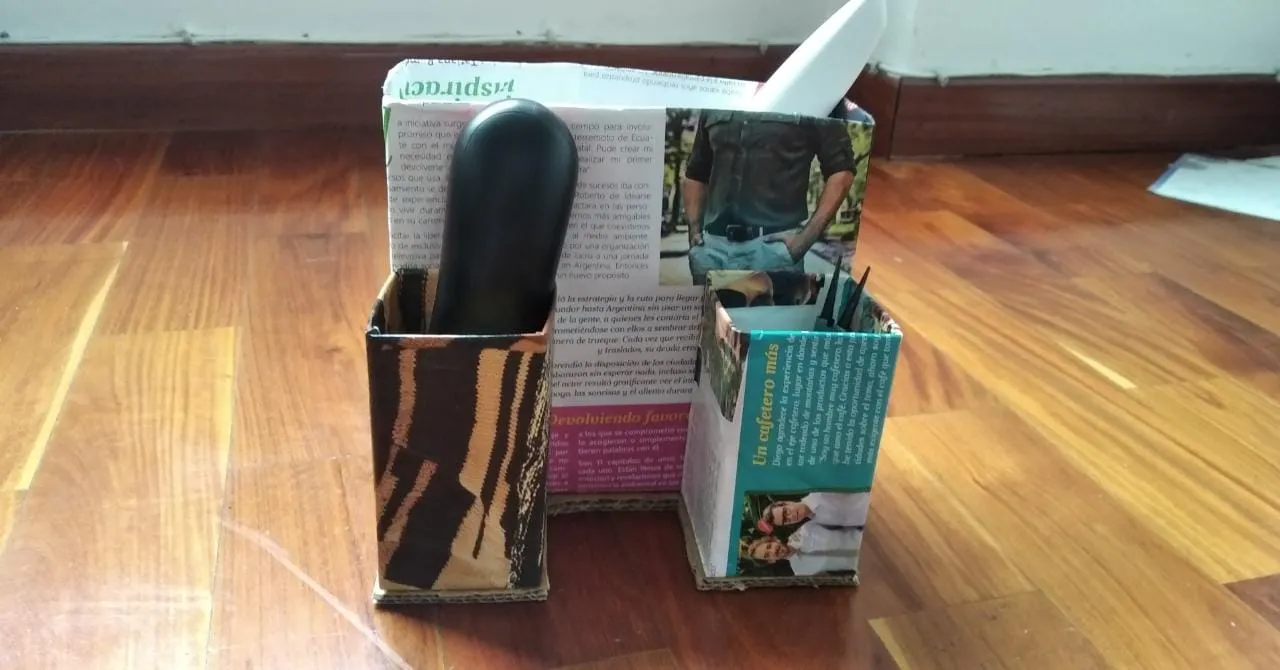
We already have an organizer without spending money or generating garbage!