It's finally here. All the history, mystery, and suspense has been building to this moment. Line up, friends, and lean in close... the mysteries of fire are about to be revealed...
Am I over selling it? Is it impossible now for the reveal to live up to the hype? Have I already ruined everything with a few handfuls of words and punctuation?
Sorry if I lost you there, my mind is still free wandering from the ephemeral effects of a needed rant I went on yesterday. I'll get down to business now, with my renewed focus and vigor. You may need some of that yourself, this one is going to run a bit long.
For this installment of the Rocket Stove series, I'll be building up the rest of the firebox, as well as finishing the 'bell' base and insulative layer on the riser. If the language is confusing, a quick read through the previous Rocket Stove post should help clear things up. If this is your first time reading about my rocket stove builds, the other installments can be found here and here.
Like so many of the rocket stove posts, the first picture isn't necessarily where we begin, but the picture that should be first isn't much of an attention getter. If anybody knows how I can make a picture other than the first picture in my post appear as the post preview, I would appreciate that info.
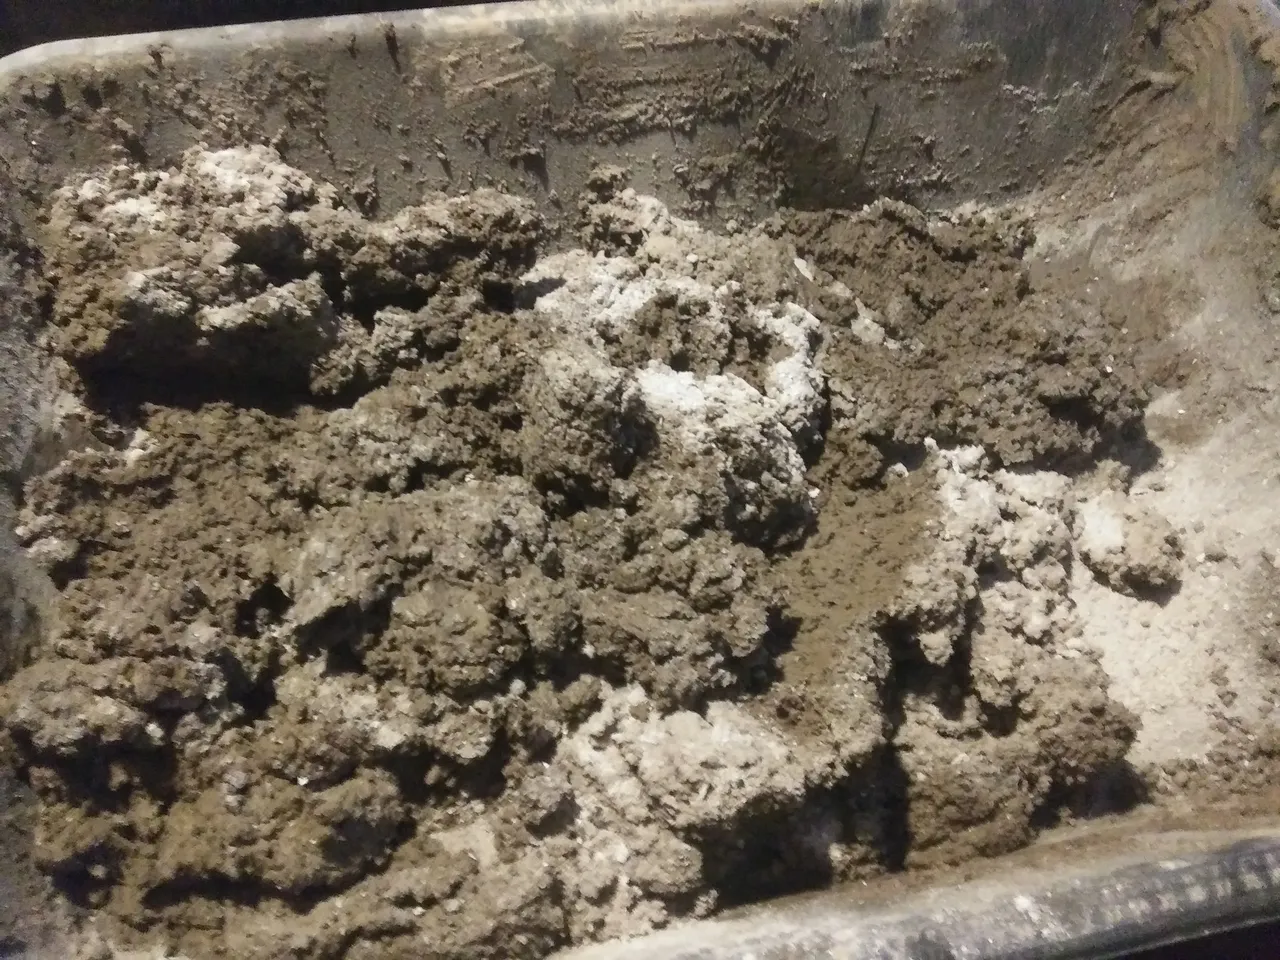
The picture below clearly illustrated the difference between clay that has been fired, on the left, and clay that hasn't on the right. If you look at the rocks behind these two piles of clay, you'll see that even the rocks are affected. This stuff that has already been fired once, called grog when added to a clay mix, can significantly reduce cracking during the drying and firing process. The wood ash also helps reduce cracking, which will bring us into the real beginning of this post, where we left off the last time.

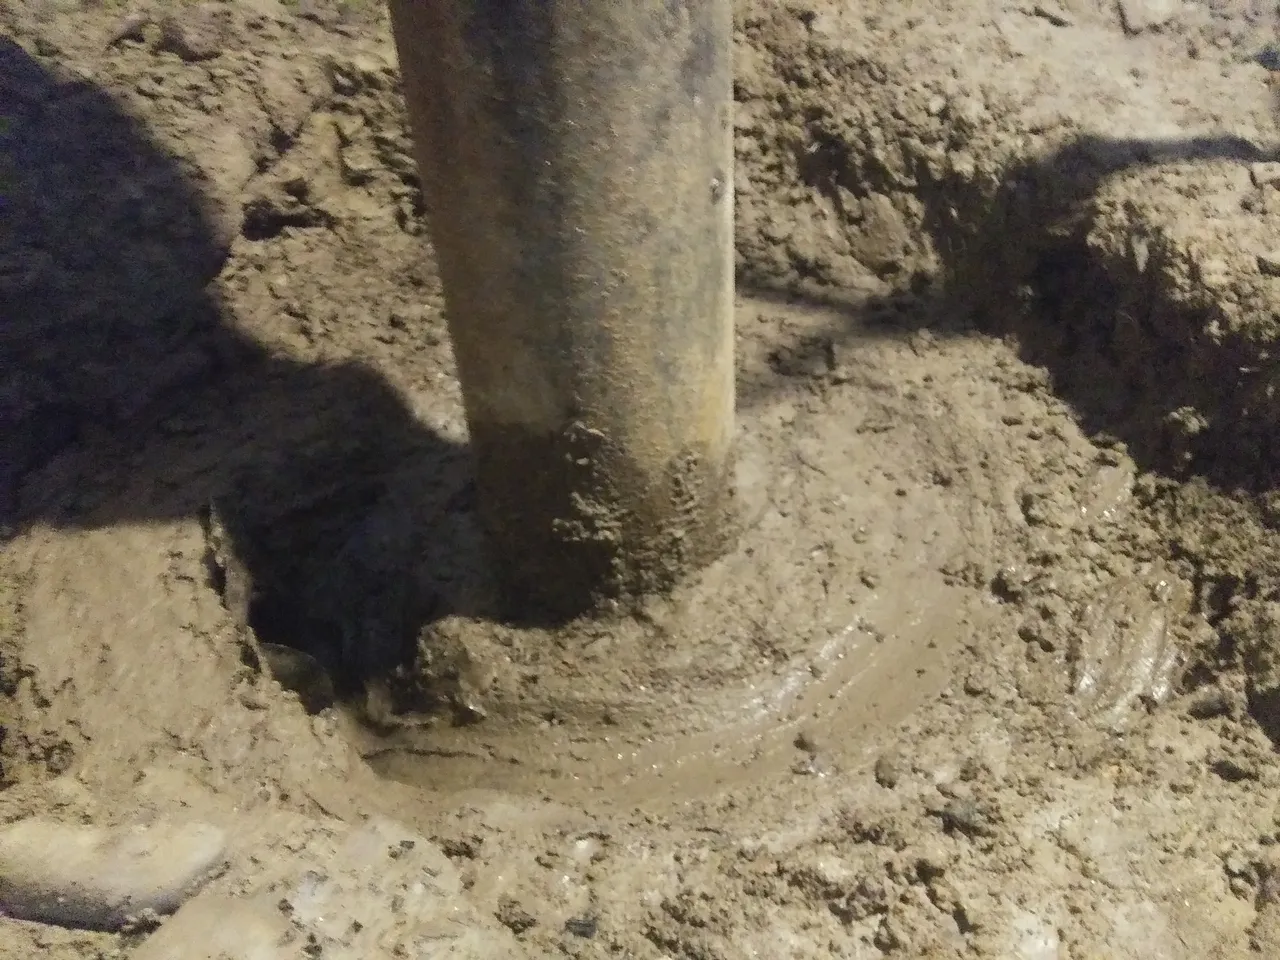
The picture below shows my experimental base mix 8 days after it was placed. It held its shape pretty well, but did not set as hard as I had hoped. If had used about 50% ash (by volume, not weight) in my mix, it's likely this would have set more like mortar. My mix was about 10% ash. Had it been all clay and placed this wet, it would have just flattened out over the course of the week, and never would have held its shape well enough to build the slope down to the exhaust pipe on the left side of the riser. Although still not all the way set, it is stiff enough to hold some weight and still workable, so I can continue building without any extra wait time.
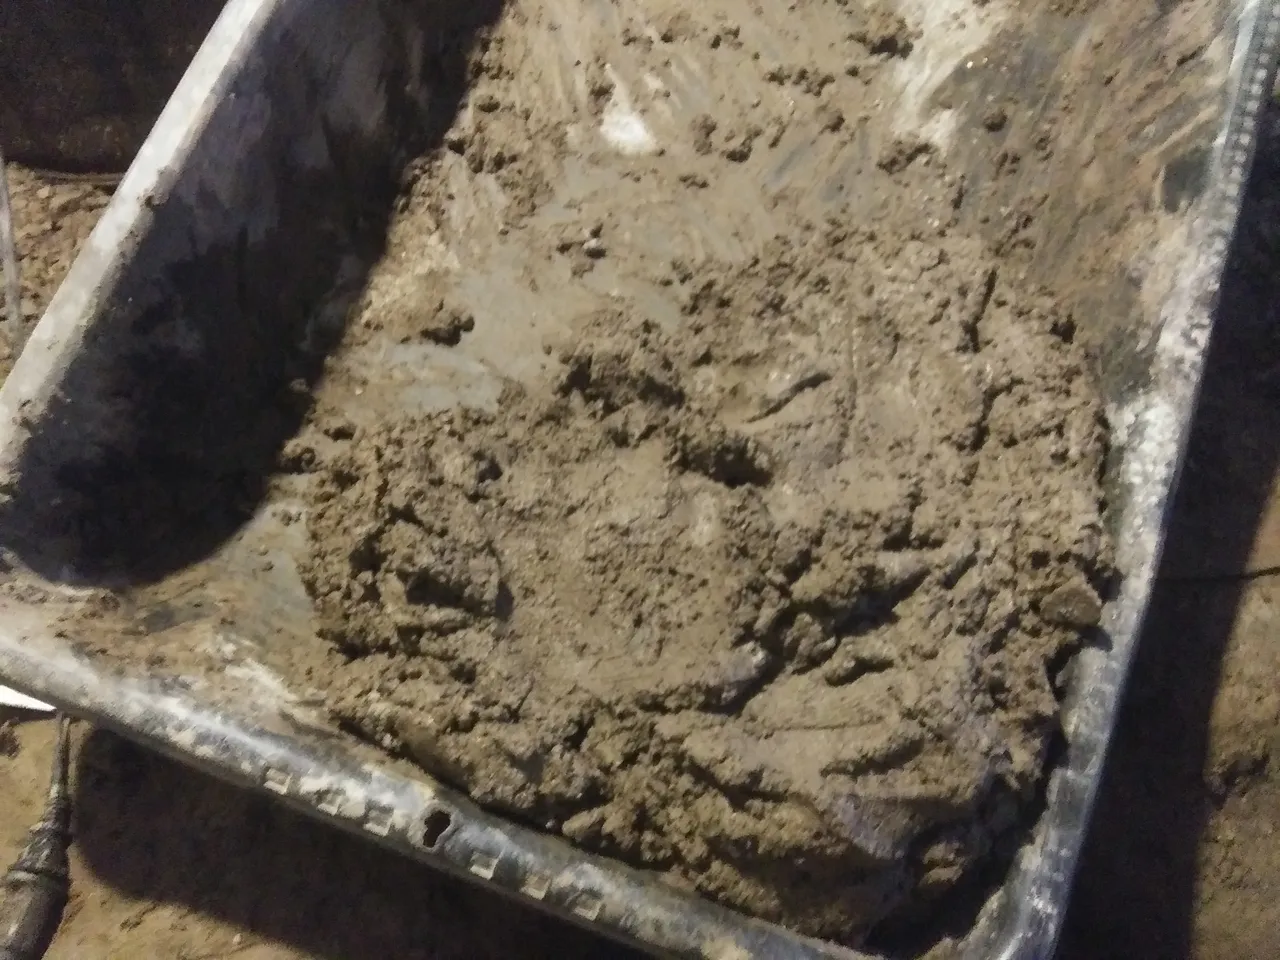
The clay gets mixed basically the same way as before, but the stiffer consistently makes it much more physically demanding. As you near the end of mixing, it becomes too hard to work with a hoe, and you knead it by hand, just like bread dough.
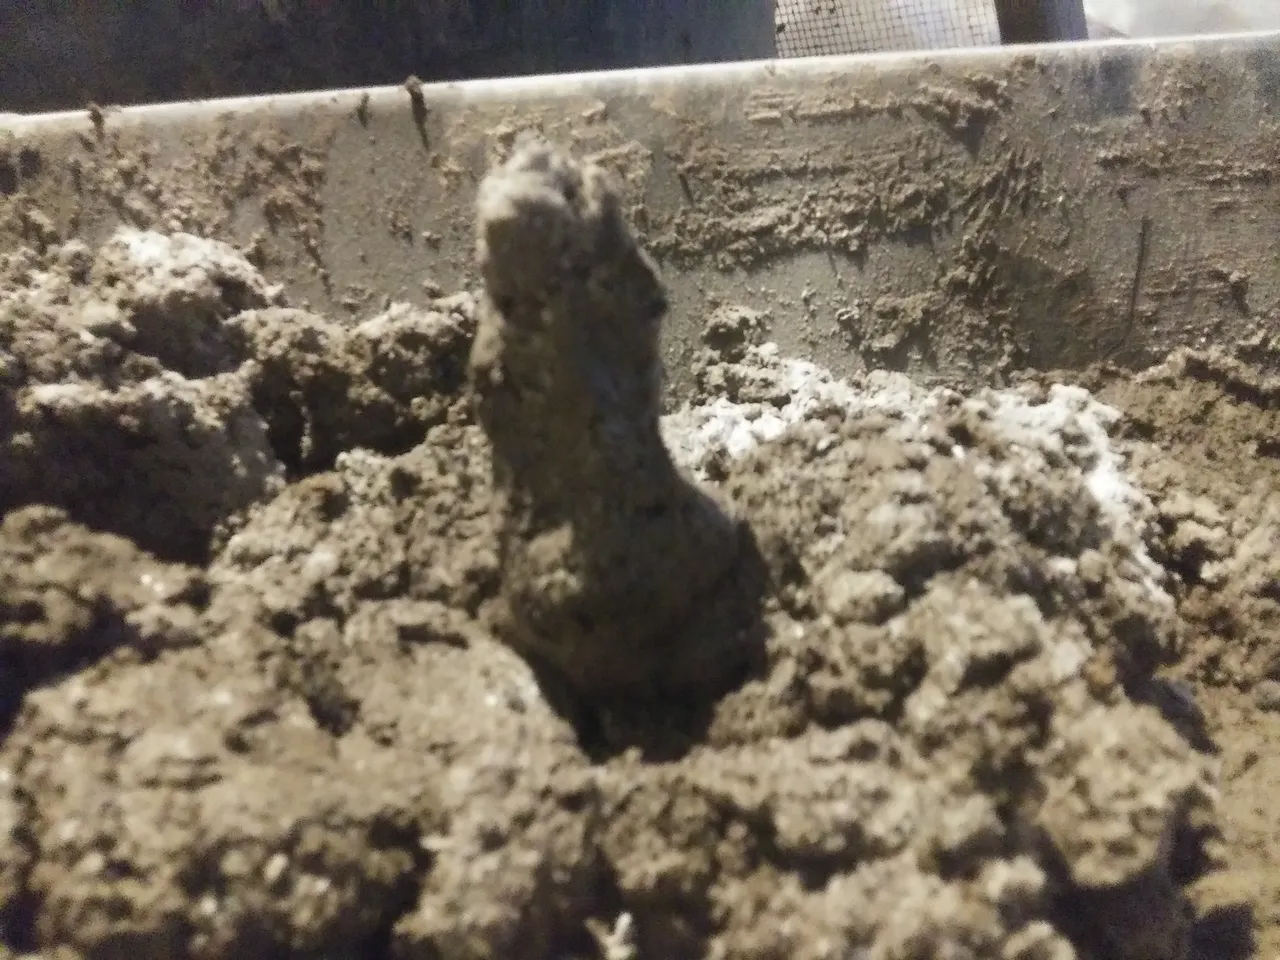
This mix will hold just about any shape you put it in. The very phallic shape below was not intentional, I swear. This is what it looks like when you squeeze a fistful of this stuff and let go. I'll reference the easy joke about why the inside of my closed fist looks so much like a dick now, so we don't have to do it in the comments 🤣. Hopefully I won't have to mark this one NSFW.
Once things are all mixed up, my tub will yield about 50 lbs. of nice usable clay body. To build what I'll show in the post, I used about 10 of these. If you're doing math on that, you'll see one of the reasons this got built outside instead of inside, and if you build one inside, do it in the basement. To do this build on a wood floor, I'd estimate your stove would have to weigh at LEAST 3000 lbs.
Working with this stuff is just like Play-Dough, just smash it into place. I grab a workable wad of clay, and then just push it in where I want it go, and smooth it out until everything is blended together.
Water will come to the surface as you work the clay, which will make it easier to get a smooth finish, just like cement. Because I only put this through a 1/4" screen, I get a lot of stony bits at the surface while smoothing. These can be pushed in or pulled out, but should be dealt with one way or another so you have a nice smooth finish when you're done.

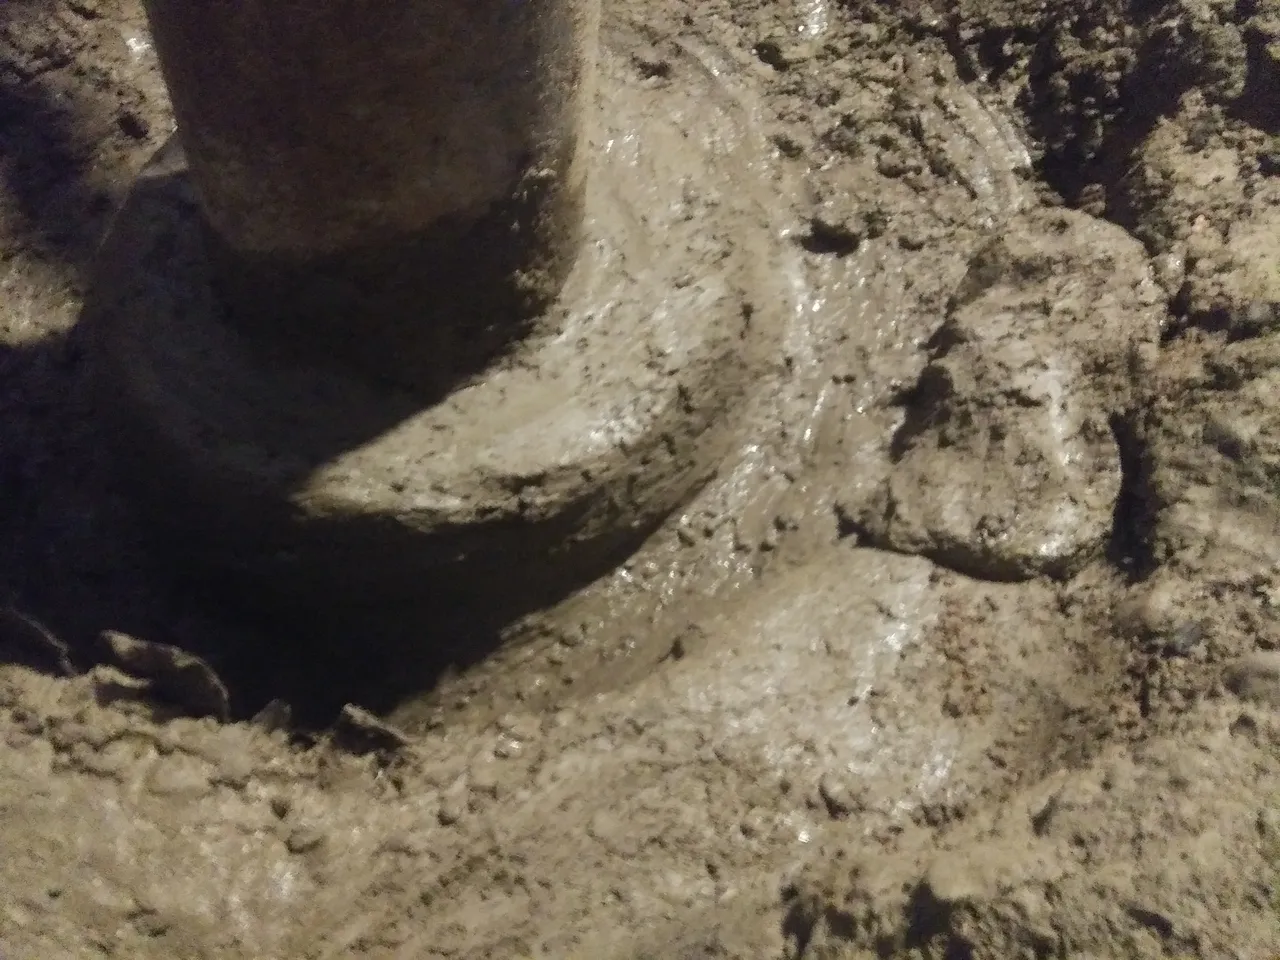
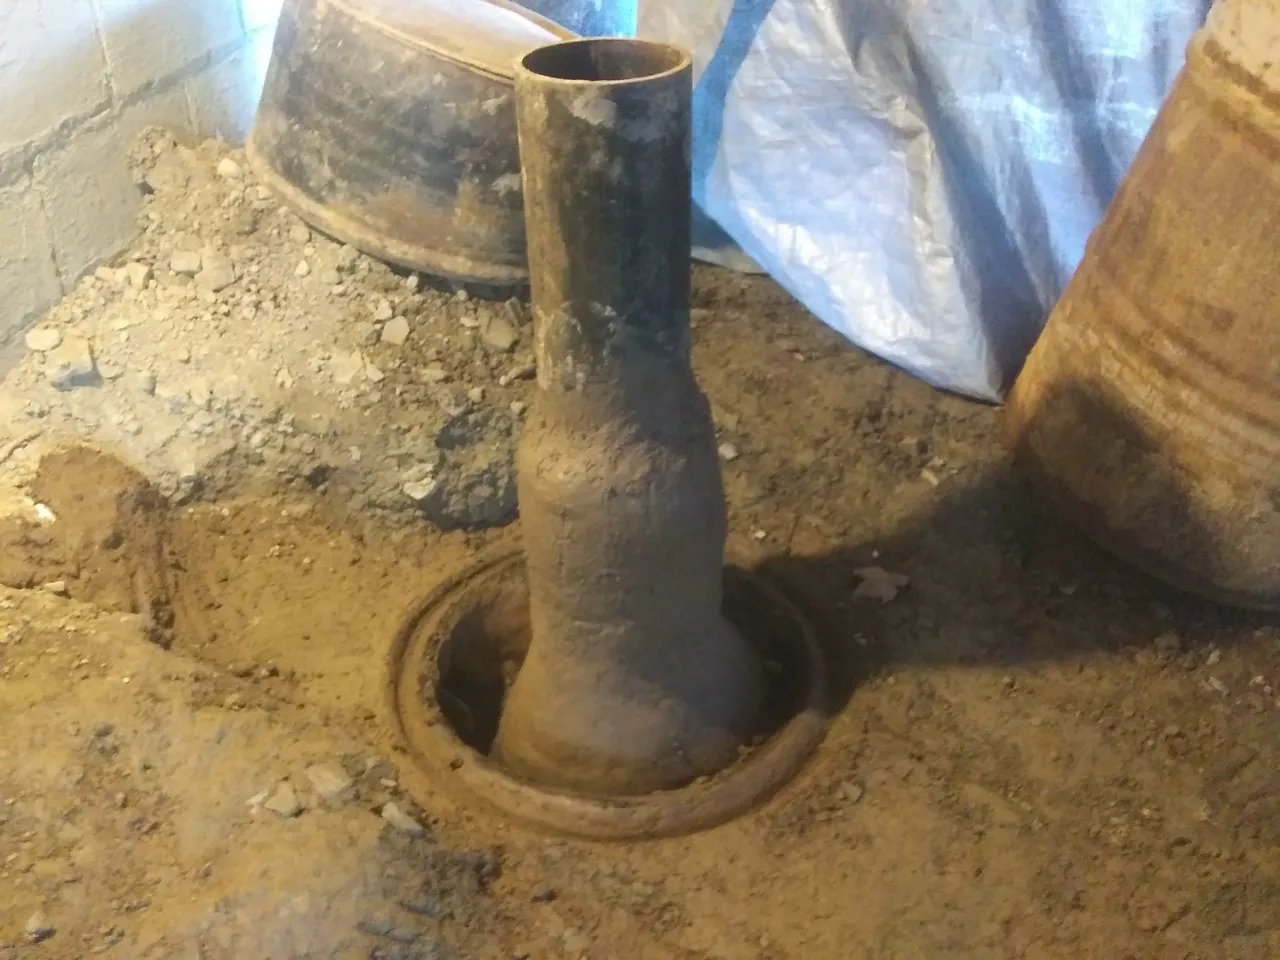
The wide, outer circle of clay will be the base where the open end of my 55 gal. drum bell will sit. The bit around the riser will continue upward, to better insulate the riser. The area that slopes down to the exhaust is sloped aggressively to help channel any condensation down to the exhaust pipe, where it can drain out through the bottom of the pipe or eventually travel out the exhaust as steam. I DO NOT want water to lay on any of this clay.
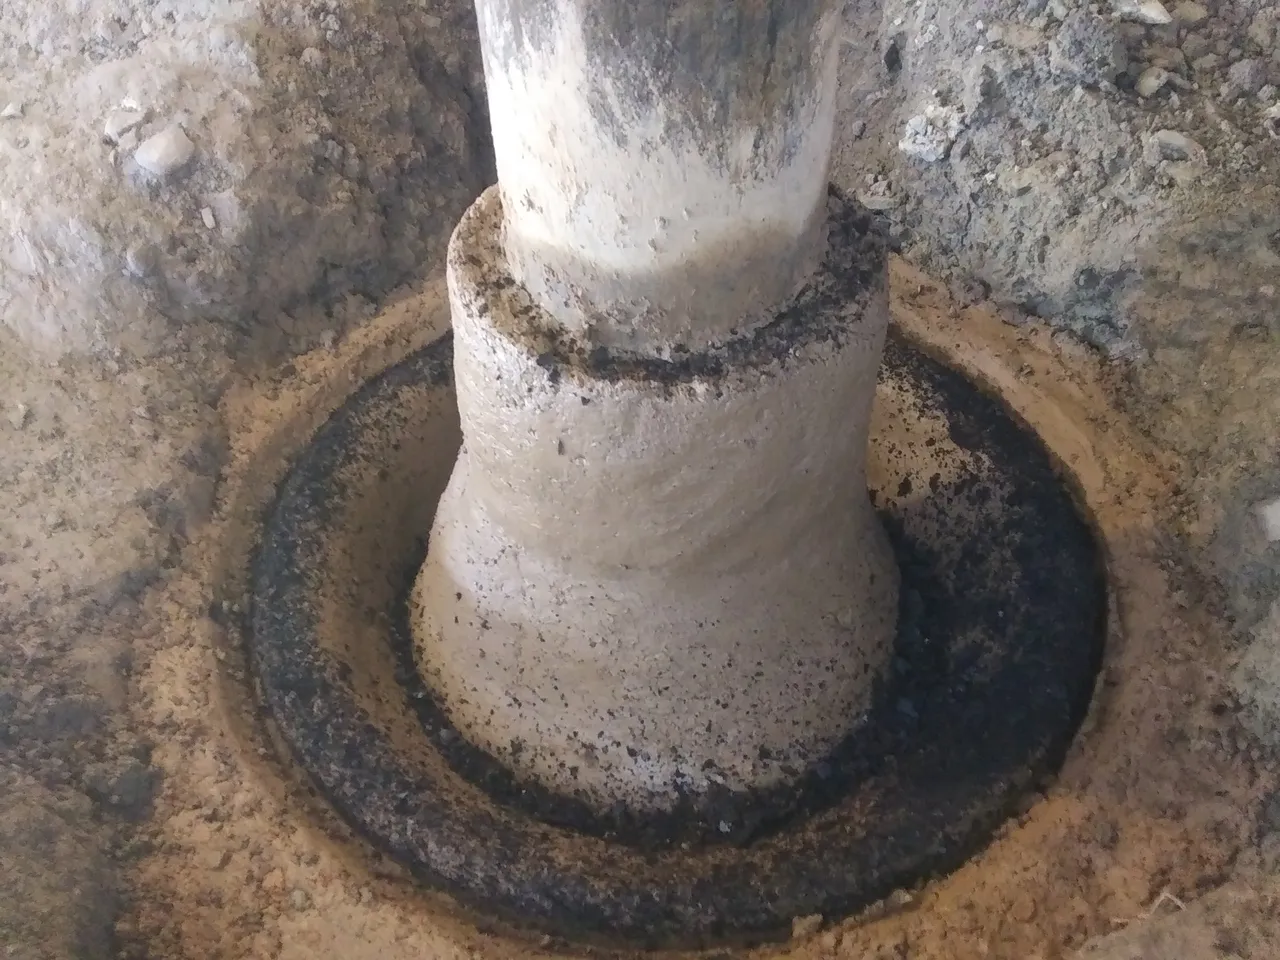
The picture below shows the same thing, the following day after some rain. The 'dots' you can see in the bell base are where water dripped onto the clay from the deck above. Without the ash in this mix, that whole portion of the base like would have washed down the exhaust pipe. The humidity was making things take too long to dry, so I brought out an old space heater to keep things moving along.

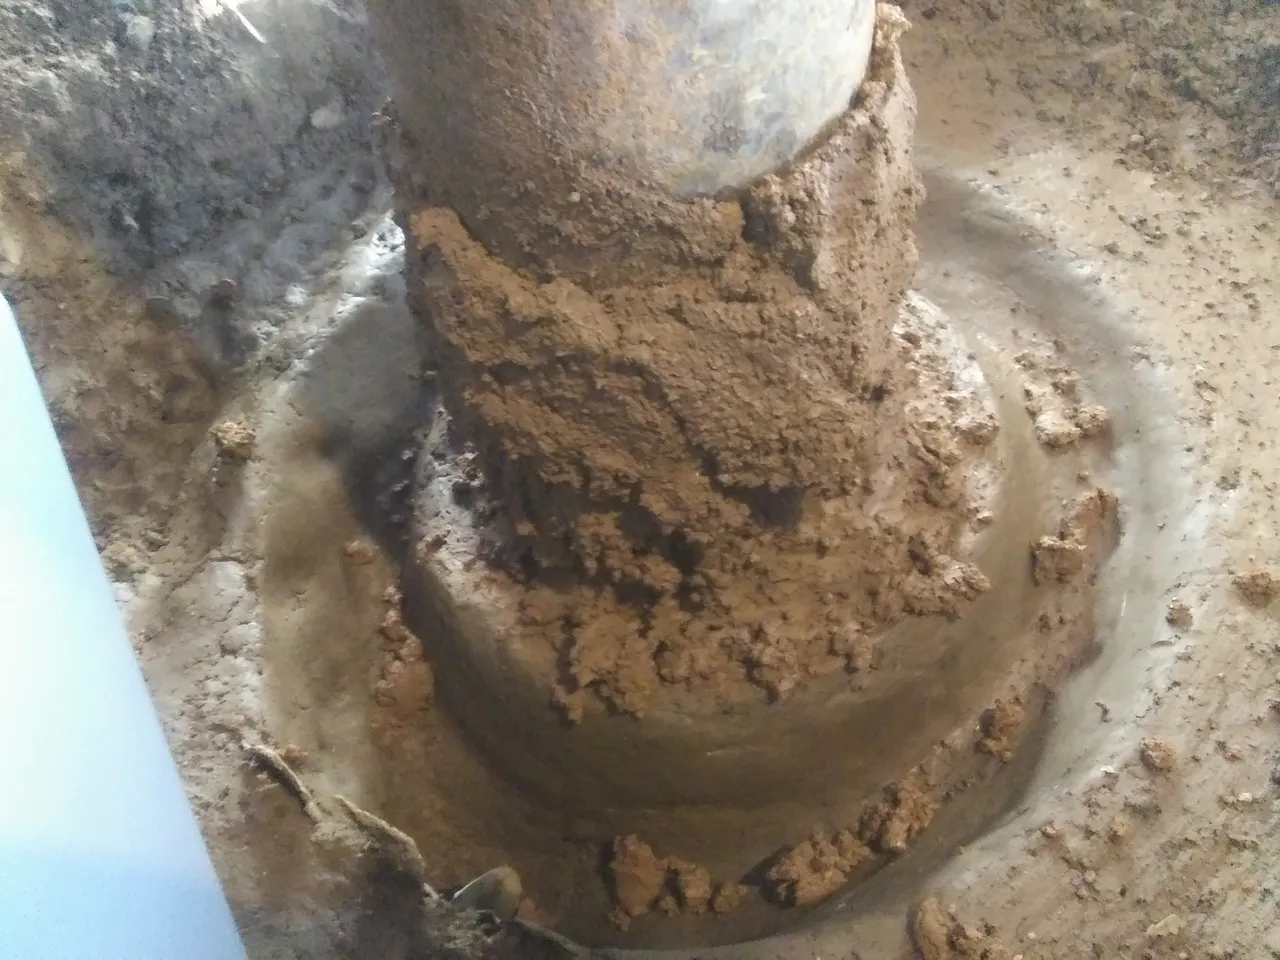
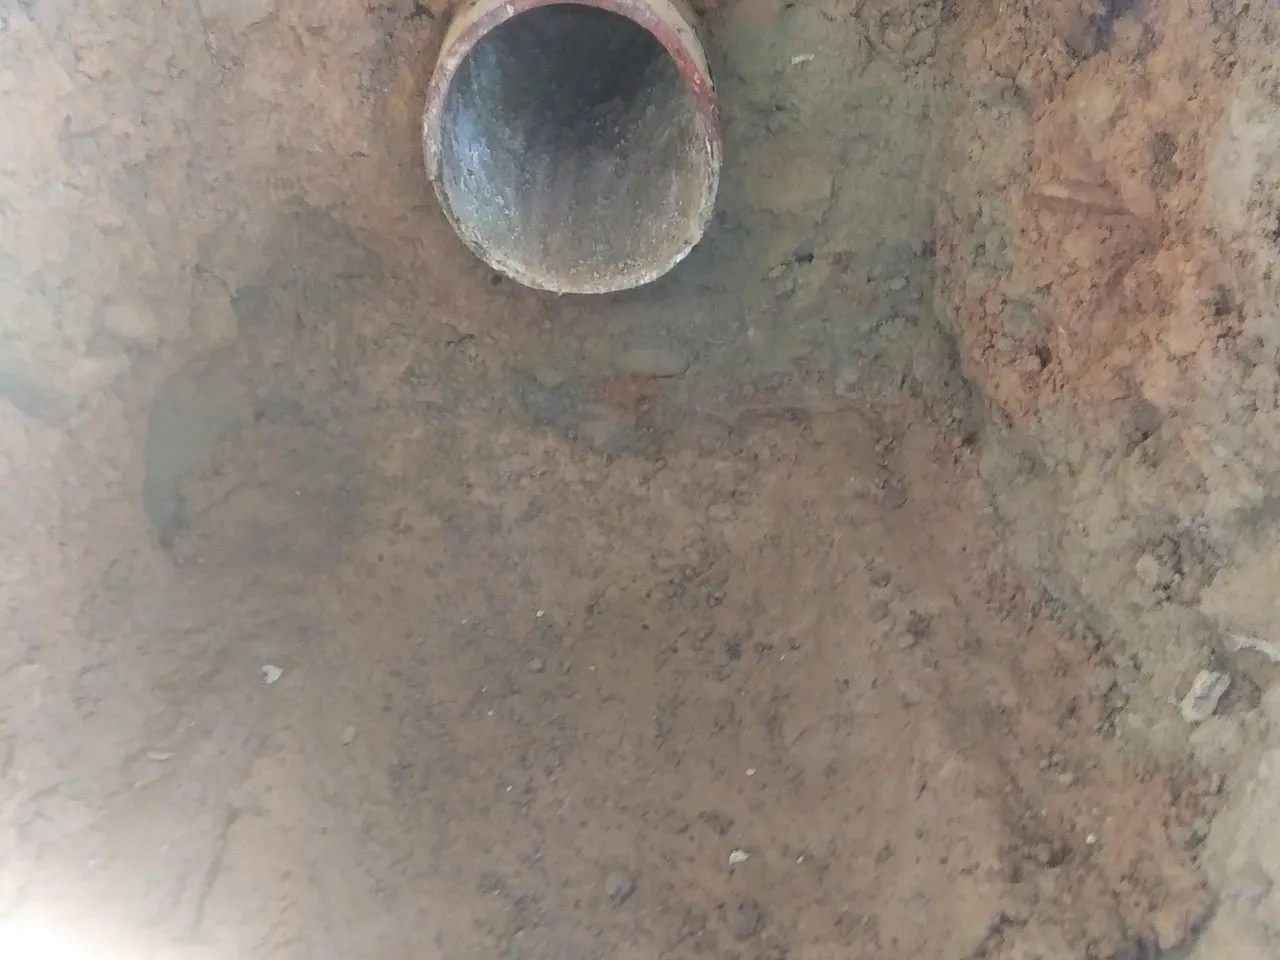
To get good adhesion to the metal of the riser, I smear the clay on it until it sticks, then build it out. It is important to use as dry a mix as you can for this, because a layer of water will form between the clay and metal, causing wetter mixes to slide down the pipe.
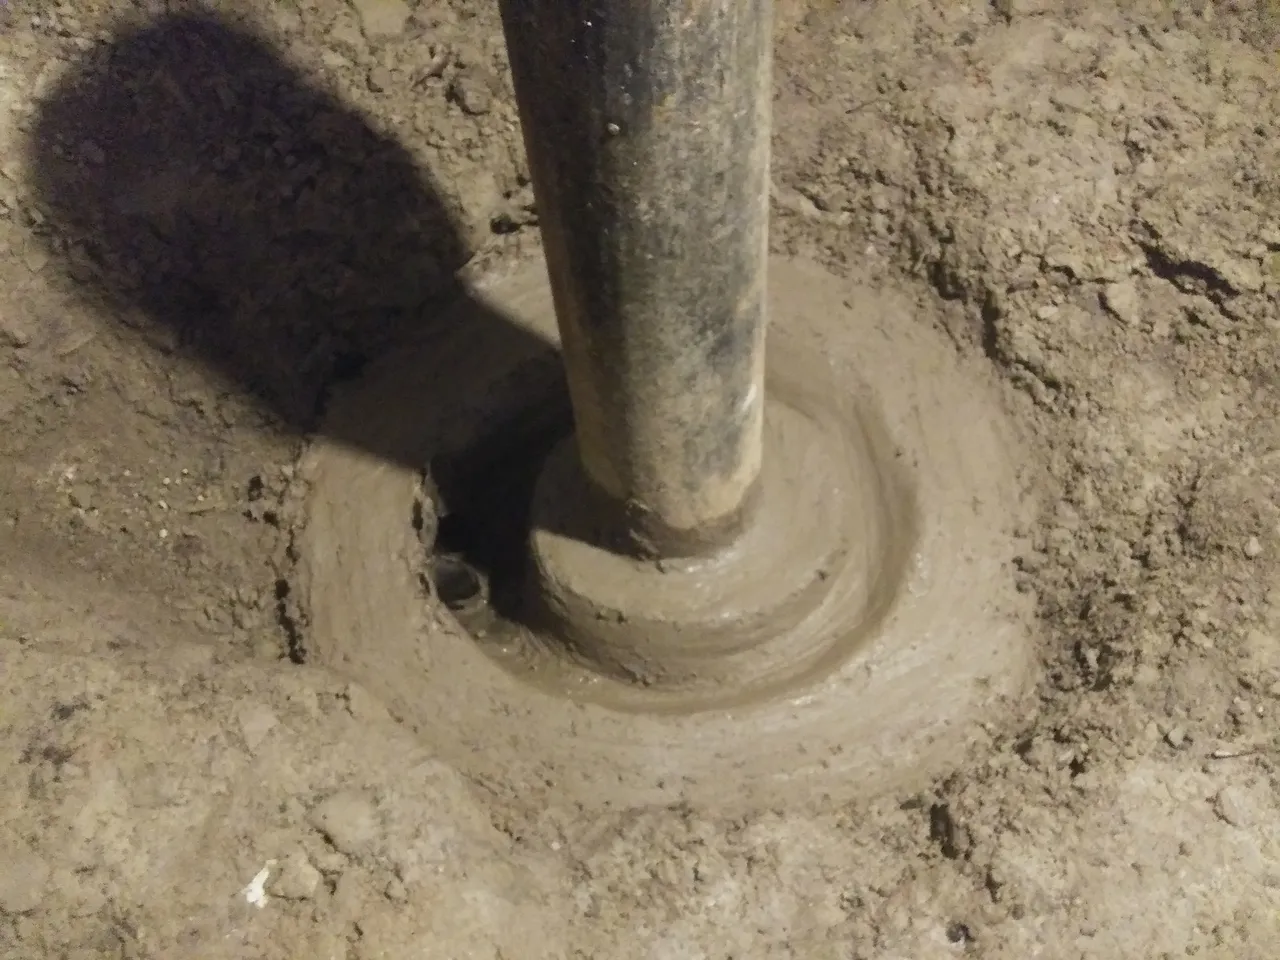
I also worked a groove into the bell base. This will help make sure no smoke leaks from the bottom of the barrel, and will also help keep condensation on the inside of the barrel from running down into the exhaust. The indent also has a drain, but it's kept small and fairly flat. A little bit of water at the bottom of this groove will help seal things.
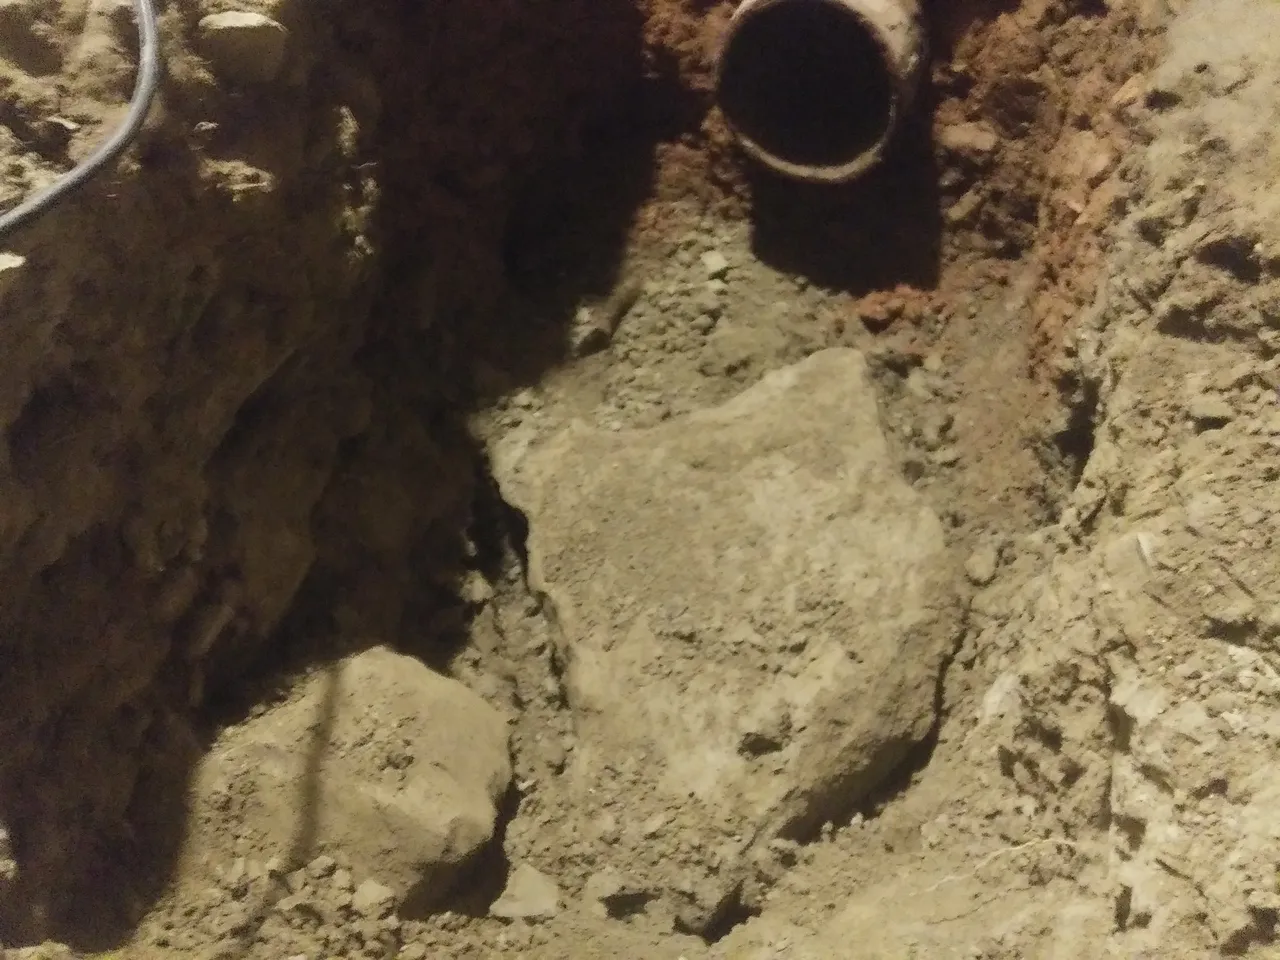
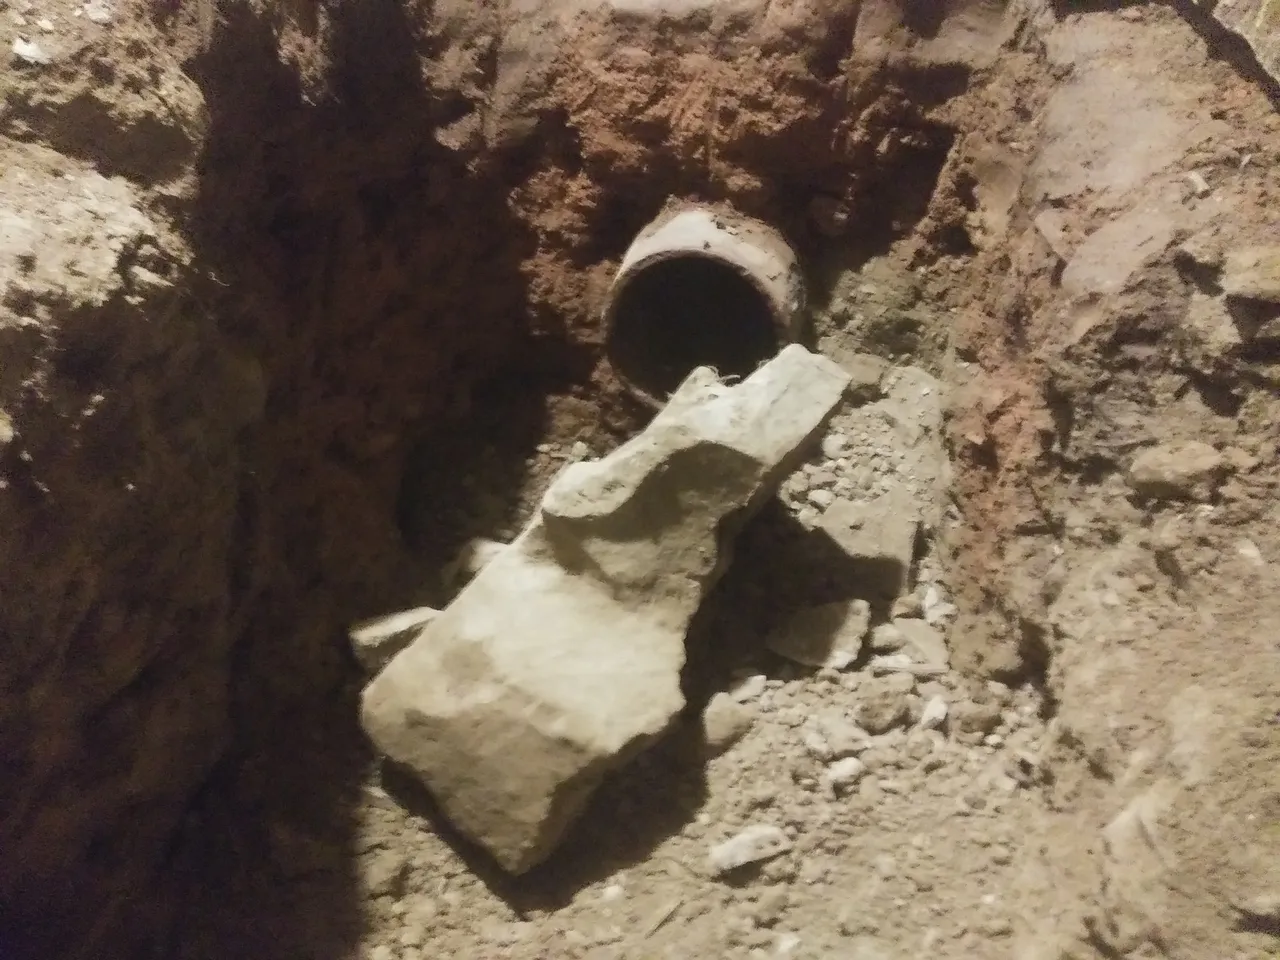
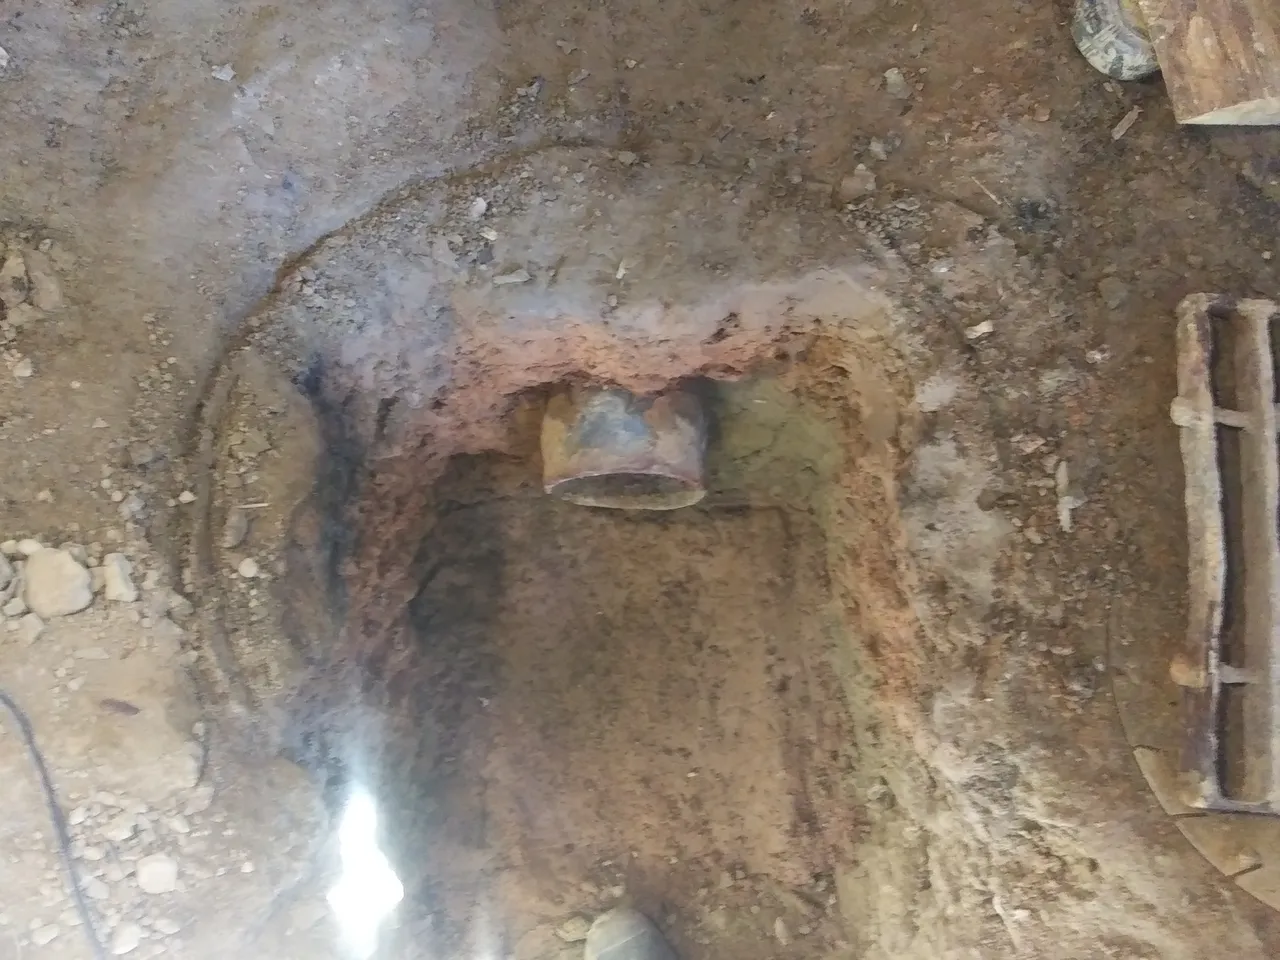
Of course, excavation for the firebox had to be difficult. The large flat rock you see here only had about 1" of its tip sticking into the area I needed dug out. That smaller looking rock, in the lower left of the picture...
...it also turned out to be bigger than it let on!
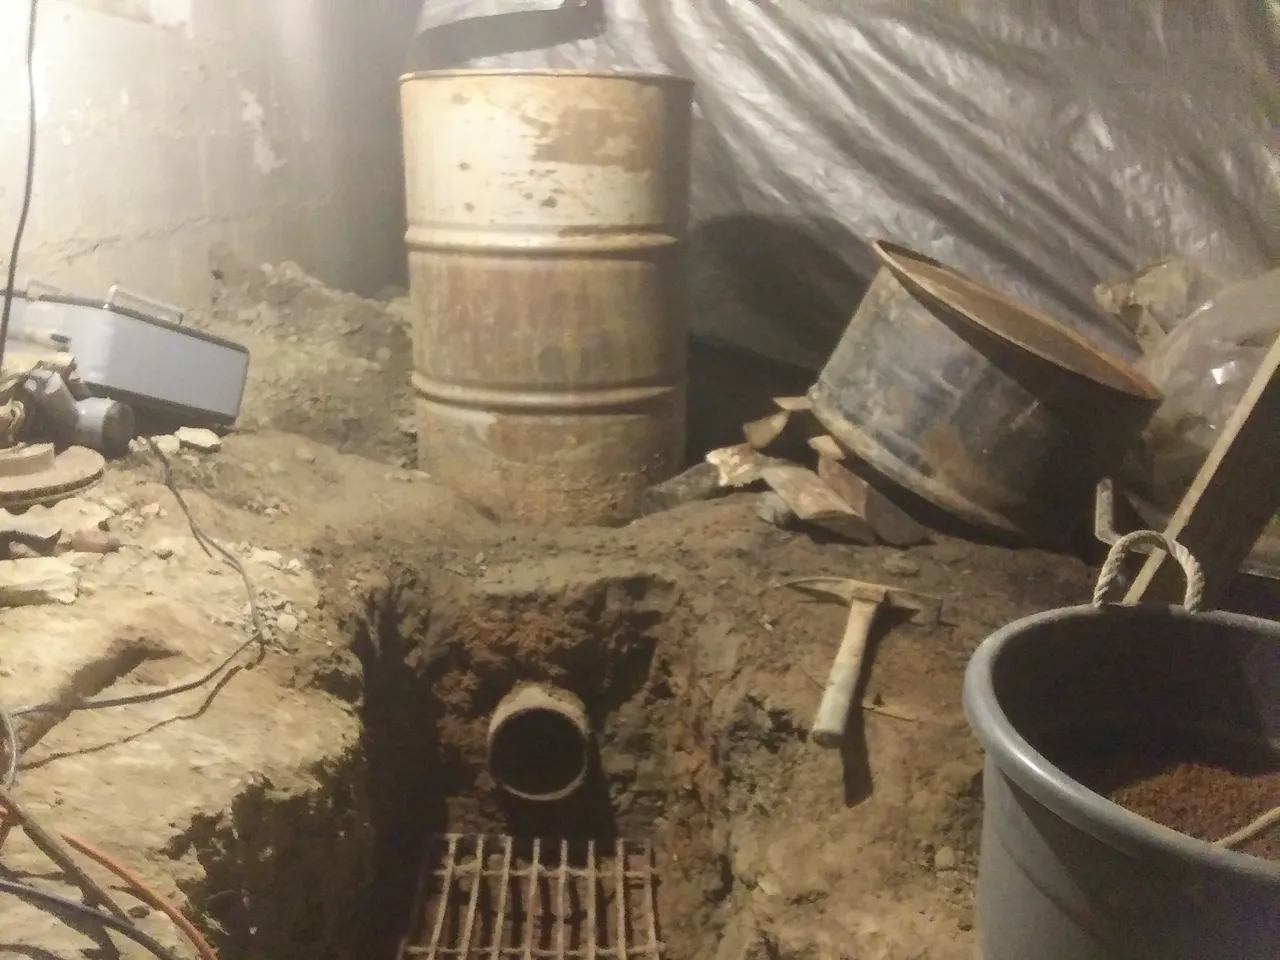
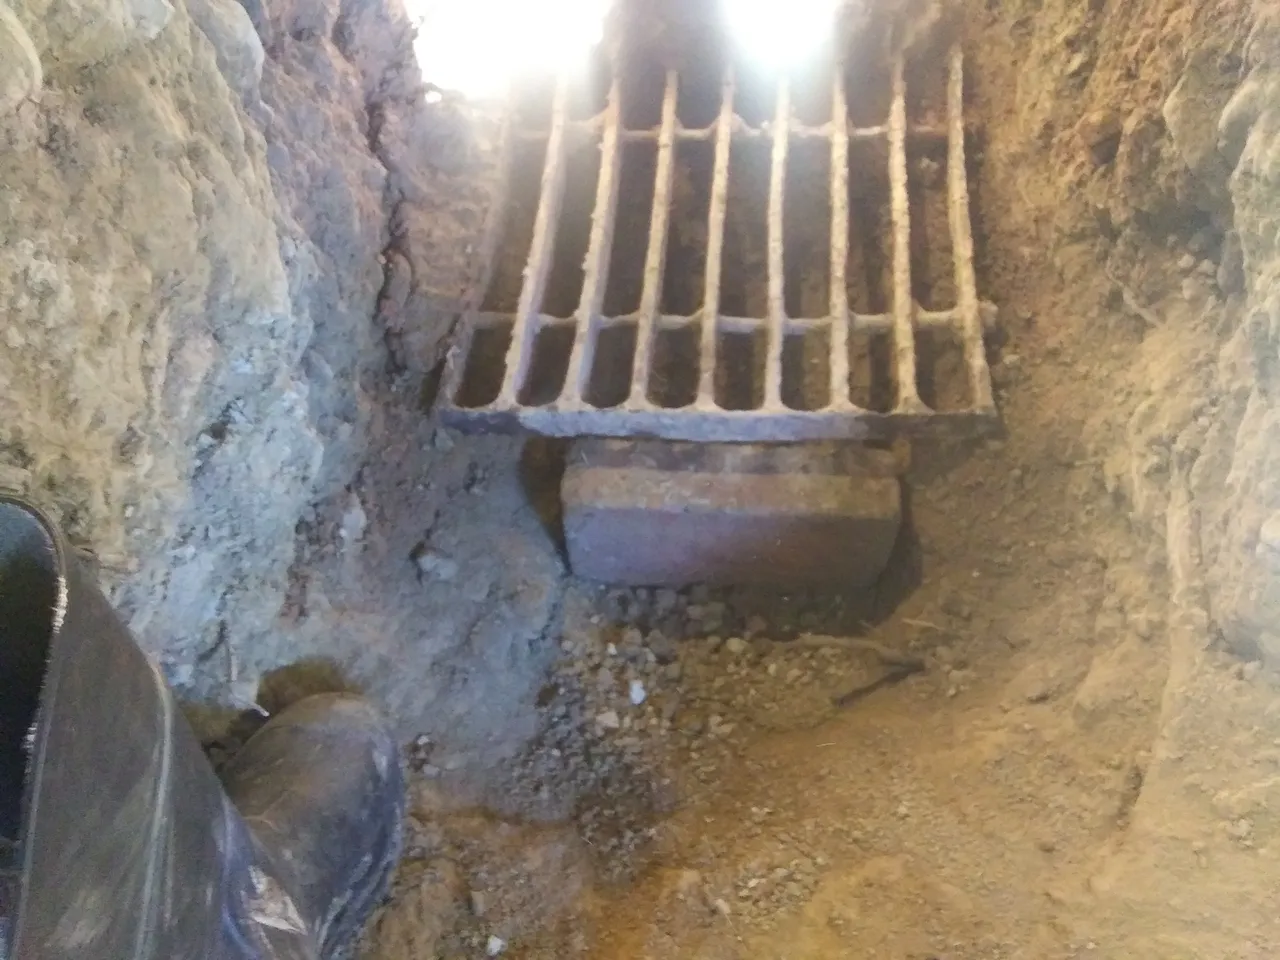
Once all that nonsense is out of the way, I fill in any large holes with my clay mix, and lay the base for my grate. This kind of work is a great stress reliever... most of this got punched into shape.
With the grate in place, I can get to work on the rest of the firebox. Things move fast in a post, but we've already covered 3 days of work to this point!
I move back and forth between the two parts of the stove, to give the clay time to rest. Clay does not like to be rushed. I'm a little worried about the clay I'm adding to the riser cracking and falling when I start firing this thing, but we'll cross that bridge when it's time.
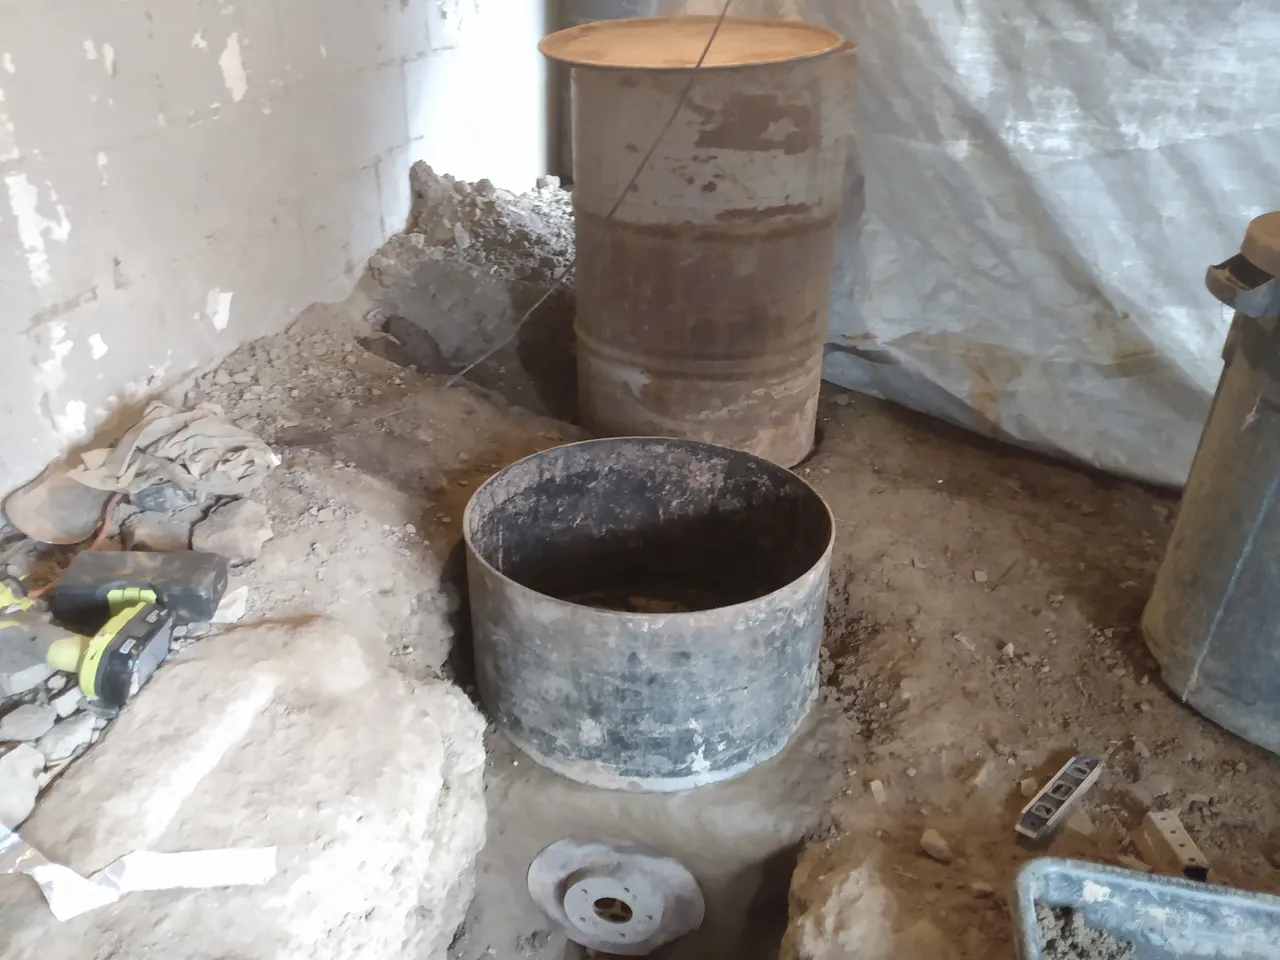
This shows mark where my 'hopper' barrel will sit that still needs to be dug out. At this point, all of my excavation is getting screened, mixed, and put right back into place.
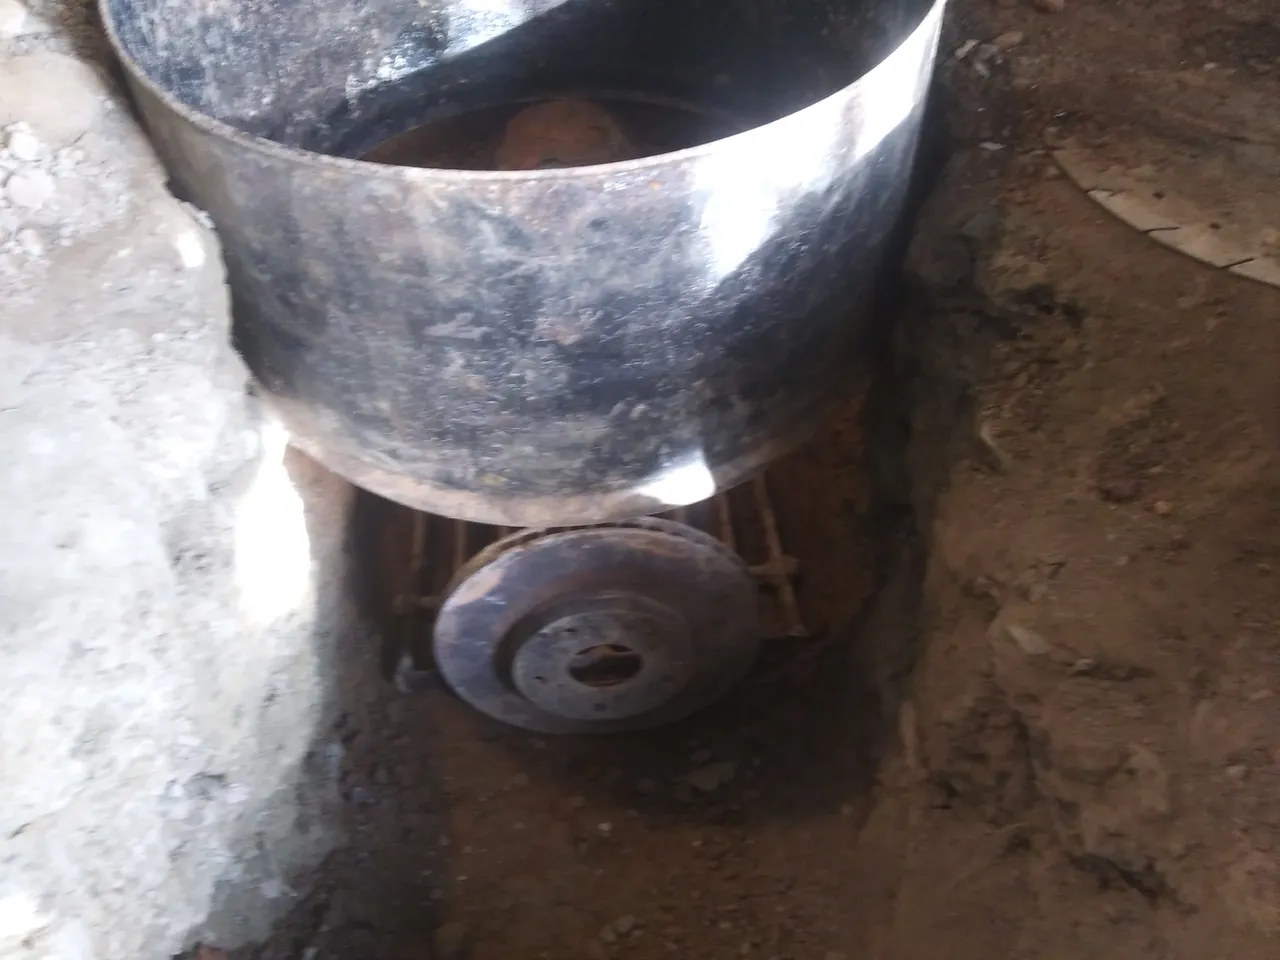
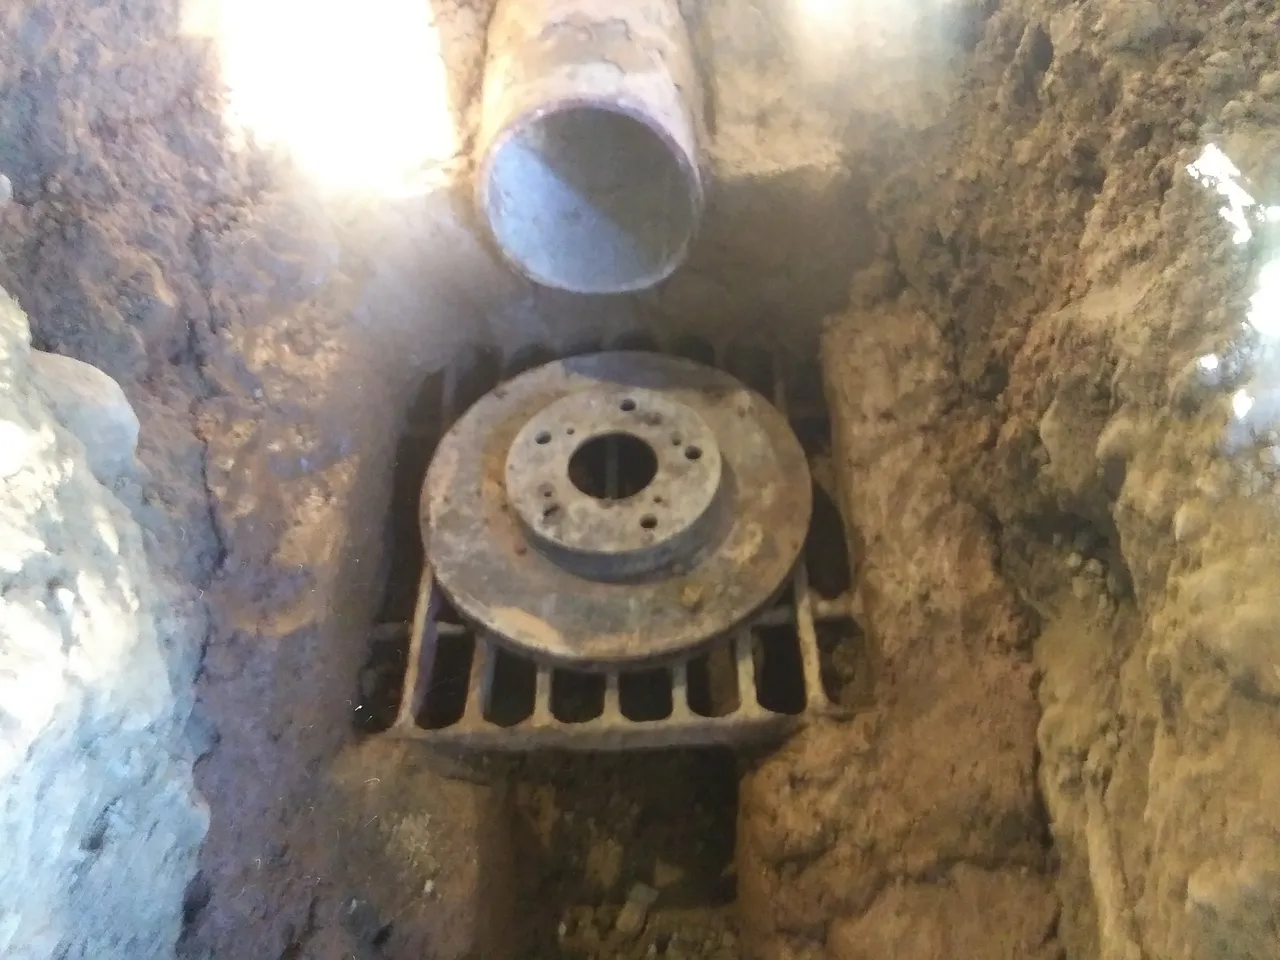
Before I can set my hopper, I'll need to have my access port (the old brake rotor) fixed into place. This will be where I monitor and poke the fire from.
This brick will be where the main air intake is. This is also where I'll clean out the ashes. Because it doesn't burn as much wood, the rocket stove doesn't leave a lot of ash behind, only two little fireplace shovels full after burning for a whole day.
You can see how the edges of this stiffer clay mix pull away from the native dirt. I would have liked to try making the firebox from my 'pourable' mix, but I want to be able to use this thing before it gets too cold, so I don't have time to wait for wet mixes to dry.
Even with these stiffer mixes, the clay will deform under too much weight, so sometimes I have to let things set up before moving on. Even with the space heater, it takes at least 4 hours for this mix to dry out enough that it's solid.
Using the heat gun help me get specific spots that are drying too slow. Many people who work with clay will tell you that it's important to let things dry slowly to avoid cracking, but that isn't true. What's most important is that things dry evenly. Where cracks appear is usually where you have a wet spot between two dry spots.
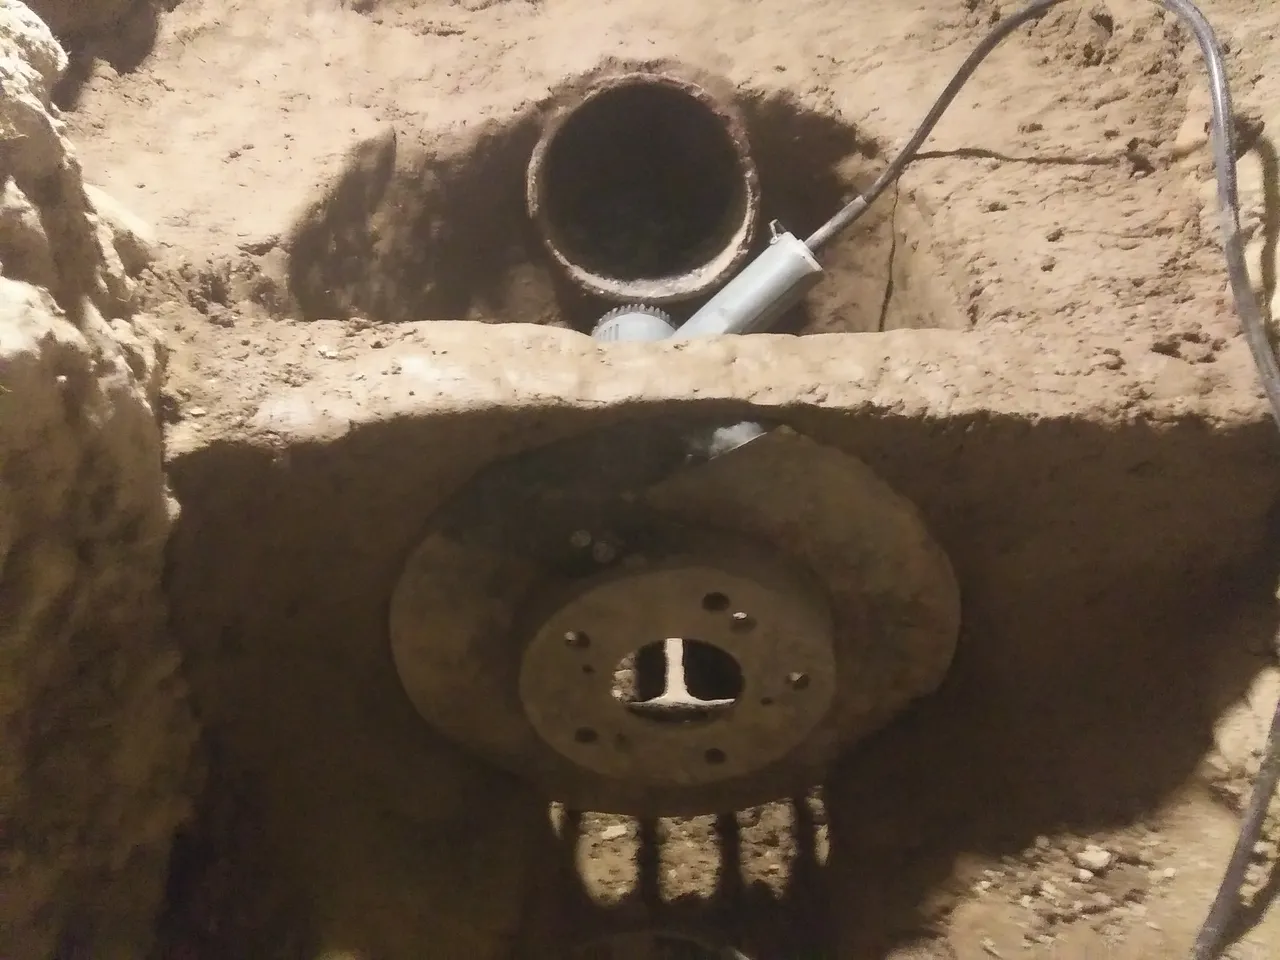
My brake rotor access hatch was supposed to be removable, but once the clay on top of it set I wasn't able to pull it back out. That's not a deal breaker, I'll just modify the rotor a bit farther down line. For setting my hopper, I leveled it up with a couple clay columns, then just filled in the gaps.
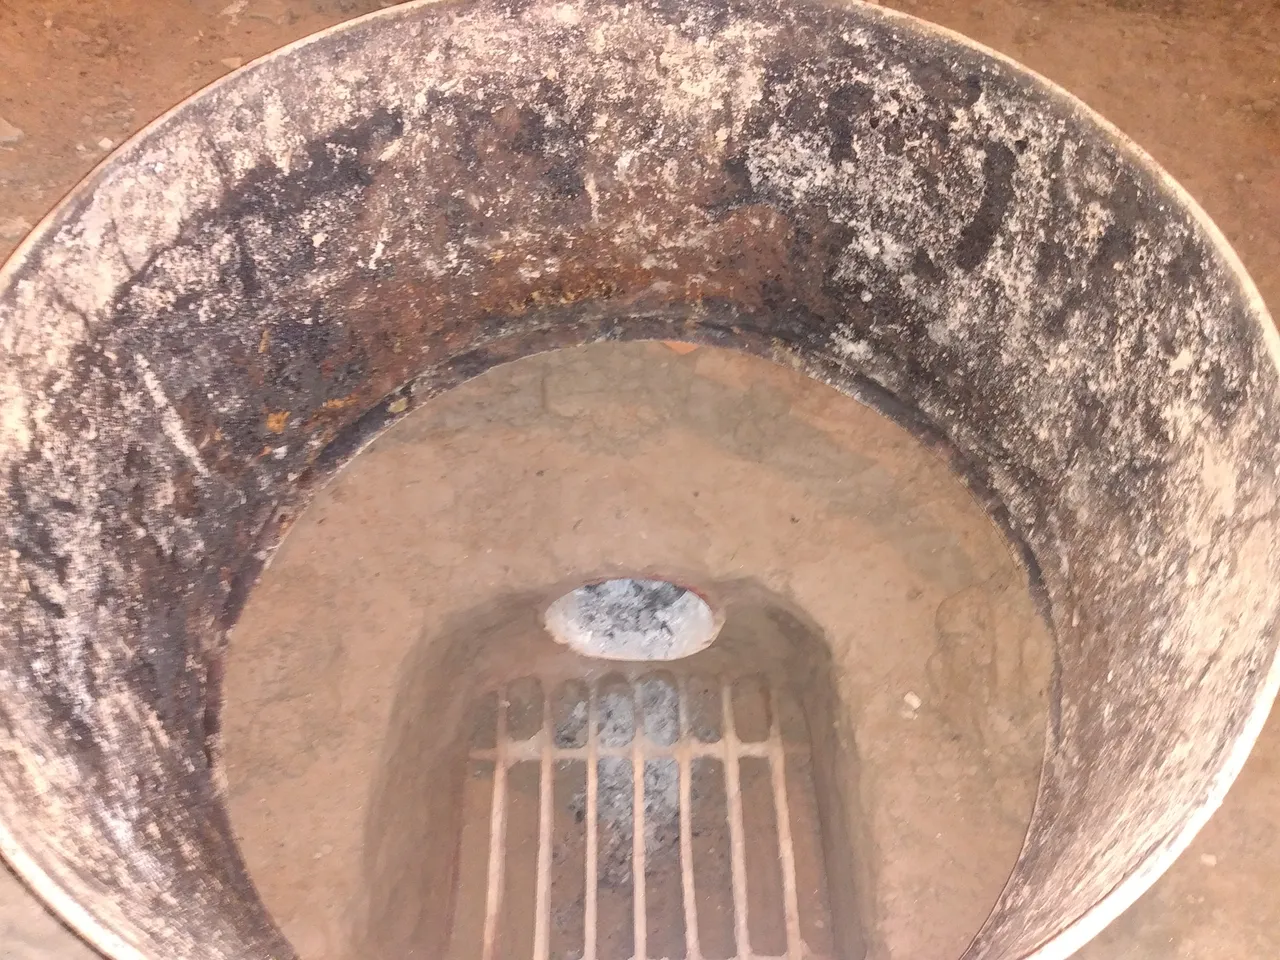
Below is the view looking down into the hopper. The fire burns at the bottom and is sucked into the pipe. As the wood at the bottom is consumed, the wood on top falls down into the fire. When the hopper is full, the heat from the fire below will begin converting the wood to charcoal, creating a lot of very flammable smoke called syngas or woodgas. It is important that the hopper portion is airtight, or your wood will just burn up in the hopper, and it is possible that built up gas could ignite all at once, causing an explosion. This is what causes the 'backdraft' fire effect I discussed in Rocket Stove part 2.
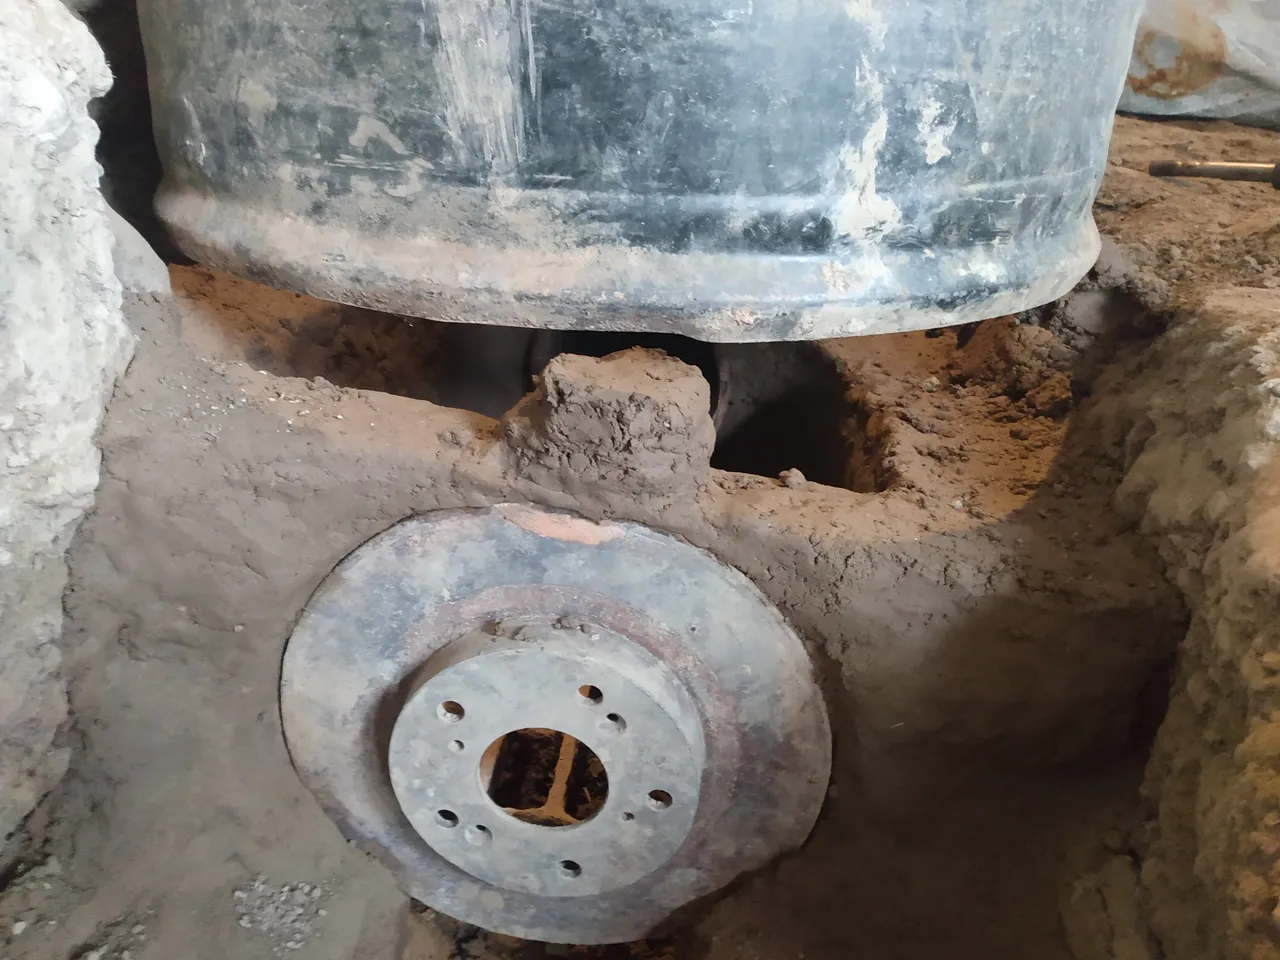
Three very long weeks later, this baby is ready for a test fire (which already happened, result in the next Rocket Stove post). Well, not 100% ready, I want to let everything dry as much as possible before putting any fire in here. The drier it is, the less chance of cracking.
Of course, this build is by no means finished. I have a some metal to add to the hopper, so I also capture the heat generated there, and a whole room to build around this thing so all the heat goes into the house. None of that work is actually done yet, so I suppose I better get busy if I want to blog about this project often enough to keep folks interested!
I did skip a few things in this post, like dealing with the cracks that appear. I promise I'll address those and other problems in future installments. Now that I've walked you through the main parts of the build, I'll try to get into some more detail on specifics as we go along.
I hope you all enjoyed this, and I hope to see you all back for more! As always, I'm happy to answer any questions, queries, and criticism in the comments. Be well everyone, and don't be afraid to give it a try!