Greetings, all you glorious gardeners and gleeful gawkers! For this post, I'll be talking about some of the challenges of gardening on a slope, and showing off a project I'm working on to make one of my gardens a bit easier to deal with. I'm trying to take advantage of a rainy day to get several posts scheduled, so I'll skip most of the introductory filler words and get right to it.
Gardening on too steep of a slope is a constant battle against gravity. Water, nutrients, soil, and sometimes even plants will always be moving from the uphill side to the downhill side. While watching all these movements take place can be fascinating, the extra variables make it difficult to manage a consistent garden. Ideally, I would rent or borrow a mini excavator to make short work of flattening this space off, but I currently don't have a path to this garden that is excavator accessible.
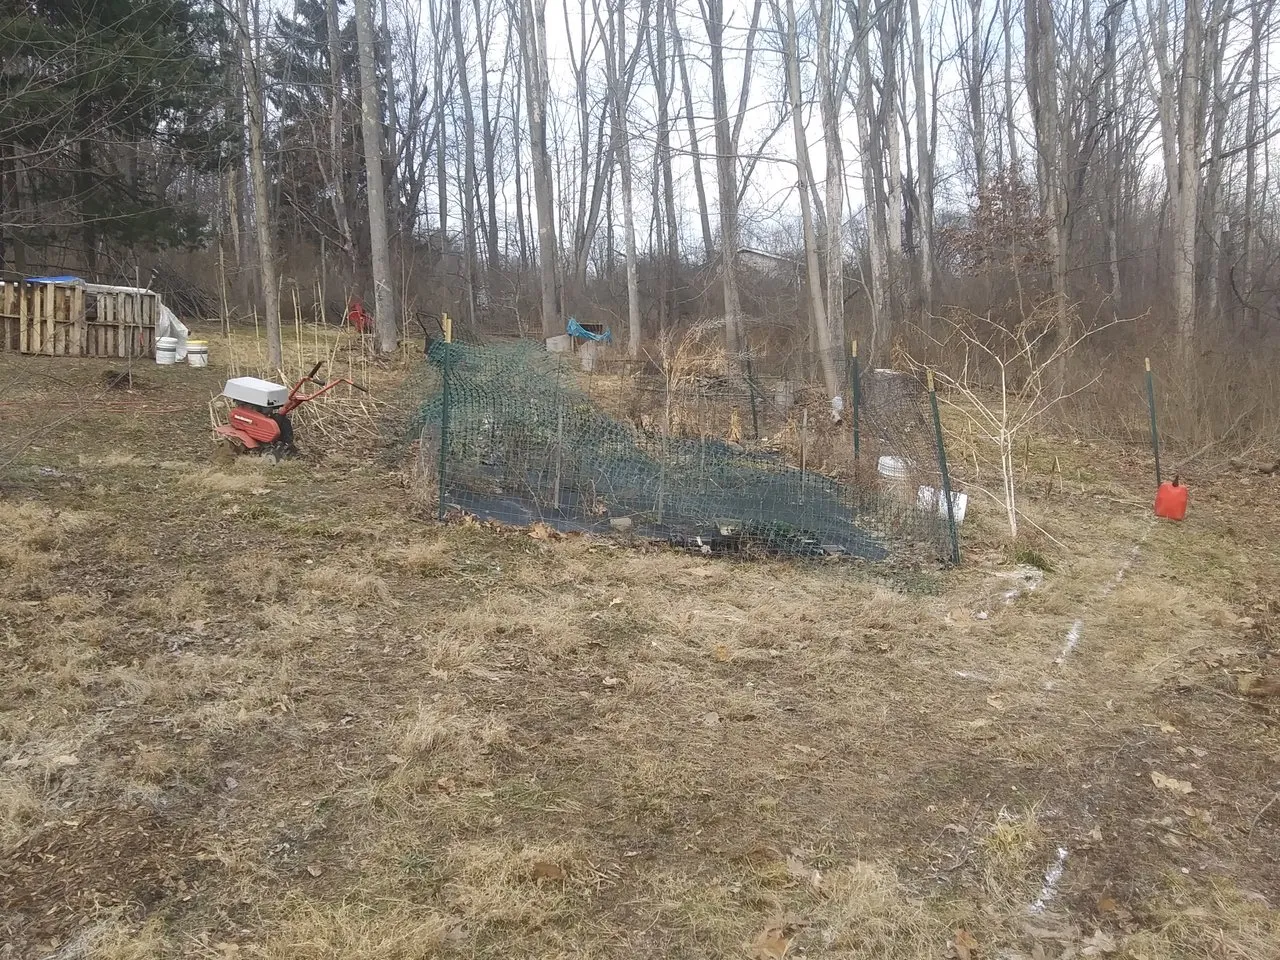
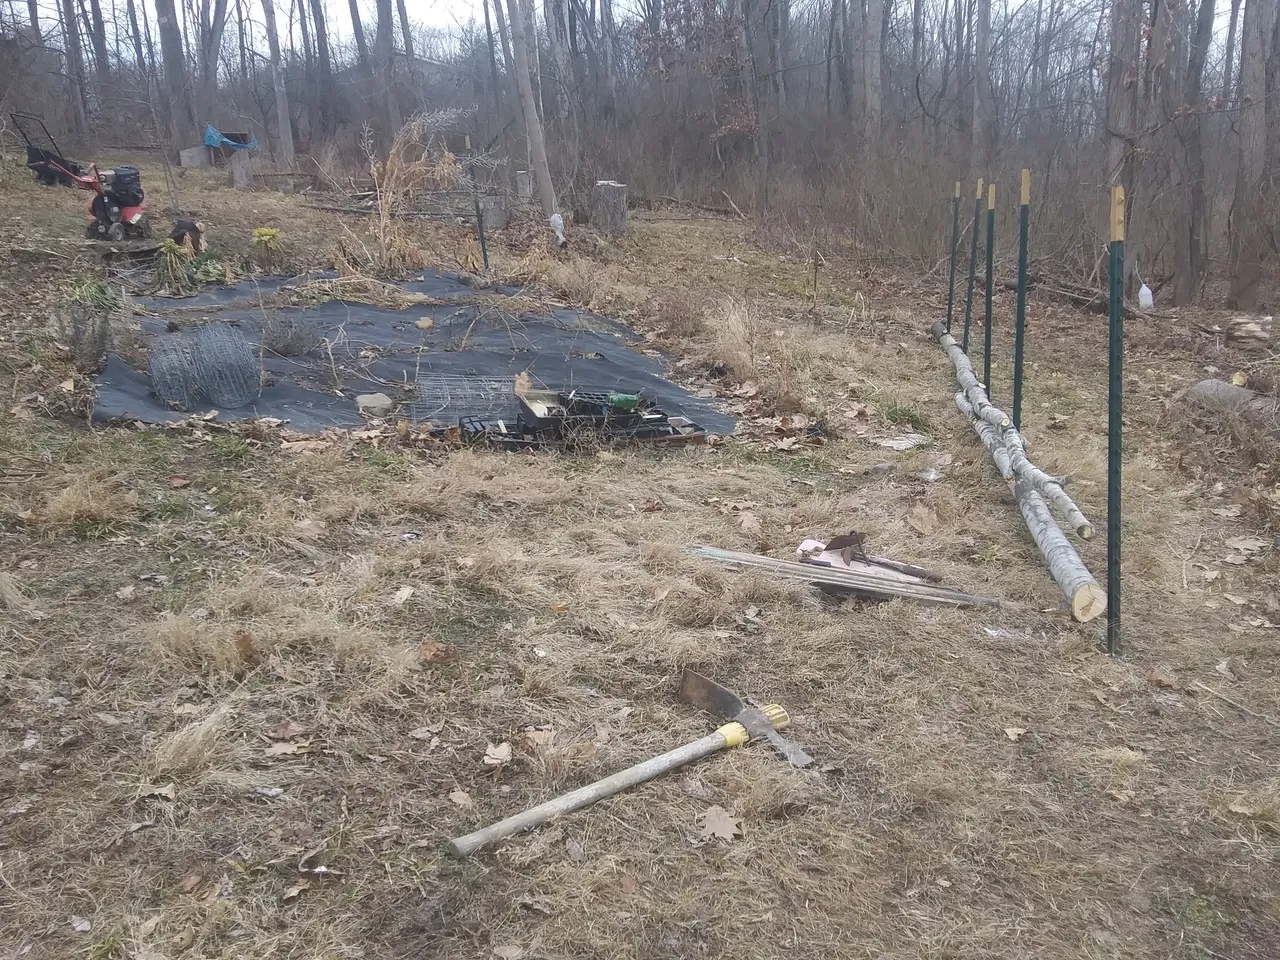
If you've been following since last spring, you may recognize this garden as the one I had a hard time keeping the woodchuck from. When I first put this garden here, it was the flattest, clearest space I had with more than 2" of dirt. The large piece of plastic covering the garden has helped keep the soil in place over the years, but now that I've cleared enough space around it, it's time to expand this garden and level the whole thing up a bit. On the right hand side of the picture below, you can just barely see the white paint marking the new lower border, which ends at the gas can.
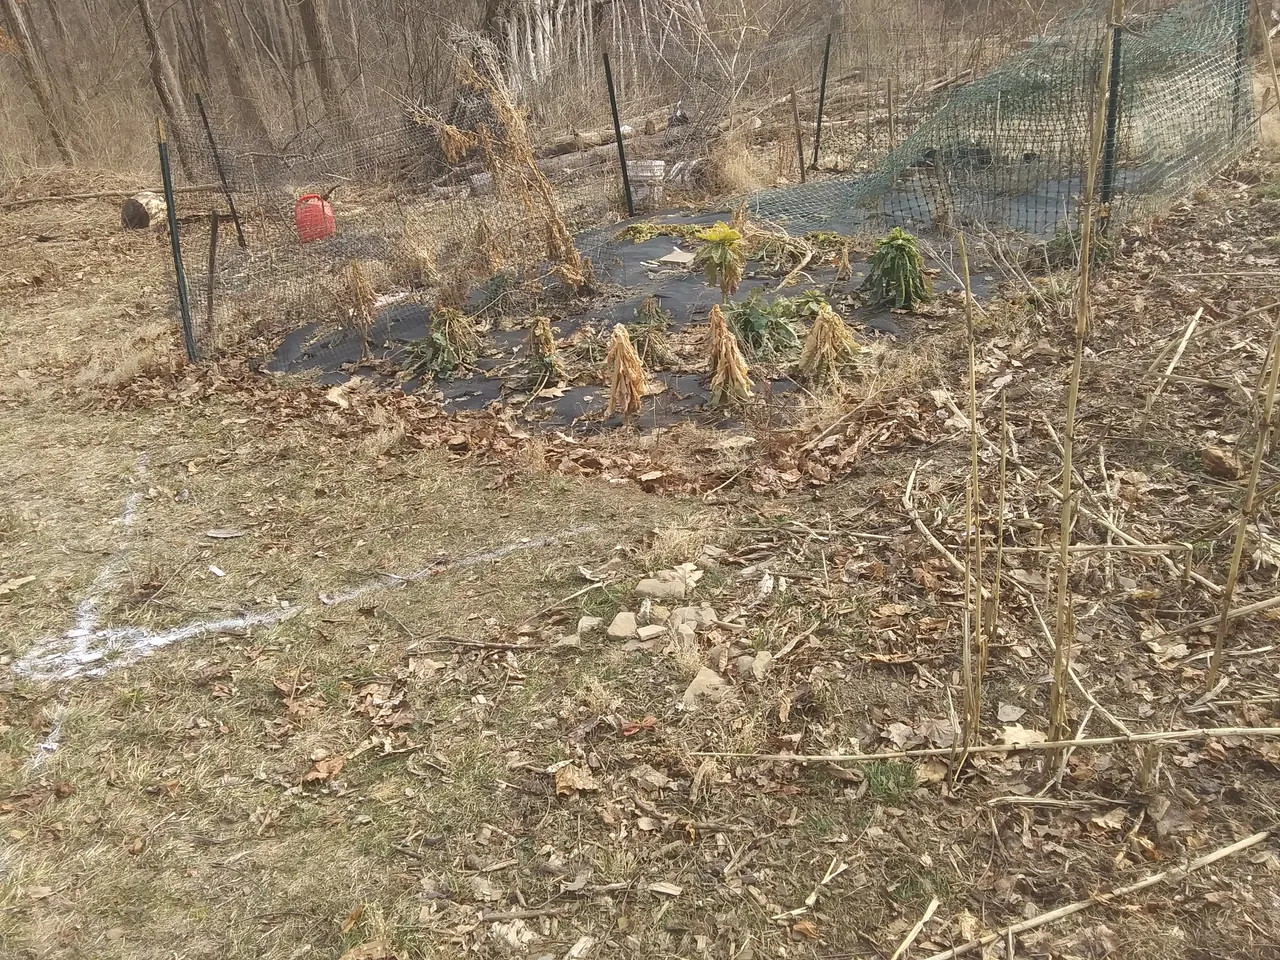
You can see that last year's Brussel's sprouts are still hanging in there, and I'm hoping to save one or two of these to get seeds from. The paint marking the upper edge and far side is easier to see in this picture, and the lower corner is marked by the stake near the gas can. I haven't actually measured it, but I'll be roughly doubling the size of this garden this year.
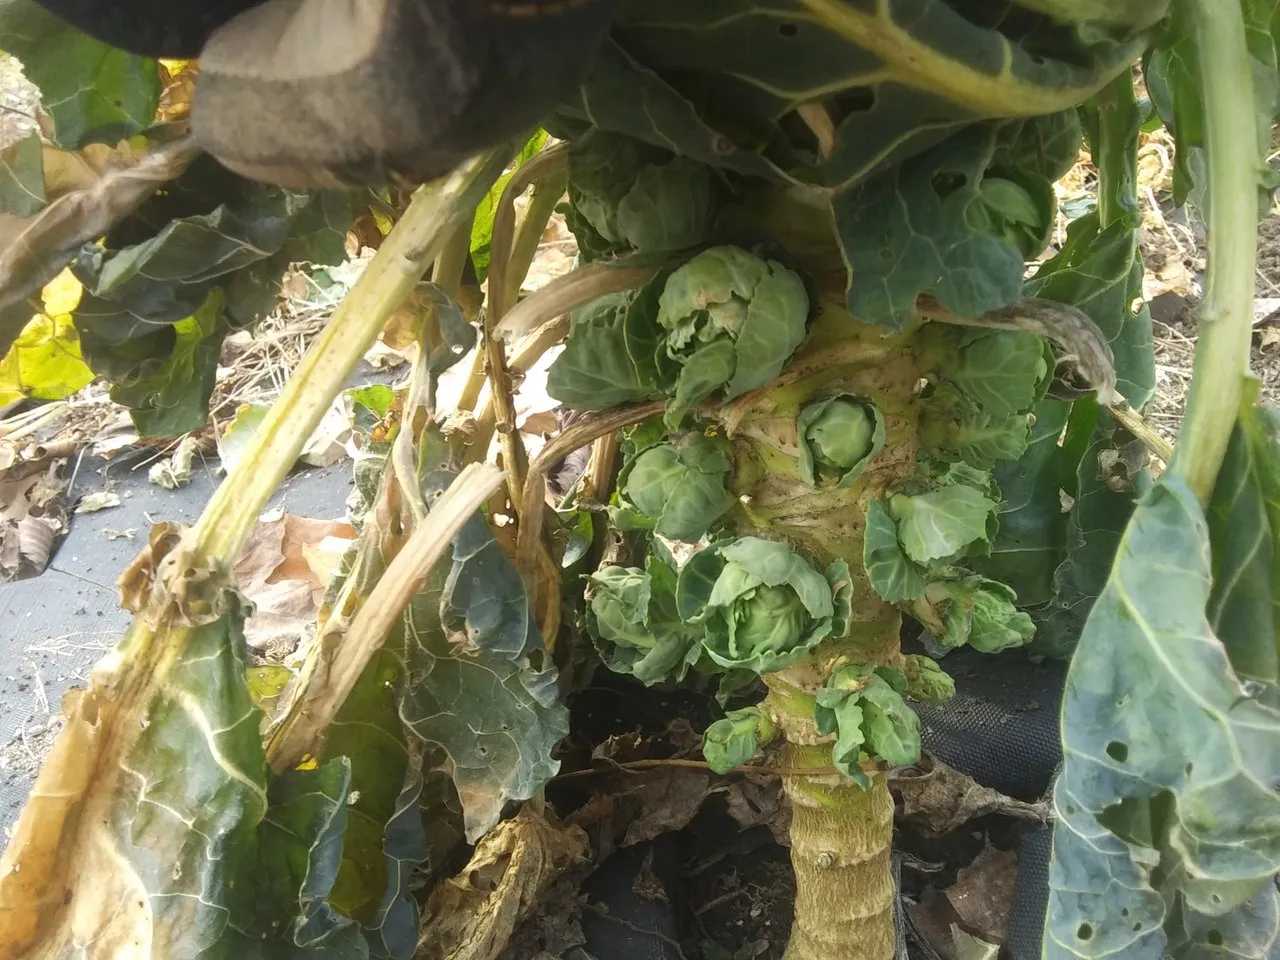
There isn't much to harvest on the Brussel's sprouts, but I'll get what I can before I have to dig them up.
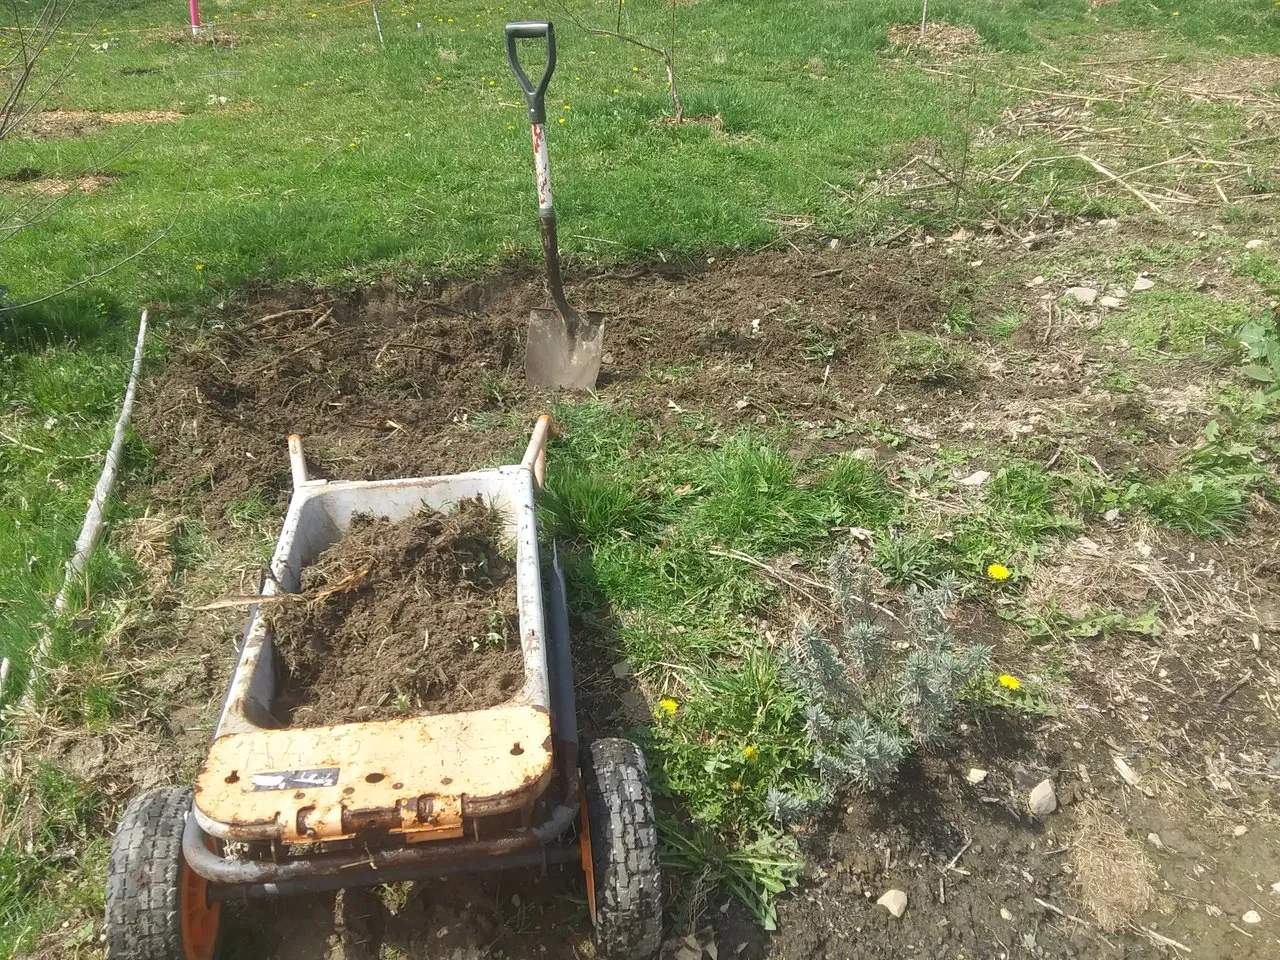
Just getting all the fence taken down and the plastic pulled up took a whole day. The plastic was held down by about 2 dozen 10" ground spikes, and the fence all had dead weeds tangled in it. The whole area was also littered with leftover plant tags, cells, and other debris left behind from last year's gardening.
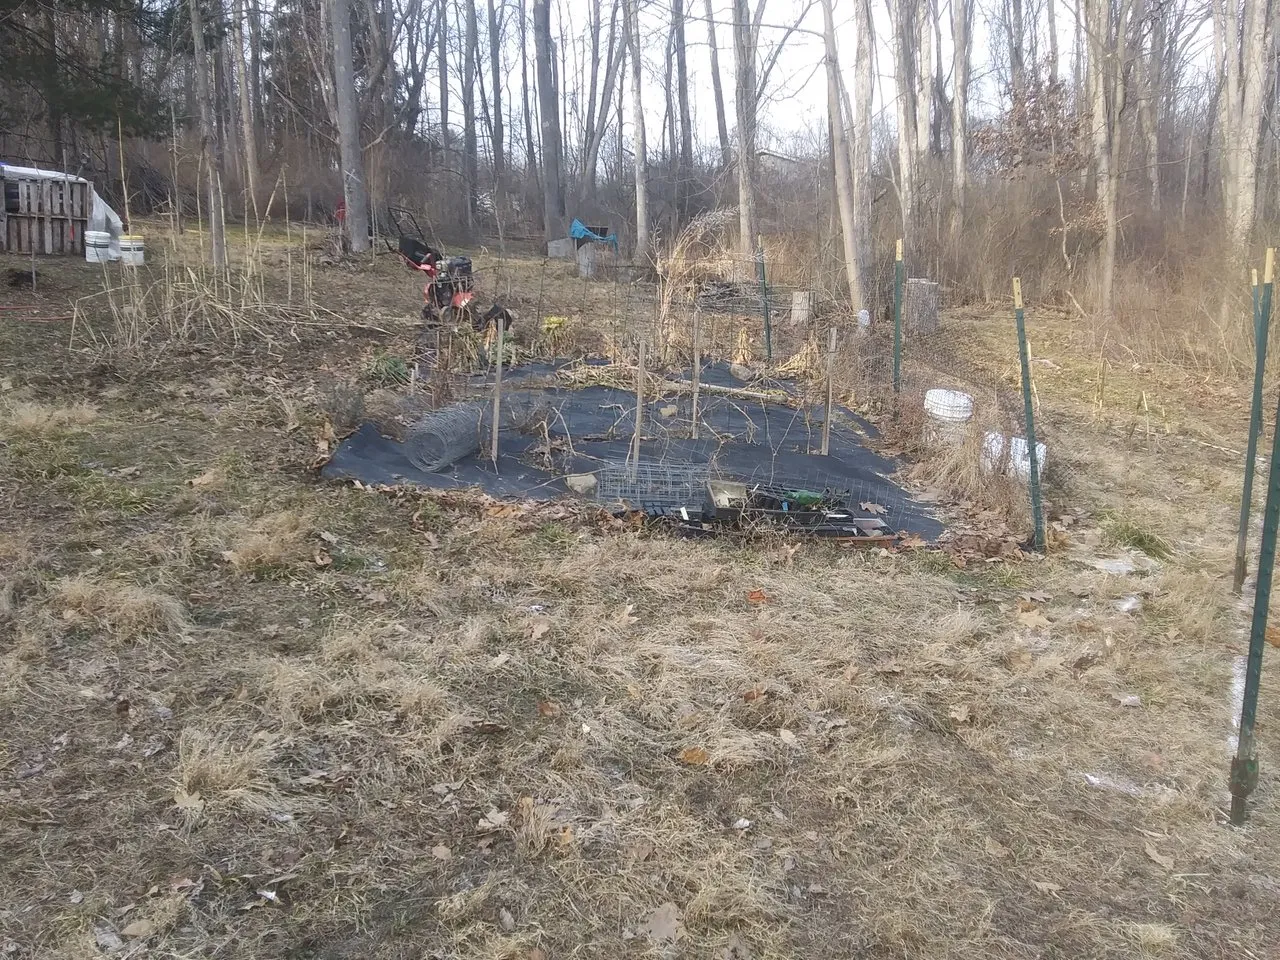
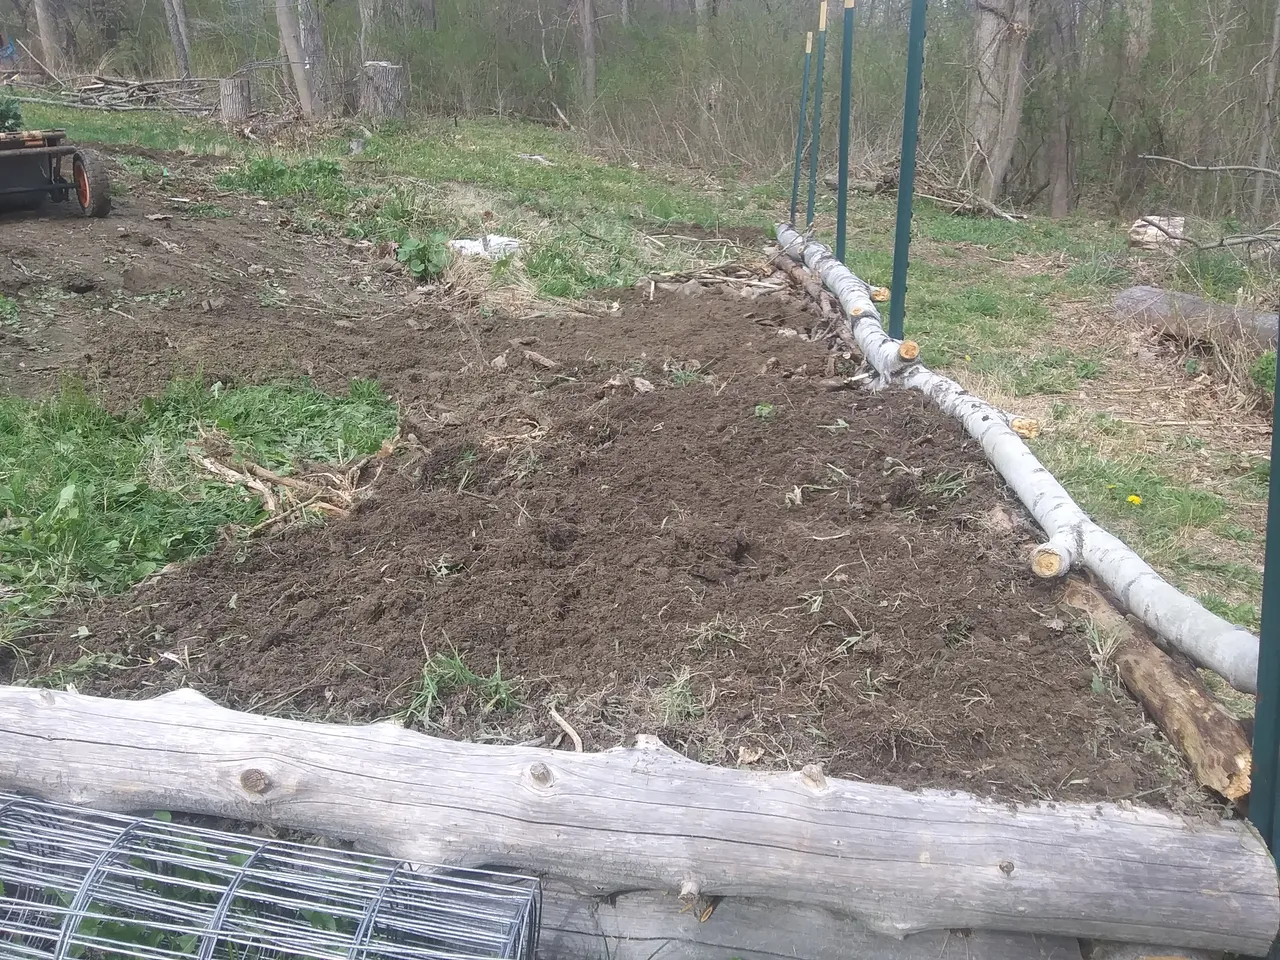
Once the old fence was removed, I pulled the old T-posts and drove them in along the line of the new lower border. The posts will hold these aspen logs in place for a retaining wall. There is currently about 3 feet of drop from the upper end to the lower end, I want to take about a foot from the upper side and move that to lower side, which will cut the slope down to just 1 foot of drop.
For the near side, I have these old cedar logs that I cut down about 5 years ago. Cedar is very rot resistant, and I wish I had enough of it to frame the entire garden. I'll border the lower end of the garden with perennials that have strong root systems, so by the time the aspen rots away, there should be a plant wall holding the soil in place.
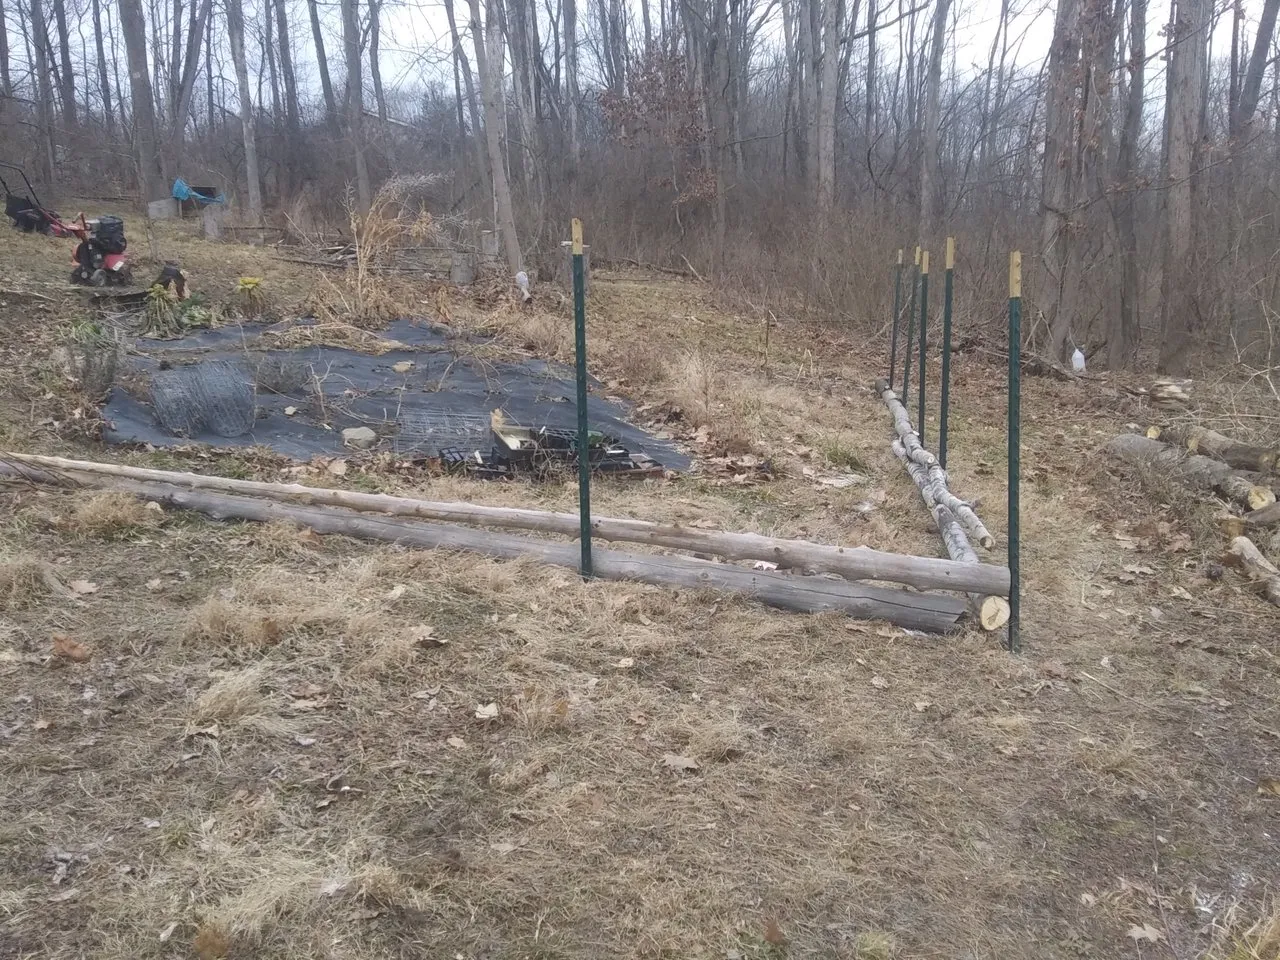
The cedars fit together fairly nicely, but the aspen needed some more long branches brought in to help fill in the gaps. Another wooden stake had to be driven in at the corner to help hold the ends of some of these new pieces.
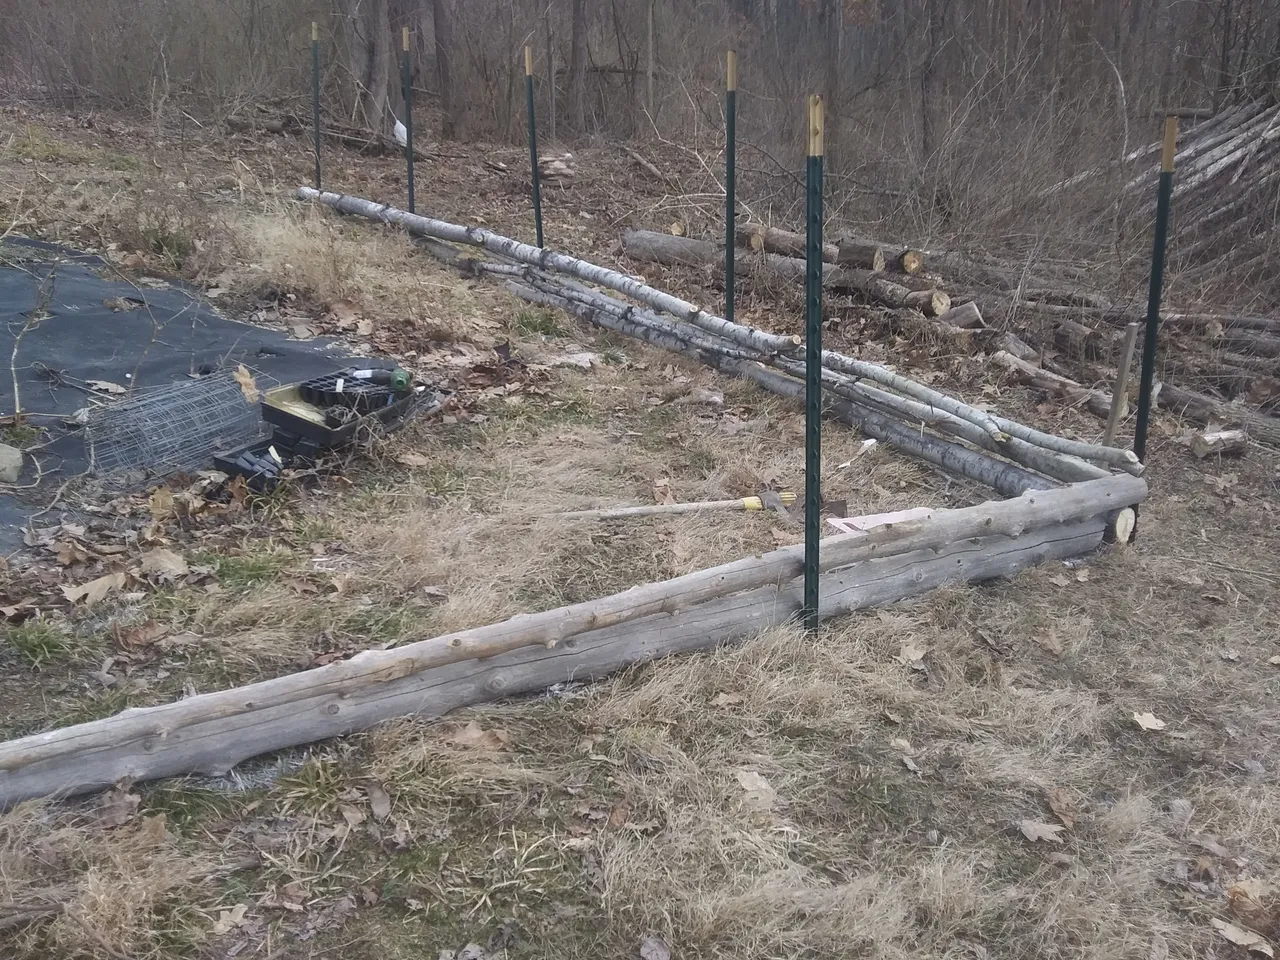
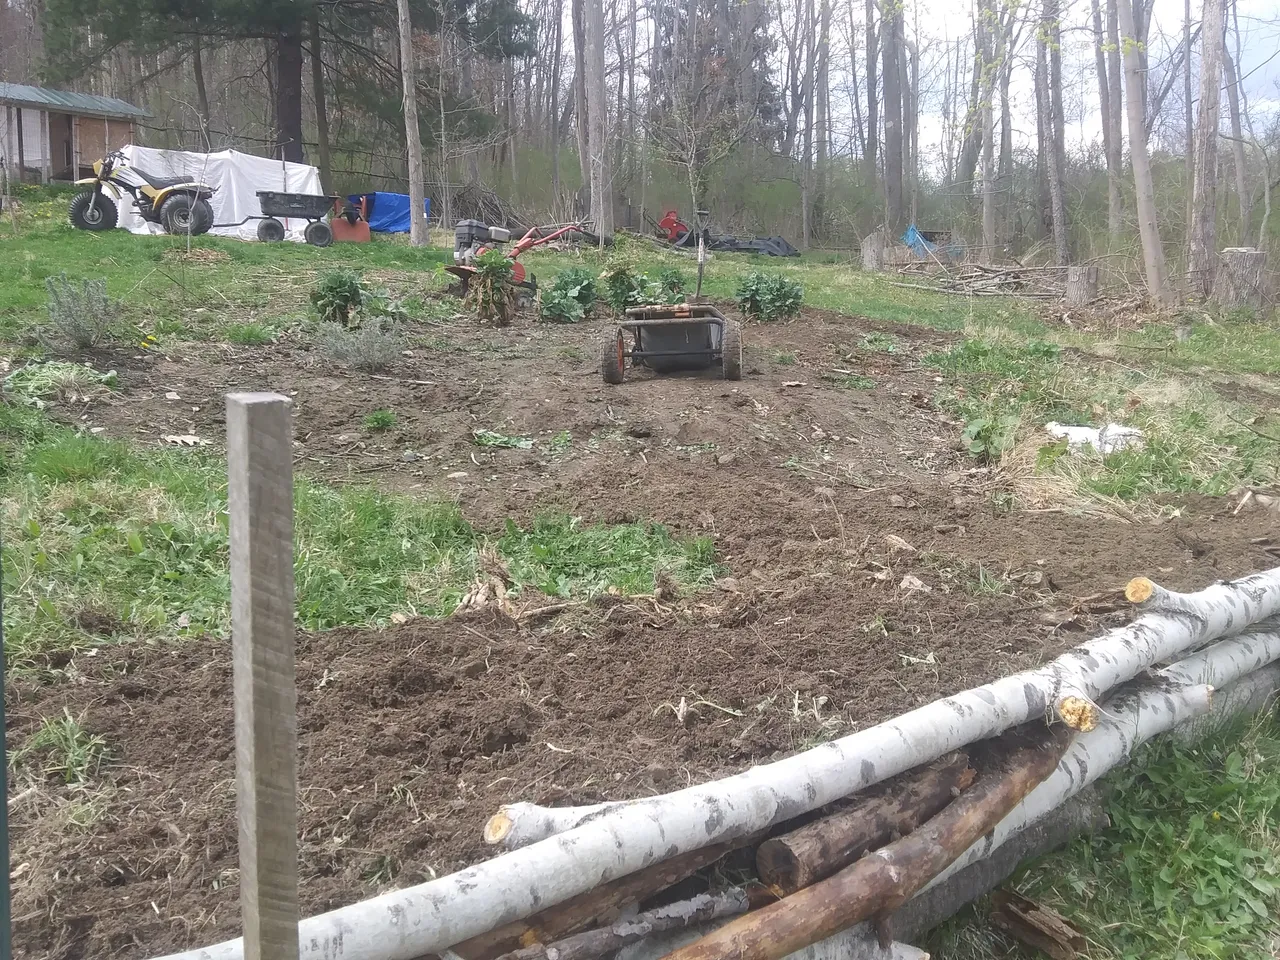
As I begin digging the upper side, I place the larger rocks I find at the base of my log wall, on the inside. This helps further close the holes, fill in space in the deepest parts, and will help keep things in place after the aspen logs rot away.
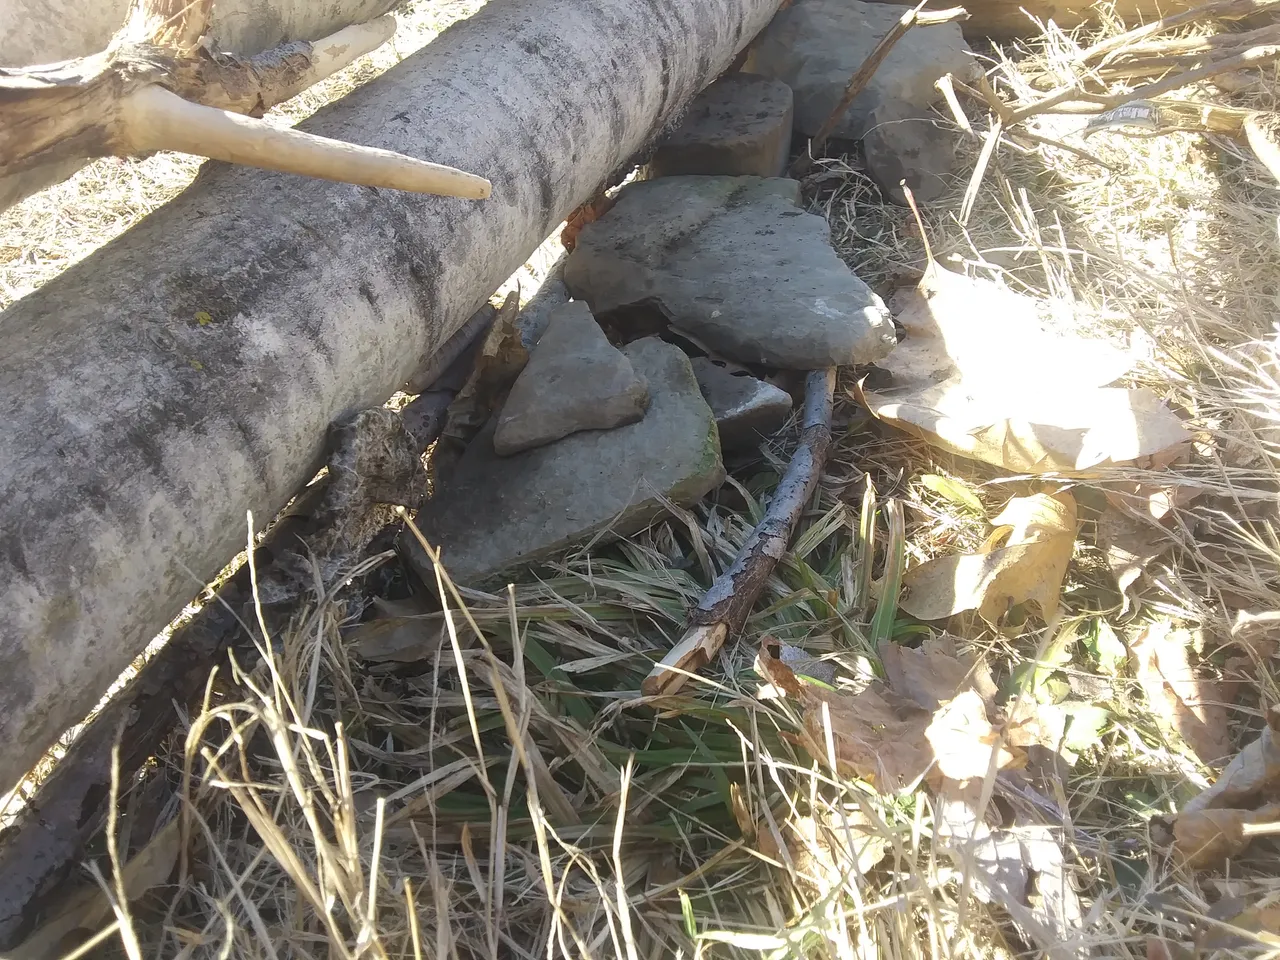
Wherever there is sod to remove, I take that first and use it to continue filling holes in my logs. Once the gaps are filled well enough, I try to fill in all but the top 6 inches of the low side with compostable material. For this project, it was mostly weeds and branches, along with a few old logs that were too rotted to burn. By filling with biodegradable material instead of just more rock and clay, my soil should continue to improve for the next several years.
One slow wheelbarrow full at a time, the garden begins to transform. As I dig, I first spread the topsoil in the shallower spots that only need 1-3 inches added. Once I've dug far enough to hit clay, I dump the clay in with the biodegradable fill, and other deeper spots. I save my best topsoil for spreading on top, keeping some aside to cover back over the areas where I've dug down to the clay.
From the looks of the weather forecast, I still won't quite be done with this project before it posts, but you will definitely get to see plenty of the finished garden in the coming season! As you can see, just filling in the bottom reduced the slope of this garden quite a bit. I'm eager to try some carrots and parsnips in this new super-deep end of the garden!
Hopefully, I can do a sequel to this post in a week or two that will not only show the completed garden, but also the planting of several cold-hardy vegetables that have been waiting patiently for me to finish their new home. Give me a follow if you don't want to miss it, I hope to see you then!