
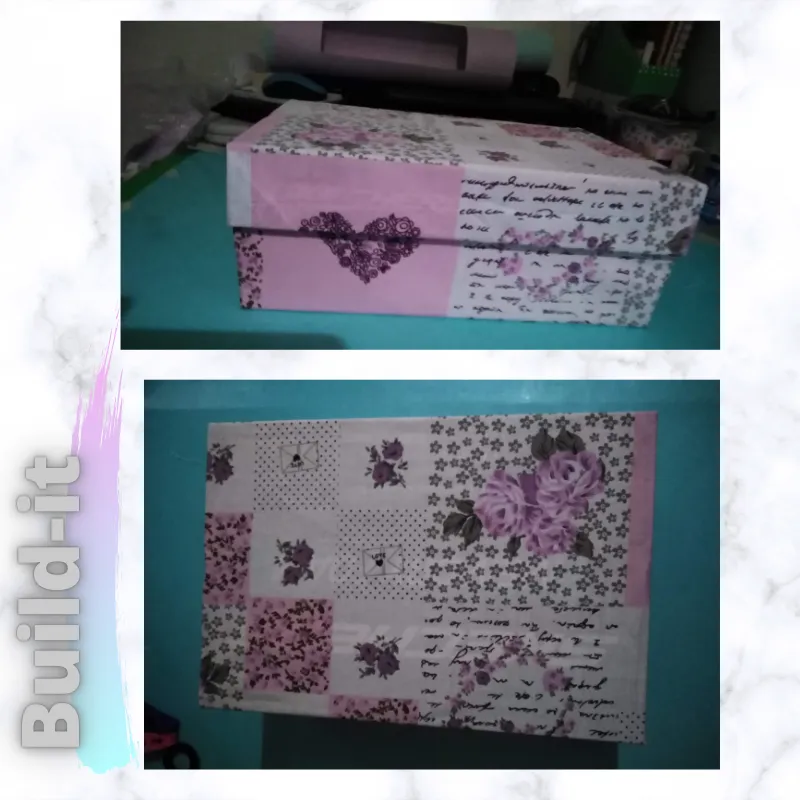
Se trata de una linda caja tipo cofre que hice para obsequiarle a mi sobrina por sus 15 años. Mi sobrina es una niña muy linda y noble, la quiero mucho y nos llevamos muy bien.
Es por eso que este proyecto es especial y está impregnado de mucho amor.
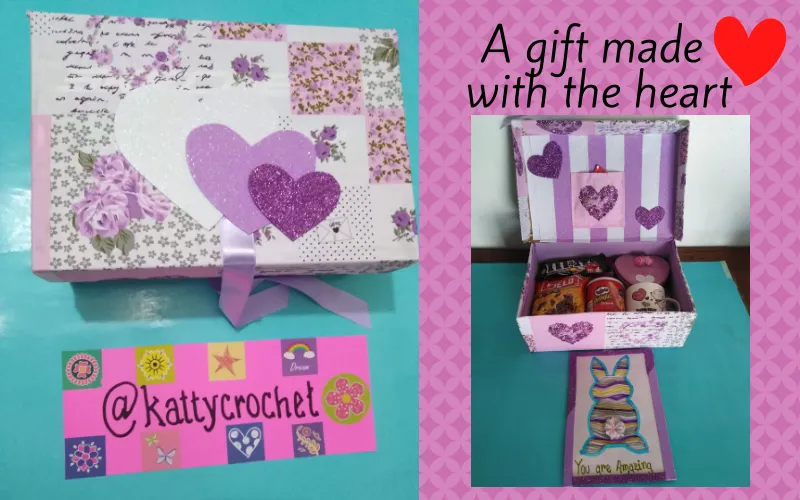
Blessed day creative friends, I hope you are well. Welcome once again to my blog. Today I am very excited to share with you a new craft project that I have made with lots of love.
It is a cute box that I made to give to my niece for her 15th birthday. My niece is a very nice and noble girl, I love her very much and we get along very well.
That's why this project is special and full of love.
I had a great time working on this cute little box and I did it with all the patience that characterizes me. Since crafting is an activity that relaxes me and brings out the best in me, I always prefer to make this kind of gifts for my family and friends. I consider that I give them a little bit of myself in each gift. What do you think, do you prefer this type of gift or something store bought?

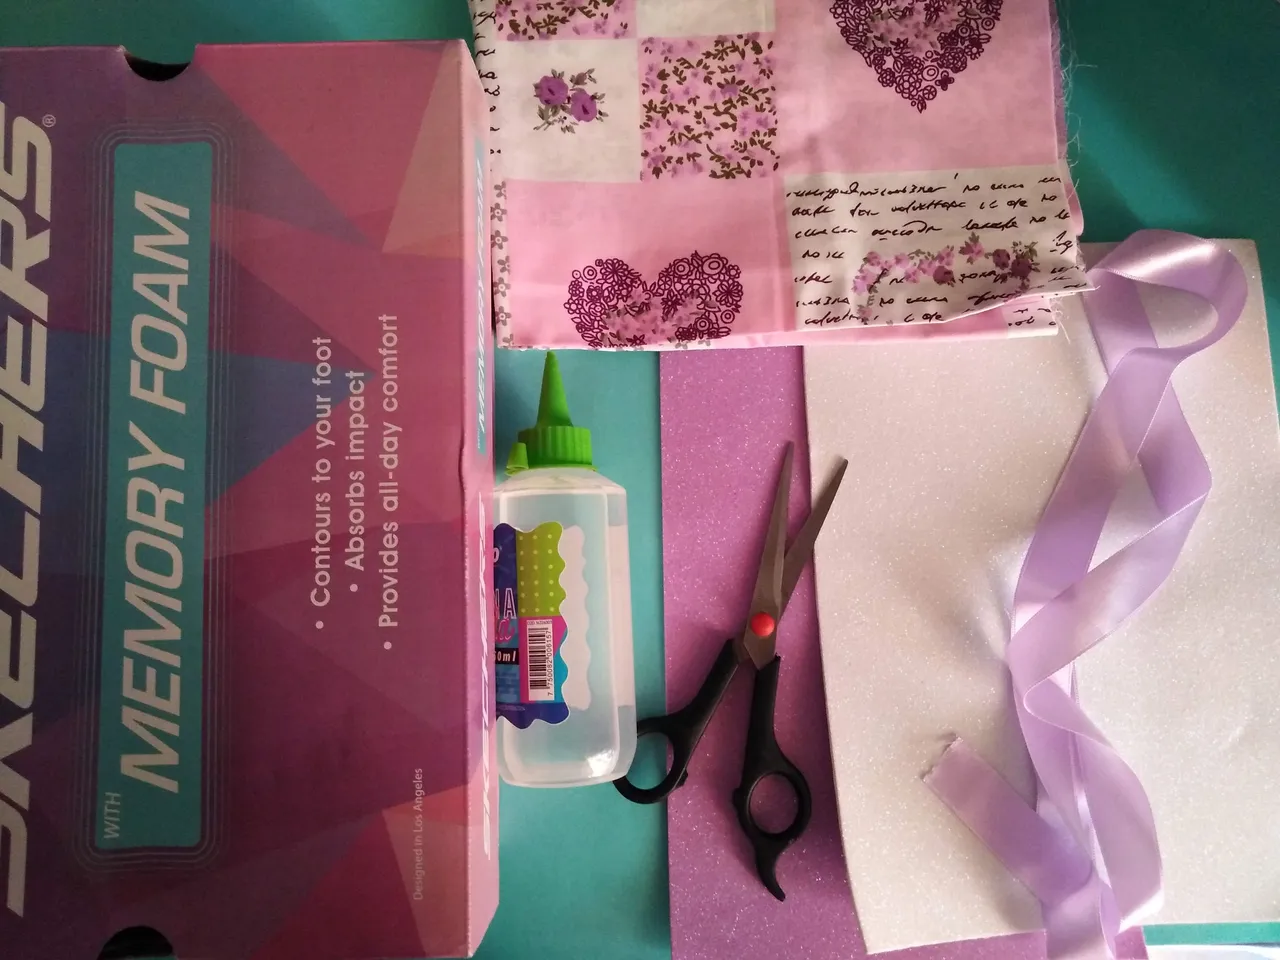
- Caja de zapatos
- Tijeras
- Silicón líquido
- Foami escarchado (blanco y lila)
- Tela estampada
- 1 metro de cinta de raso
- Cartulina escolar color lila
- Shoe box
- Scissors
- Liquid silicone
- Frosted Foami (white and purple)
- Printed fabric
- 1 meter of satin ribbon
- Lilac school cardboard

#1
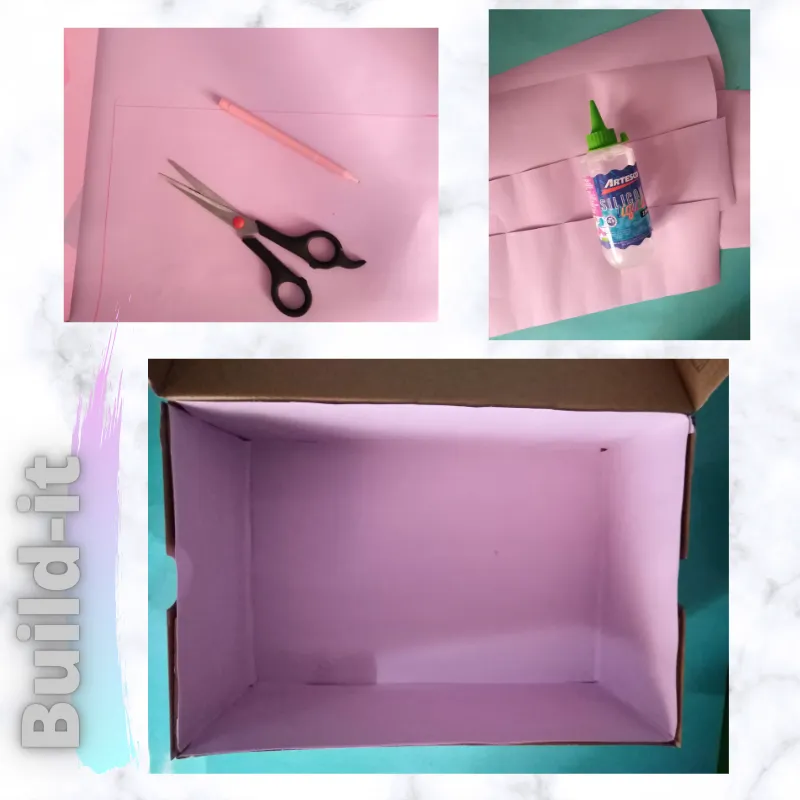
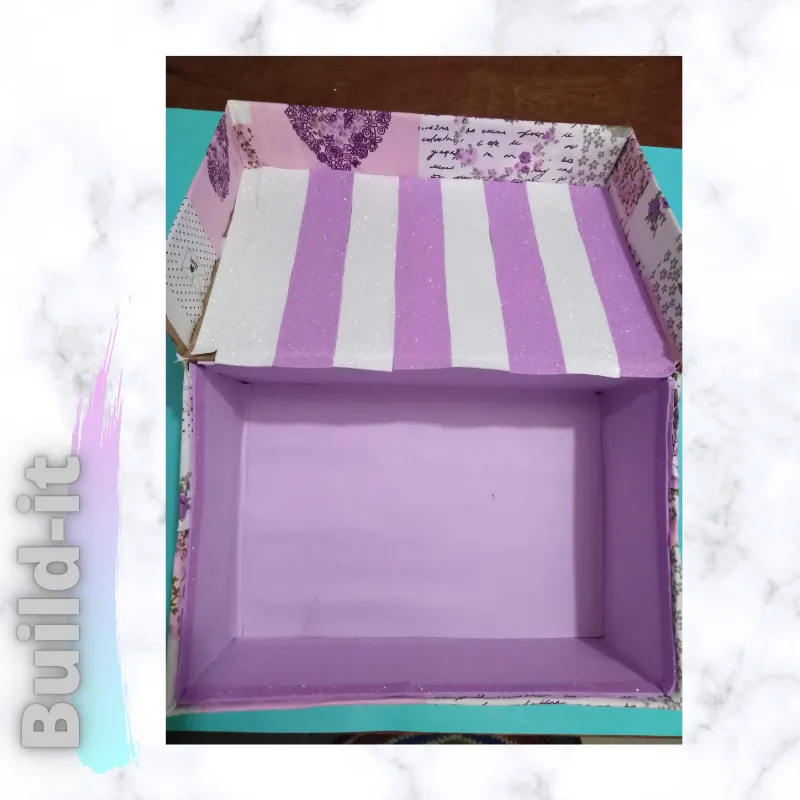
Forrar todo el interior, pegando la cartulina con el silicón líquido.
Mark and cut out strips of cardboard the size of each of the inner sides of the box.
Line the entire inside, gluing the cardboard with liquid silicone.
#2
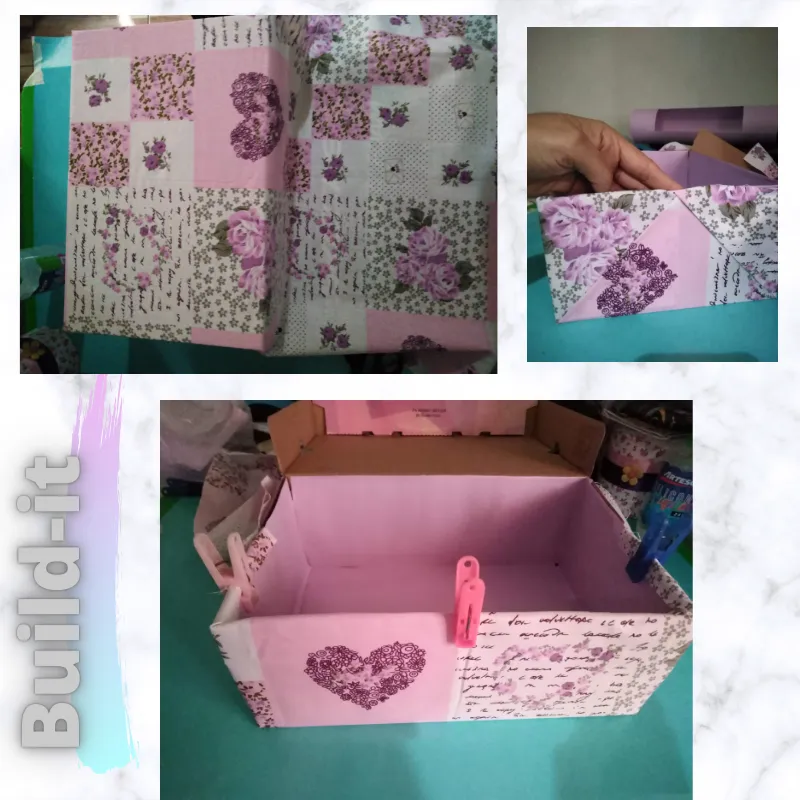
Yo me ayudé con unas pinzas para sujetar la tela mientras se secaba el silicón líquido.
Line the entire outside of the box with the printed fabric, just like when you line a box with wrapping paper.
I used a pair of tweezers to hold the fabric in place while the liquid silicone dried.
#3
Mark and cut 8 foami strips of approximately 3 cm each.

#4
El foami que utilicé es autoadhesivo por lo cual no tuve que usar silicón.
The foami strips are used to glue them to the inside of the box lid.
The foami I used is self-adhesive so I didn't have to use silicone.
#5
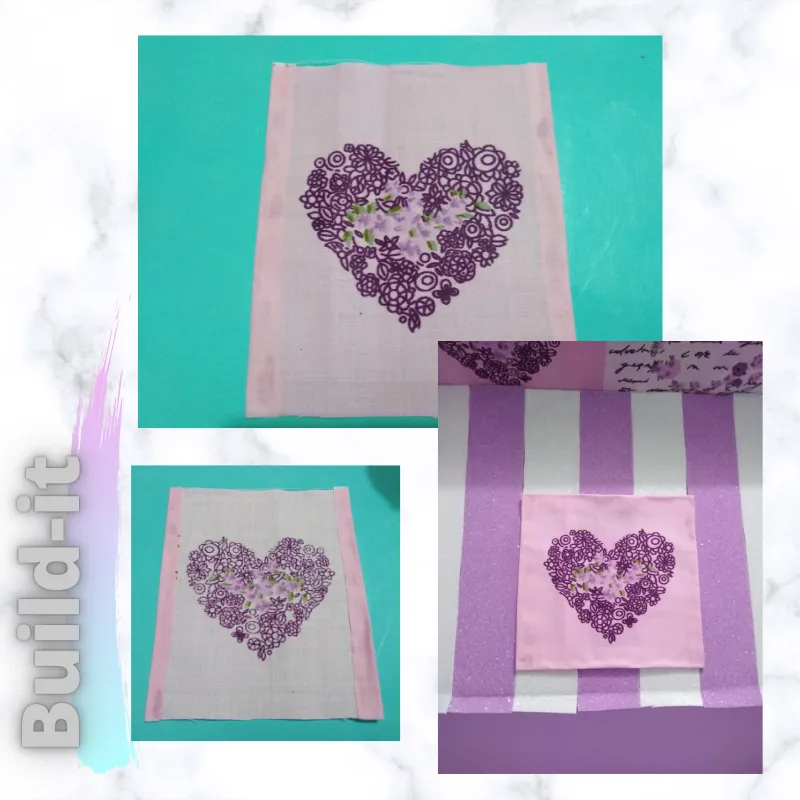
With a piece of fabric, I made a small pocket and glued it to the inside of the lid.
#6
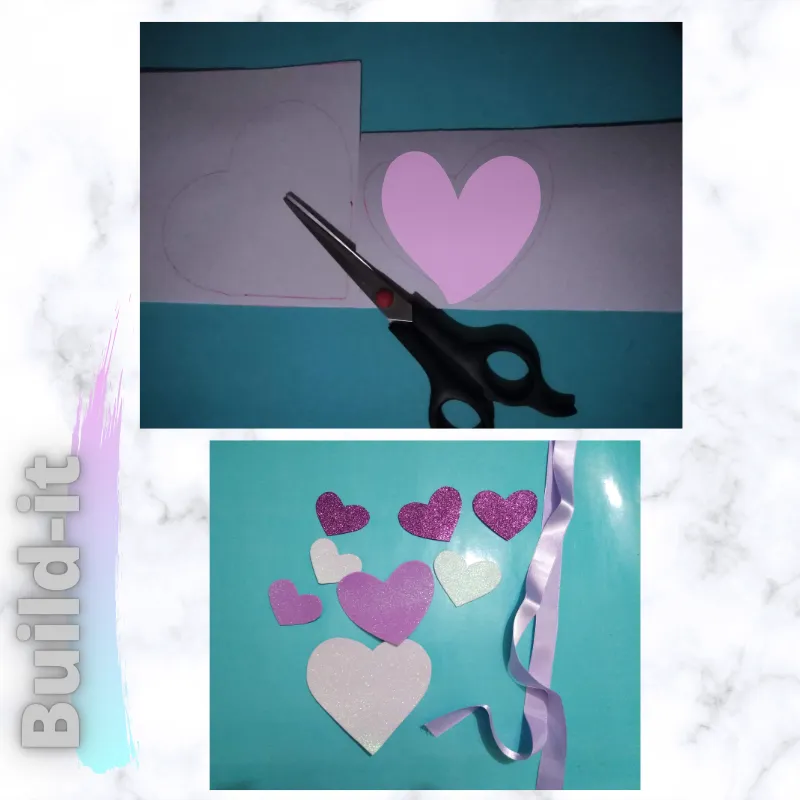
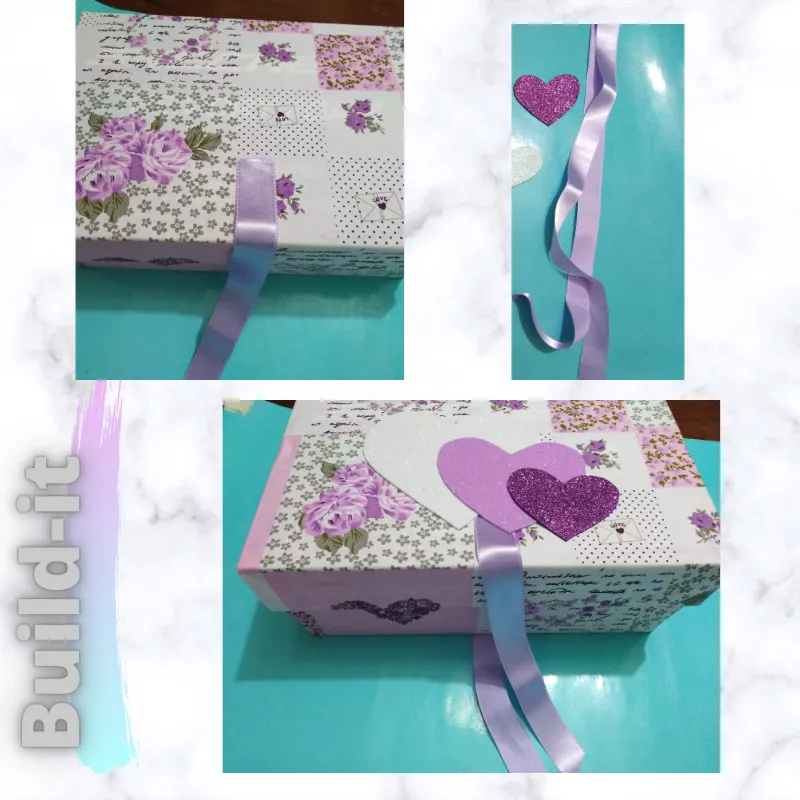
Mark and cut out frosted foami hearts in different sizes.
#7
Decorate the inside and outside of the box with the hearts.

#8
Place the satin ribbon on the bottom and on the lid to form a loop to close the box and also serve as an ornament.
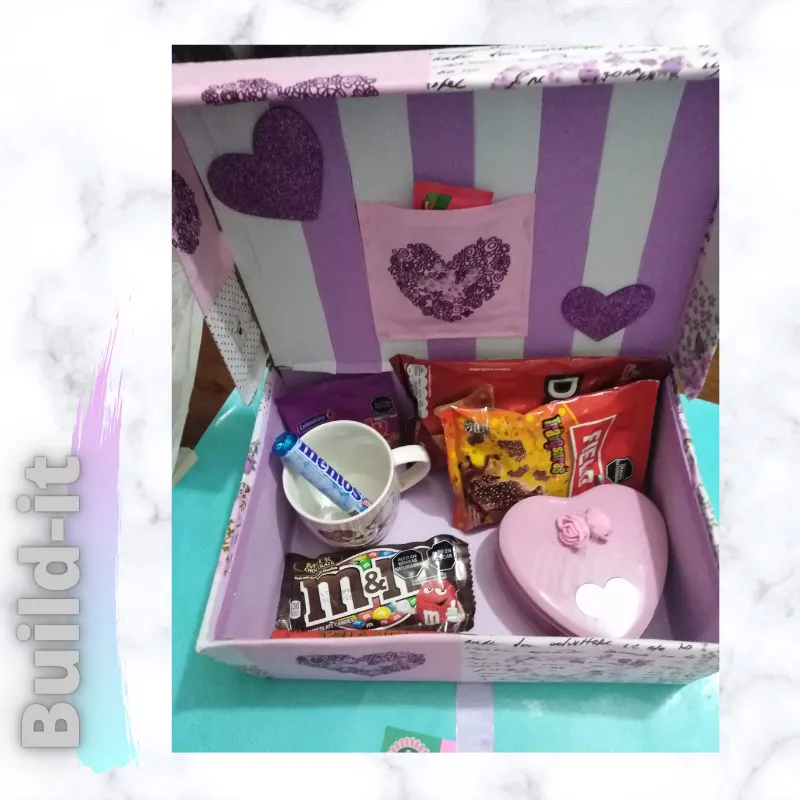
#9
The last and most important step, place inside some sweets 🍫🍬🍭👚 and details for the birthday girl. (there are only a few, still need to buy other little things 🤭).
#10


This way I already have a nice gift for my beautiful niece who is already a young lady, I am sure she will appreciate it and I was happy with the result. What do you think? Thanks for reading, greetings and blessings.
All photos were taken with my Huawei Y7 cell phone. Cover image and text separators are designed with Canva.com. I use Deepl translator