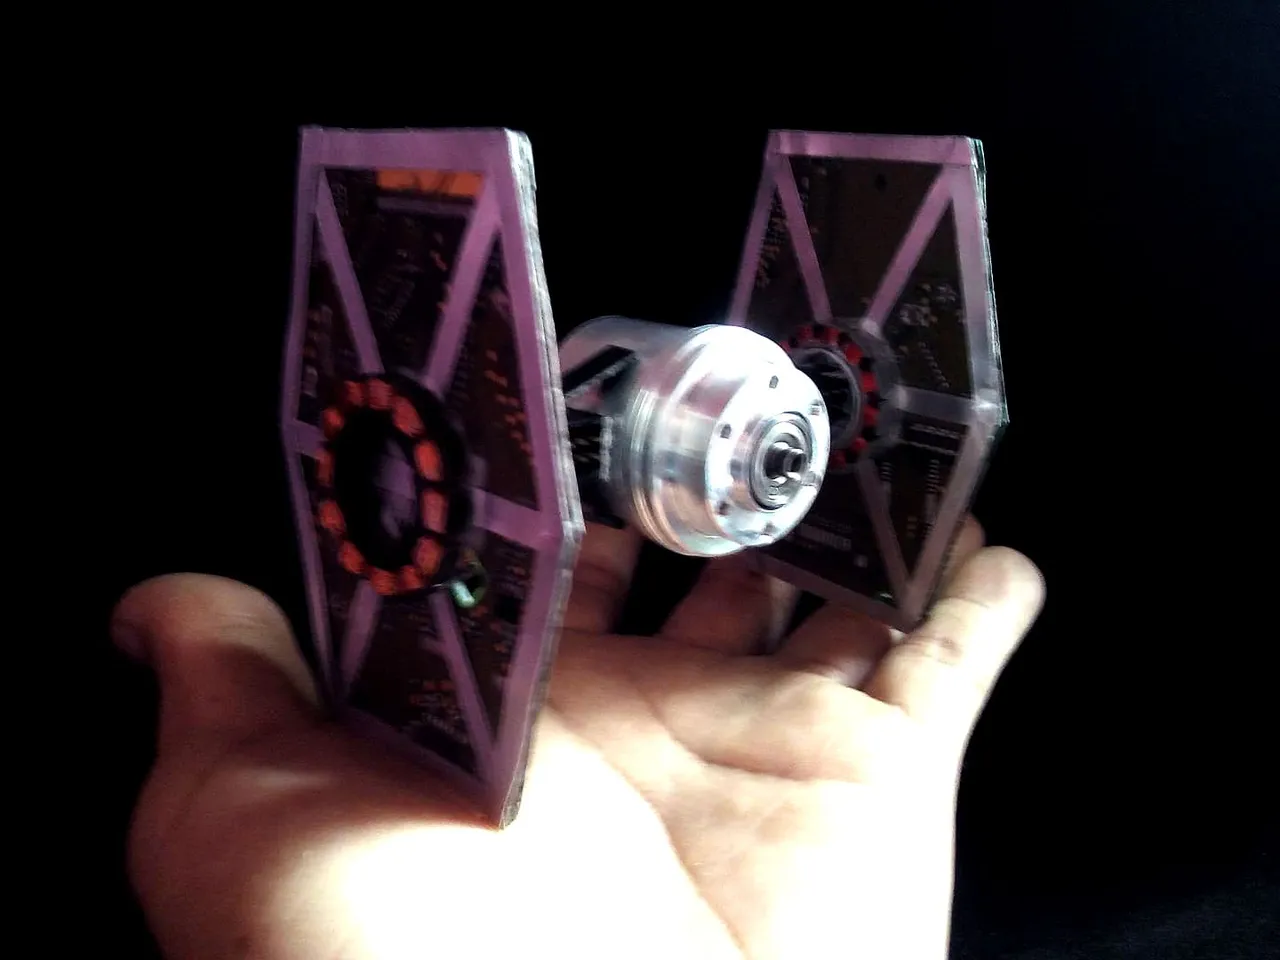

Hello friends of Hive and to all the creators who amaze us with the works of their masters, I want to congratulate everyone who shares their wonderful creations every day, I am very happy to see so many crafts of very good quality while real artists continue to join . I hope that we continue to grow and make this community great. Today I want to make my contribution by sharing a miniature replica of the TIE FIGHTER combat ship from STAR WARS, this ship is used by the empire's troops and they have appeared throughout the entire saga. Hope you like.
Hola amigos de Hive y a todos los creadores que nos asombran con las obras de sus amos, quiero felicitar a todos lo que dia a dia comparten sus maravillosas creaciones, estoy muy contento de ver tantas manualidades de muy buena calidad mientras se siguen uniendo artistas de verdad. Deseo que sigamos creciendo y haciendo grande esta comunidad. Hoy quiero hacer mi aporte compartiendo una réplica en miniatura de la nave de combate TIE FIGHTER de STAR WARS, esta nave es utilizada por las tropas del imperio y han parecido a lo largo de toda la saga. Espero que les guste.
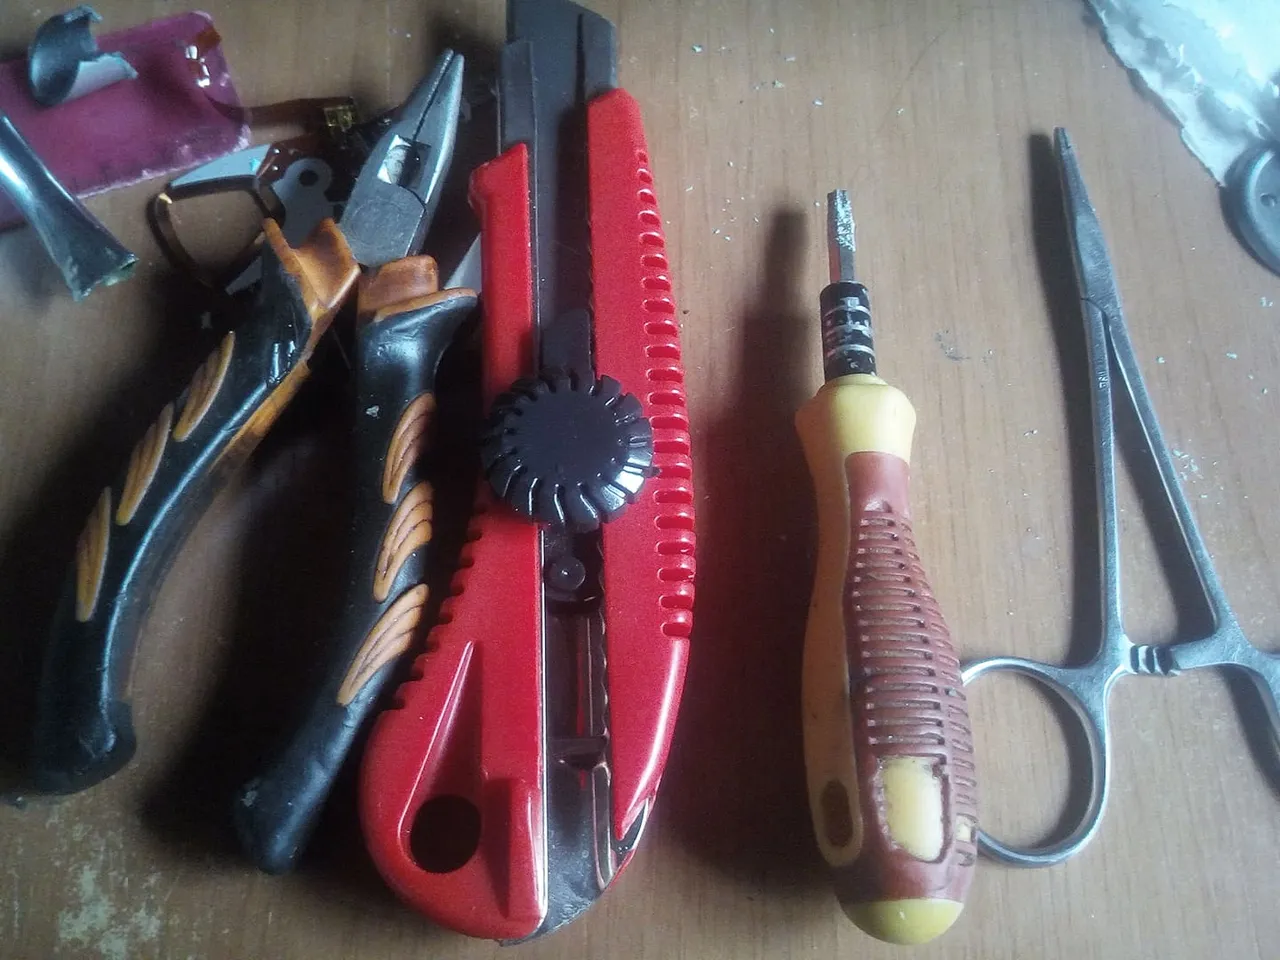
For this work we will use:
- Tweezers
- Pair of scissors
- Razor
- Glue
- Sandpaper
- Tongs
- PC Hard Drive
Para este trabajo utilizaremos:
- Pinzas
- Tijeras
- Navaja
- Pegamento
- Lija
- Tenazas
- Disco Duro de PC
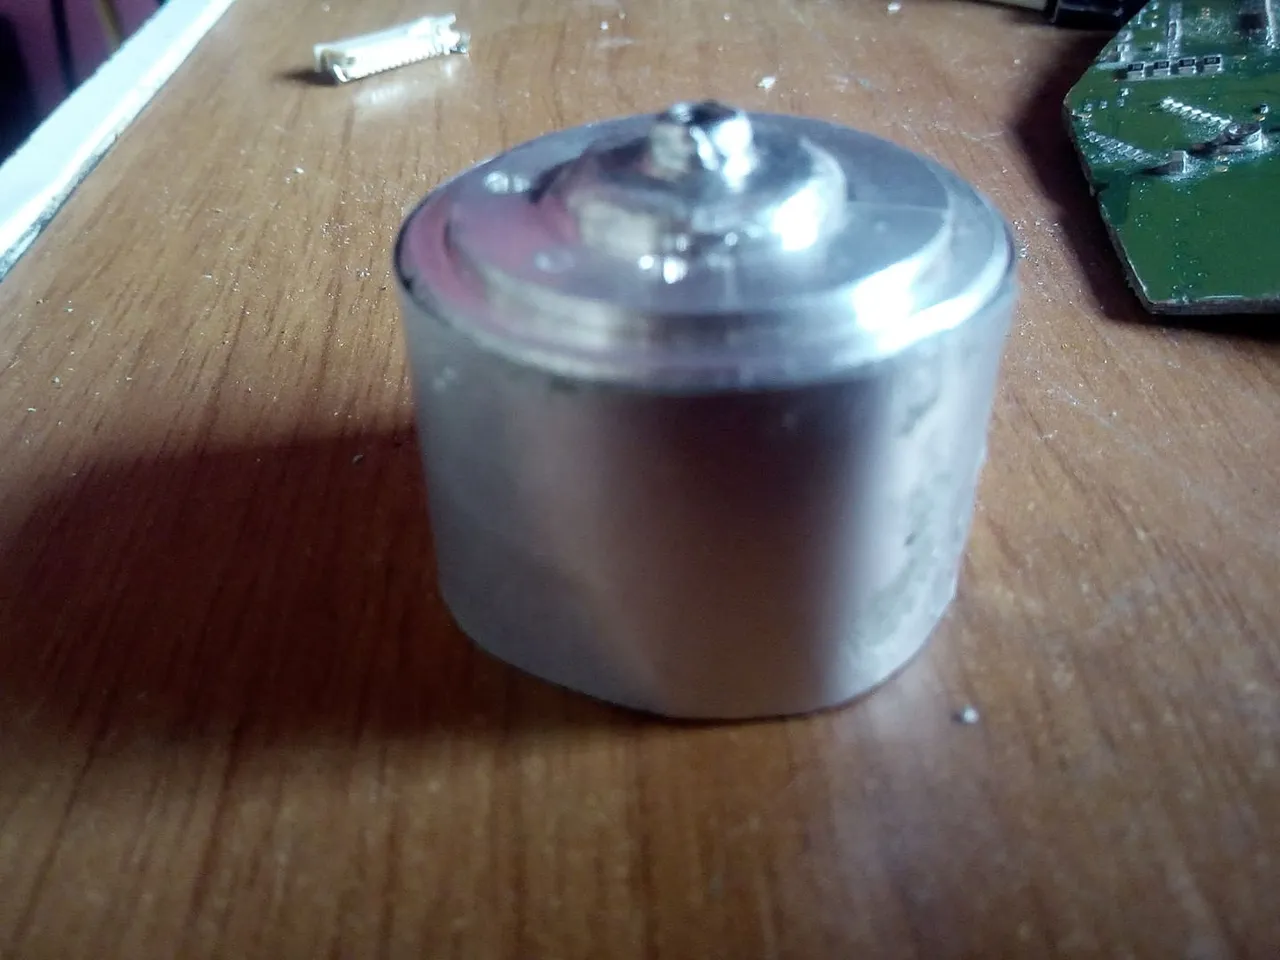
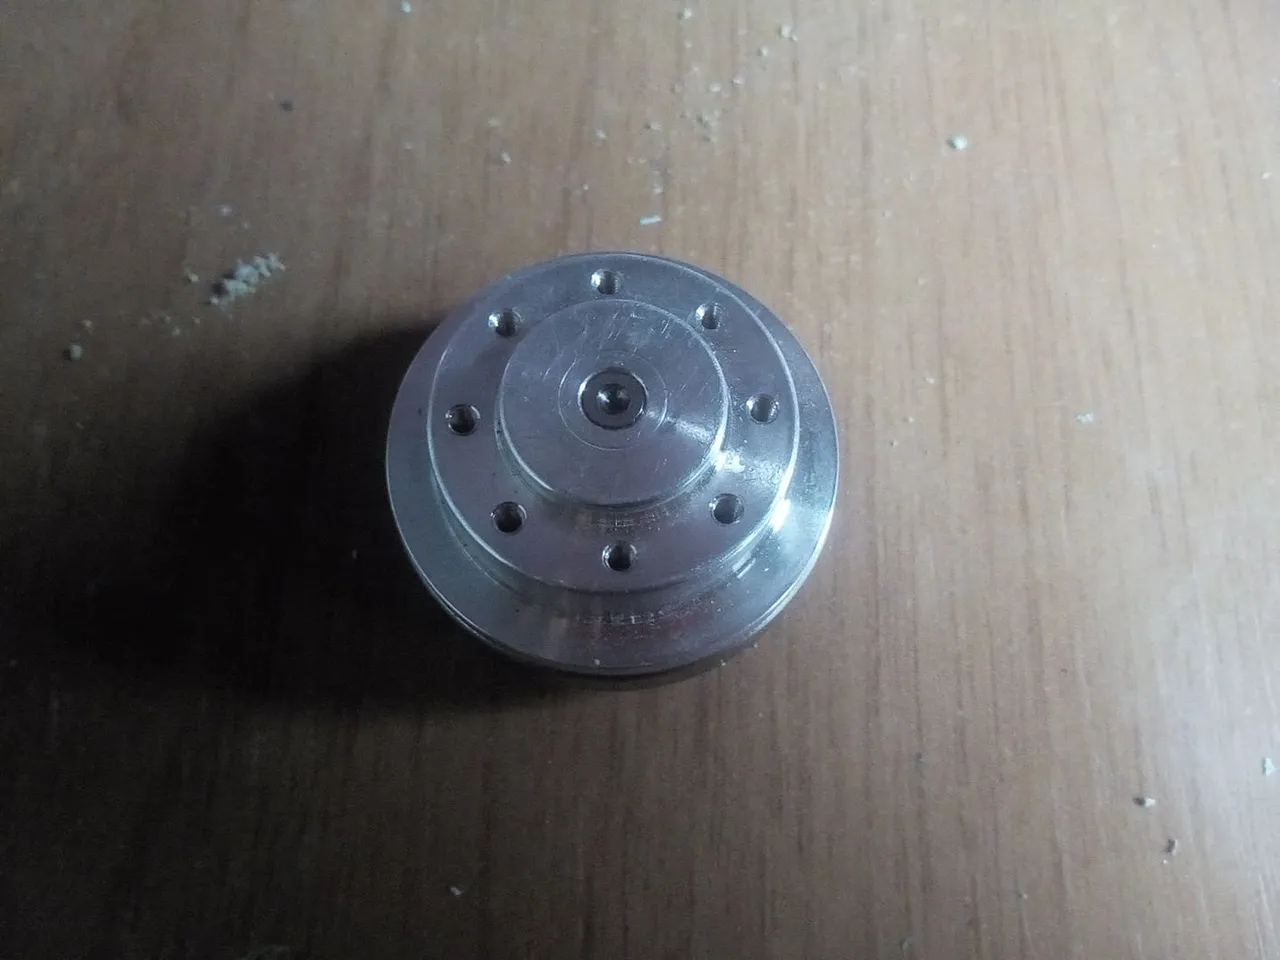
First we disassemble the hard disk and extract the motor that rotates inside, with it we will make the cabin of the ship, we cut a piece of soda can and we surround it and glue it with glue to make it bigger.
En primer lugar desarmamos el disco duro y extraemos el motor que gira por dentro, con el haremos la cabina de la nave, cortamos un retazo de lata de soda y lo rodeamos y pegamos con pegamento para hacerlo mas grande.
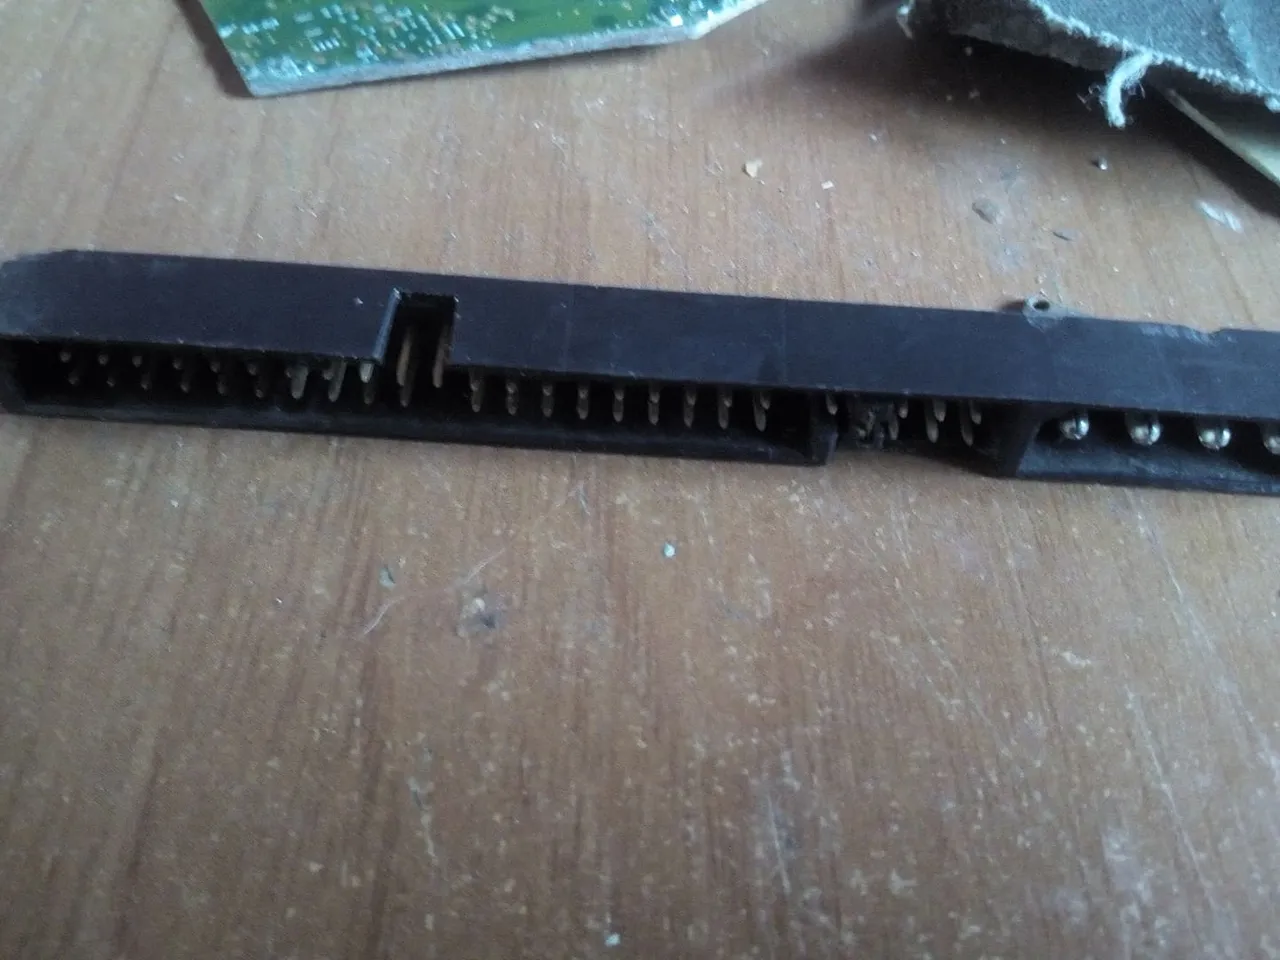
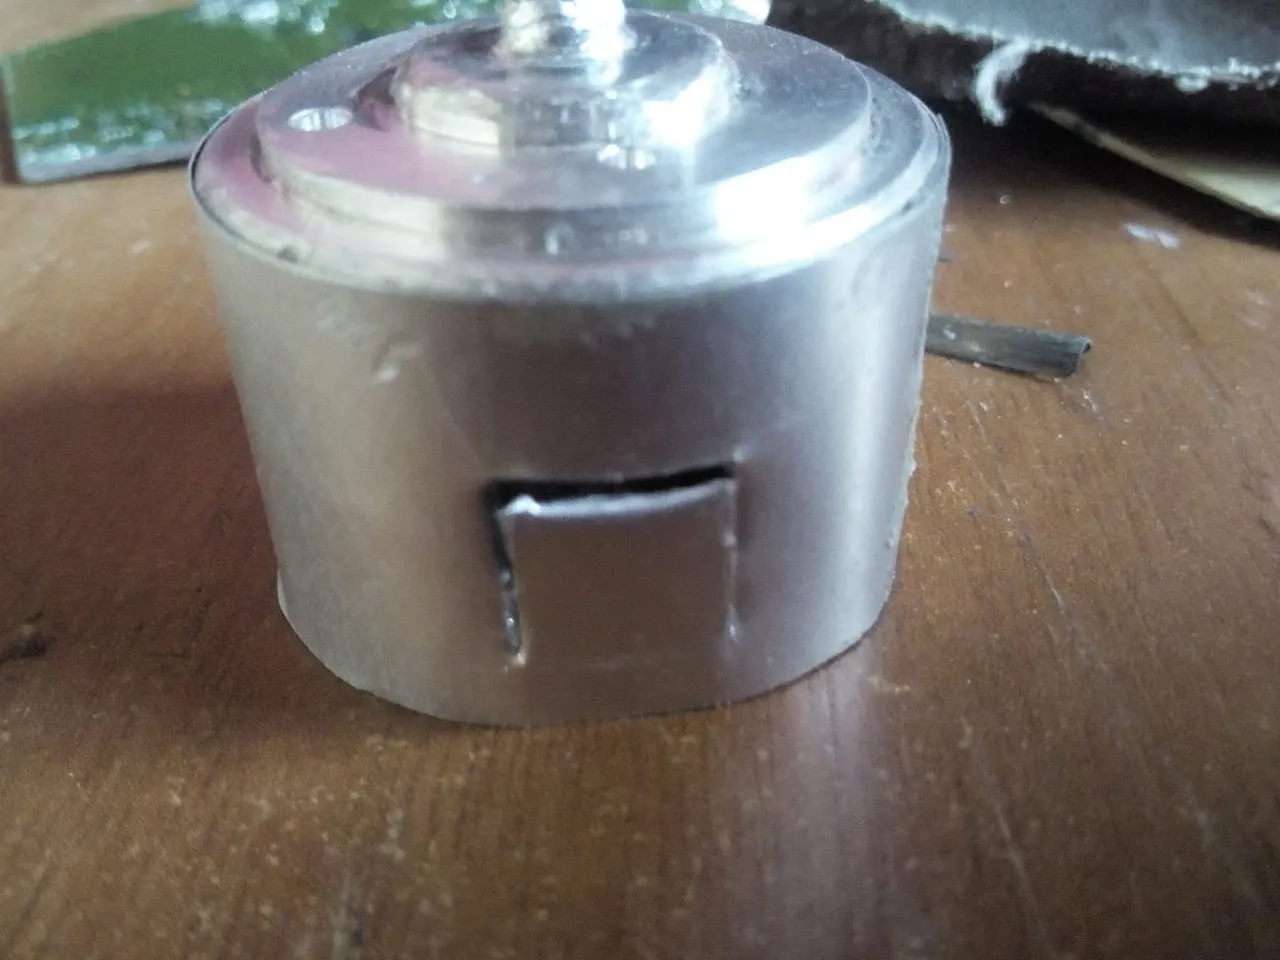
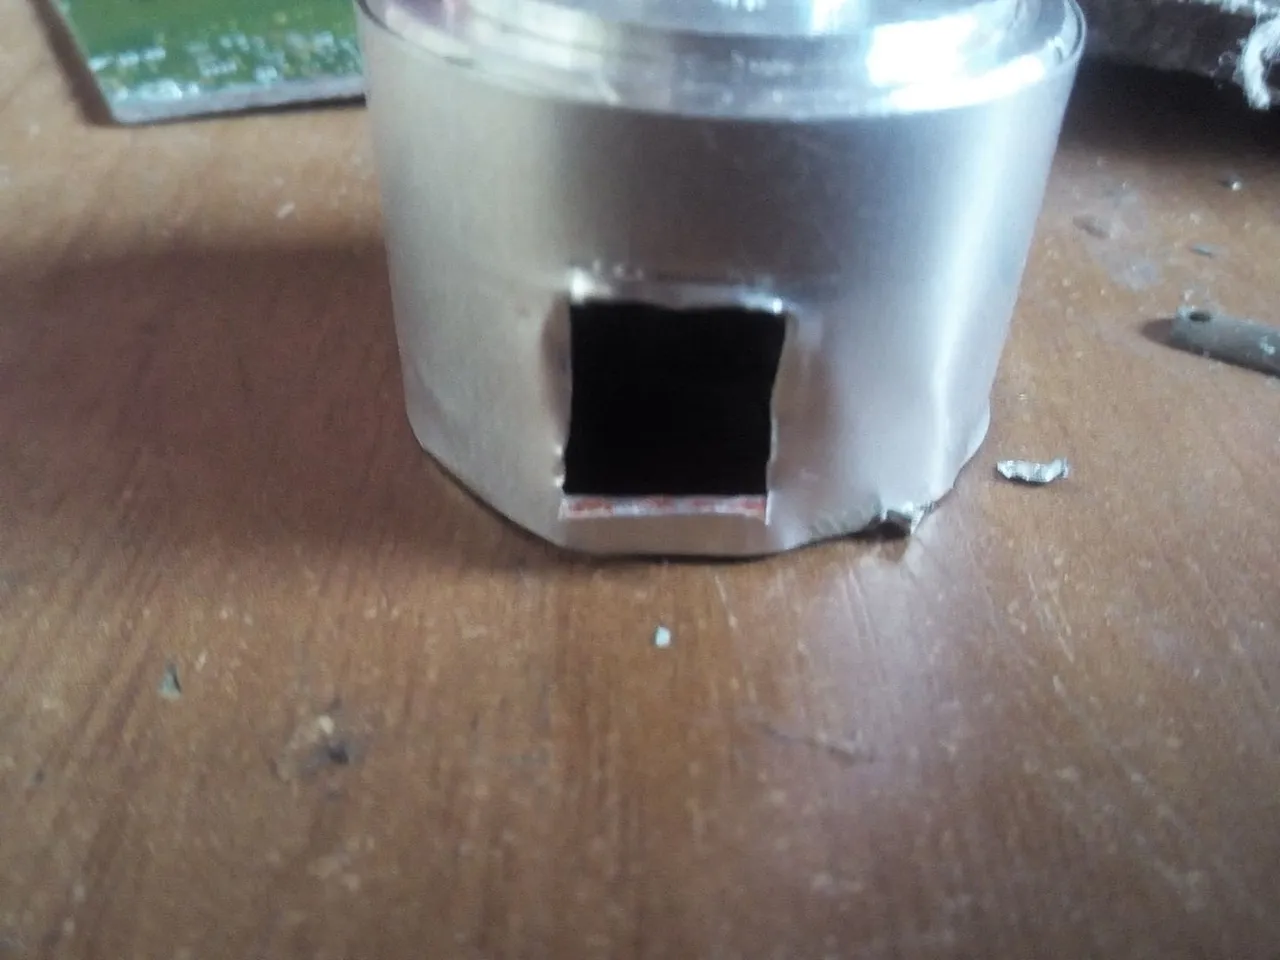

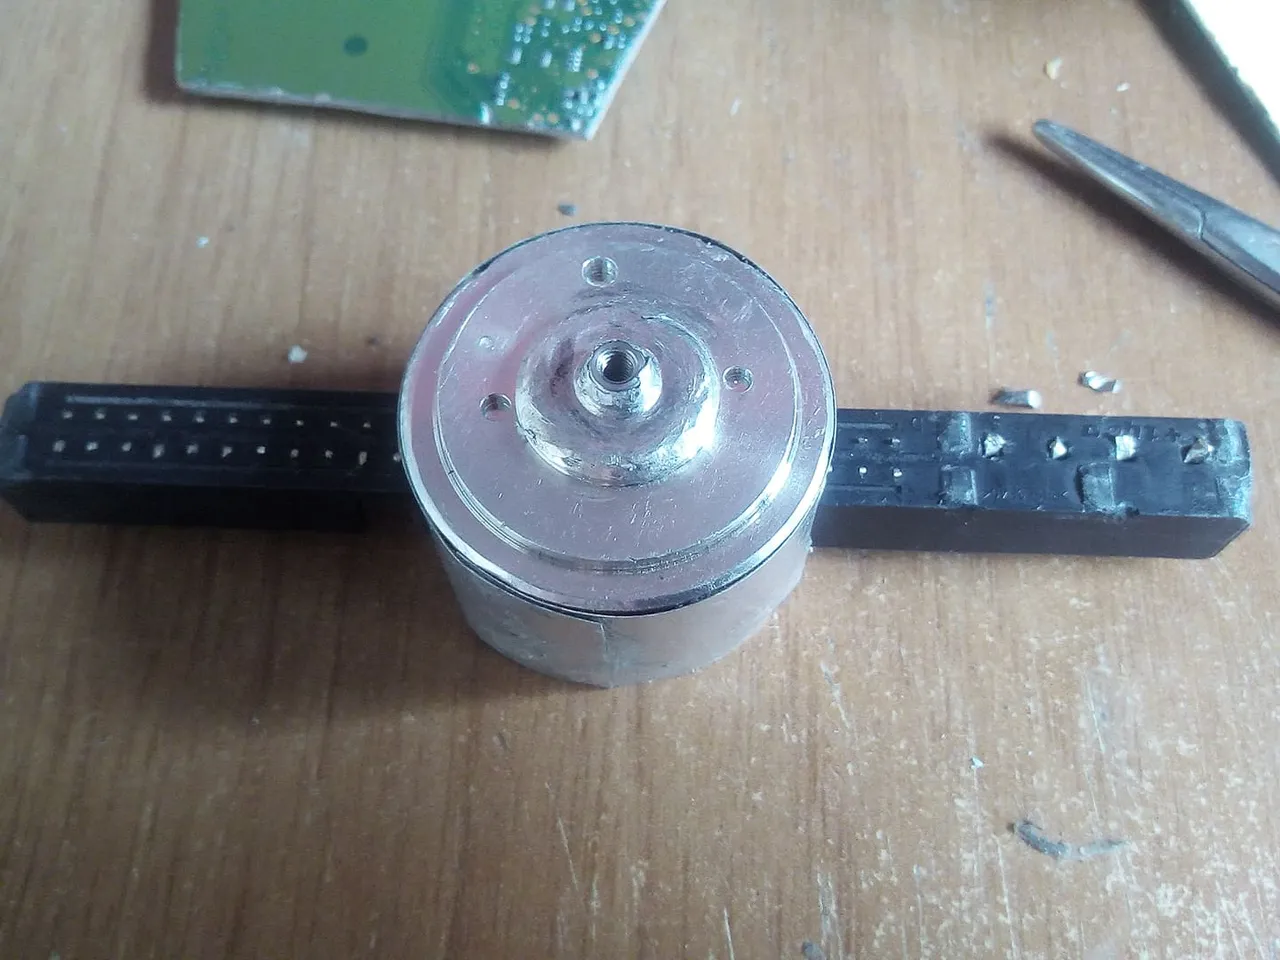
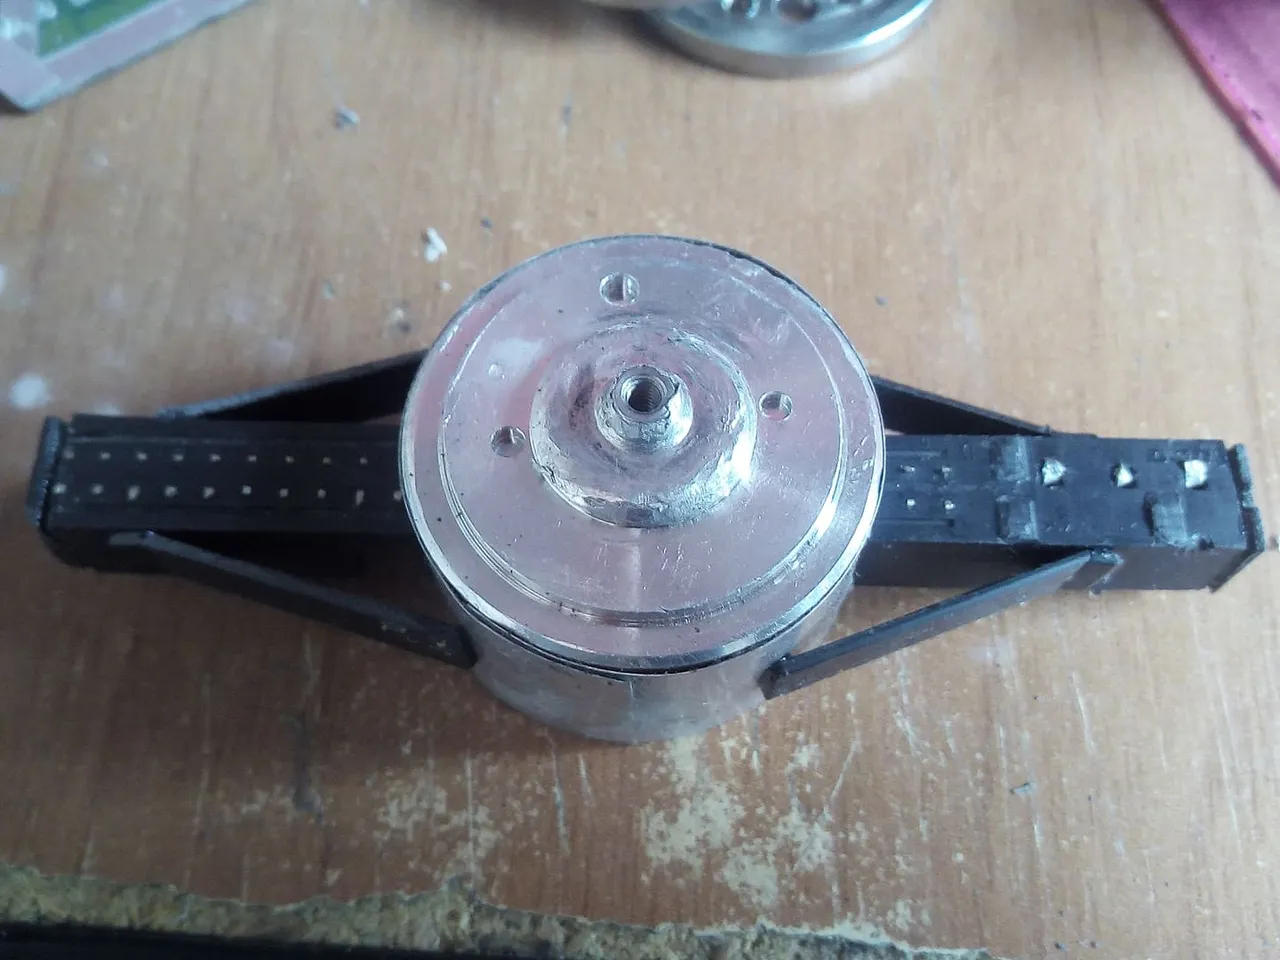
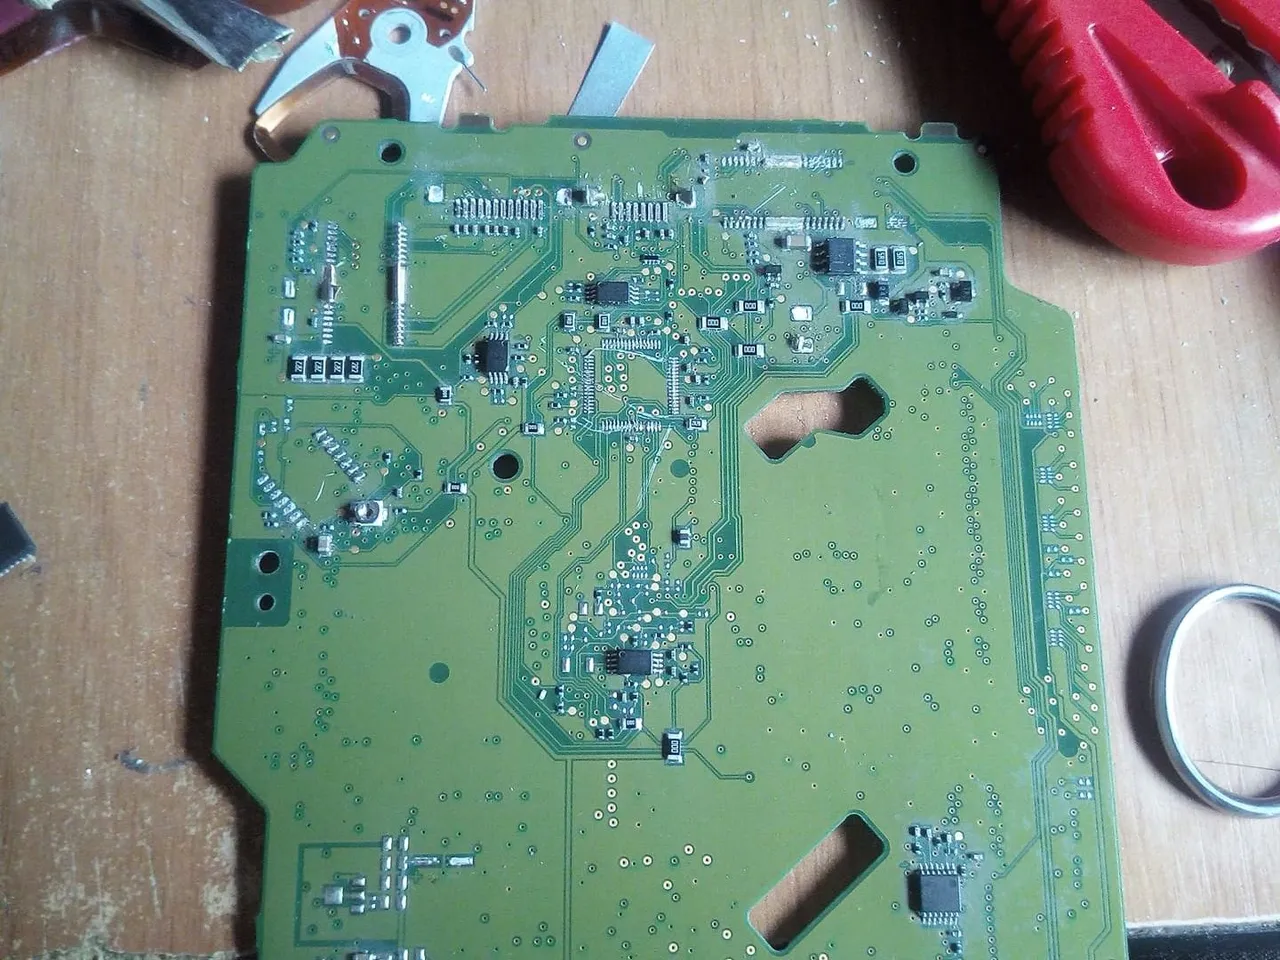
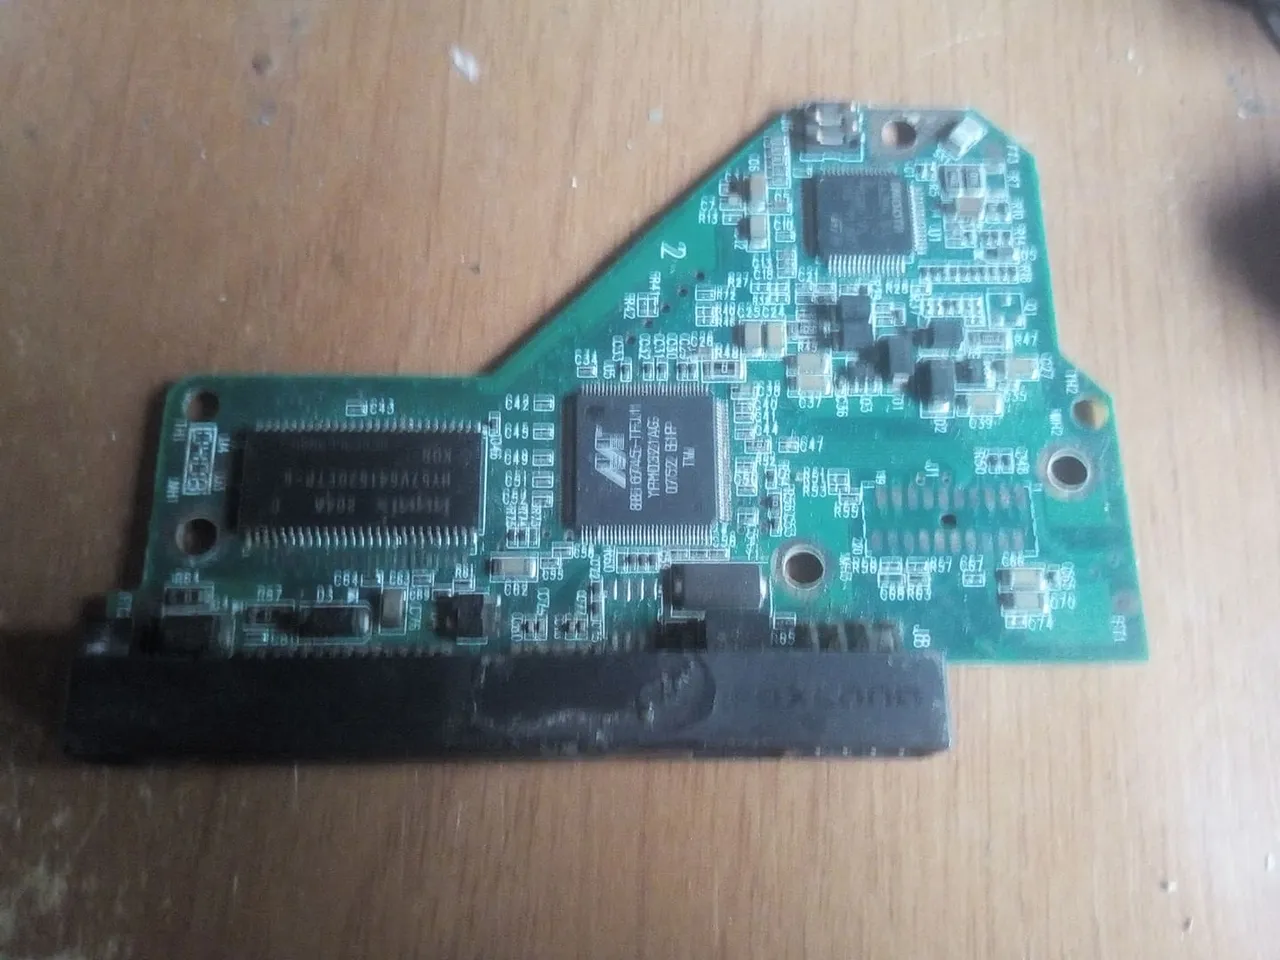
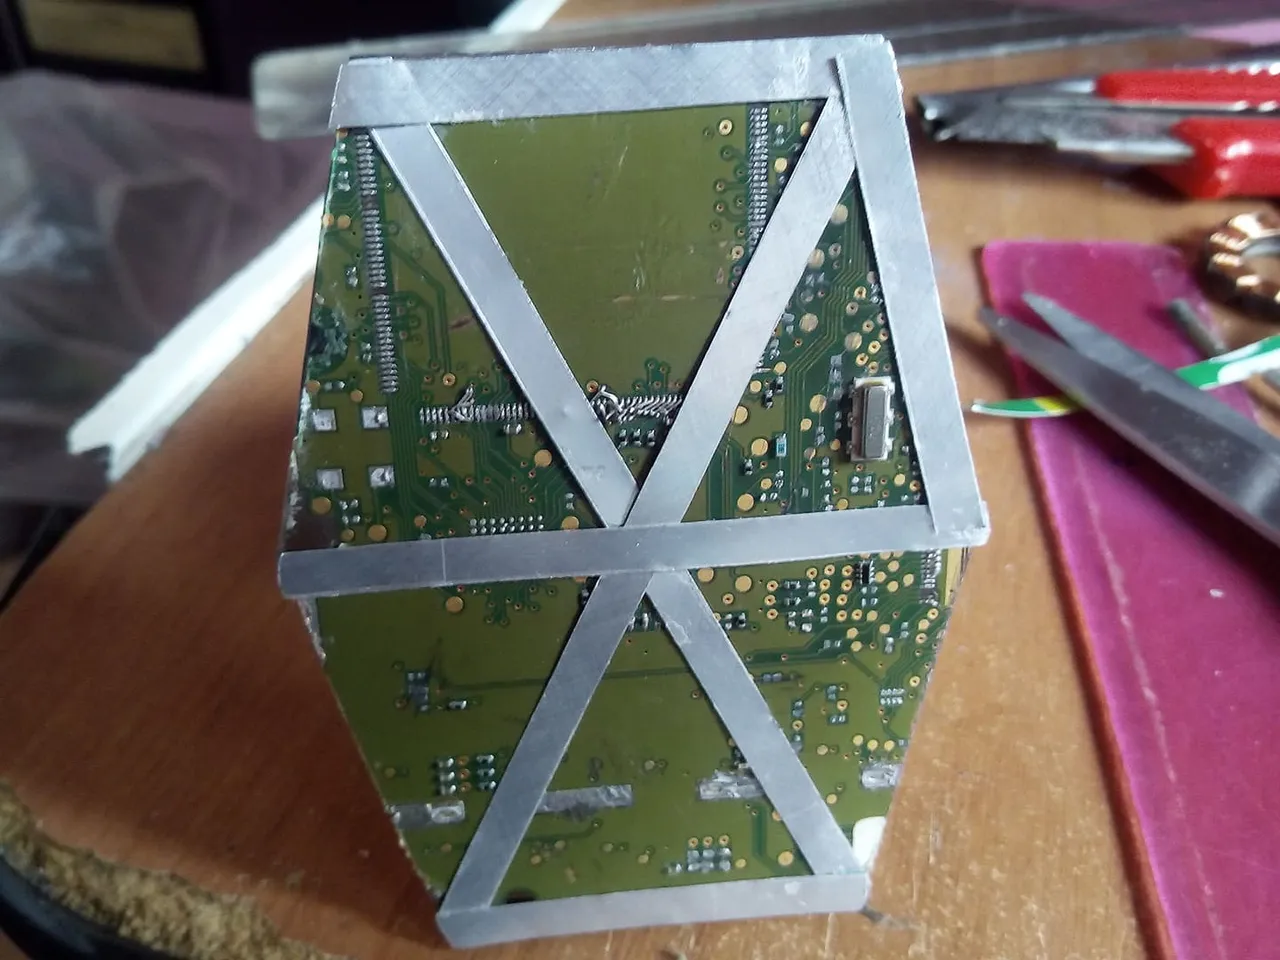
We extract the system through which the cables are plugged from the hard disk plate, then we make two openings in both sides of the cabin. And finally we go through the entire cabin with the plastic where the connector pins are. Once we have done this, we place two pieces of plastic on each wing to try to make it as similar as possible to the original.
Extraemos de la placa del Disco Duro, el sistema por donde se enchufan los cables, luego hacemos dos aberturas en amos costados de la cabina. Y por ultimo atravesamos toda la cabina con el plastico dond estan los pines de los conectores. Una vez que hayamos hecho hsto, colocamos encima de cada ala dos trozos de plastico para tratar de hacerlo lo mas semejante posible al original.
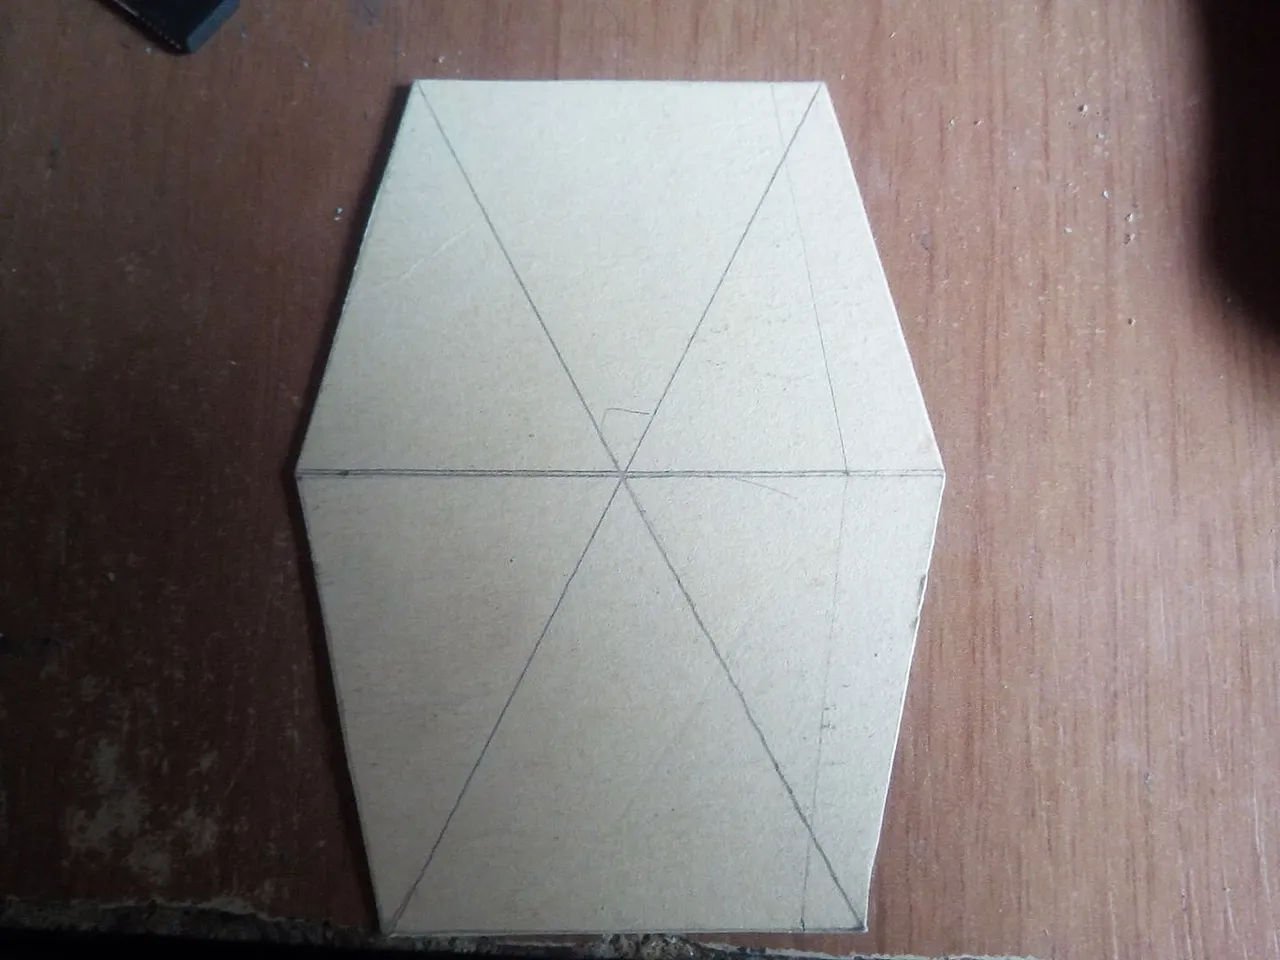
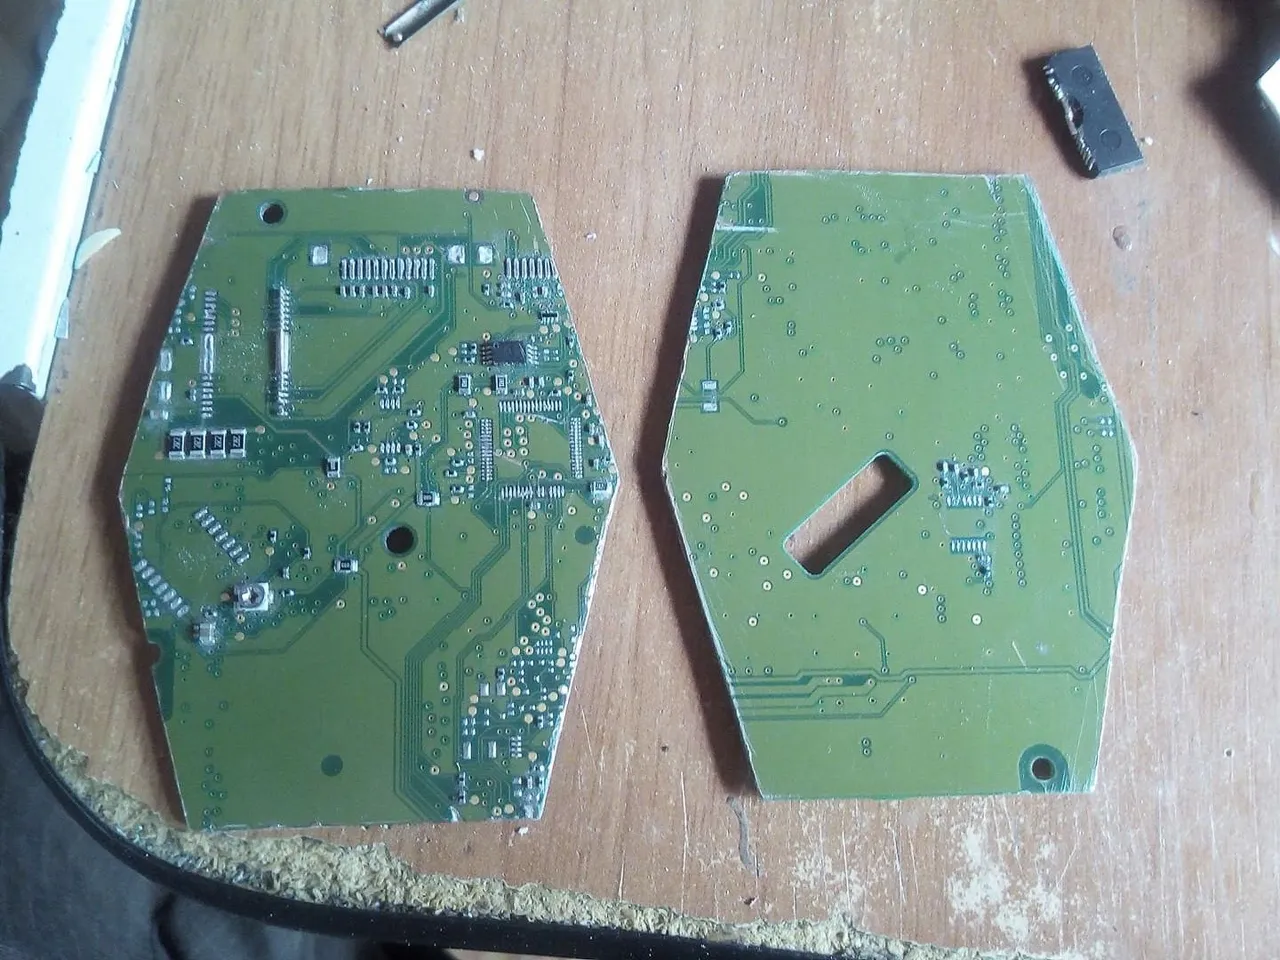
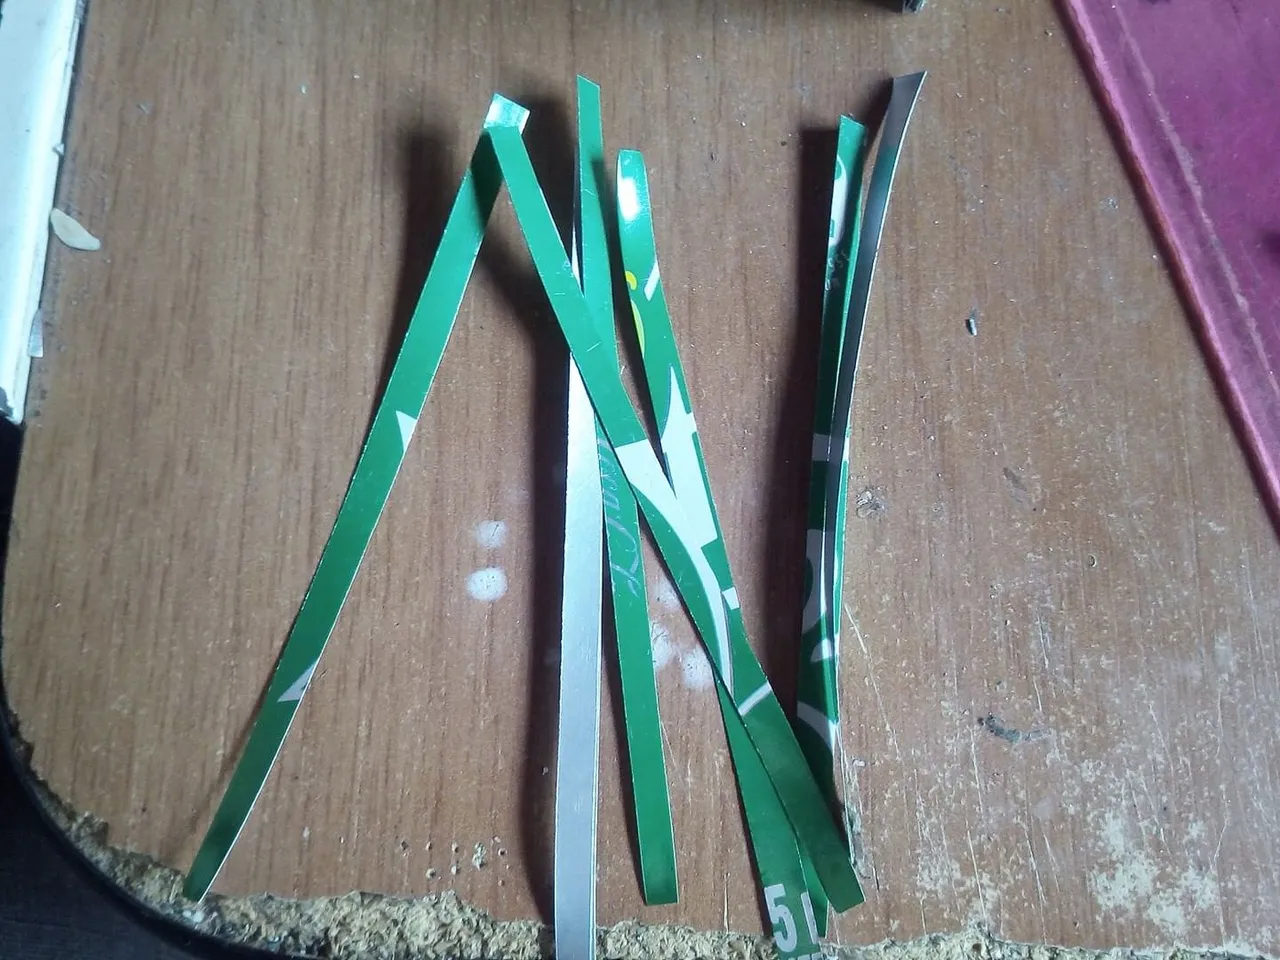

To make the wings we make a template with a cardboard and then we use it to measure the size of the wings on the hard disk plate. We cut out two wings and then with an aluminum can we make the characteristic edges of this type of ship.
Para hacer las alas hacemos una plantilla con una cartulina y luego la usamos para medir en la placa de disco duro el tamaño de las alas. Recortamos dos alas y luego con lata de aluminio hacemos los bordes caracteristicos de este tipo de nave.
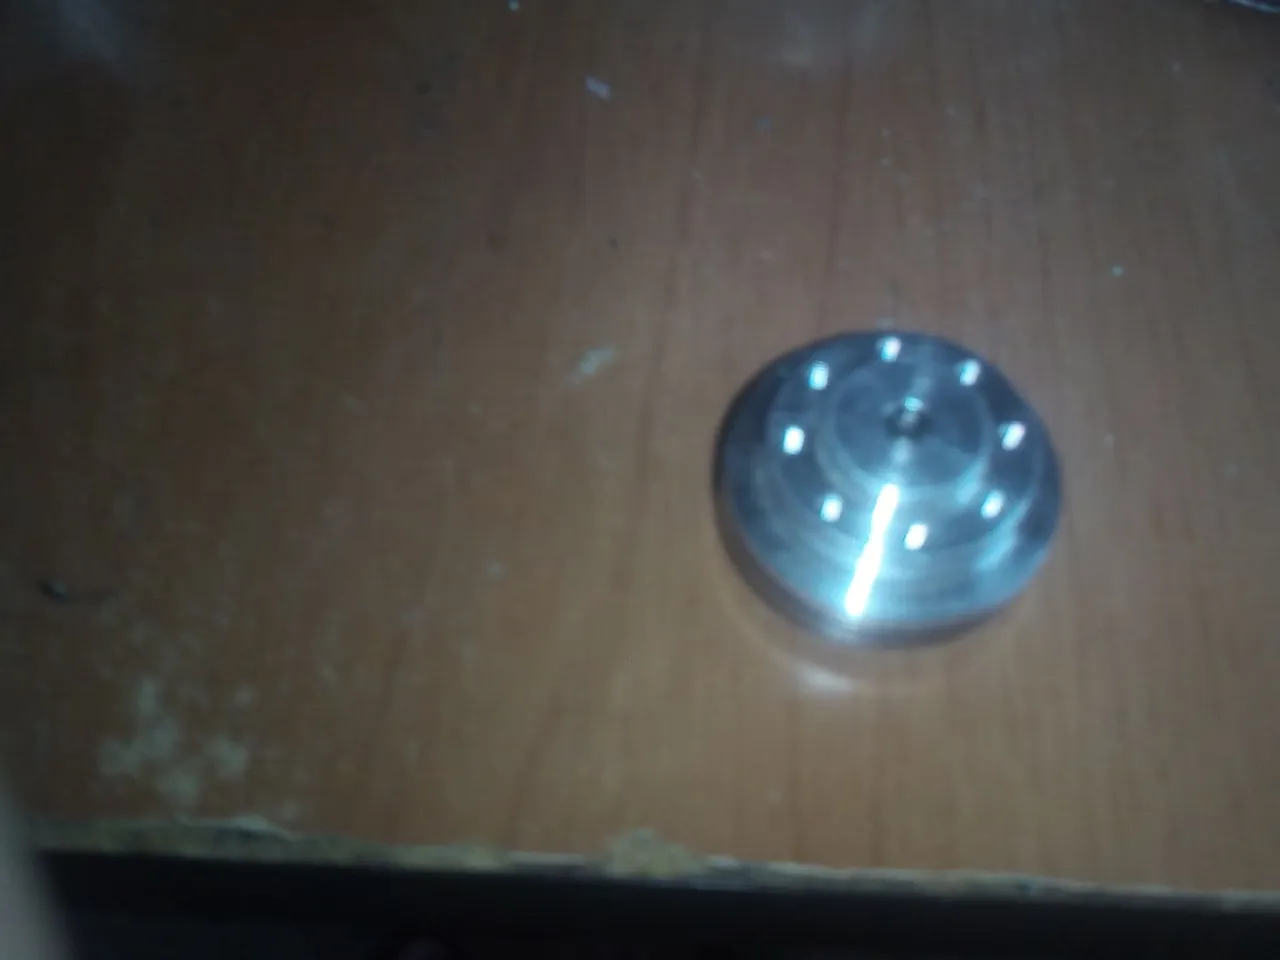
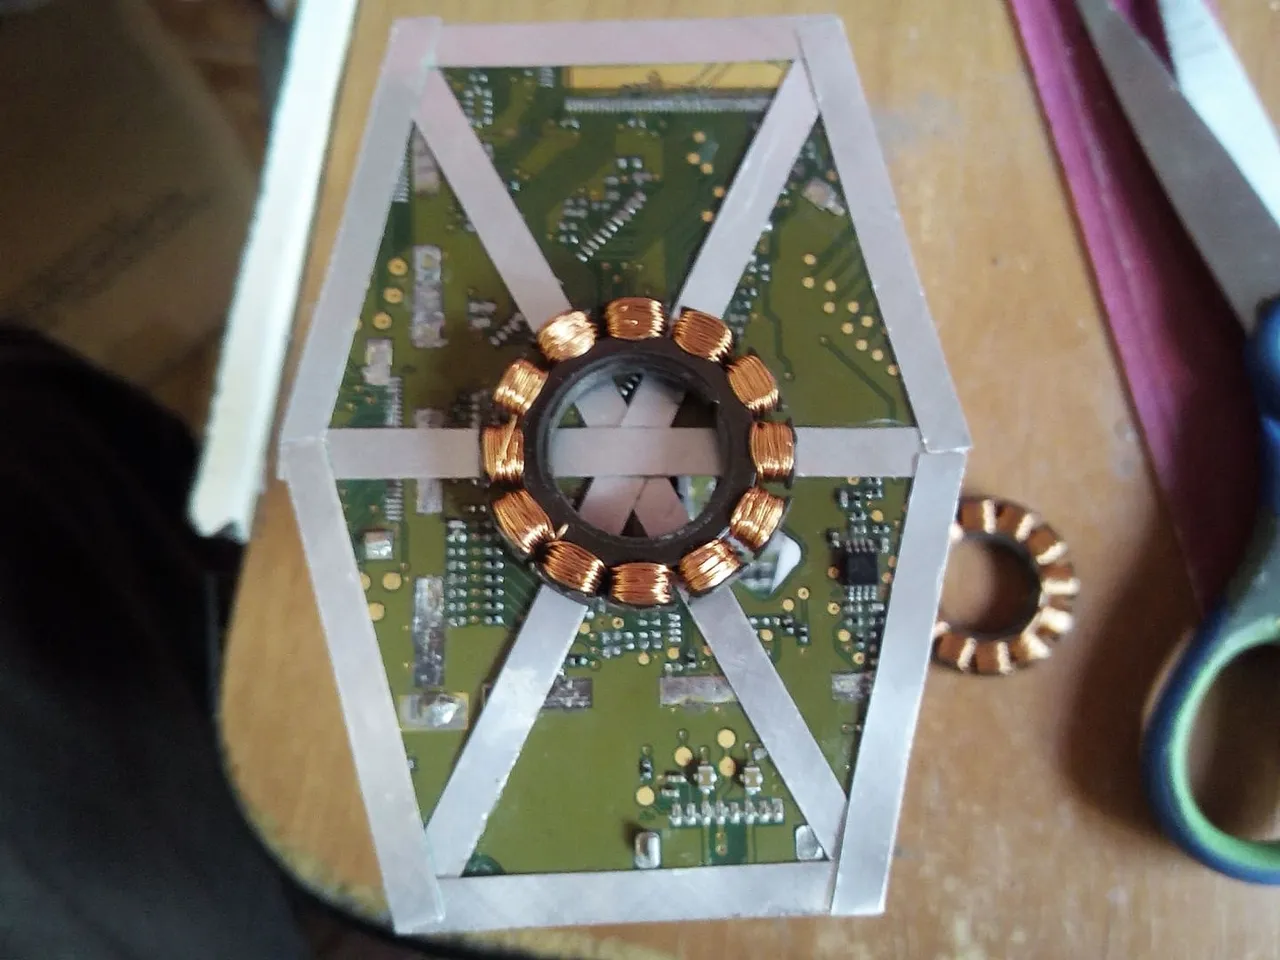
These coils are inserted inside the motors of the hard disk, we will extract 4 in total that we will use as a base to adjust the cabin to the wings, we will put 2 on each side for each wing.
En el interior de los motores del disco duro vienen insertadas estas bobinas, extraeremos 4 en total que usaremos como base para ajustar la cabina a las alas, pondremos 2 en cada costado para cada ala.
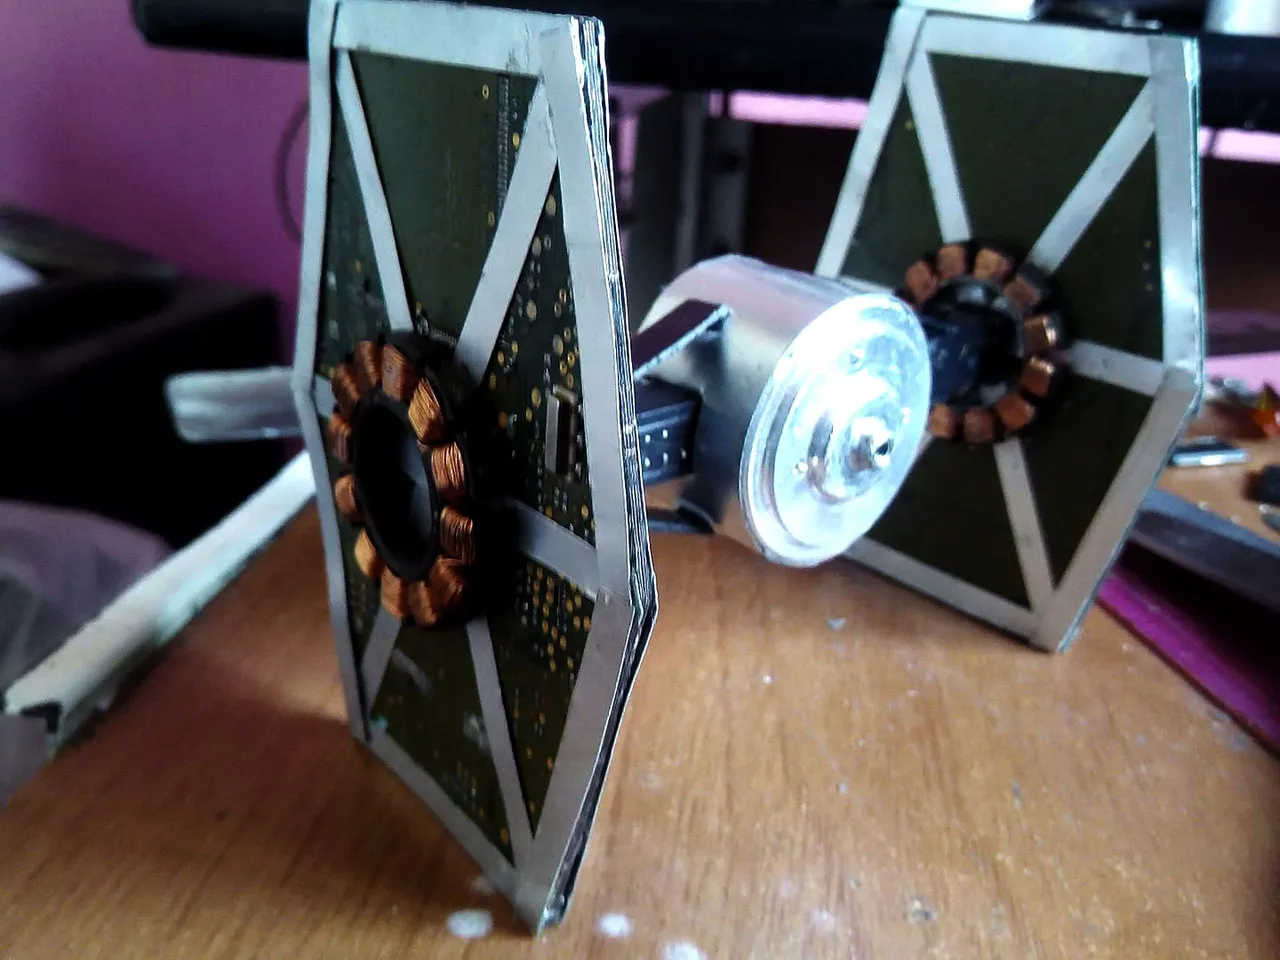
Now we proceed to join the cabin of the ship with the wings. We use super glue and let it dry for a few seconds, we must measure very well so that it is not twisted.
Ahora procedemos a unir la cabina de la nave con las alas. Utilizamos super pegamento y dejamos secar por unos segundos, debemos medir muy bien para que no nos quede torcido.
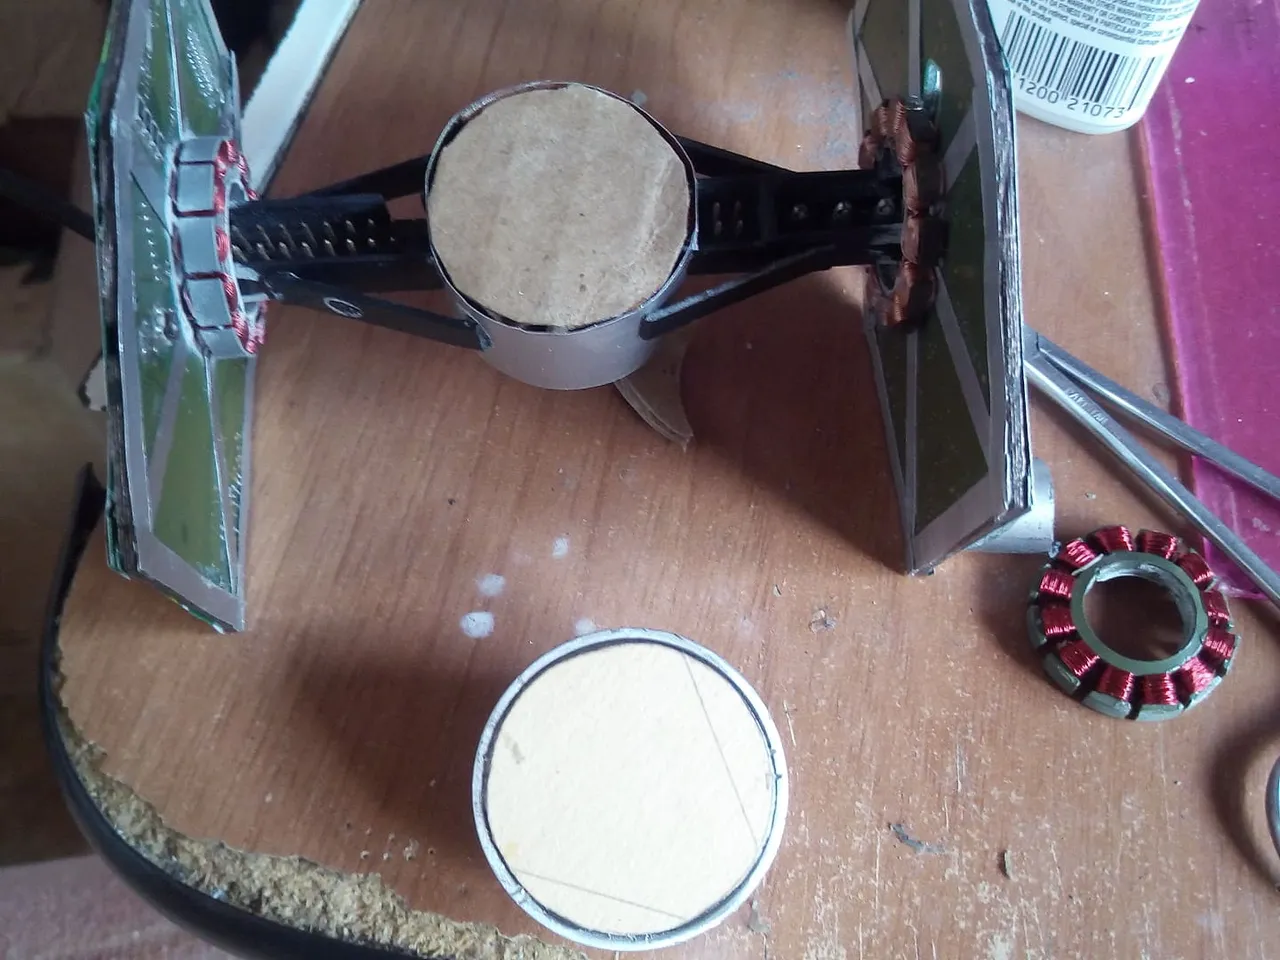

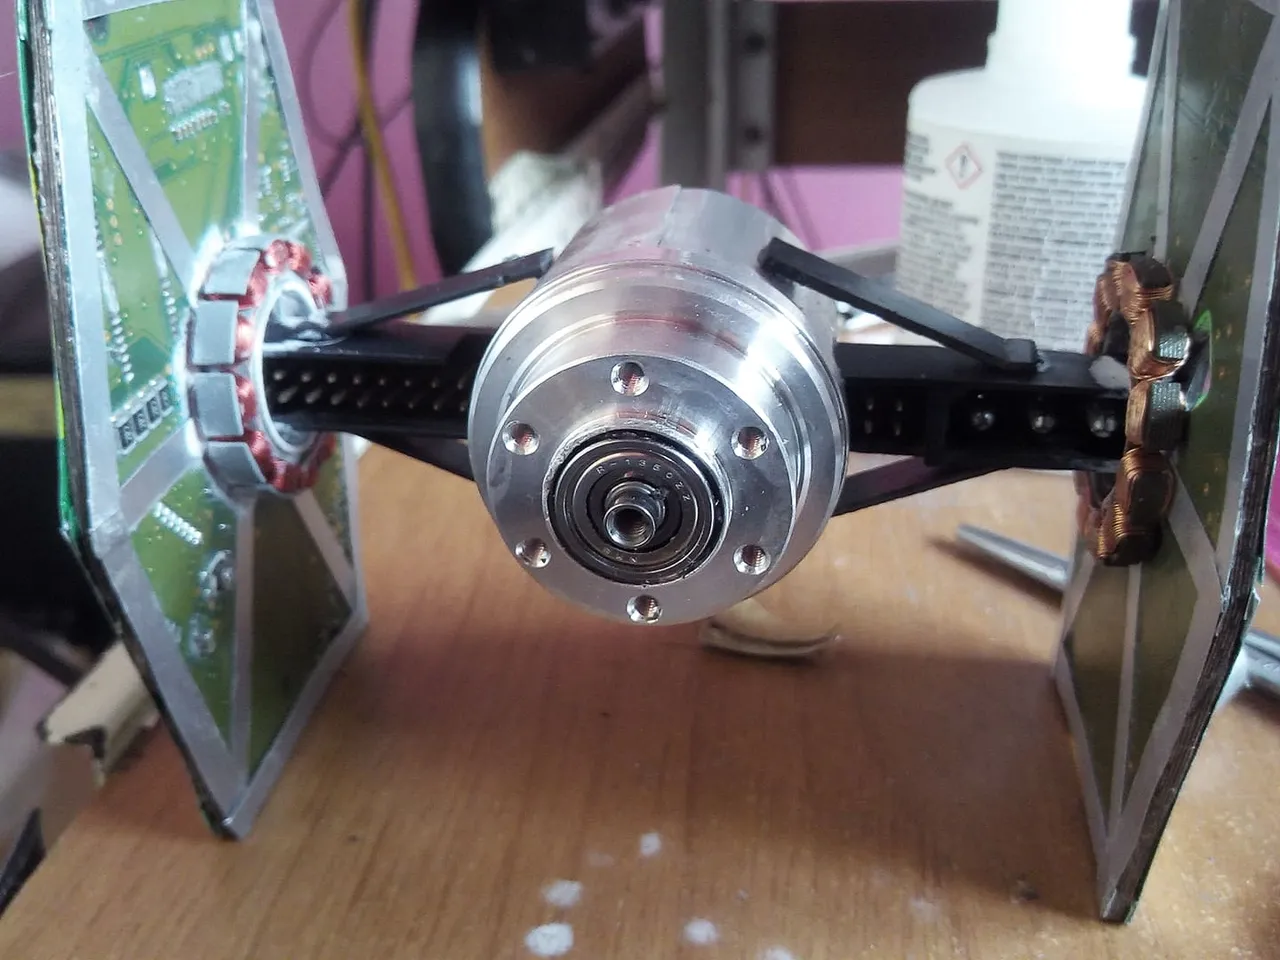
As the rear part had been discovered, remember that we had covered it with a strip of soda can, I decided to cover that end using another motor, so in each part I cut a circular cardboard and put it both in the cabin and in the motor and then i applied glue as metal is not good for glue.
Como la parte trasera habia quedado descubierta, recordemos que la habiamos cobierto con una tira de lata de soda, decidí tapar ese extremo utilizando otro motor, asi que en cada parte corte un carton circular y lo puse tanto en la cabina como en el motor y luego apliqué pegamento, ya que el metal no es bueno para el pegamento.
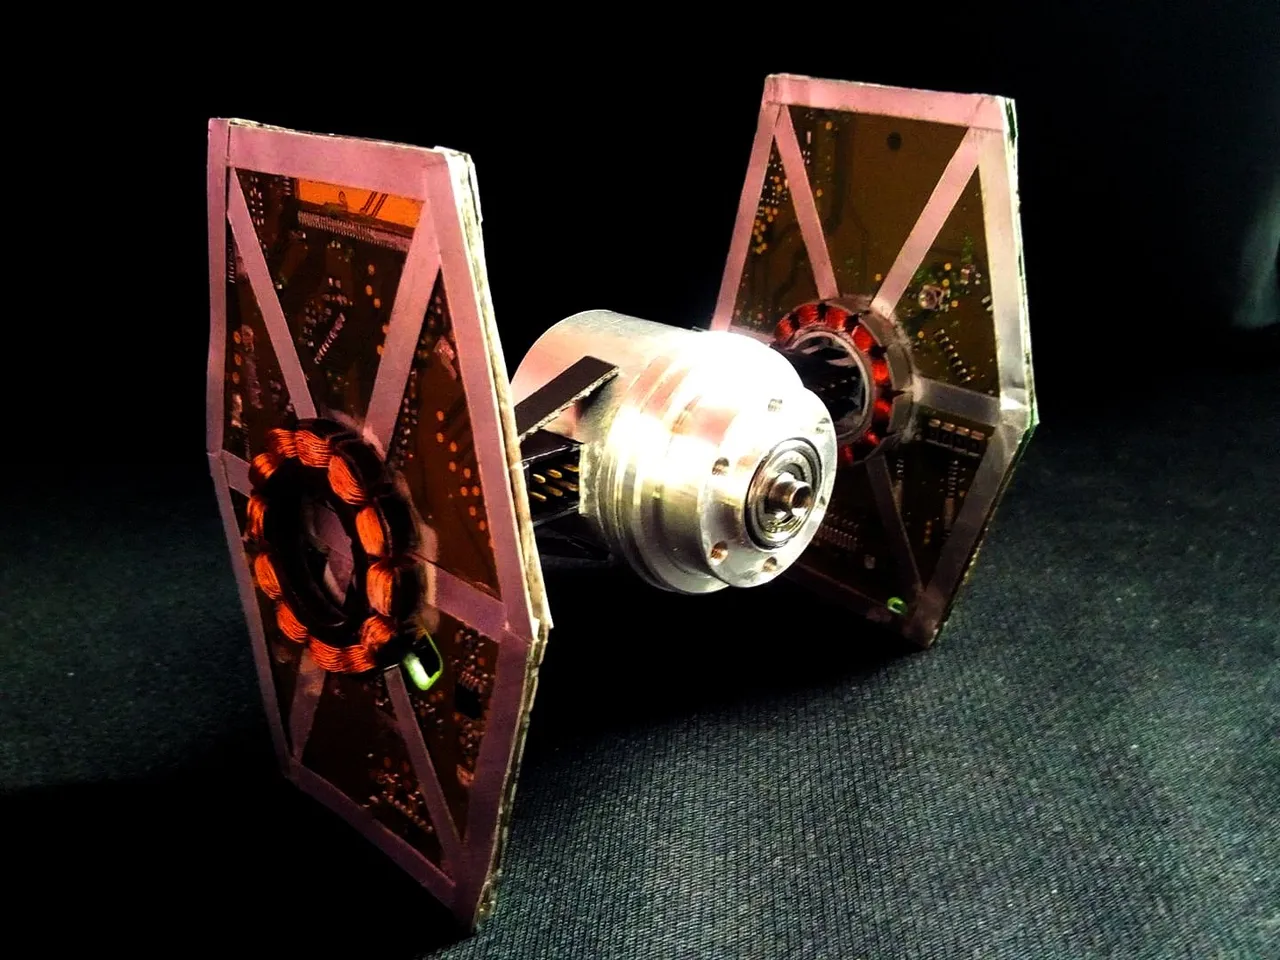
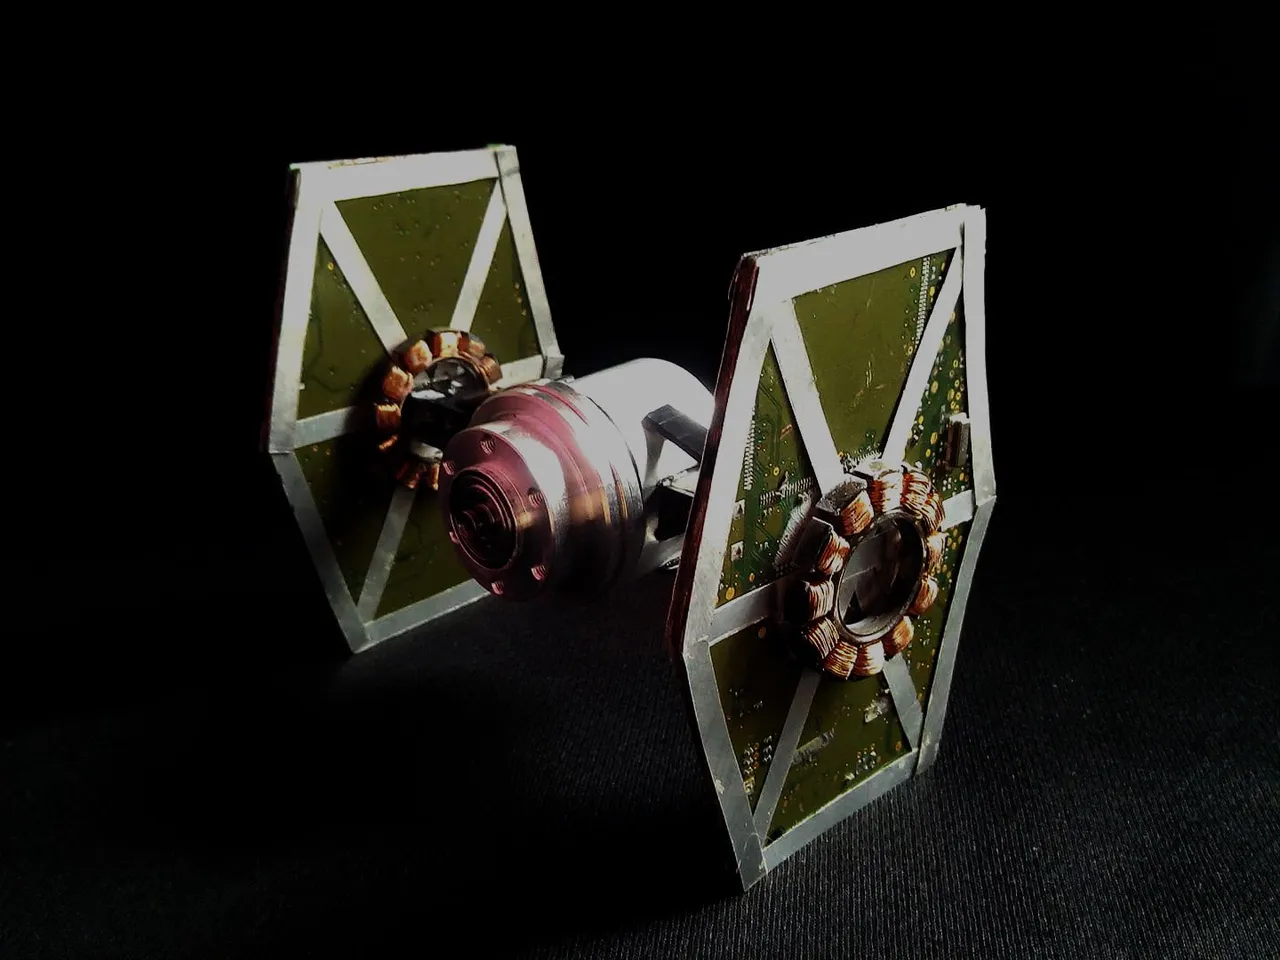
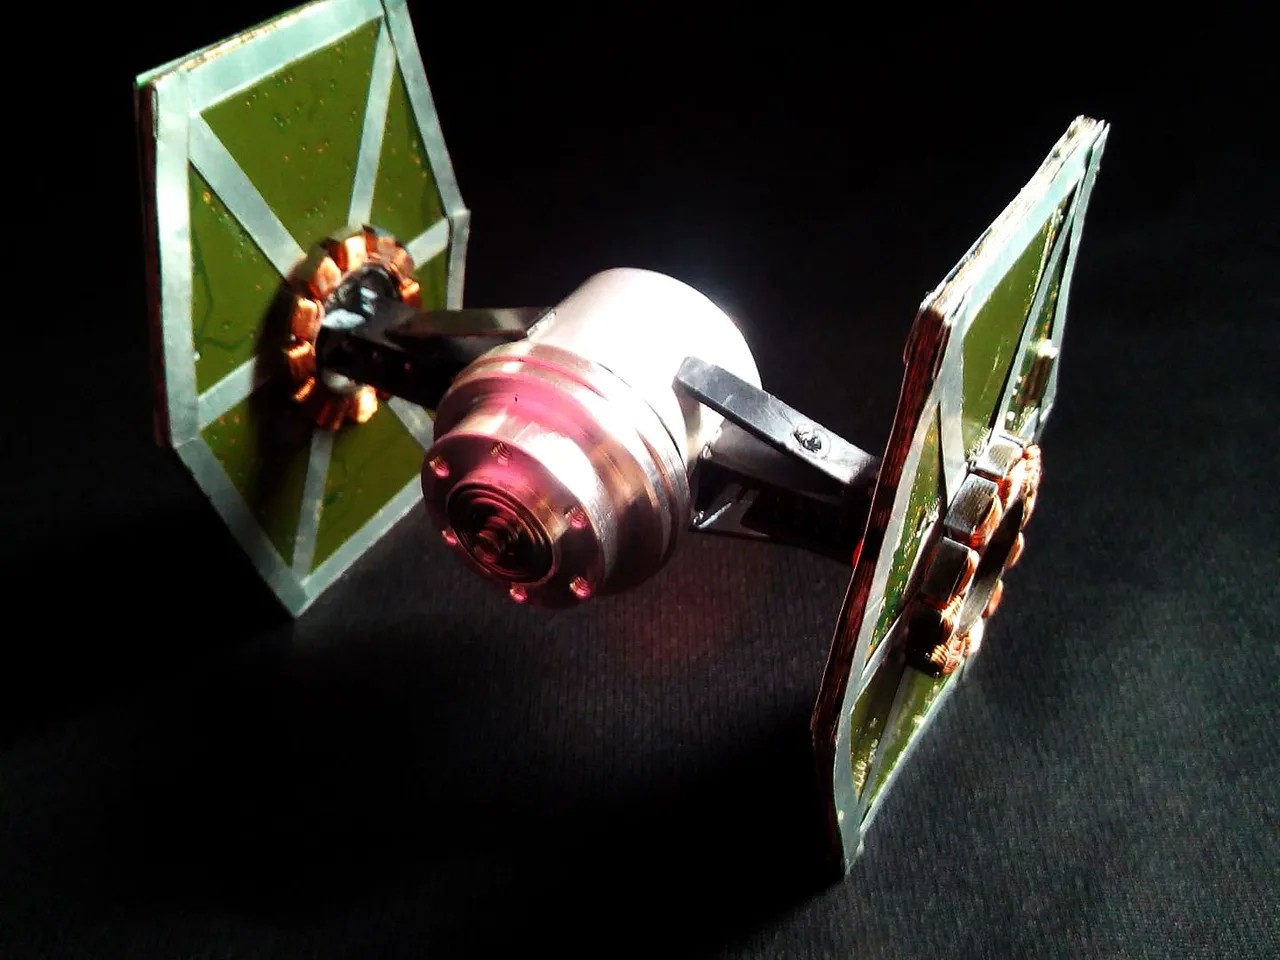
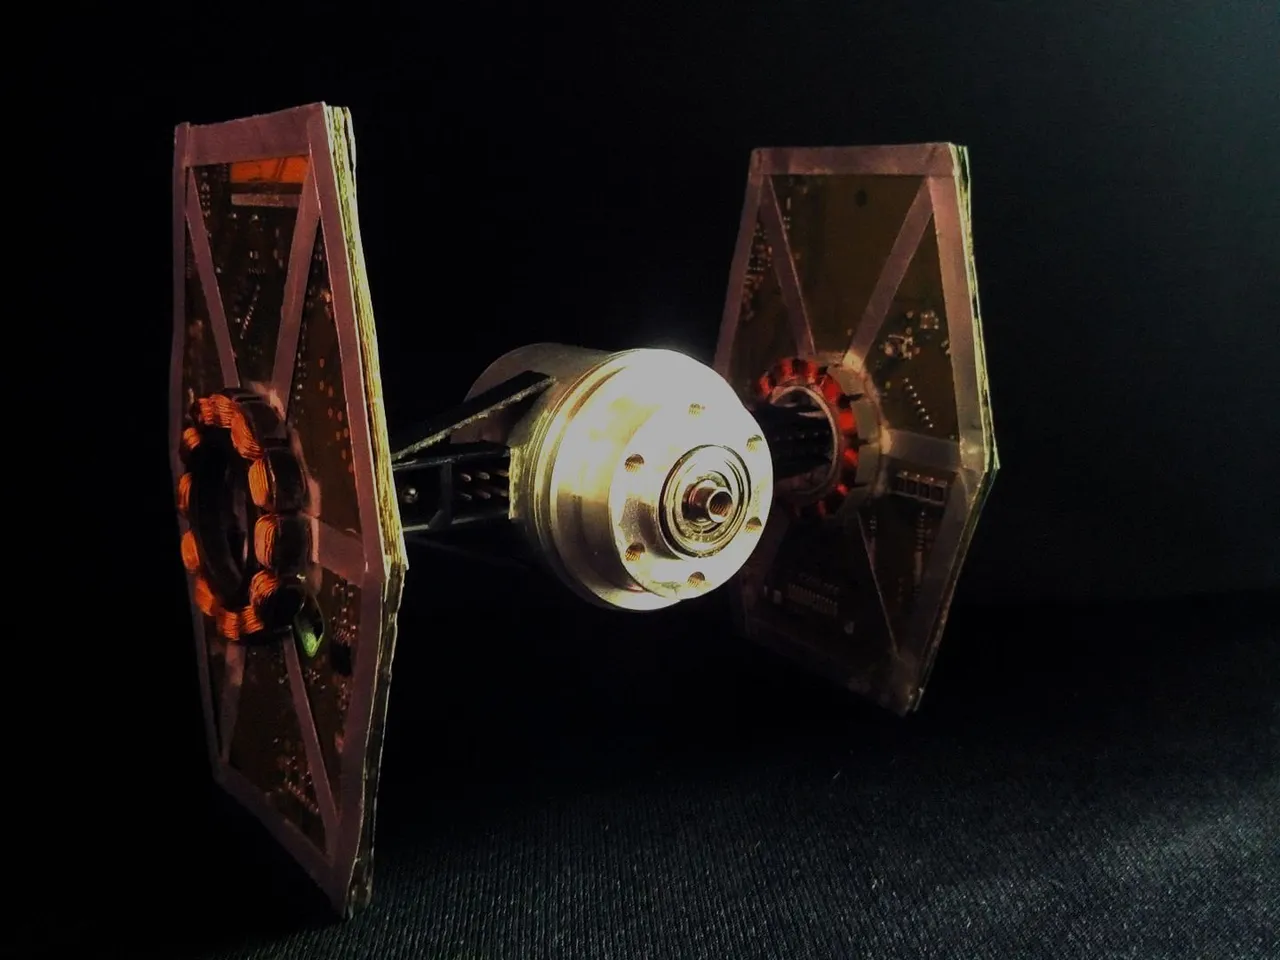
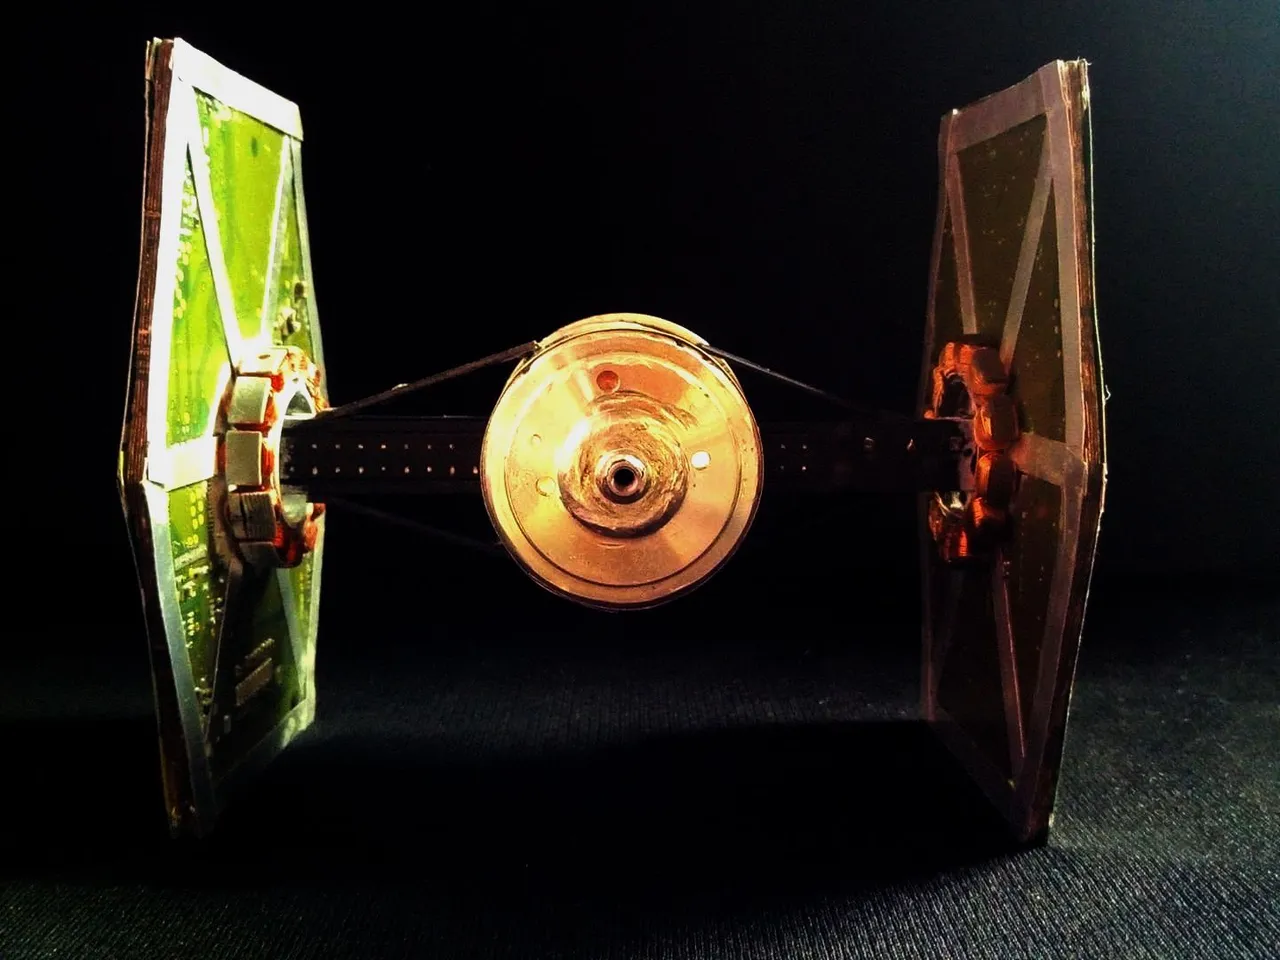
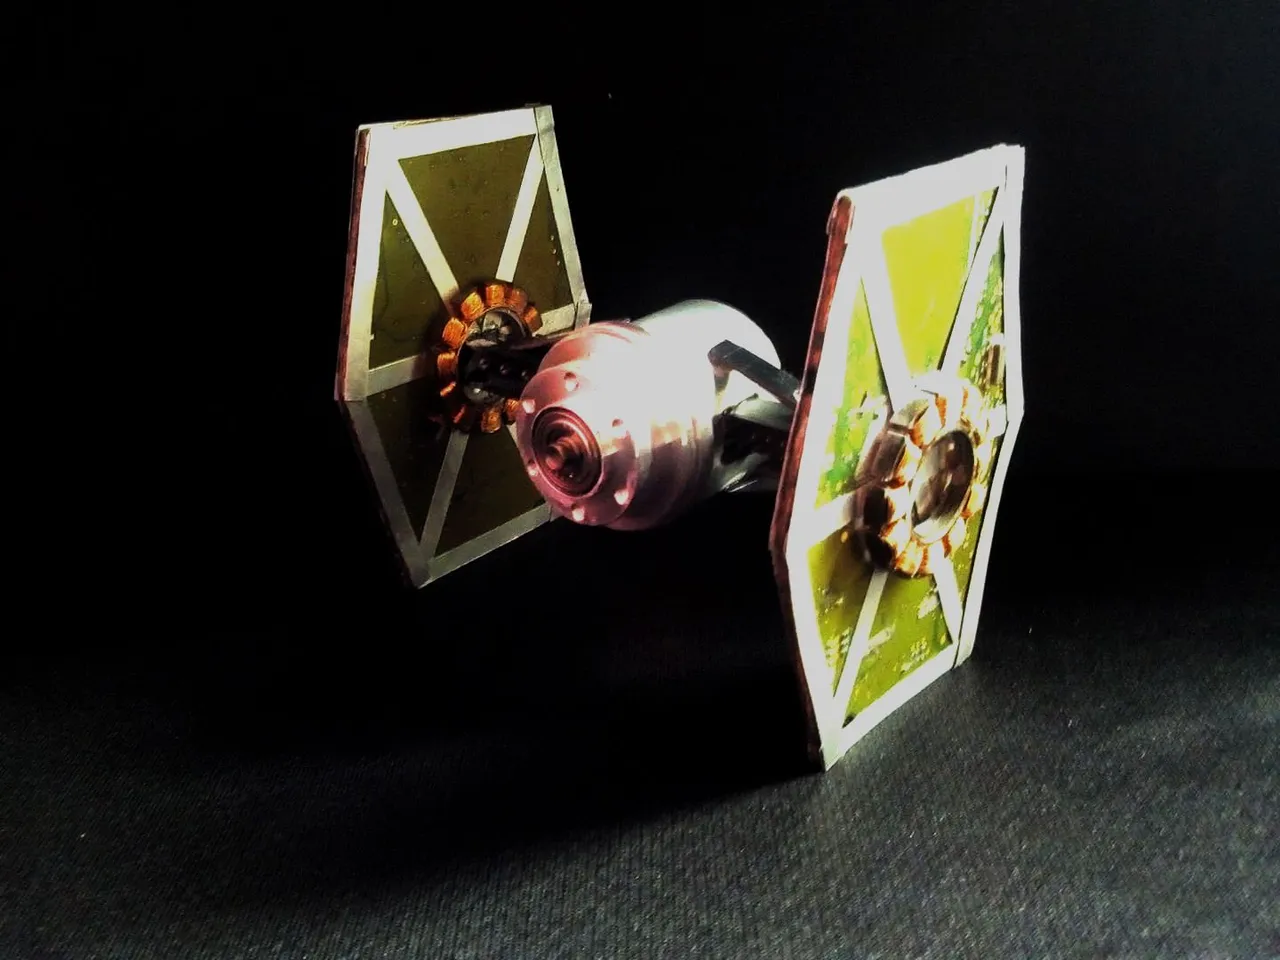
This is how the final work has been, as a Star Wars fan this was one of the ships that I needed to do, little by little I am beginning to complete my collection, although of the ships there are many I will make the ones that I like the most. I hope you liked the process, and if you have any suggestions, do not hesitate to comment and let me know, I say goodbye to you soon.
Así ha quedado el trabajo final, como fan de Star Wars eta era una de las naves que me faltaba por hacer, poco a poco estoy comenzando a completar mi colección, aunque de las naves son muchas haré las que mas me gusten. Espero que les haya gustado el proceso, y si tienen alguna sugerencia no dunden en comentar y hacermelo saber, me despido de ustedes hasta pronto.