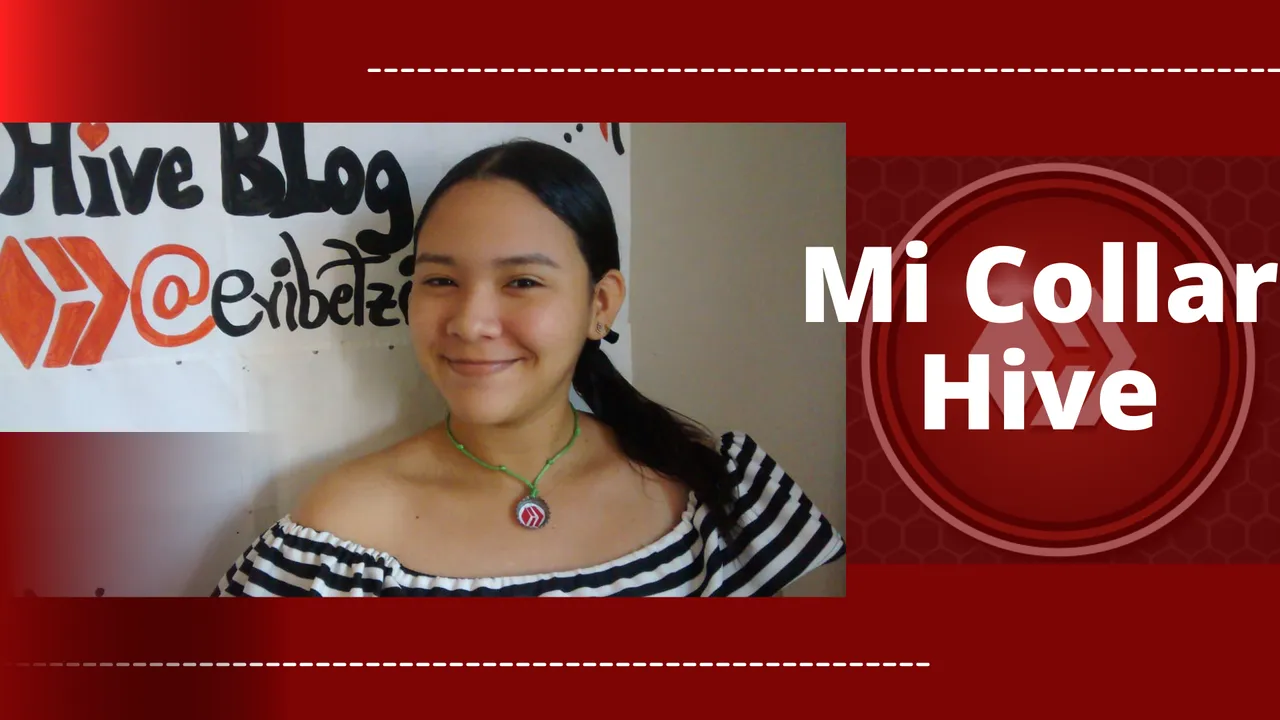
A special greeting to this wonderful community, it is a pleasure to be here again, sharing with all of you every thing I can innovate every day, I want to show you this Beautiful Hive Necklace, that I made with a soda plate, so let's start with the step by step, I really loved my result.

-Materiales:
-Rabo de ratón 50cm.
-Tijera.
-Pintura blanca y Roja.
-Pincel.
-1 Clavo.
-Martillo.
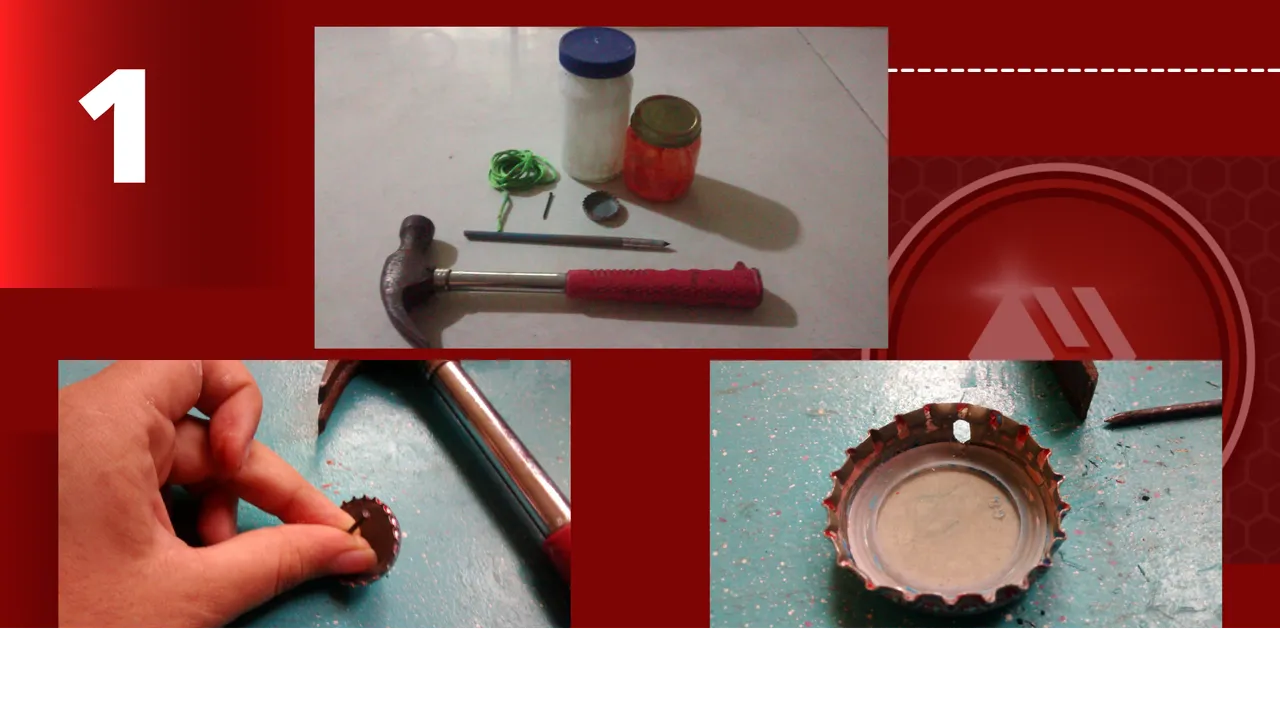
-Paso 1: Con el clavo abrimos un pequeño agujero en pa parte de arriba de nuestra chapa de refresco, cuidadosamente martillamos hasta tener un agujero por donde pueda pasar nuestro hilo.
-Materials:
-Mouse tail 50cm.
-Scissors.
-White and red paint.
-Brush.
-Nail.
-Hammer.
-Step 1: With the nail we open a small hole in the top part of our soda plate, carefully hammer until we have a hole through which our thread can pass.
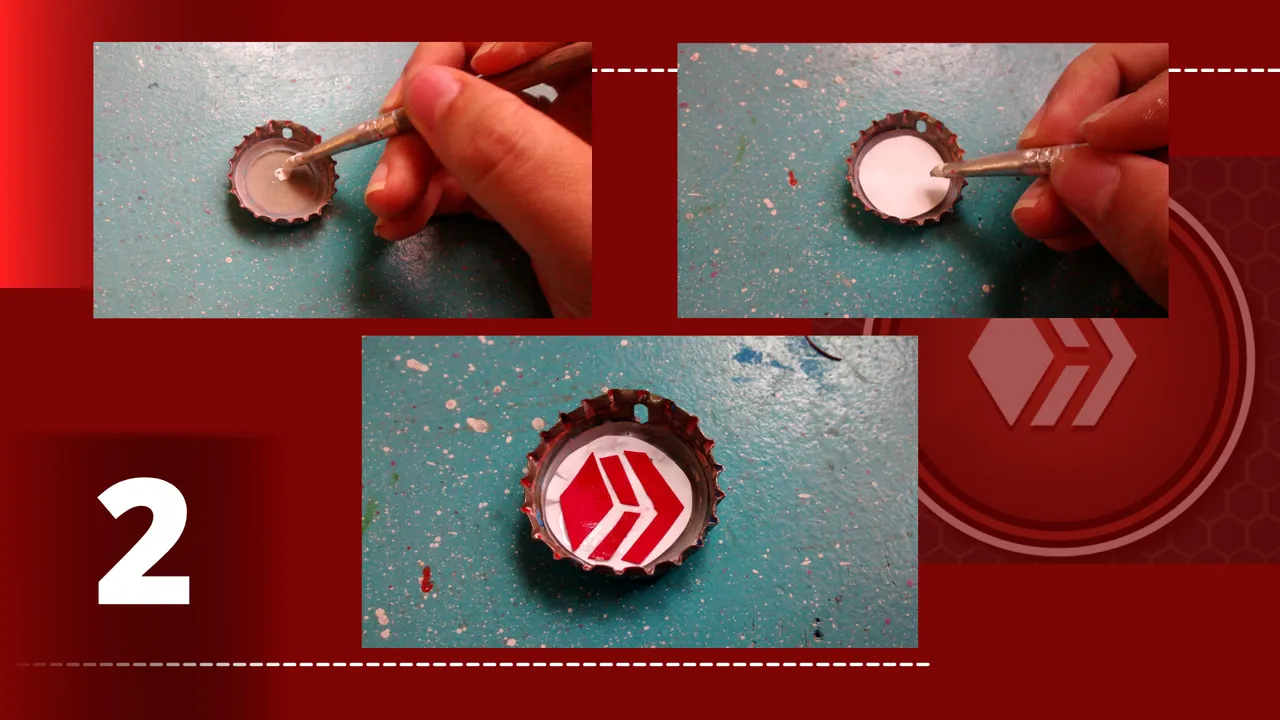
-Paso 2: Procedemos a pintar de blanco nuestra chapa, lo que será el fondo para nuestro logo de Hive, luego procedemos a pintar nuestro logo de Hive, con cuidado, de manera que no manchemos lo blanco que ya hemos pintado.
-Step 2: We proceed to paint our sheet metal white, which will be the background for our Hive logo, then we proceed to paint our Hive logo, carefully, so that we do not stain the white we have already painted.
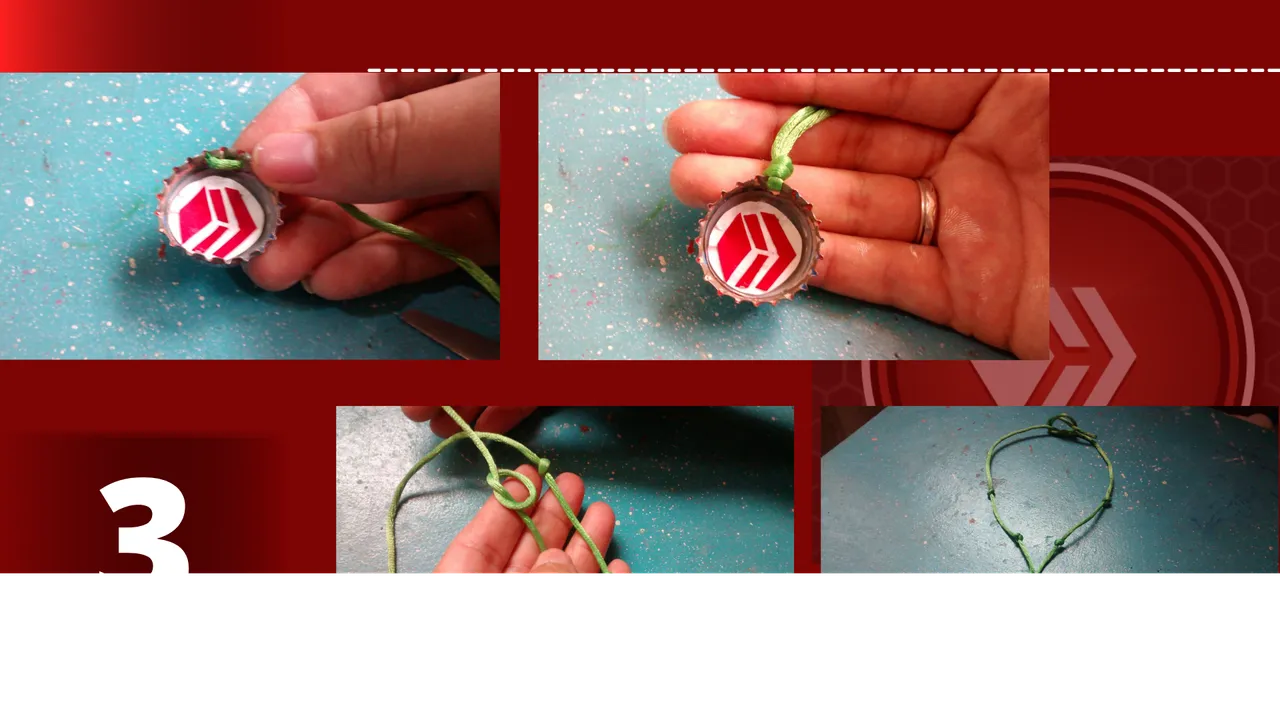
-Paso 3: Luego de que nuestra chapa haya secado, procedemos a pasar por el agujero nuestro hilo, luego hacemos un nudo para que al momento de ponernos nuestro collar, no se voltee, realizamos luego varios nudos al hilo, esto es para decorar y dar un toque sutil.
-Step 3: After our veneer has dried, we proceed to pass through the hole our thread, then we make a knot so that when we put on our necklace, it does not turn over, then we make several knots to the thread, this is to decorate and give a subtle touch.
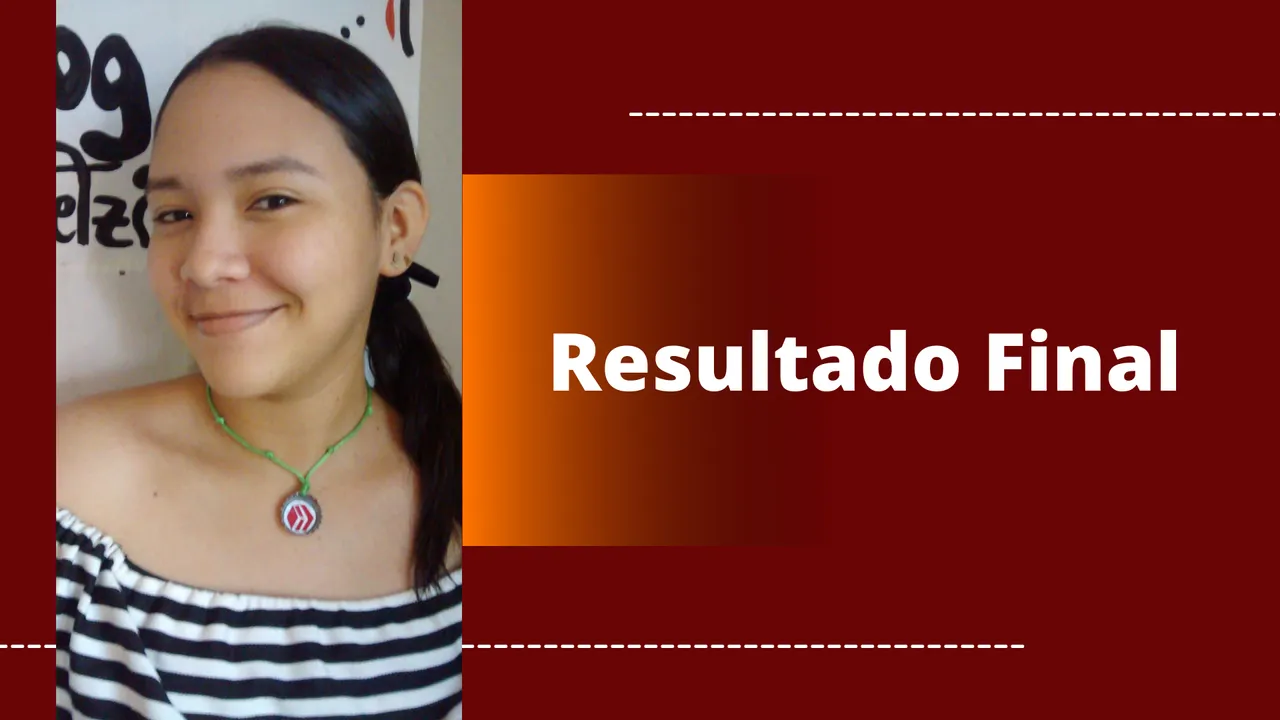
This is my final result, I hope you liked it as much as I did, I had a lot of fun doing it, it really is amazing what we can do with a badge, and so we also take care of our planet Earth, thank you for reading my post, I love you very much, greetings and blessings to all.
All photos are my Authored, and edited from canva.