Hello, dear readers
It’s woodworking time!
Buen día, estimados lectores.
¡Es hora de trabajar!

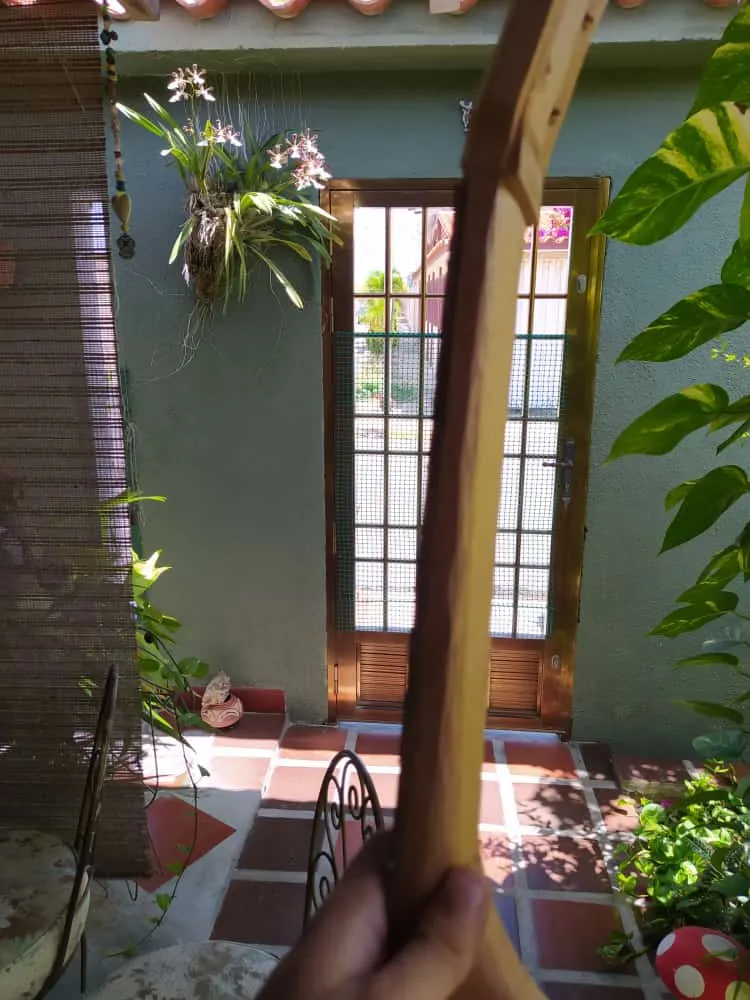
After a while, we finally come back to finish installing details on this cuatro. This last few days, I've been working on the bindings, carving the neck, and getting the head strock ready for the tuning pegs.
Después de una pausa, volvemos para terminar con este cuatro. En estos últimos días he trabajado en la instalaciones de los perfiles y filetería, labrado del mástil y preparando el clavijero para las clavijas.

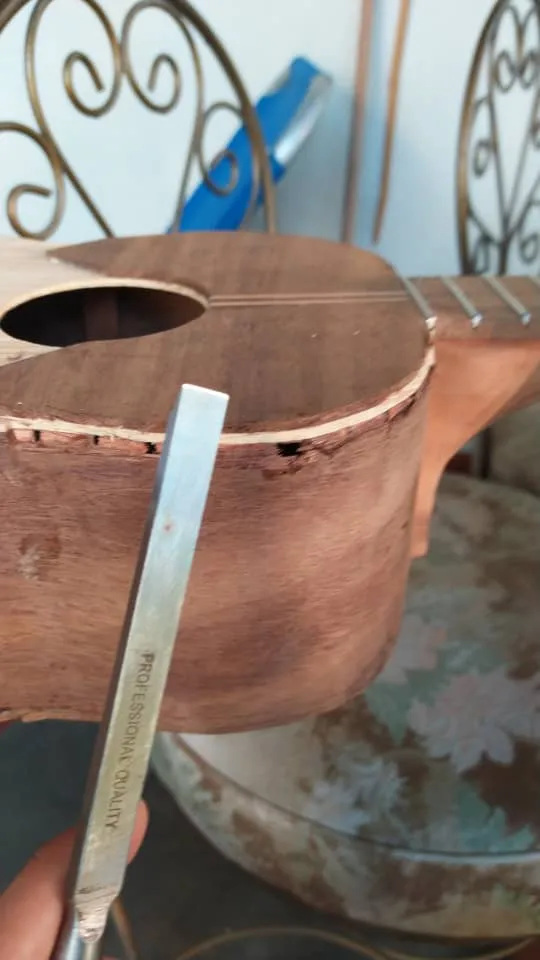

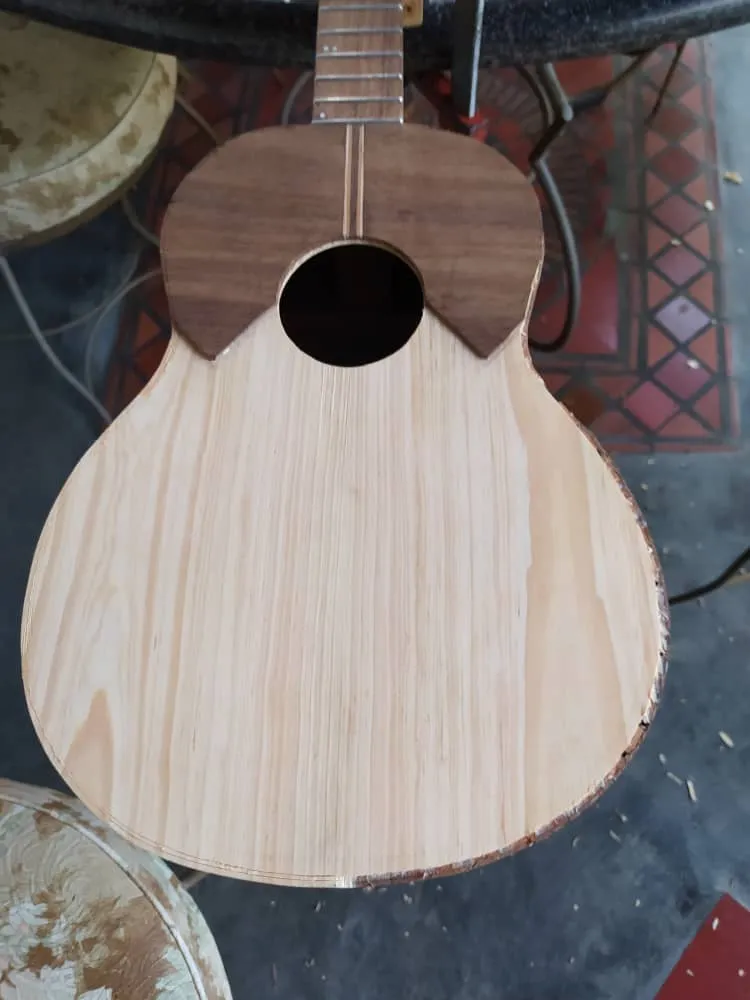
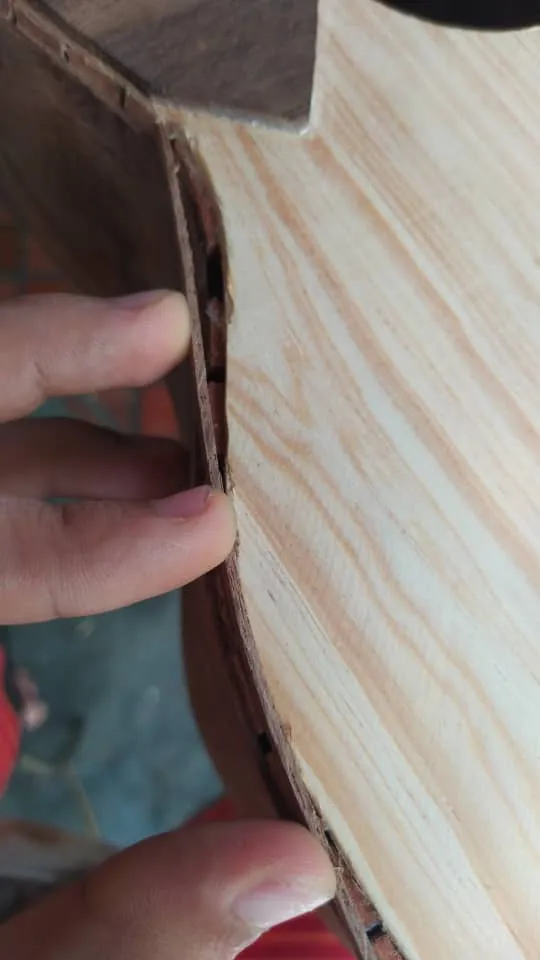
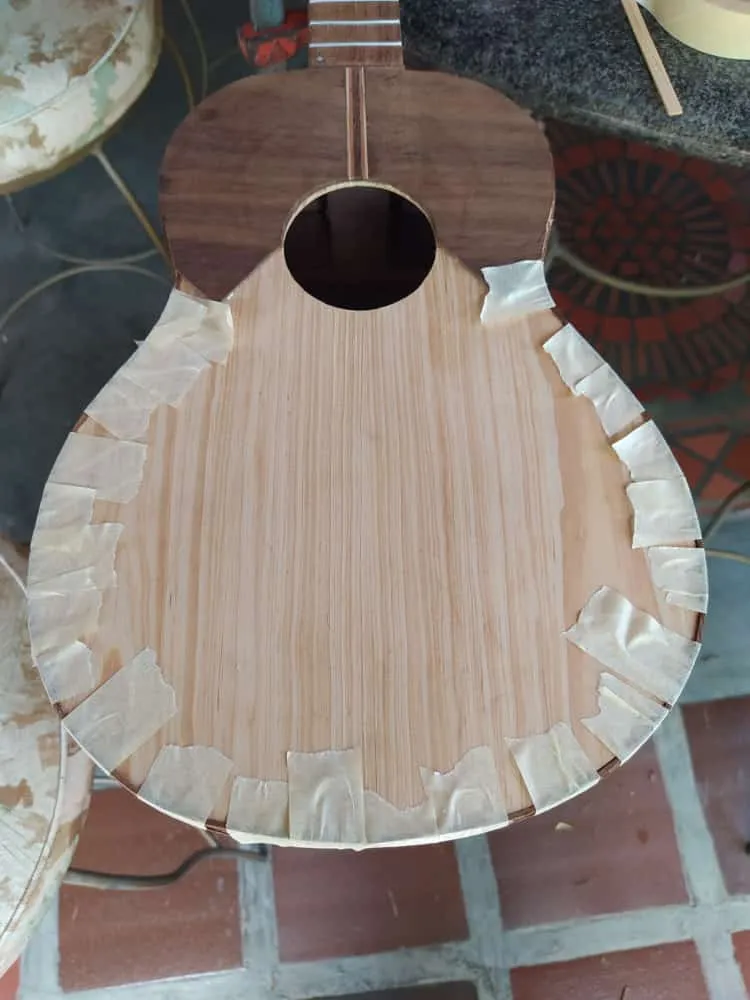
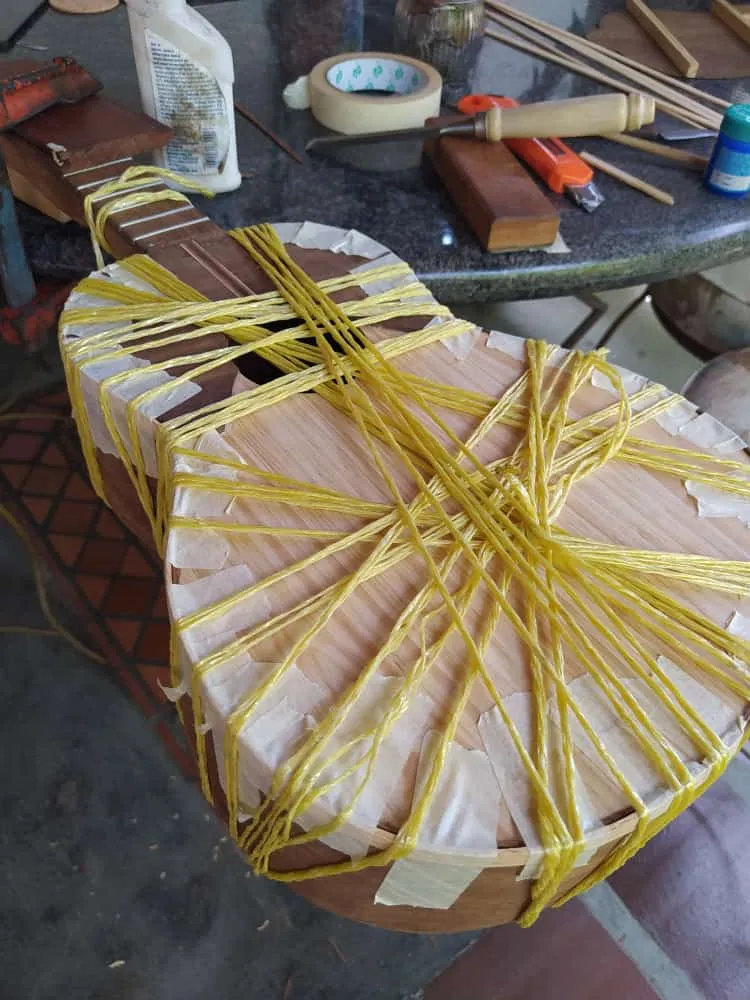
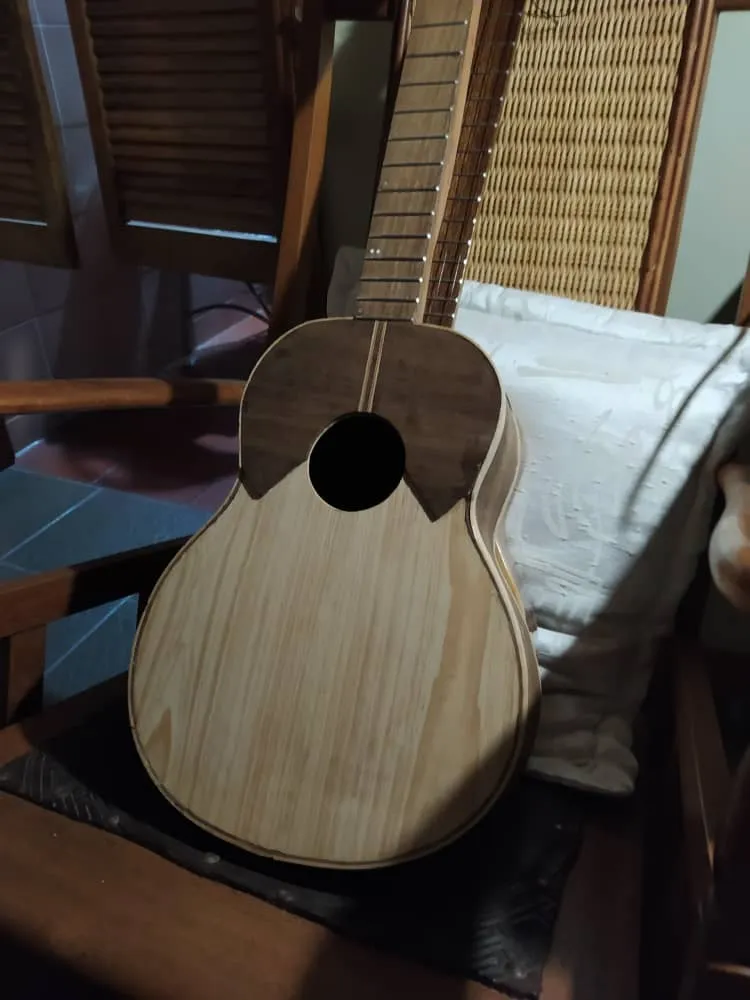
The process of installing bindings may look vexing, but it is another piece of an instrument's aesthetic. Basically, we need to remove some material from the soundboard, back and strumming guard in order to fit strips of wood (bindings). These do not mess with the sound of the instrument, but make it look better. Also, good bindings are sign of professionalism as a luthier. Installing them is no easy task. Removing material with hand tools is a messy and stressful process. But once you see the results every bit of time and sweat put into it is worth it.
Instalar los perfiles y filetería puede parecer extraño, pero esta es otra parte de la estética del instrumento. Lo que se hace es remover material del golpeador, tapa armónica y fondo para colocar una tiras de maderas (perfiles y fileteria). Estos no afectan el sonido del instrumento, pero lo hace ver mejor. Además, unos buenos perfiles son señal de profesionalismo en la lutheria. Instalarlos no es sencillo. Remover material con herramientas manuales es un proceso estresante y complicado. Pero al estar instalados, los resultados hablan por sí solos.
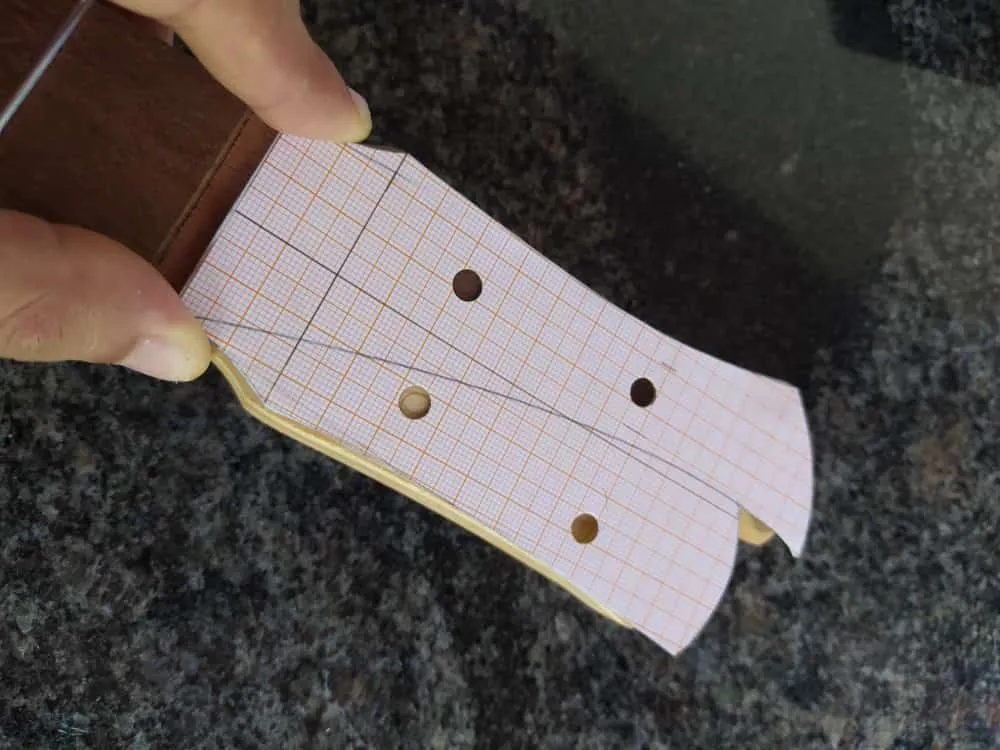
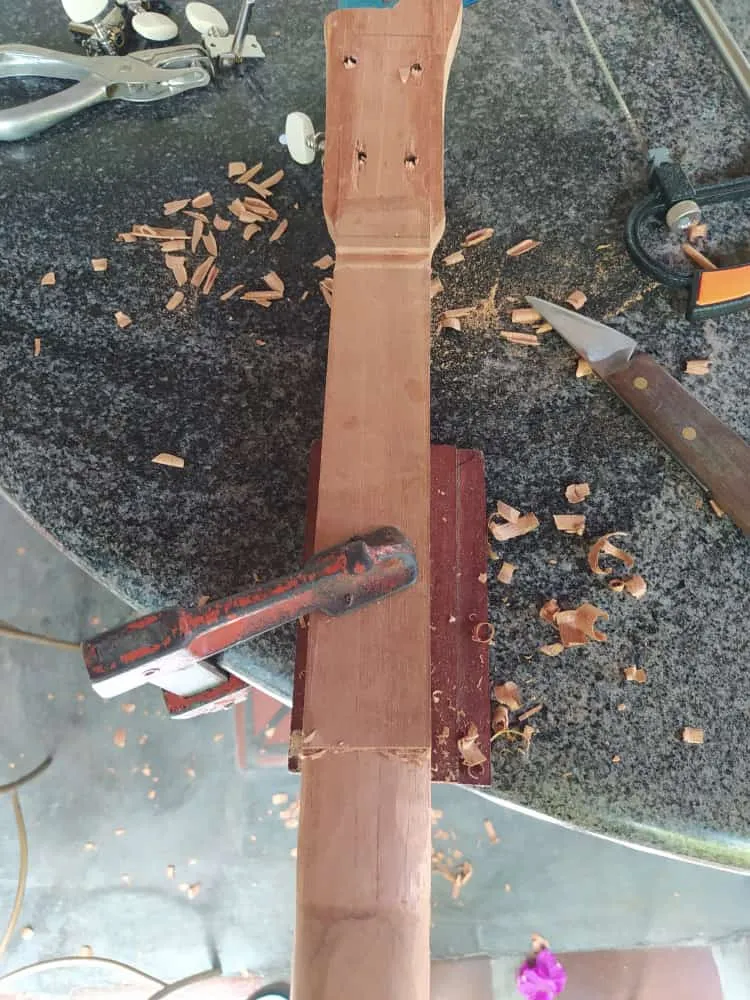


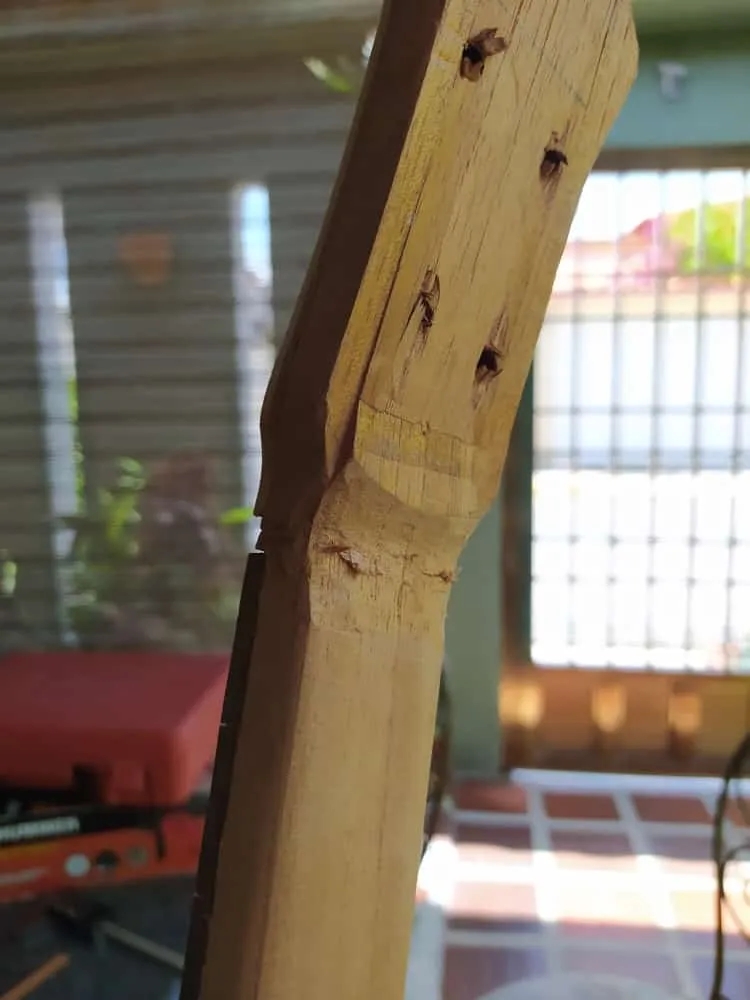
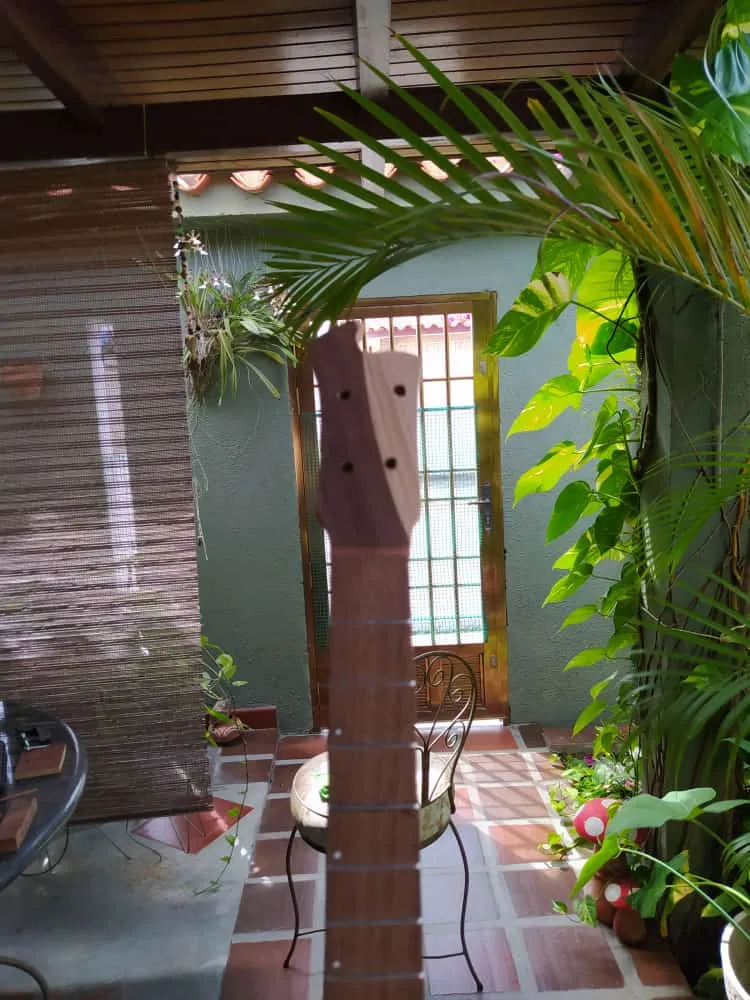
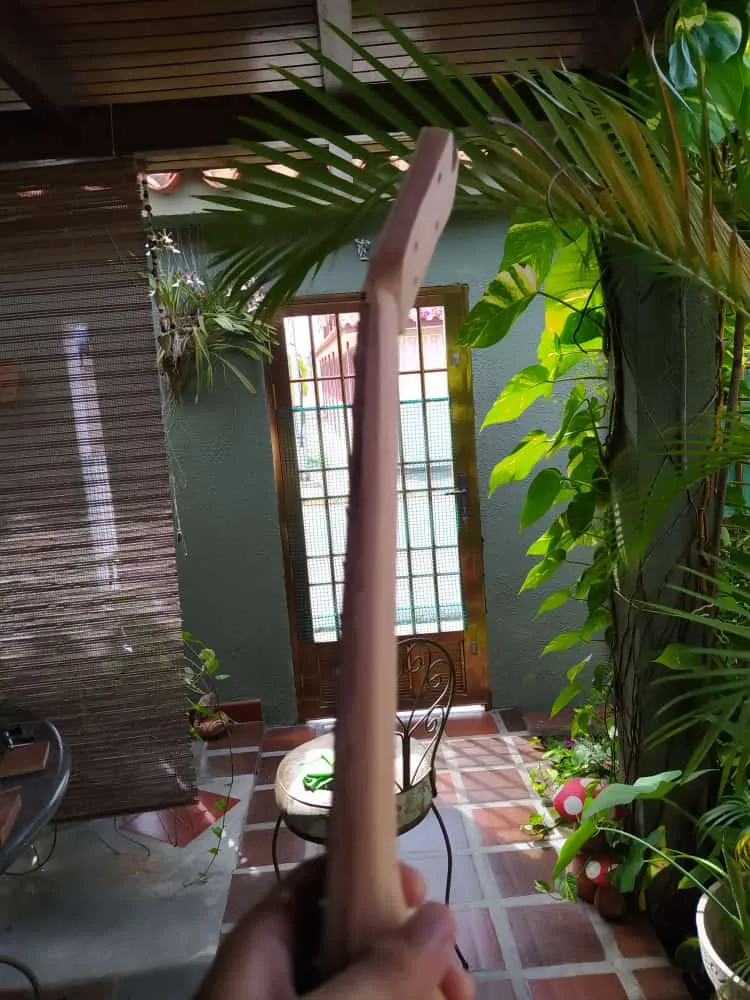
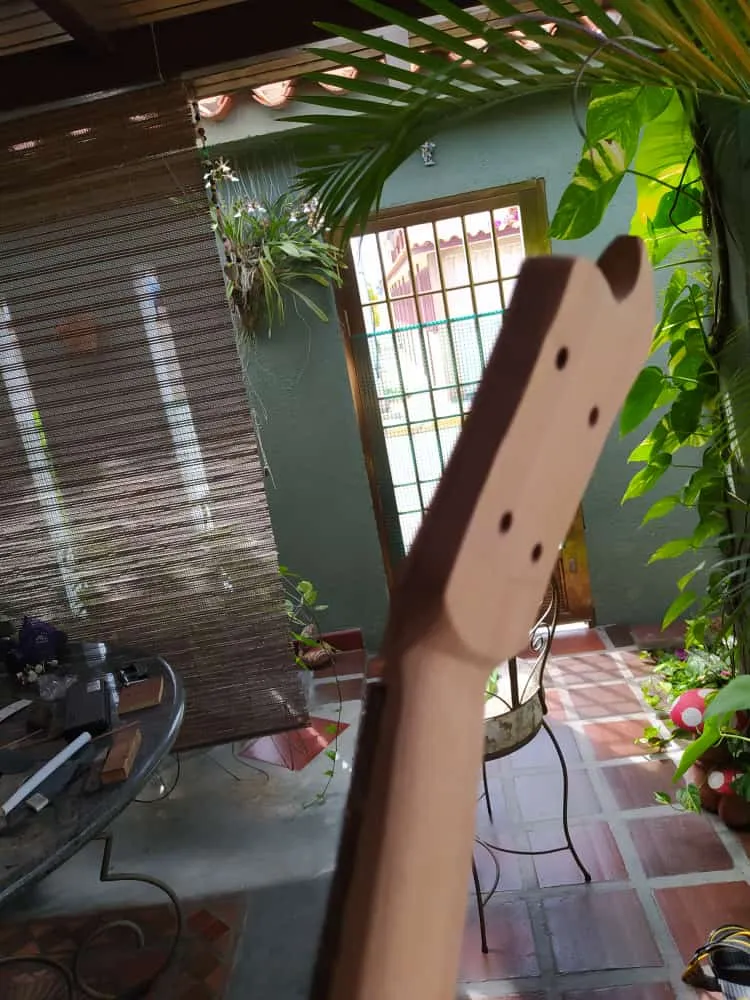
The last part of work for these days was the carving of the neck and preparing the head stock. The latter needed some corrections made by virtue of sandpaper and help of my new Vernier caliper. I also opened the holes for the tuning pegs. For the former, well, the Vernier came in handy. I used it to help me make slope from the thinnest point of the first fret to the thickest on the twelfth fret. The variation in the slop is 1 mm every 2 frets. It was easy with a precision tool. Then, it was all saw, carving knife and sandpaper, but I have to say that working with measures helps a lot and this will benefit my woodworking greatly. As a last detail, you can see that I made a detail at the end of the reverse of the head stock. It is something I've seen on a lot of guitars and wanted to bring it on my side. I think it looks cool!
La parte final de los trabajos constó de labrar el mástil y preparar el clavijero. Esto último fue lo más secillo. Había correcciones pendientes que fueron fáciles de realizar gracias a mi Vernier nuevo. También aproveché de abrir los hoyos de las clavijas. Para lo primero, el Vernier fue fundamental. Con esto pude trabajar una pendiente desde el traste 1 al 12 (de más delgado a más grueso) utilizando una variación de 1mm cada 2 trastes. Luego de hacer las marcas, una segueta, el cuchillo y papel de lija terminaron el trabajo. Sin duda utilizar herramientas de precisión facilita muchas cosas. Como último detalle, agregué un diseño al final del reverso del clavijero. Esto es algo que he visto en muchas guitarras y quise traerlo acá. ¡Creo que luce!
That is all for this entry. Thanks a lot for reading. See you in the next chapter.
Eso es todo por esta ocasión. Gracias por leer. Nos vemos en el próximo post.
All the pictures used in these post were taken with my phone.
Todas las fotos en este post fueron tomadas con mi teléfono.