Hola mis amores
Deseo que estén caminando por la vida con una sonrisa, que puedan sentir que van hacia eso que desean lograr, pero que también en el camino son felices.
Hoy vengo a compartir con ustedes mi primer proyecto de costura formal, luego de recibir mi primera clase, les voy a contar un poco lo que he aprendido y la primera parte de este proyecto de costura, esto no es un tutorial, sólo vengo a compartir mi experiencia.
Una amiga muy cercana es costurera y también confecciona ropa, así que mi hija @anjiart, una amiguita y yo decidimos tomar clases con ella de costura básica, ya que deseamos mucho aprender a confeccionar nuestra ropa.
Así que tuvimos la primera clase, en esta clase nos enseñaron como hacer un patrón básico de blusa y falda, a partir de allí podemos empezar a crear o a diseñar.
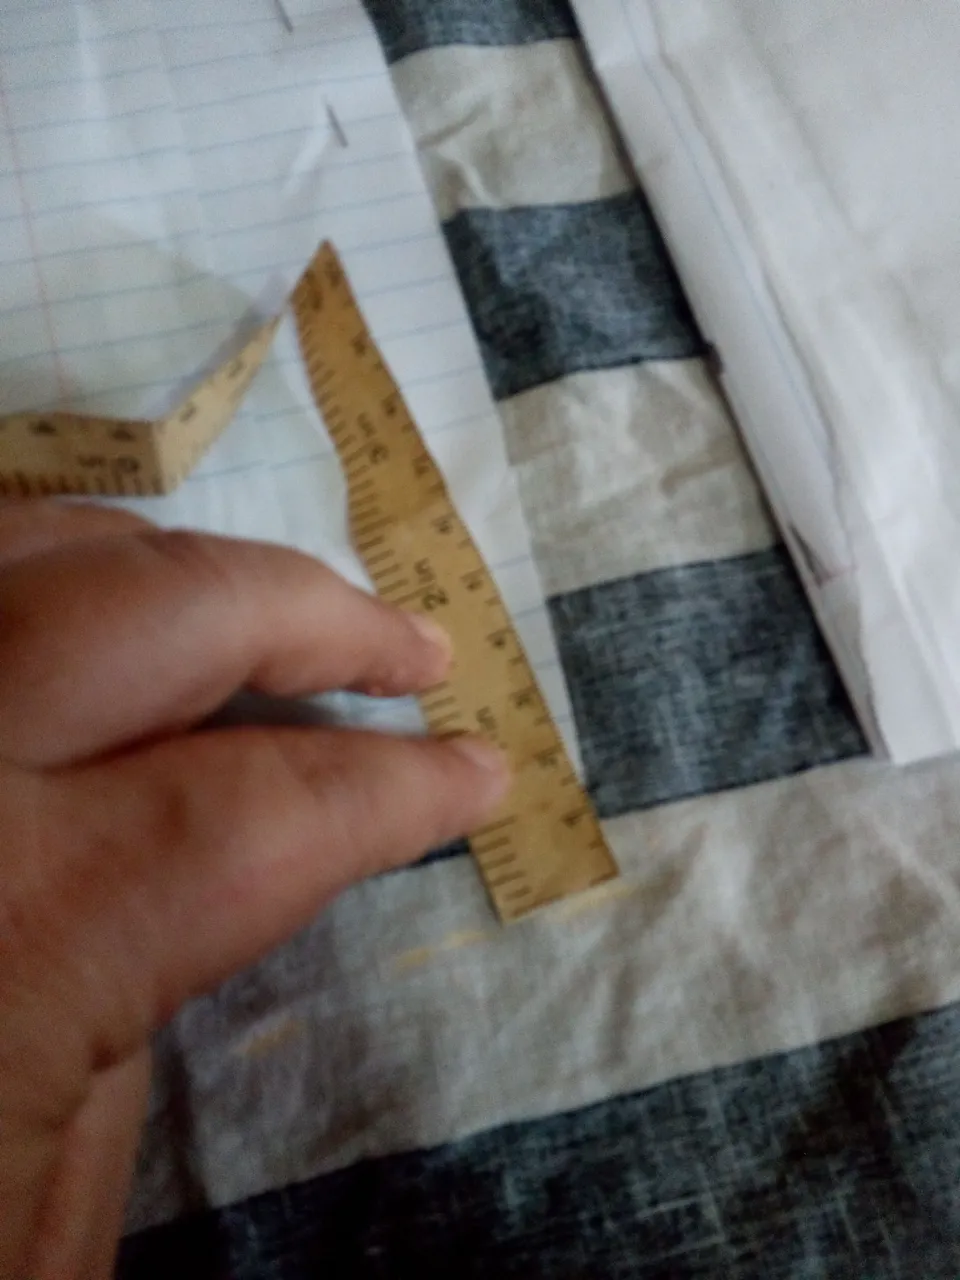
Lo primero que nos enseñaron fue a tomarnos las medidas , y los nombres de los lugares donde se toman estás medidas.
Estas son:
Contorno de cuello
Contorno de busto
Contorno de cintura
Contorno de cadera
Largo de hombro
Largo de talle delantero
Largo de talle trasero
Largo de blusa
Largo de falda
Largo de manga
Contorno de manga.

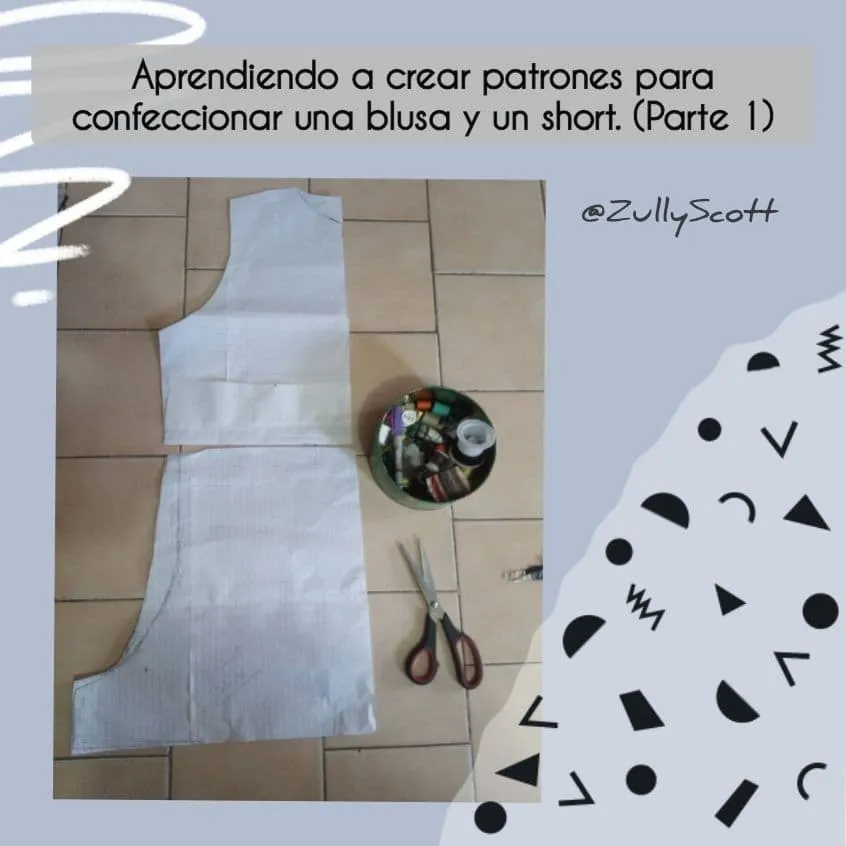
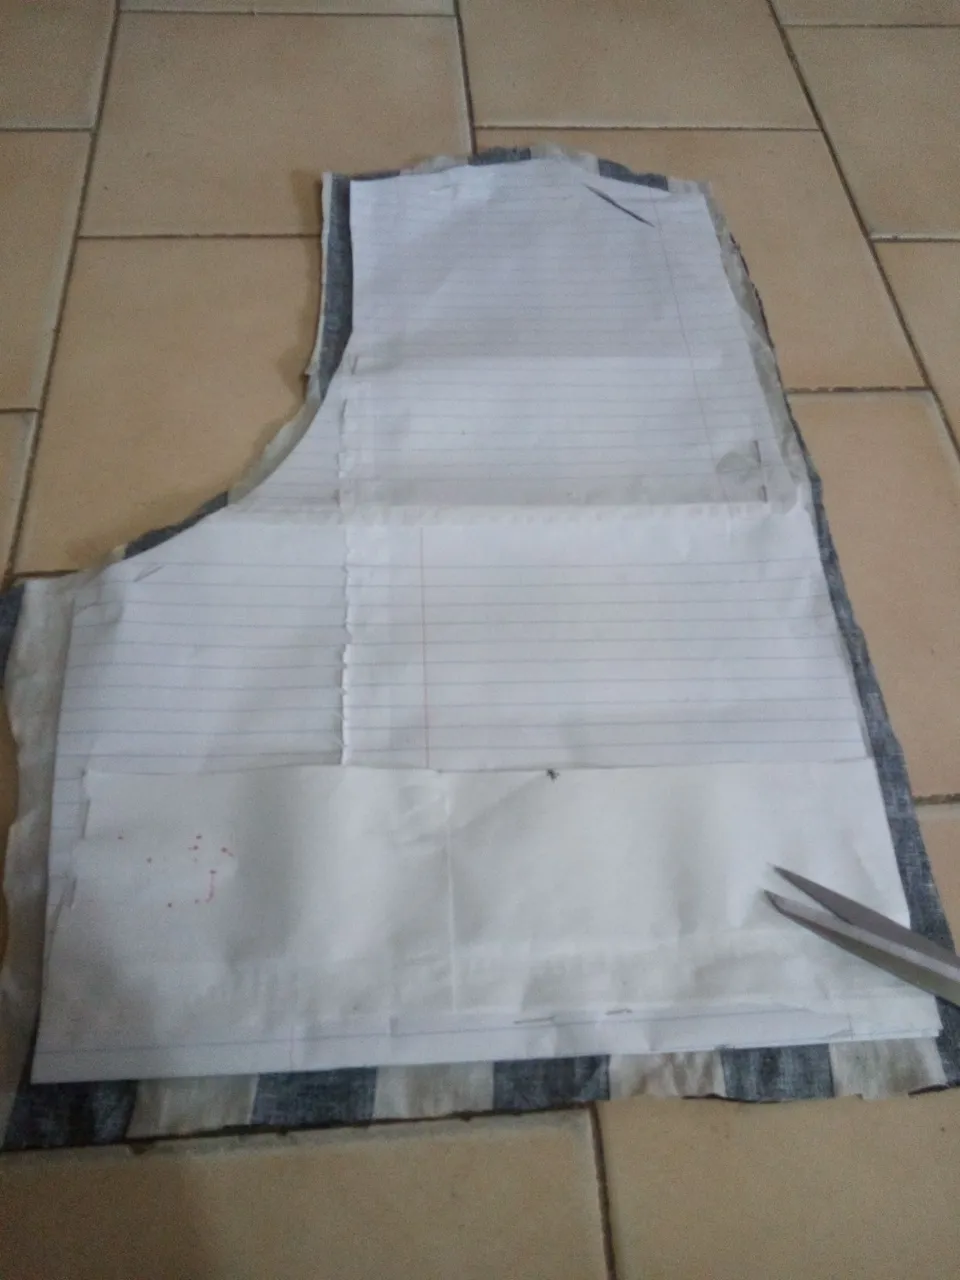
Luego con esas medidas comenzamos a dibujar nuestros patrones, que quedaron de esta manera.
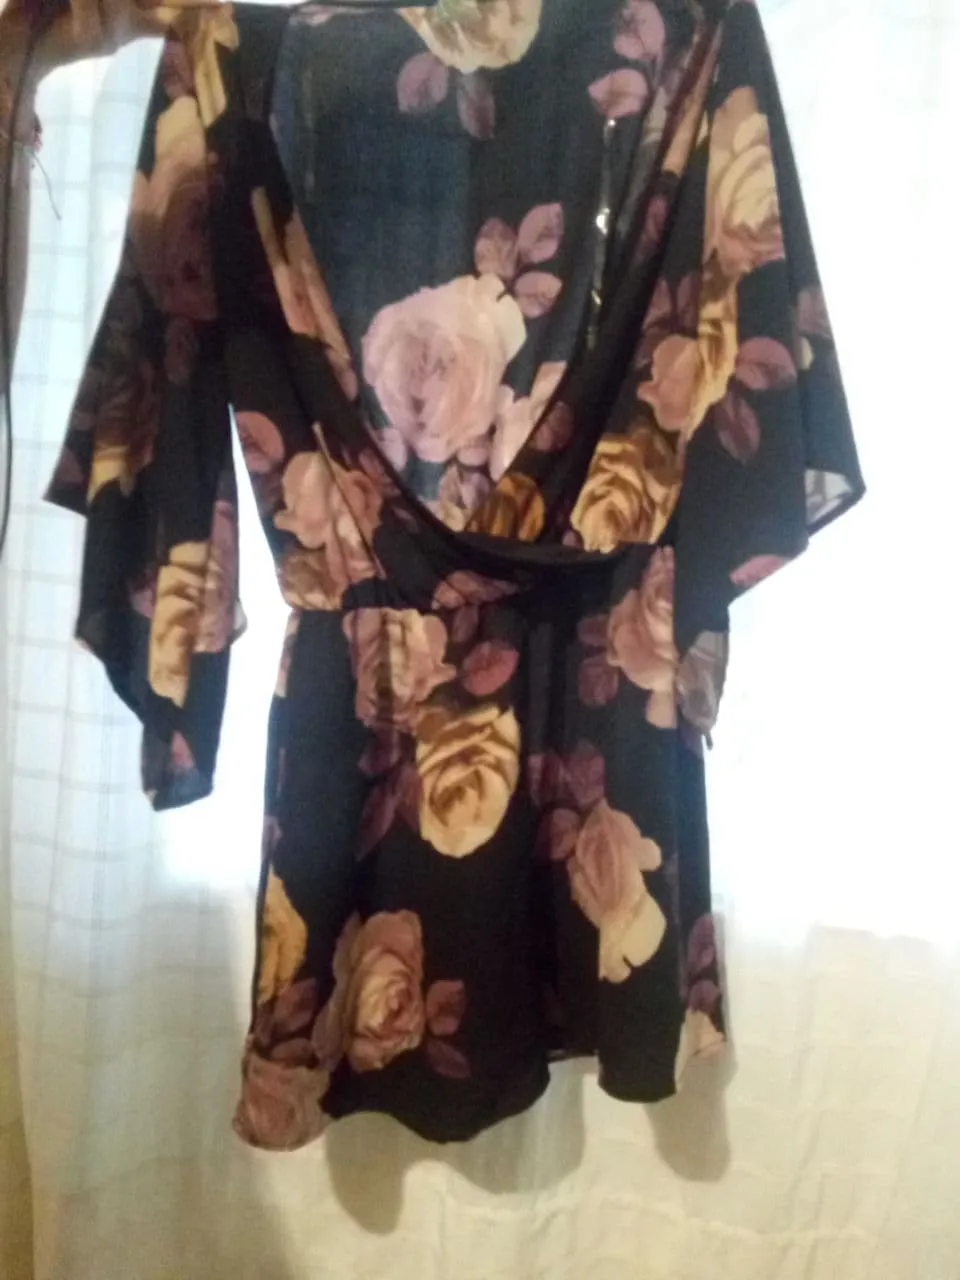
Yo tenía un vestido que deseaba convertir en una braga parecida a esta:
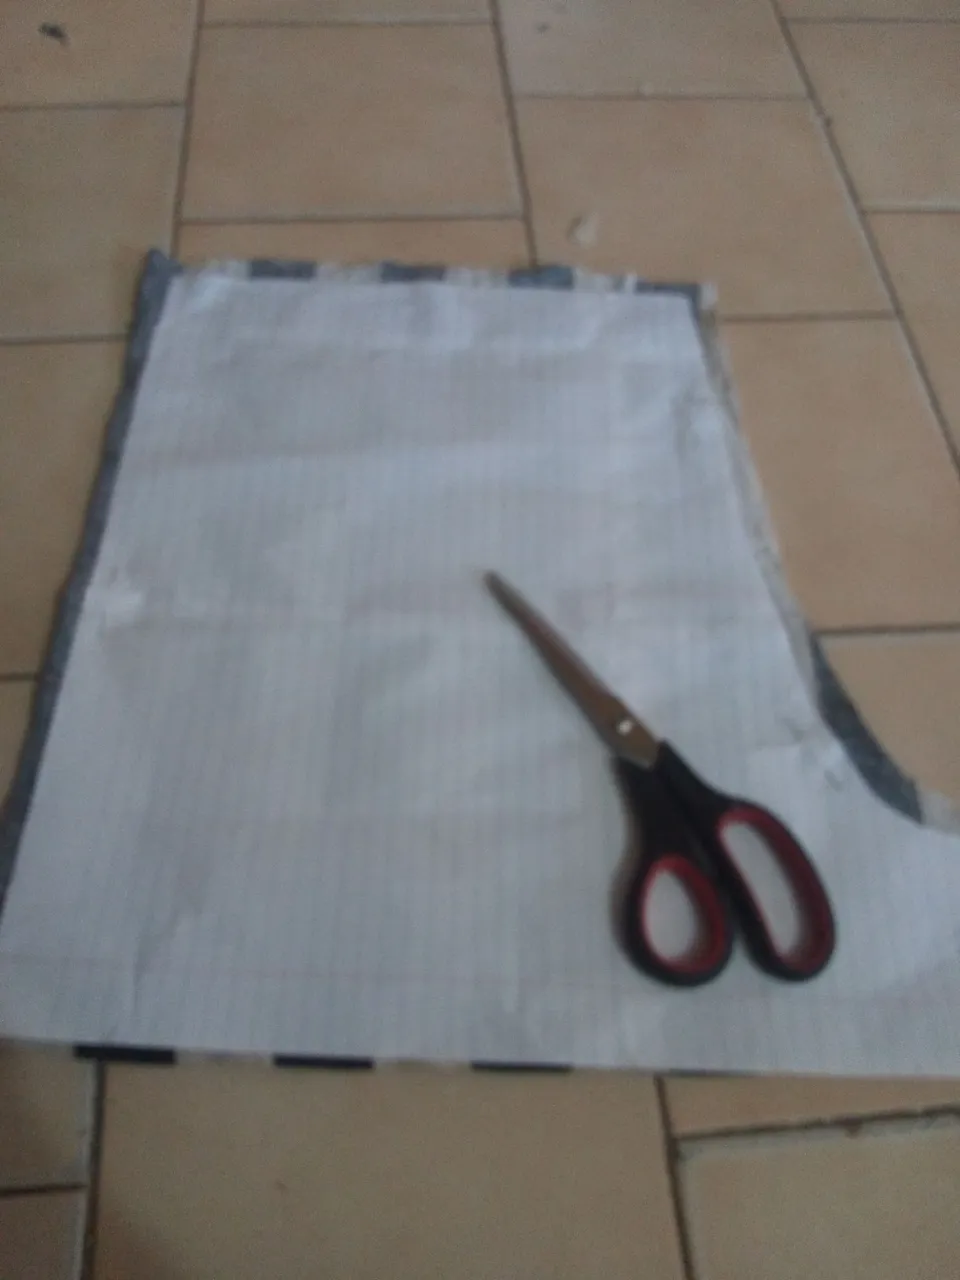
Así que empecé primero por la blusa, tomé el patrón y lo fijé con alfileres, luego lo dibujé en la tela
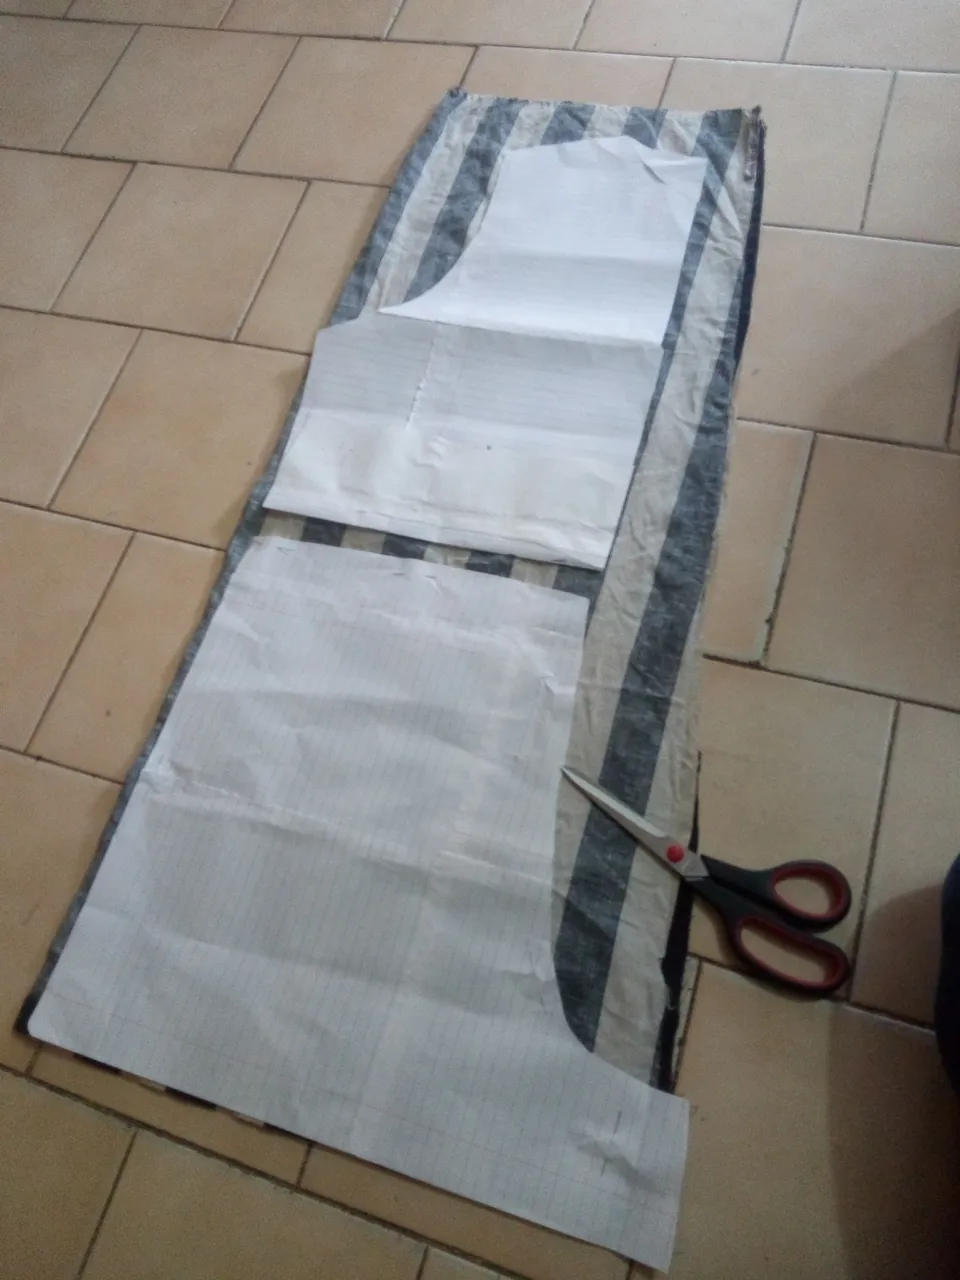
Luego ya lo corté siguiendo la línea, pero dejando un centímetro más afuera del patrón.
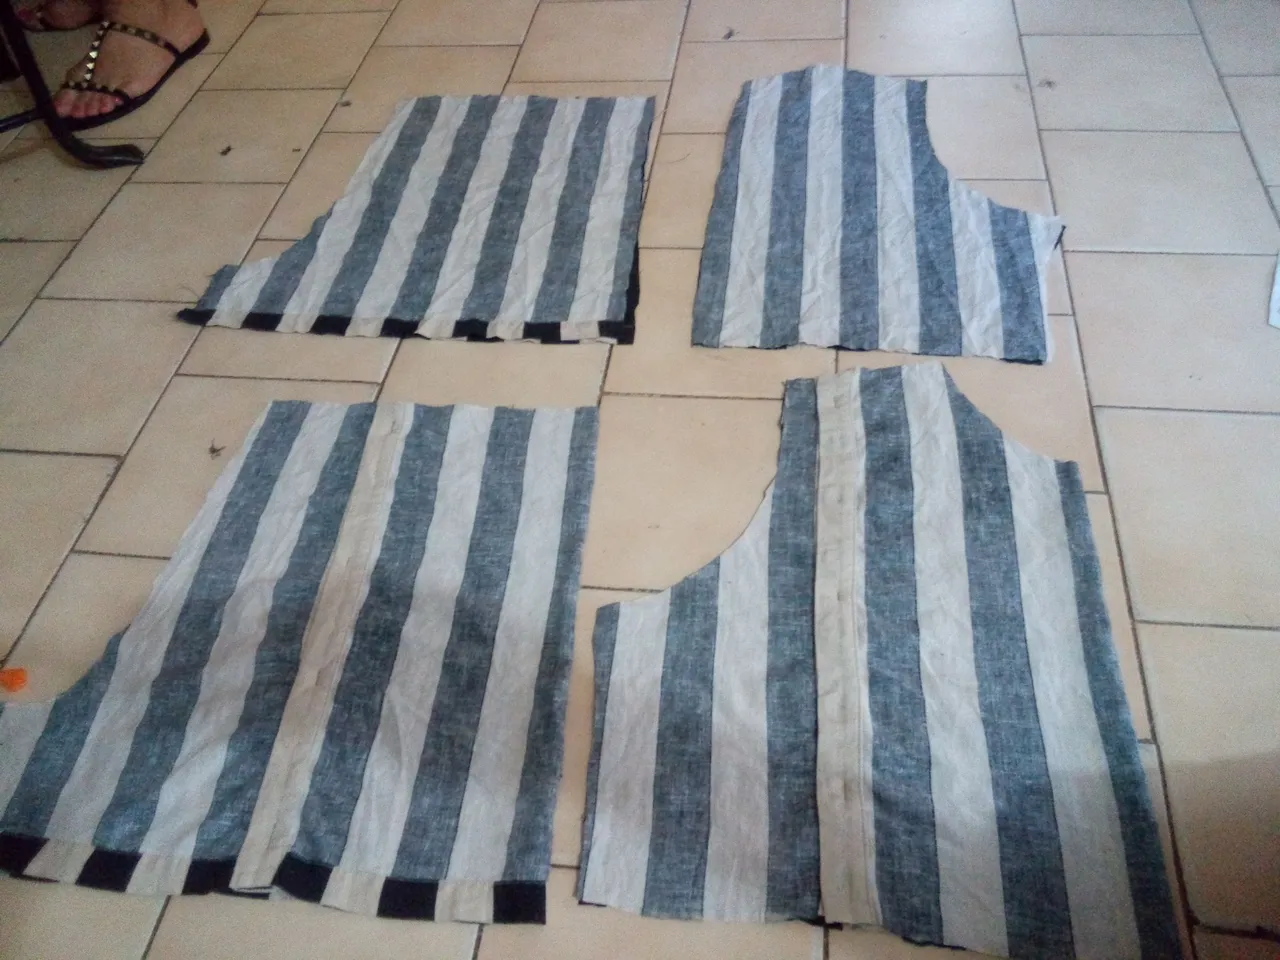
Luego hice lo mismo con la parte de abajo del short, pero aquí fue distinto porque la Sisa es diferente en la parte de adelante que la parte de atrás.
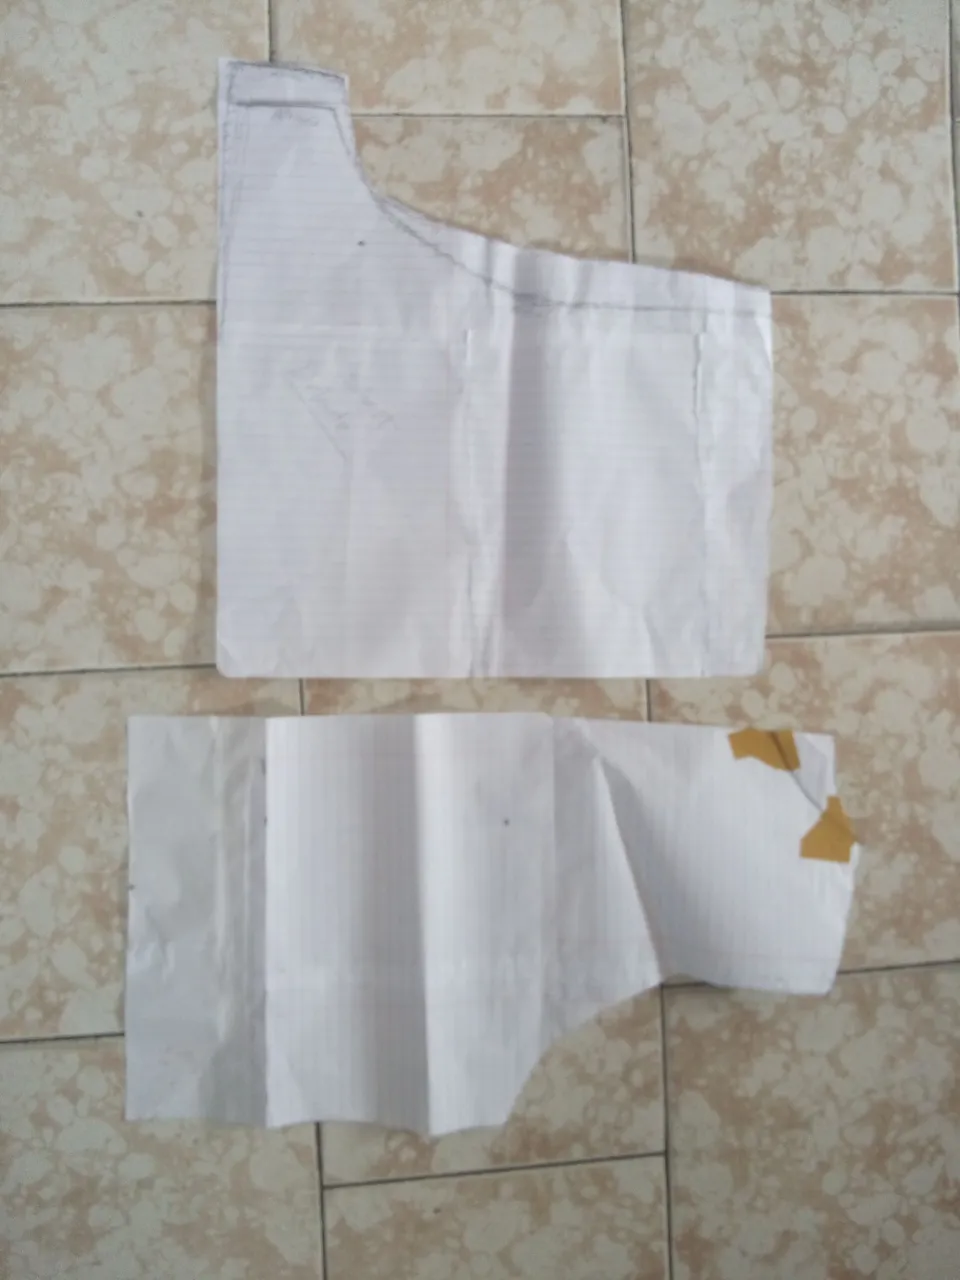
Luego de cortar todas las piezas quedaron de esta manera.
Ya la segunda parte será unir las piezas mediante la costura pero eso se los compartiré en un próximo post.
GRACIAS POR DEDICAR TIEMPO VALIOSO DE TU VIDA A LEERME.
ABRAZOS
Todas las imágenes pertenecen a la autora.
ENGLISH
Hello my Dears
I wish that you are walking through life with a smile, that you can feel that you are going towards what you want to achieve, but also that you are happy along the way.
Today I come to share with you my first formal sewing project, after receiving my first class, I am going to tell you a little of what I have learned and the first part of this sewing project. this is not a tutorial, I am just sharing my experience
Learning how to create patterns to make a blouse and shorts (part 1)
A very close friend of mine is a seamstress and also makes clothes, so my daughter @anjiart, a little friend and I decided to take basic sewing classes with her, since we really wanted to learn how to make our own clothes.
So we had the first class, in this class, they taught us how to make a basic pattern of blouse and skirt, from there we can start creating or designing.
The first thing they taught us was how to take our measurements and the names of the places where these measurements are taken.
These are
Neck contour
Bust circumference
Waist circumference
Hip circumference
Shoulder length
Front waist length
Back waist length
Blouse length
Skirt length
Sleeve length
Sleeve circumference.
Then with those measurements, we started to draw our patterns, which looked like this.
I had a dress that I wanted to make into a panty similar to this one:
So I started with the blouse first, took the pattern and pinned it, then drew it on the fabric.
Then I already cut it following the line, but leaving one centimeter more outside the pattern.
Then I did the same with the bottom of the shorts, but here it was different because the armhole is different in the front than in the back.
After cutting all the pieces, they looked like this.
The second part will be to join the pieces by sewing them together, but I will share that in a future post.
THANK YOU FOR DEDICATING VALUABLE TIME OF YOUR LIFE TO READ ME.
CUDDLES
All images are property of the author
Deelp Traslate free.