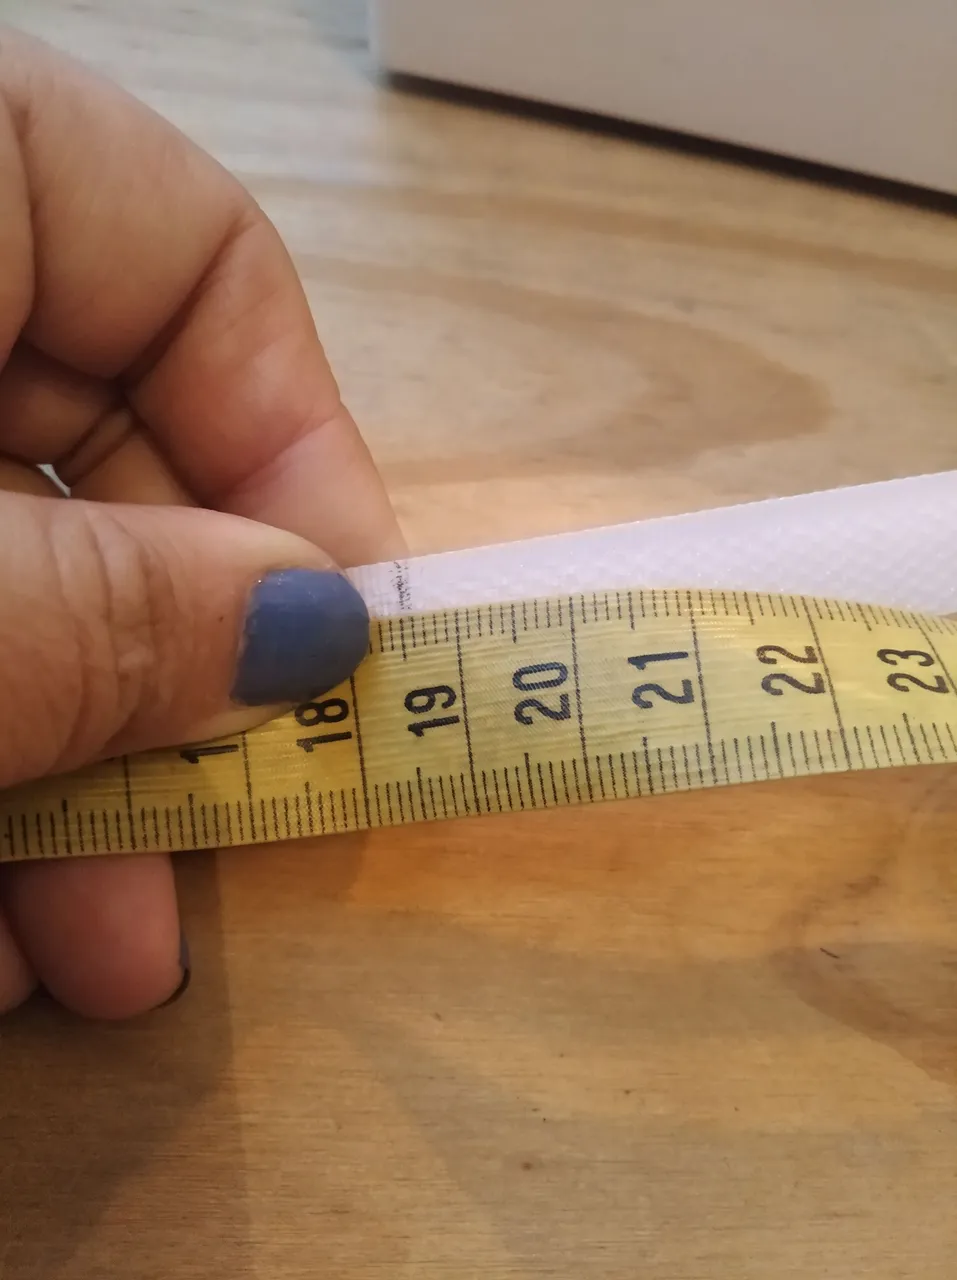
Hola amigos de hive hoy vamos a terminar nuestro pequeño bolso, en este paso necesitamos velcro con 20 cm de largo y 2 cm de ancho está bien, pueden usar cierre también o aplicar un frunce, si no saben hacer un frunce pueden ir a mi blog ya que explique hace poco como generar uno, el en caso del cierre debe medir una base y un costadillo de largo.
Hello hive friends, today we are going to finish our small bag, in this step we need velcro with 20 cm long and 2 cm wide is fine, you can also use a closure or apply a gather, if you do not know how to gather you can go to my blog Since I recently explained how to generate one, the in case of the closure must measure a base and a long side.
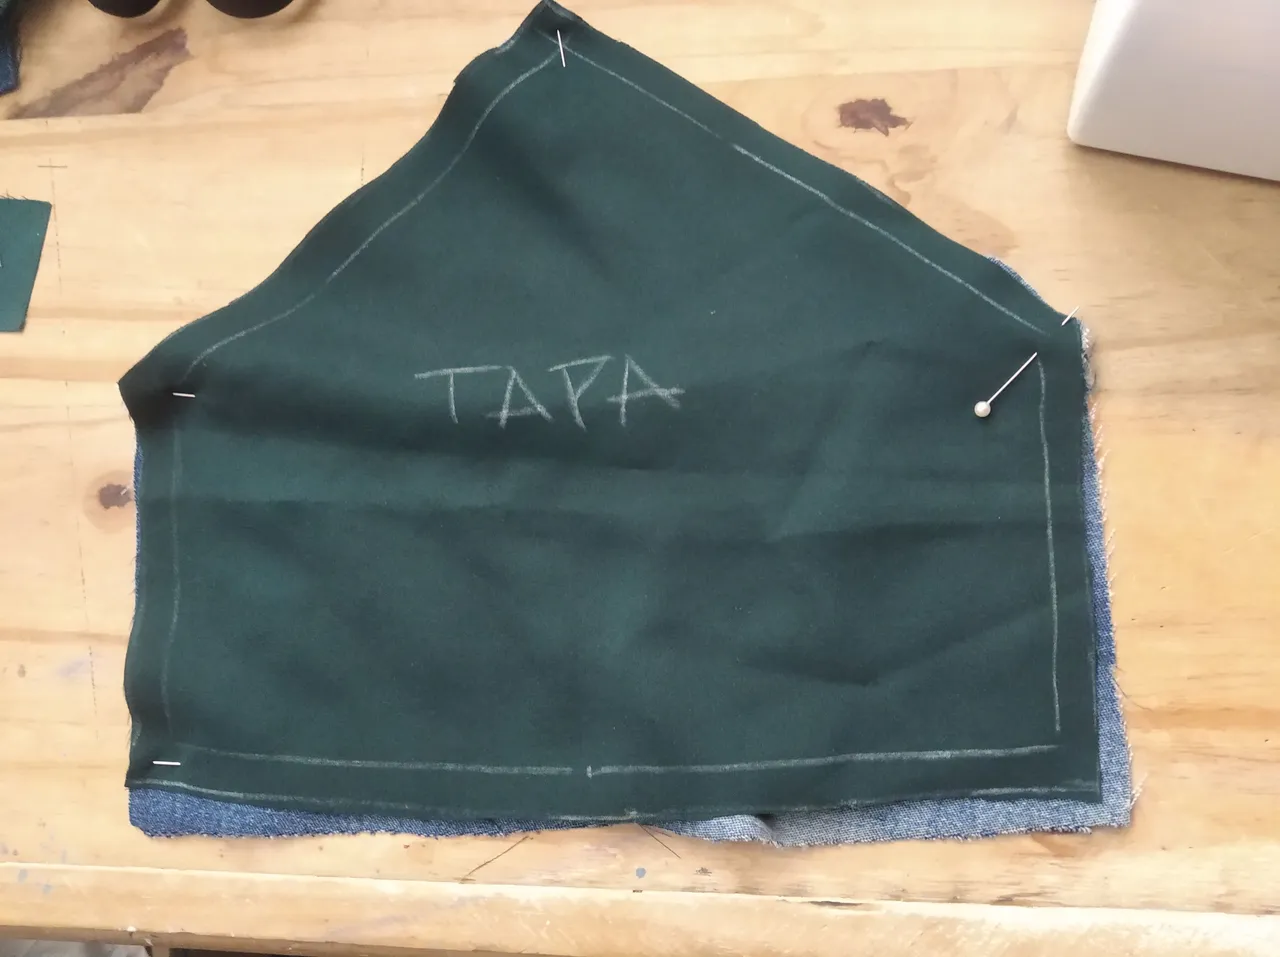
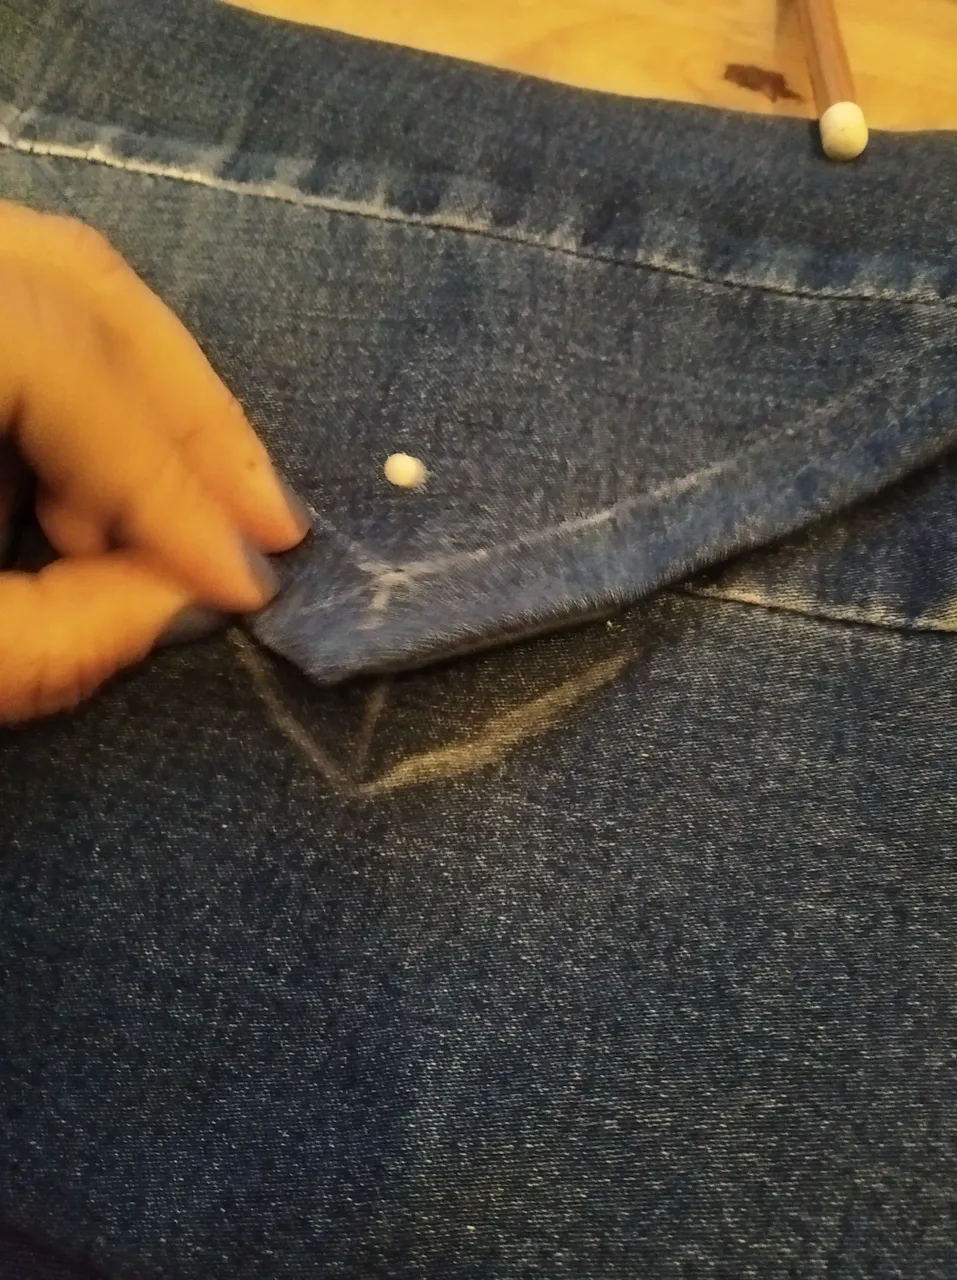
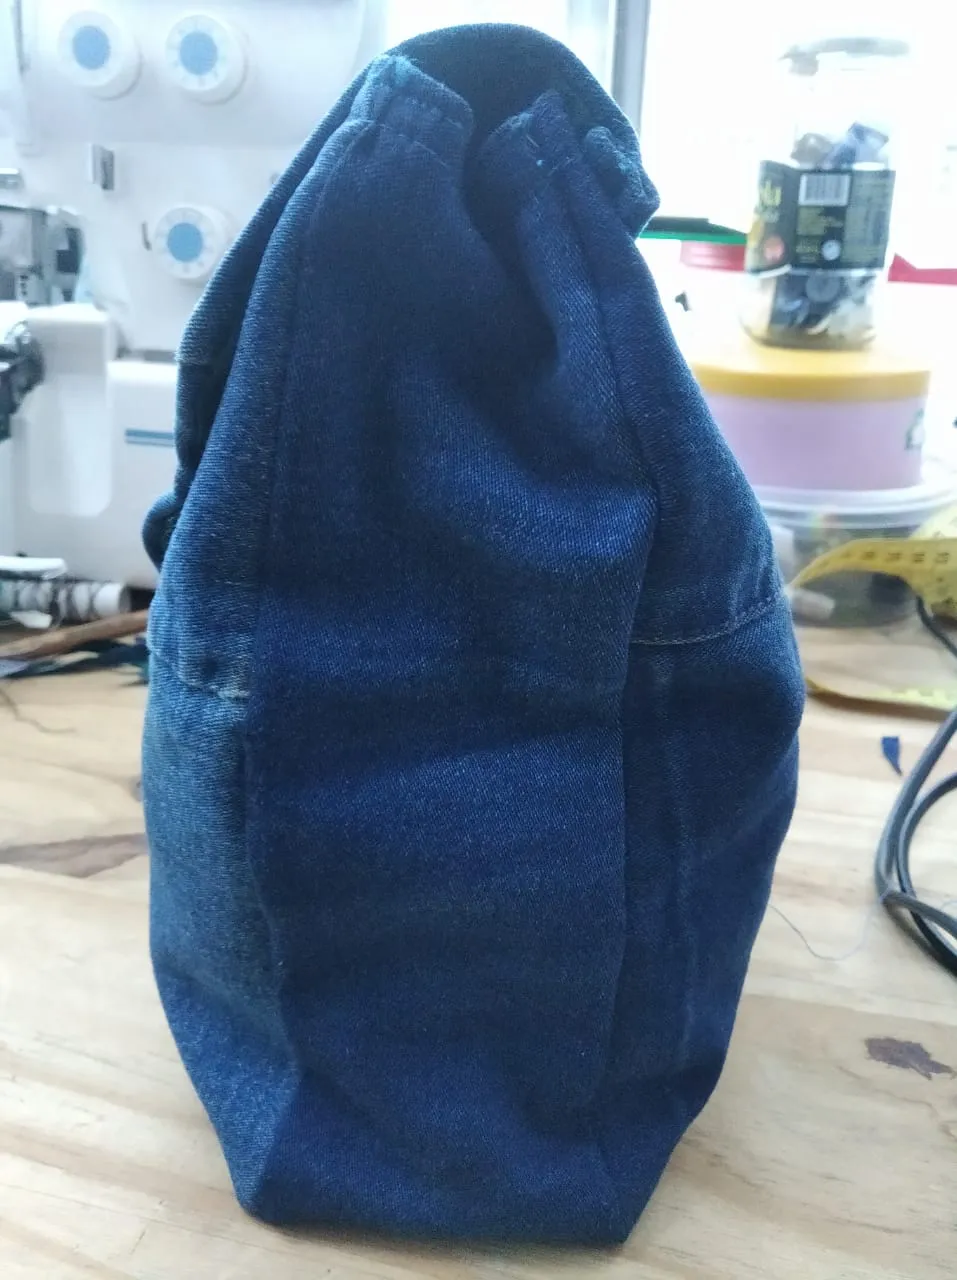
Nos habíamos quedado en la unión de las bocas listas, ahora entramos en la recta final, vamos a armar la tapa, vamos a enfrentar las telas que conforman la tapa, se miran las caras vamos a coser a 1cm por las marcas pero no vamos a cerrar la parte recta de abajo, solo cosemos la forma en v, cuando este cosido damos vuelta y planchamos para asentar costuras siempre cuidando que la tela del forro no se vea de afuera, desde la parte exterior en mi caso la de jean marcamos 1 cm por toda la v y cosemos, esto lo hacemos para asentar mucho más y darle una terminación más linda.
We had stayed at the junction of the mouths ready, now we enter the final stretch, we are going to assemble the cover, we are going to face the fabrics that make up the cover, we look at the faces we are going to sew at 1cm for the marks but we are not going to close the straight part below, we only sew the v-shape, when it is sewn we turn and iron to settle seams always taking care that the lining fabric is not seen from the outside, from the outside in my case the jean one we mark 1 cm Throughout the whole v and we sew, this we do to settle much more and give it a more beautiful finish.
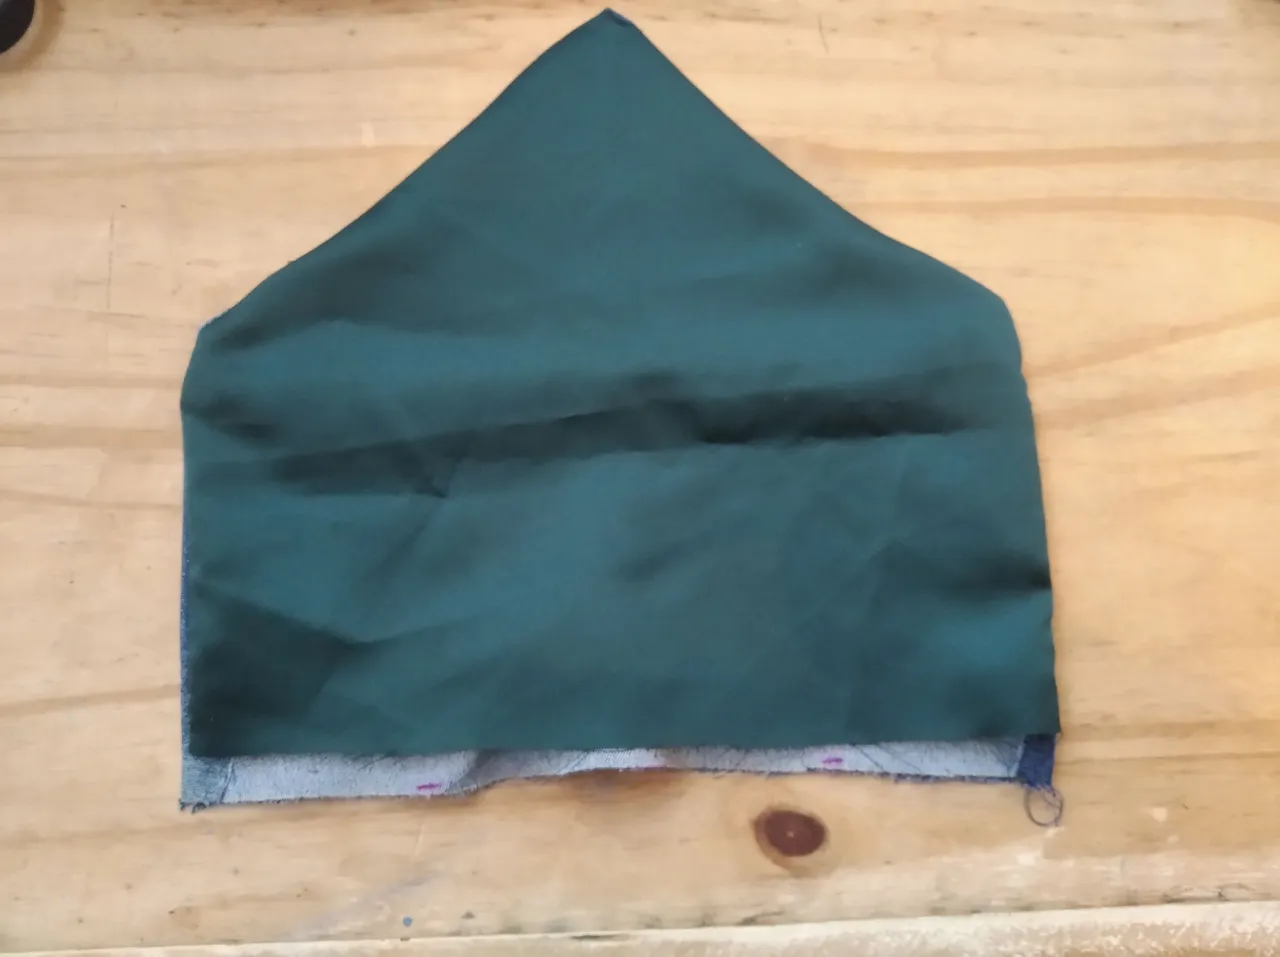
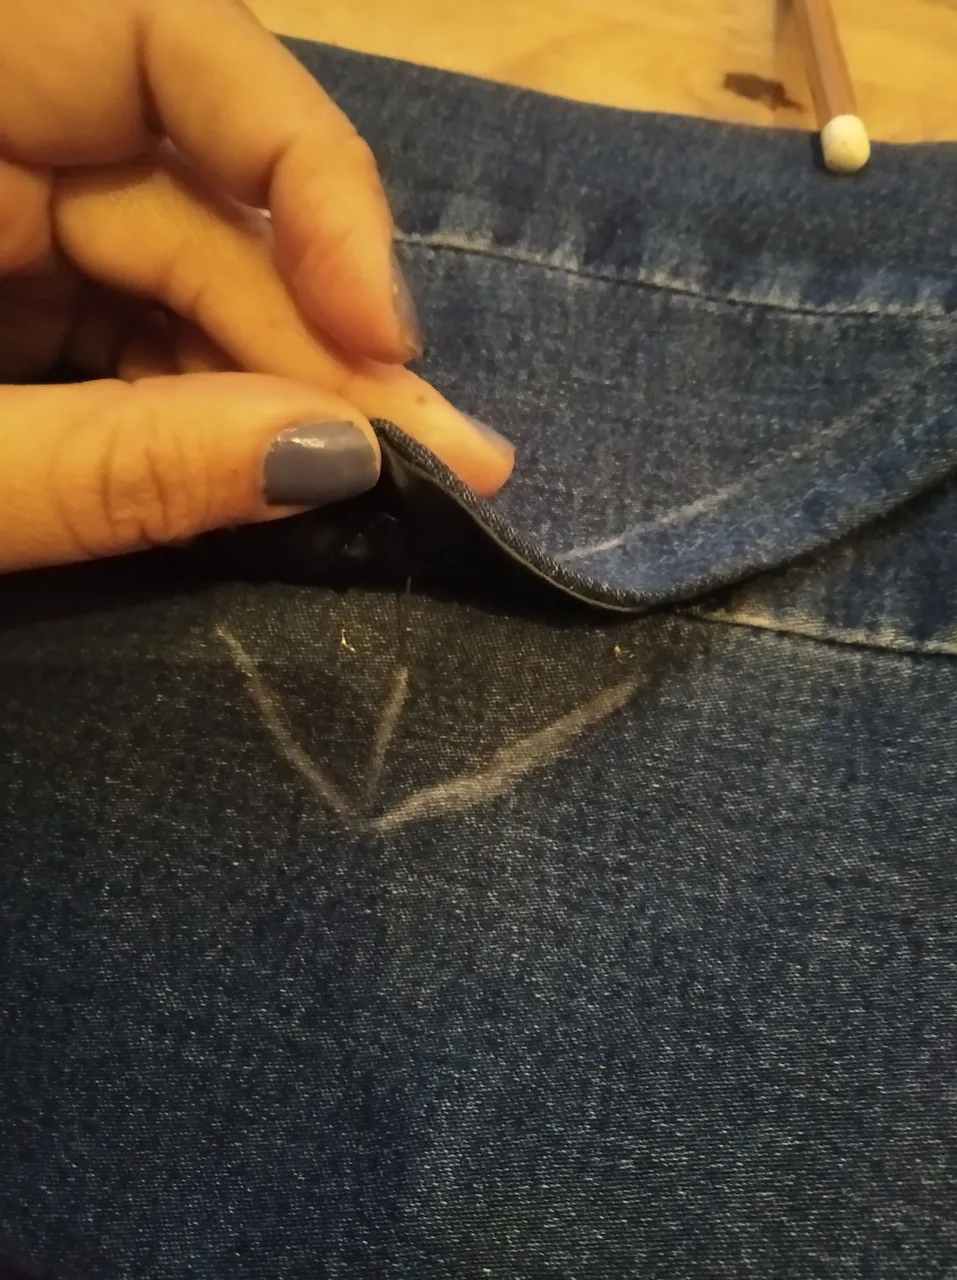
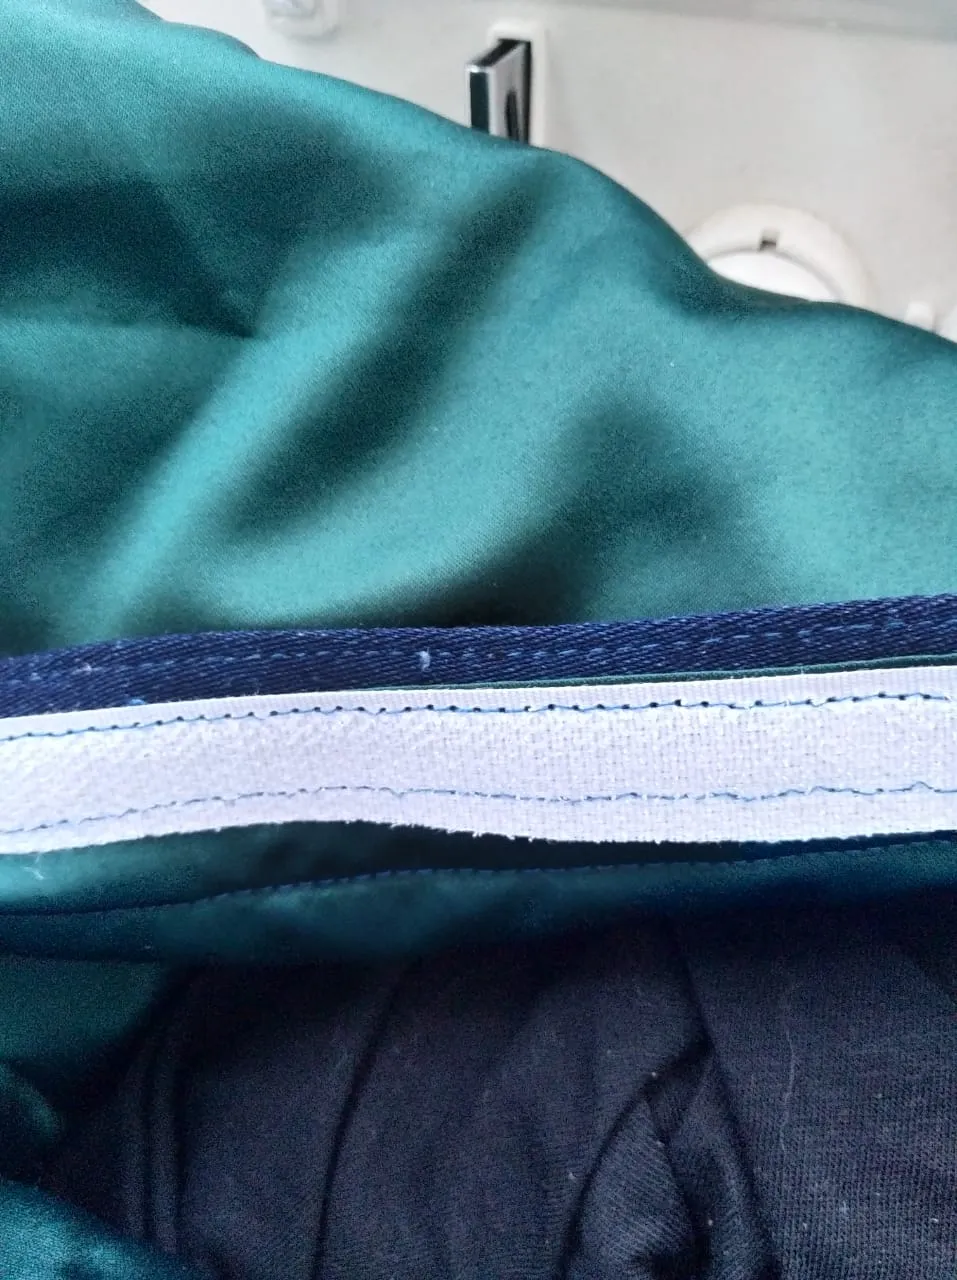
La parte que sobra que no cosimos antes le vamos a hacer un doble doblez y coserlo recto y planchar, en la boca del bolso vamos a ubicar el velcro, en mi caso lo que hice fue centrarlo, los costadillos en mi idea es meterlos hacia dentro, entonces tome desde la base un poco menos unos 18,5 cm, acomode cada parte del velcro sostuve con alfileres y cosí todo el contorno en recto, esta parte es importante cada velcro debe estar bien ubicado ya que si queda mal genera un desfase, la tapa la cosemos a alguna de las bases la que queramos que sea el reverso, en mi caso use velcro así que va por debajo.
The remaining part that we did not sew before we are going to make a double fold and sew it straight and iron, in the mouth of the bag we are going to place the velcro, in my case what I did was center it, the sides in my idea is to put them inside , then take from the base a little less about 18.5 cm, accommodate each part of the velcro I held with pins and sewed the entire contour straight, this part is important, each velcro must be well located since if it is wrong it generates a gap, We sew the cover to one of the bases, whichever we want the reverse to be, in my case I used velcro so it goes underneath.
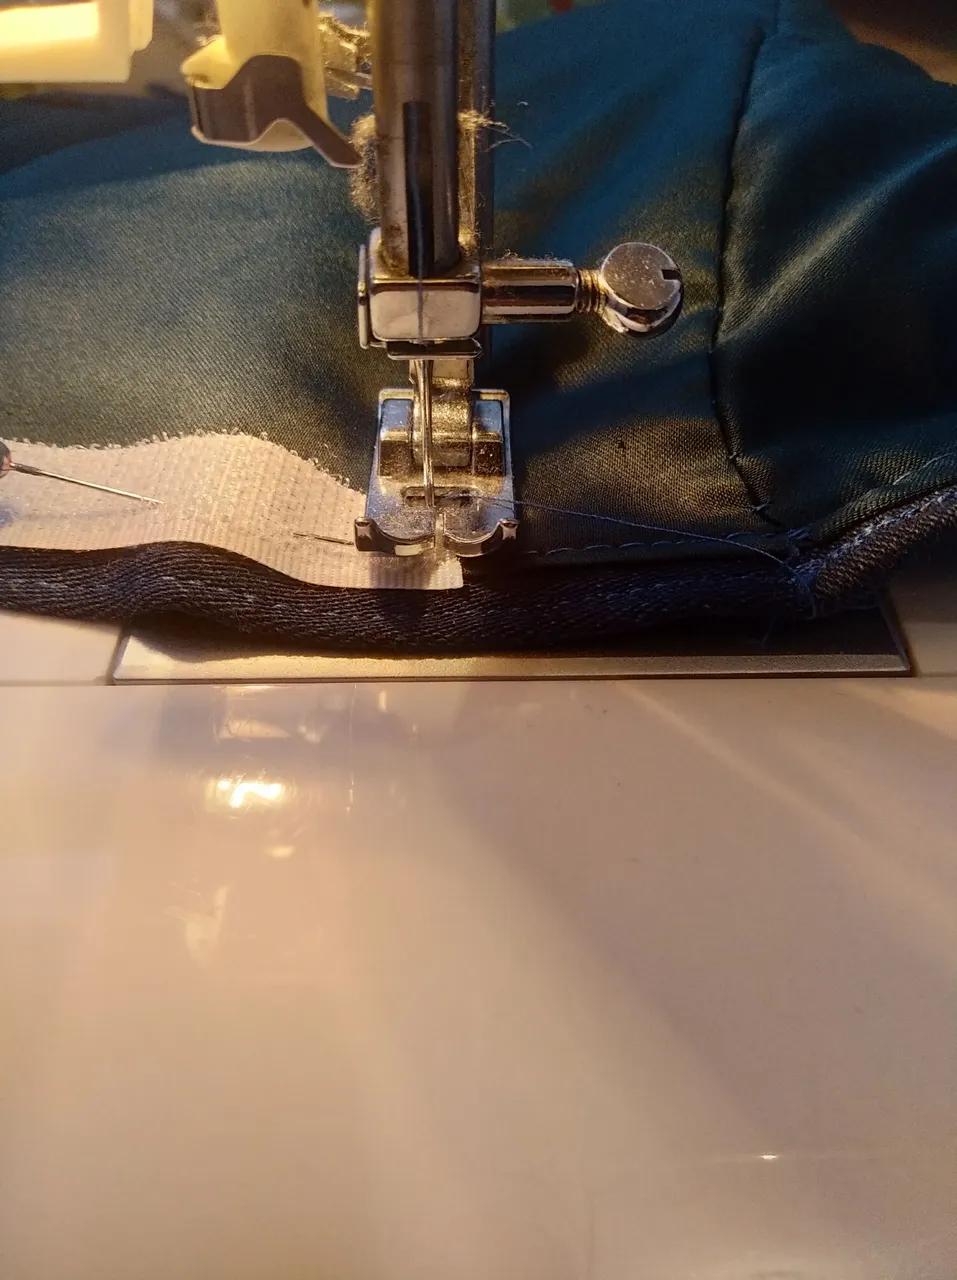
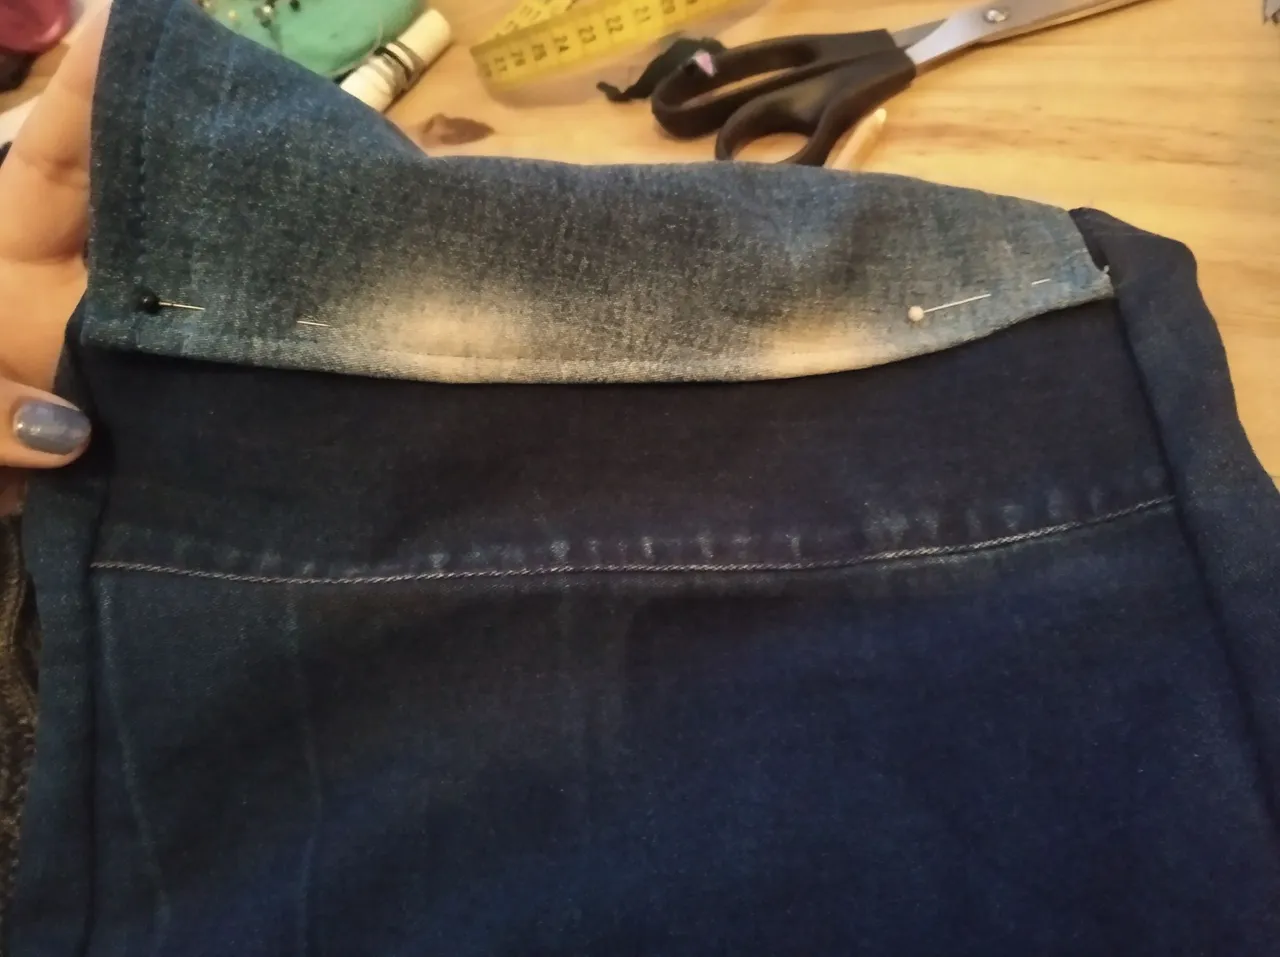
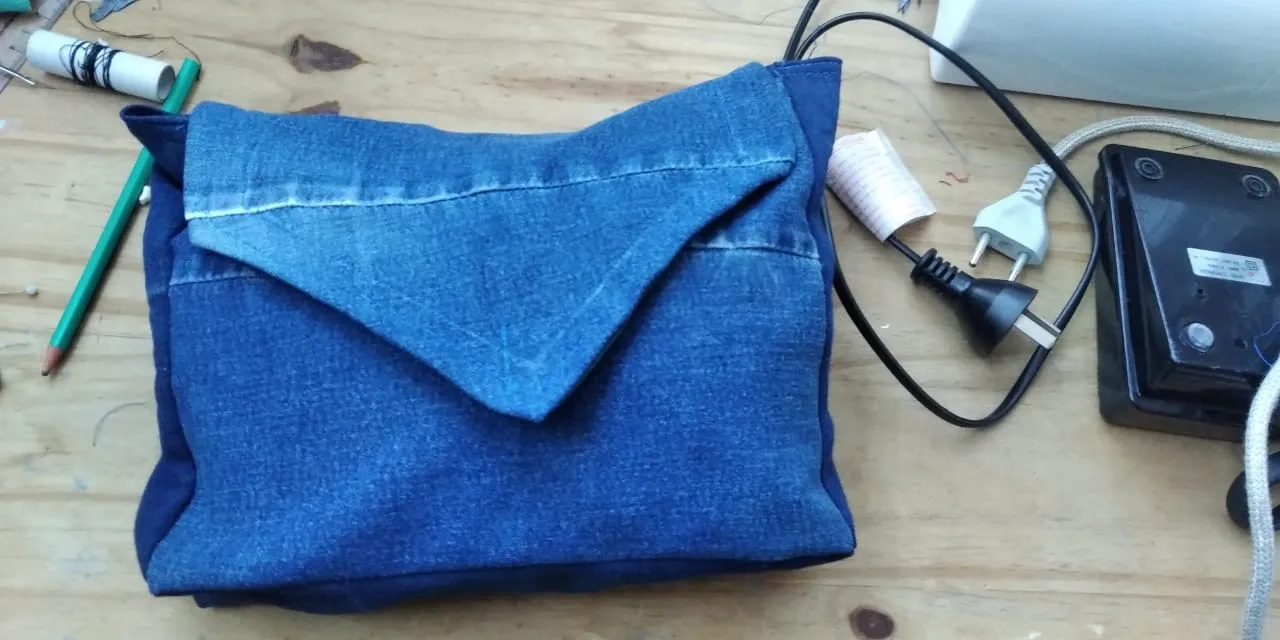
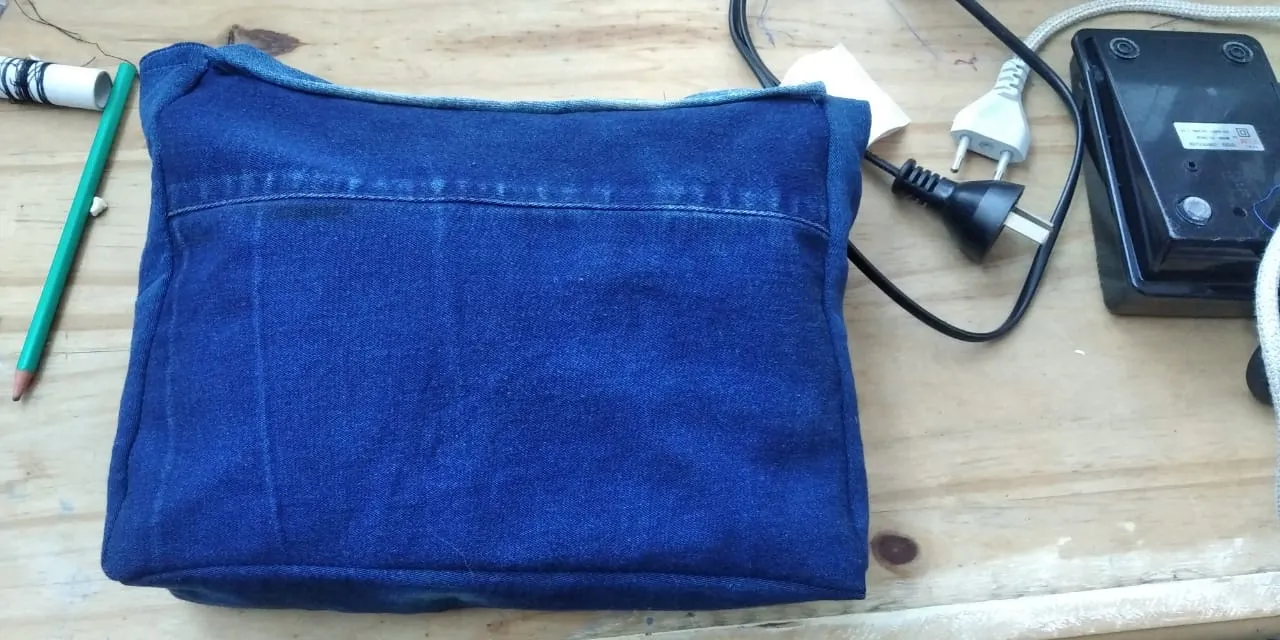
Ahora cerré la tapa y marque donde debería colocar el velcro de cierre, tanto desde la base y en la tapa, una vez que esto estaba cosido ya estaba listo el bolso.
Now I closed the lid and marked where I should place the velcro closure, both from the base and on the lid, once this was sewn the bag was ready.
Este bolso puede ser adaptado como cartera, de hecho, es mi idea para más adelante pero aún no me convence la forma en la que voy a generar la tira o como adherirla a esta misma base.
This bag can be adapted as a wallet, in fact, it is my idea for later but I am still not convinced by the way in which I am going to generate the strip or how to adhere it to this same base.
Espero que este tutorial les haya gustado y puedan aplicar algo que explique en otros ámbitos, si llegaron hasta acá muchas gracias por leer, nos vemos en un próximo post.
I hope you liked this tutorial and can apply something that it explains in other areas, if you got here, thank you very much for reading, see you in a next post.