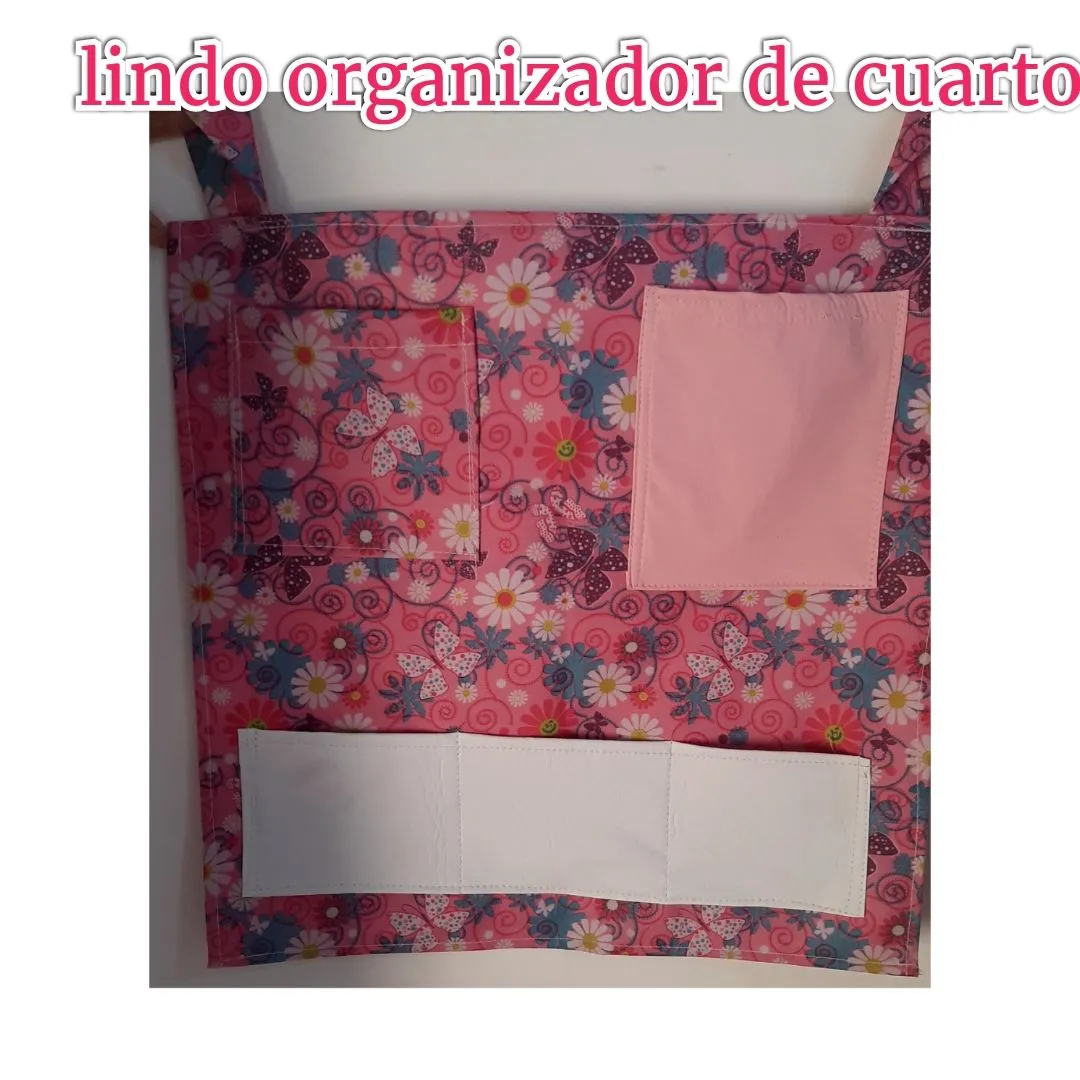
Hello very good morning friend I hope today is a day of many blessings and full of energy for everything, I am here one more day sharing a nice room organizer.
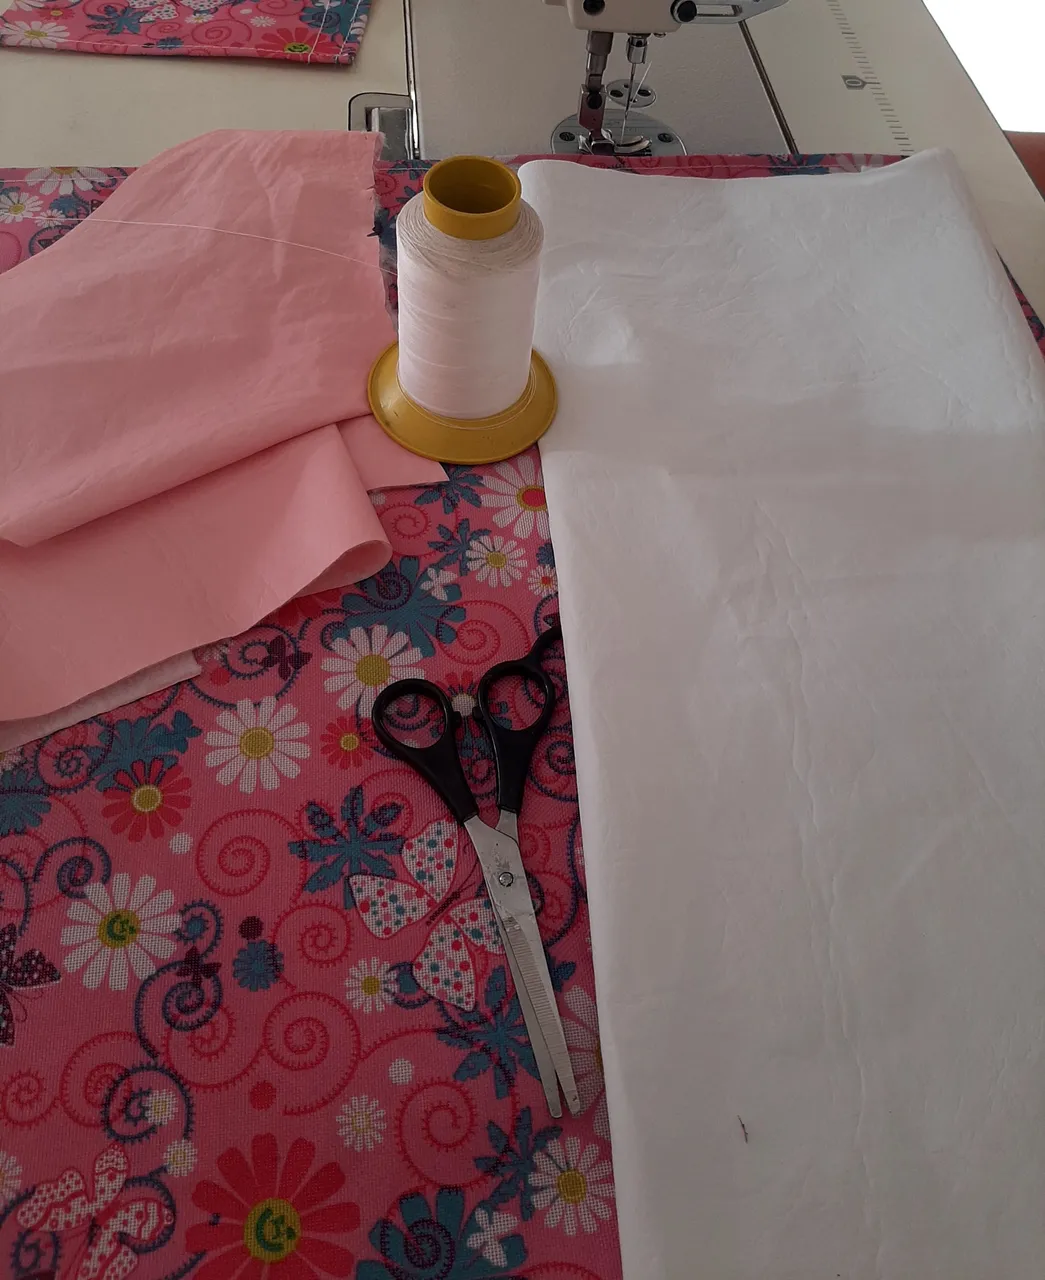
Materiales usados
•tigers
•cuero sintético
•máquina de cocer
•hilo
Materials used
-tigers
-synthetic leather
-baking machine
-thread
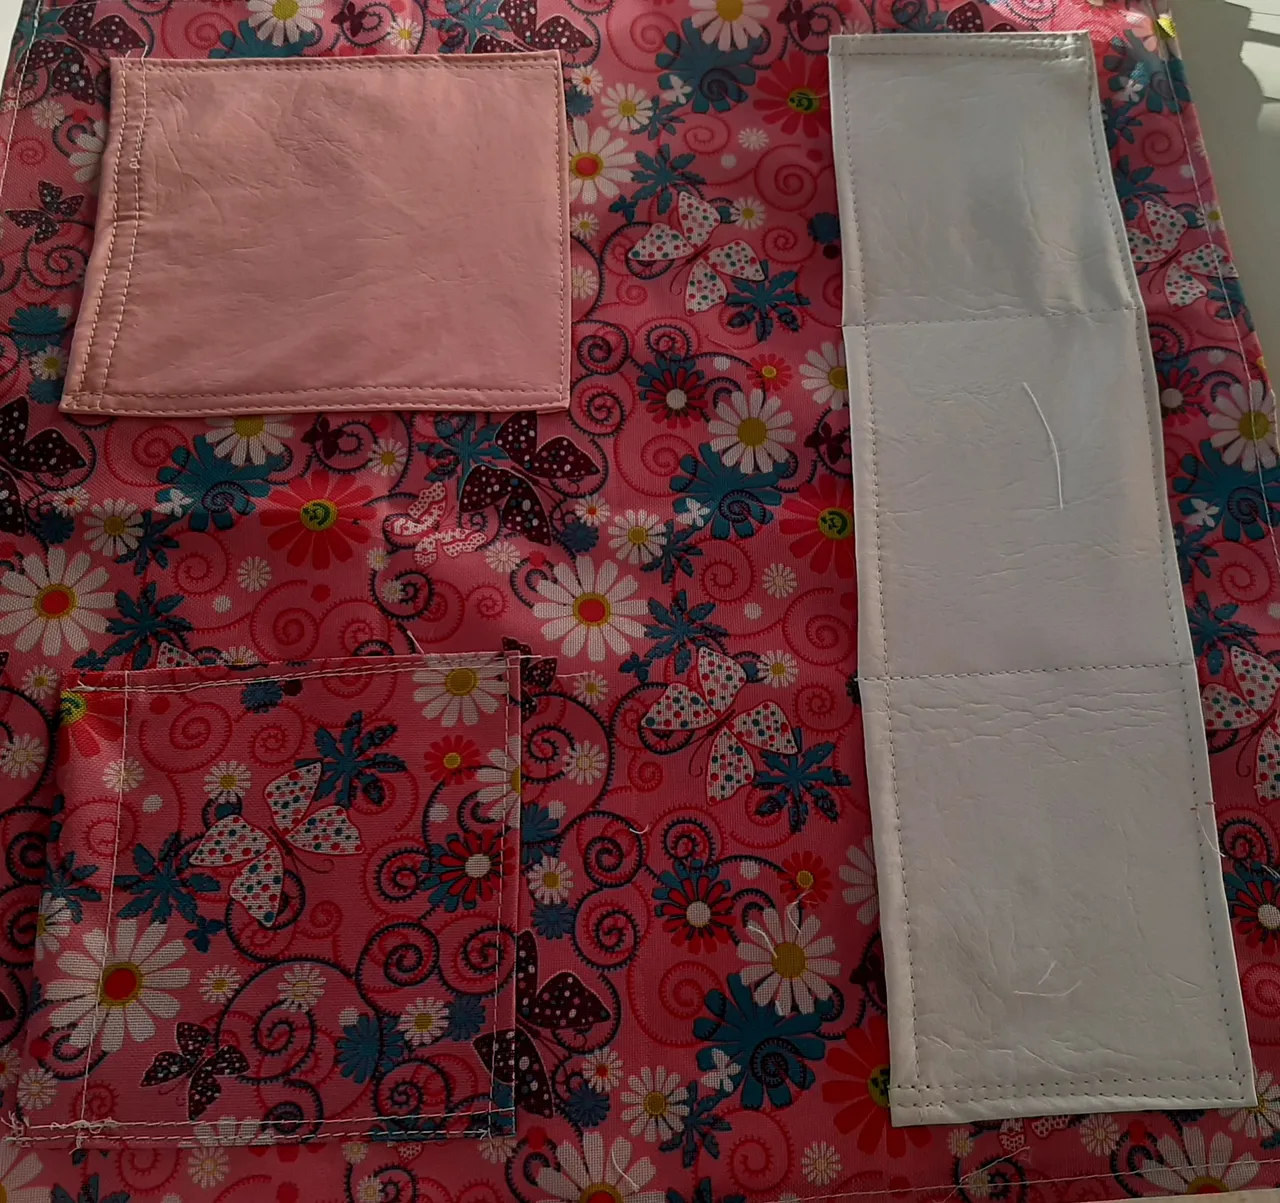
Paso 1
Cortamos un cuadrado de 60 cm de alto por 60 de ancho también cortamos un cuadro de 10 cm por 15 y otro de 15 por 20 cm seguidamente cortamos un rectángulo de 45 cm de ancho por 10 de alto por último cortaremos una tira de 10 cm de largo por 6 de ancho.
Steps 1
We cut a square of 60 cm high by 60 cm wide, we also cut a square of 10 cm by 15 cm and another of 15 cm by 20 cm, then we cut a rectangle of 45 cm wide by 10 cm high and finally we cut a strip of 10 cm long by 6 cm wide.
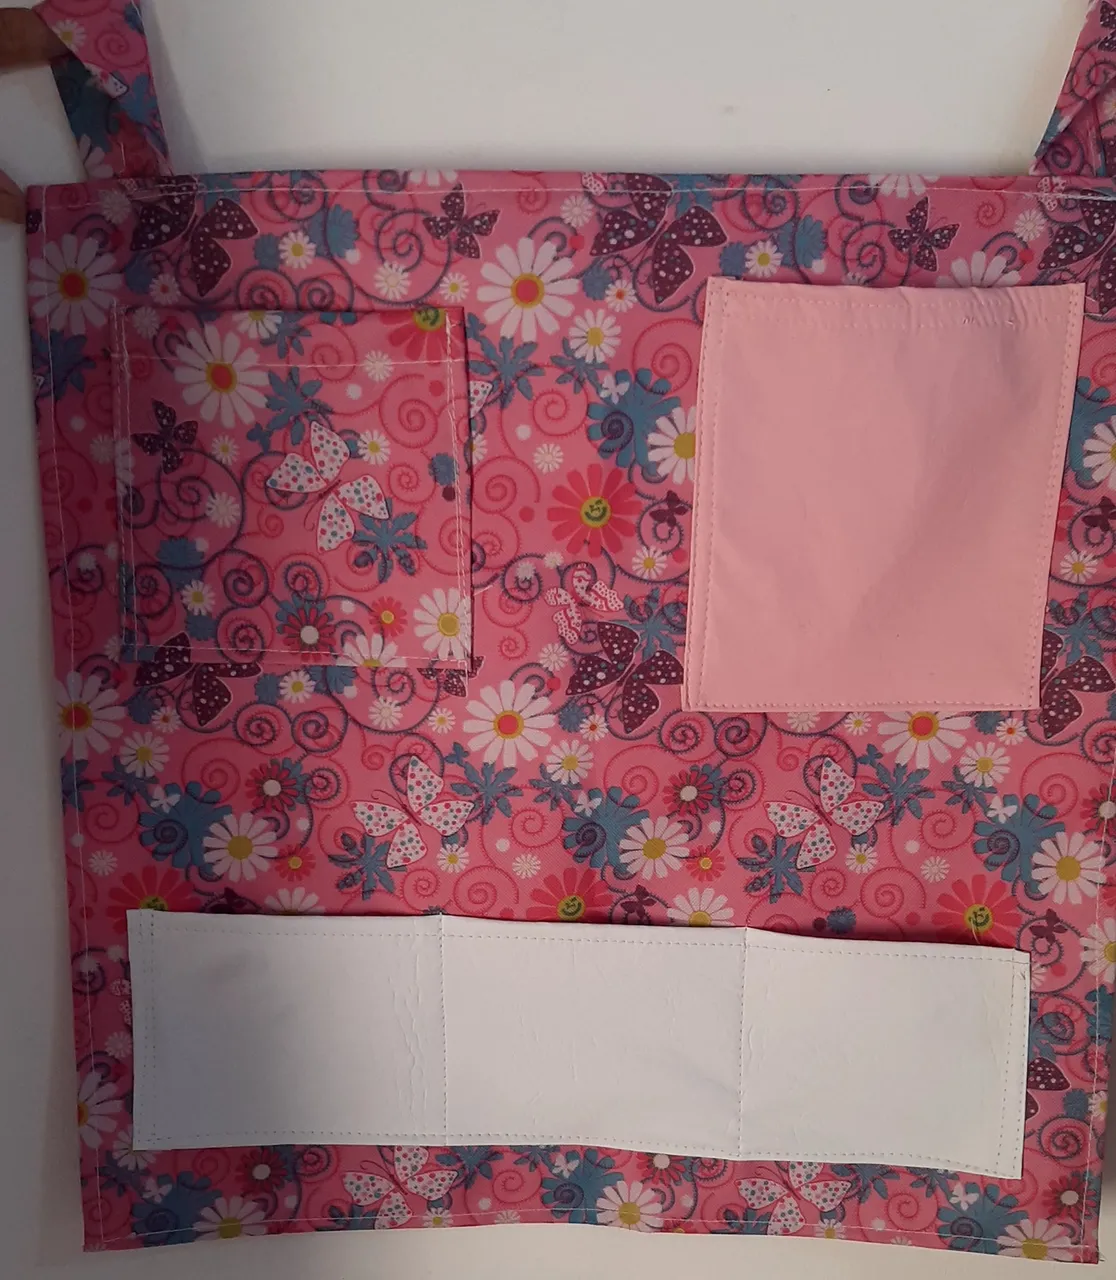
Paso 2
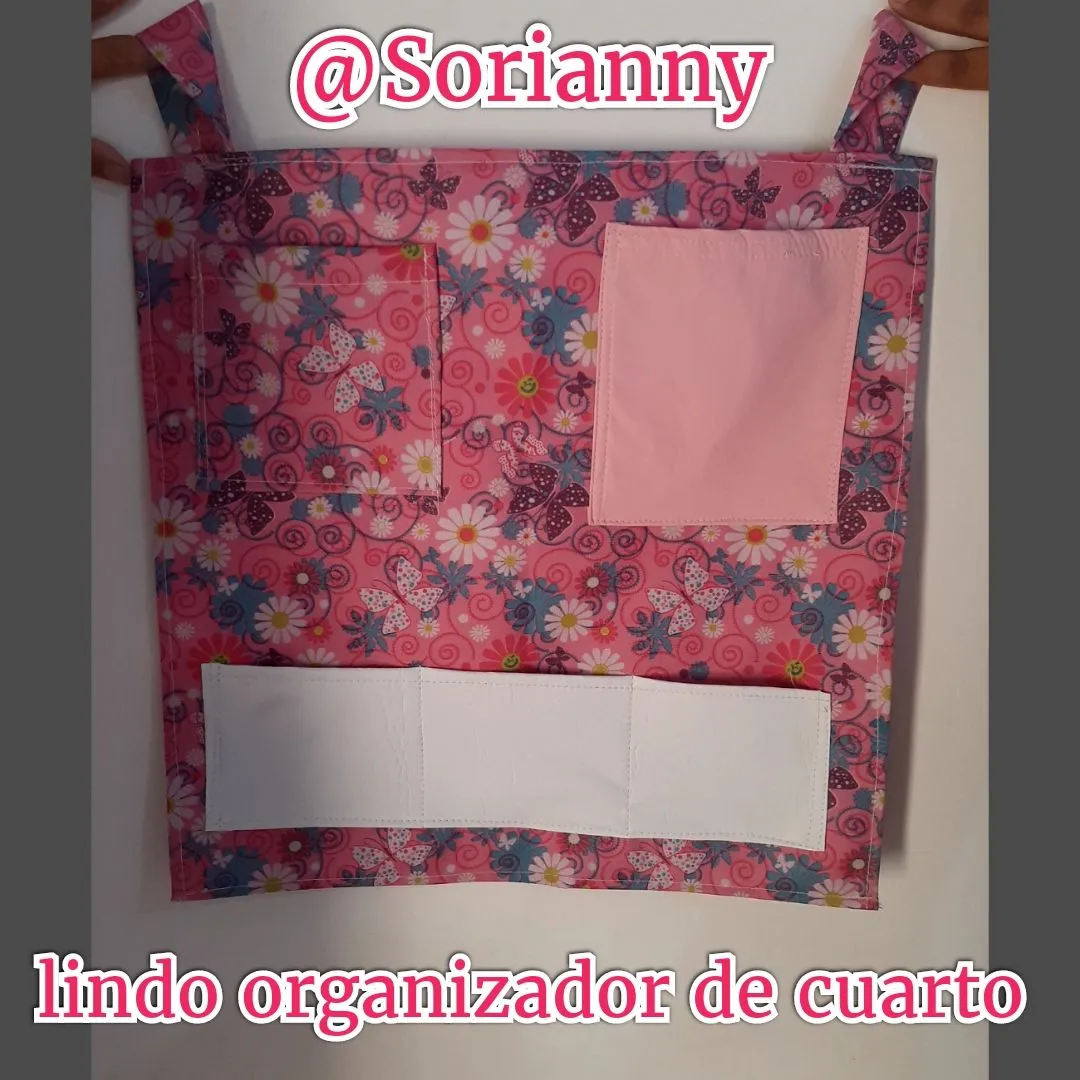
Se hace una costura lo más mínimo posible por los cuatro lados de todas nuestras piezas ya cortadas. Luego en la parte superior izquierda se cose el cuadrado de de 10 x 15 cm y en el otro extremo el de 15 por 20 siempre dejando 5 cm de las orillas del organizador del mismo modo midiendo 5 cm por encima de la parte inferior y de los lados coceremos la cinta o rectángulo por los lados y la parte inferior luego medimos 15 cm pasamos una costura de abajo hacia arriba luego hacemos el mismo procedimiento de modo que nos quedarán tres bolsillos continuo cada uno de 15 cm. Por último doblamos la cinta por el medio y la pegamos en las esquinas superiores de manera qué nos sirva de colgadera.
Steps 2
We make a seam as minimal as possible on the four sides of all our already cut pieces. Then on the upper left side we sew the 10 x 15 cm square and on the other end the 15 x 20 cm square always leaving 5 cm from the edges of the organizer in the same way measuring 5 cm above the bottom and sides we will sew the ribbon or rectangle on the sides and bottom then we measure 15 cm and sew a seam from bottom to top then we do the same procedure so that we will have three continuous pockets each one of 15 cm. Finally we fold the ribbon in the middle and glue it in the upper corners so that it can be used as a hanger.
Espero les guste y lo puedan hacer es muy fácil y rápido nos vemos hasta una próximo oportunidad.
I hope you like it and I hope you can do it, it's very easy and fast, I'll see you next time.