Hi friends, good evening and welcome to another sewing session @smilestitches, how are we doing? Hope our day went well? Actually mine went well thanks to God who made my day successful and my health is perfect.
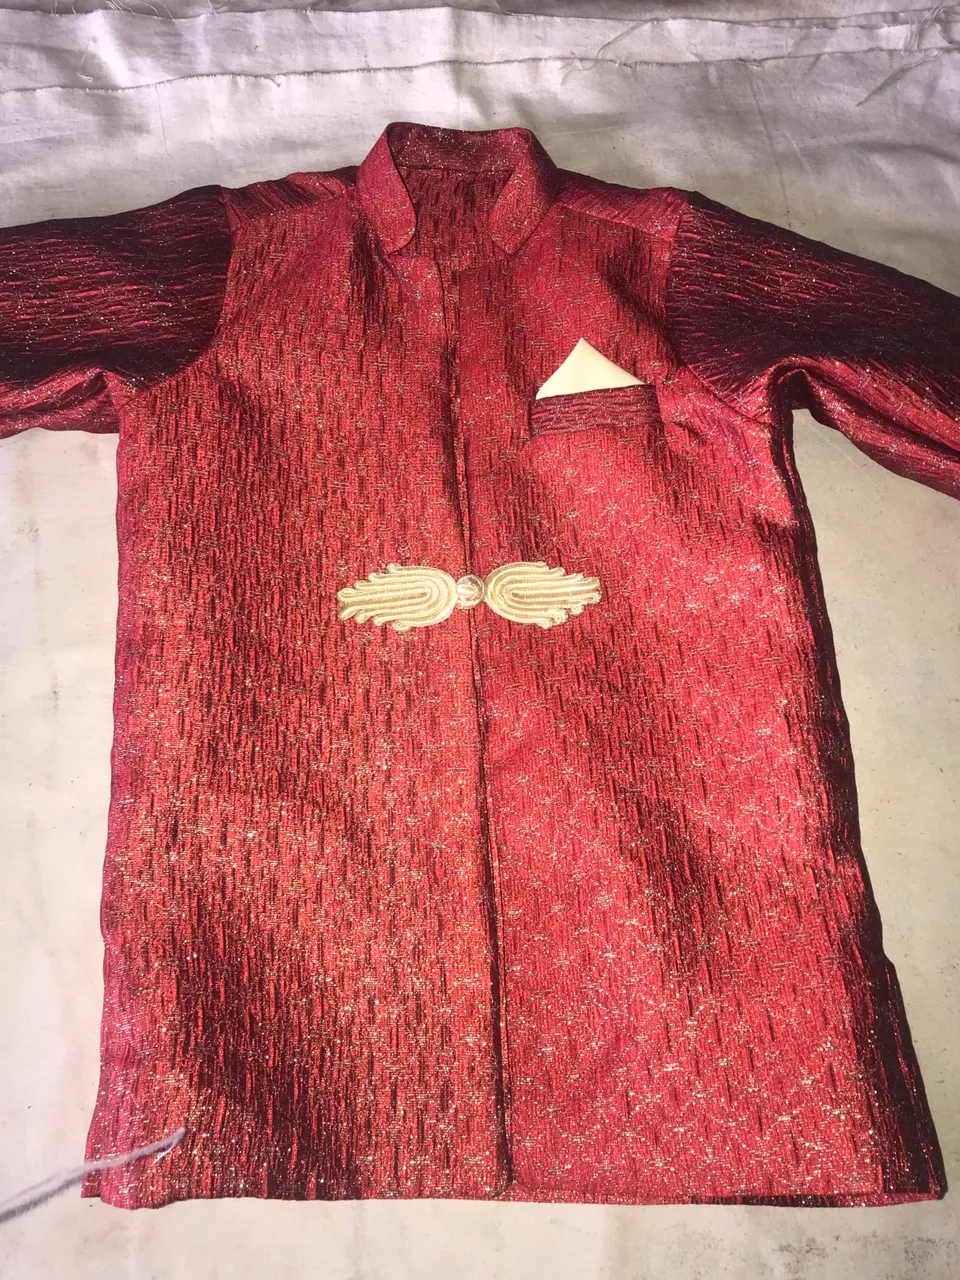
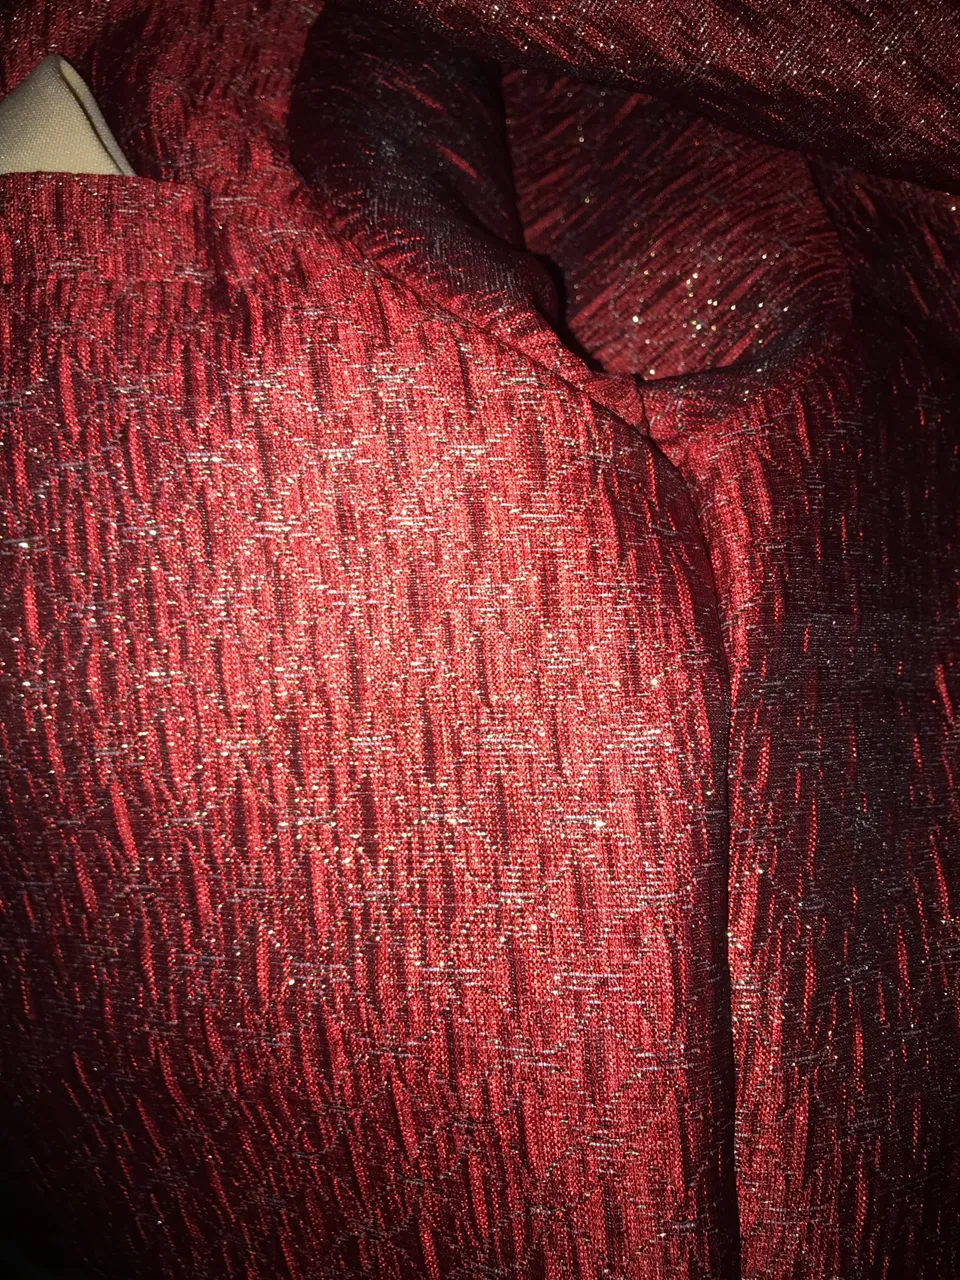
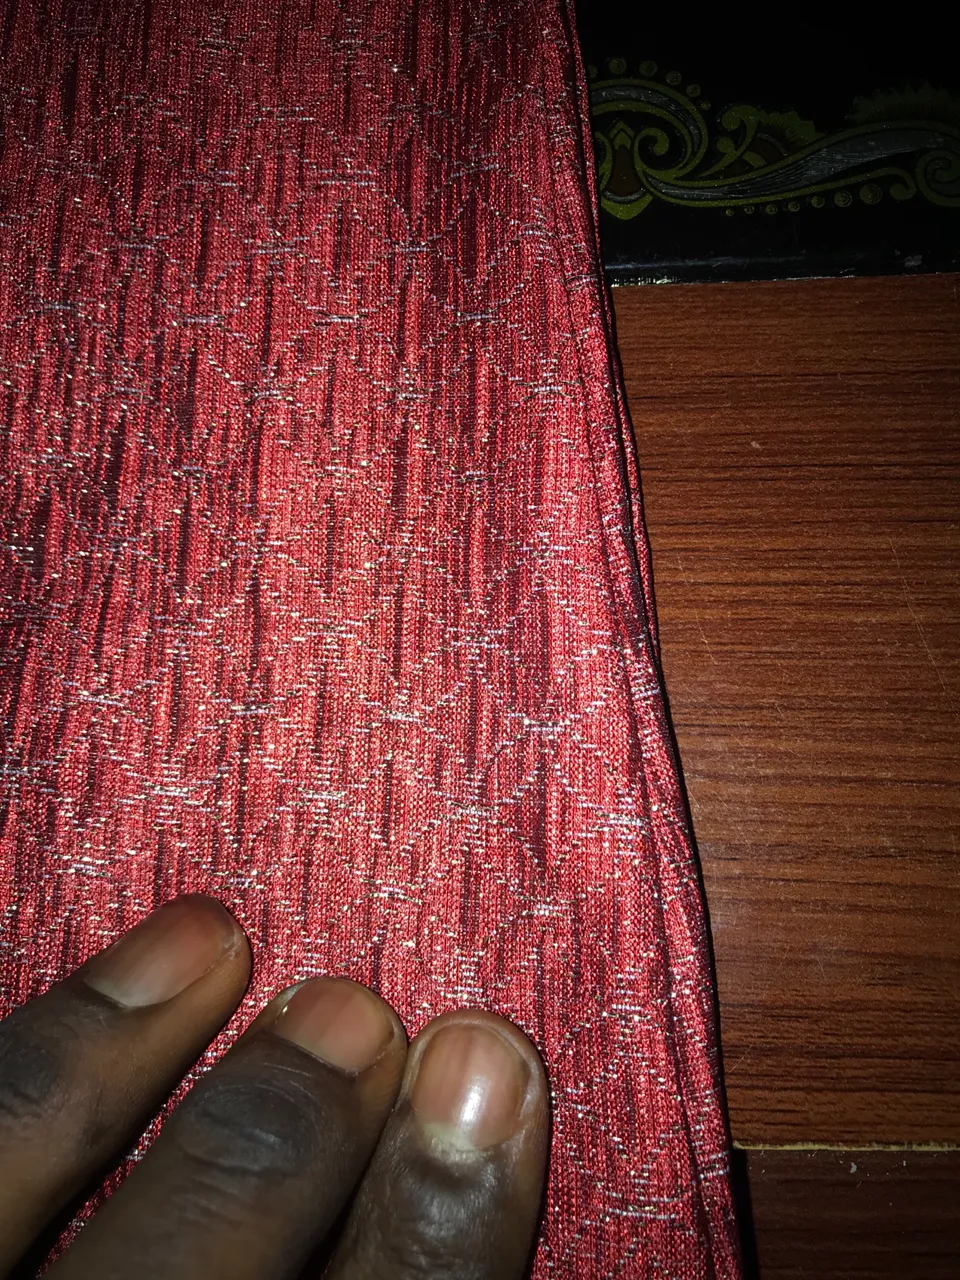
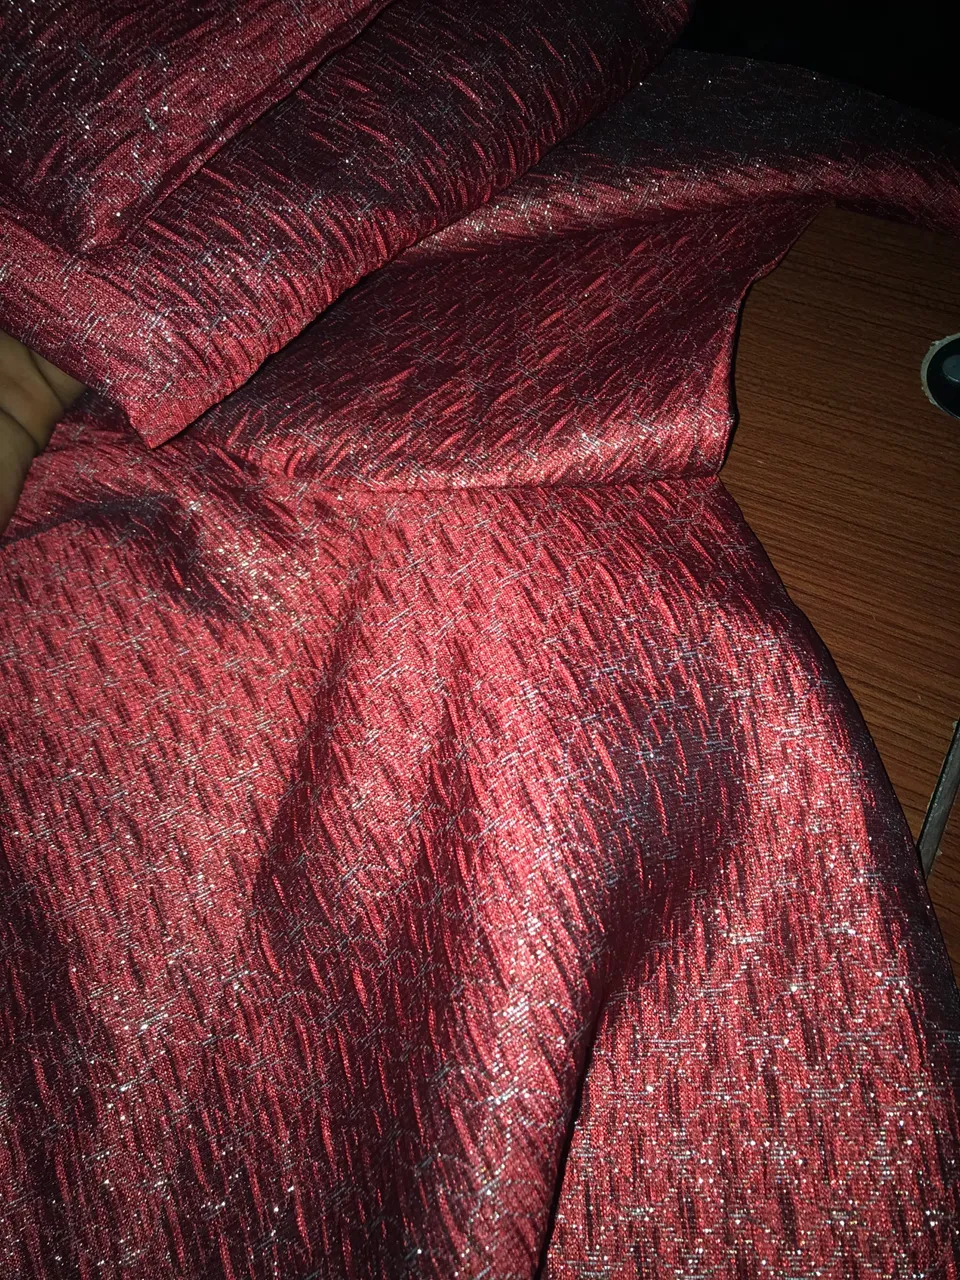
So friends today am making another top for a minor, actually this pattern of cloth is called juparty and it’s an Indian native attire, mostly worn by the groom in a wedding or at there native functions so mine am adding an Indian button at the front to beautiful my work. So friends I’ll be sharing with you all from cutting to finish how I made this unique outfit.🤪😂
Items I used:
- A red Indian Juparty material
- A milky color Indian button
- A milky color material
- Collar gum for the neck
- A Red matching thread.🧵
My Sewing processes:
First step:
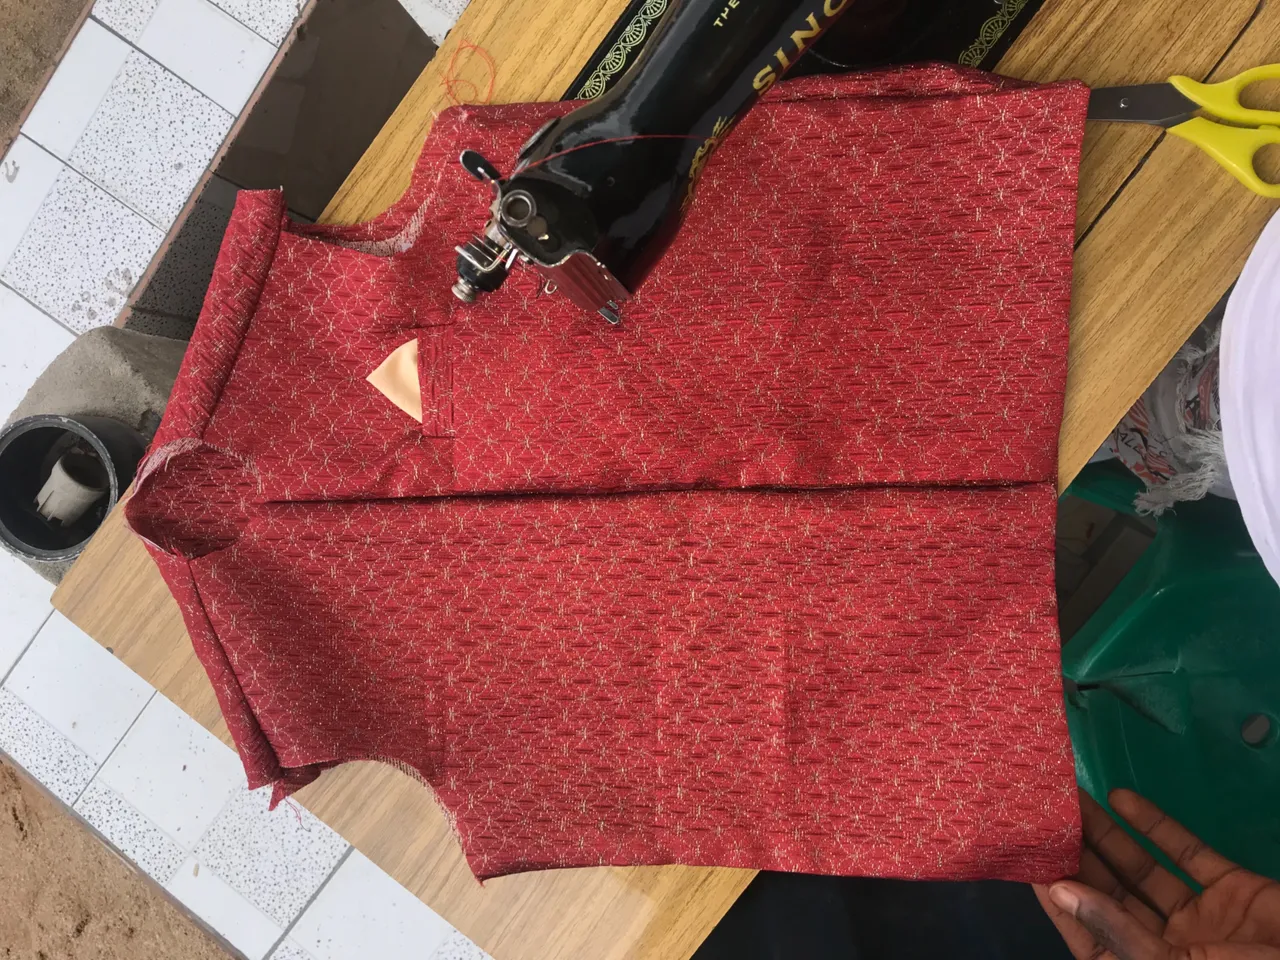
I bend the material into two, I drew the little boy’s measure on it and I cut it inform of a shirt.
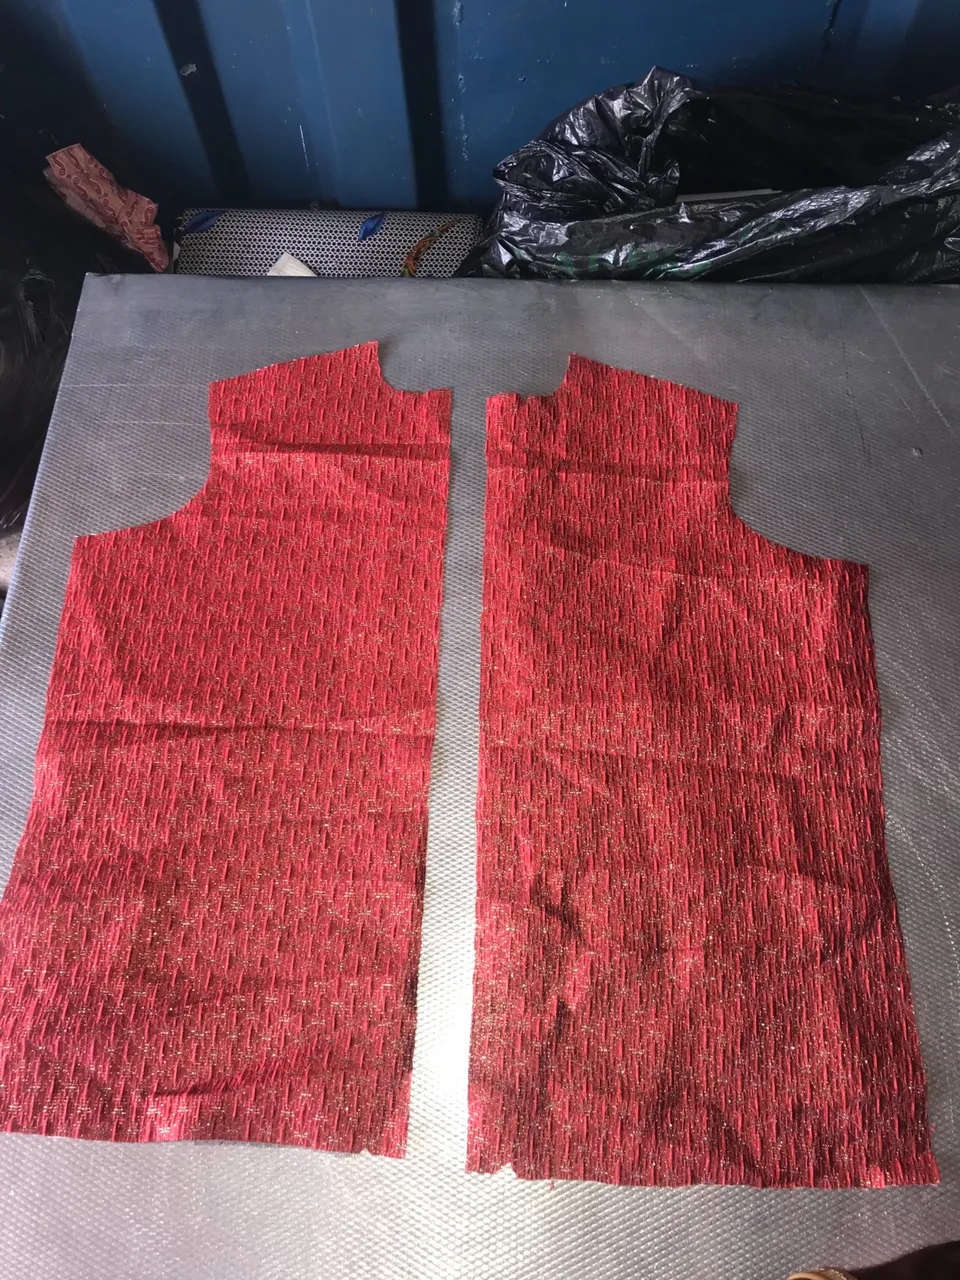
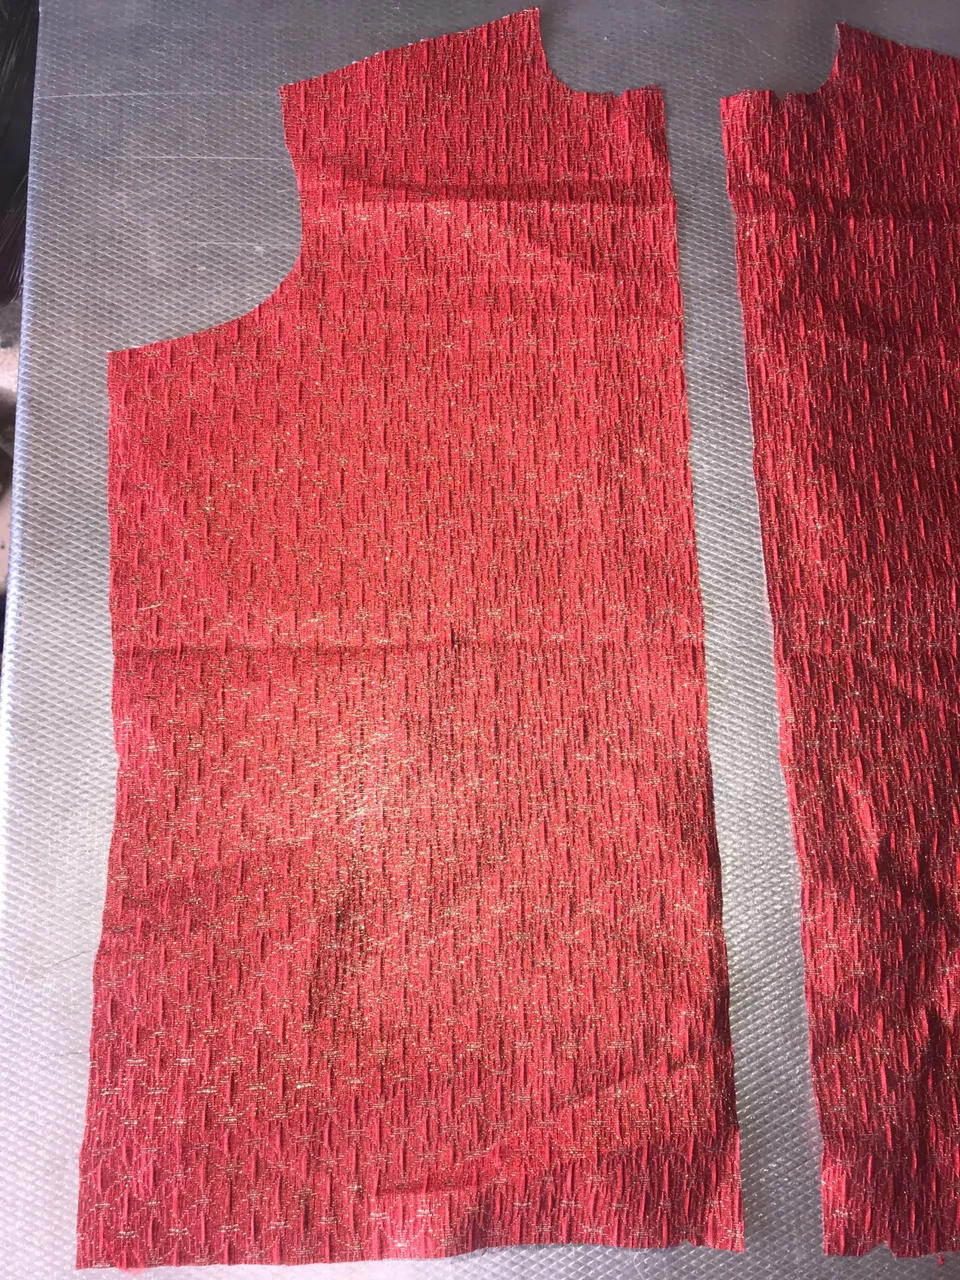
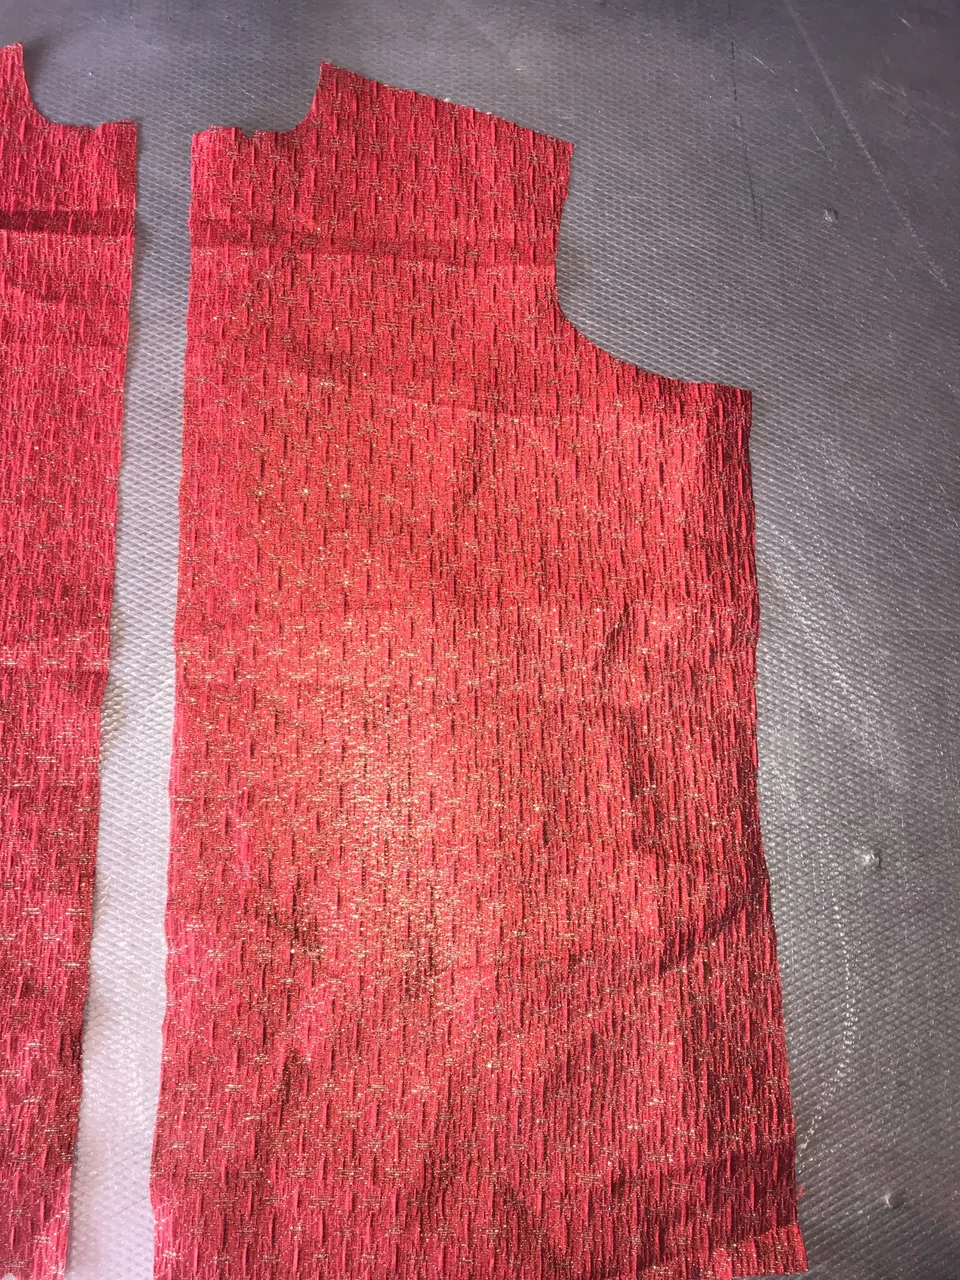
I wanted the juparty to be tick and heavy just like suit so I cut everything in twos, I took the left part and cut out another left part and I did same with the right and also with the sleeves and the back view I cut all of them in twos.
After my cutting I processed.
Second step:
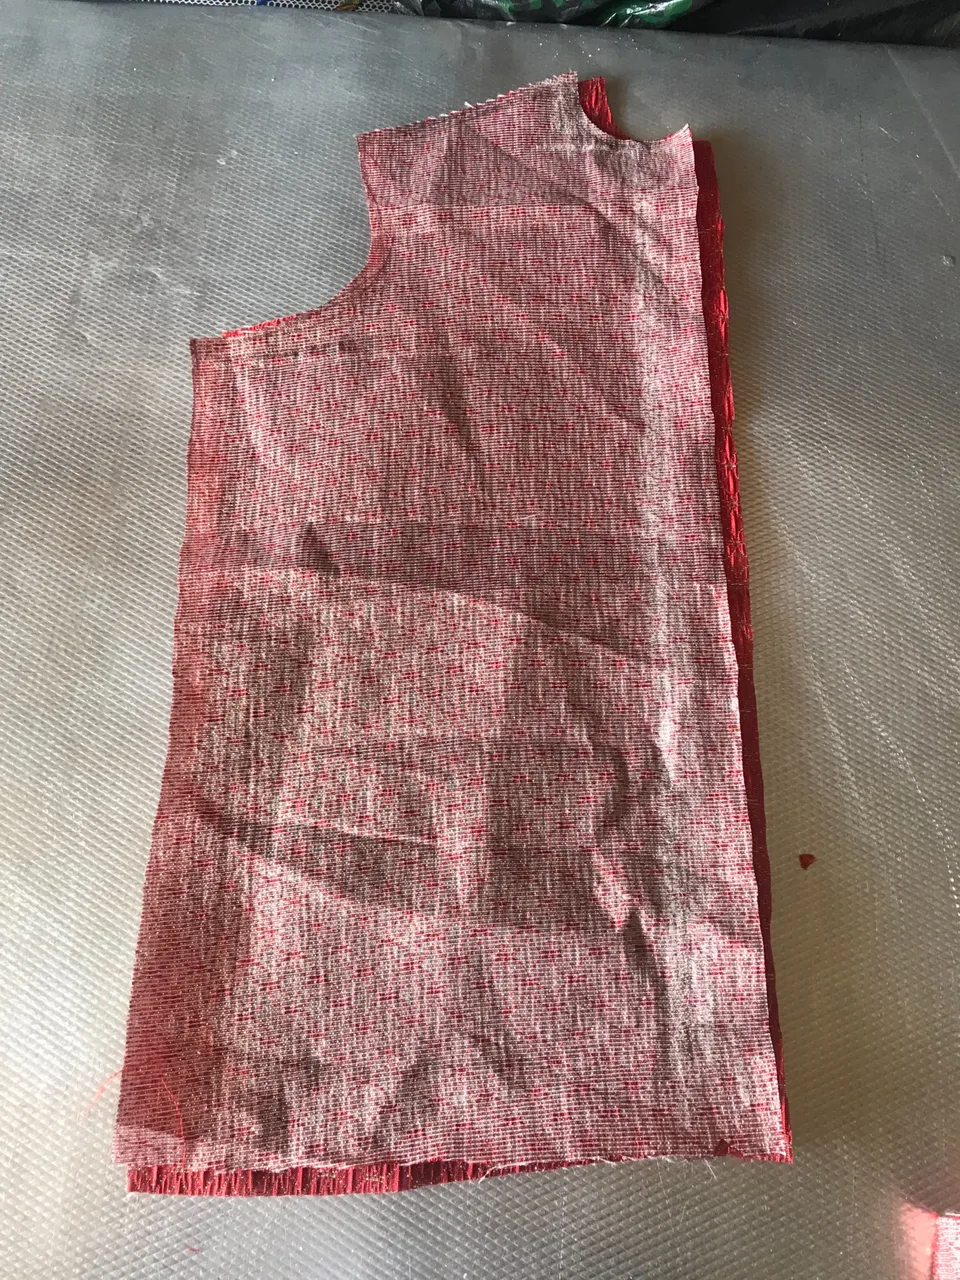
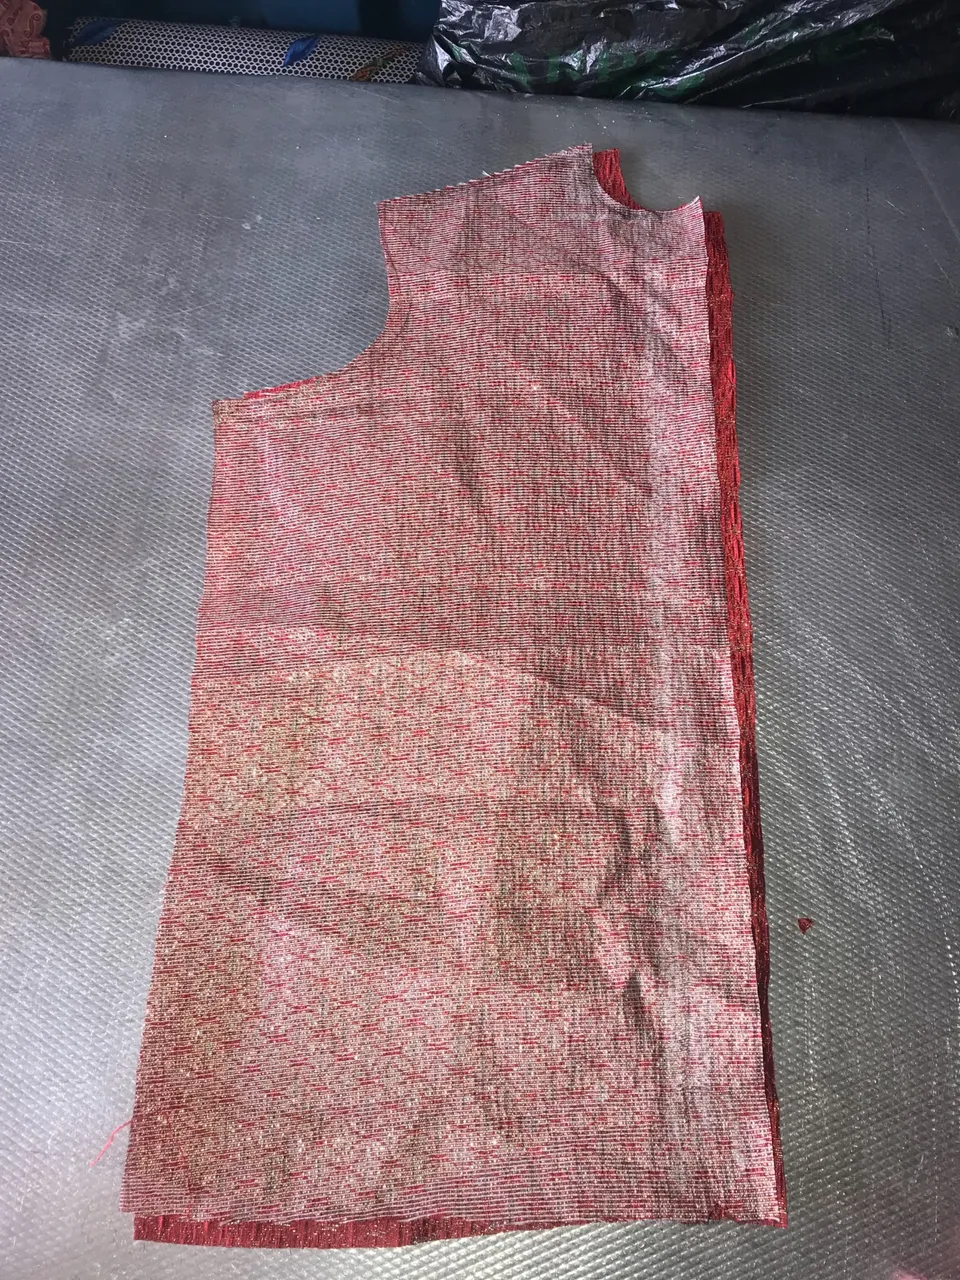
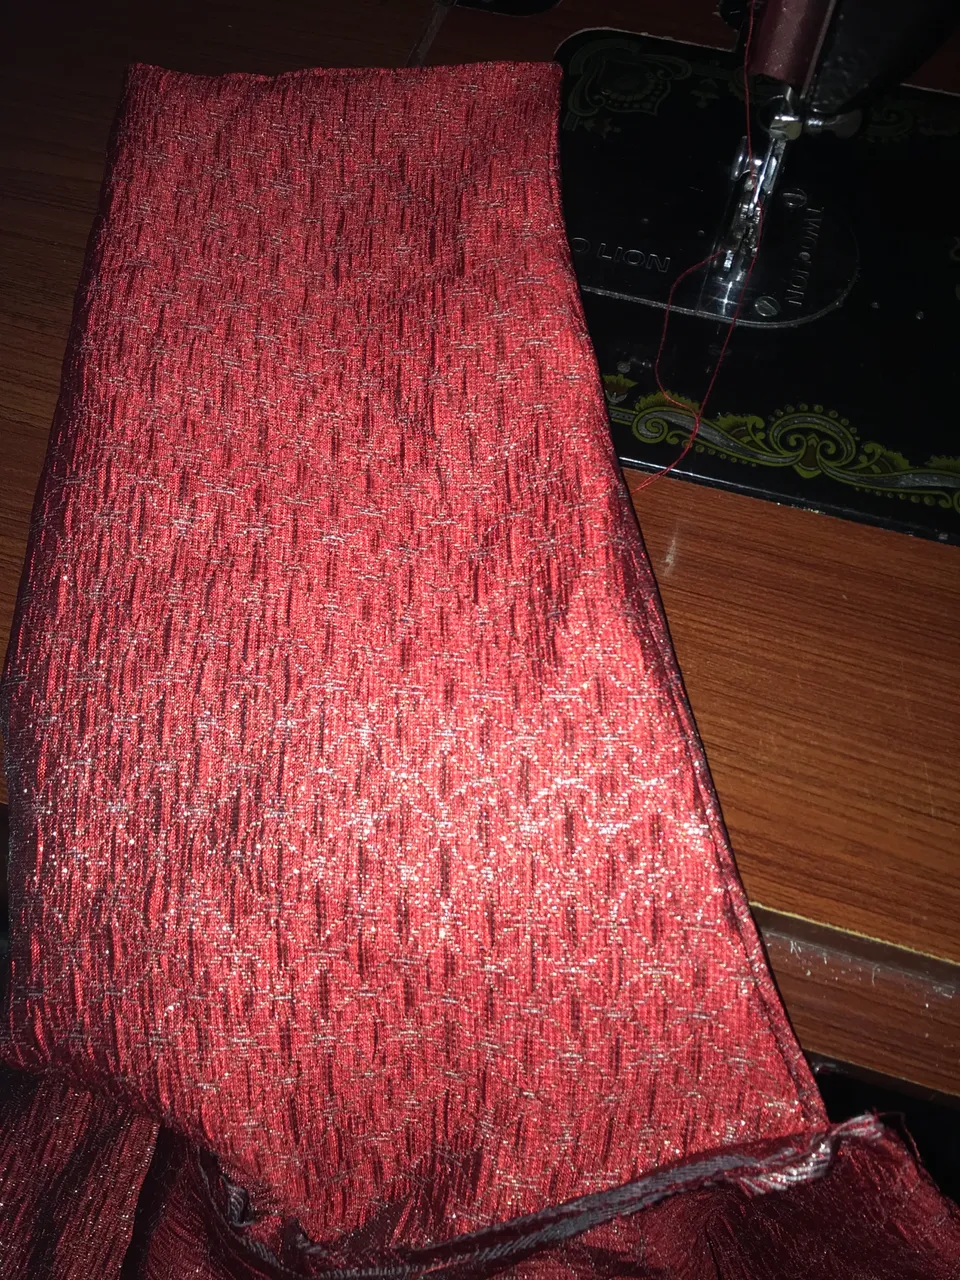
I turned the matching sides like I took the two left I cut and I turned them along with the right sides and also the sleeves and the back view, I turned all of them to get ride of the rough edges. After turning them, I ironed and make them look neat.
Third step:
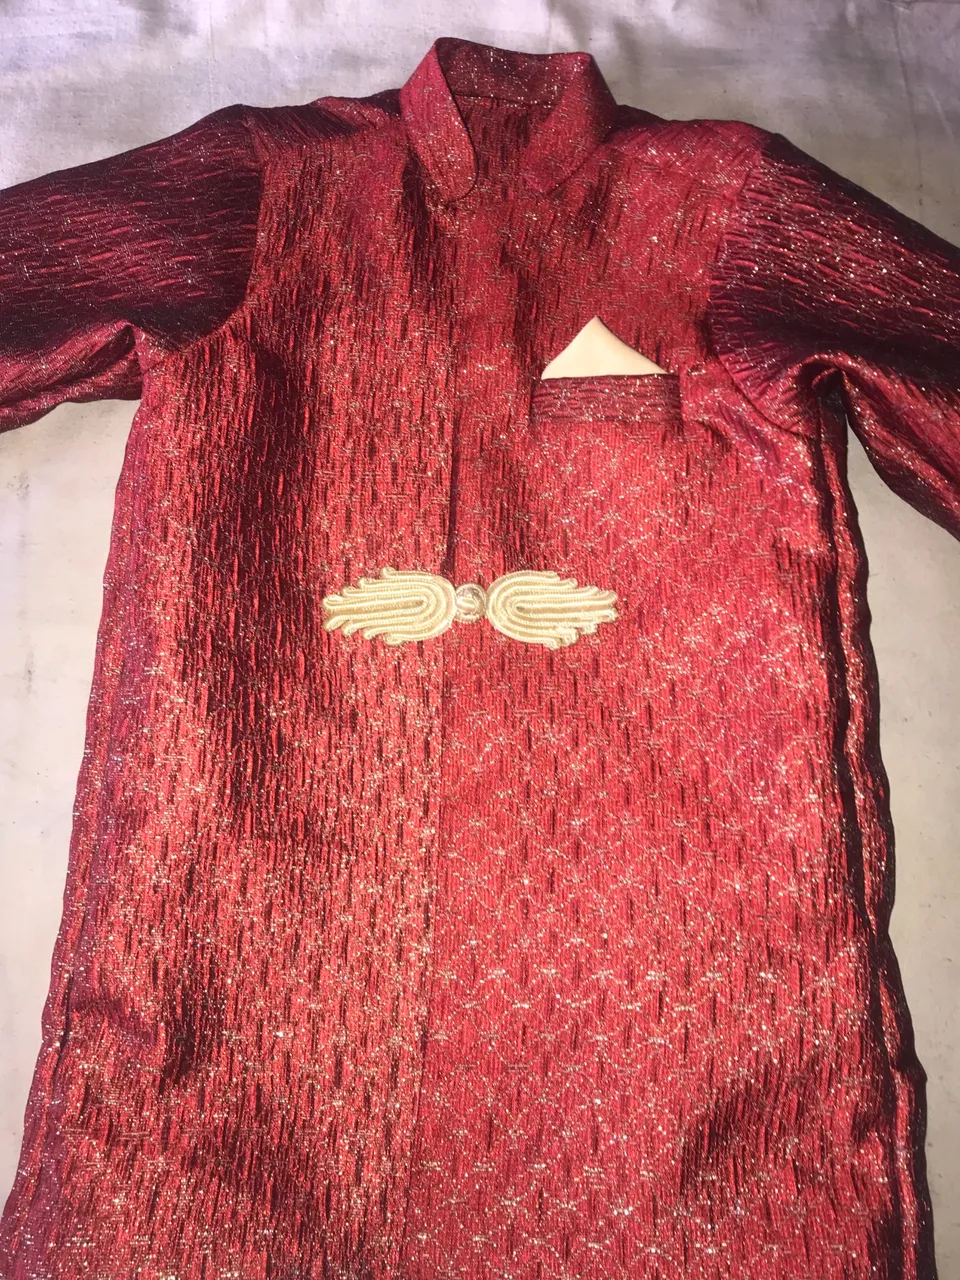
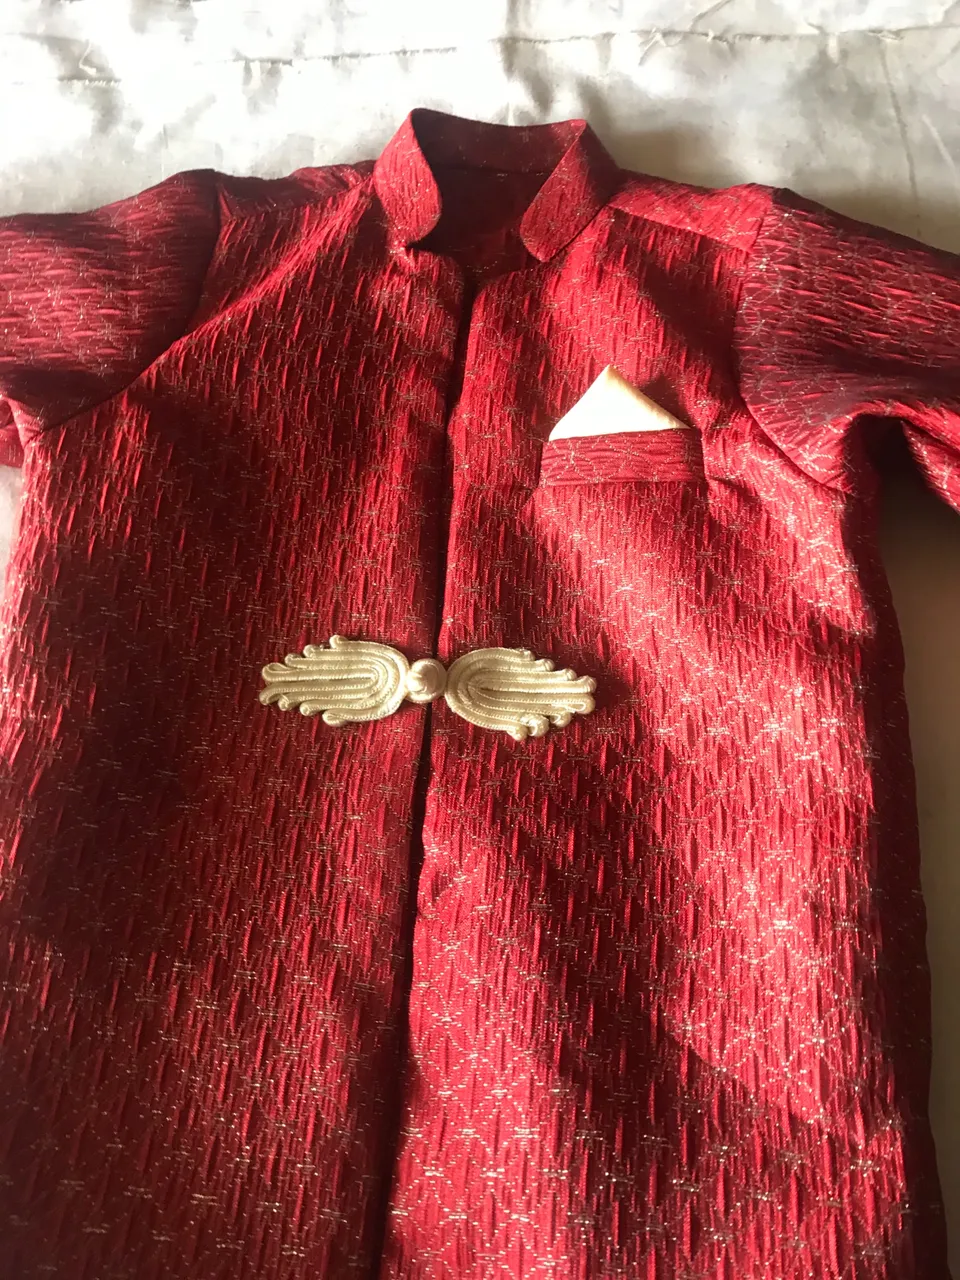
I then craft out a little inner pocket at the left side for the pocket filler I’ll be putting in it, actually i planned on using the milky color material to do a pocket filler and put inside the pocket to help beautify the front of the cloth.
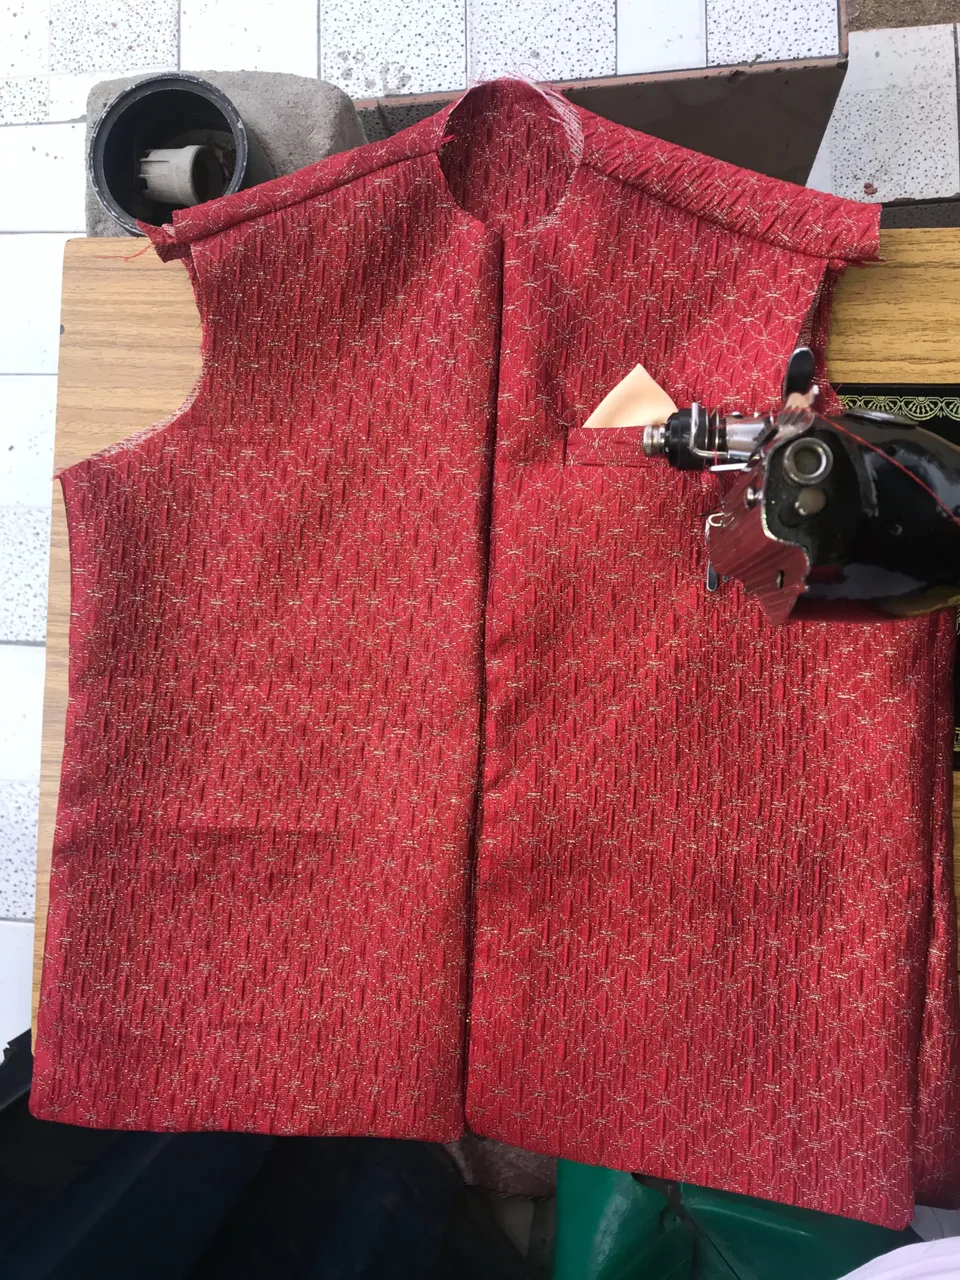
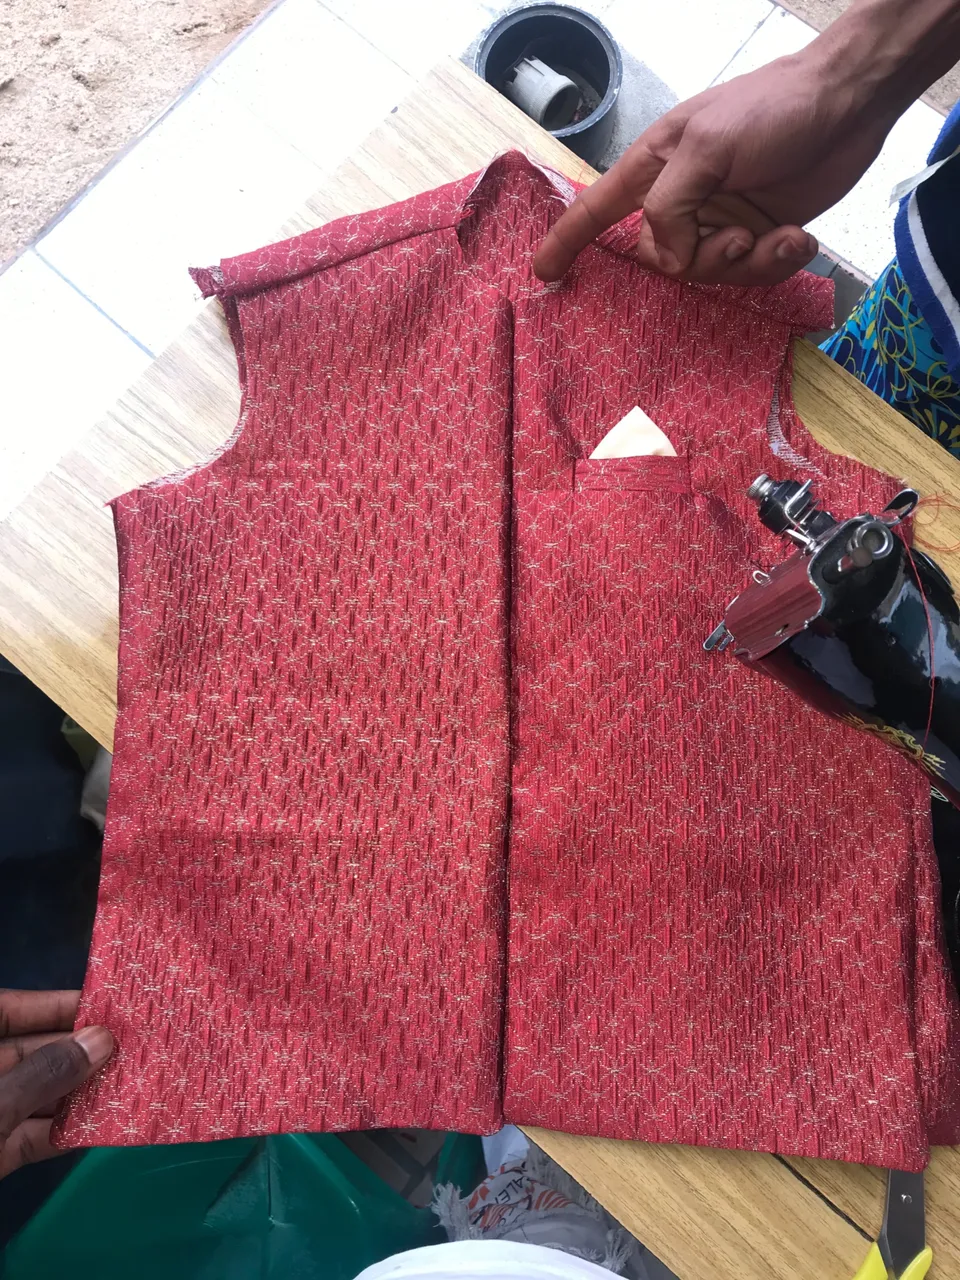
Fourth step:
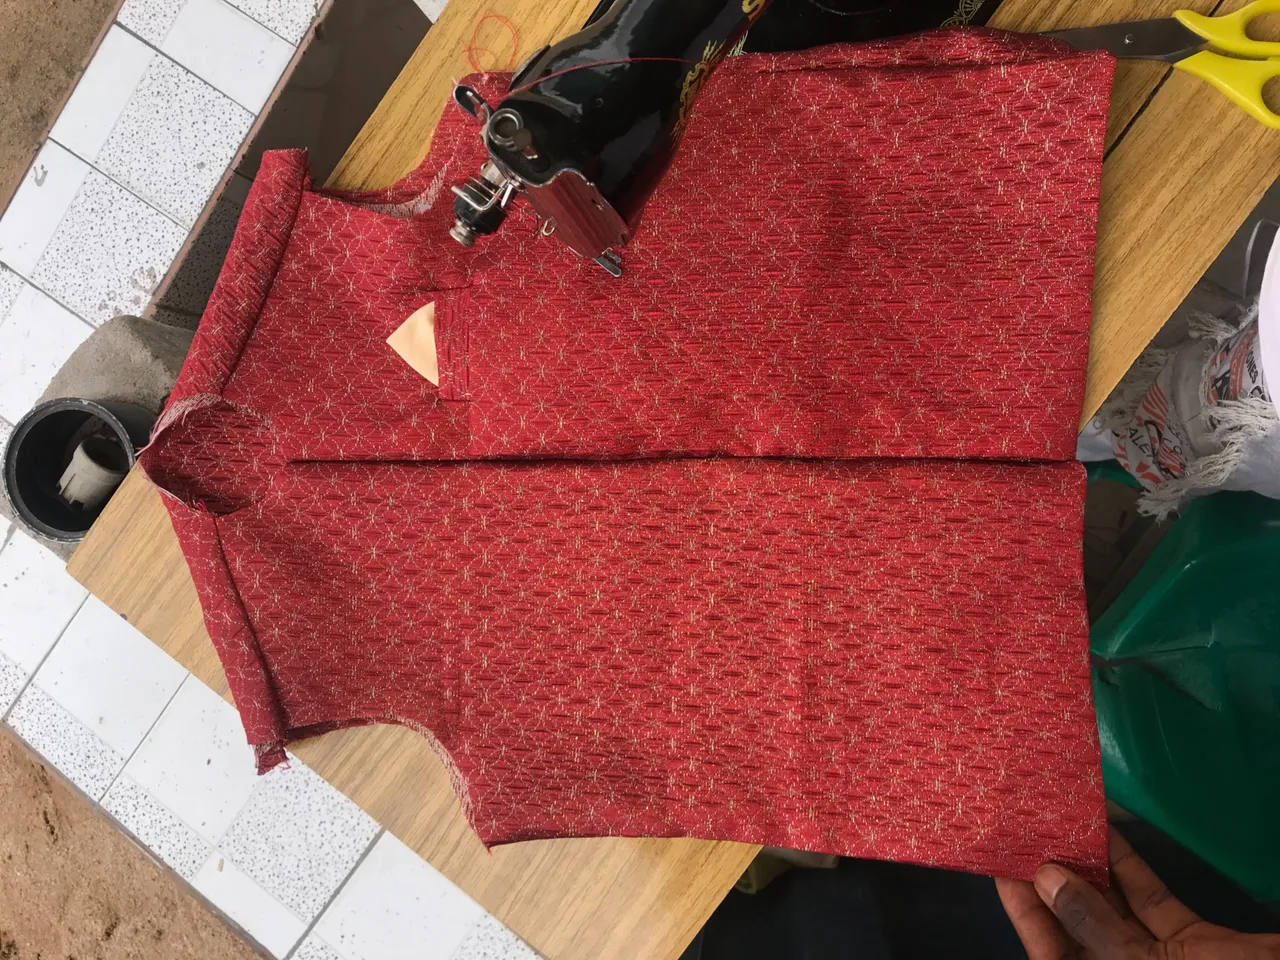
I joined and trimmed the shoulder and inserted the sleeves after that I joined the body sizes to the measurement of the little boy.
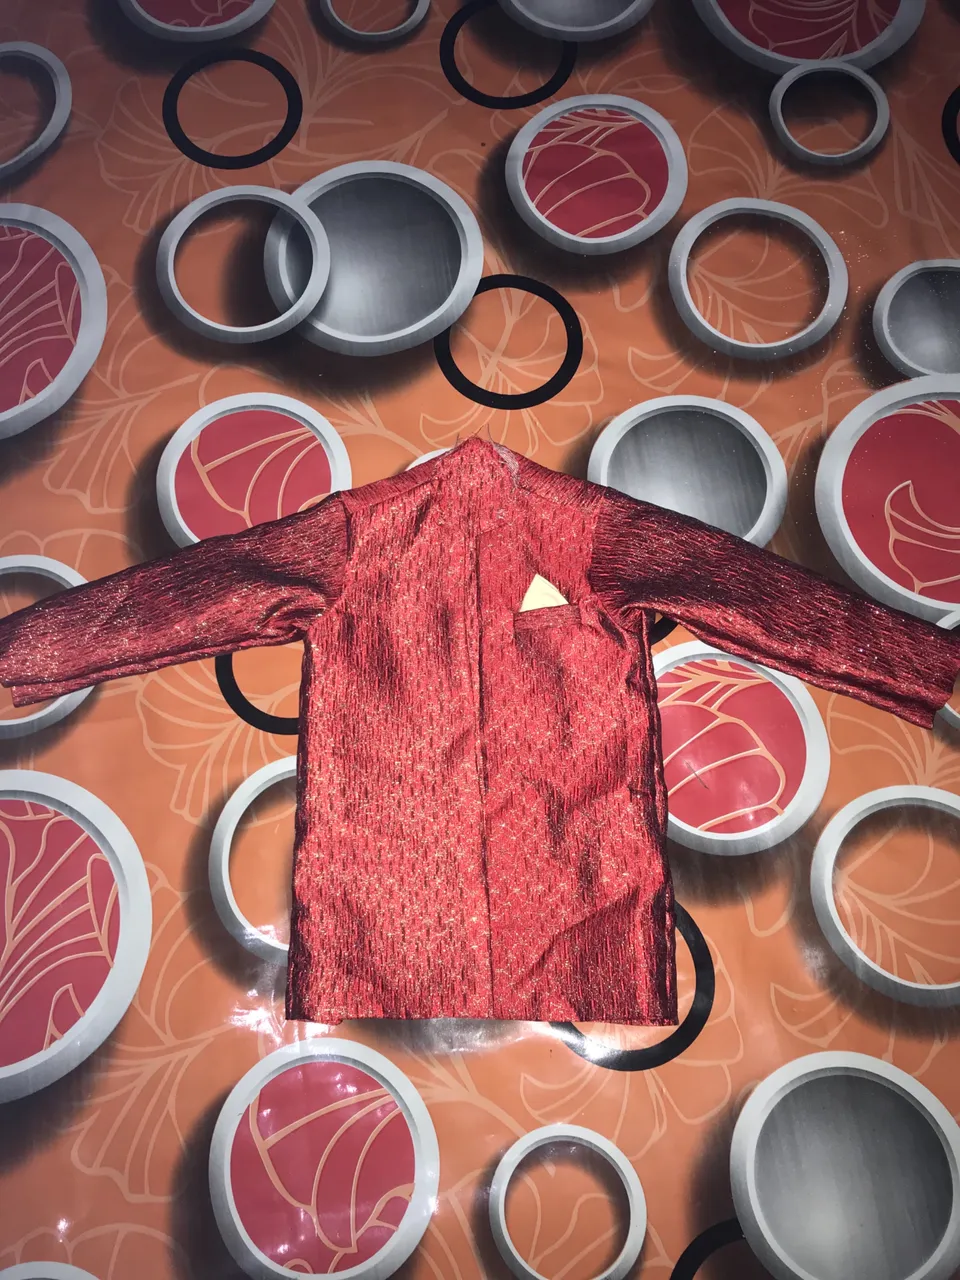
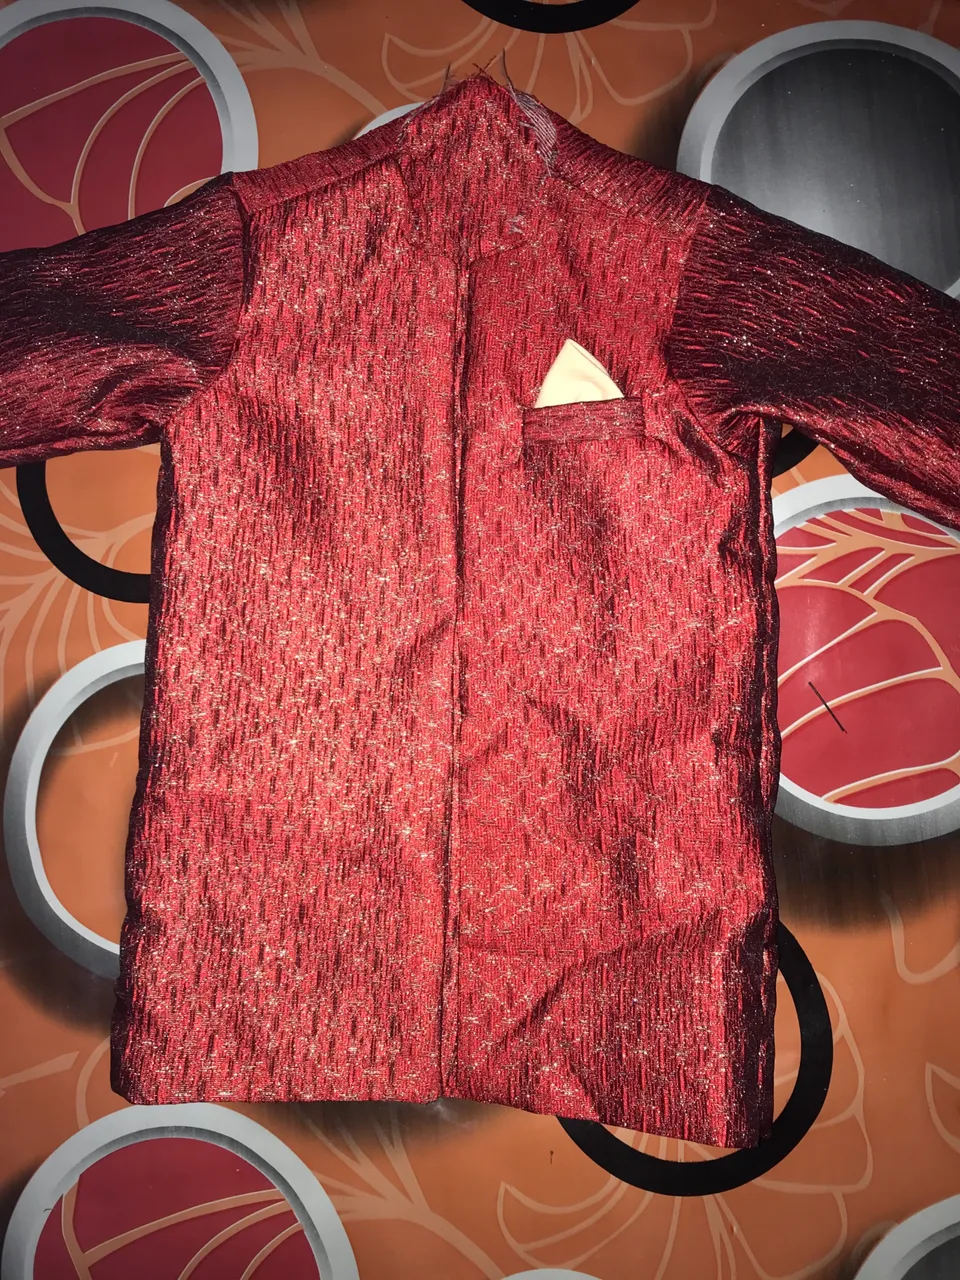
Last step:
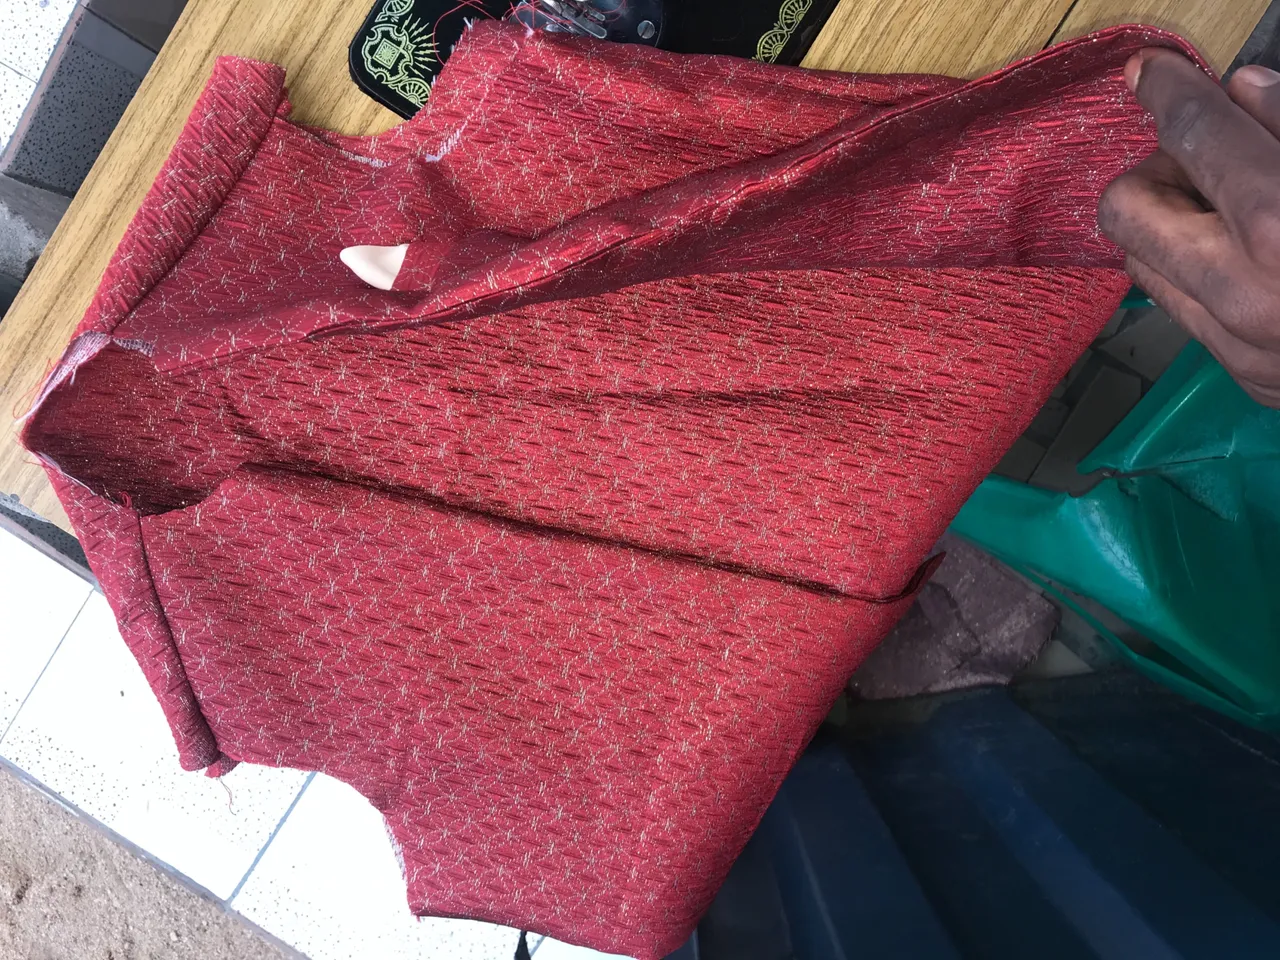
I turned in 1inches from the original neck size because I wanted to do a half turtle neck, so from where I turned and stopped the 1inches I prepared my turtle neck using the collar gum and I sewed it to the neck part and boom! My Indian juparty was ready!!
I then use an hand niddle and threads 🪡 🪡 🧵 to sew the Indian buttons to the front to give the cloth a unique finishing. So with those few steps I finished sewing my Indian juparty.
Thanks friends for your time and patients, good night, sweet dreams 🛌