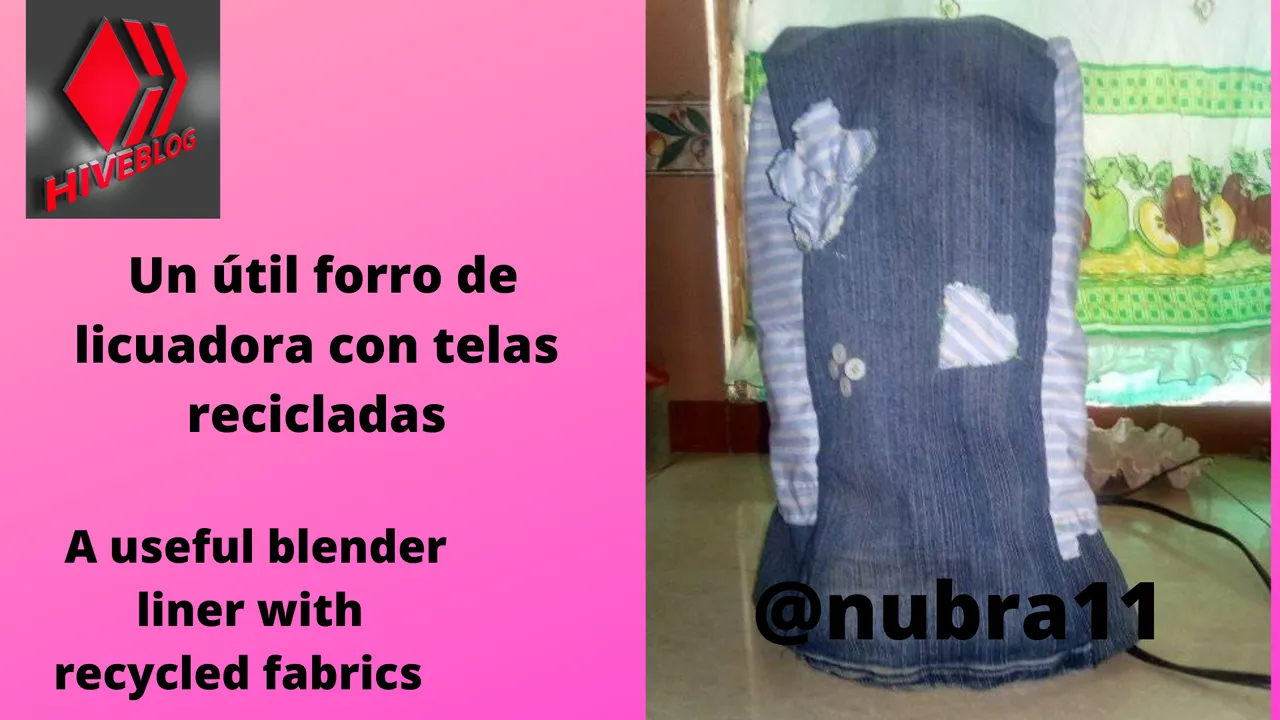
A huge greeting to the great NeedleWorkMonday community. Wishing you a beautiful day, loaded with lots of love, blessings. I am pleased to write once again to share a creativity that will be useful for me and decoration in my kitchen. A useful blender liner, with recycled fabrics.
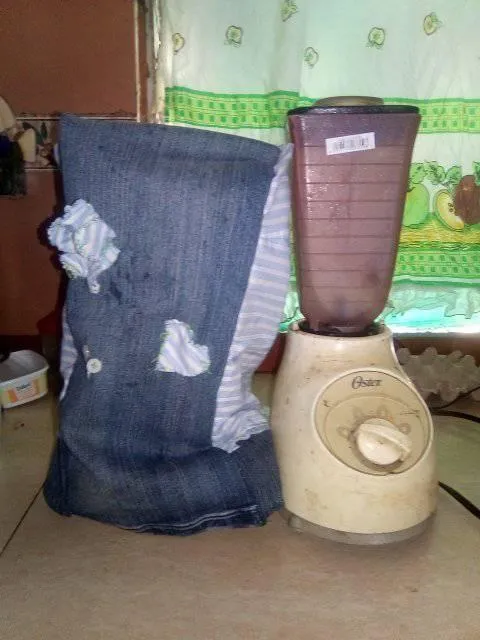
A la hora de crear y coser nos ponemos creativos y mas para las cosas que nos hace falta en el hogar. Este útil y practico forro para la licuadora, con pocos materiales.
When it comes to creating and sewing we get creative and more for the things we need at home. This useful and practical cover for the blender, with few materials.
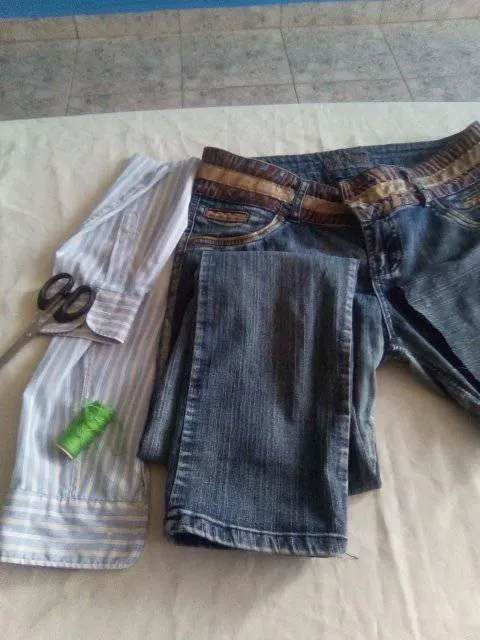


Para realizar esta creatividad necesitaremos los siguientes materiales:
- Pantalón usado.
- Dos retazos de tela de unas manga de camisa.
- Hilo color verde.
- Aguja de coser.

To make this creativity we will need the following materials:
- Used pants.
- Two pieces of fabric from a shirt sleeve.
- Green thread.
- Sewing needle.
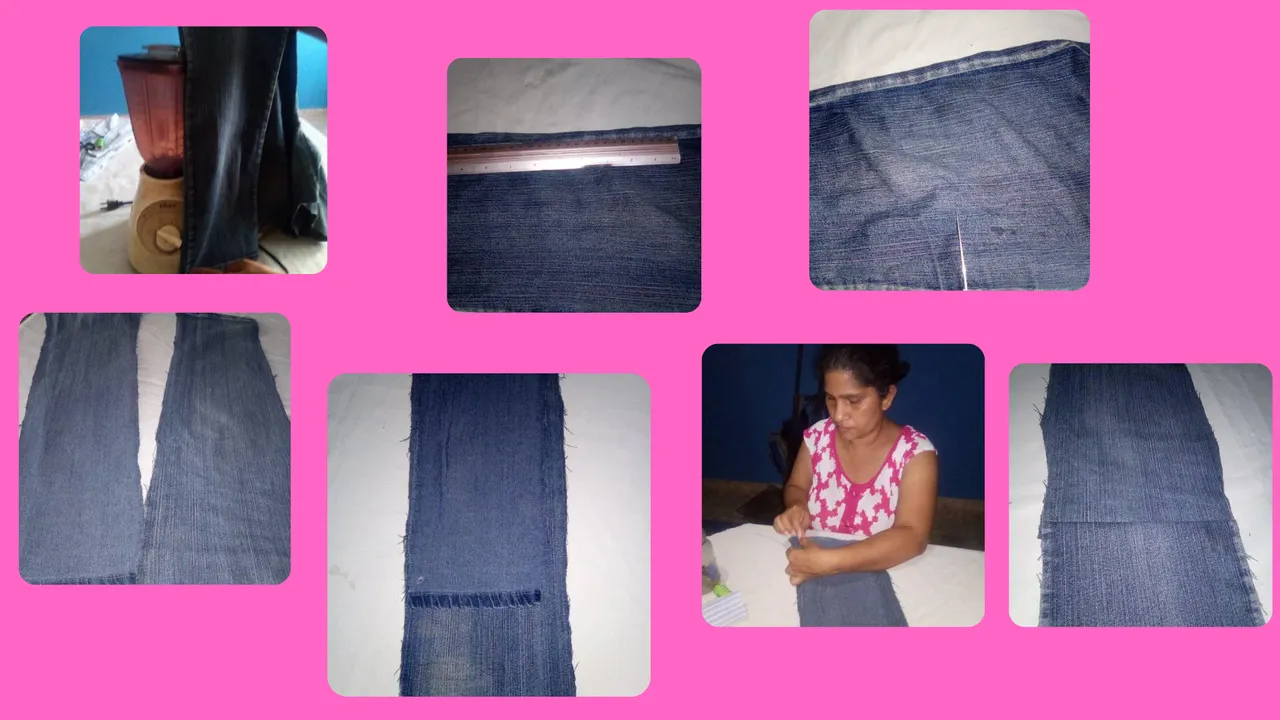
Primeramente tomamos la medida del forro de la licuadora, en este caso es de 60 centímetros le largo la parte delantera y la parte trasera de 52 centímetros. Luego procedemos a cortar la parte del pantalón usado, que sera las partes de las piernas. Después las unimos ambos partes , para coser a mano.
First we take the measure of the lining of the blender, in this case is 60 centimeters long the front and the back of 52 centimeters. Then we proceed to cut the part of the pants used, which will be the parts of the legs. Then we join both parts together, to sew them by hand.
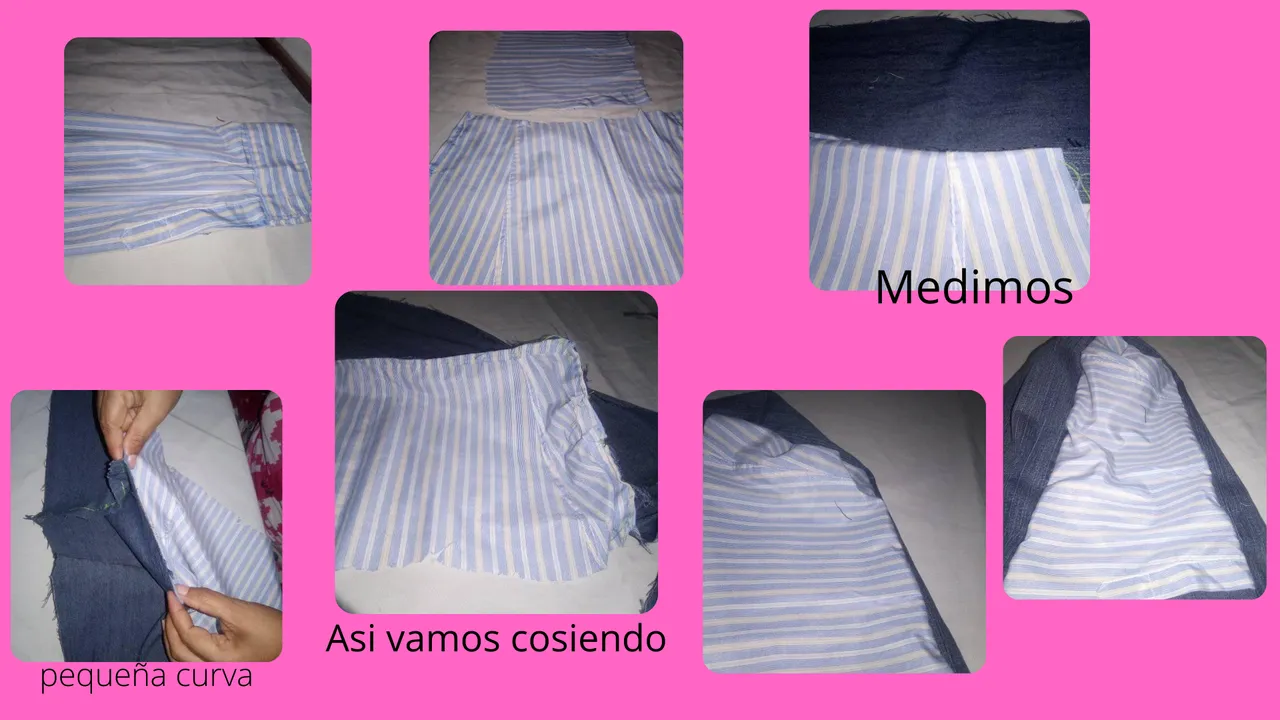
Seguidamente tomamos el retazo de las mangas de camisa y la cortamos, buscando abrir la costura, la cual sera la parte lateral del forro. Empezamos a medir para luego empezar a coser a mano. Primero por los lados y luego cosemos poco a poco la parte de arriba, que se forma una curva, dándole la forma para coser. Asimismo se hace por el otro lado del forro. En la parte de abajo se coloco un retazo de tela jean.
Next, we take the sleeves of the shirt and cut it, looking to open the seam, which will be the side part of the lining. We start measuring and then start sewing by hand. First on the sides and then we sew little by little the top part, which forms a curve, giving it the shape to sew. The same is done on the other side of the lining. At the bottom I put a piece of denim.
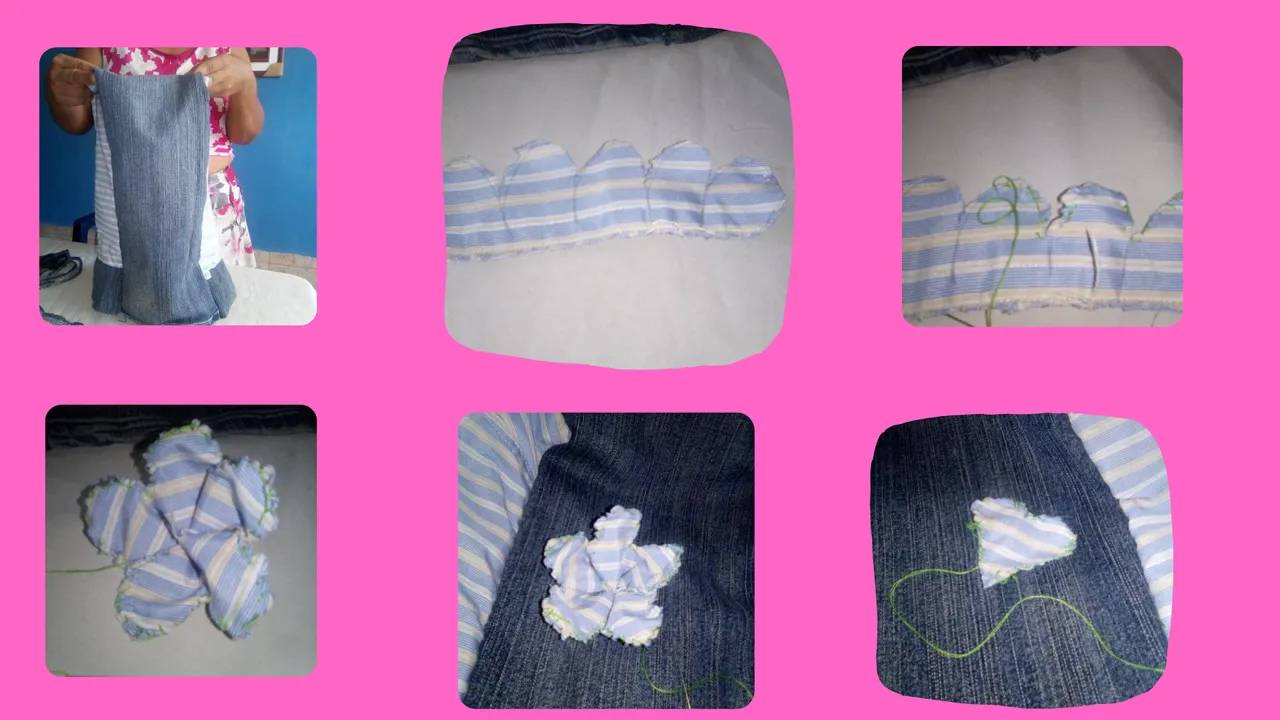
Así va quedando. Luego para decorar un poco se elaboro una pequeña flor de tela y un corazón. Se cosió alrededor de la flor y del corazón. Y así coser al forro de la licuadora.
This is how it looks like. Then to decorate a little bit, a small fabric flower and a heart were made. It was sewn around the flower and the heart. And so sew to the lining of the blender.
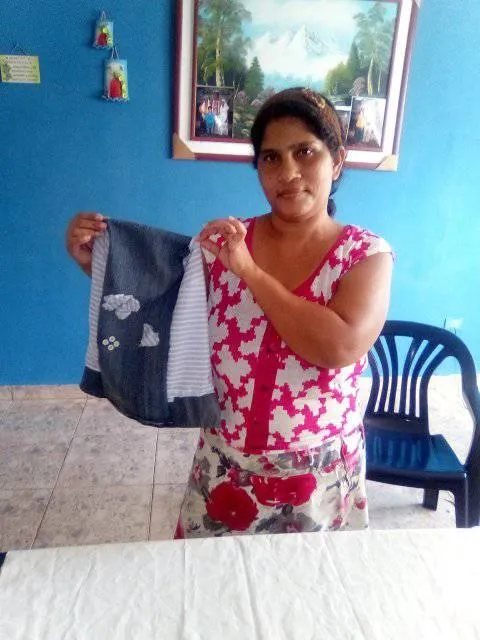
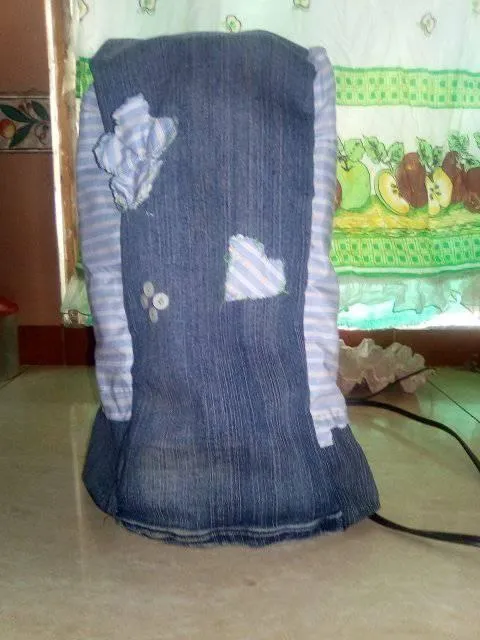
And here the final result, I hope you liked it and well see you in another publication.
All photos are my authorship and canva editing