Hello Hive
Been a christian that often times cover my hair in church a scarf or cap is a necessity and considering the fact that I can't wear the same outfit to church every Sunday I needed different varieties and matching scarf or cap colors for my various outfit.
For quite sometimes I didn't bother about my outfit and color combinations, but now that am a potential fashion designer and have to market my self, my presentation matters.
It also occurred to me that I cannot wear certain outfits of mine like a two different wine dress I made and another white outfits for over a year because they had no matching scarf.
Little did I know that I could make my own cap or scarf with different materials and color of choice and for the fact that this was very simple to do.
I scolded myself for procrastinating and also for not trying to make this earlier than now.
Today I made one out of the numerous matching colors I intend to make.
Before I venture into cutting and sewing, I like laying out patterns for whatever I want to make and just in case there is a mistake this can be corrected and easily noticed on the pattern so I did a layout of both the pattern and fabric.
For the purple velvet I wasn't just going go make a cap, I wanted some glittery embellishing, so I tried various arrangements of the accessories I have at home in this manner.
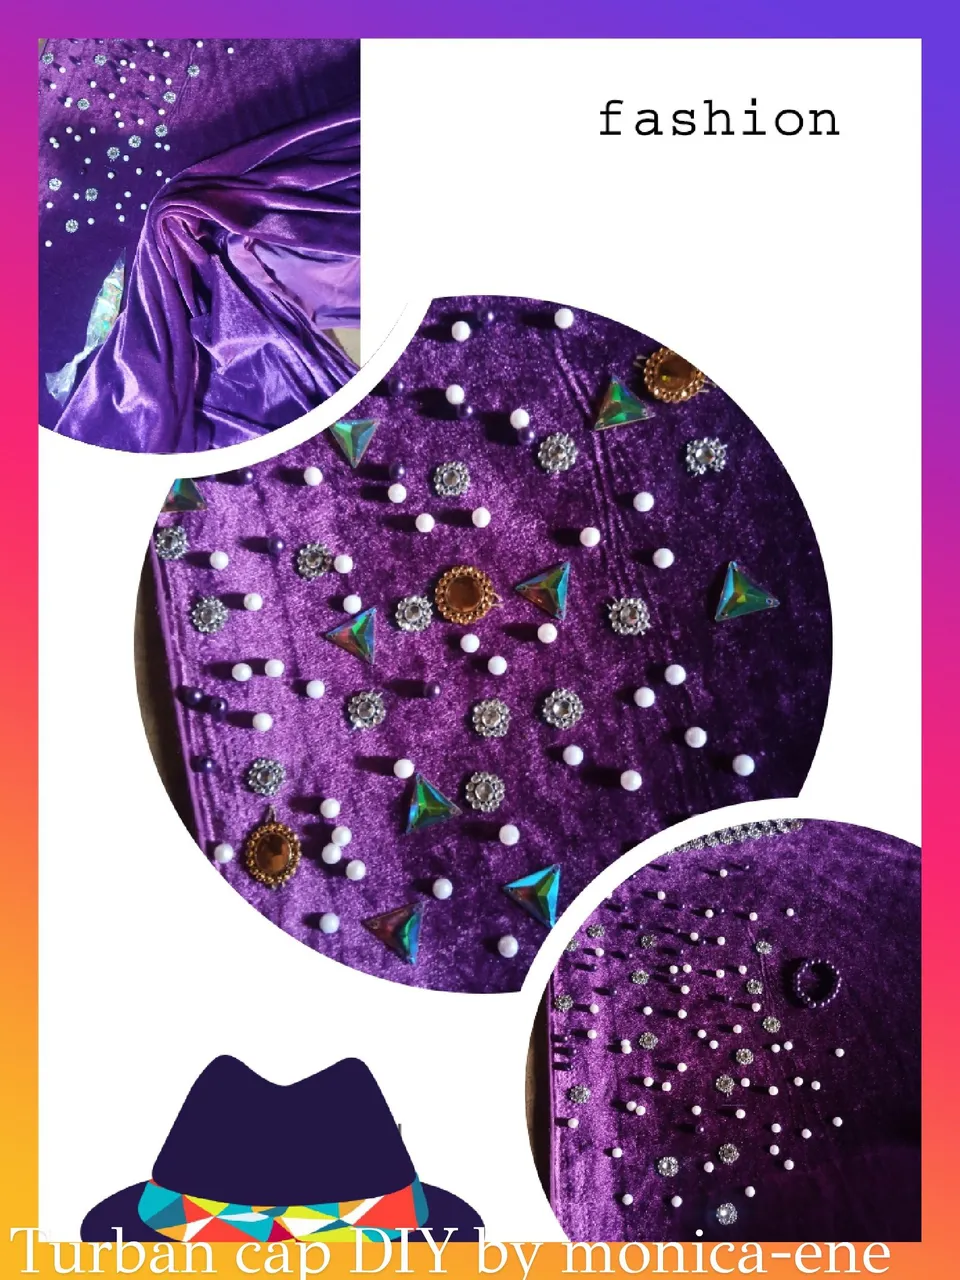
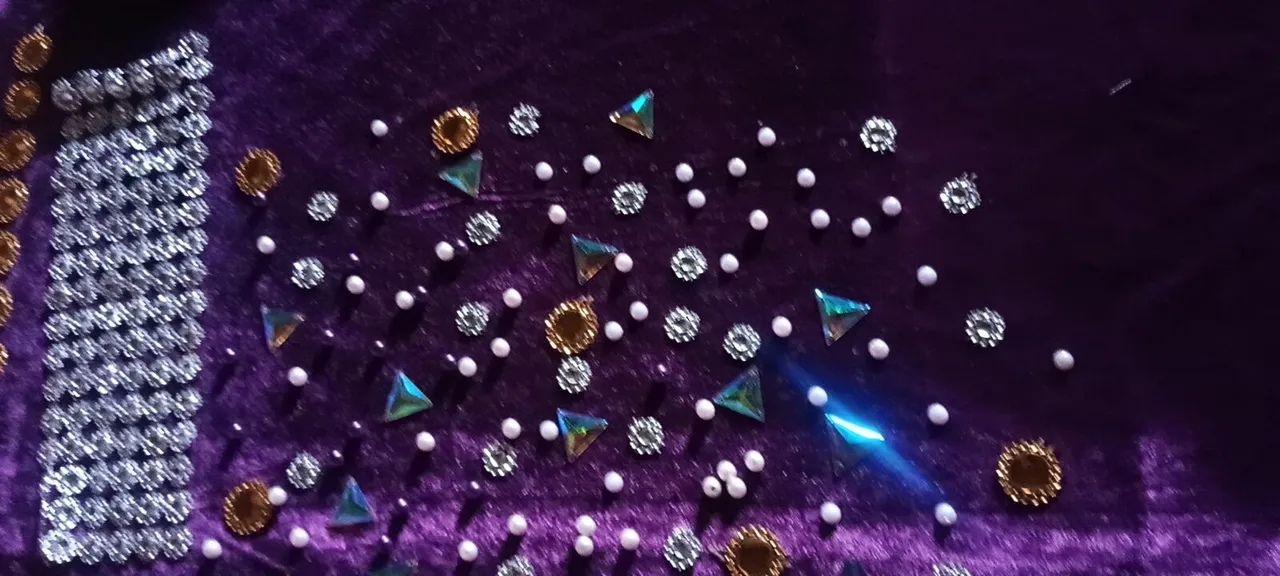
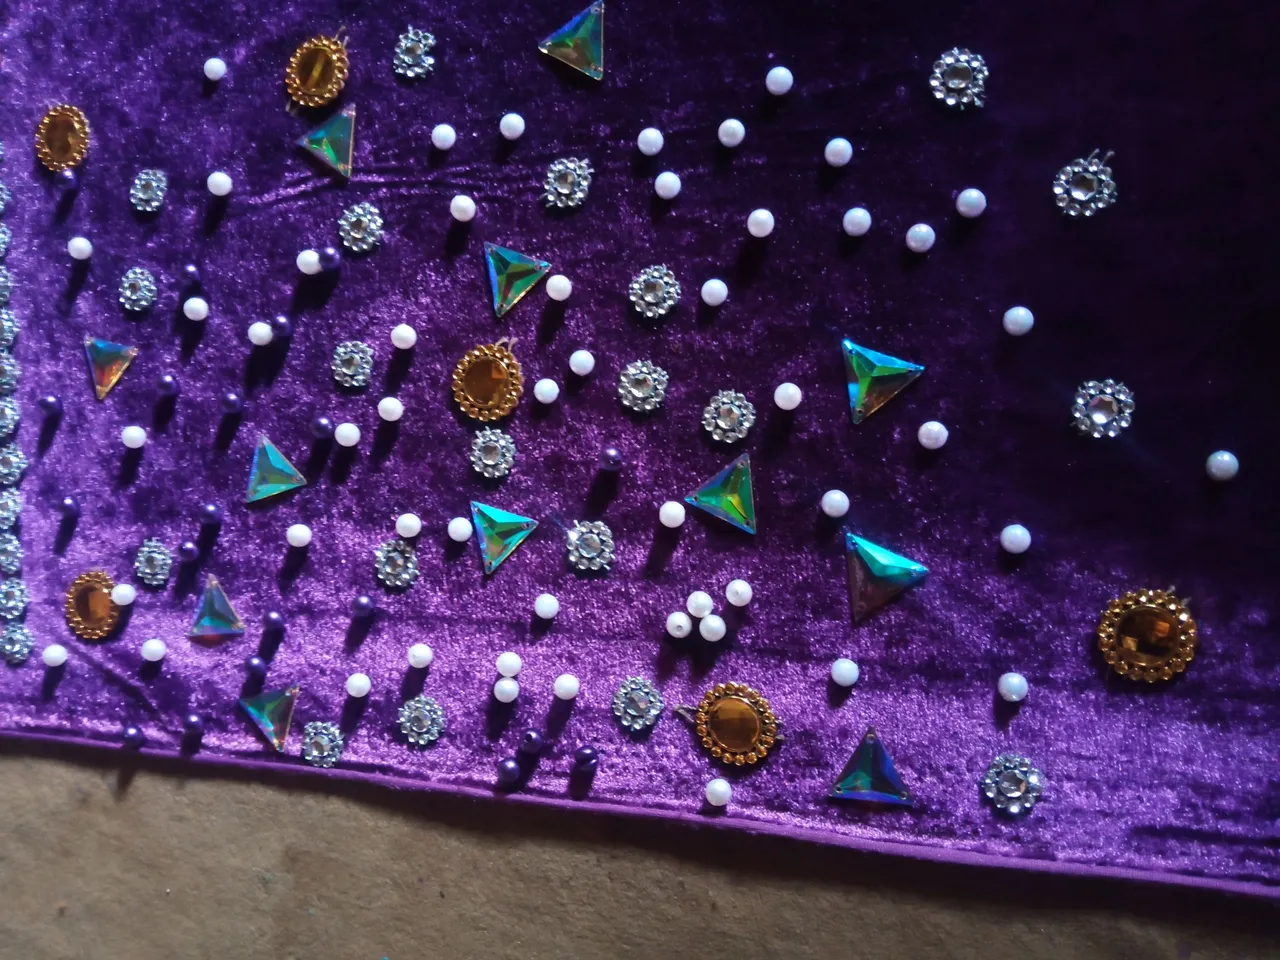
I had purple and white pearls picked and placed on different location with the gold and silver accessories in its own arrangements.
The combination of all this on the velvet was appealing.
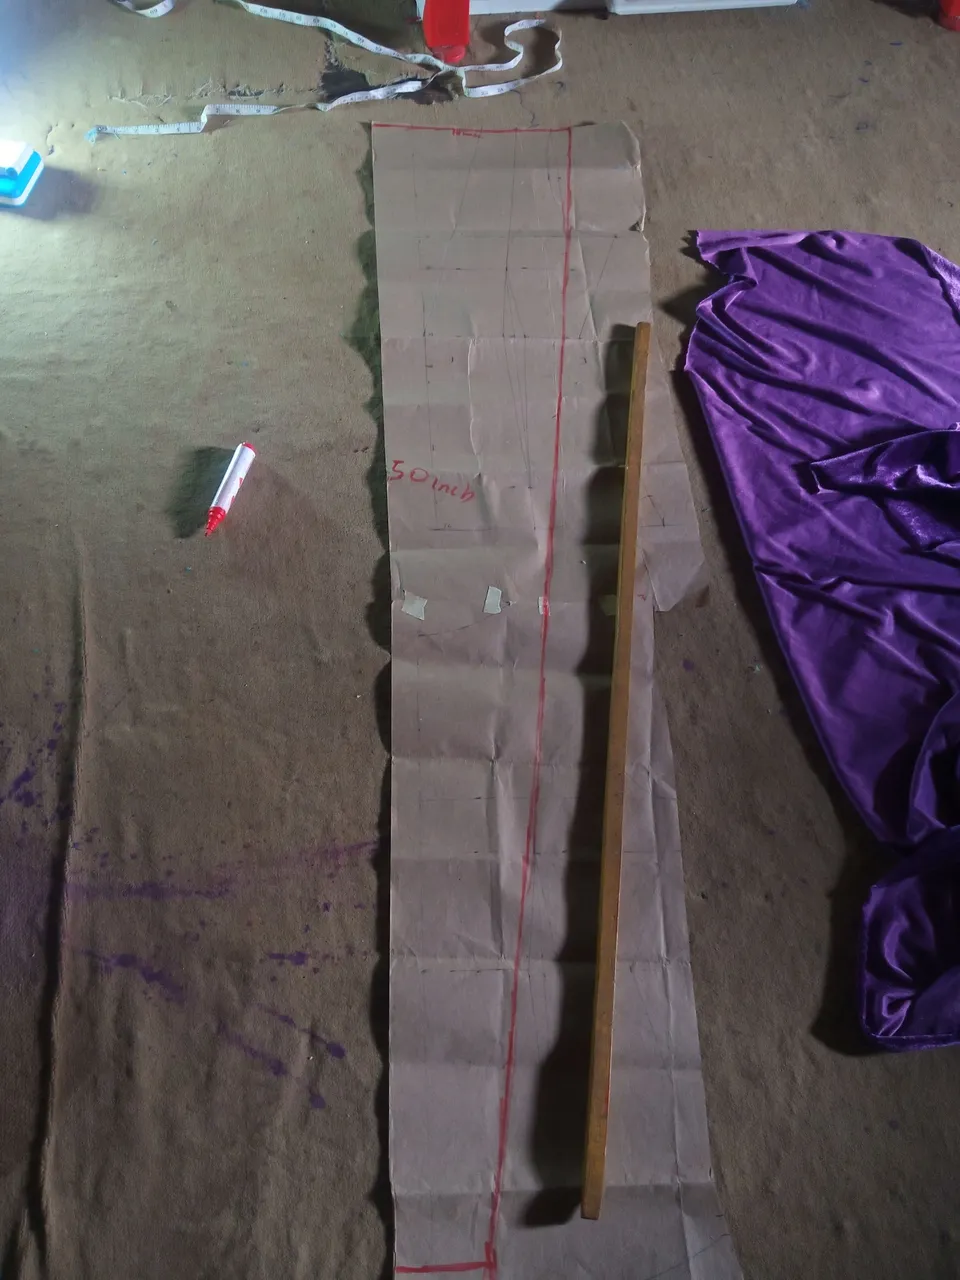
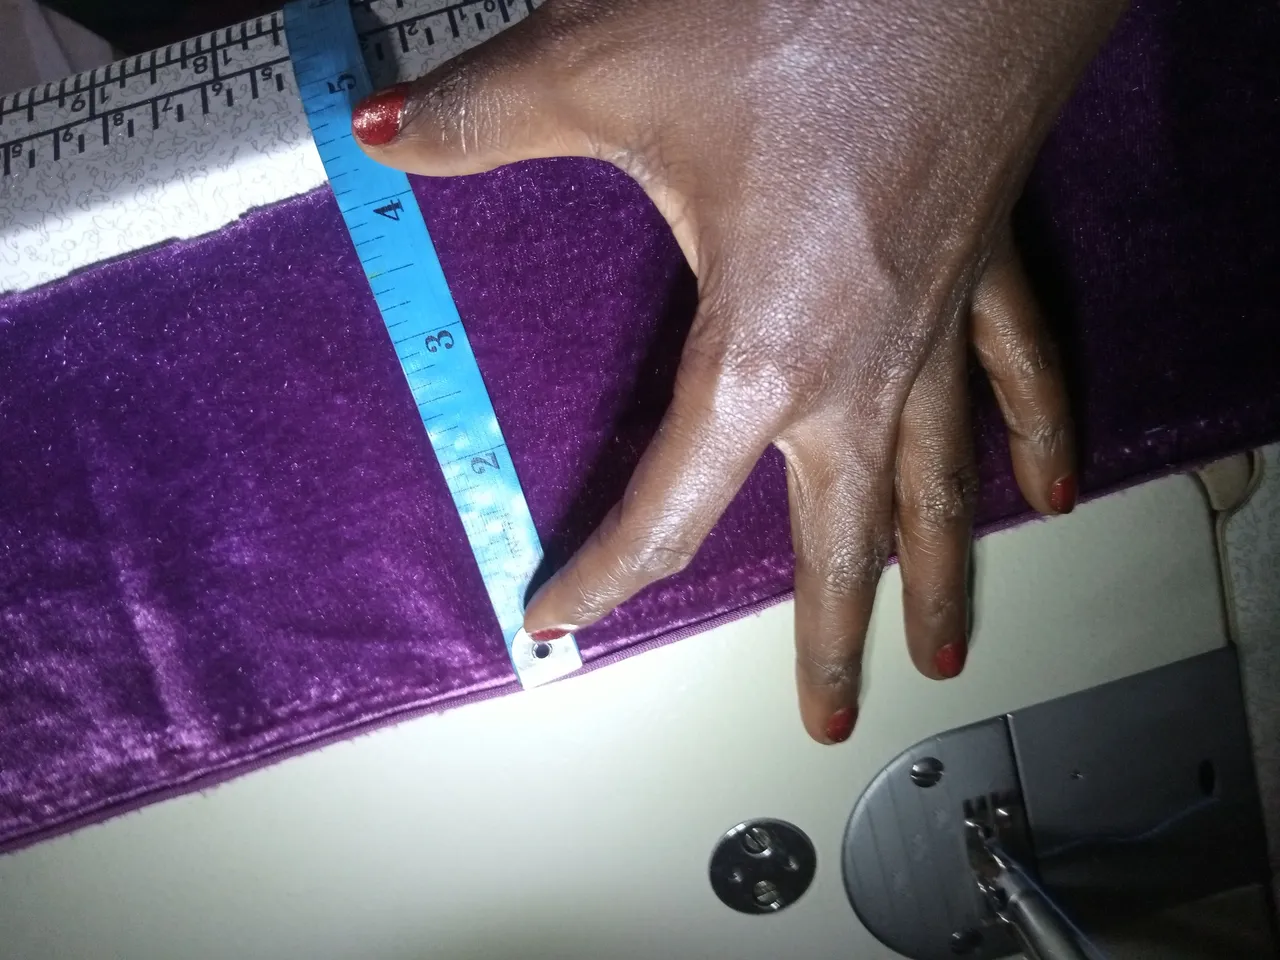
Next I made a paper pattern here.
10inches by 50 inches width anf length respectively.
At least 56 inches is needed for a cap so that one can wear and during tying it will go round the head twice
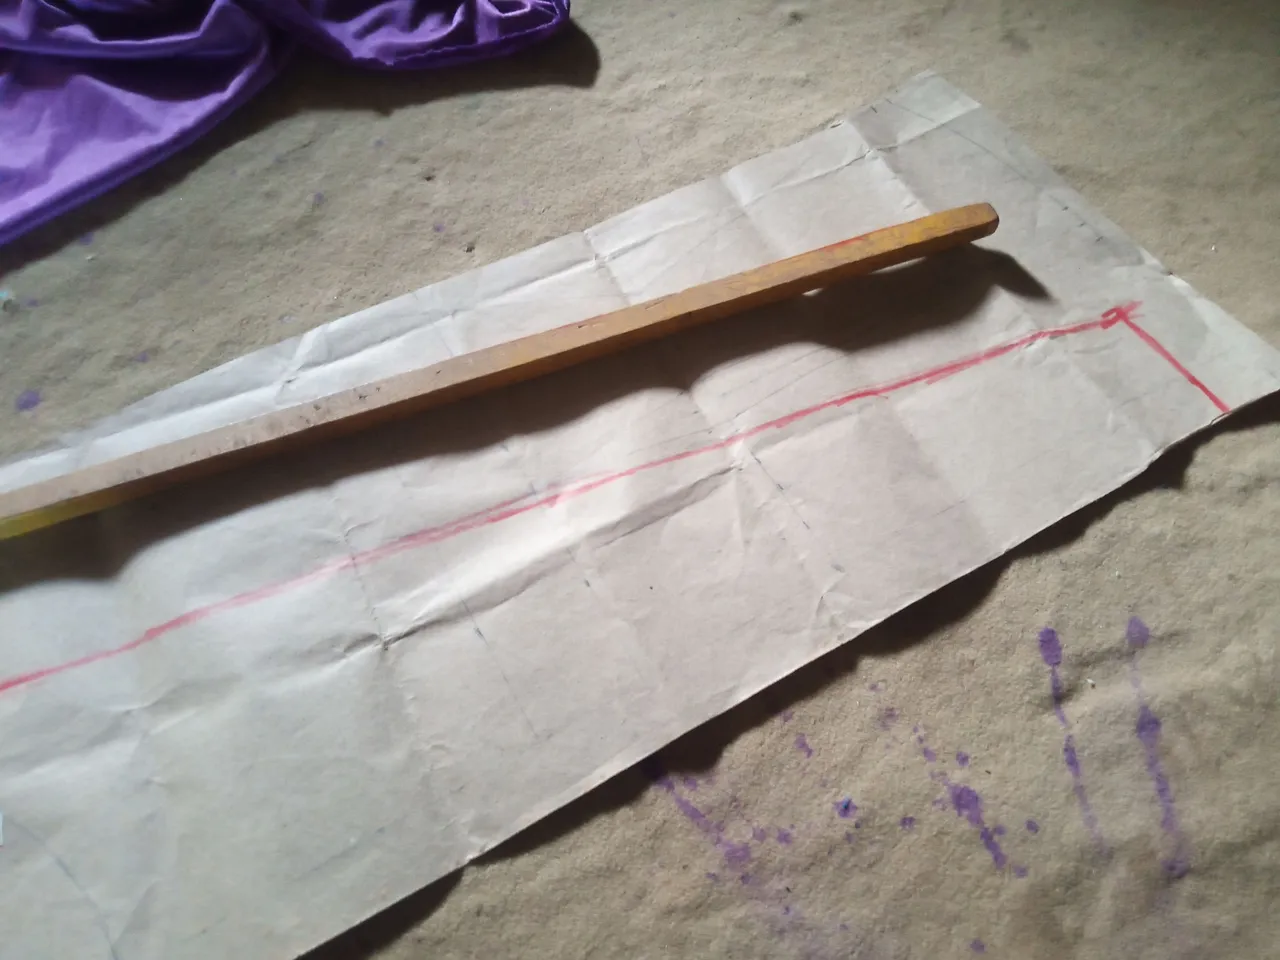

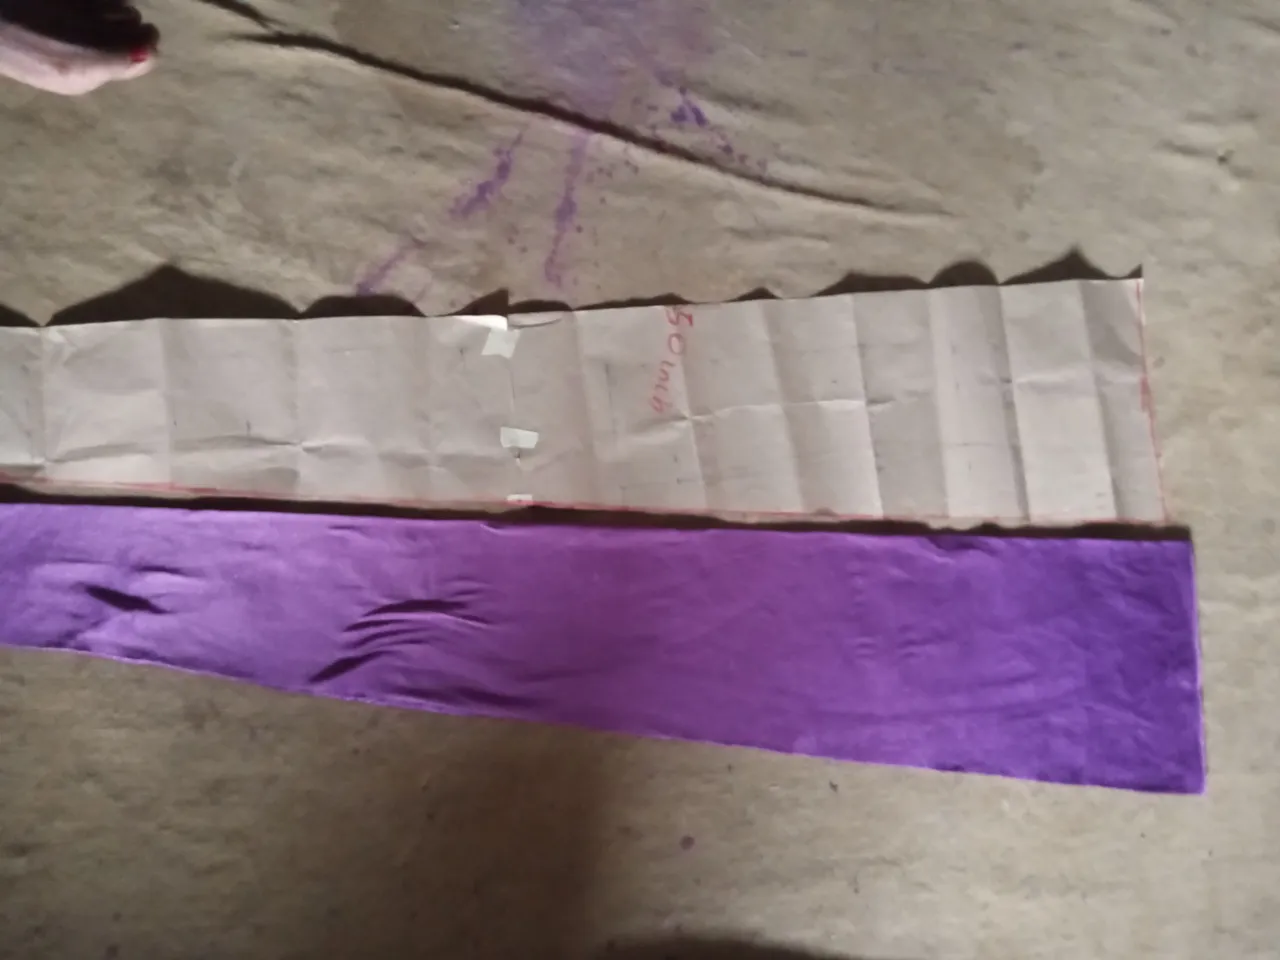
Next I placed the paper on the fabric and had it cut.
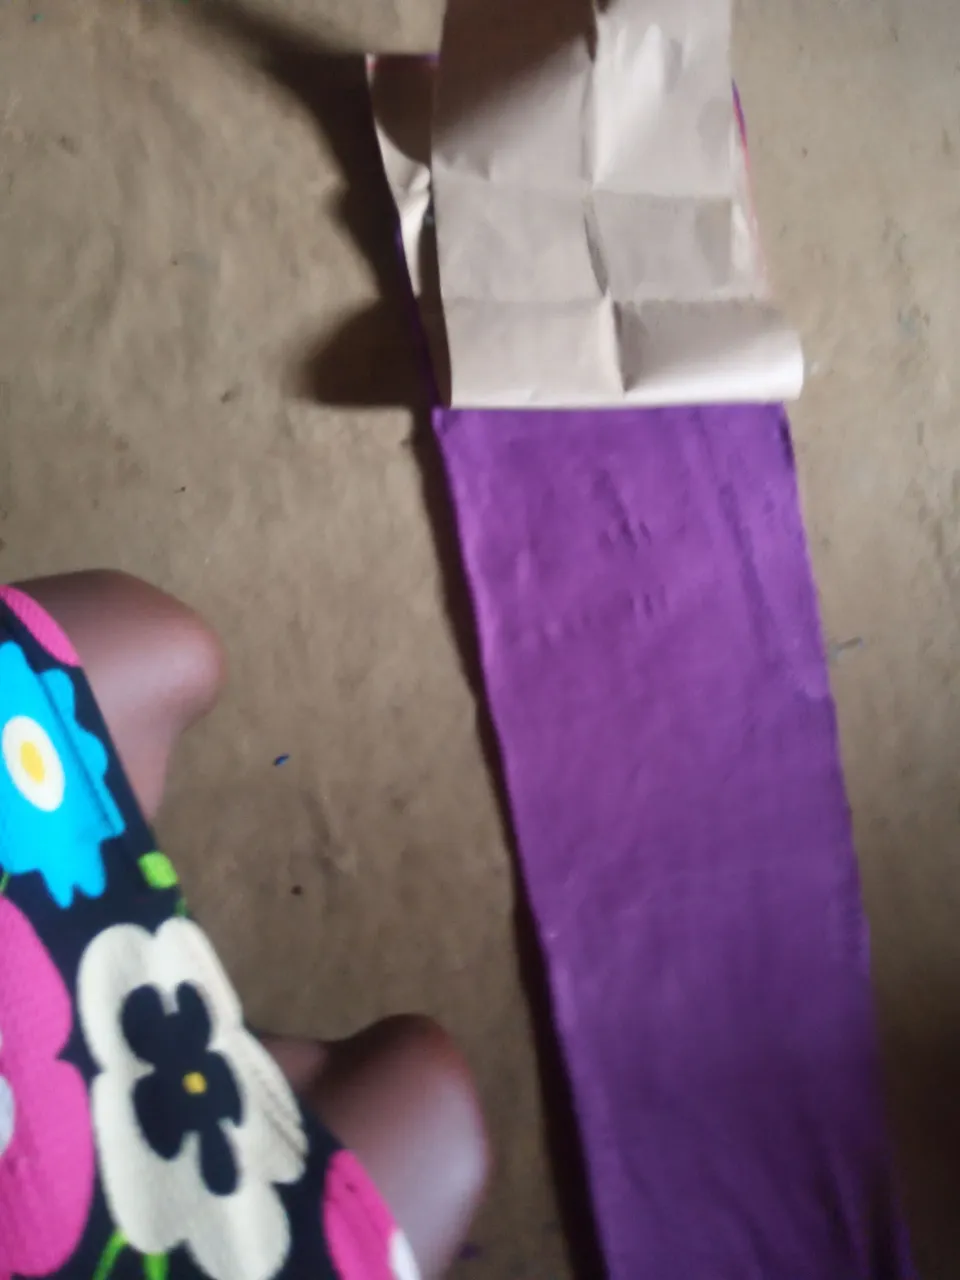
The band for this was 4inches width which will be folded and sewn into tow while the length was my head circumference of 23inches.
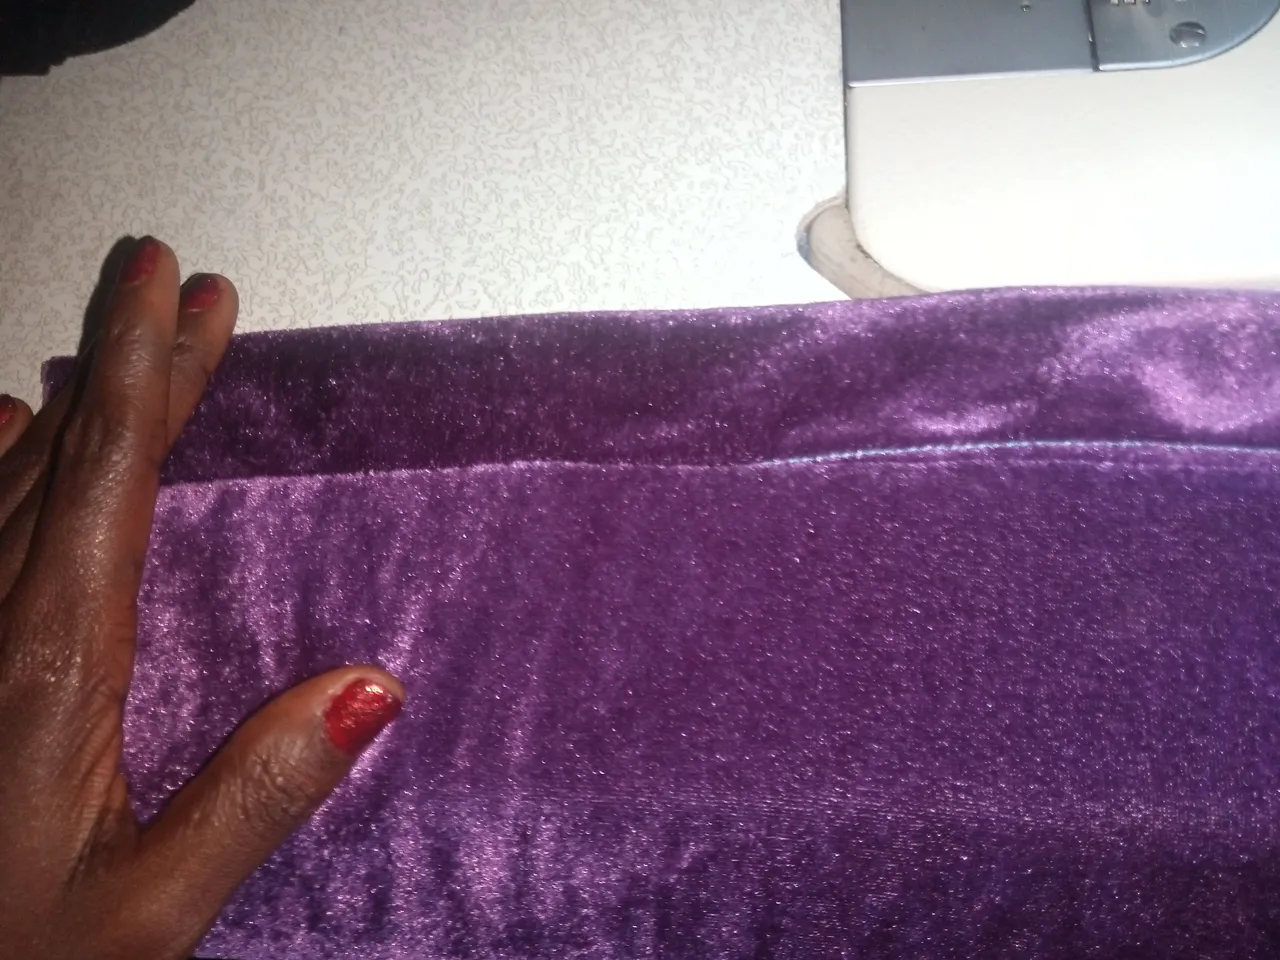
Nicely cut and joined with the cap into a closure.

The final step was for me to embellish this according to the design I earlier laid out with accessories but that will take much of a time and am too busy for that now.
I want an easier and faster method.
The stone and iron ones where I make different lovely patterns with ornamental stones and have an iron to melt them into the fabric.
This can be done in two ways its either I purchase a paper stone, something that carries an industrially designed stones temporary resting in a paper for easy transfer into fabrics or use a board grafted with different flower designs where I place in stones to mimic the flower of my choice before I transfer into the fabric and iron them in.
Now I tried the stone design here.
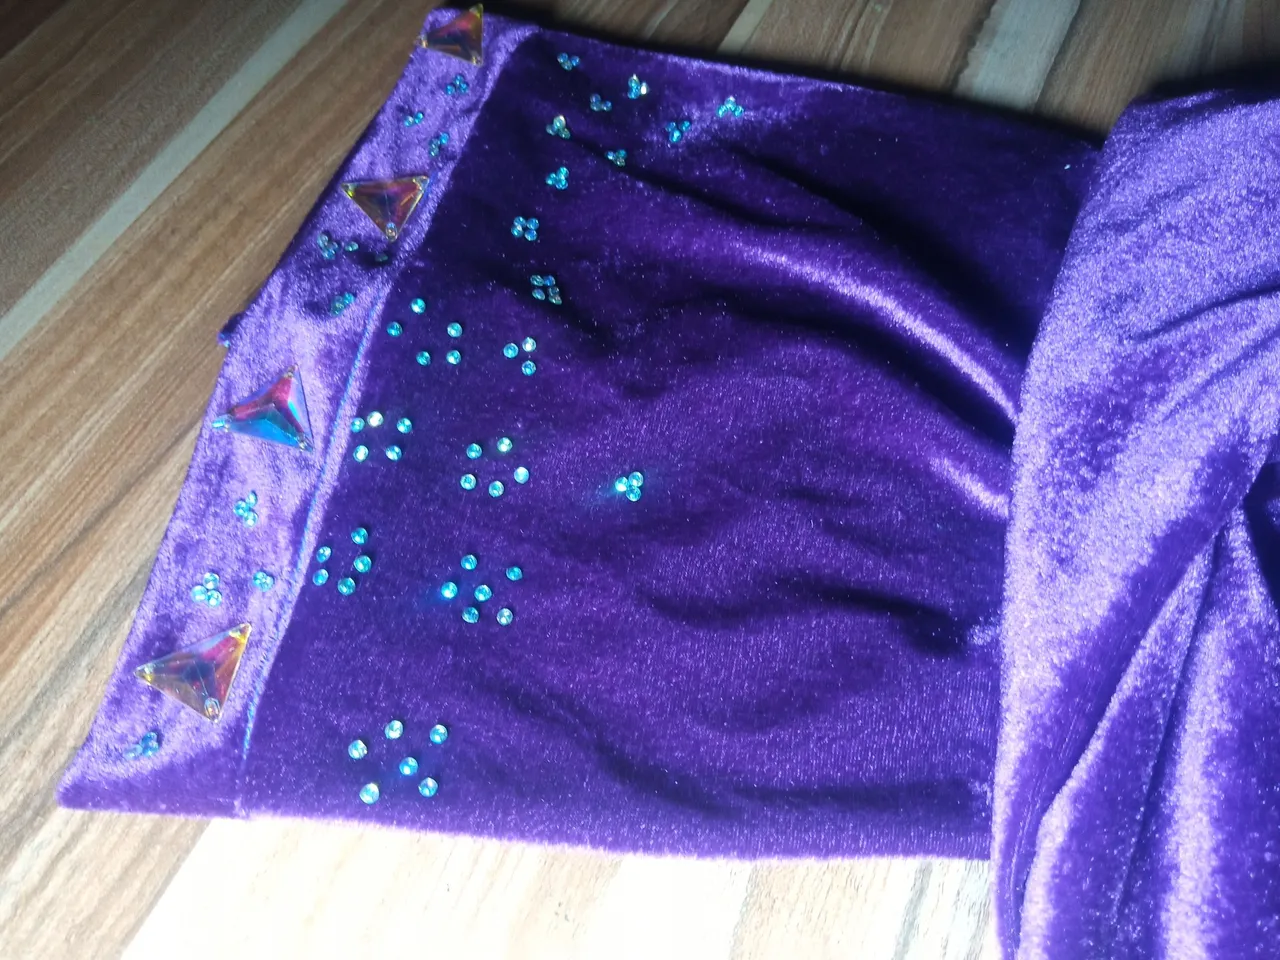
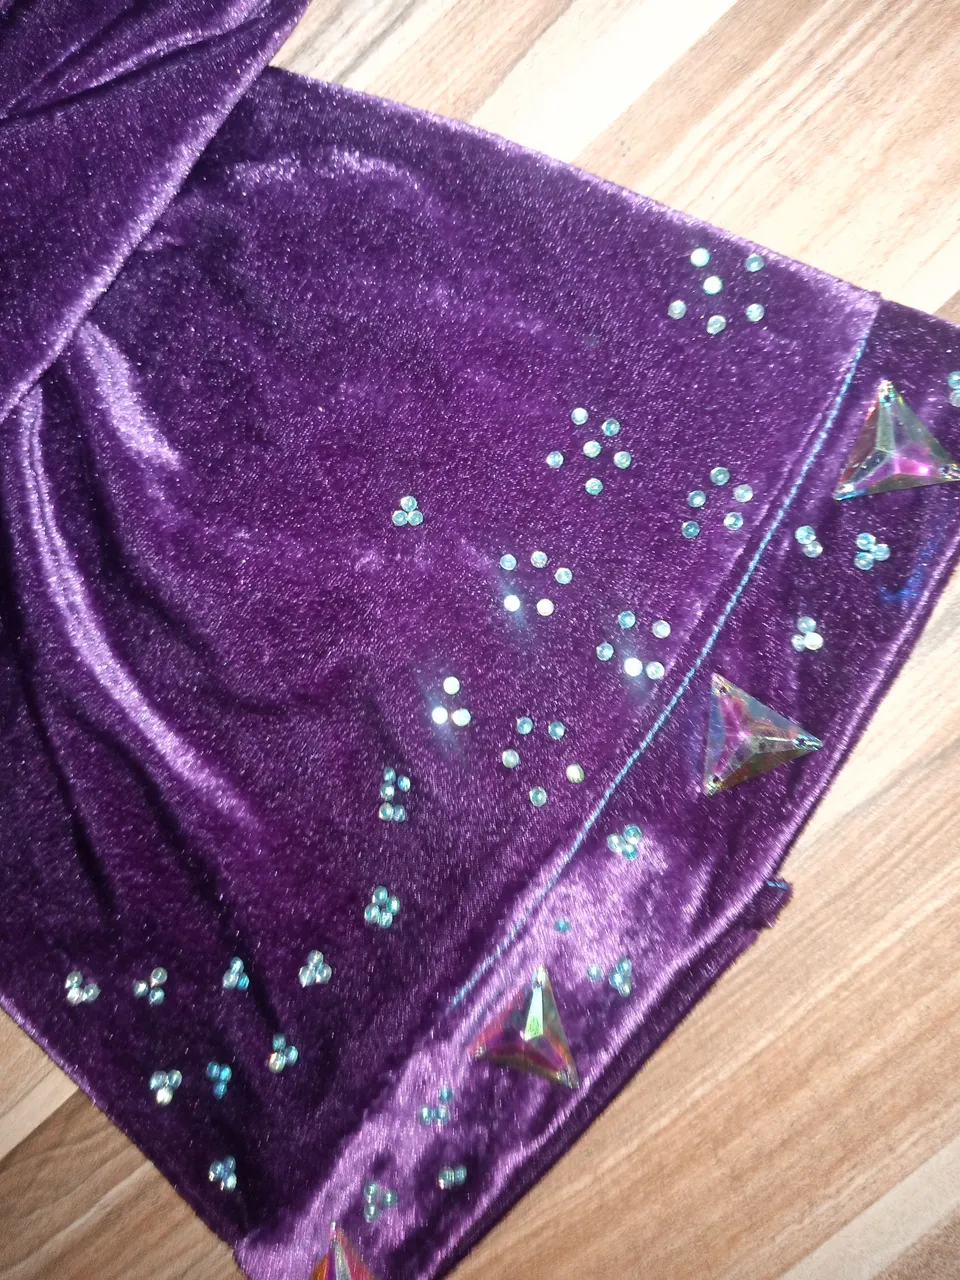

I kind of like this easy one but i don't have a paper stone neither do I have the design board, I will just wait for another 12 hours to purchase or borrow this from a fellow designer to bring it here and show us how to make good use of those piece.
I hope you like the outcome of my cap.