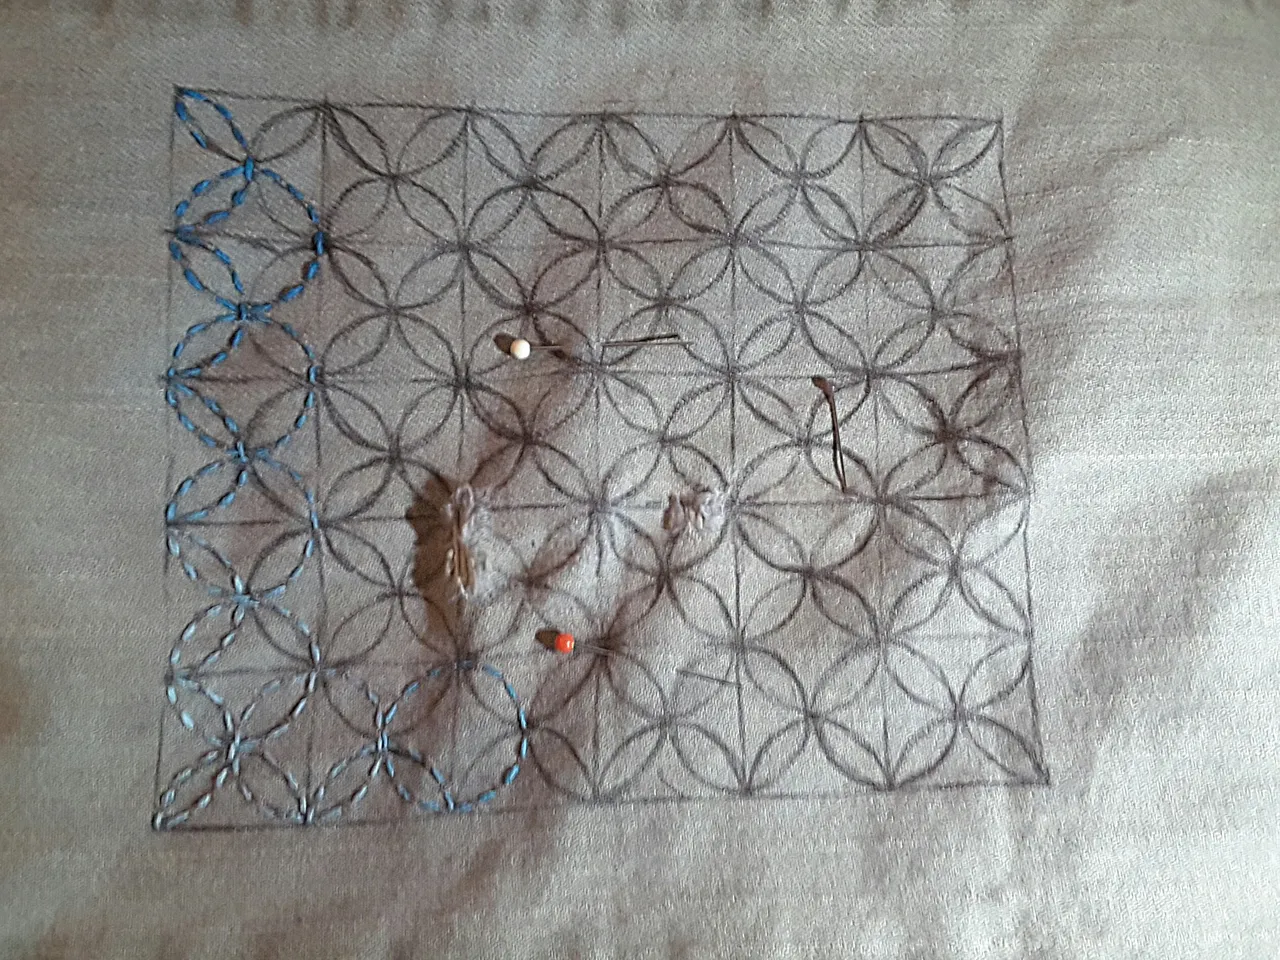
I've gotten a few more pairs of jeans mended, experimenting with different approaches to visible mending. This last pair was with a sashiko embroidery pattern again. I made sure to mark a guidance grid this time, particularly as it was a more complex pattern than my first attempt.
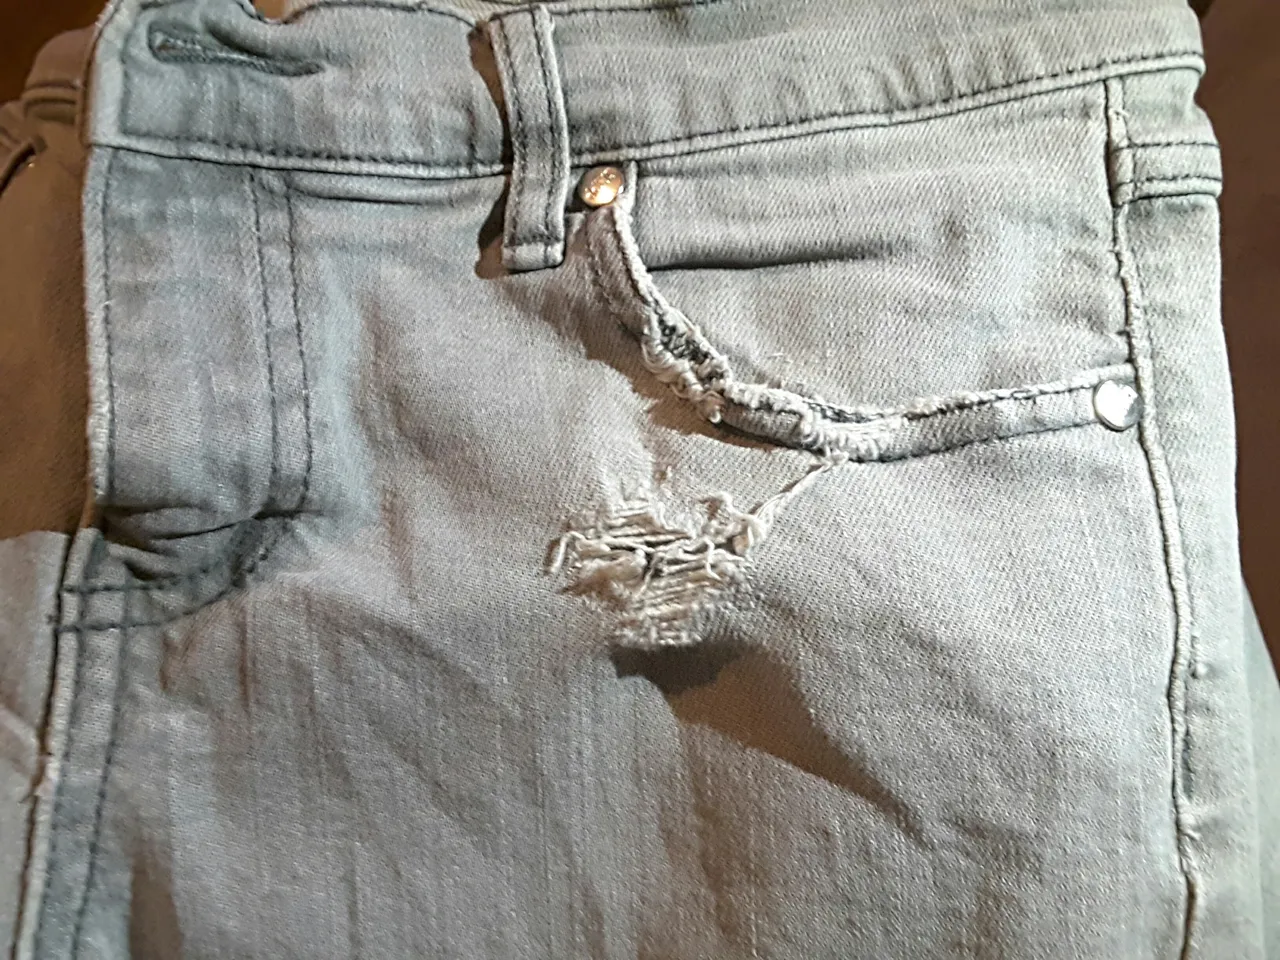
These jeans were developing holes in a few places and the edges of all the pockets were fraying. They are also a little shorter than I usually like to wear my jeans, so I wanted to see if I could do something about that while I had my sewing supplies on them.
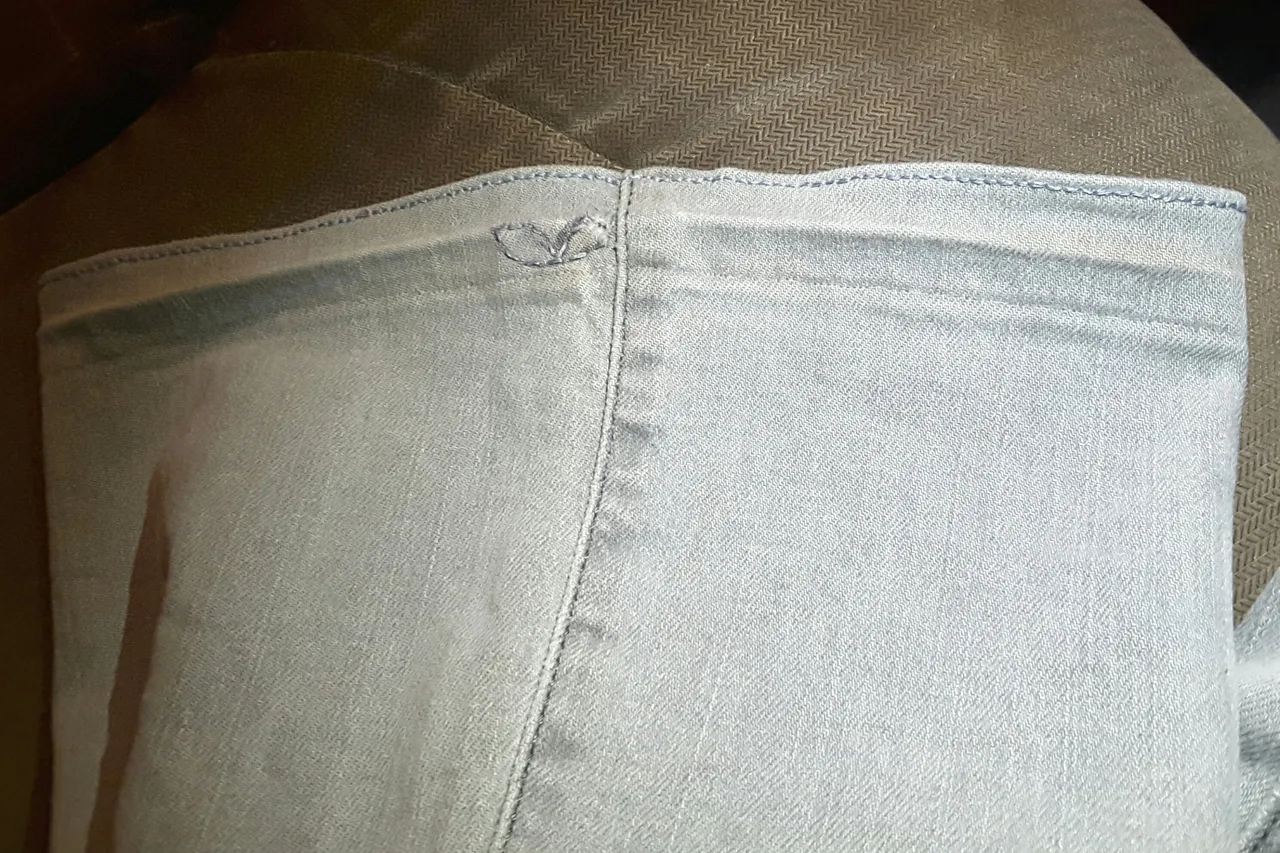
I unpicked a previous patch on the knee and while I was at it did the leg hems as well, in anticipation, but then decided that adding length in a different fabric didn't appeal to me. It was obvious that these had been shortened by their previous owner (I got them second hand) and they'd done a double fold on the hem, so I ended up deciding to just lower the hem that was there and re-stitch at the first fold, giving me an extra centimetre back in length. There was a bit of wear on the inside hem which left me with a small hole to repair, so I tried to do that by matching to the main embroidery pattern. To be honest it looks a bit disjointed, but I don't think anyone will be looking that closely.
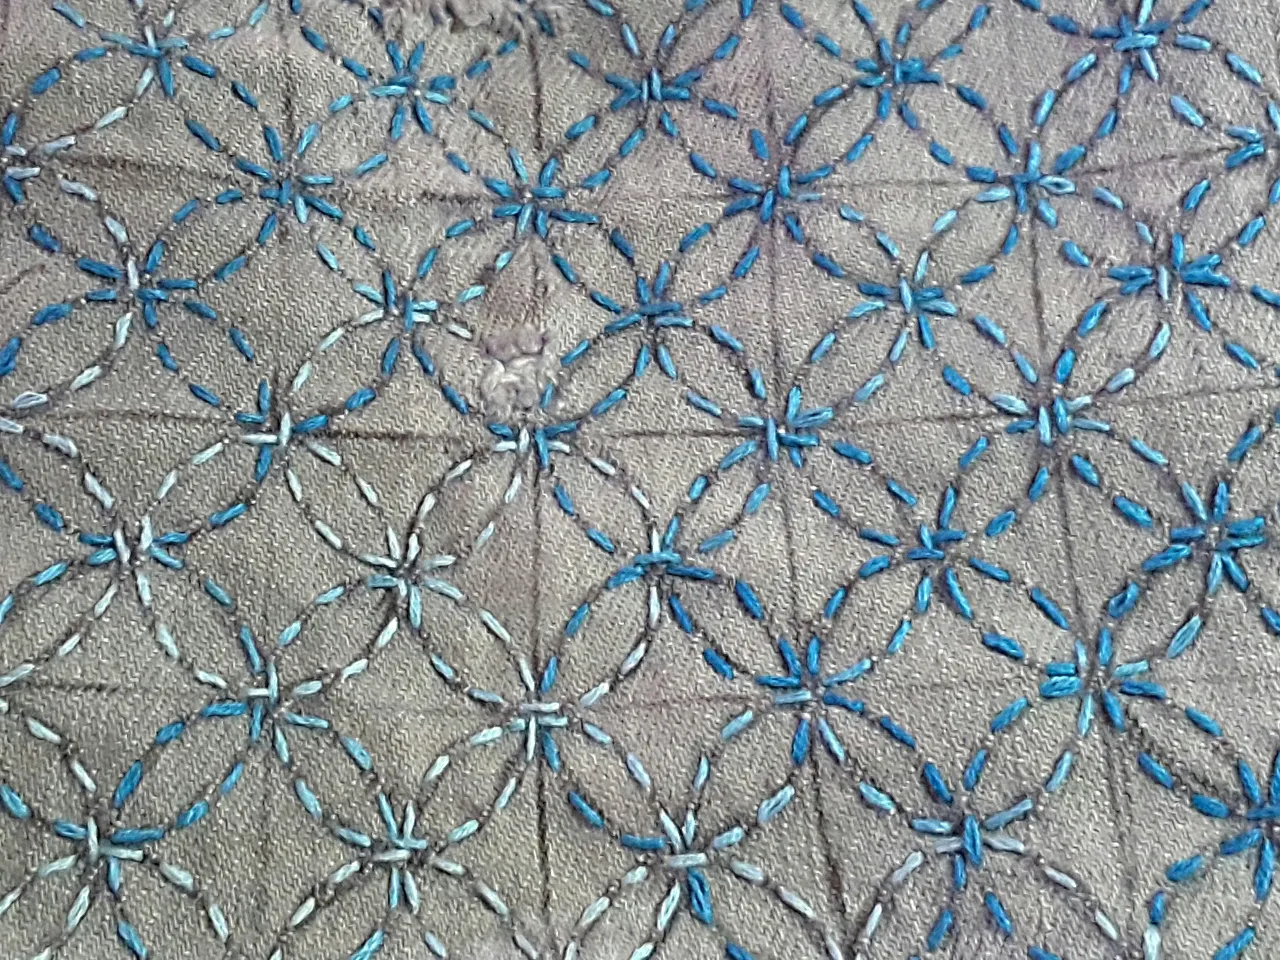
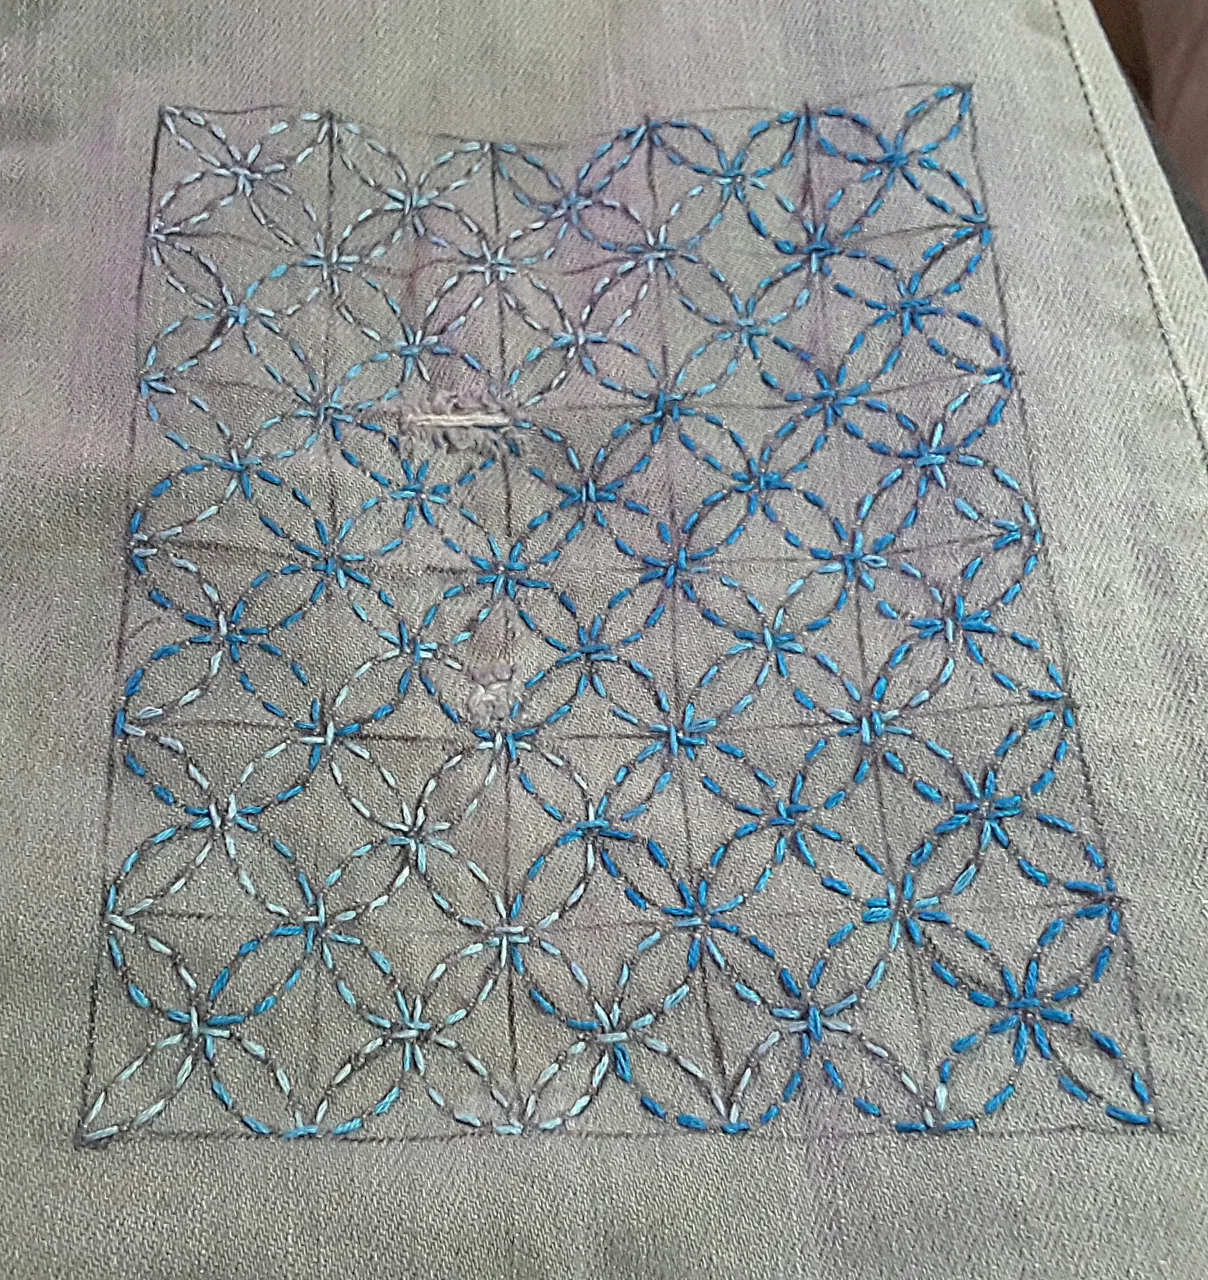
I went for the patch behind the holes again, drawing out a grid with one inch (2.5cm) squares with four circles meeting at the centre of each square. I've used a ballpoint pen to mark the grid, which will fade after the first wash and come out completely after one or two further washes. The stitching is just on the circles, forming a pattern which can either look like circles interlinking or four petalled flowers.
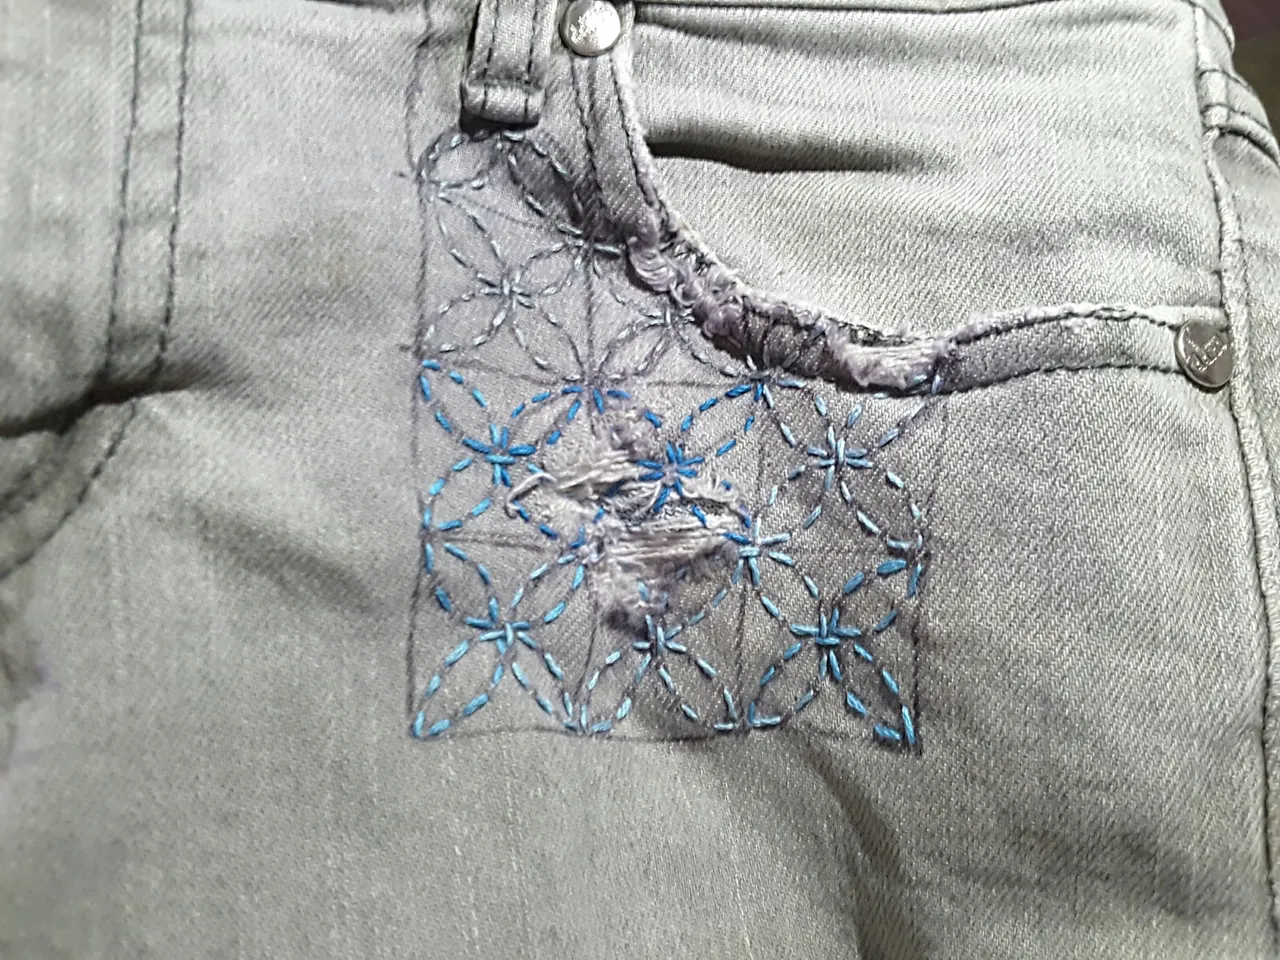
I have a box of embroidery thread saved from old projects or salvaged from other places like feed bags. I felt like turquoise/aqua colours would fit the grey of the denim and hoped that a hank of graduated turquoise would be enough to complete everything. It completed the main section at the knee...
...but I ran out towards the end of the section at the front pocket and ended up making do with a pale blue/grey too finish it off.
Ideally I'd have liked a paler turquoise fabric to cover the frayed pocket edges, but my hunt through my fabrics only yielded a deeper turquoise. The pockets at the back were straight forward.

The ones at the front had a curve which meant as I brought the fabric over it required some pleating.
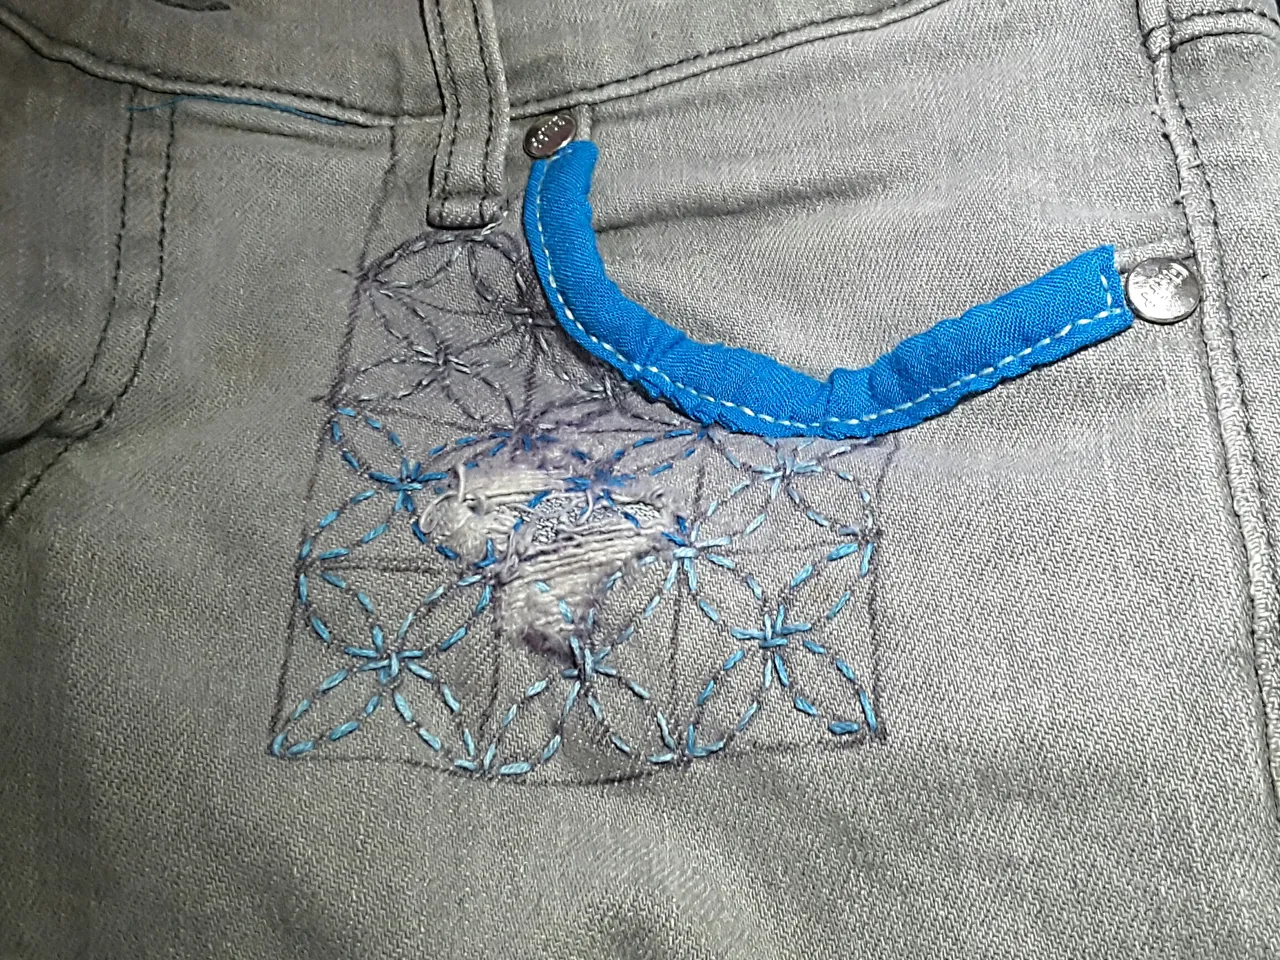
I wasn’t overly happy with it, so I did it in reverse for the other side, taking the pleating to the inside of the pocket, out of sight.
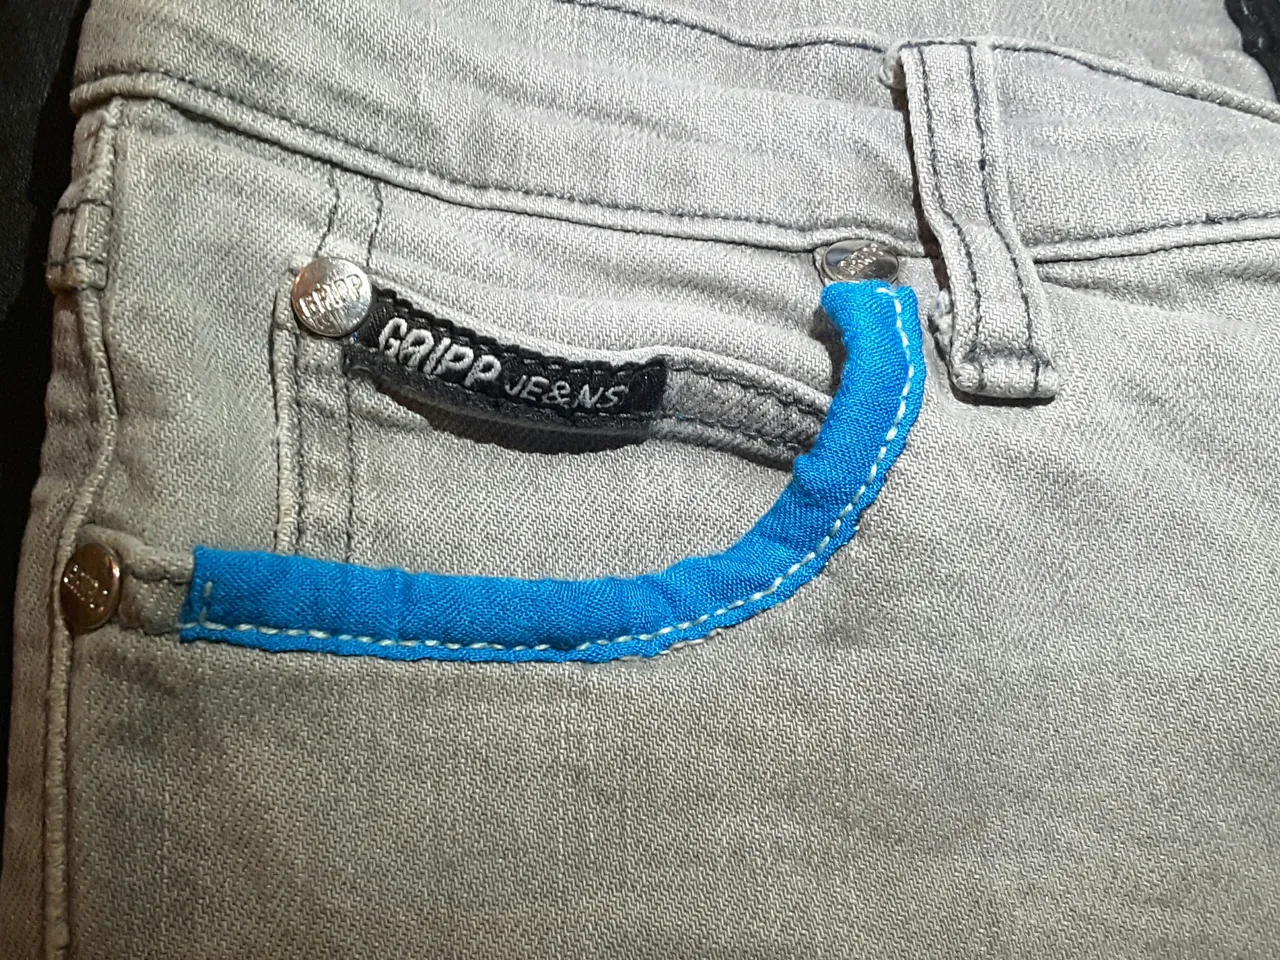
While I prefer the second attempt, I don't think the difference is very obvious unless you're looking close up and I'd hope no-one would be studying my crotch area that closely...I'm not redoing the first one, anyway; it was fiddly enough the first time around!