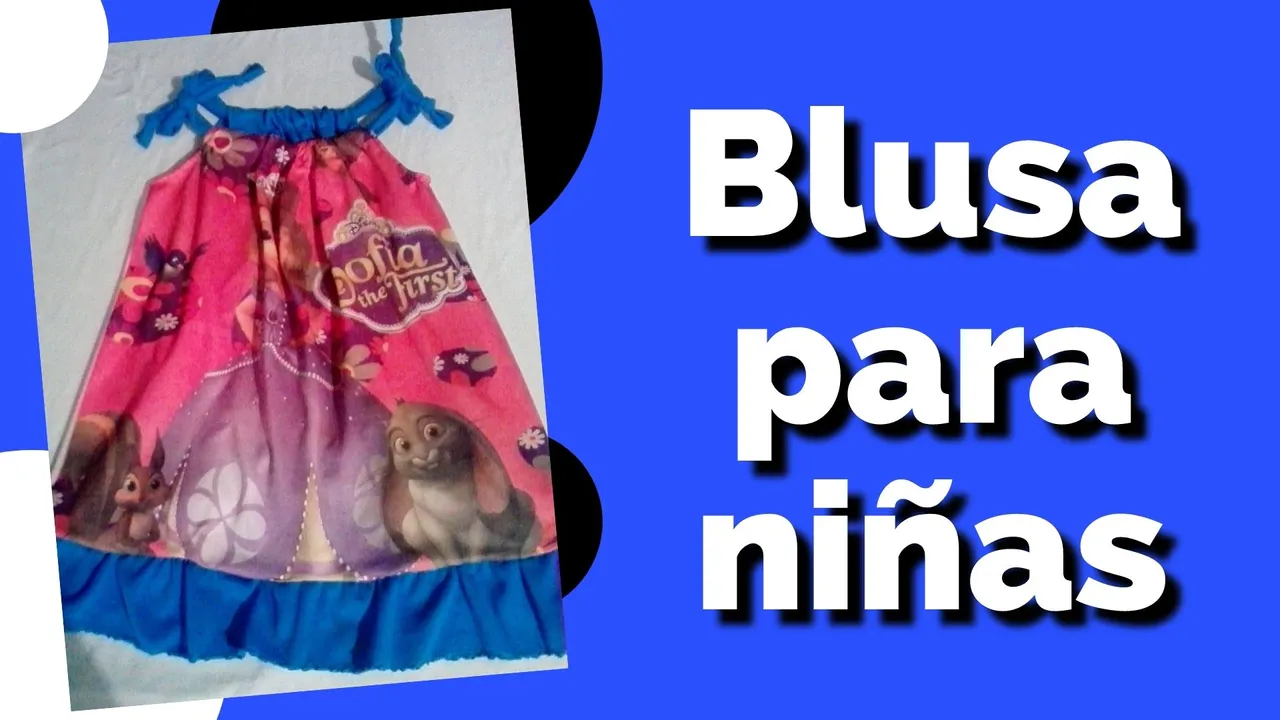
El día de hoy les quiero mostrar como confeccione una blusa para mi hija con un vestido que ya no lo usaba, le quedaba pequeño.
Vamos al paso a paso.
Hello my beautiful family of this community, happy to be here again with you, I am pleased to share new ideas with my friends who love sewing, reusing a girl's dress in a beautiful blouse.
Today I want to show you how I made a blouse for my daughter with a dress that she no longer wore, it was too small for her.
Let's go step by step.
Español
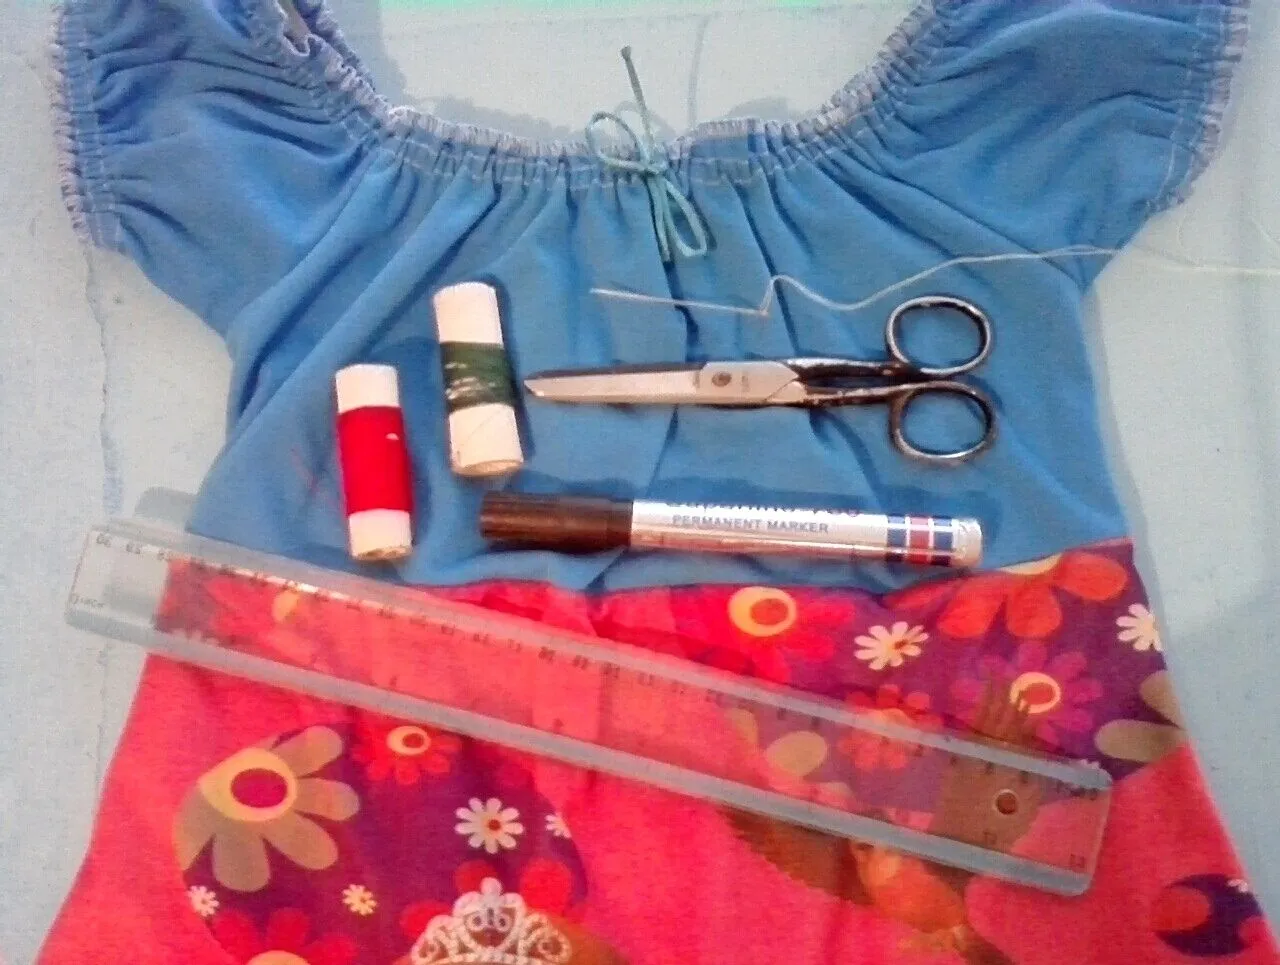
Materiales:
- Un vestido usado para reutilizar.
- Hilo azul y rojo.
- Aguja.
- Tijera.
- Marcador.
- Regla.
English
Materials:
- A used dress to reuse.
- Blue and red thread.
- Needle.
- Scissors.
- Marker.
- Ruler.

Español
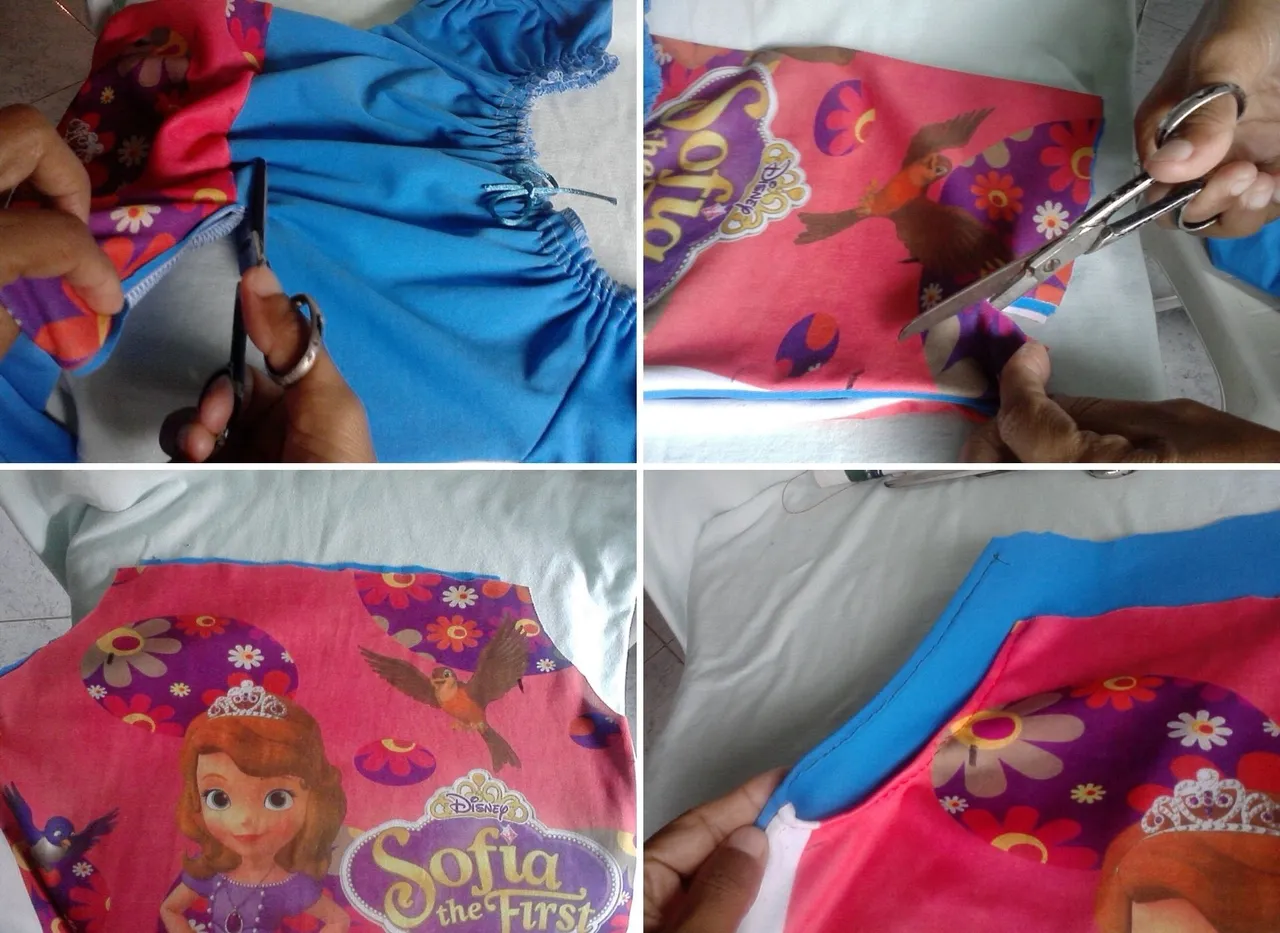
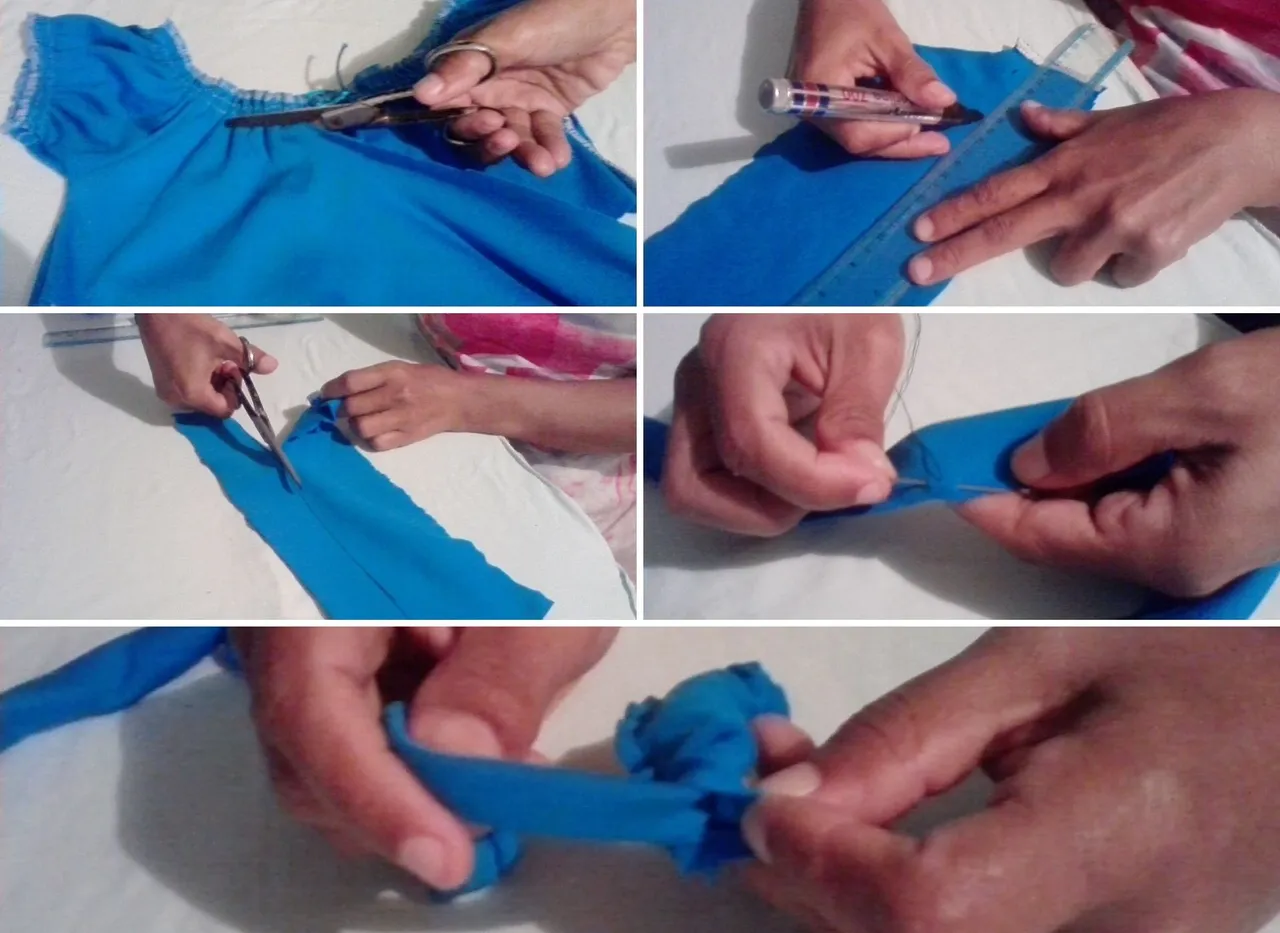
Paso 1:
- Cortamos las parte de arriba del vestido, luego doblamos en dos y le realizamos un corte semicircular entre los brazos, después lo cosemos.
English
Step 1:
- We cut the upper part of the dress, then we fold it in two and make a semicircular cut between the arms, then we sew it.
Español
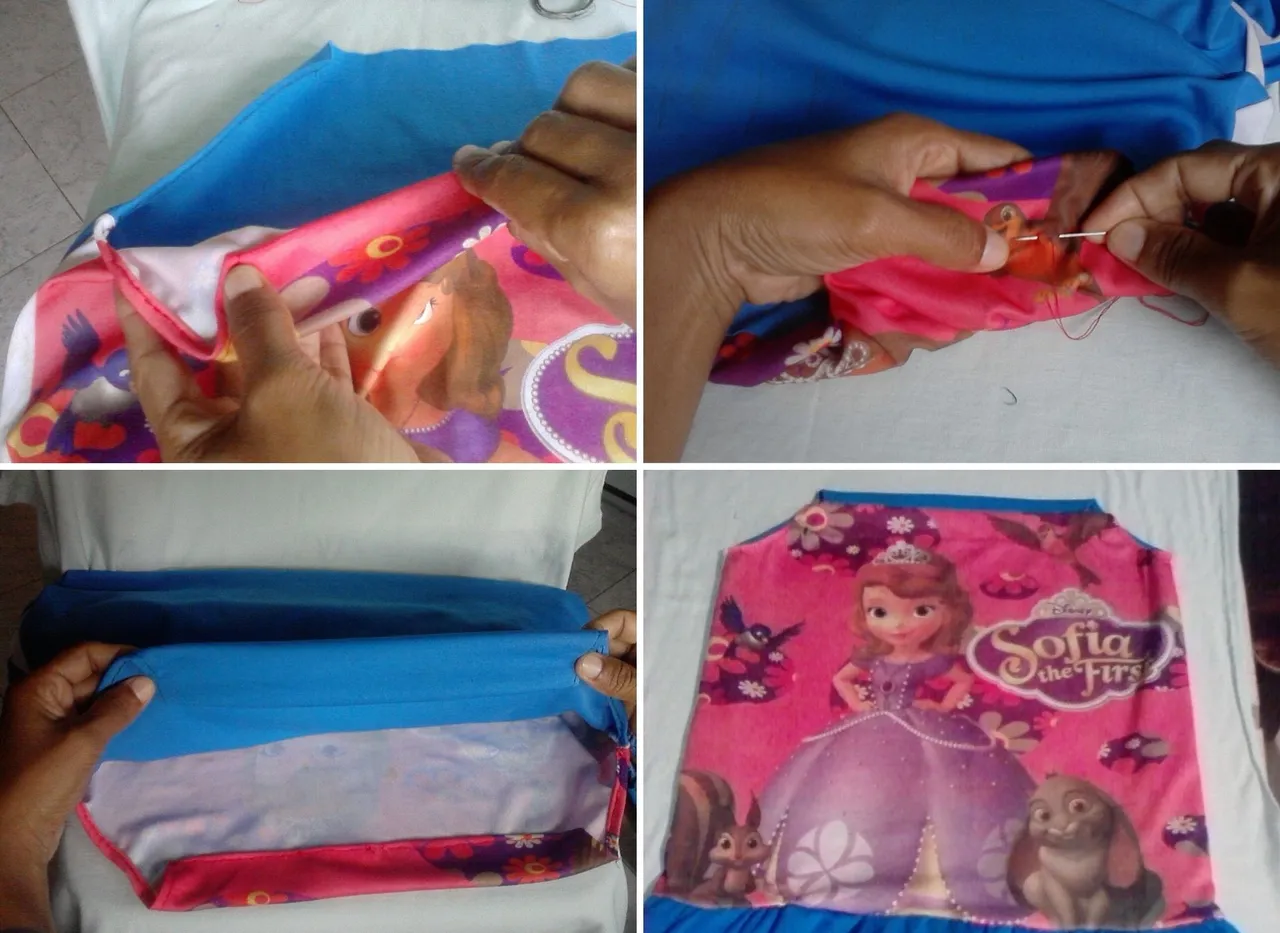
Paso 2:
- Ahora le hacemos un dobles de 3 cm hacia dentro, en la parte frontal y la cosemos, realizando el mismo proceso con la parte posterior.
English
Step 2:
- Now we make a 3 cm fold inward, in the front part and sew it, doing the same process with the back part.
Español
Paso 3:
- Seguidamente con la parte de arriba del vestido, marcamos, recortamos y cosemos 2 tiras de 6 cm de ancho x 60 cm de largo.
English
Step 3:
- Next with the top of the dress, we mark, cut and sew 2 strips of 6 cm wide x 60 cm long.
Español
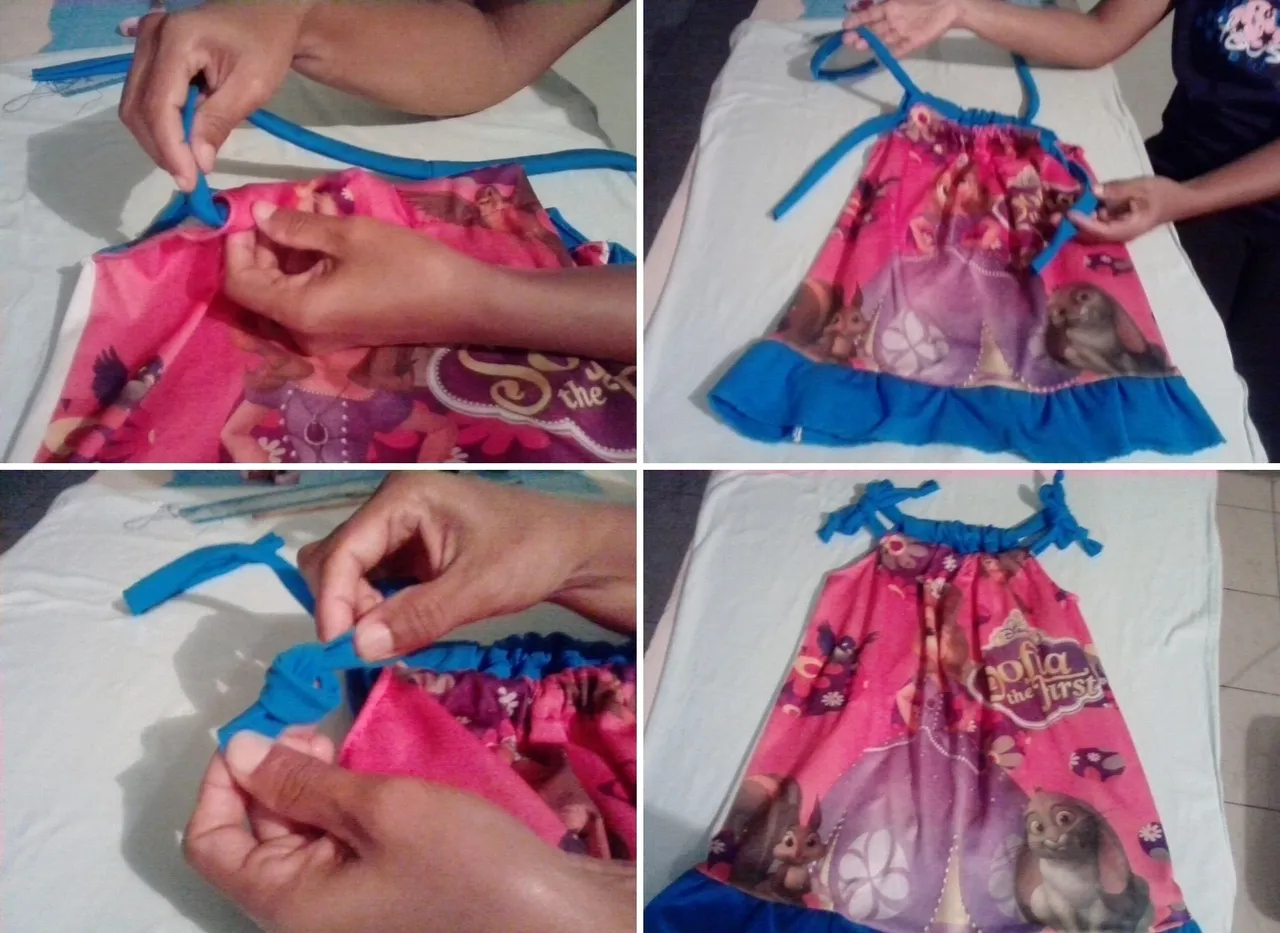
Paso 4:
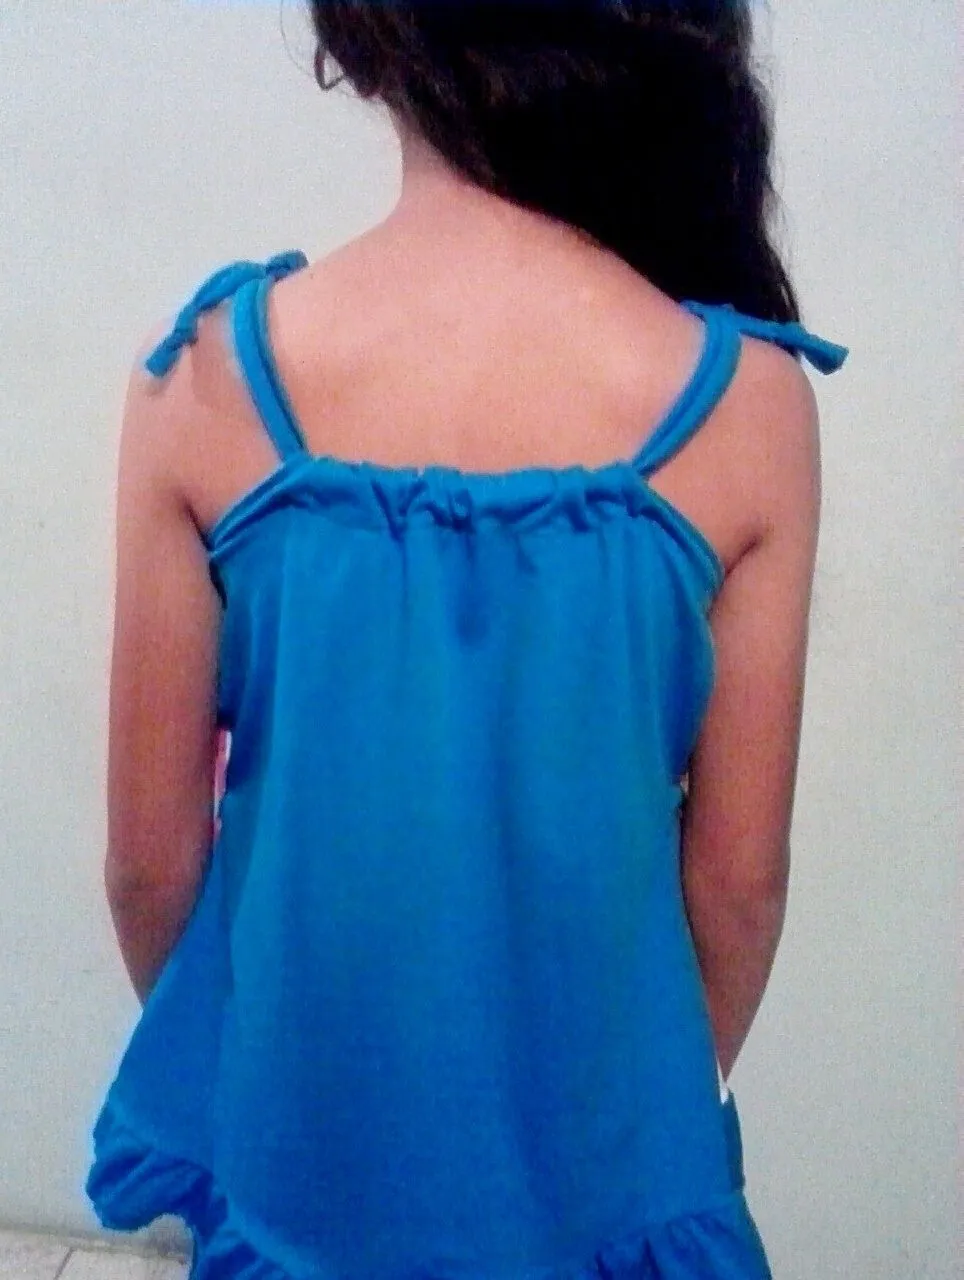
- Luego volteamos la tira hacia el lado derecho, la introducimos por ambos orificios adelante y atrás, haciendo un nudo en cada punta de la tira.
English
Step 4:
- Then we turn the strip to the right side, insert it through both holes in the front and back, making a knot at each end of the strip.
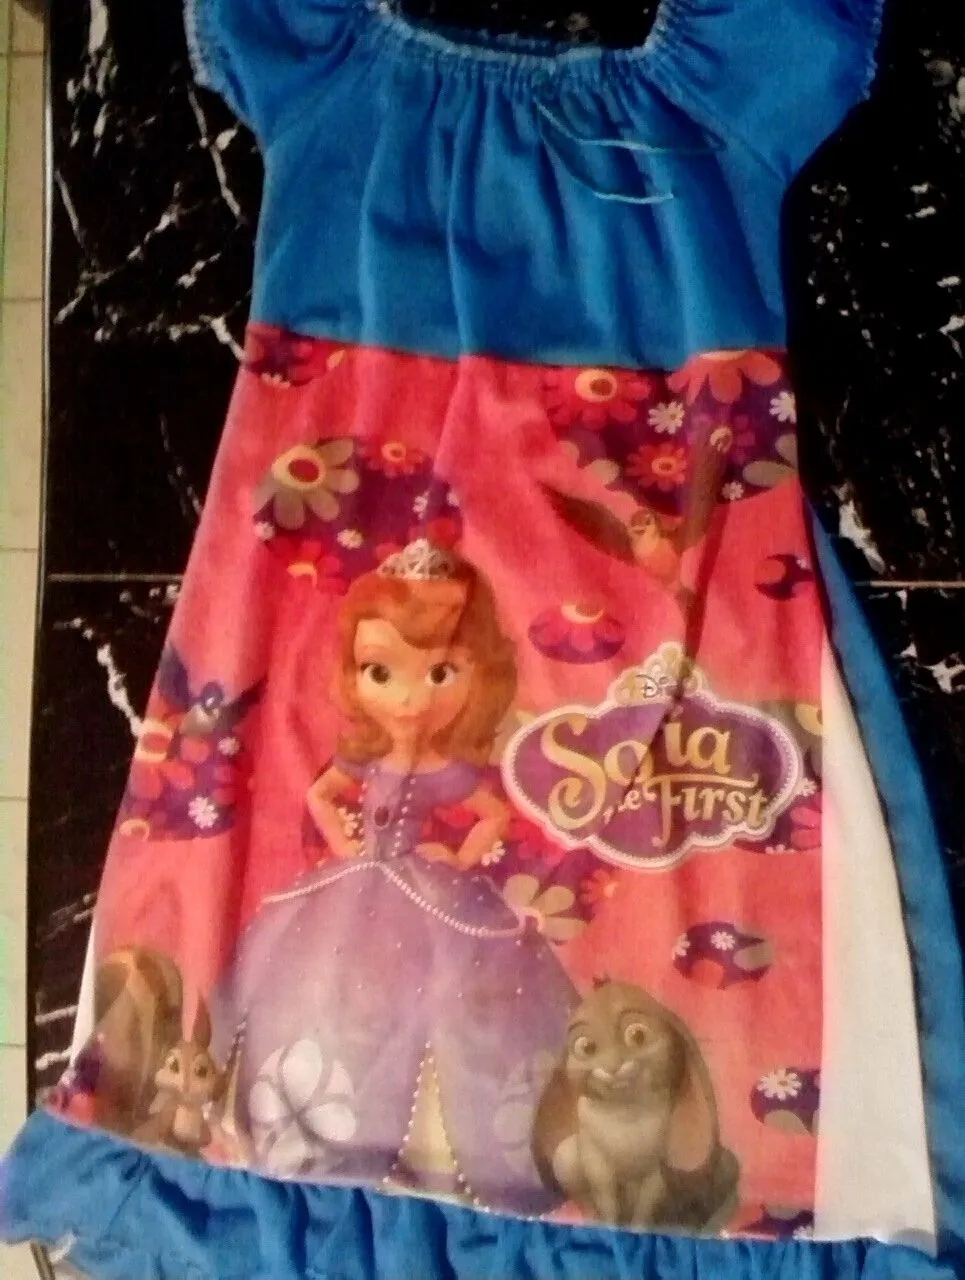
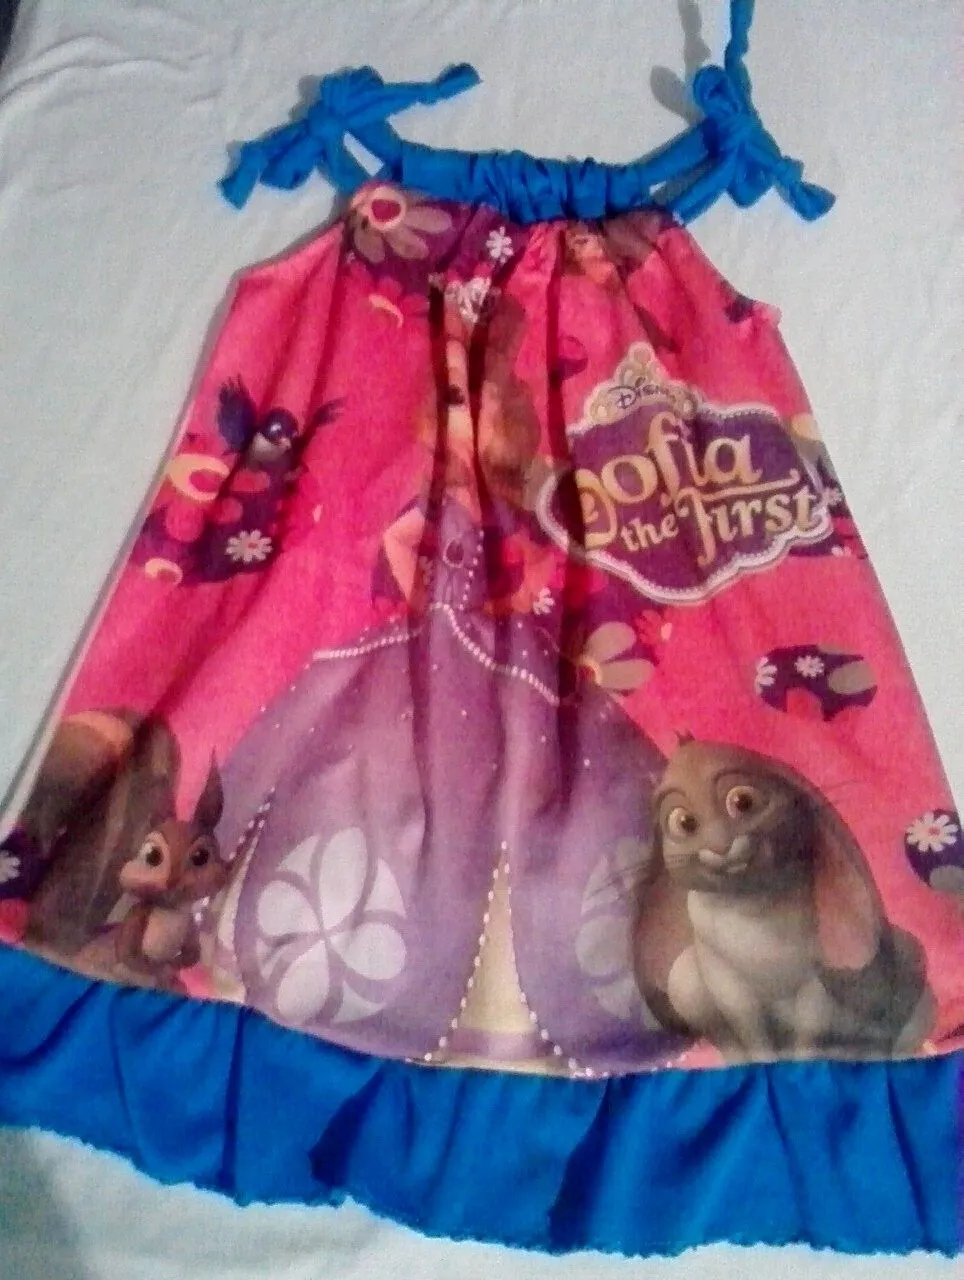
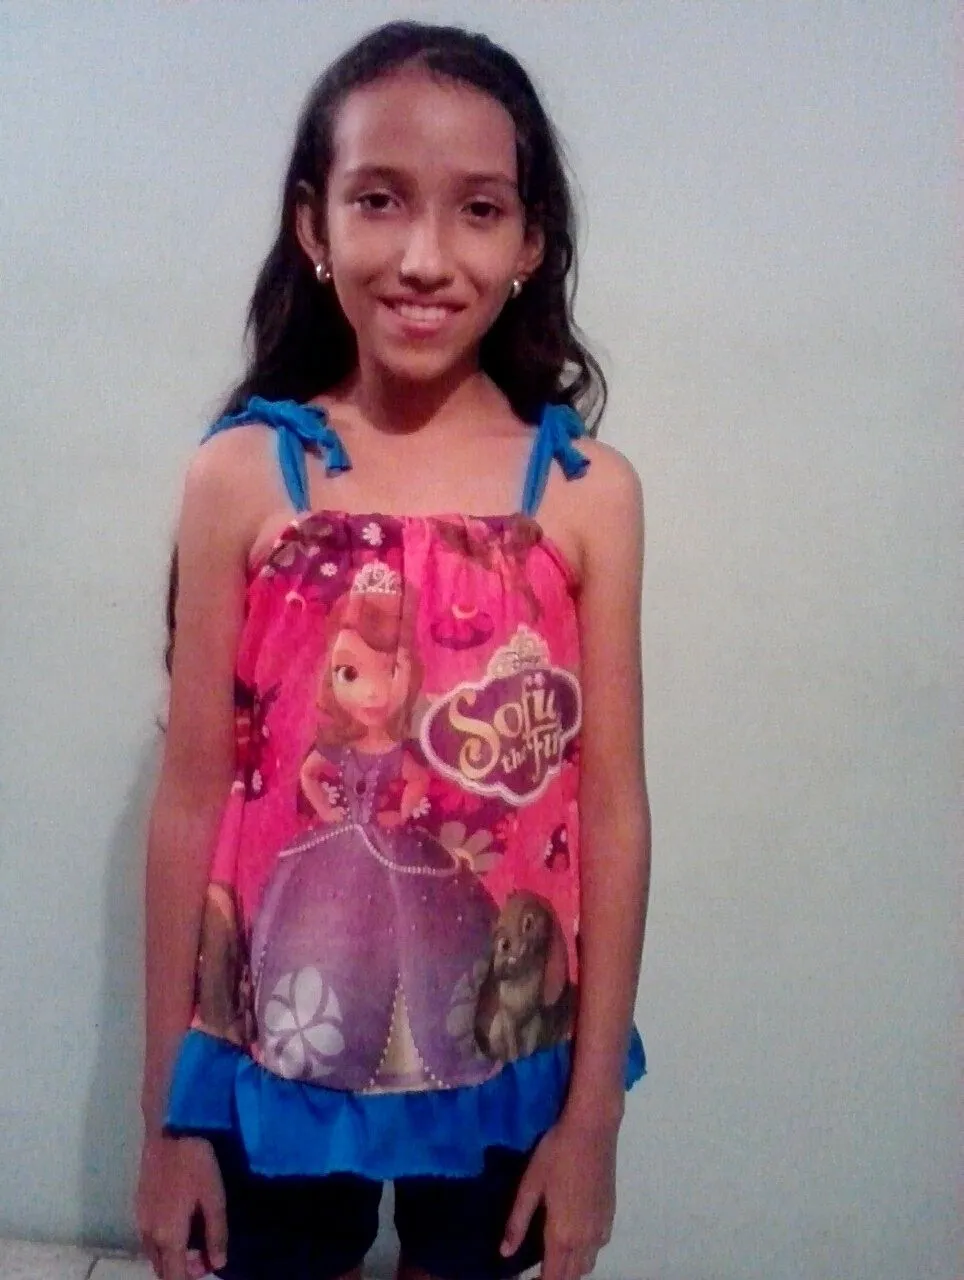
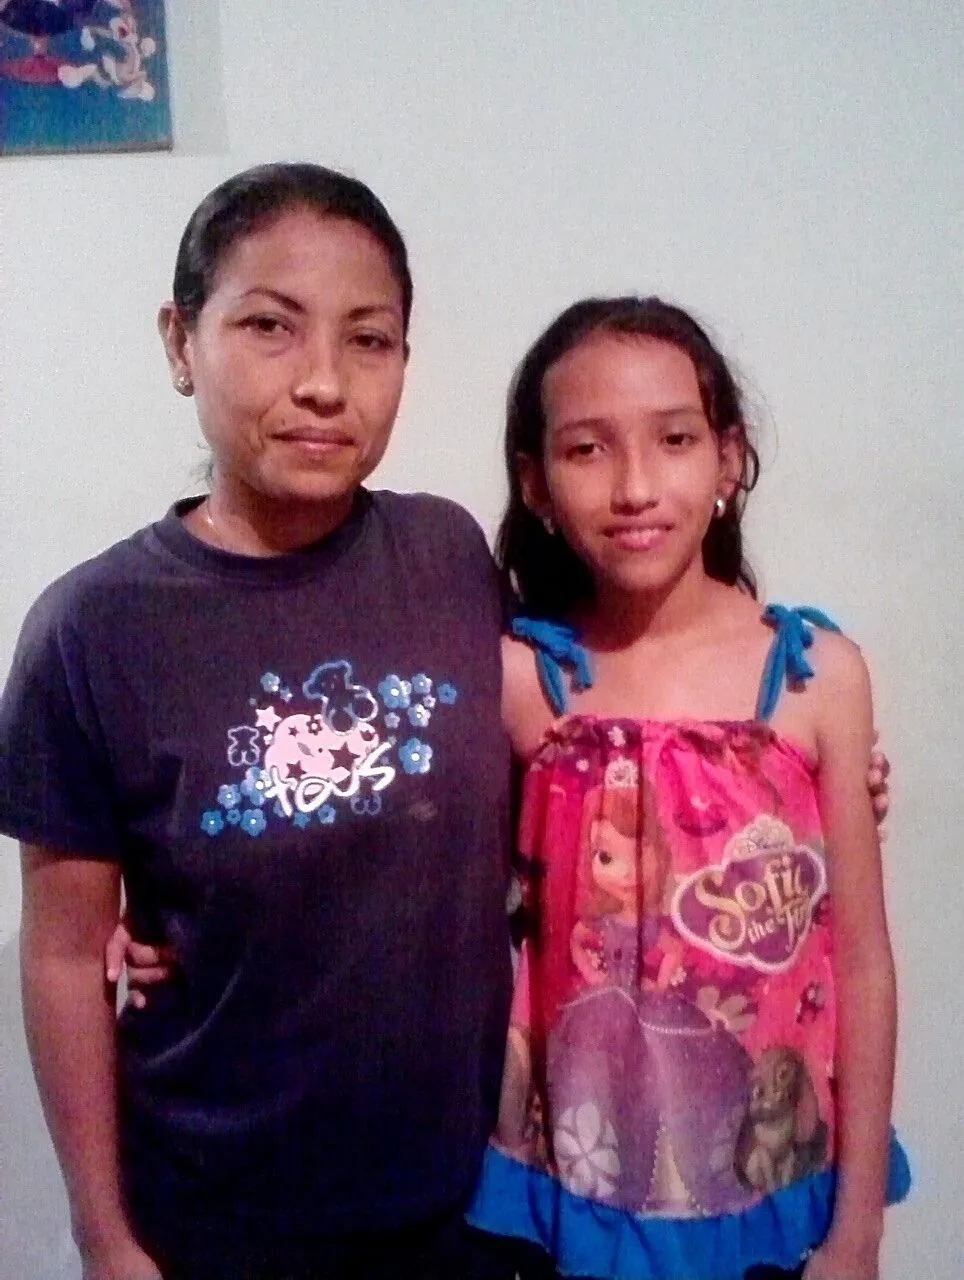
Así obtenemos una hermosa blusa.
Thus we obtain a beautiful blouse.
Todas las fotos son de mi autoria y editadas con Canva.
All photos are my own and edited with Canva.