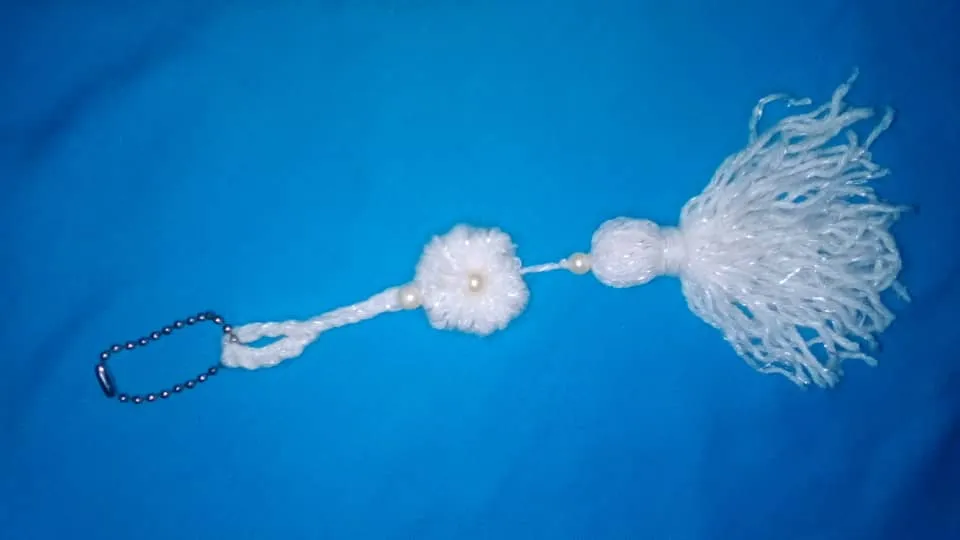
Hello, to all the followers of crochet knitting, in this opportunity my dear ones of the #NeedleWorkMonday community, I will make a nice project a keychain or pendant very easy to make, in this opportunity with a detail for purse in the form of a tassel with pearls. I share how I made it.

 .
.


 .
.

 .
.

Photos taken with my Xiaomi Redmi 9C cell phone.
Fotos tomadas con mi celular Xiaomi Redmi 9C
Hola, a todos los seguidores de tejer a crochet, en está oportunidad mis estimados de la comunidad #NeedleWorkMonday, realizaré un lindo proyecto un llavero o pendiente muy fácil de hacer, en está oportunidad con un detalle para bolso en forma de una borla con perlas. Comparto como lo logré.
MATERIALS//MATERIALES
White worsted yarn.
Needle N° 0.
Scissors.
Chain.
Beads.
Pencil.
Wool needle.
Adhesive tape.
Hilo de estambre color blanco.
Agujeta N° 0.
Tijera.
Cadena.
Perlas.
Lápiz.
Aguja lanera.
Cinta adhesiva.
STEPS//PASOS
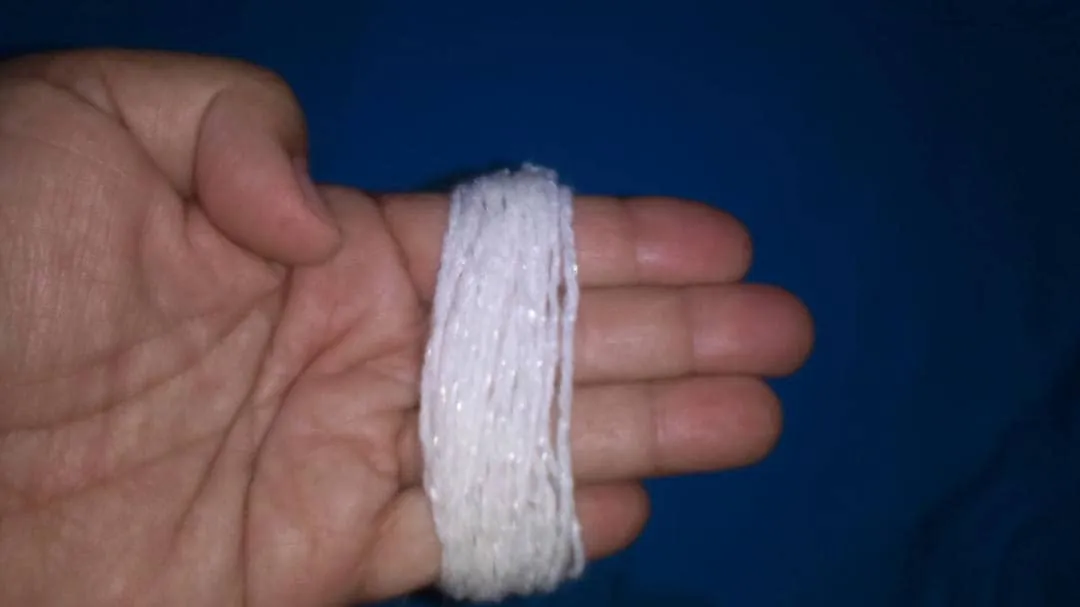
- Start by placing the yarn in your hand, pass the yarn through your fingers and make about 30 turns, for the tassel of our work.
- Comenzar colocando el estambre en tu mano, pasar el hilo por tus dedos y dar alrededor de 30 vueltas, para la borla de nuestro trabajo.
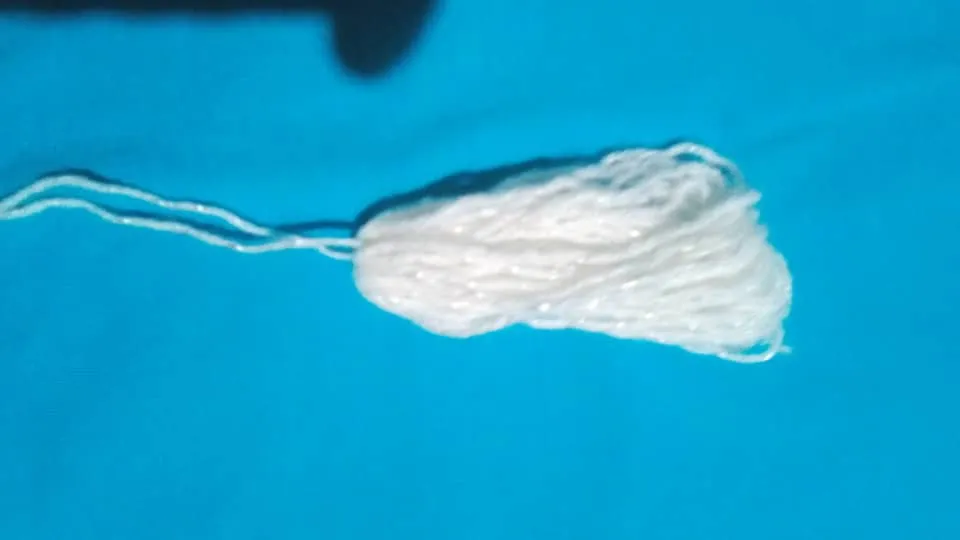
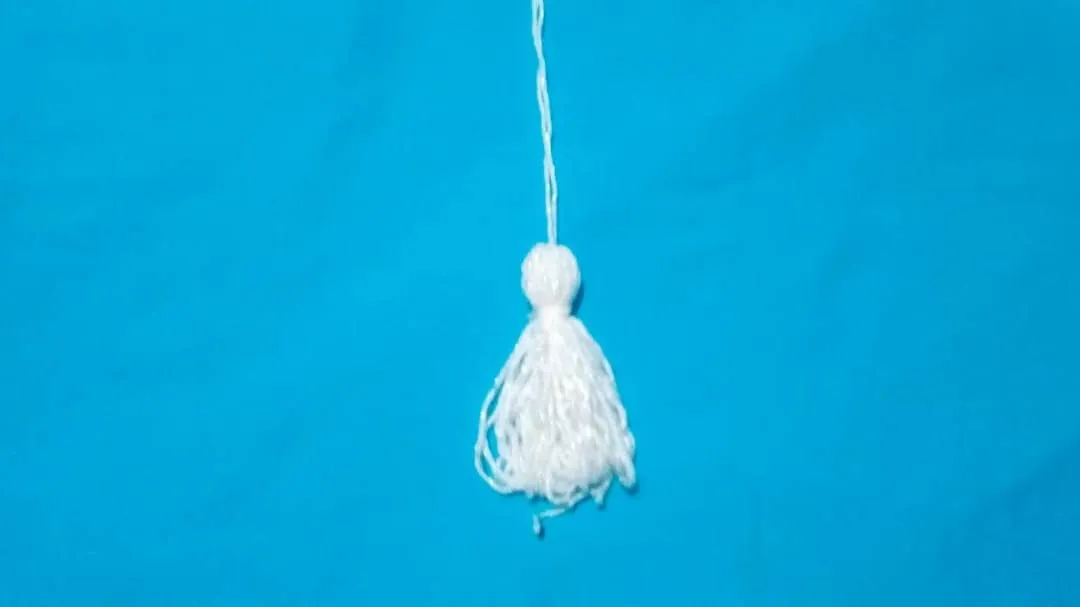
- At the end of the turns, place the yarn carefully so that it does not lose the shape it had in our hand, carefully and look for the center to place the yarn at one end, center it and tie a tight knot.
- Al terminar las vueltas, colocar el estambre cuidadosamente que no pierda la forma que tenía en nuestra mano, con cuidado y buscar el centro para colocar le en un extremo el hilo, centra y hacer le un nudo bien ajustado.
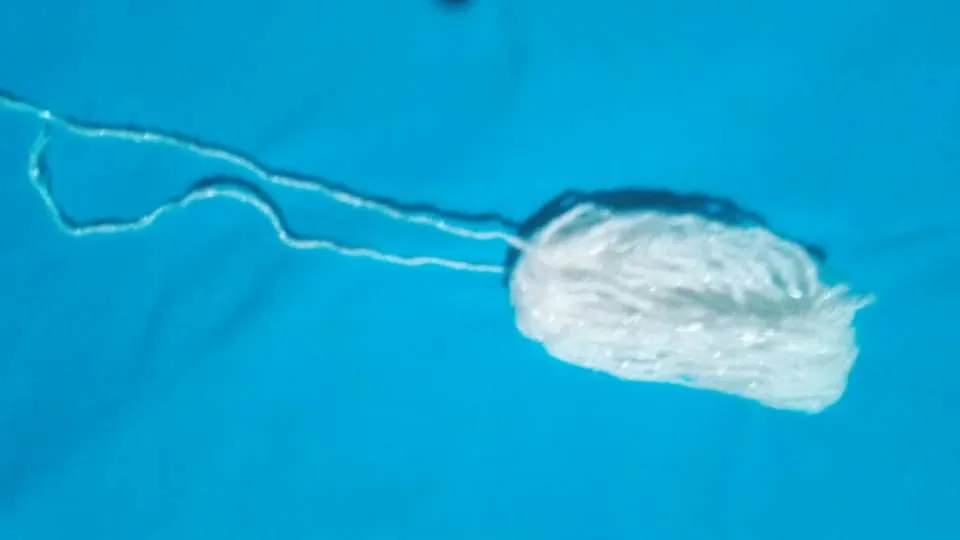
- We will place about 20 centimeters of yarn well extended and make the pompom shape.
- Colocaremos unos 20 centímetros de estambre bien extendido y hacerle la forma de pompón.
.
- This is how the pompom will look like.
- Así quedará el pompón.
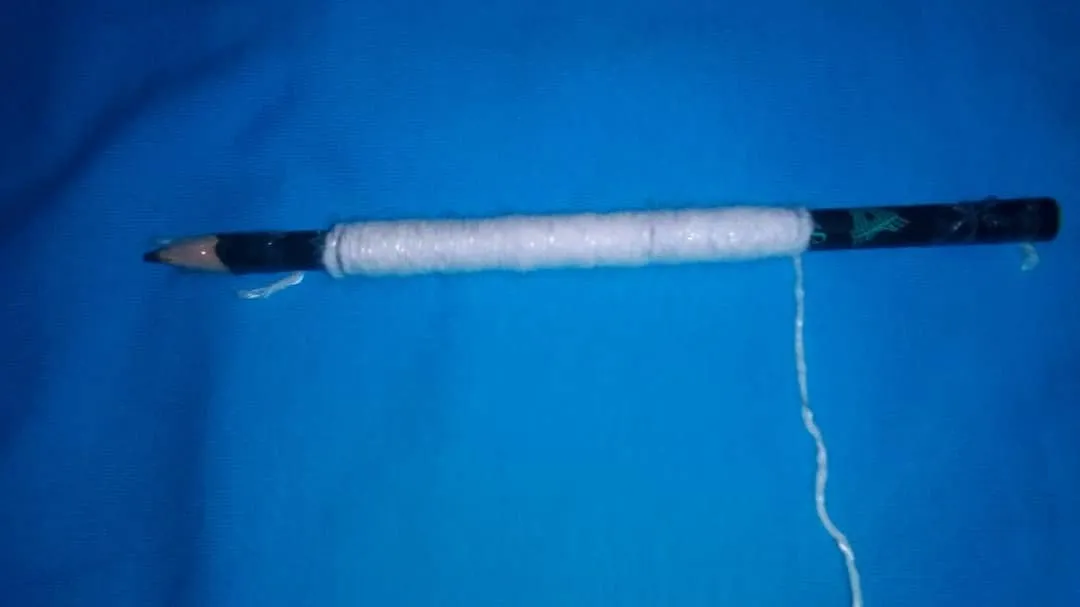
- To make the flower-shaped detail, I will do it with the pencil, tape and yarn. Place the yarn at both ends with the tape to secure the yarn so that it does not move and the yarn slips. With your finger secure and twist around the pencil to your desired number.
- Para realizar el detalle de forma de flor, lo realizaré con el lápiz, cinta adhesiva y el estambre. Colocar el hilo en ambos extremos con la cinta adhesiva para fijar que no se mueva y se deslice el estambre. Con tu dedo asegurar y darle vueltas alrededor del lápiz hasta tu número deseado.
- Slide carefully so as not to damage the circular shape we achieved with the pencil, proceed to join the ends of the threads and close it by adjusting them in a circular shape.
- Deslizar con mucho cuidado de no dañar la forma circular que logramos con el uso del lápiz, proceder a unir los extremos de los hilos y cerrarlo ajustándolos en forma circular.
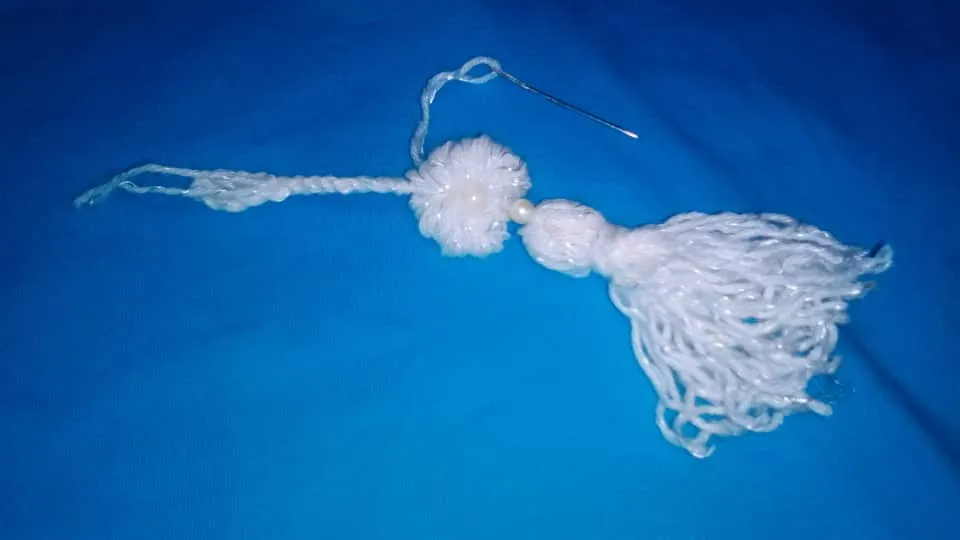
- With the wool needle we are going to place the first pearl, make a knot to fix the pearl in our work. After tying the knot continue with placing the circular shape with the wool needle, center and fix the second bead. Finish with the third bead, making a knot at each end of the bead, leaving an excess of thread.
- Con la aguja lanera vamos a colocar la primera perla, hacer un nudo para fijar la perla en nuestro trabajo. Luego de hacer el nudo continuar con colocar la forma circular con la aguja lanera centrar y fijar la segunda perla. Terminar con la tercera perla, haciendo un nudo a cada extremo de la perla, dejar un excedente de hilo.
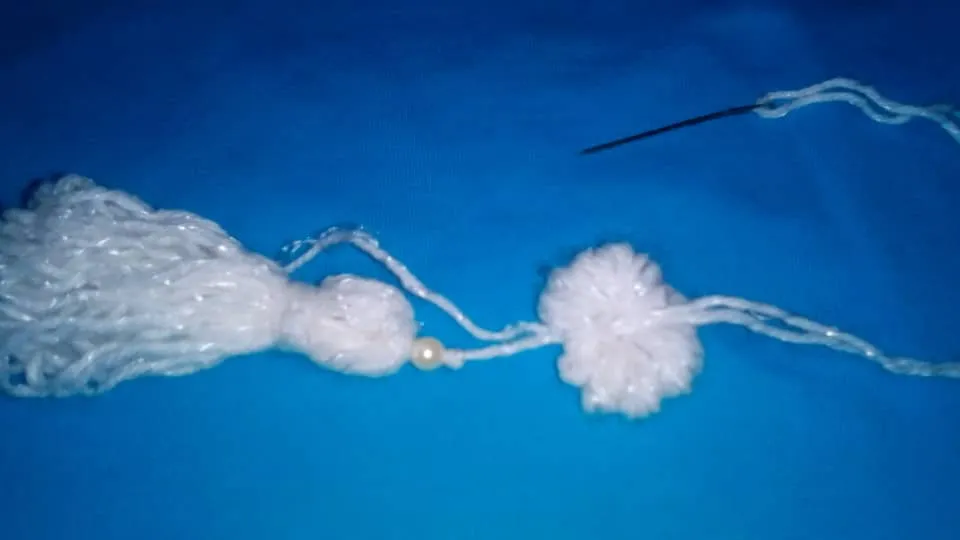
FINISHED MY WORK//FINALIZADO MI TRABAJO