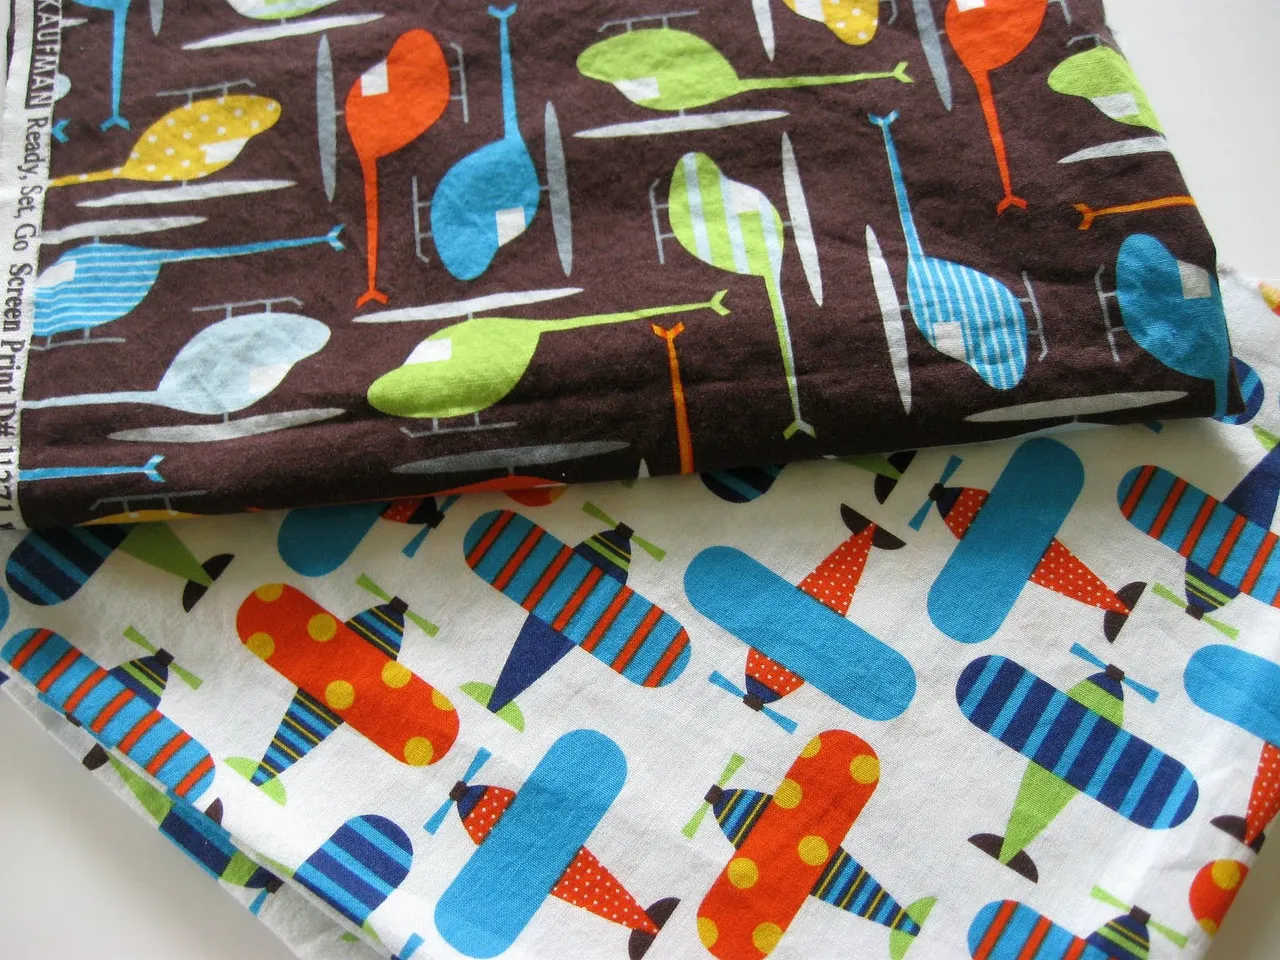
My 2 year old loves motorcycles, helicopters and airplanes. Needless to say, said 2 year old is a boy. A couple of weeks ago I was ordering some fabric and saw some absolutely adorable helicopter and airplane cotton prints. I ordered a 1/2 yard from each and from the moment they arrived, that 2 year old little boy of mine loved them. He would run around with with the fabric, wrapping himself in it. I wanted to make a shirt for him.
Last night I stopped procrastinating and sat down to make a tunic.
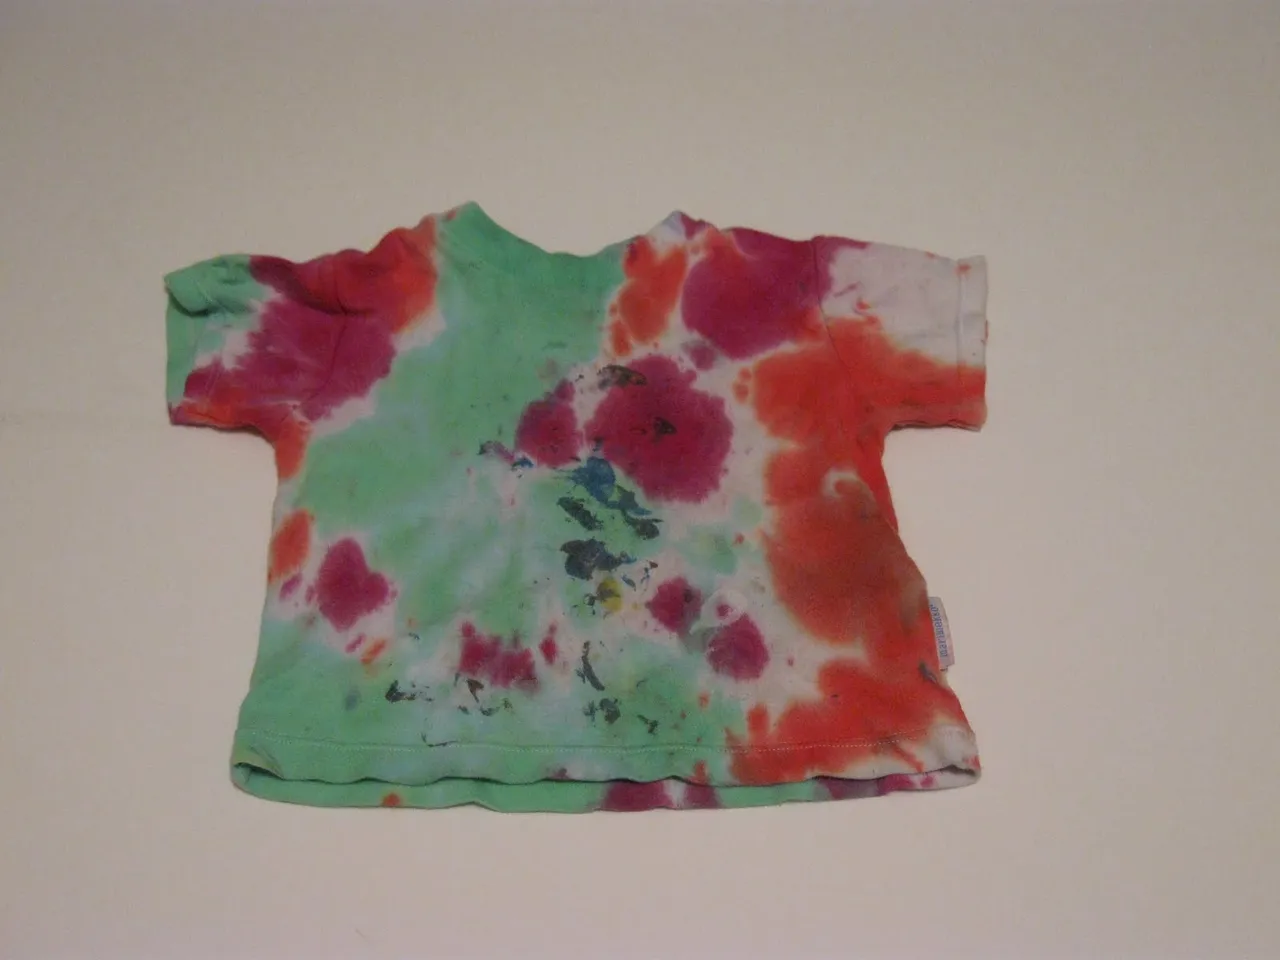
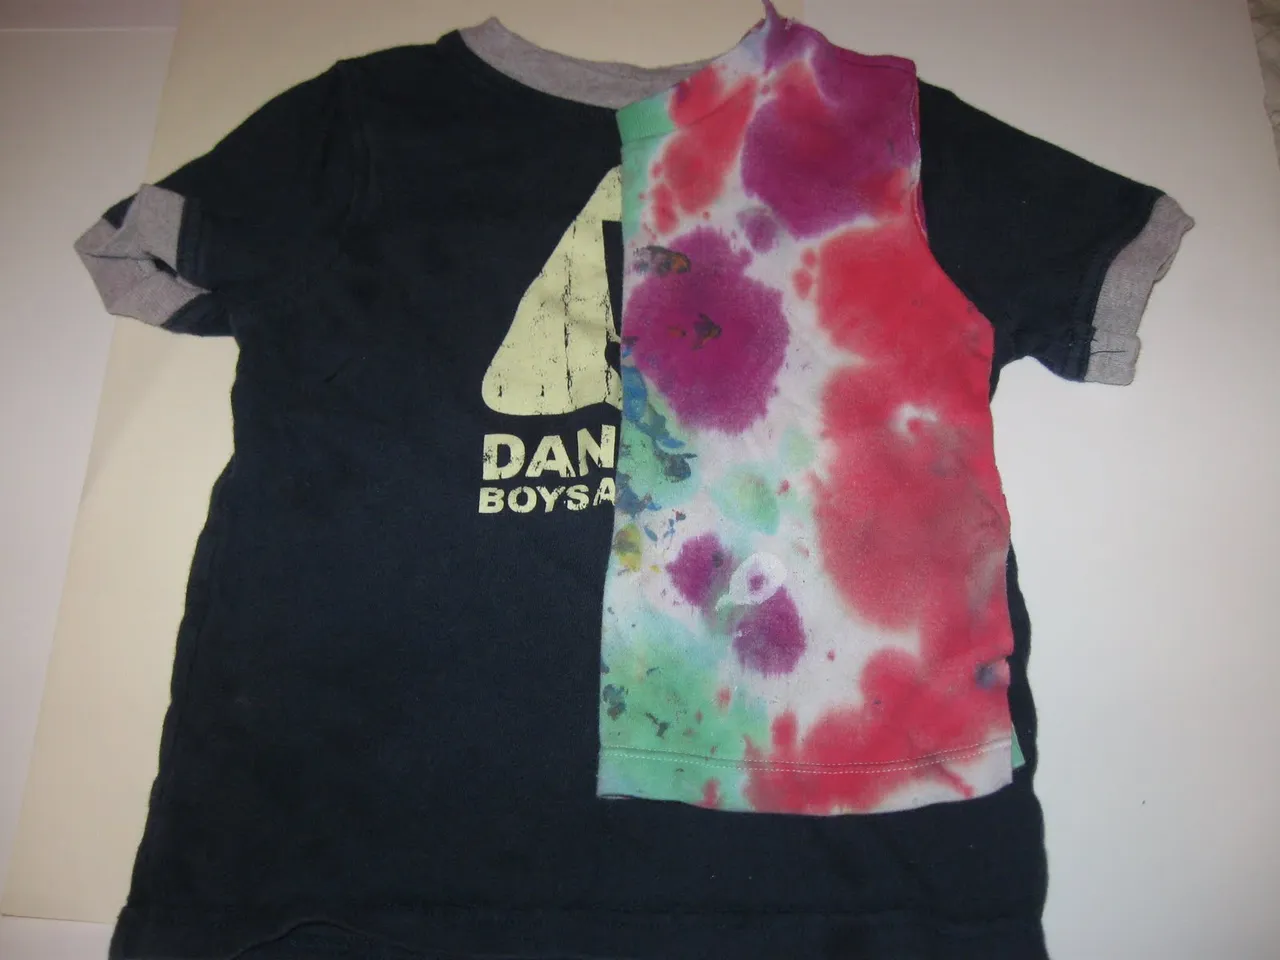
I used an old T-shirt that no longer fit him to help me make the pattern.
This would have been simpler if I got one that actually fit him just right, but currently all his shirts are in good condition and I did not want to cut any up. I picked one that was a bit small, and cut it up.

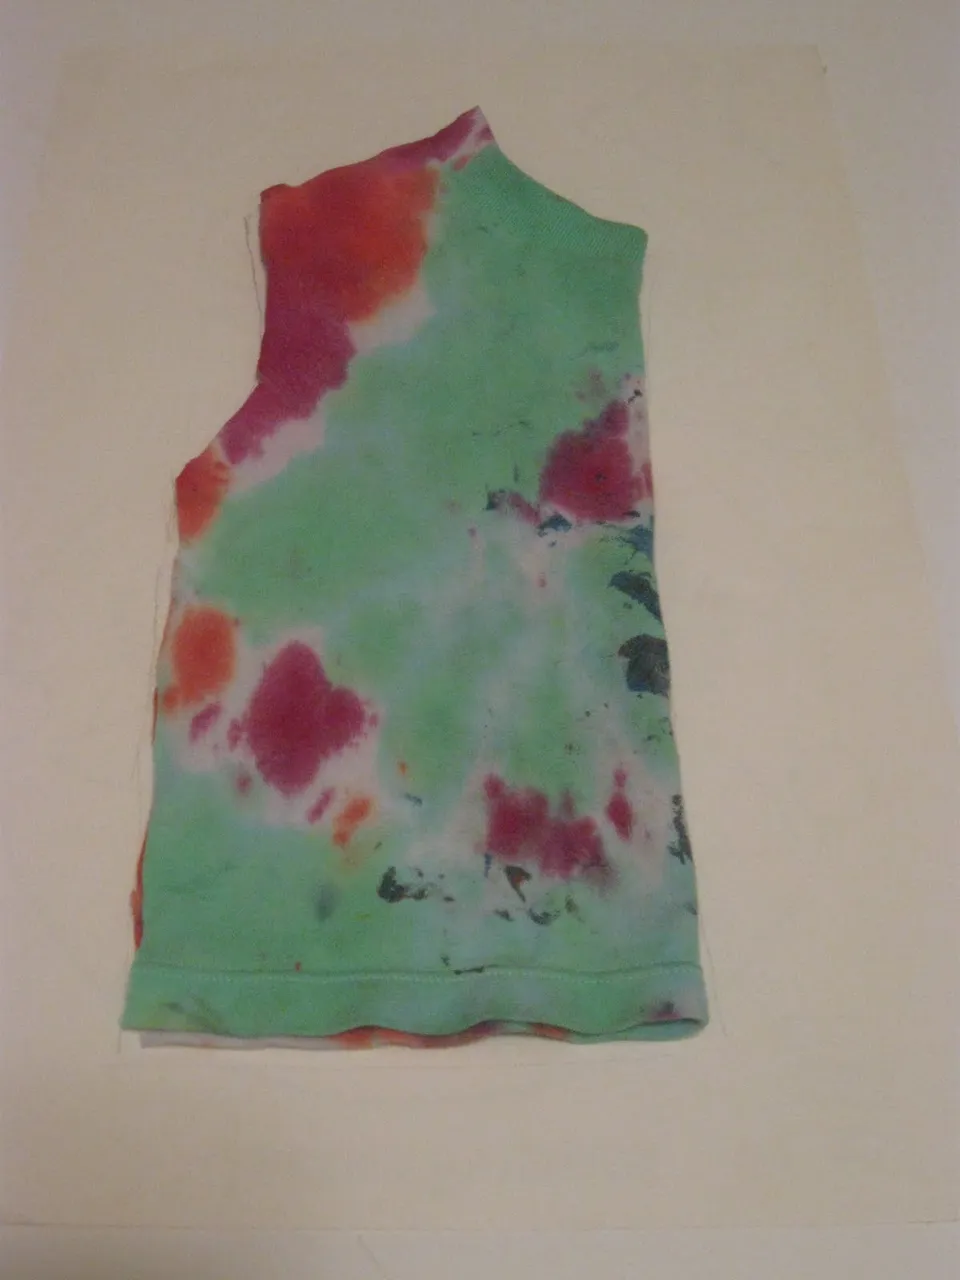
Just cut along the seams as close as possible.
I folded each pieces in half and traced around them.
Since this shirt was not a perfect fit, I had to compare it to one that fits him just right and adjust the pattern accordingly.
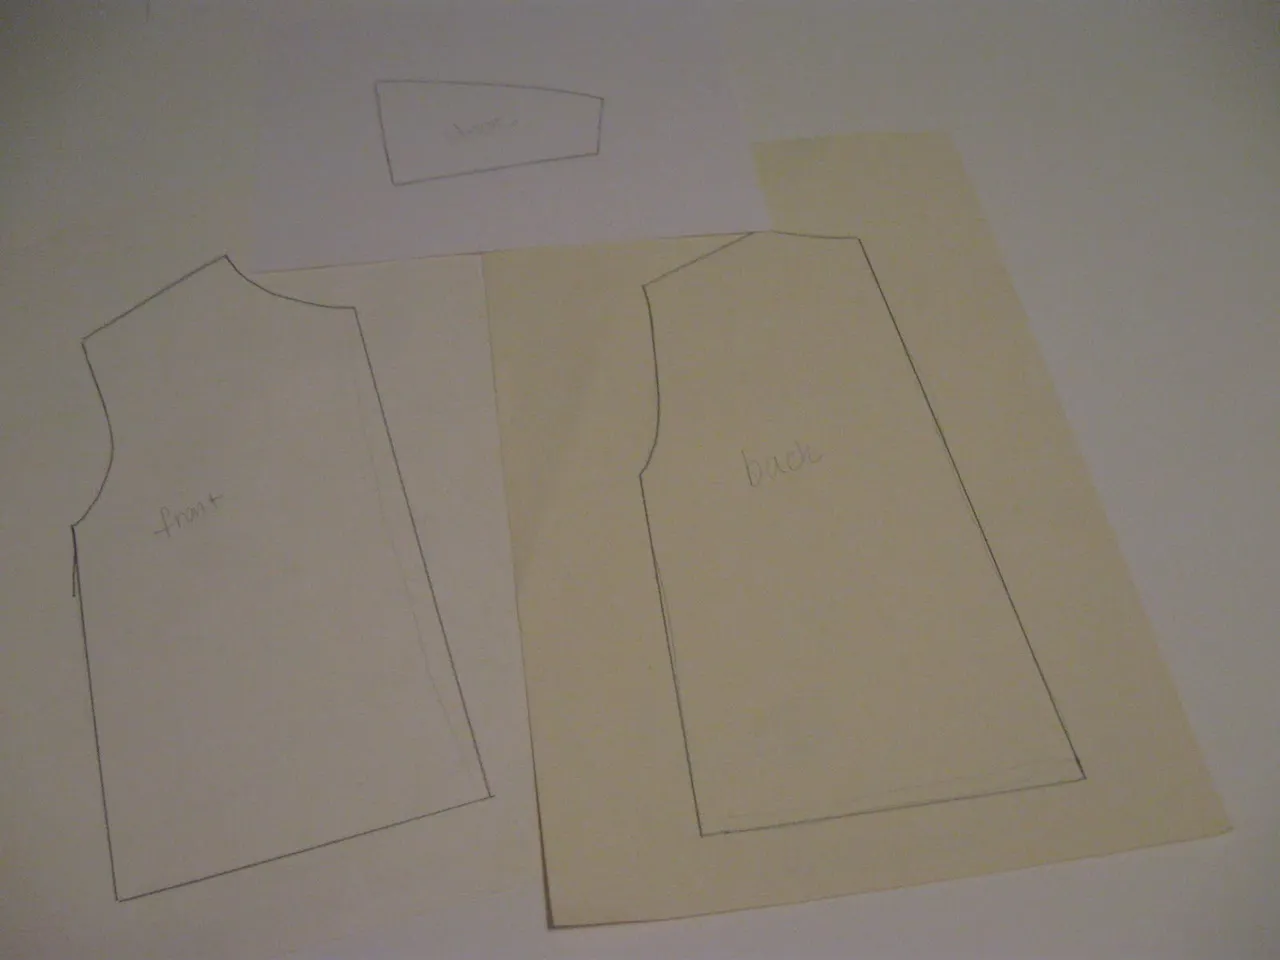
It was not long enough and I had to just a bit to the sides.
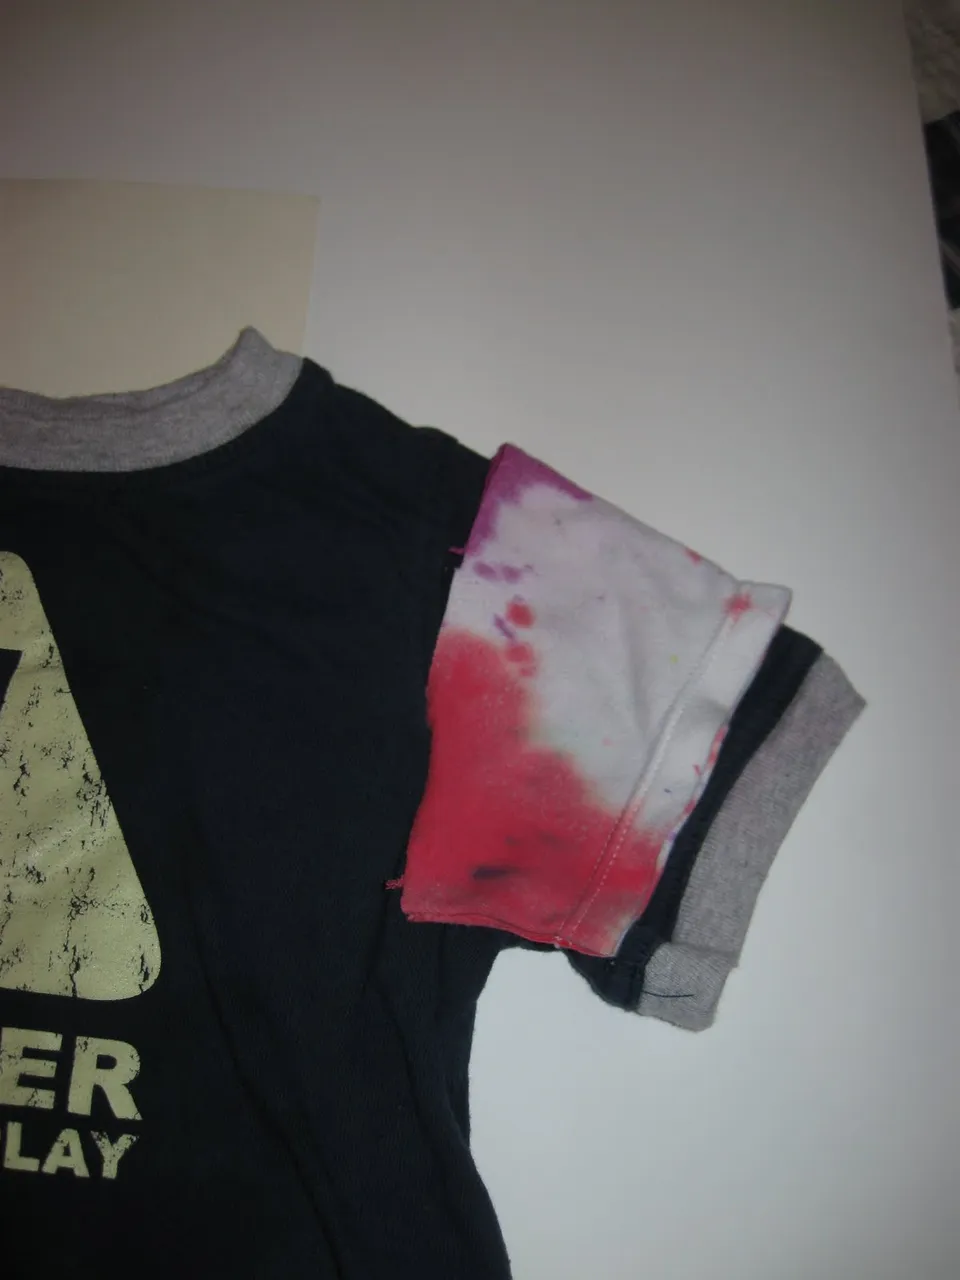
Sleeves needed more length too.
This is the back. Again, need to add length and make it a bit wider for ease. I added an extra 1.5 inch to the width including seam allowance.
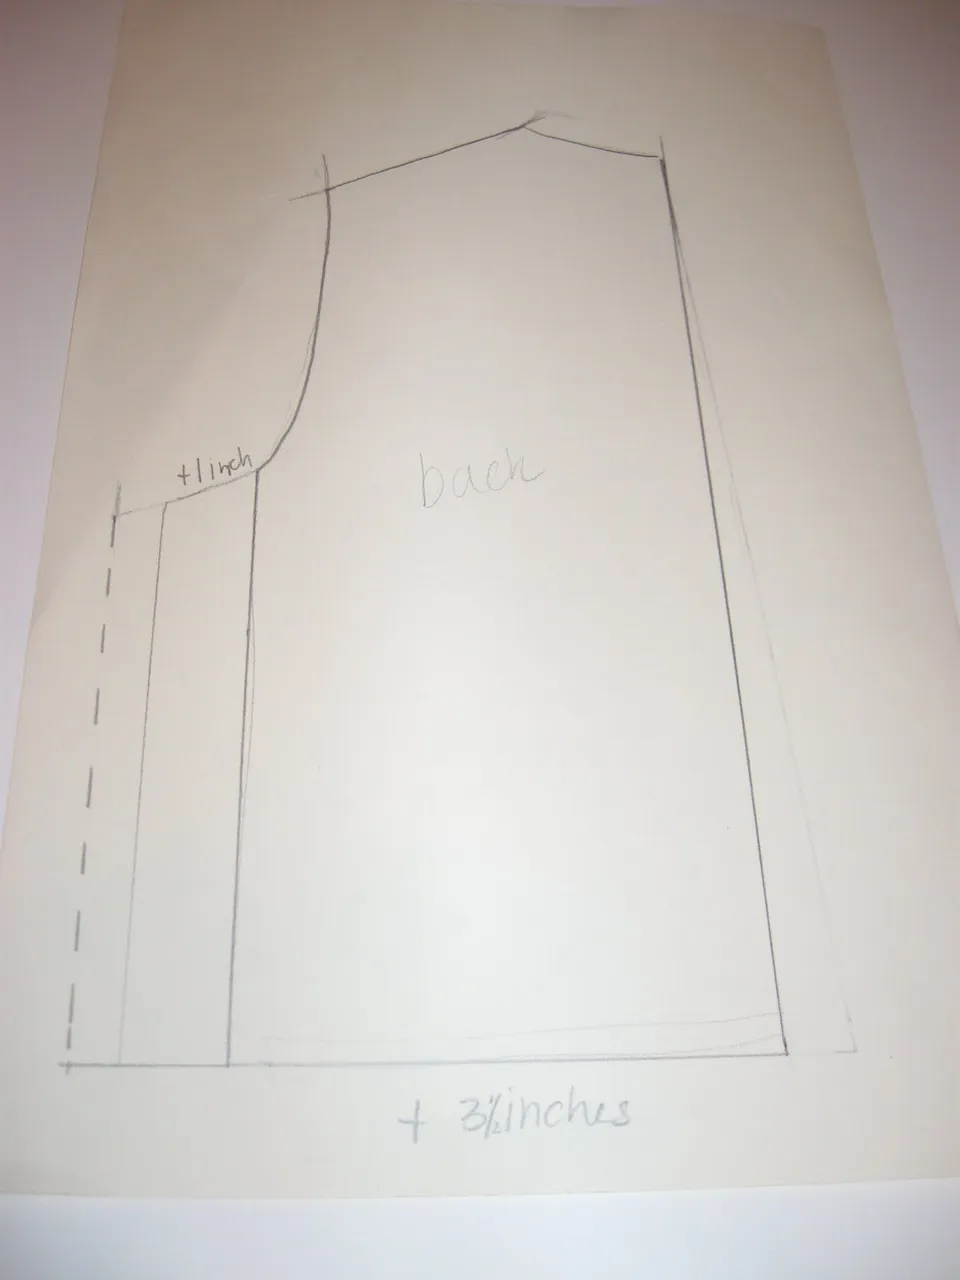
I did not need to change the armhole at all, just extend the lines where needed.

I checked to make sure the the front and back pattern lined up: the shoulders had to be the same length, the armhole curves had to be the same length from the shoulders to the body (angle of curve is different), front and back body is the same length.

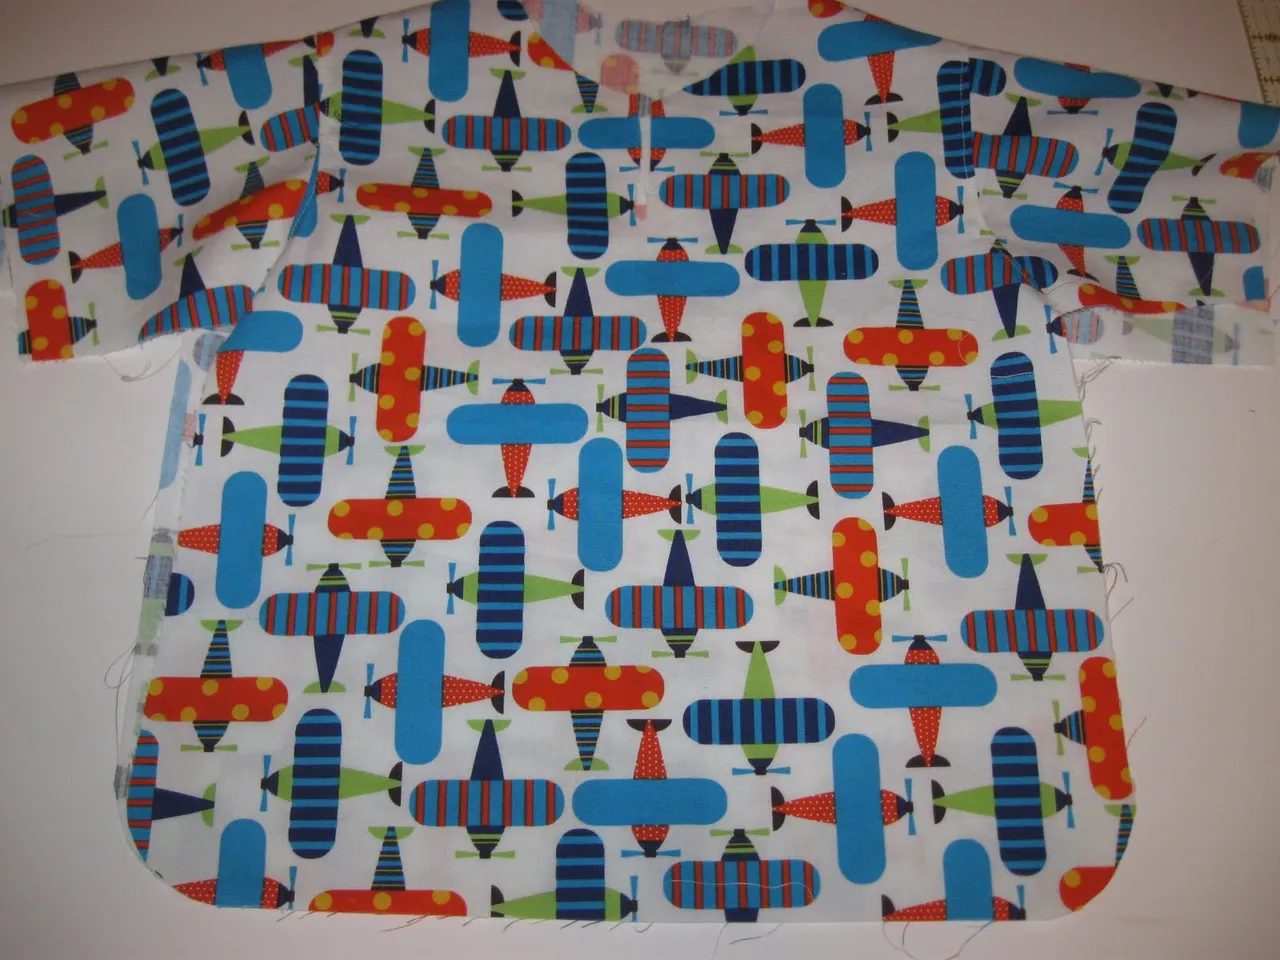
Placed pattern on the fold and cut. I was lazy and did not extend the bottom of the tunic's body, just added 3 inches as I cut. Once I cut out both the front and back piece, I sewed them together, right sides facing each other at the shoulders.
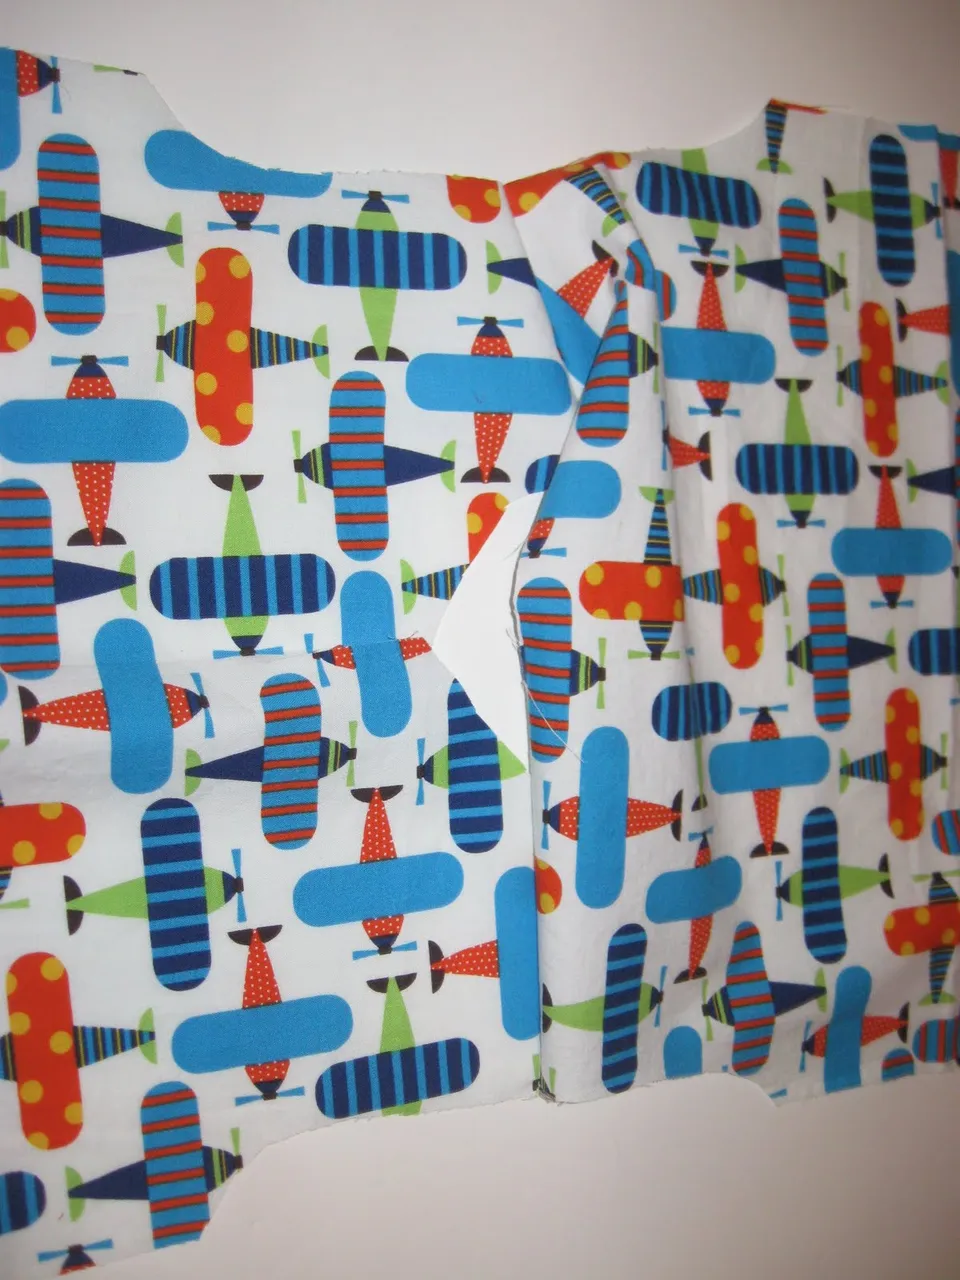
Before I forget, I cut a 2.5 inch opening on the front neckline, in the middle.

Next I grabbed a sleeve, marked the middle, lined it up with one of the shoulder seams, right sides facing each other and pinned it. Sew and repeat with the other side.
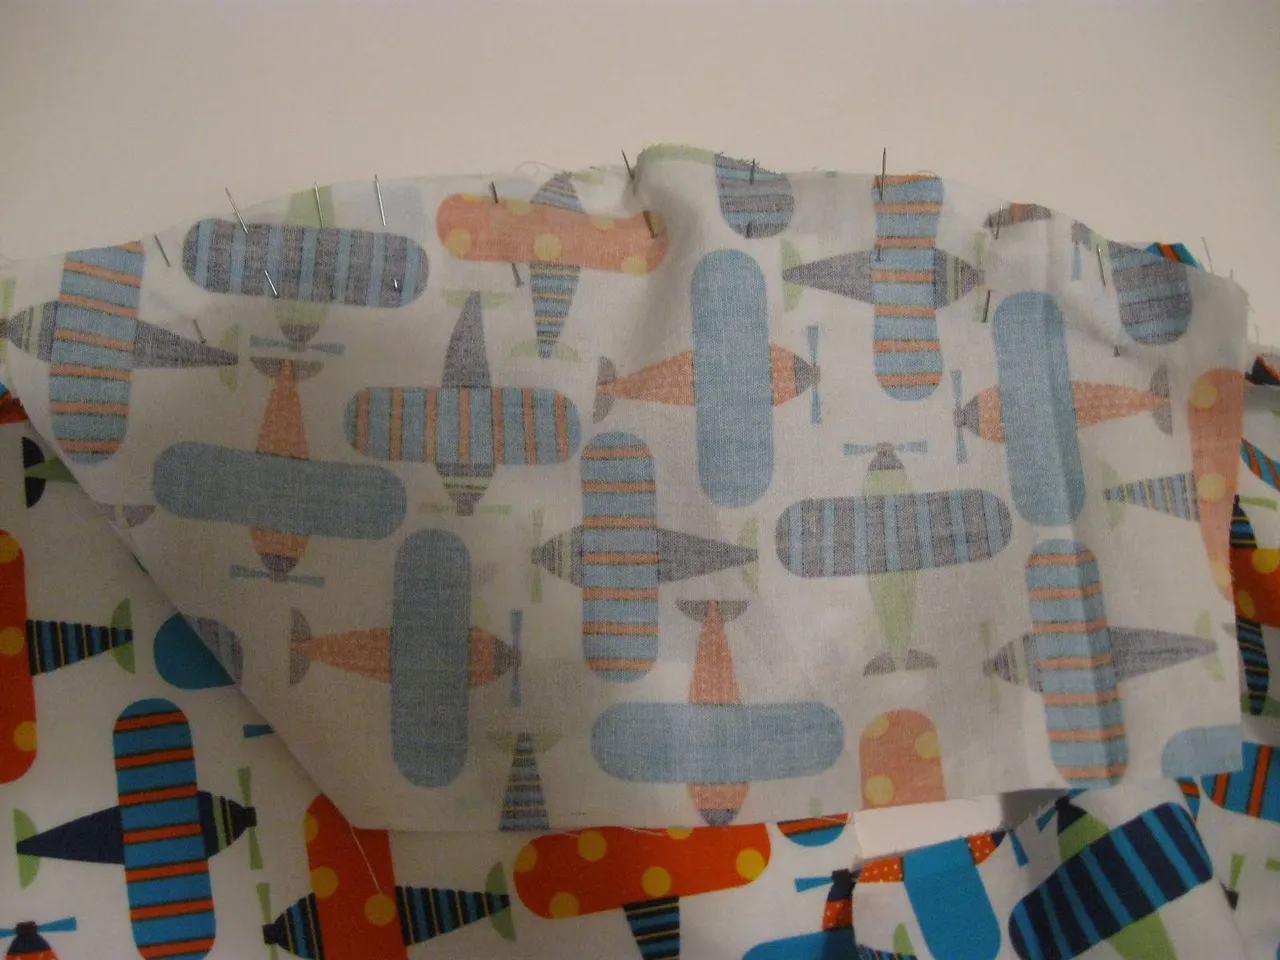
This is how it should look. At this point I tried it on my little boy to make sure the head opening would be big enough, the shirt wide enough etc.
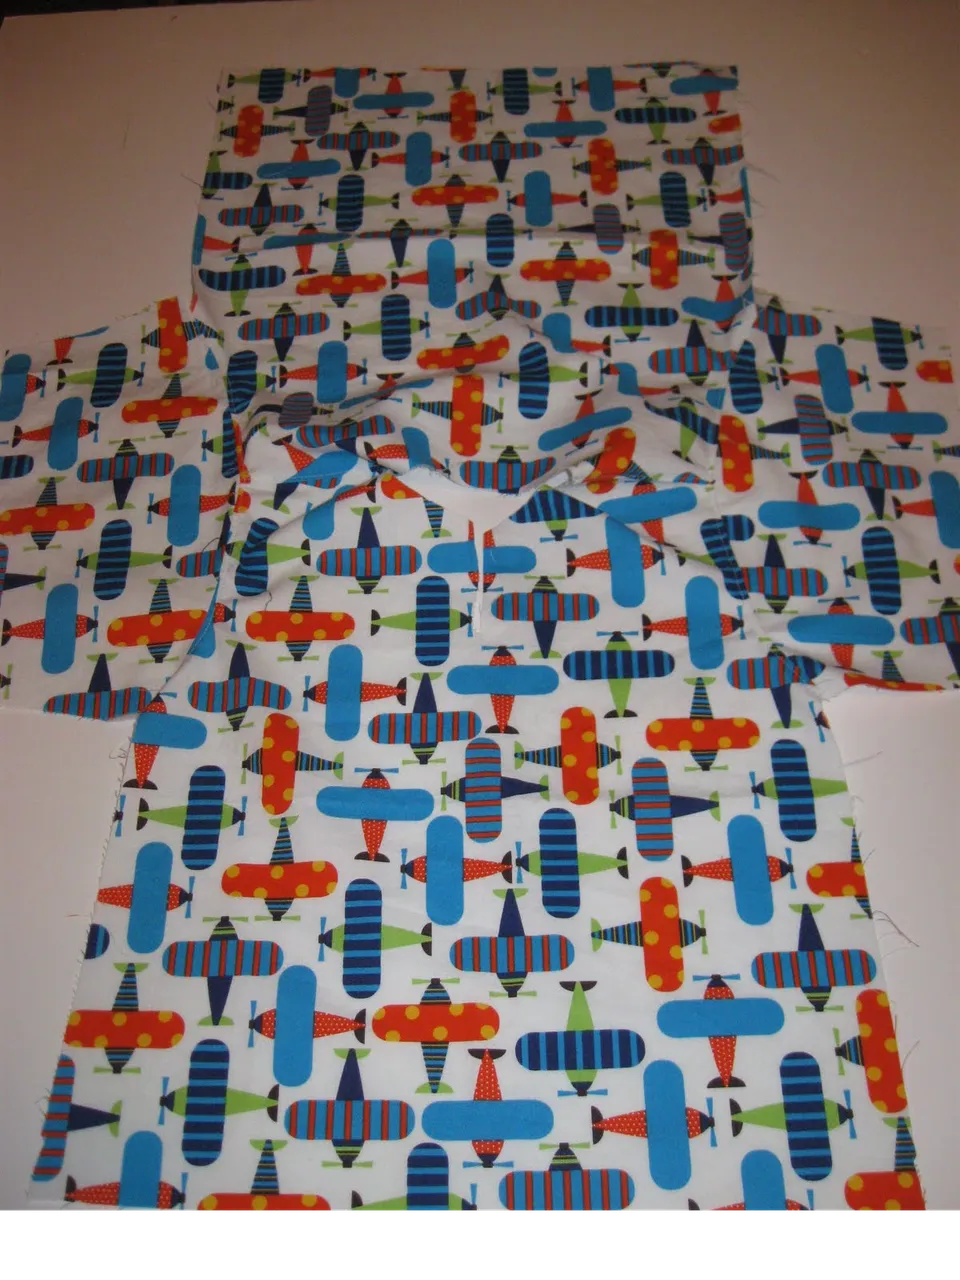
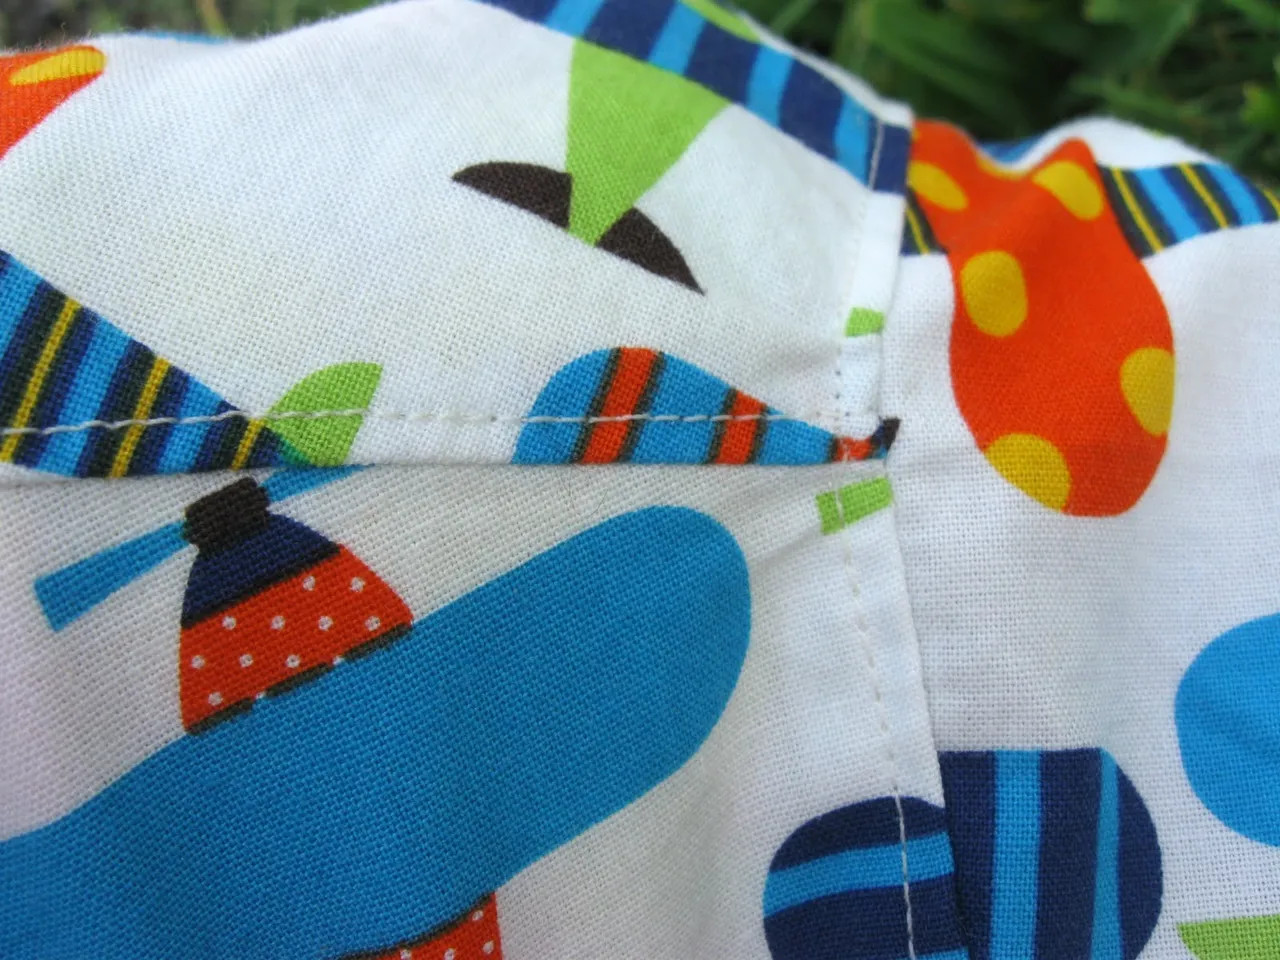
Everything looked good, so I top stitched around the shoulder and sleeve seam.
Next I rounded the corners.
And started pinning the bias tape around the edges. On the body the bias tape goes up 3 inches.
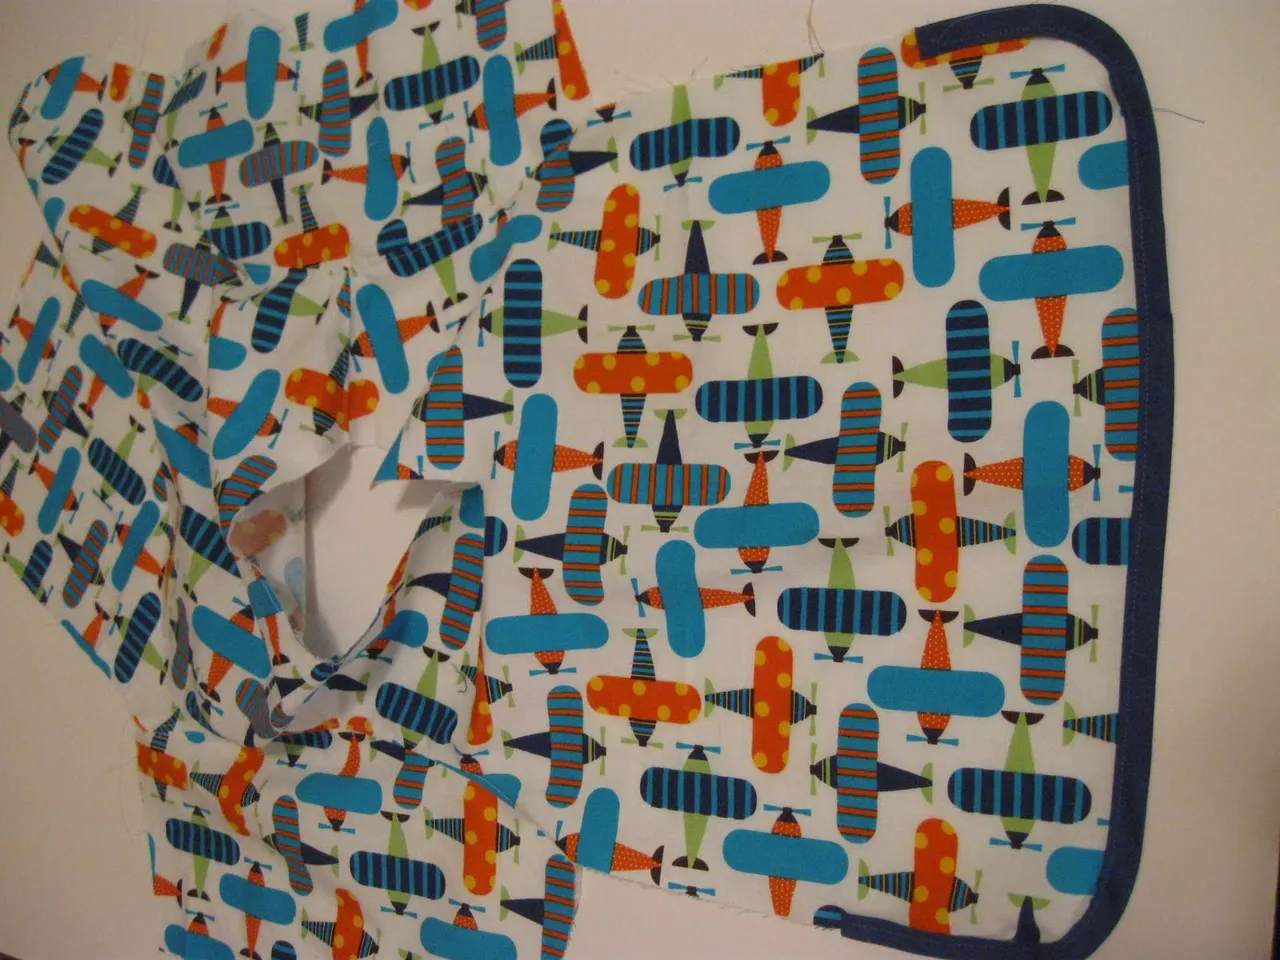
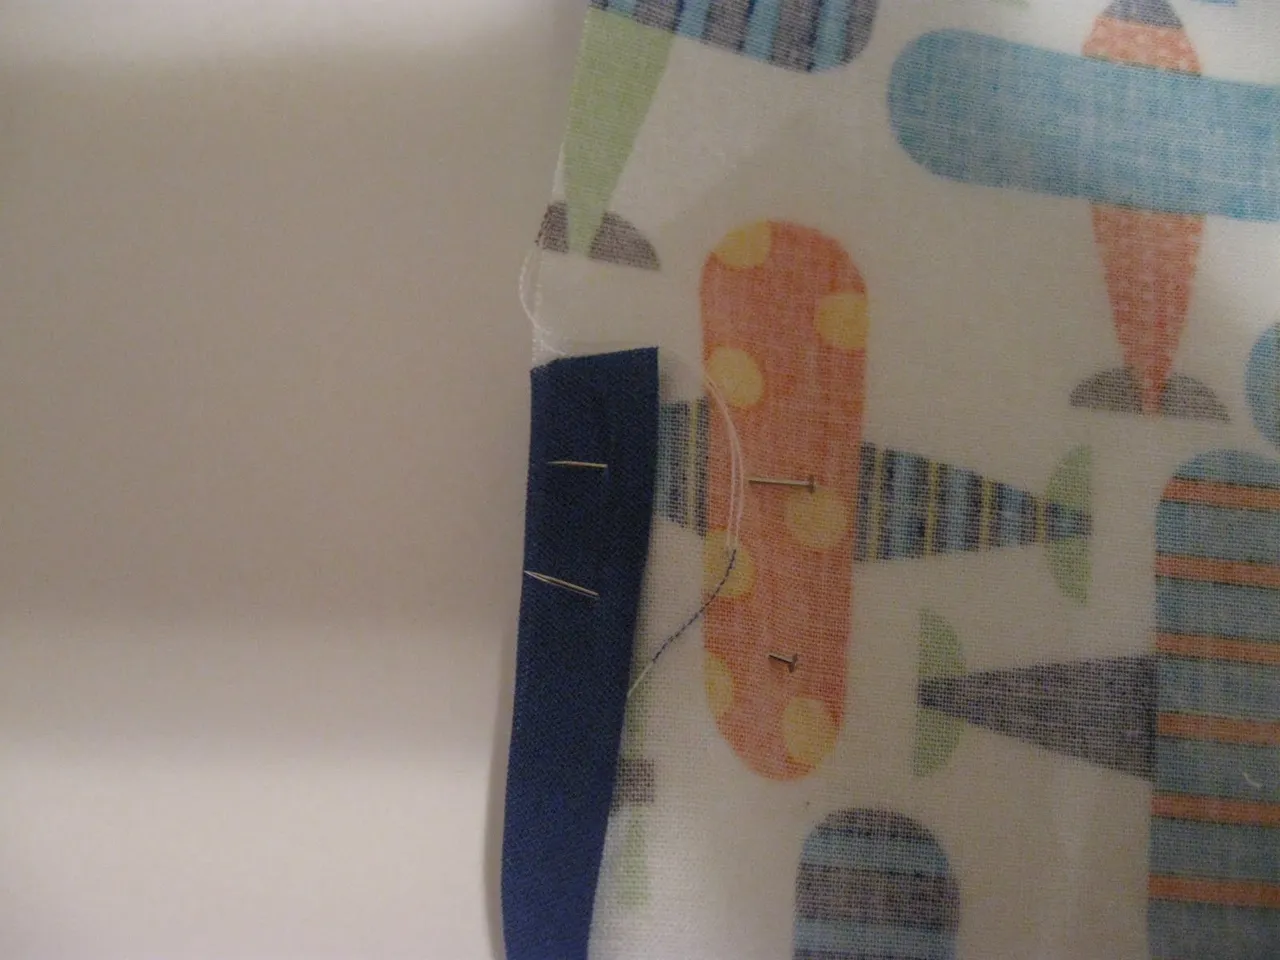
Sewed the bias tape on around hemline, neckline, sleeves.
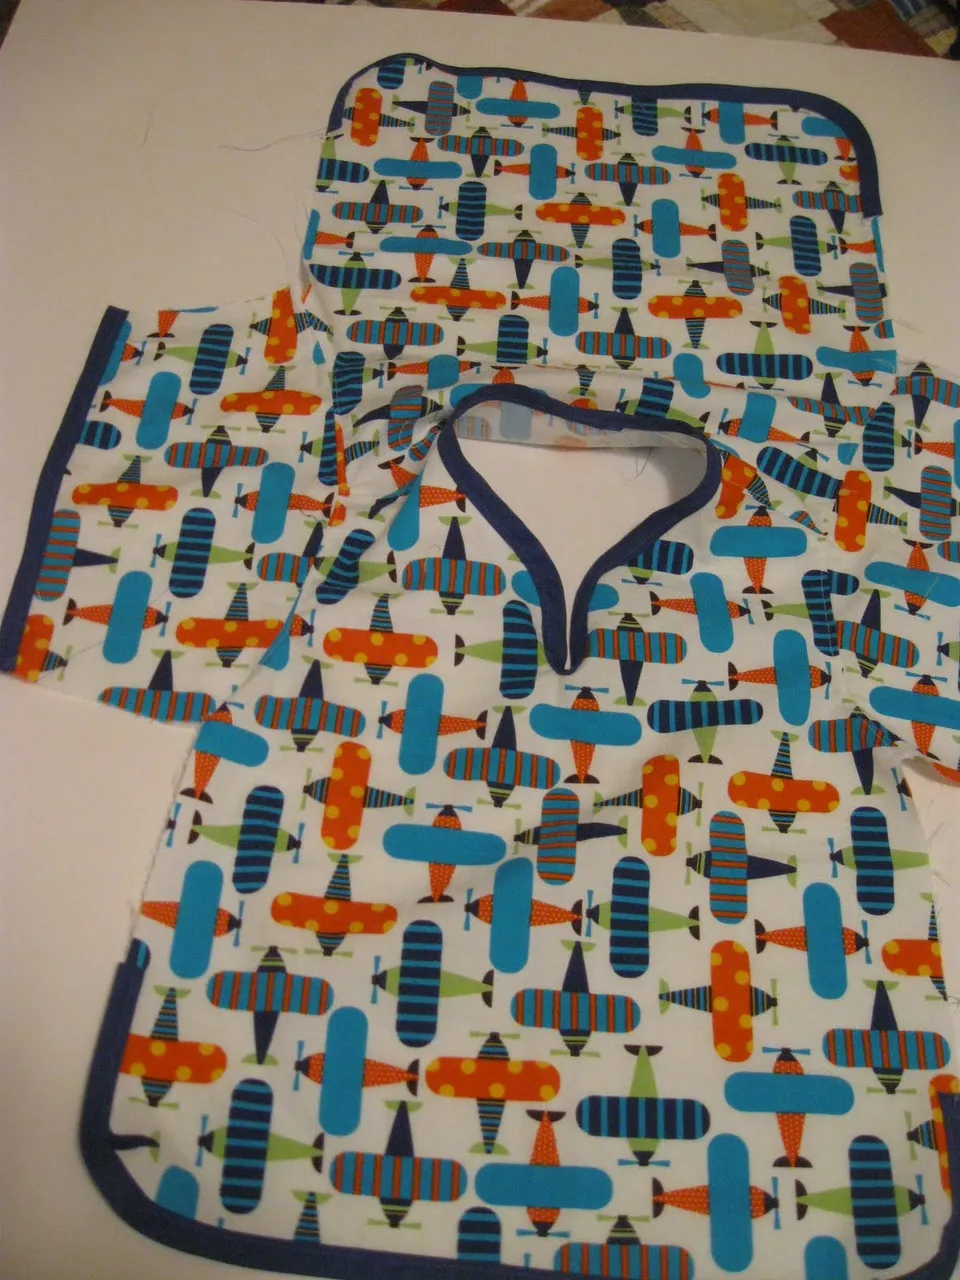
The neck looked a bit wonky, see the tip? I turned it inside out and
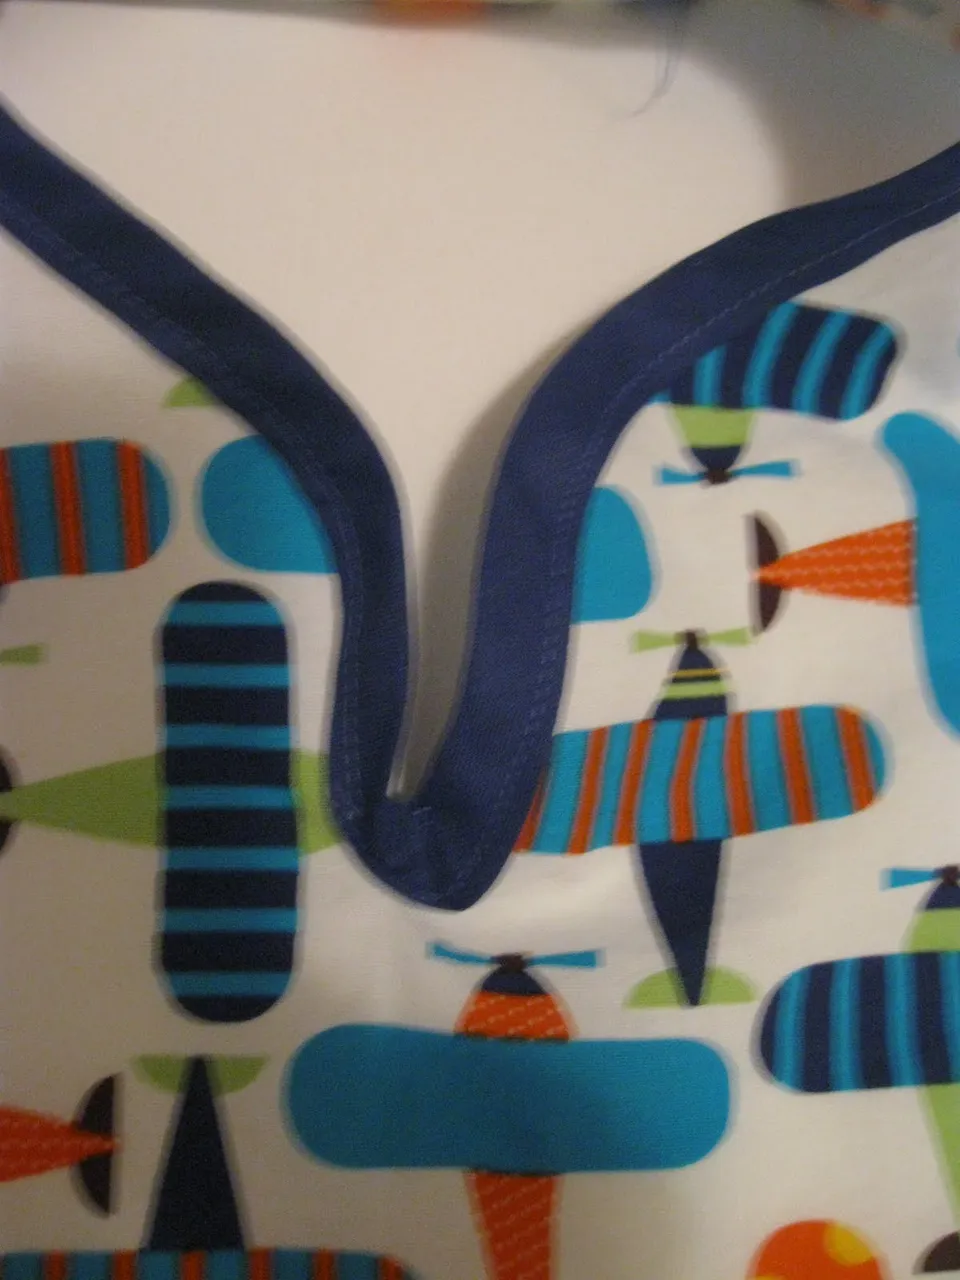
just sewed across the tip.
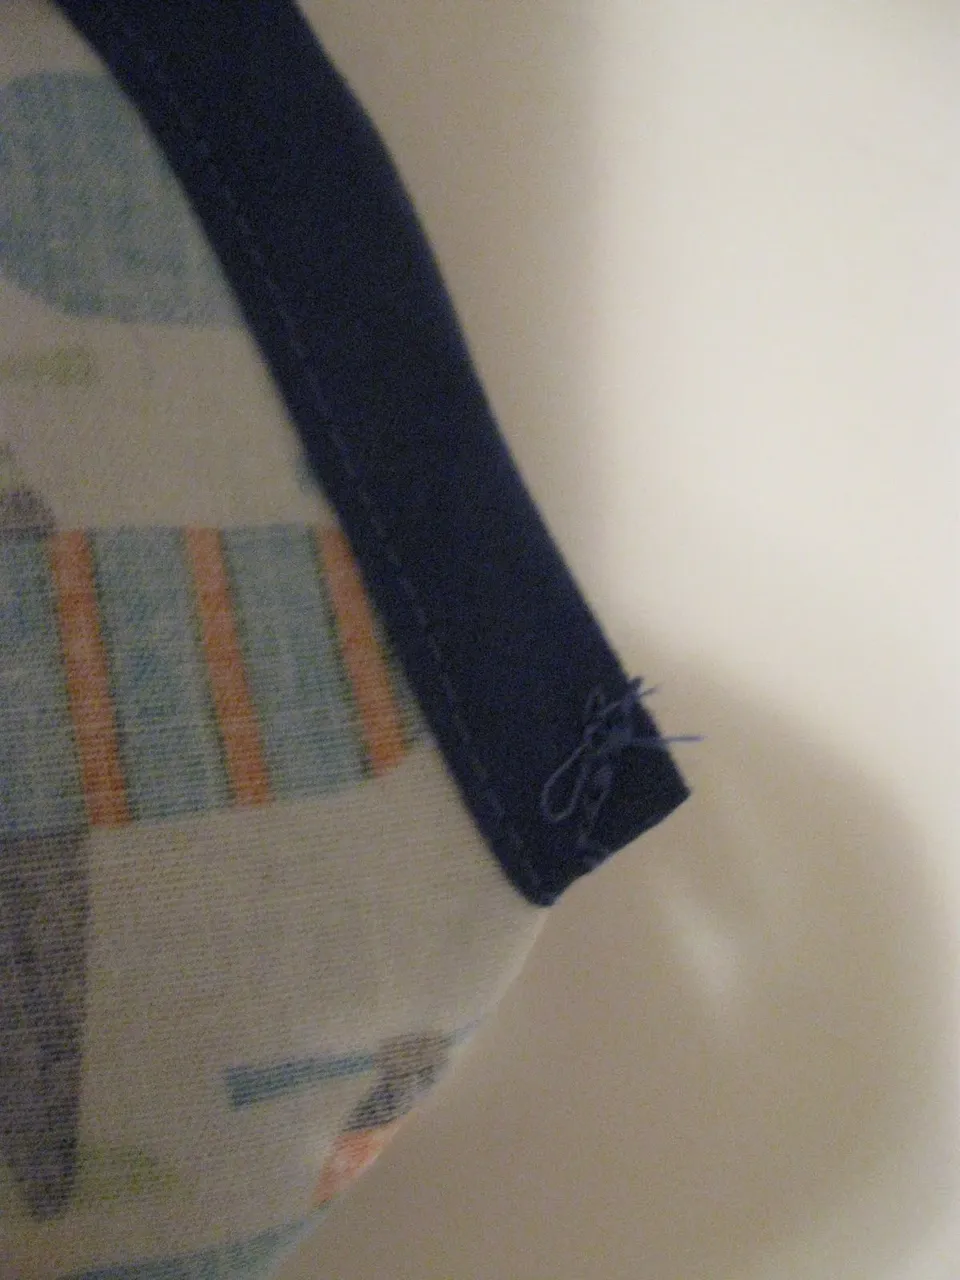
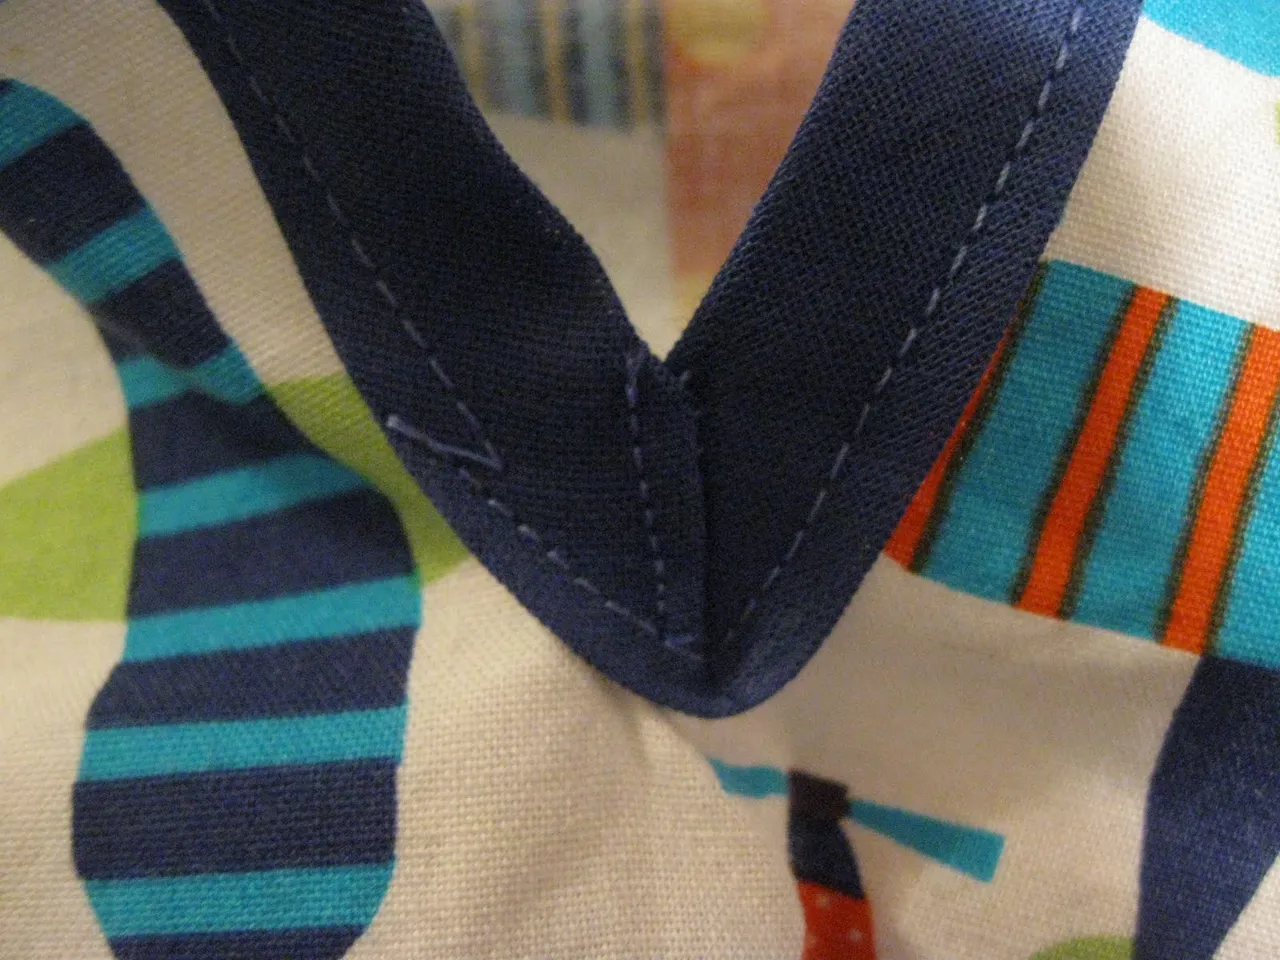
Then stitched it down on the front. Much better.
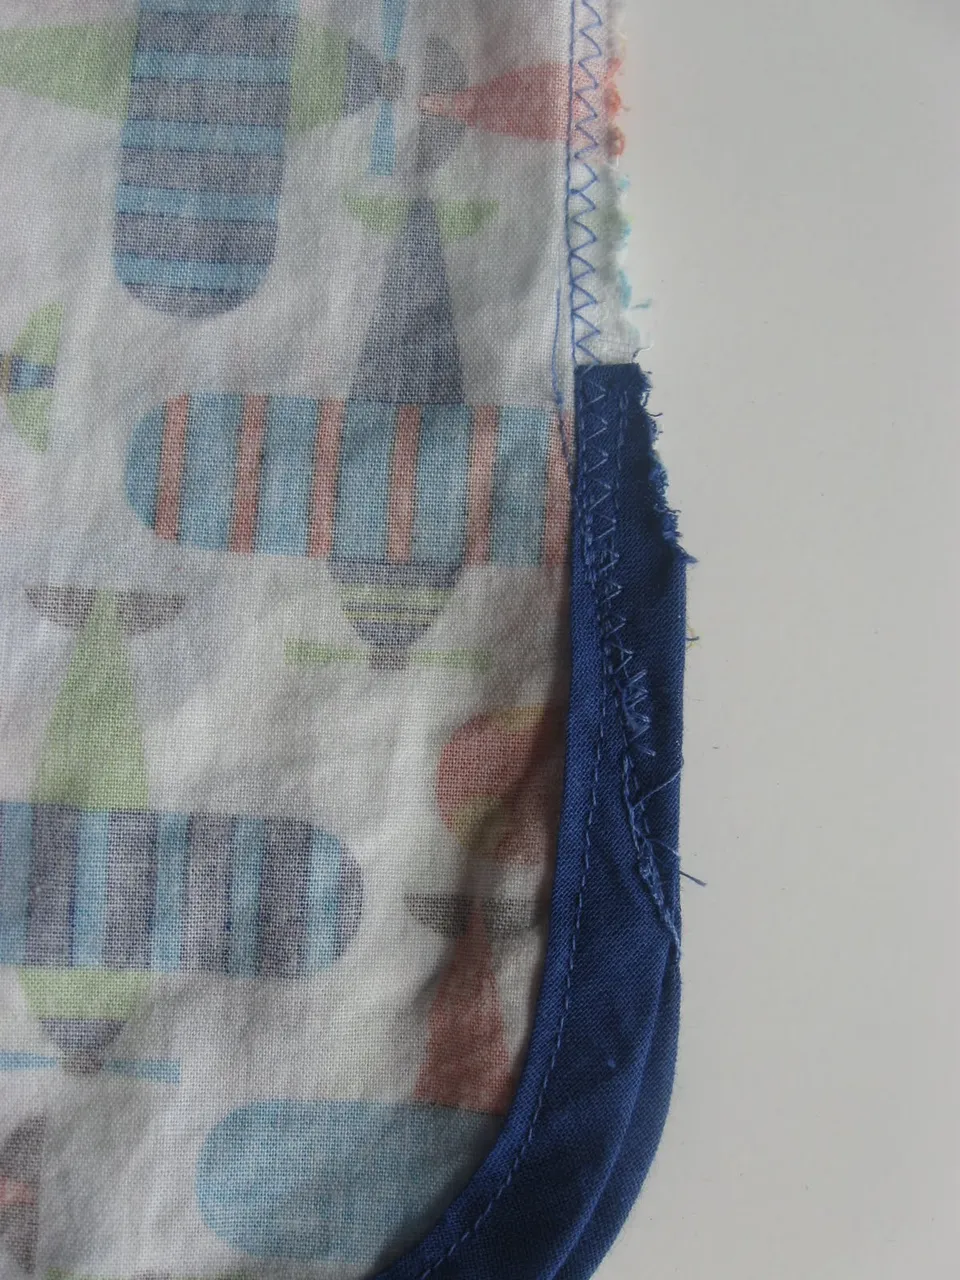
Pin sides and sleeves and sew. Towards the end of the body, where the hemline is rounded off, I sewed at an angle to catch the bias tape. I zigzagged around all seams and used pinking shears to trim. Done.
I showed my husband and this was his response: "Are you trying to tell me that you want him to be a doctor?"
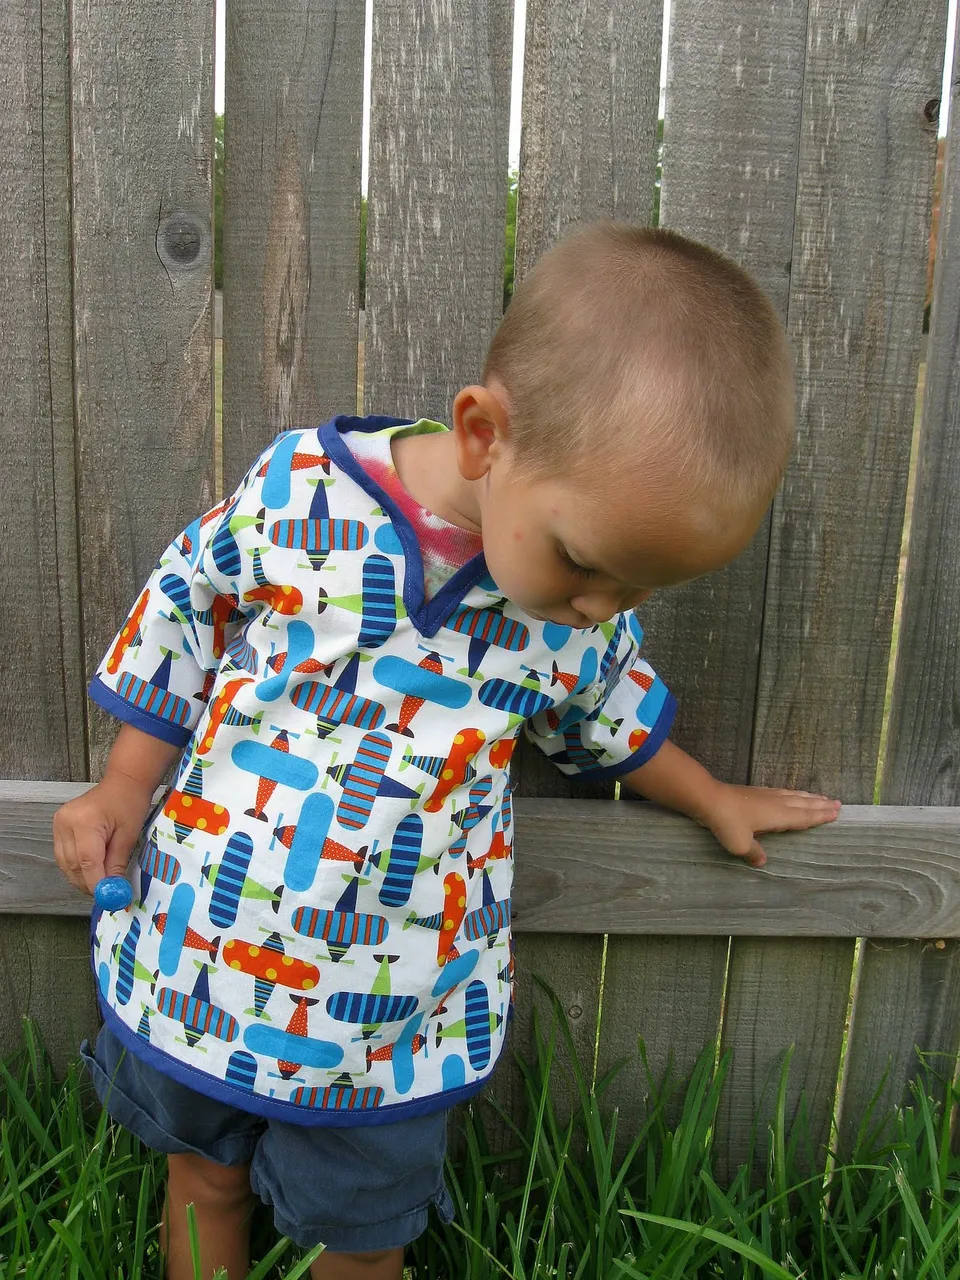
Well, I have to admit the tunic does look a bit like scrubs. I decided to make another tunic but with a placket and no bias tape. I have been pouring over Viking tunic pictures to figure out what would be the easiest. You are probably laughing, because buying a pattern would be the easiest. Stubborn should be my middle name....I know I will figure it out by the time you are reading this.