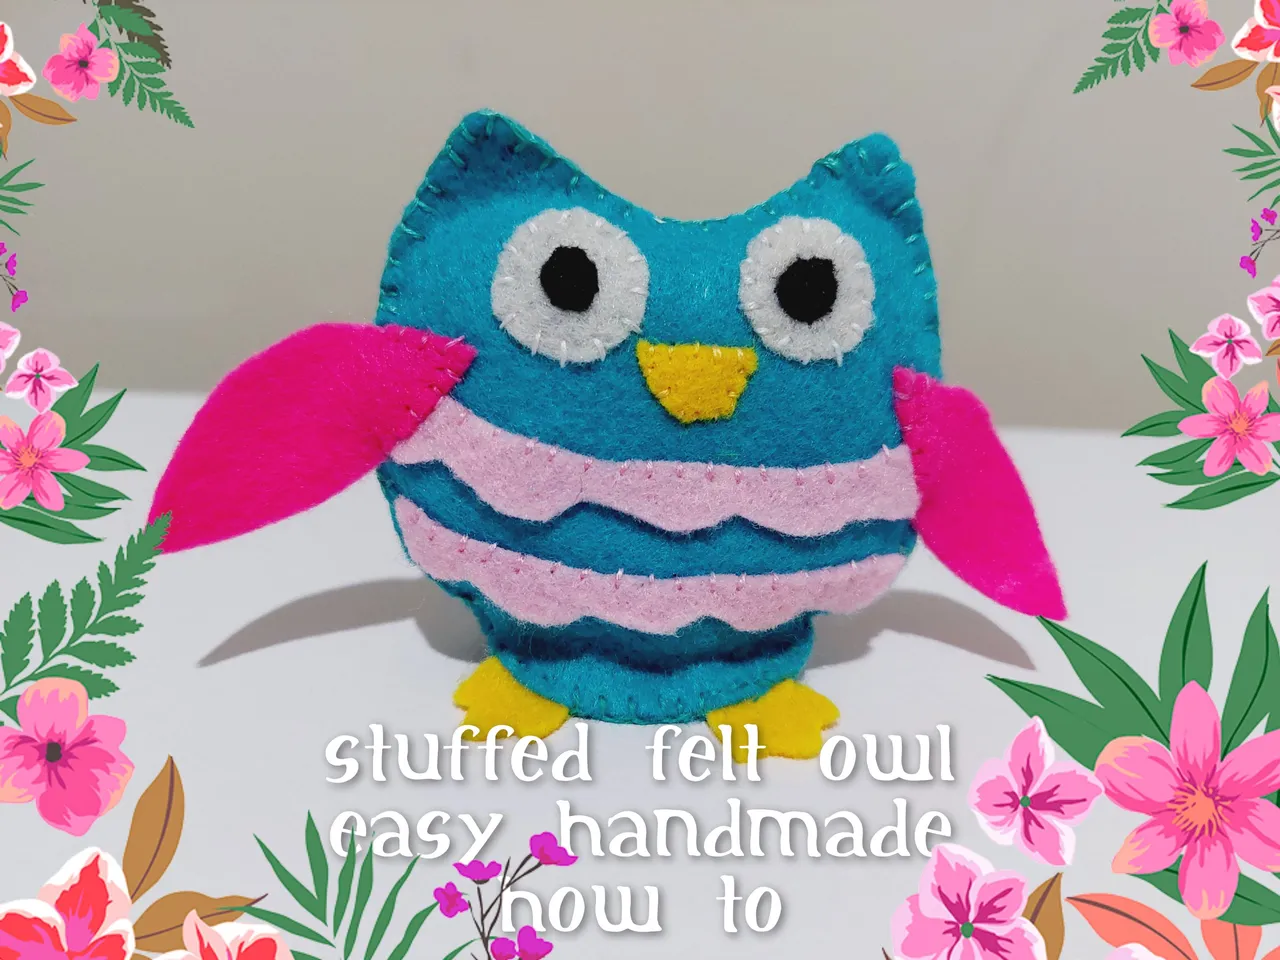
Hello, friends especially needleworkers!
Today I would like to share what I made yesterday, got the inspiration from little walks on Saturday, yesterday I started my project with the felt fabrics that I have. Actually I had some other fabrics to consider like and also some cotton fabrics in natural colour and also baby blue shade colors ( I had some in polkatots, stripes and checkers pattern), but then I decided to use felt, because it had more volume and also it could be more colorful and eye catching to use. Without any much talking, now let me share how I made it.
MATERIALS AND THINGS NEEDED:
Felt fabrics in turquoise, pink, soft pink, broken white, yellow, and blackSome embroidery floss also in turquoise, pink, soft pink, broken white, yellow, and blackA Sewing needle, don’t use too large size of the needleAn unused thick paperA Marker to draw the patternA PencilScissors
HOW TO MAKE IT:
FIRST
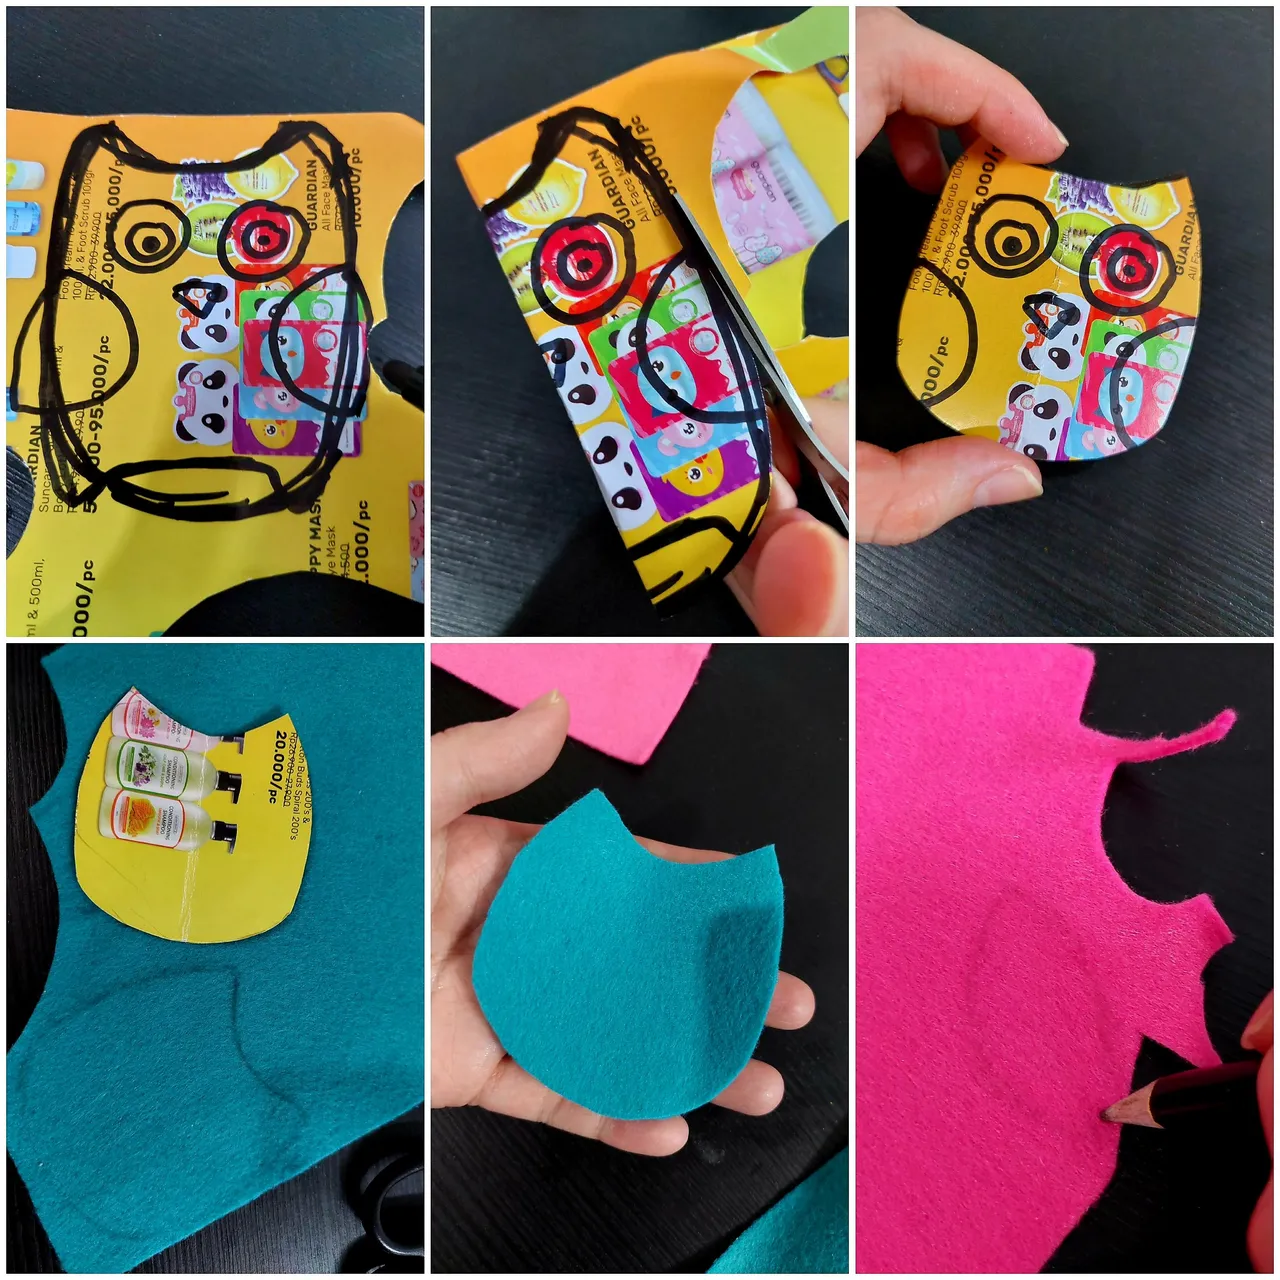
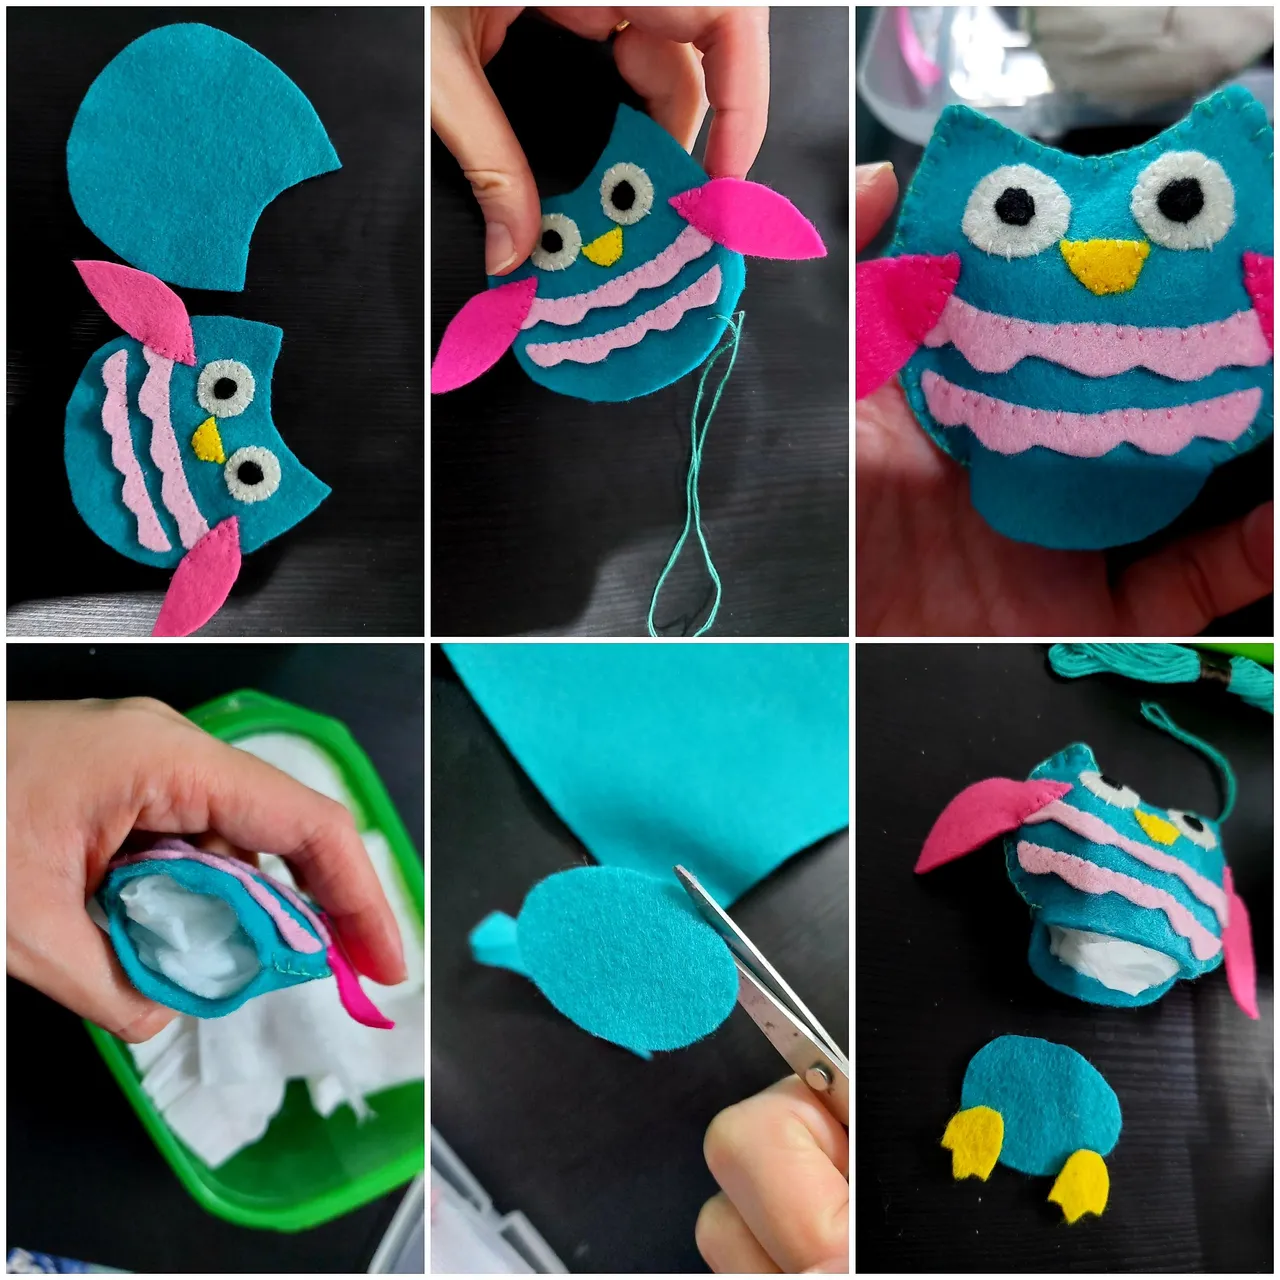
I started by drawing the owl that I want on the paper with the marker and then cut it off, to make sure that the shape was symmetric I fold the paper in the middle then cut the right and left side together. Then I transfer it on the turquoise fabric, I made 2 pieces for the front and back, then I also drew the pink fabric to make the wing. Then cut them off.
SECOND
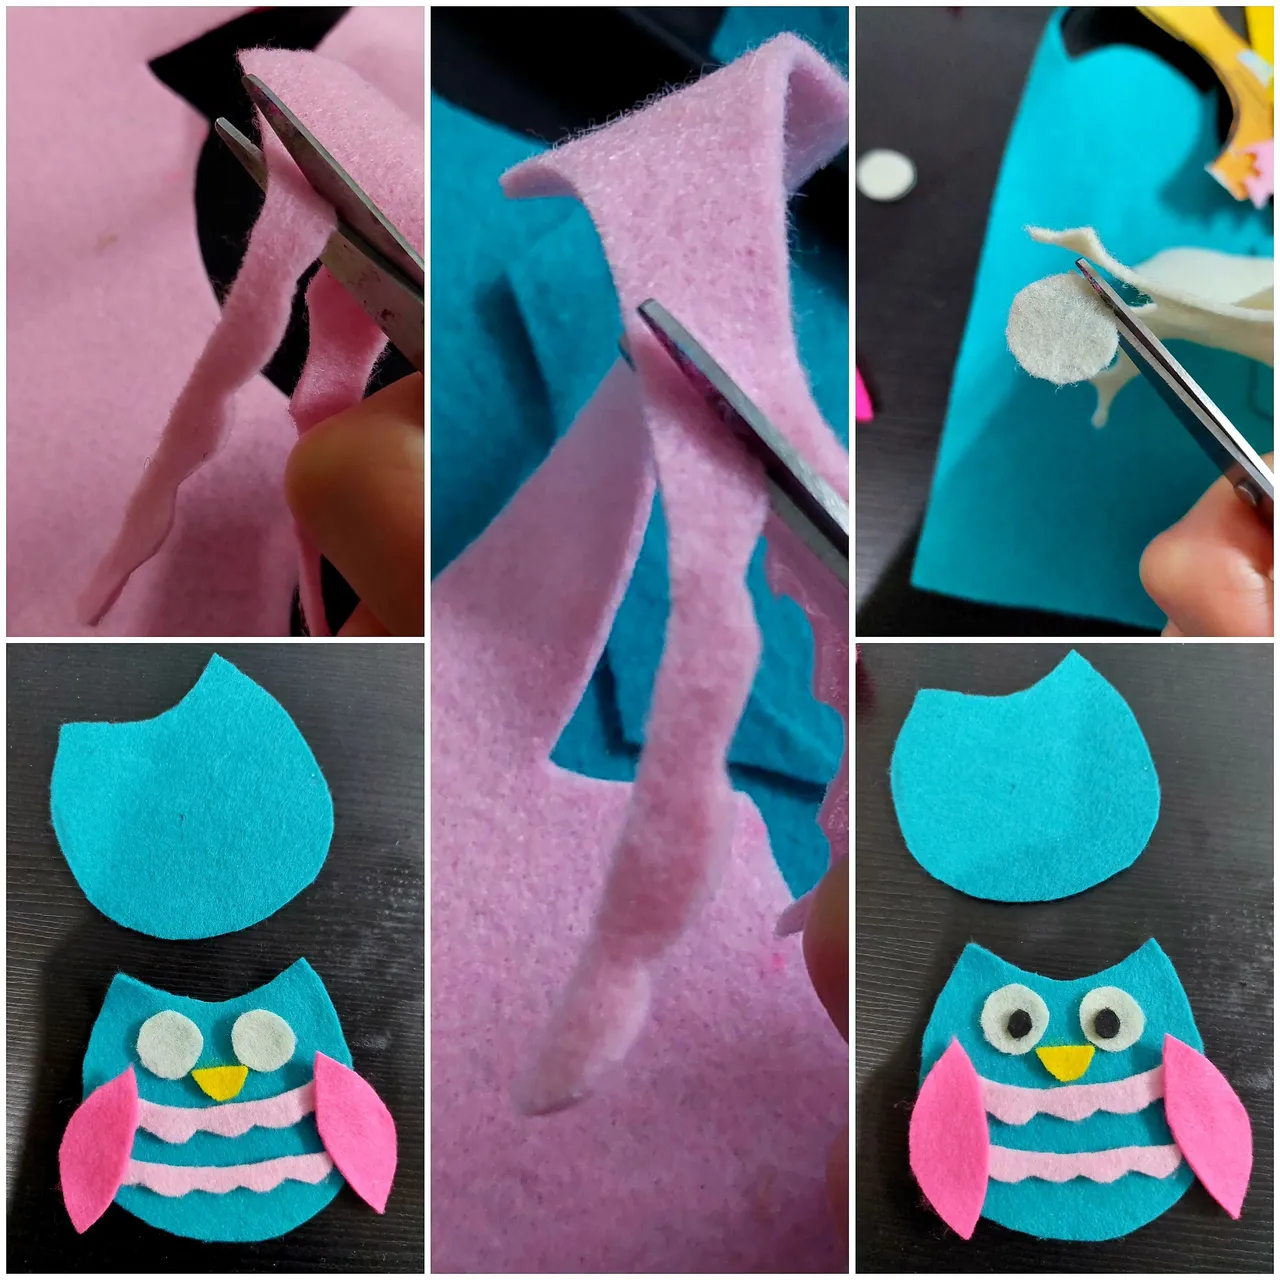
For the fur I used the soft pink fabric and then cut it like below, I also prepared two circles in broken white and two smaller circles in black, plus a beak in yellow.
THIRD
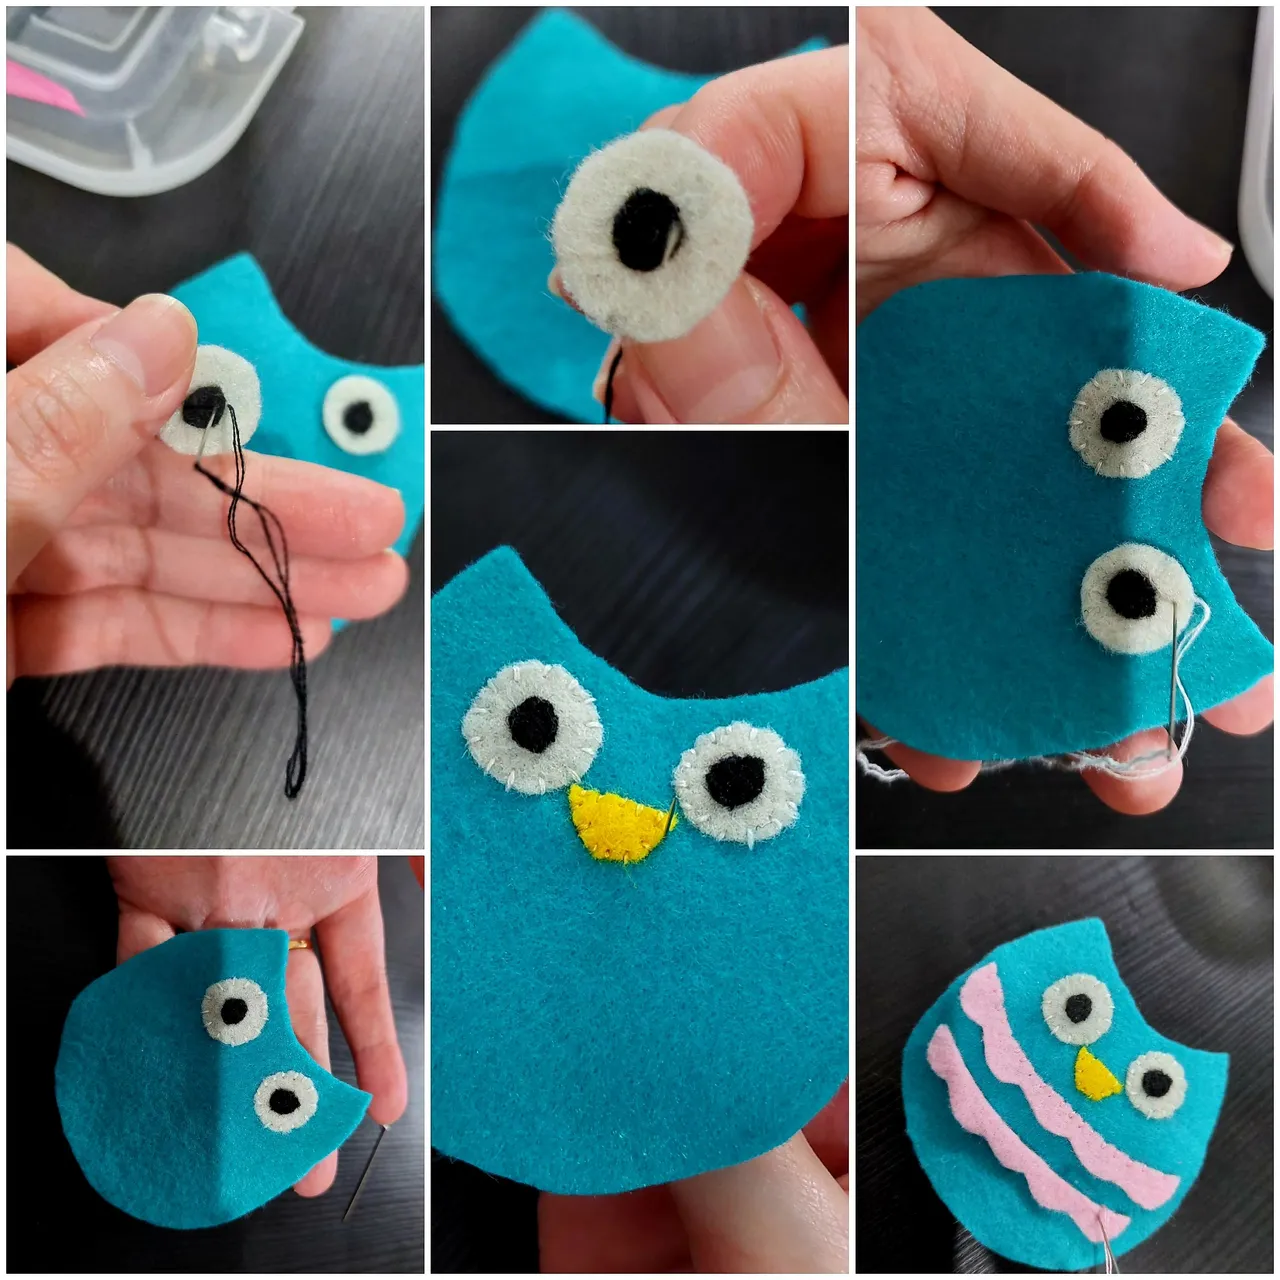
Time to sew, started from the black part of the eyes, by using 2 strains of black embroidery floss, I whipped stitch them on the white part. Then put the white circles on the eye, also I did it with whipped stitch. Do the same for the beak. And then for the fur I only did the whipped stitch to its’ upper part.
FOURTH
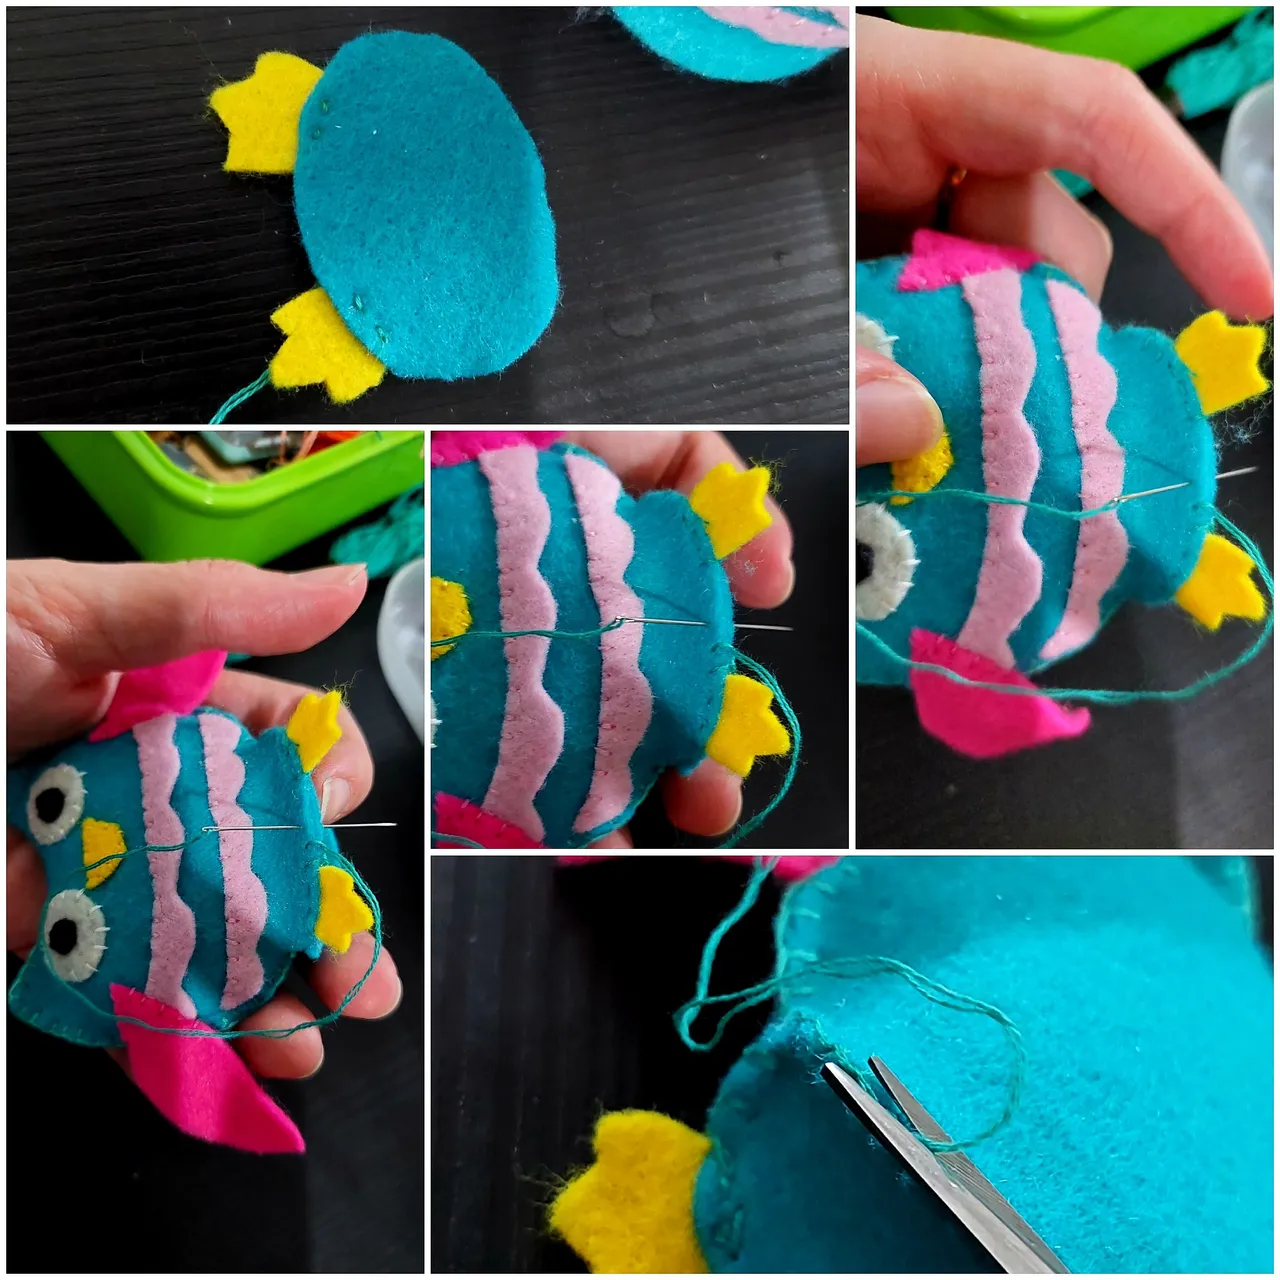
I also did the whipped stitch for the wings but only a bit to join it with the body. After that, I sew the front and back part together by using the blanket stitch. Then, fulfill the cotton balls inside the owl. My tip: using Dacron would be better cause the texture would be softer than cotton balls. Then I made the last part of the owl, an oval turquoise color plus two yellow feet.
FIFTH
I then sew the two feet on the oval turquoise then the oval turquoise joined with the whole body of the owl with the blanket stitch.
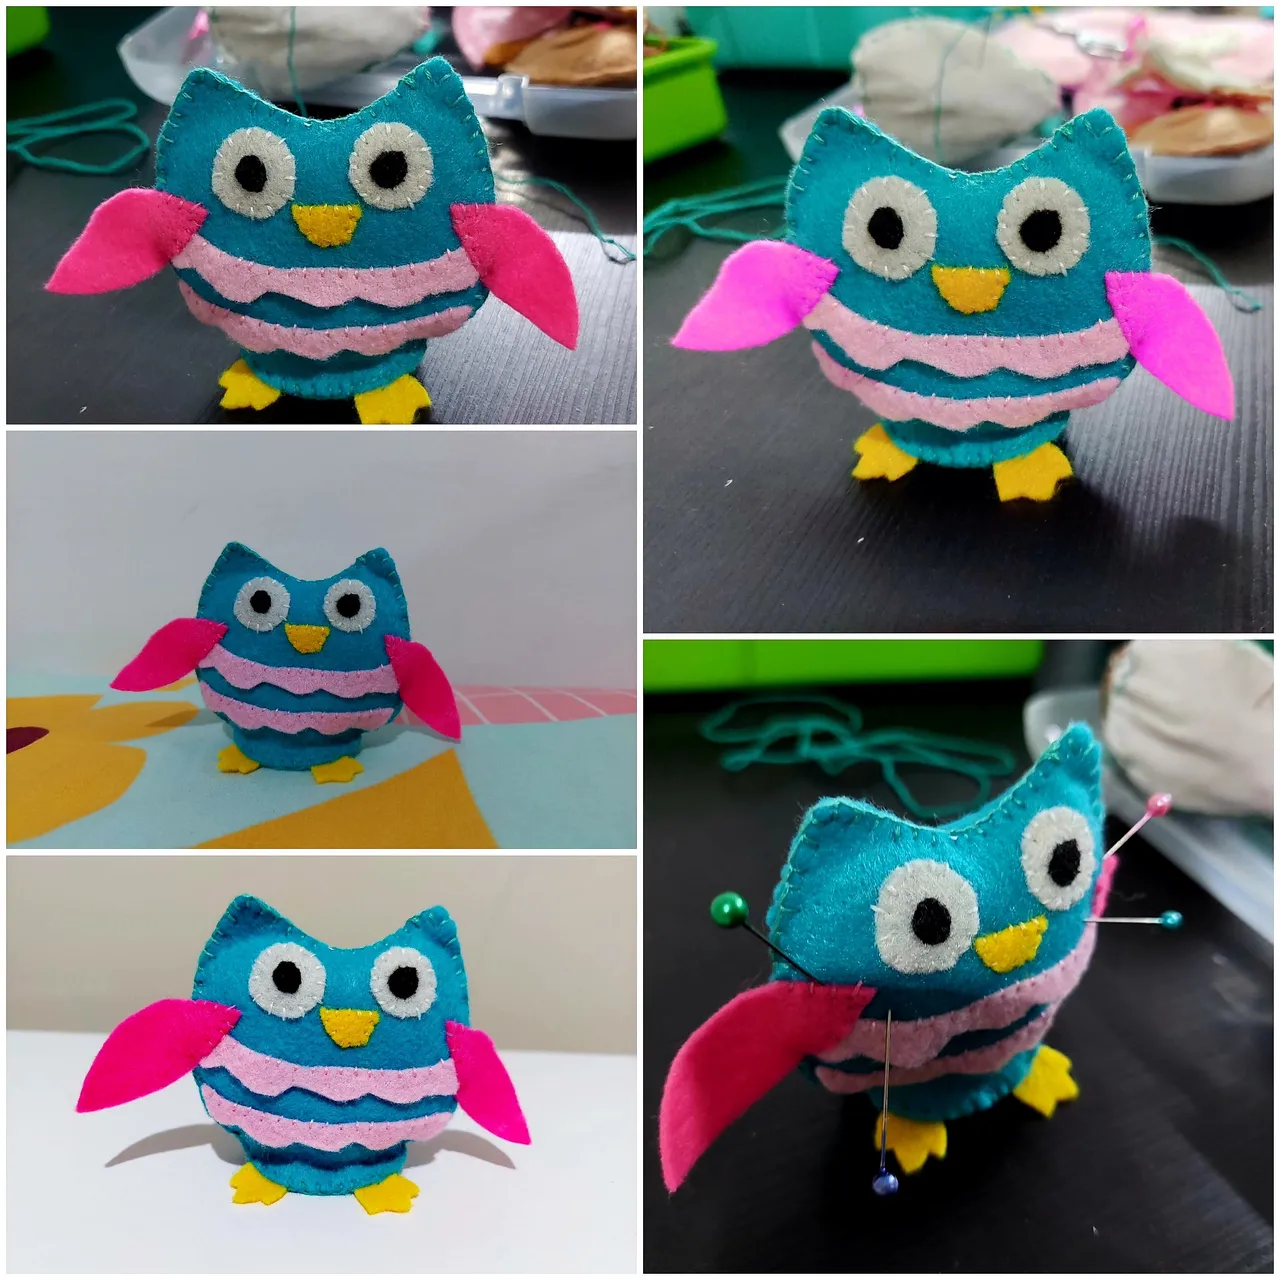
TA, DA
Cute felt owl is finished now, I could use it to put my straight pins and also needle now.
Thanks for reading my article, hope you like it and see you on my next article.
Happy needleworkmonday!