Hello, friends!
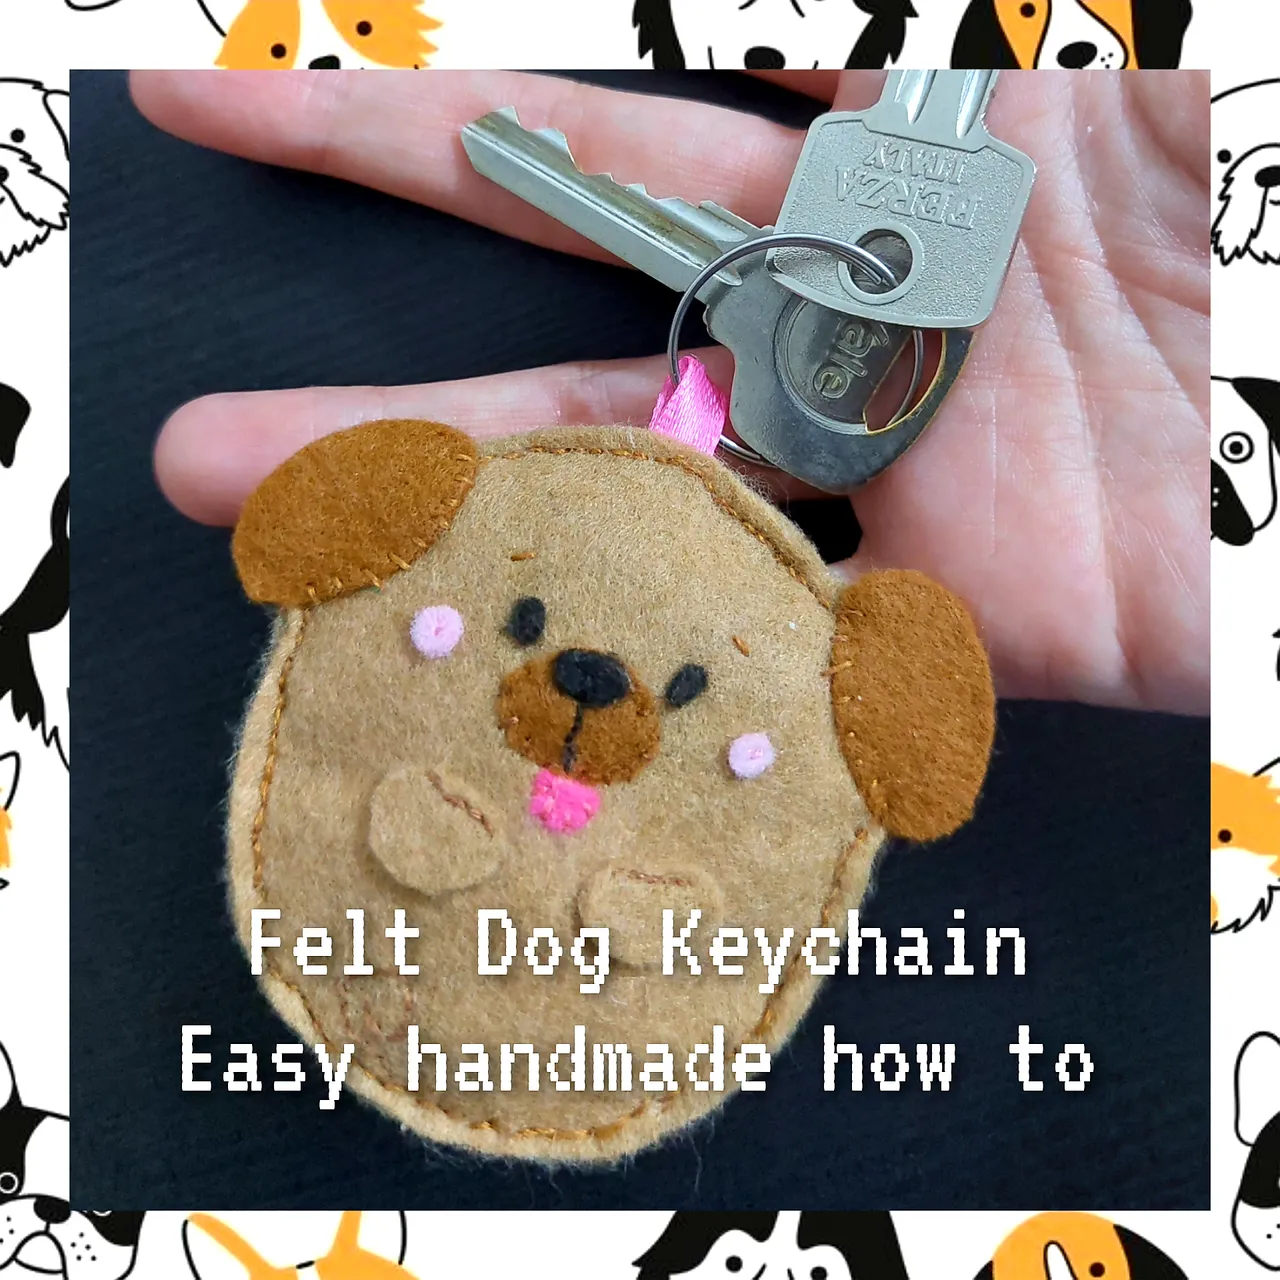
Yesterday was Sunday, like usually, I finally had time to do my hobby, do the handsewing this time with the felt as the main material, to make a useful things, as always, and this time I tried to make a felt dog keychain, so easy and fun to make. And I would like to share from the materials until the process of making this keychain here, hope you also could make one for yourself too..
Material & Things Needed:
Unused thick paperA markerA PencilScissorsFelt fabrics in brown, light brown, pink, soft pink and blackA Sewing needleSome embroidery floss as the fabrics’ colours, each sewing would need two strains of this flossPink ribbonA Key Ring
How to make it:
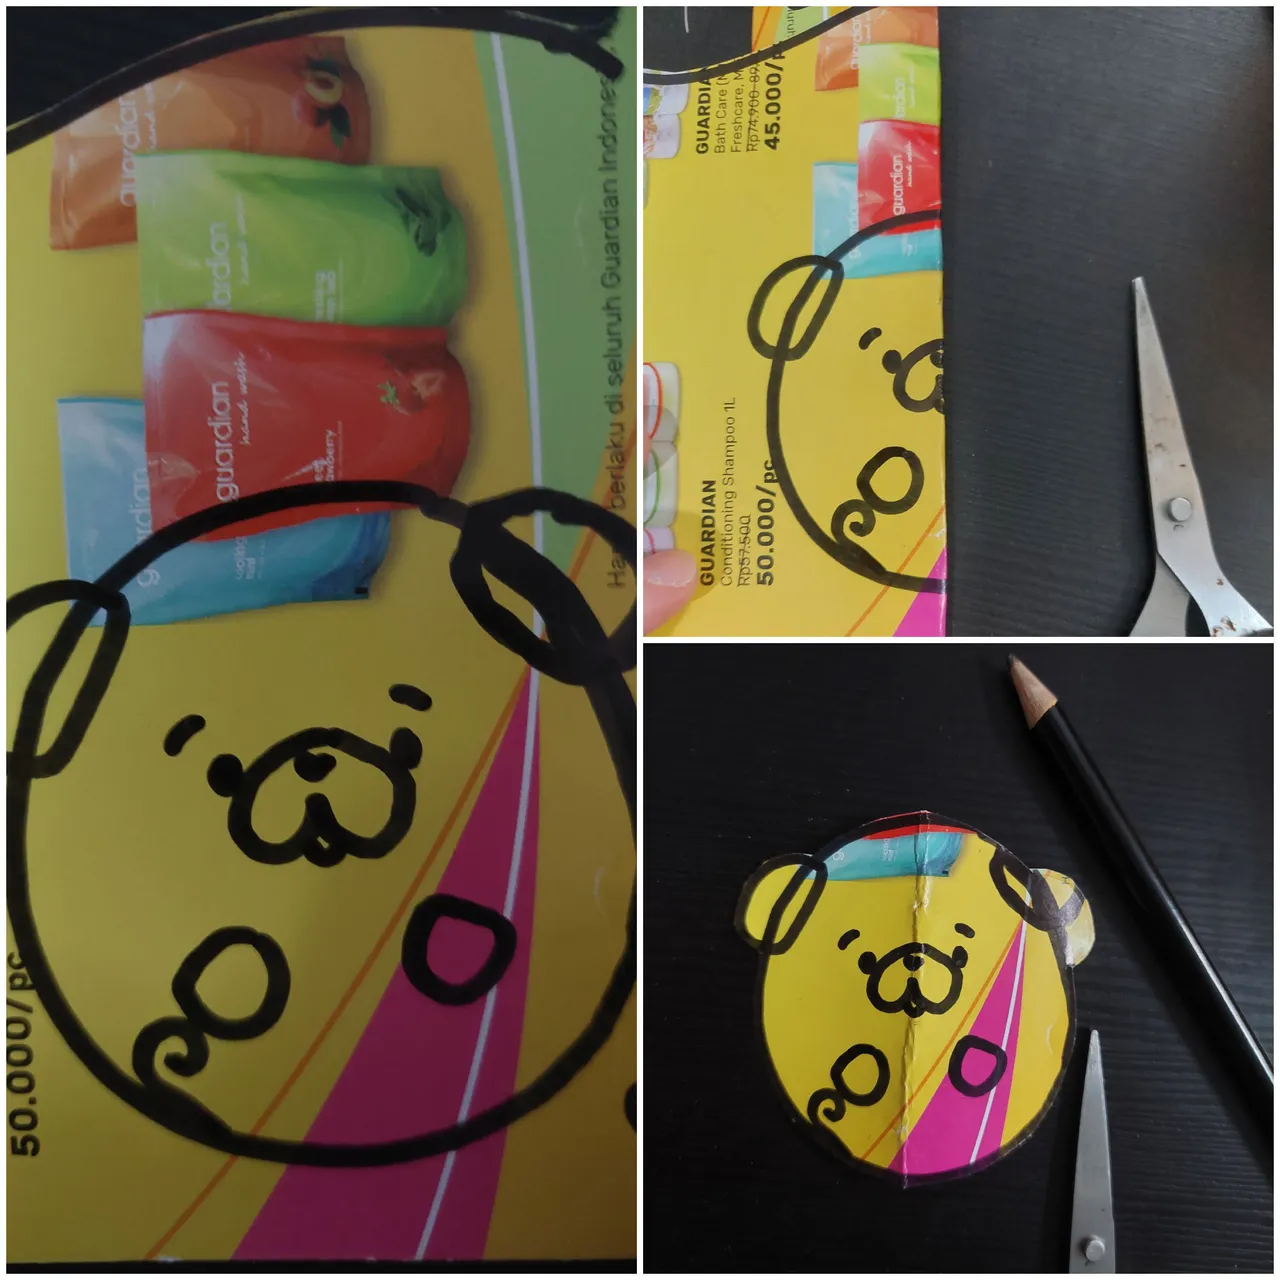
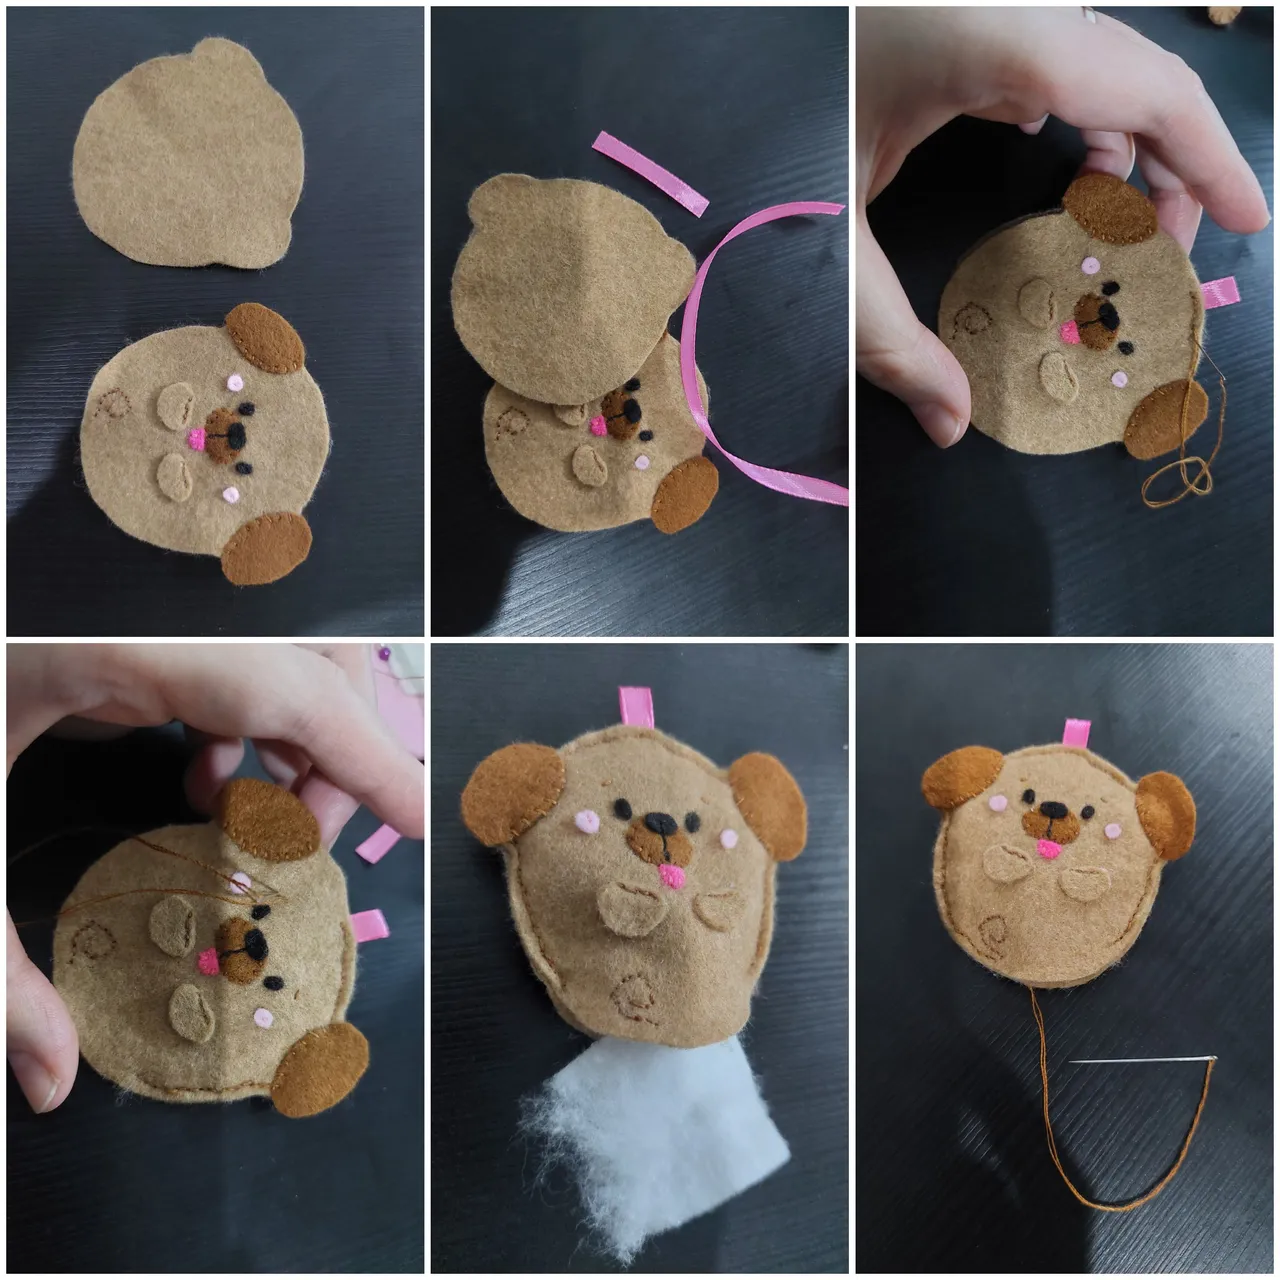
FIRST
Make the pattern of the dog with the thick paper. To make it symmetric when I cut if off, I fold the paper in the middle.
SECOND
Copy transfer it using the pencil to the light brown fabric, make two from front and back. For some parts like ears and mouth area I used the brown colour. For the cheeks with soft pink and pink for the tongue. The eyes and nose with black fabric. Then cut them off.
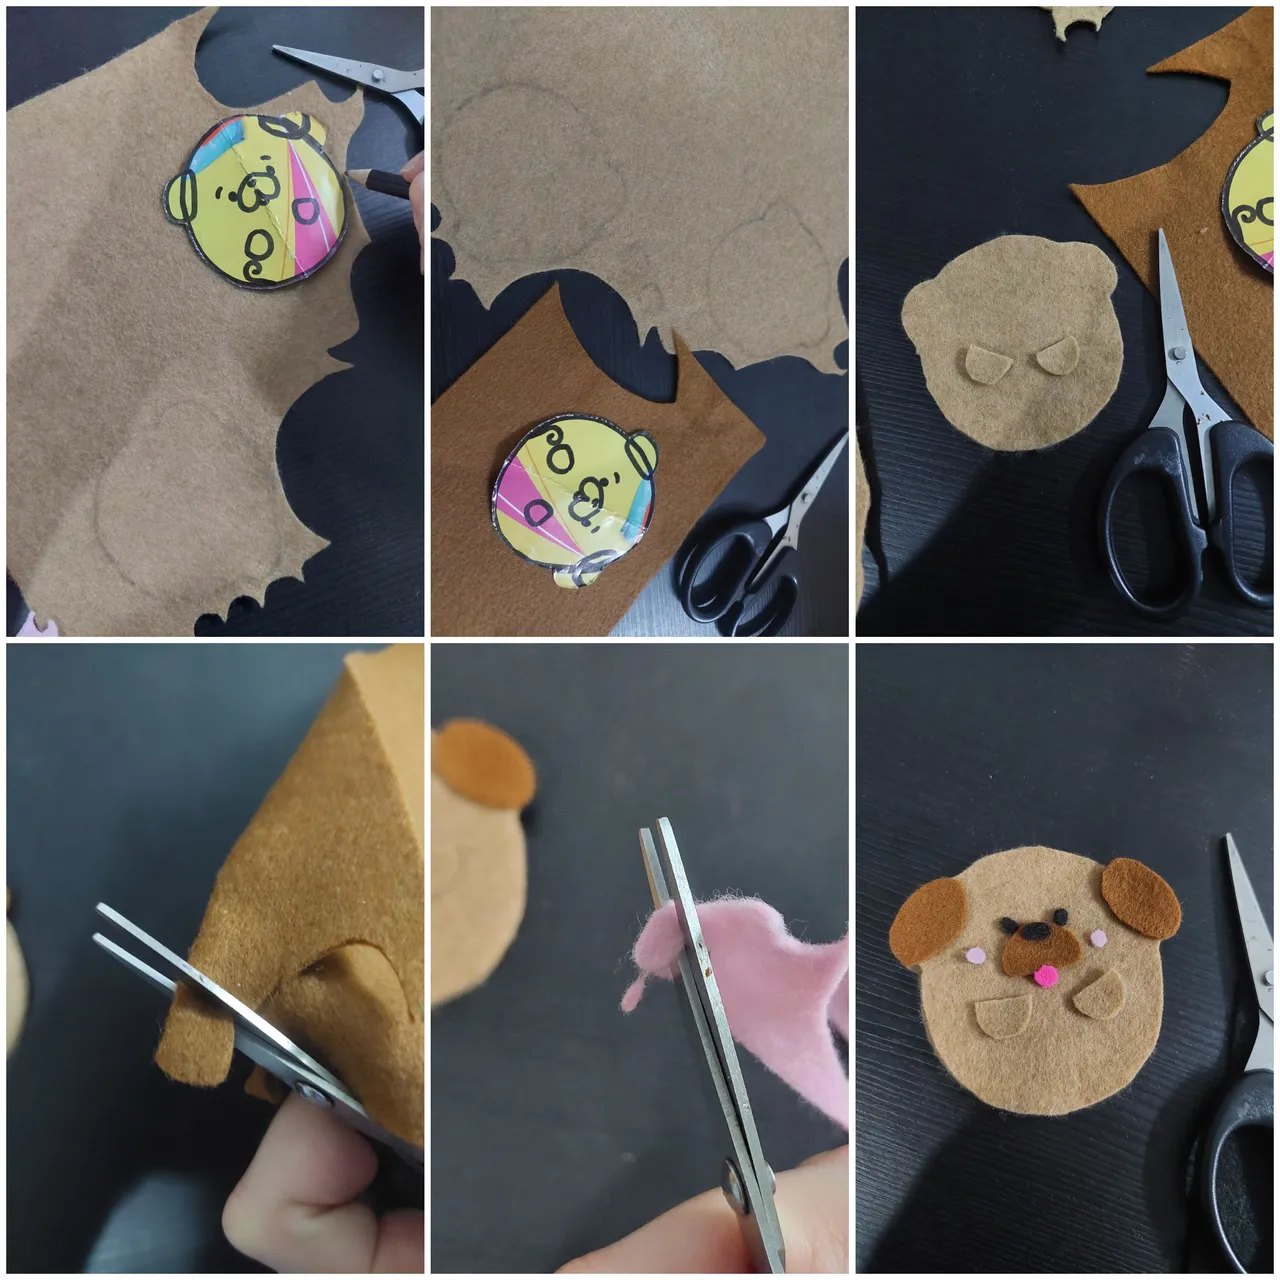
THIRD
Sew the black nose and then sew the line below it to the mouth brown part then trim it. Also sew the two eyes and tongue.

FOURTH
Add the mouth part there too with the whipped stitch, do the same for the ears. If you don’t know how to do the whipped stitch you could comment below so I could next make a basic sewing article. Also sew the cheeks there. Then embroider the tail with the brown floss then also sew the two front legs under the face.
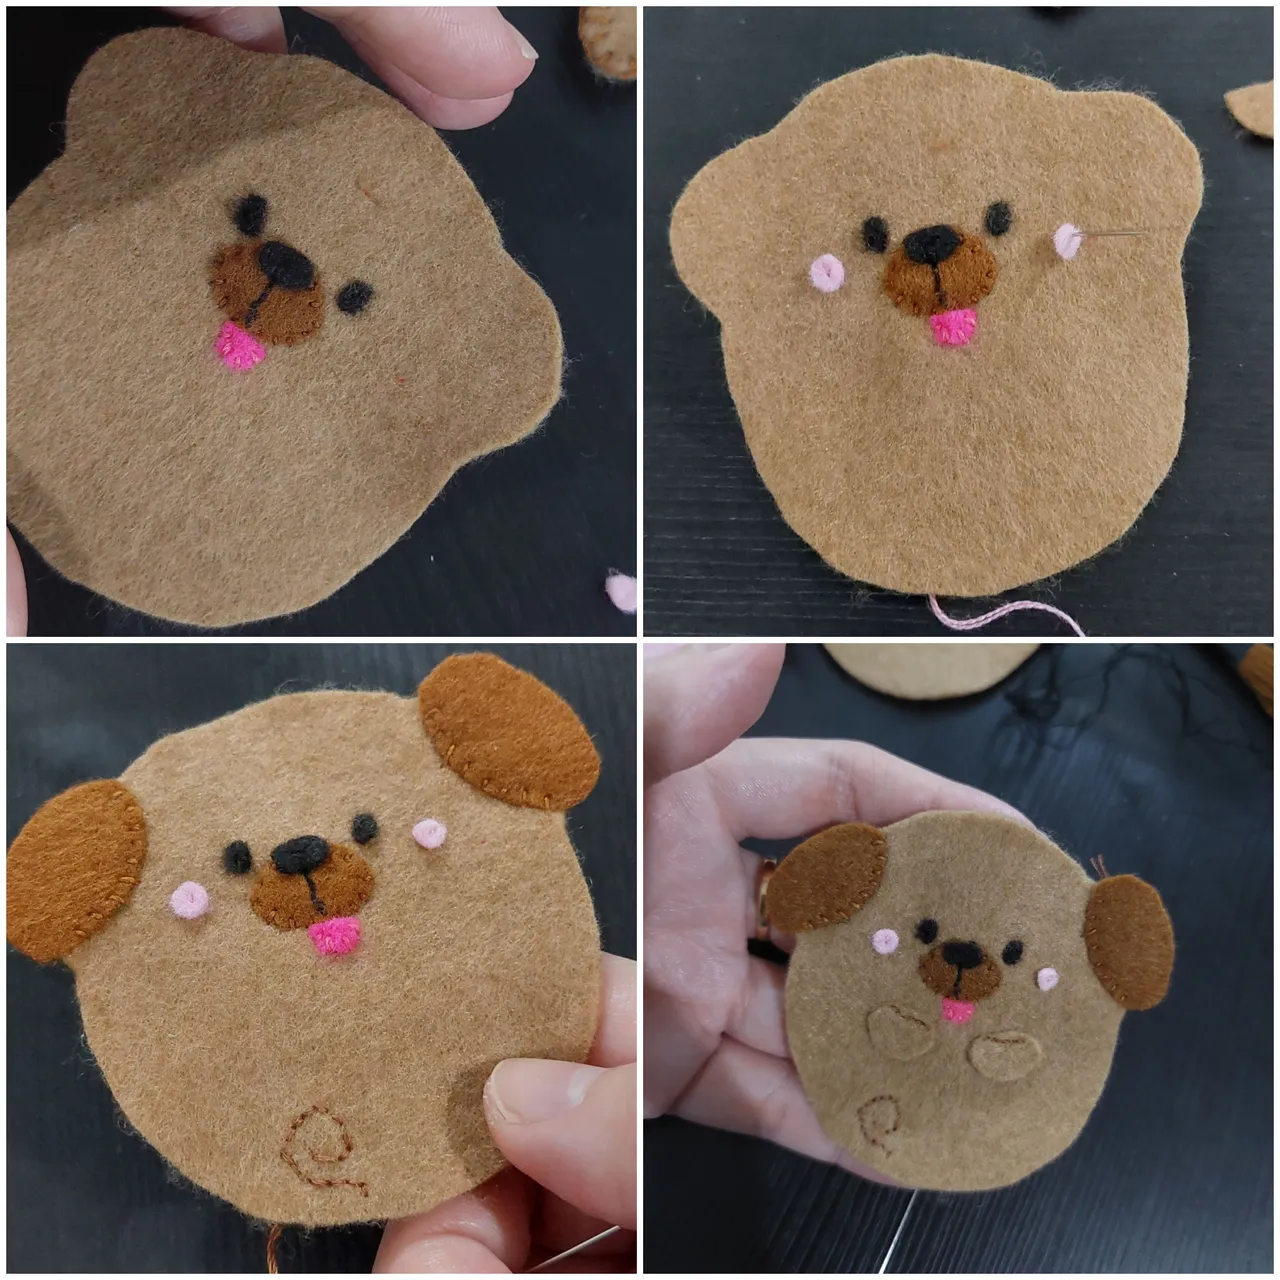
FIFTH
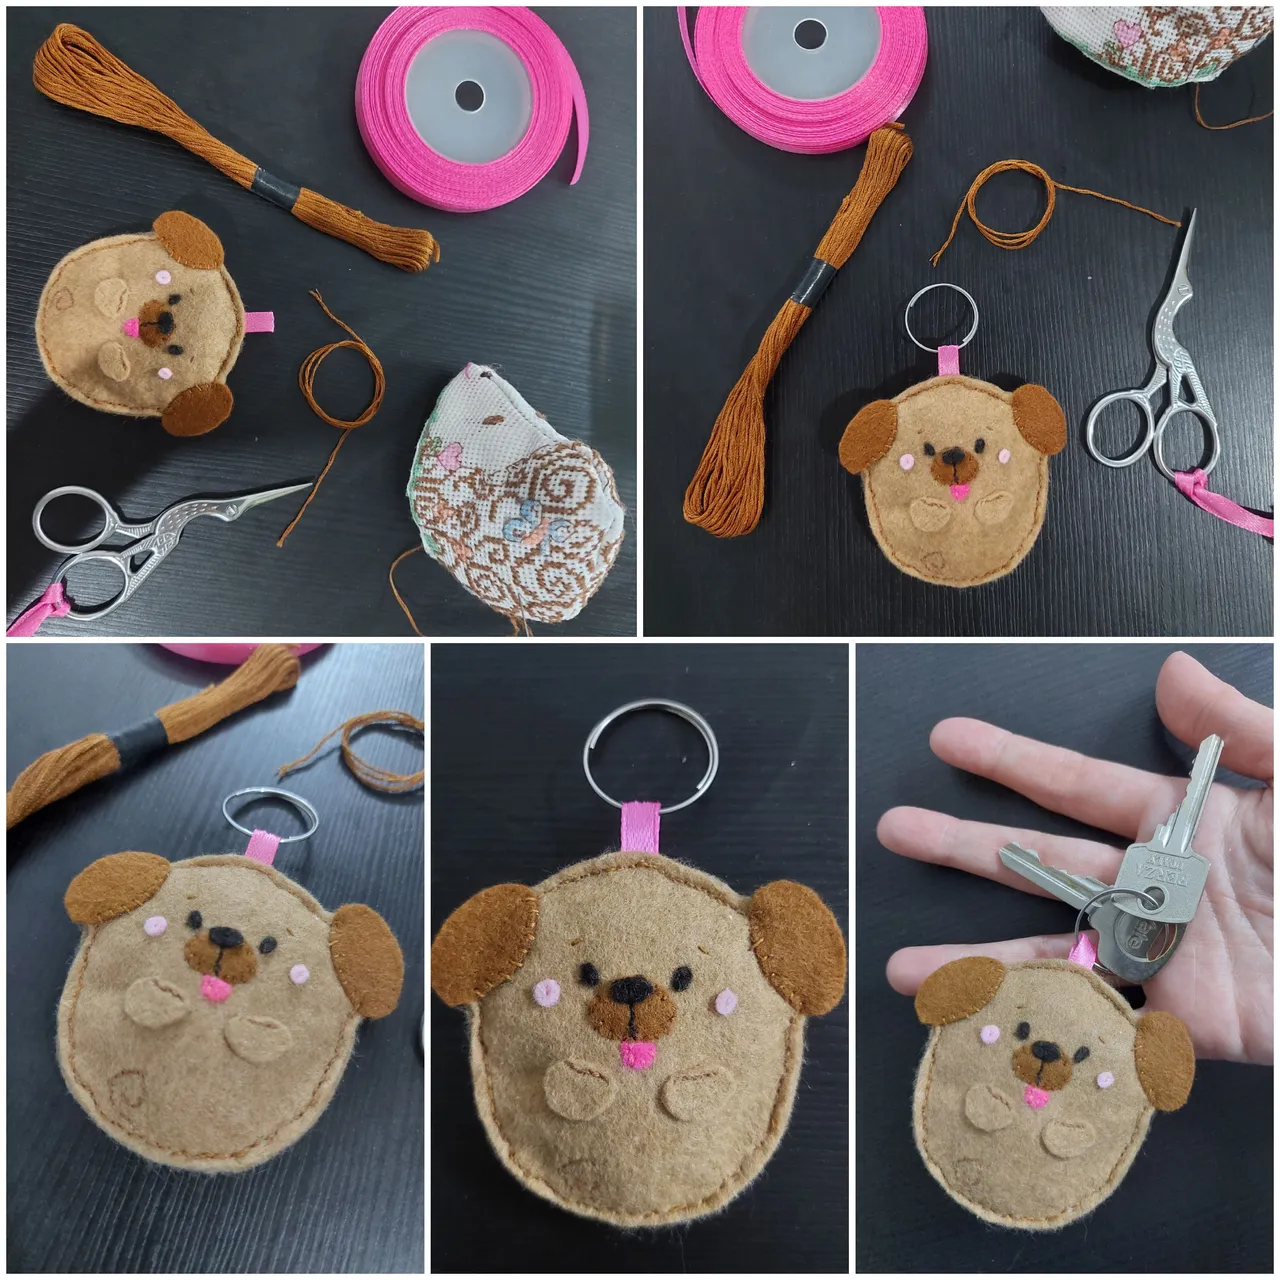
Now it is the time to add the ribbon on the top then sew around the dog. Don’t forget to sewt the two eyebrows and then put cotton balls inside before finish the sewing.
THE RESULT
Voila, this felt dog keychain is ready to use.. isn’t it cute?
Happy needleworkmonday!