

Spanish
Buenas buenas...
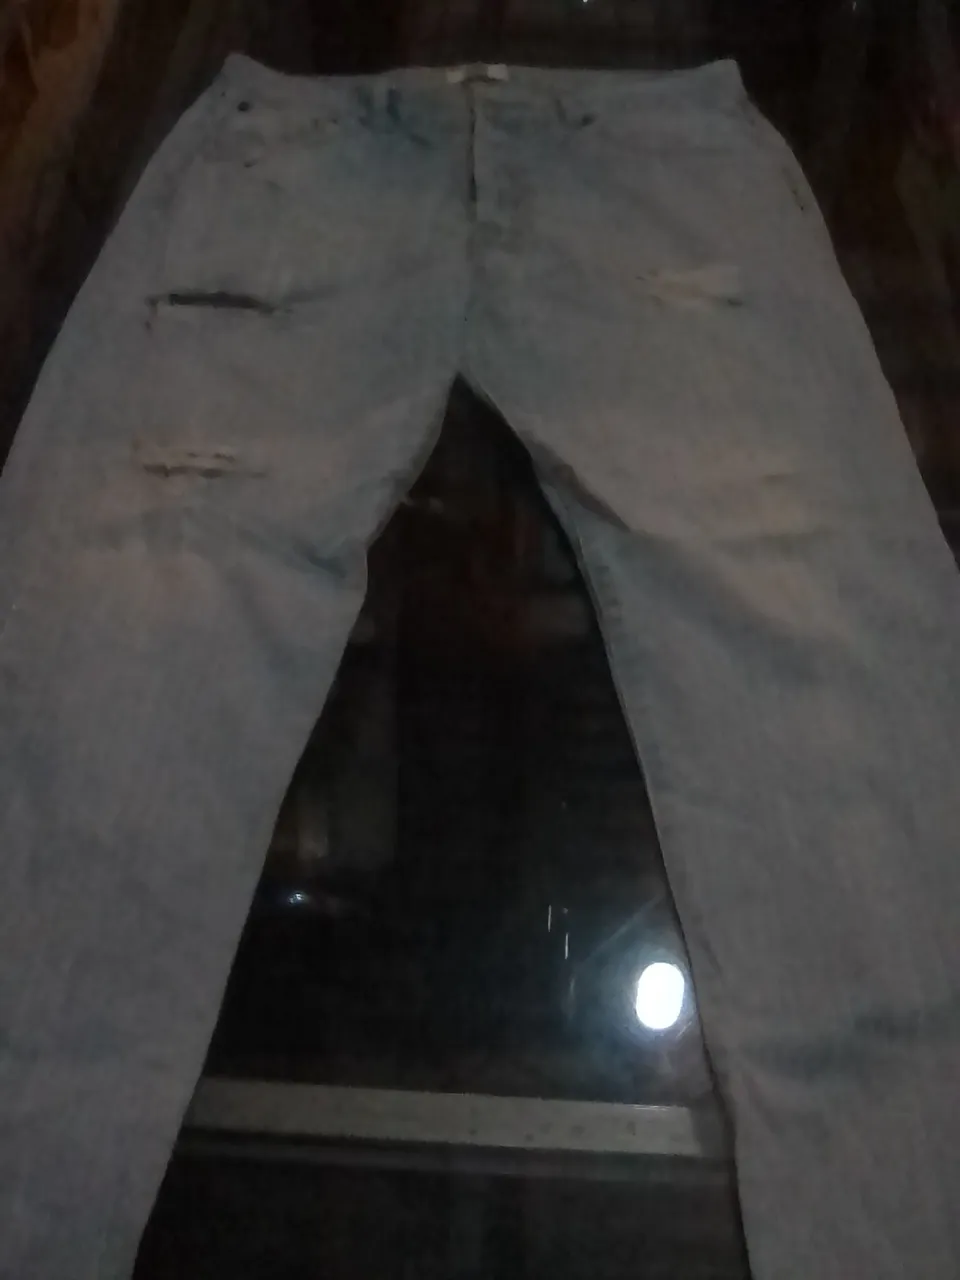
Hola, querida comunidad. Una vez más estoy por aquí, en esta oportunidad quiero compartir con ustedes una creación de una cartera o bolso de lado, realizado con un jean viejo, que iba a ser botado. Mi intención al realizar lo de lado, es que creo que es más cómodo, por lo menos para mí, sobre todo para salir a comprar, ya que siempre ando con mis hijos, así que lo veo practico. Te invito para que te quedes a ver y leer, te gustara.

Materiales a usar:
Jean viejo
Hilo blanco
Aguja
Tijera
Retazo de tela (para el forro)
Cinta para decorar
Lápiz
Un palo de escoba
Elaboración:
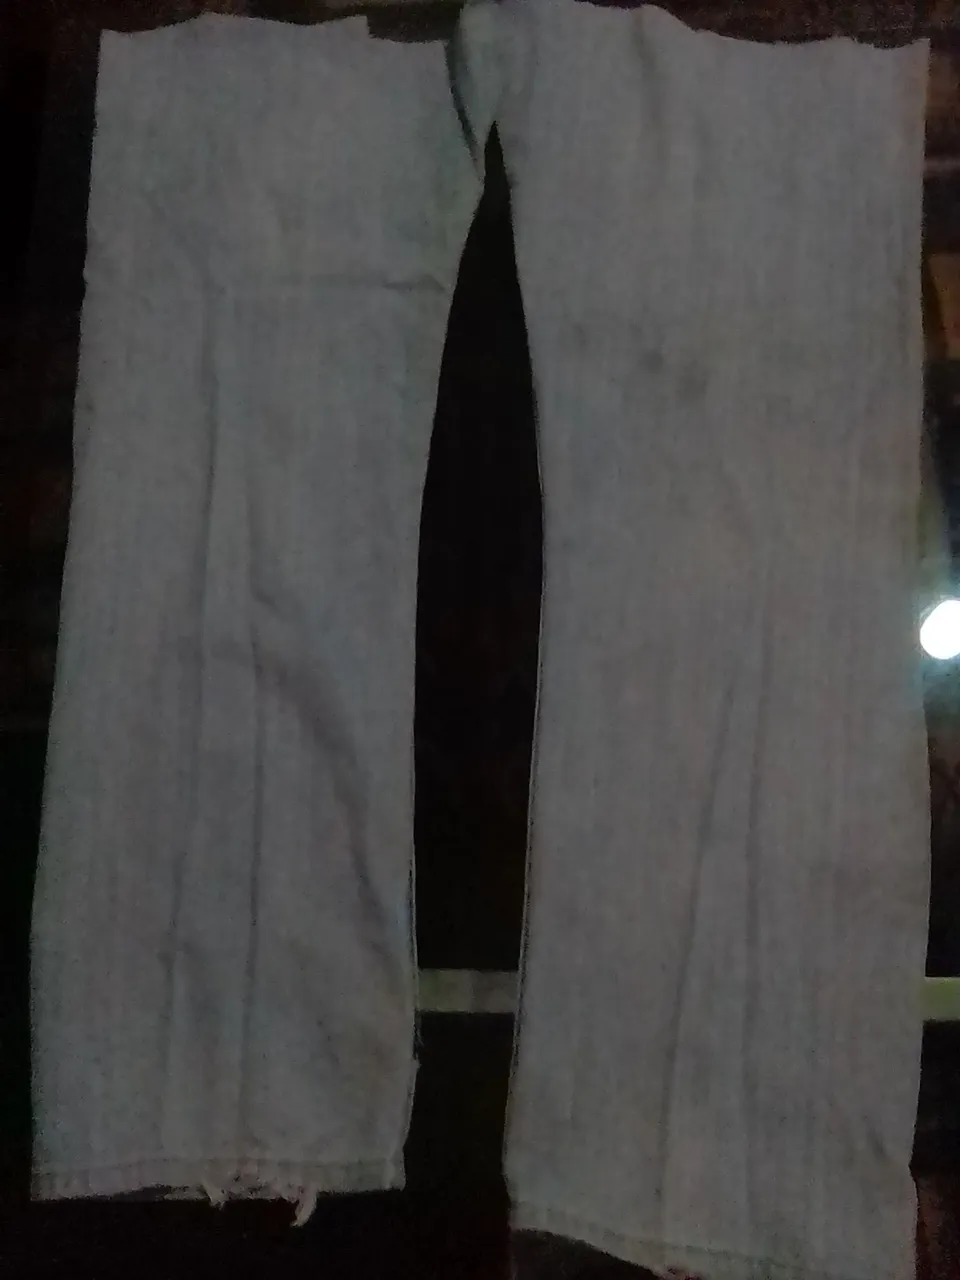
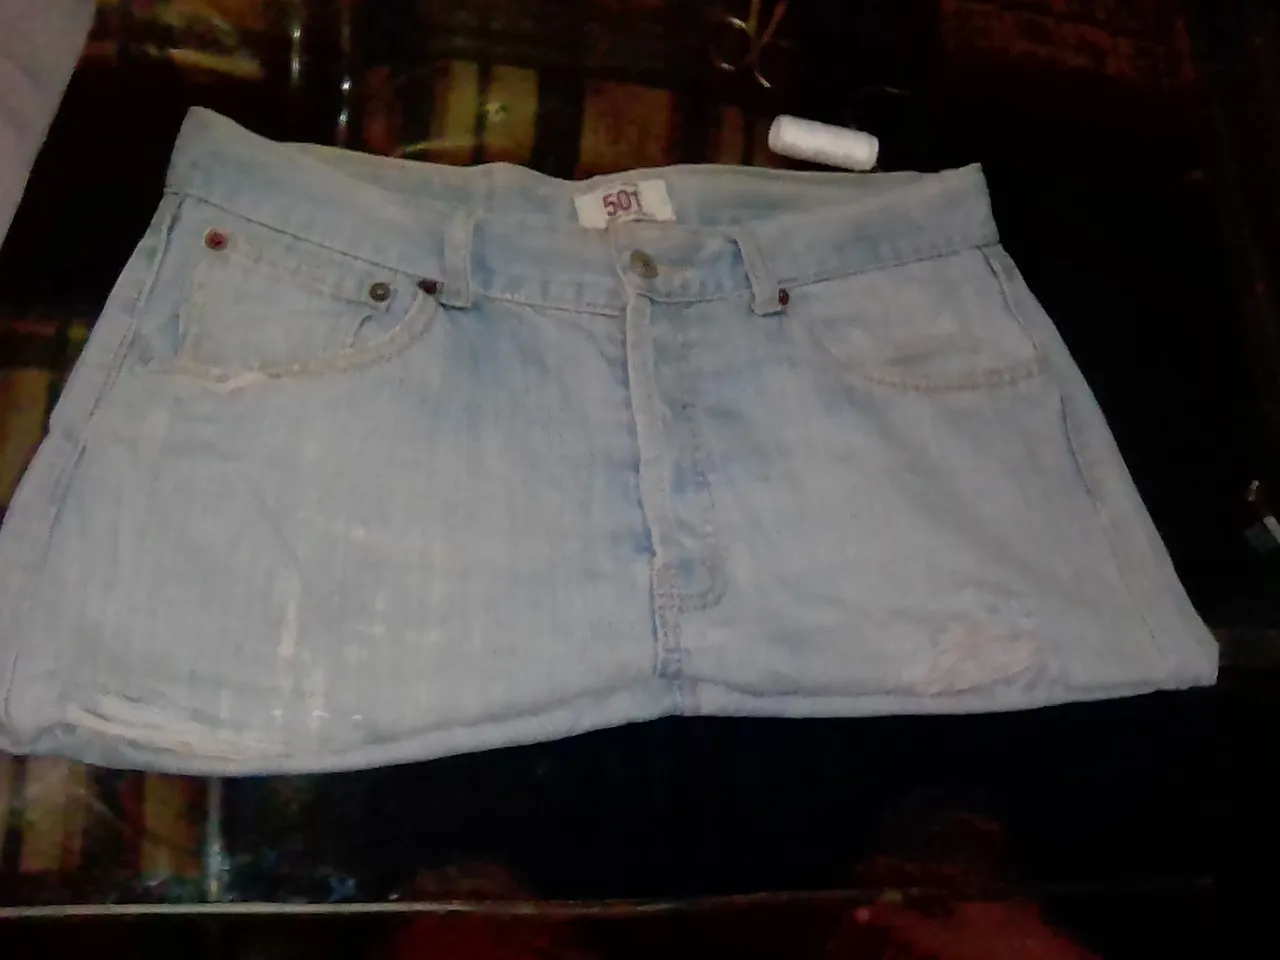
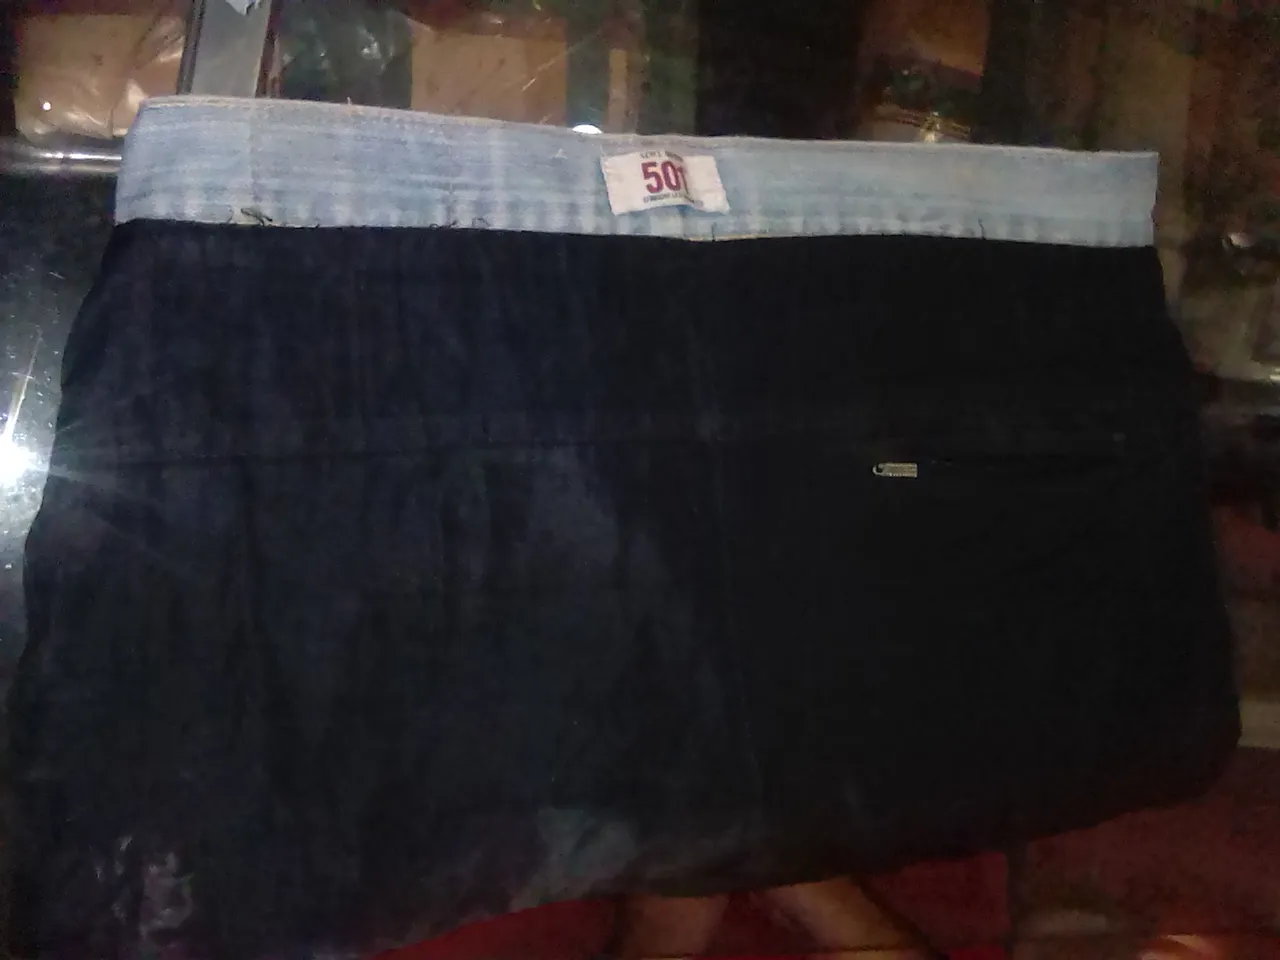
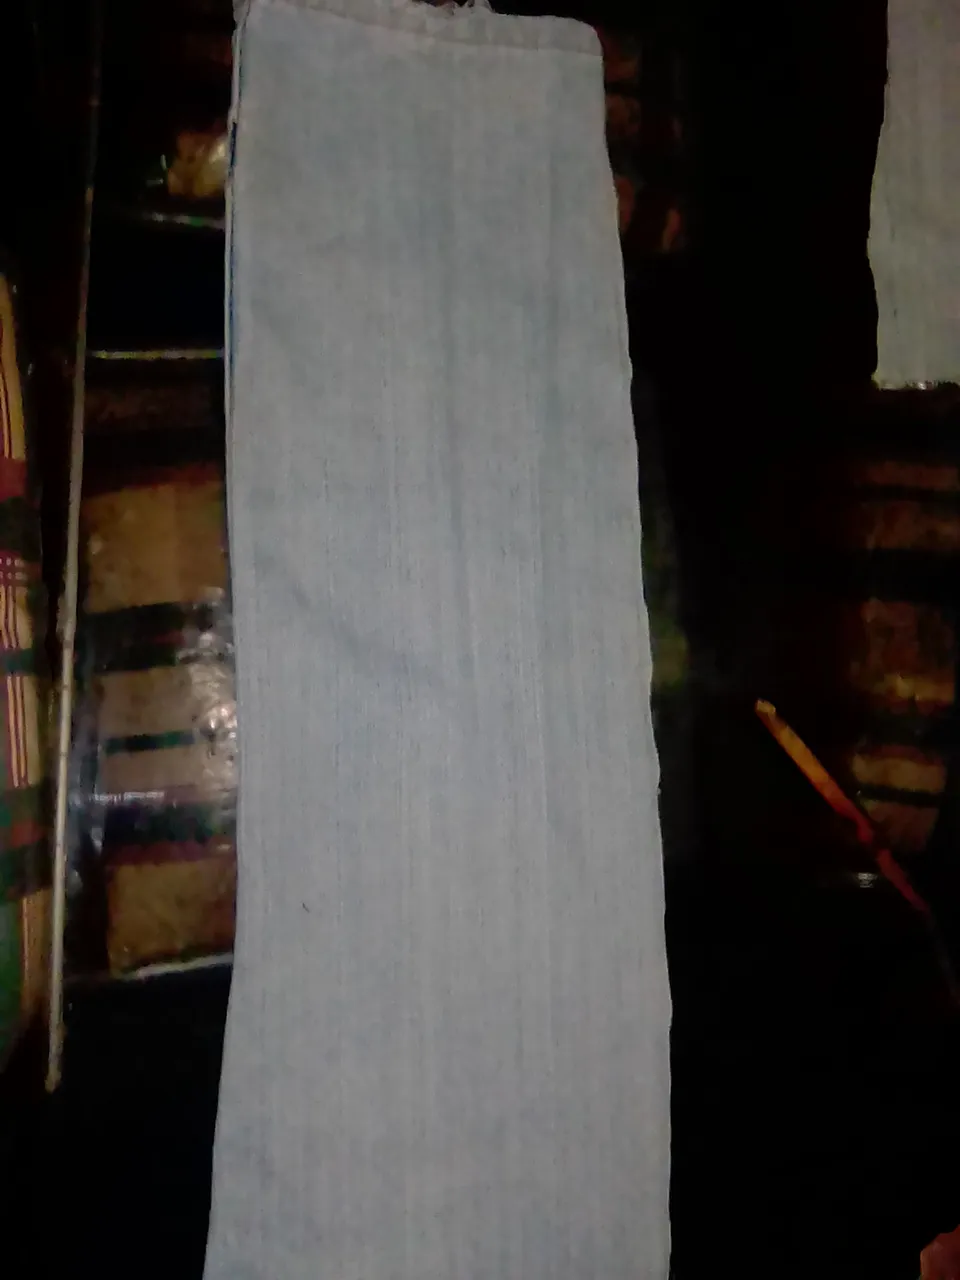
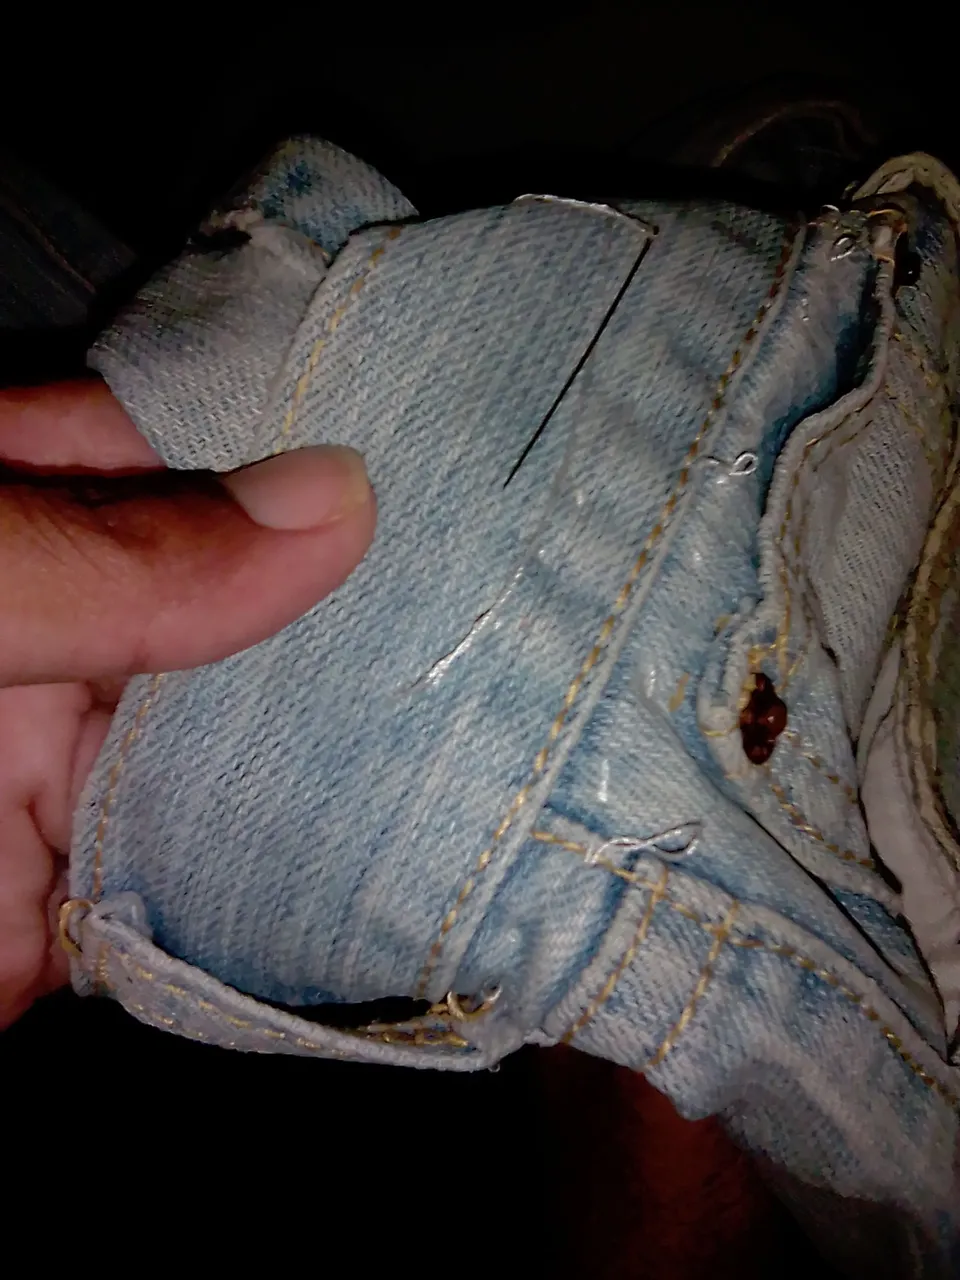
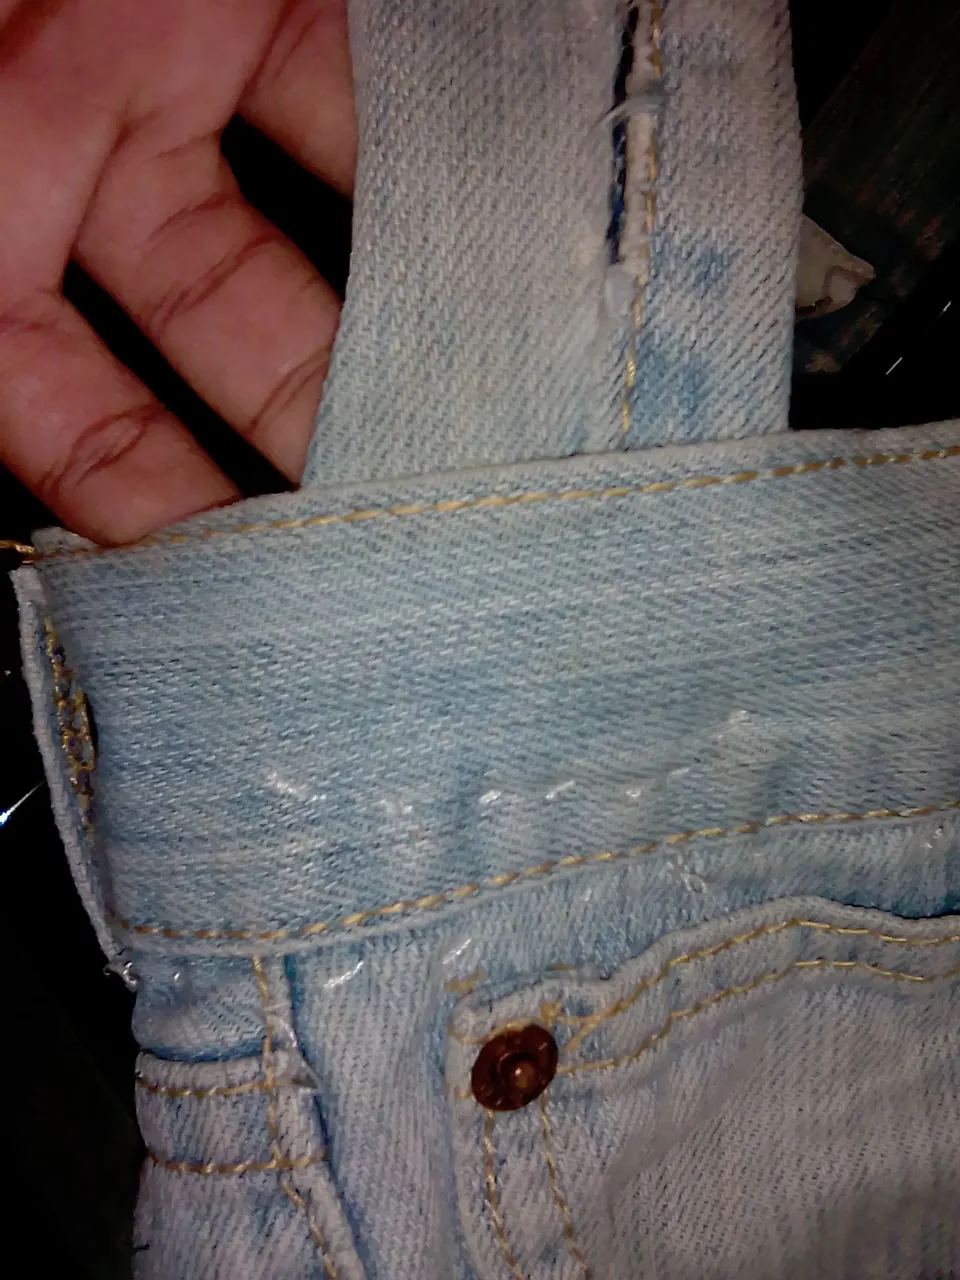
Lo primero es buscar el jean viejo, lo pique justo debajo de los bolsillos, los de adelante y los de atrás. Lo que quedo de las piernas lo voy a guardar para usarlo más adelante.
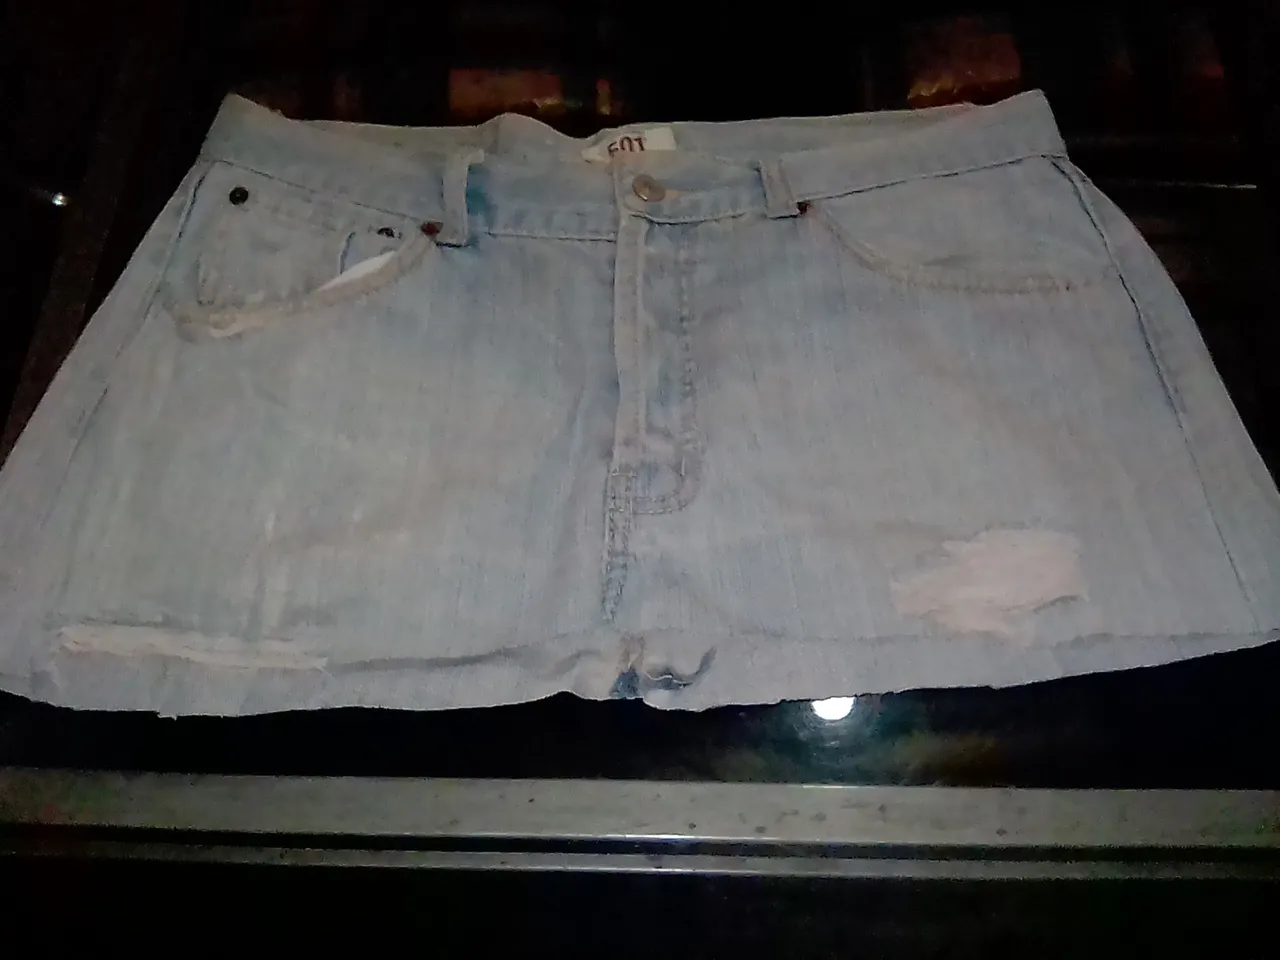
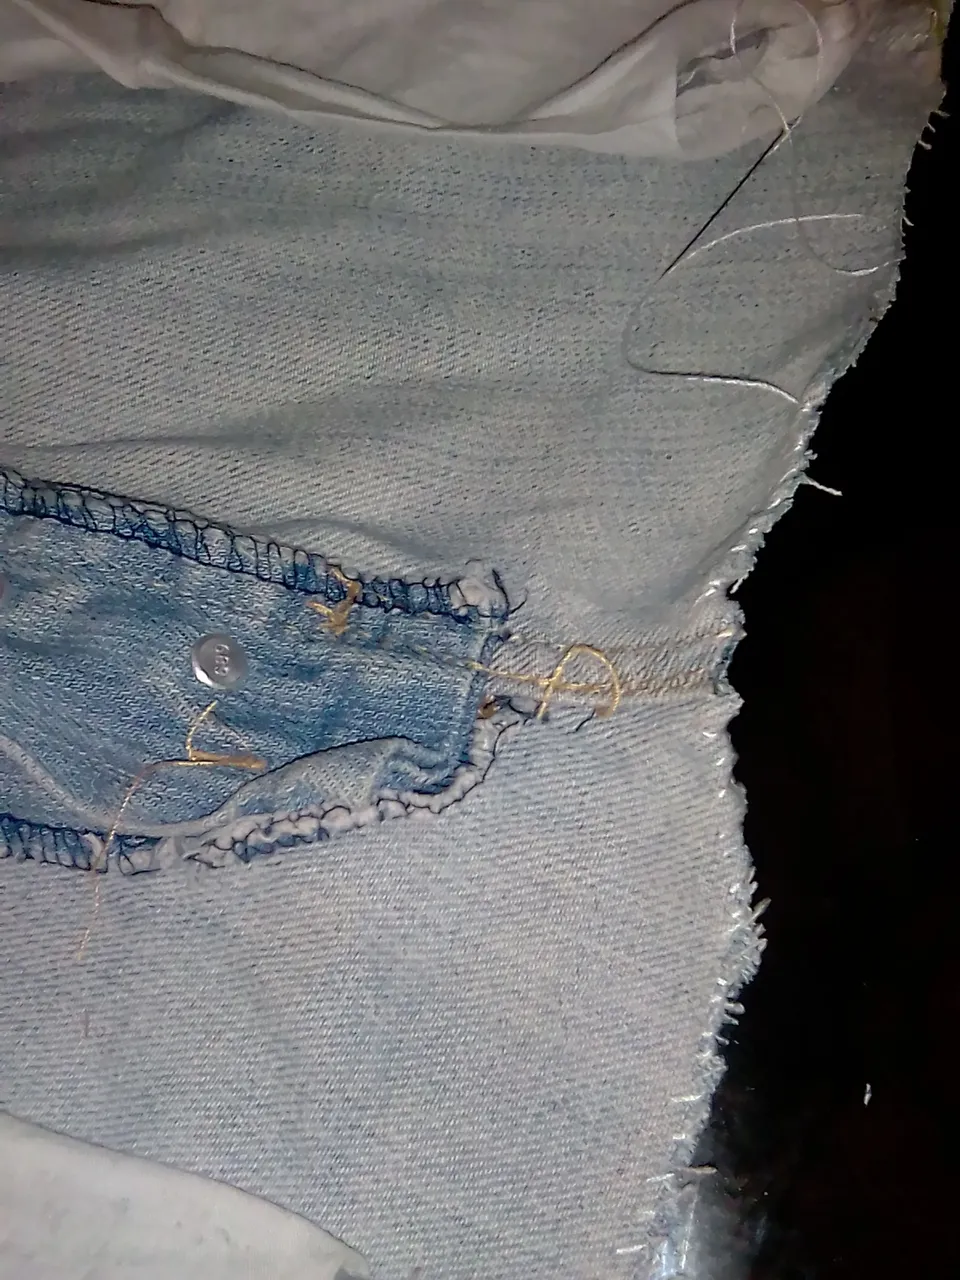
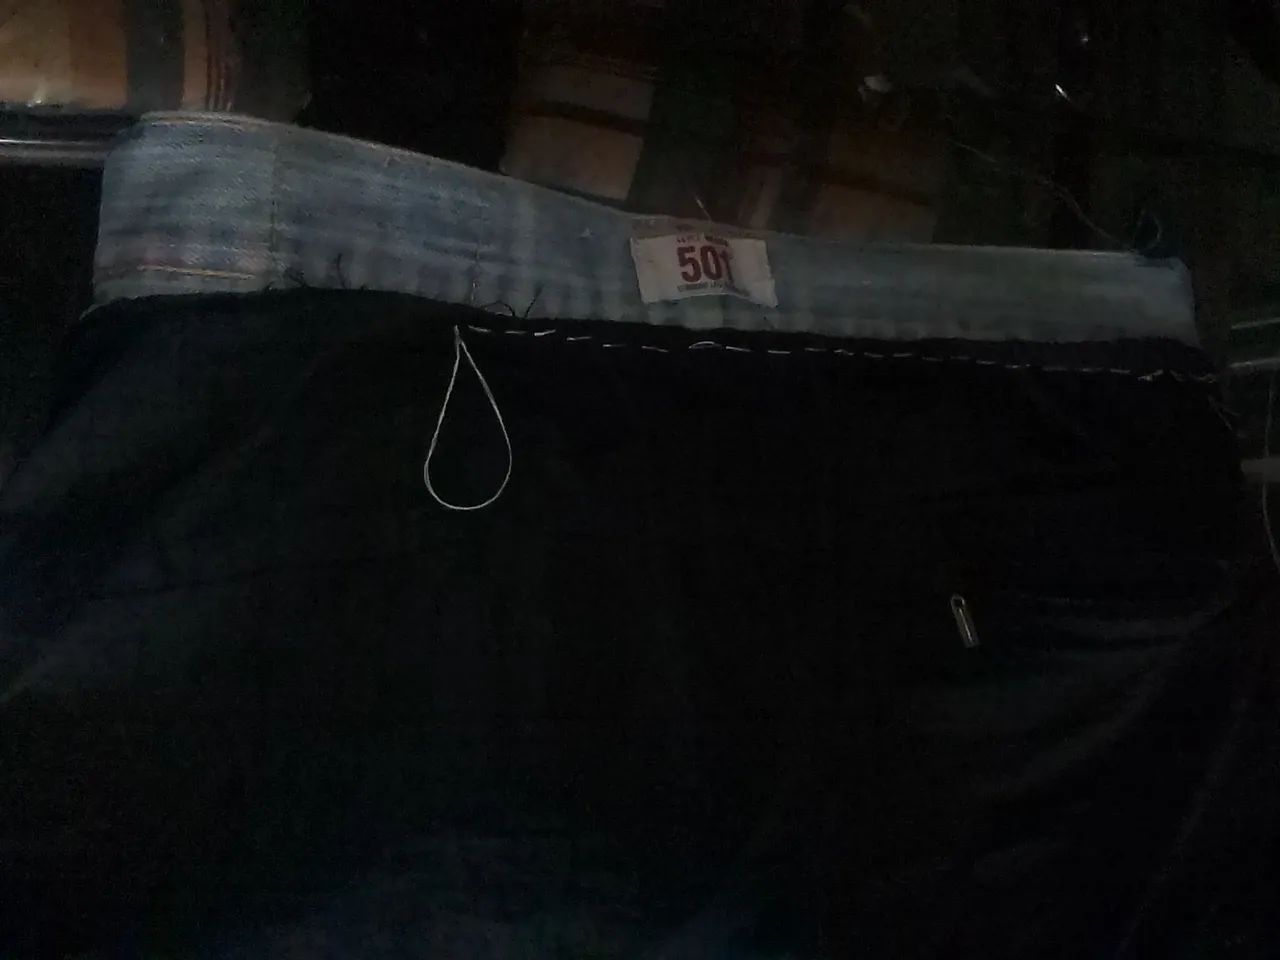
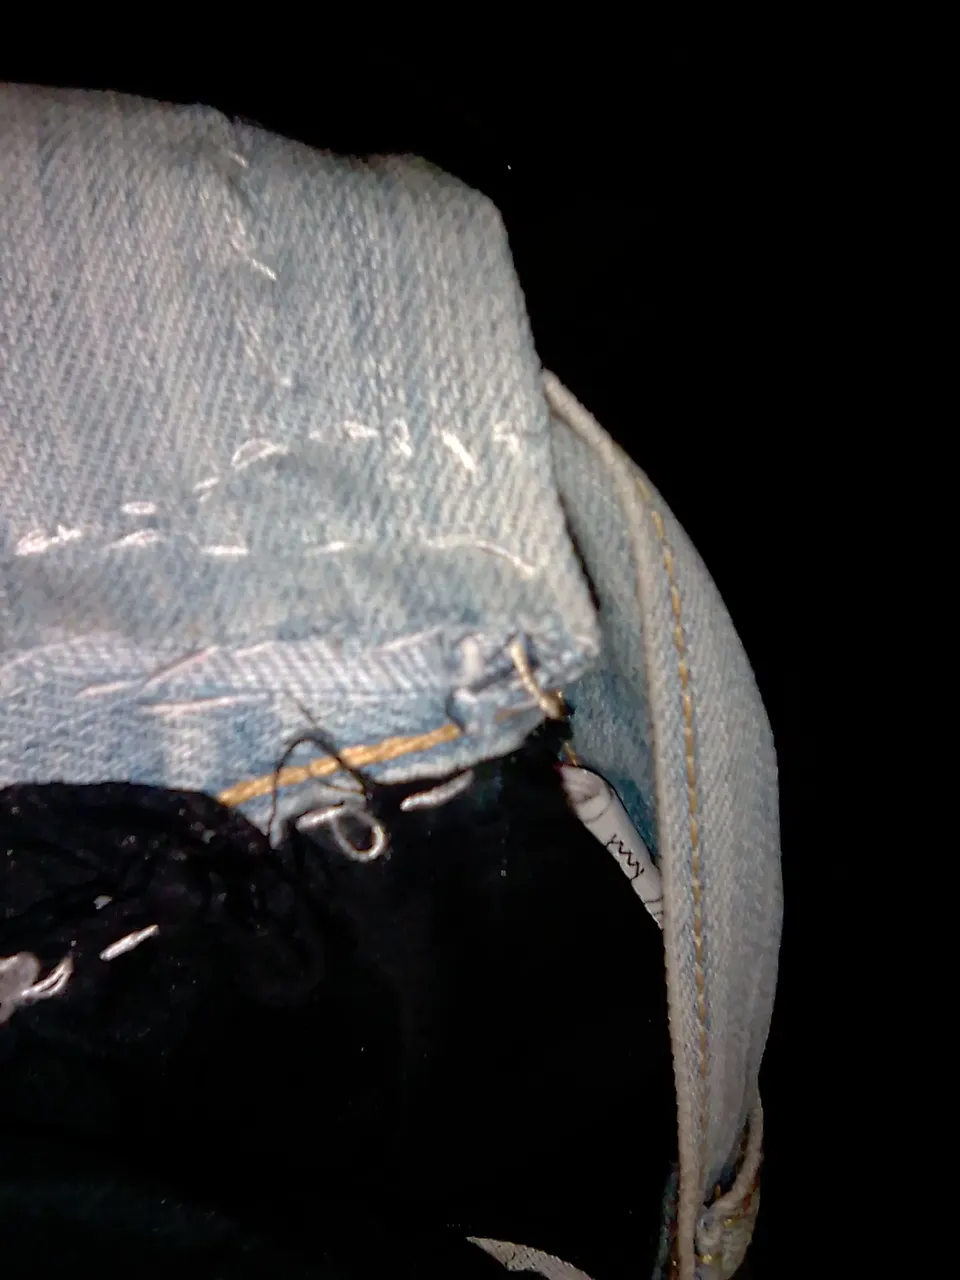
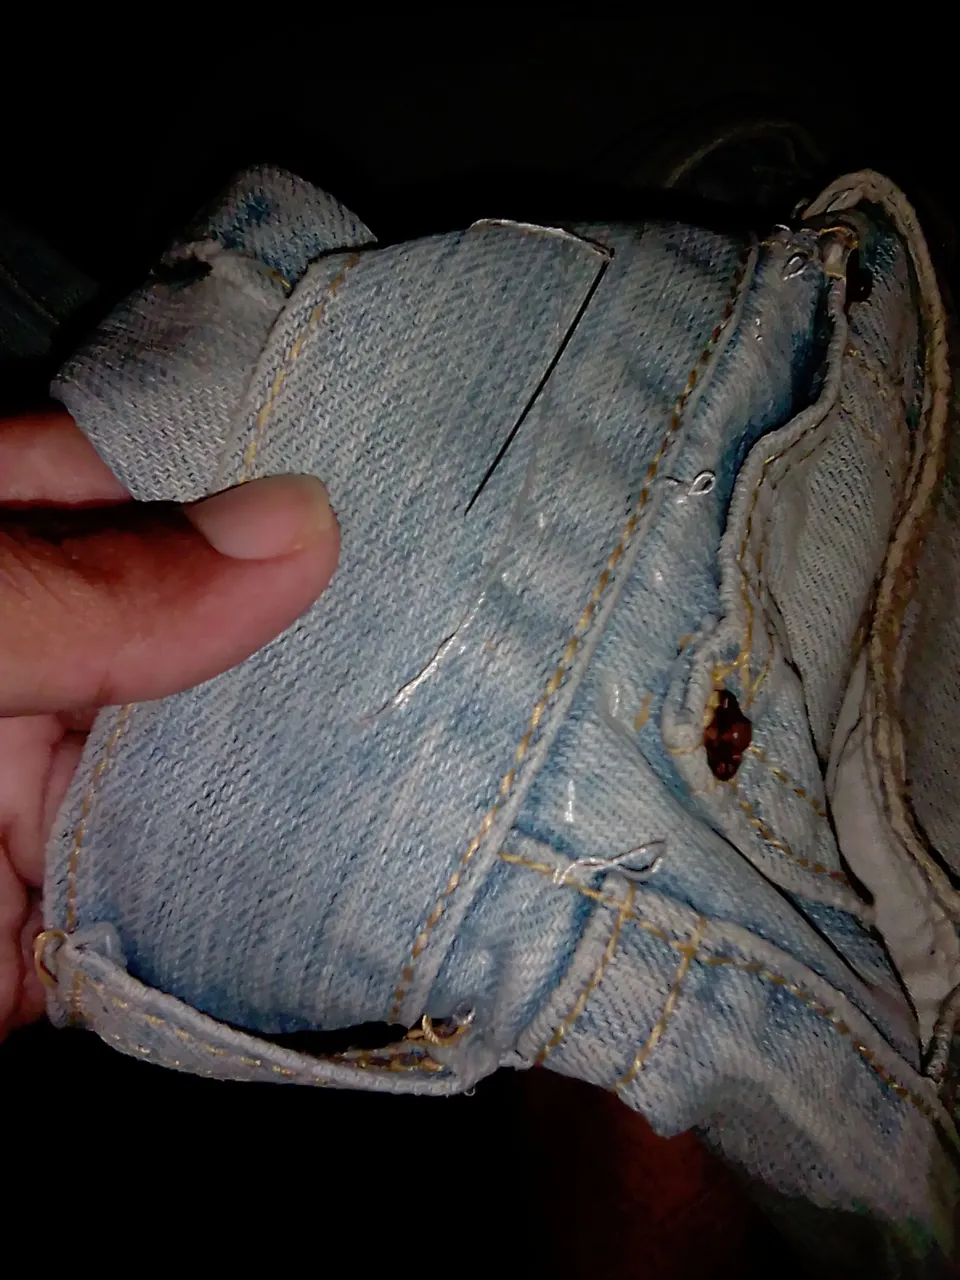
Ahora coso la parte de abajo, para que se unan las piezas, y comience a tomar forma.

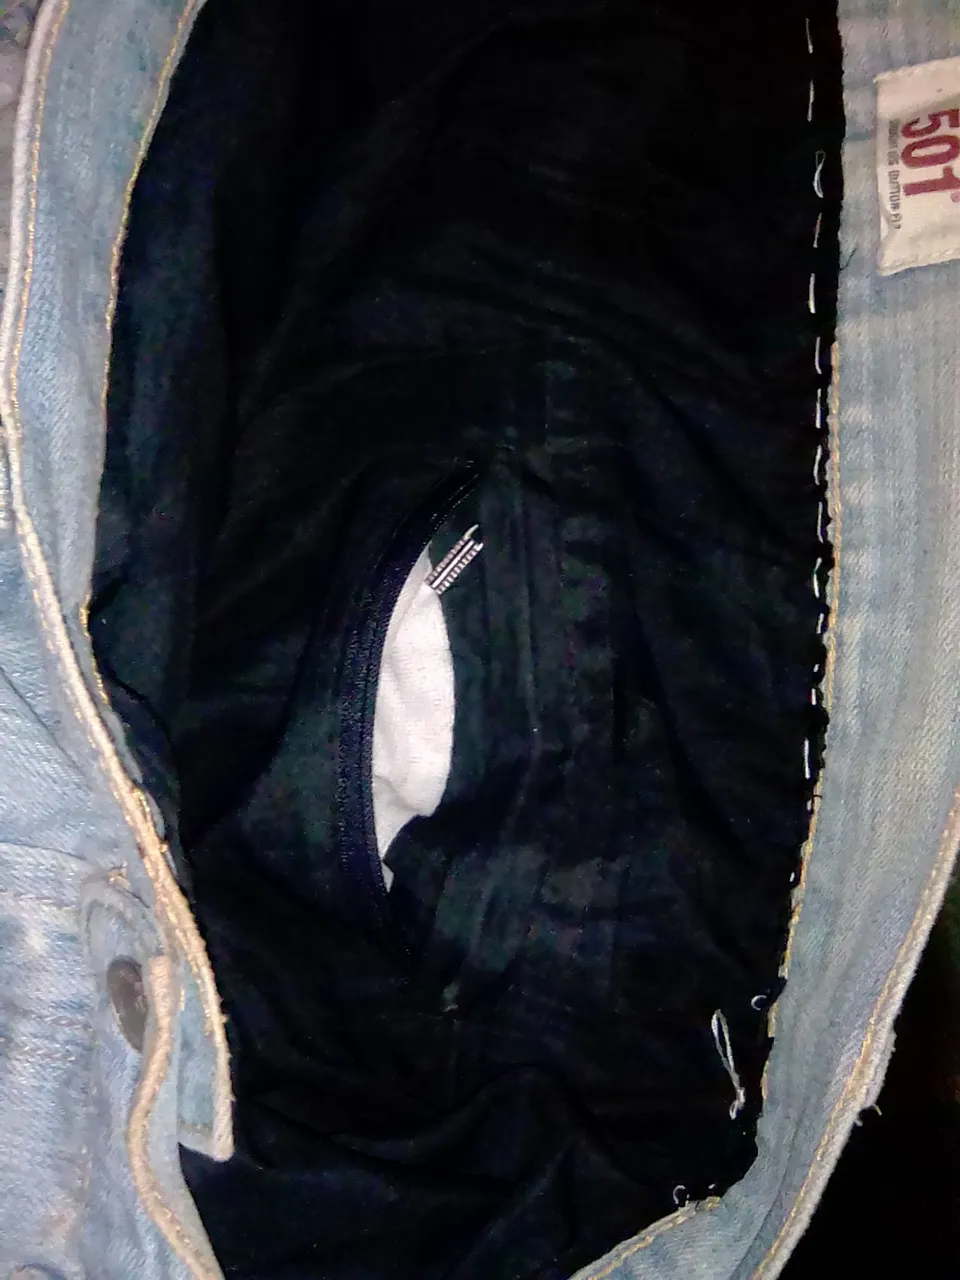
Continúo con el forro. Eso es un retazo de tela que tenía guardado, es como impermeable y de color azul marino. Lo cosí del tamaño para la cartera.
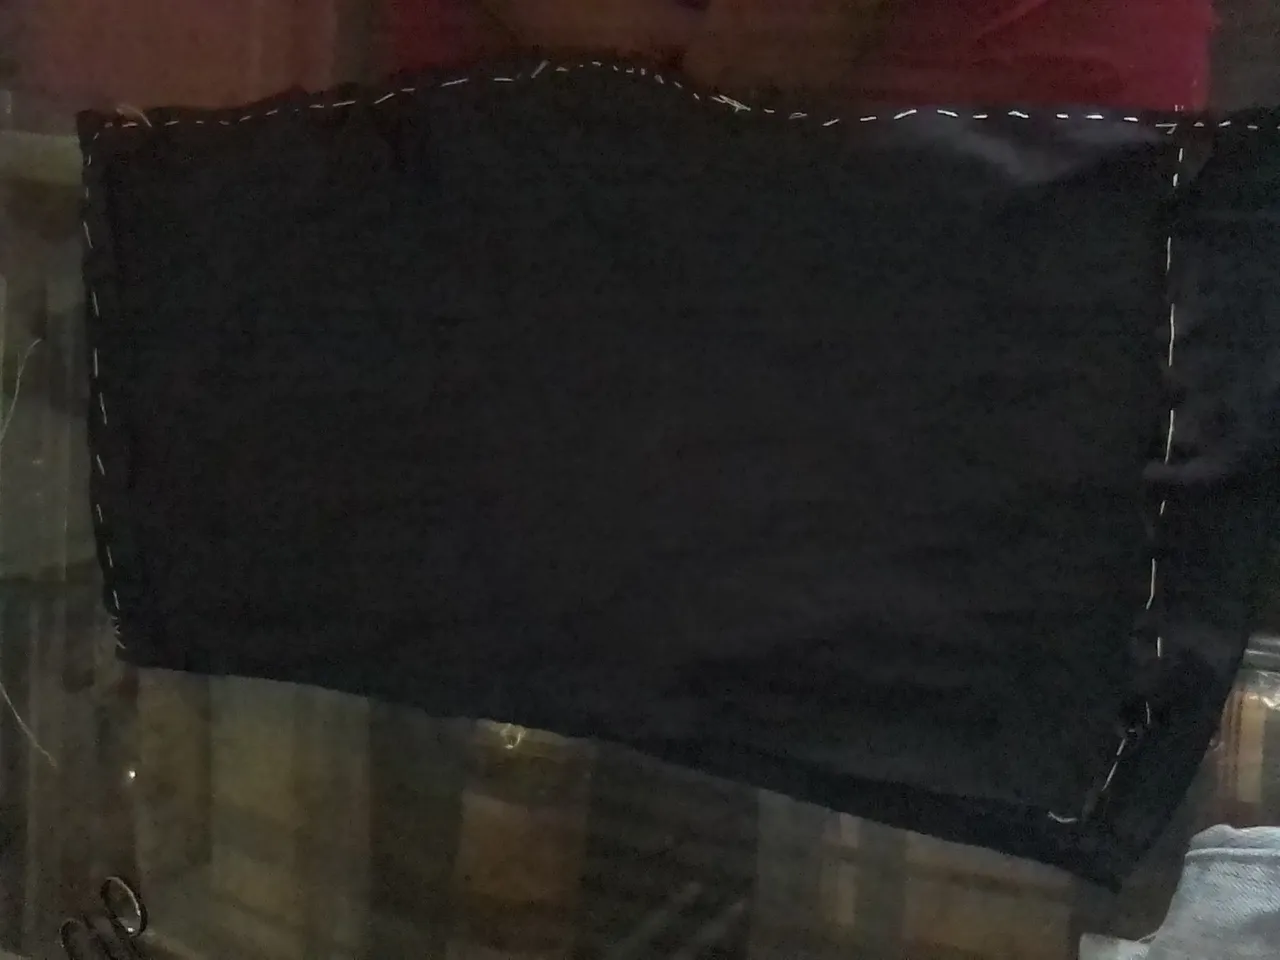
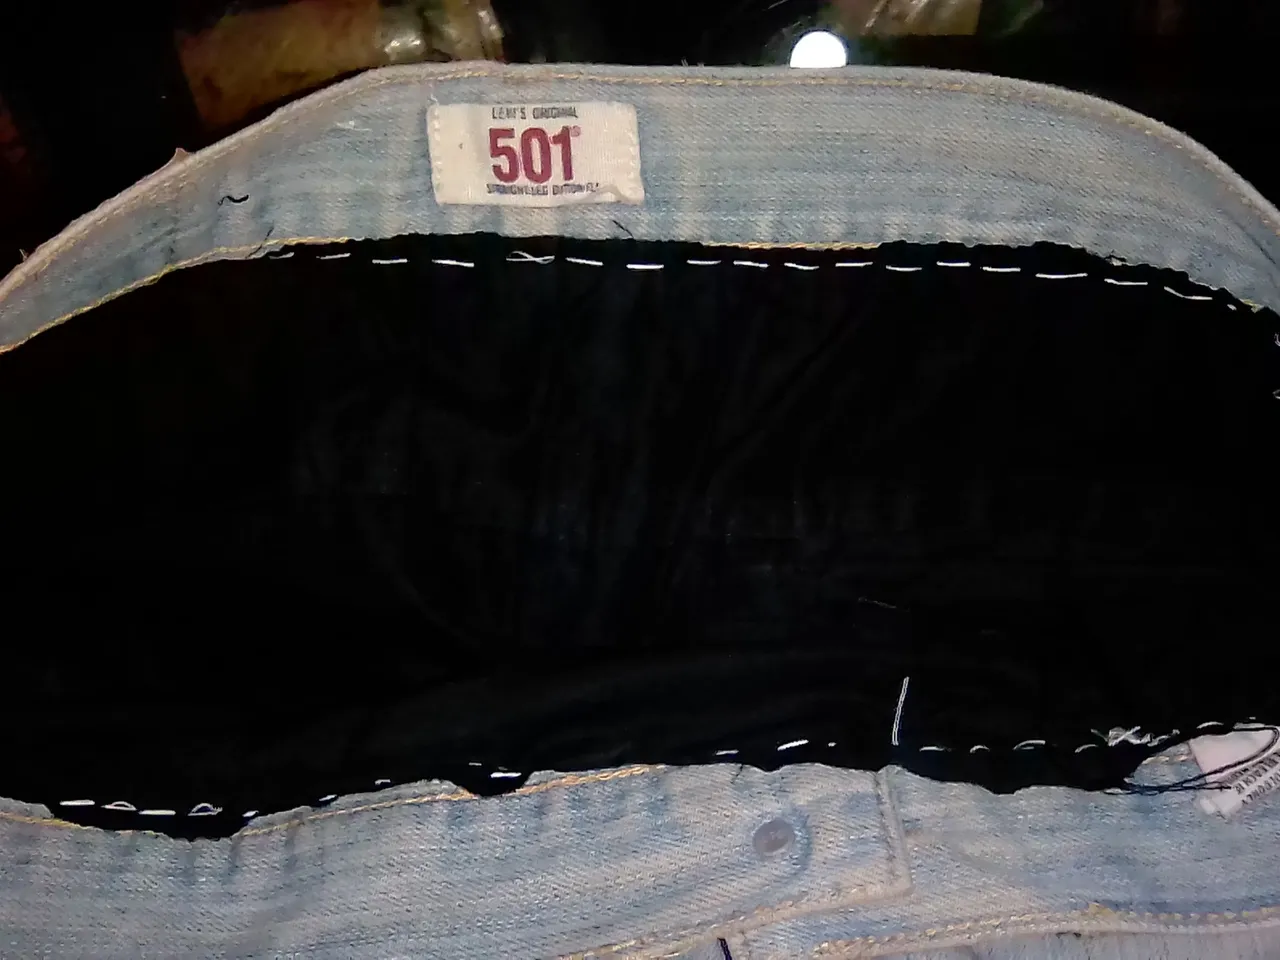
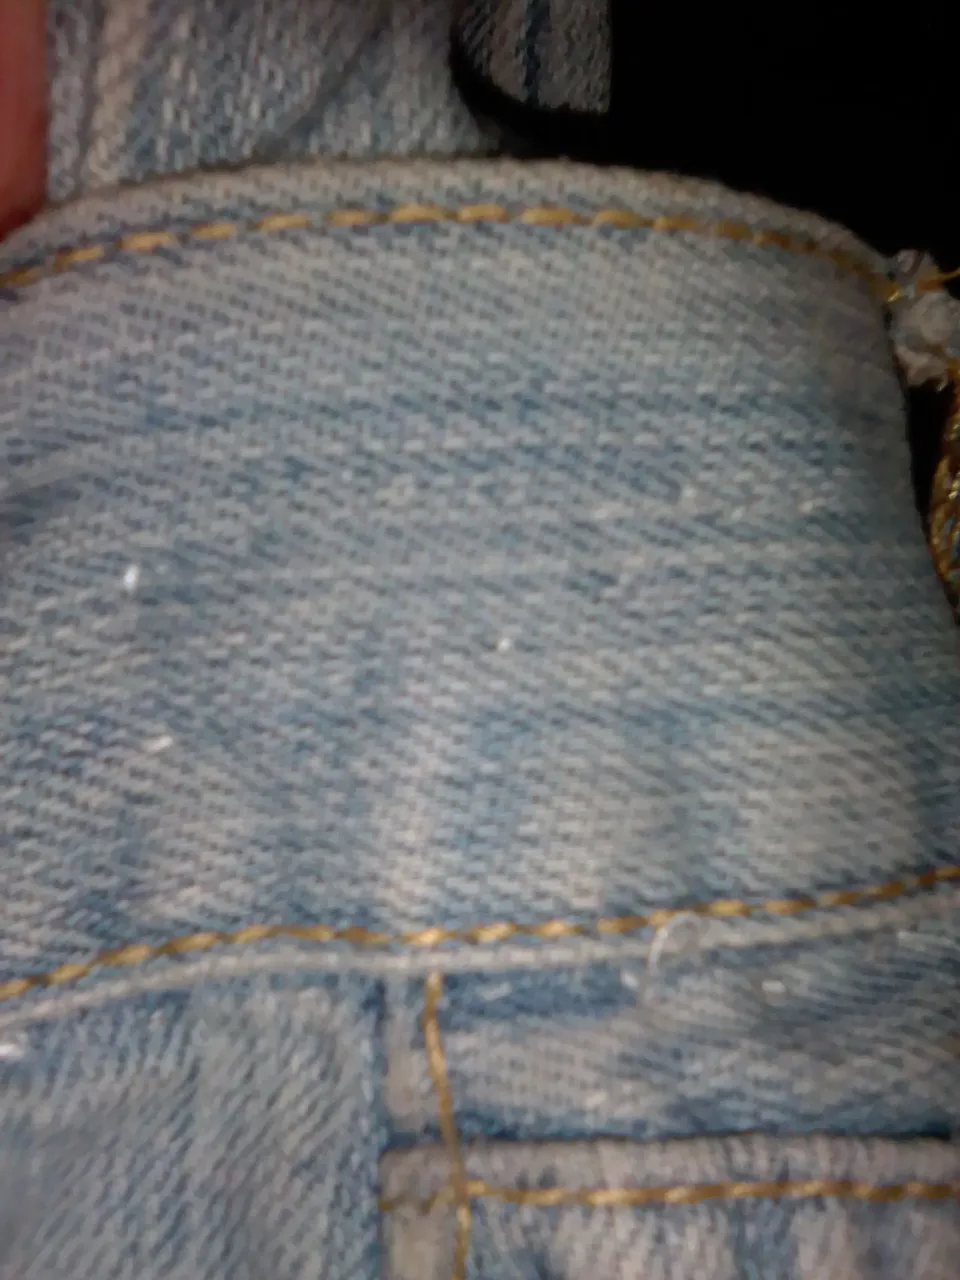
Toca coser el forro dentro de la cartera.

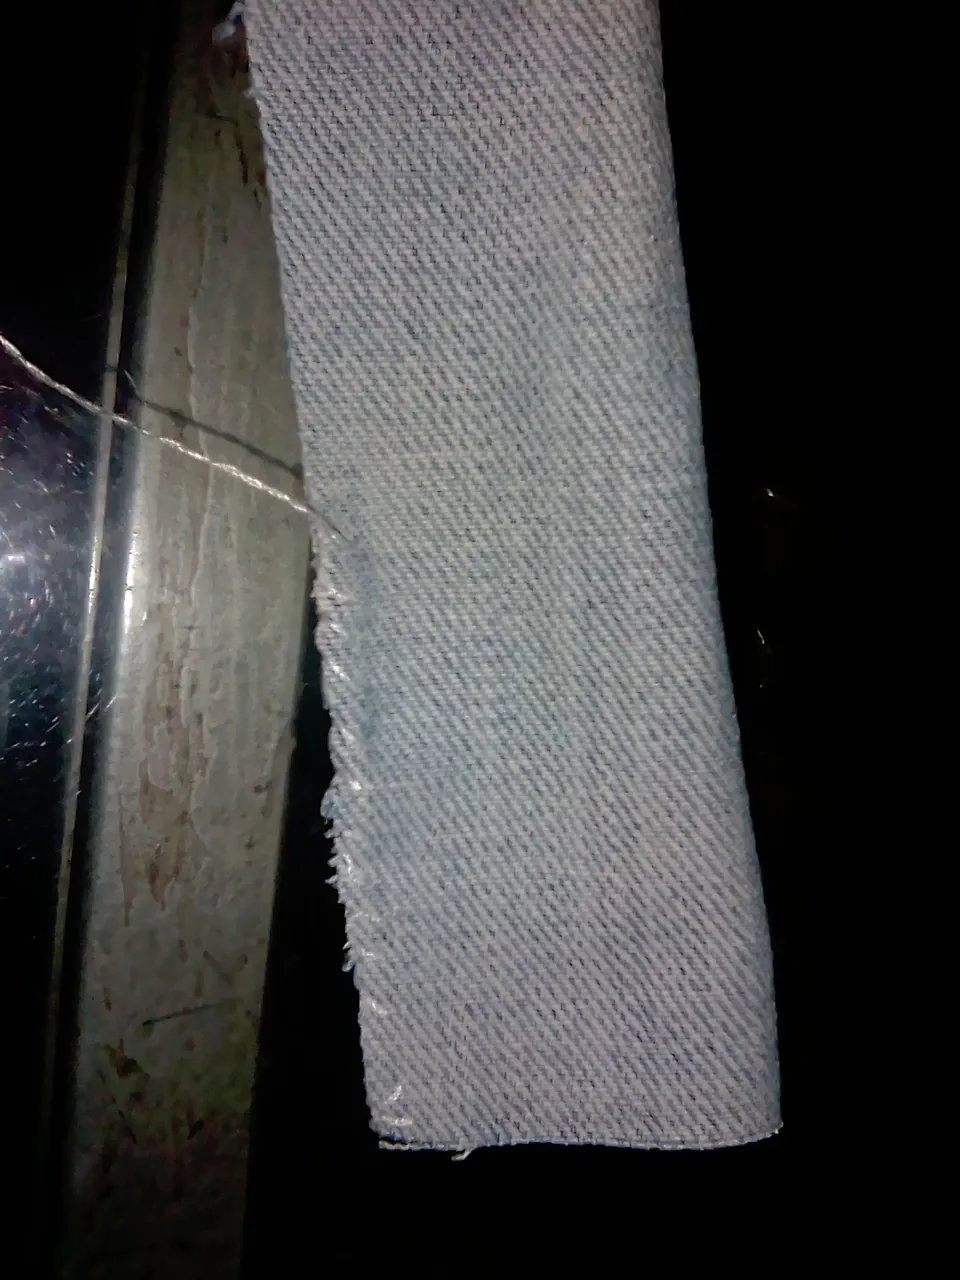
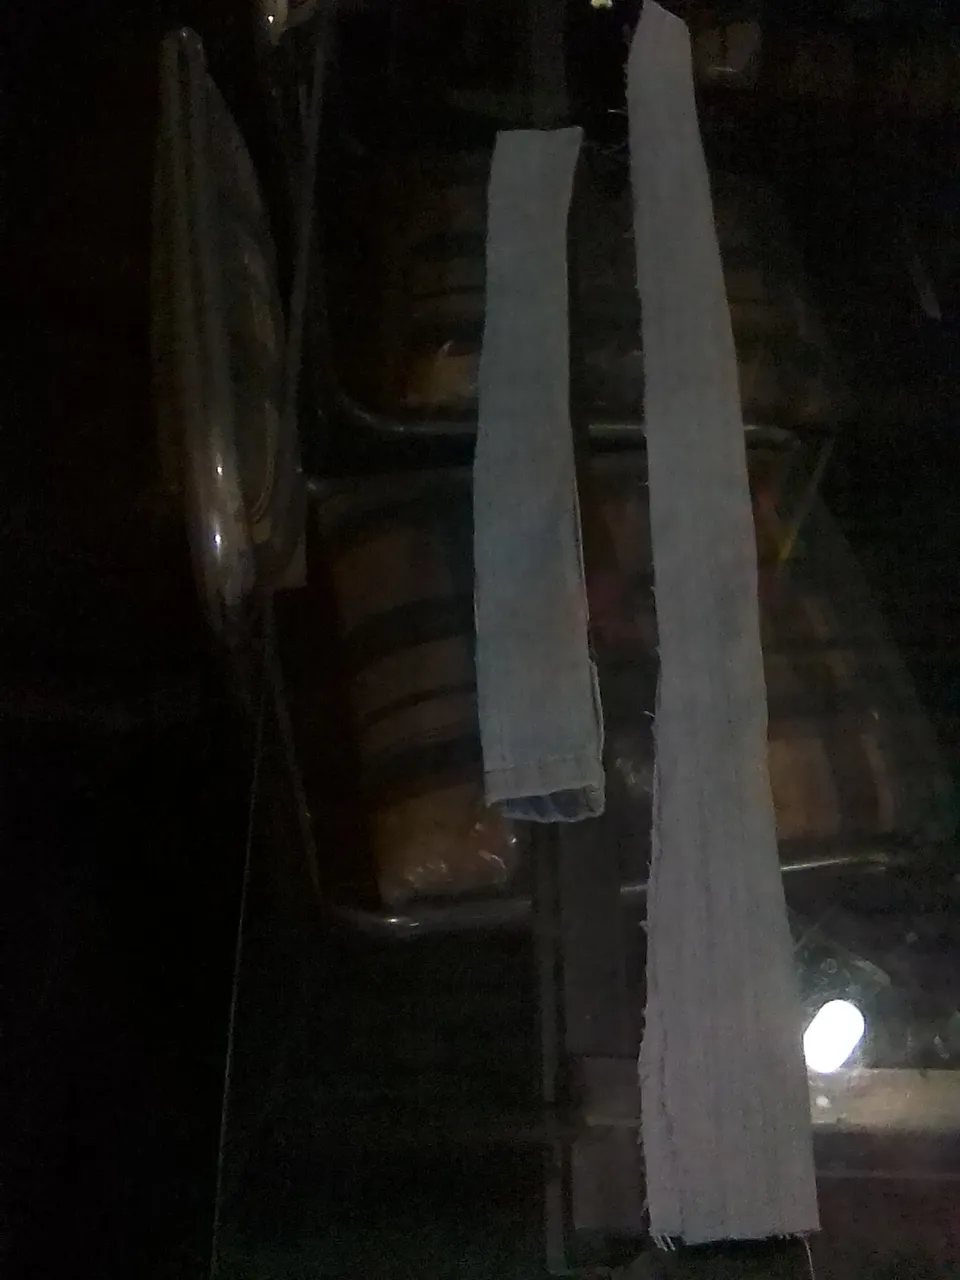
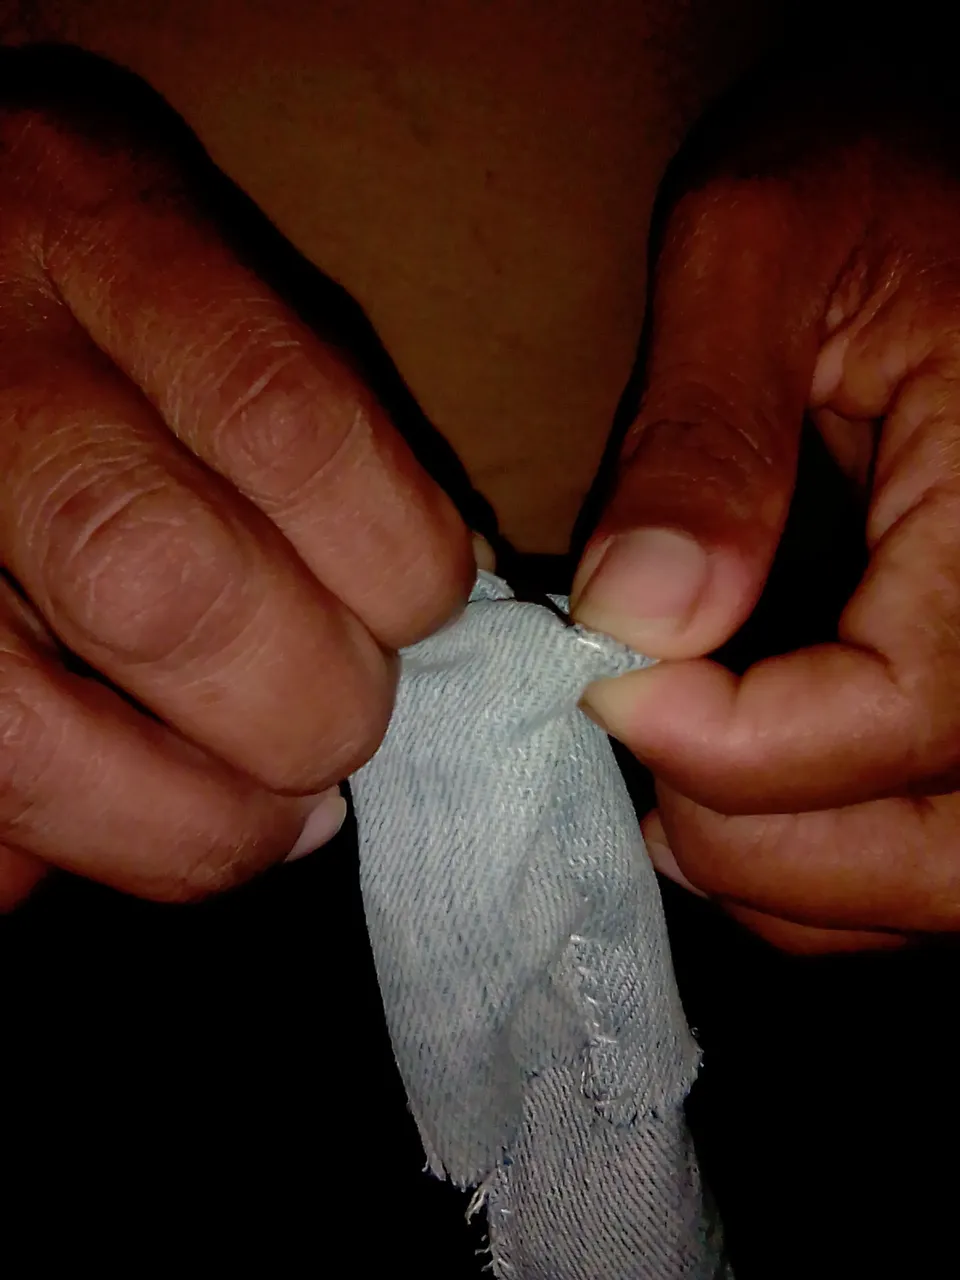
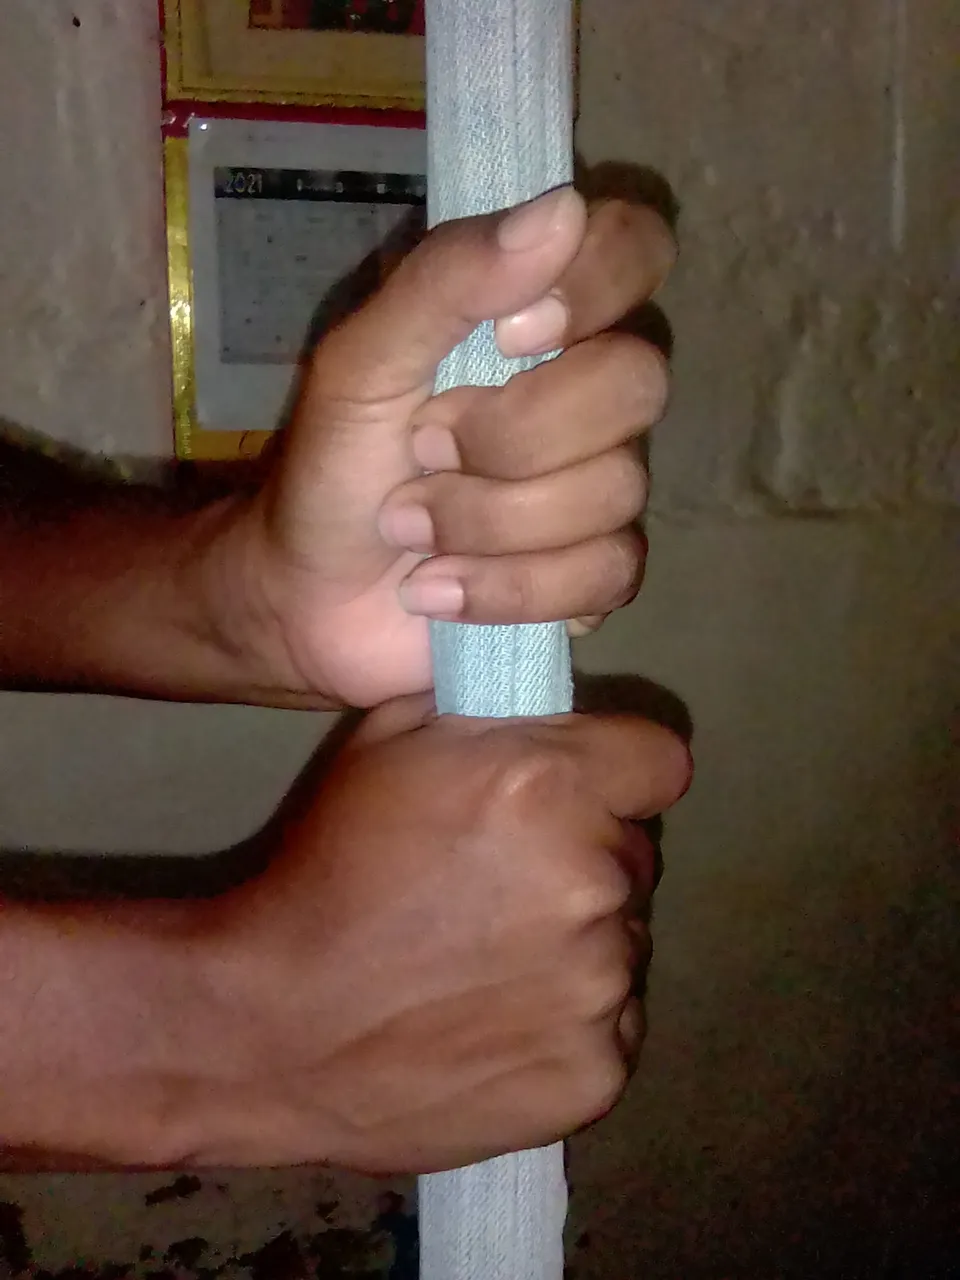
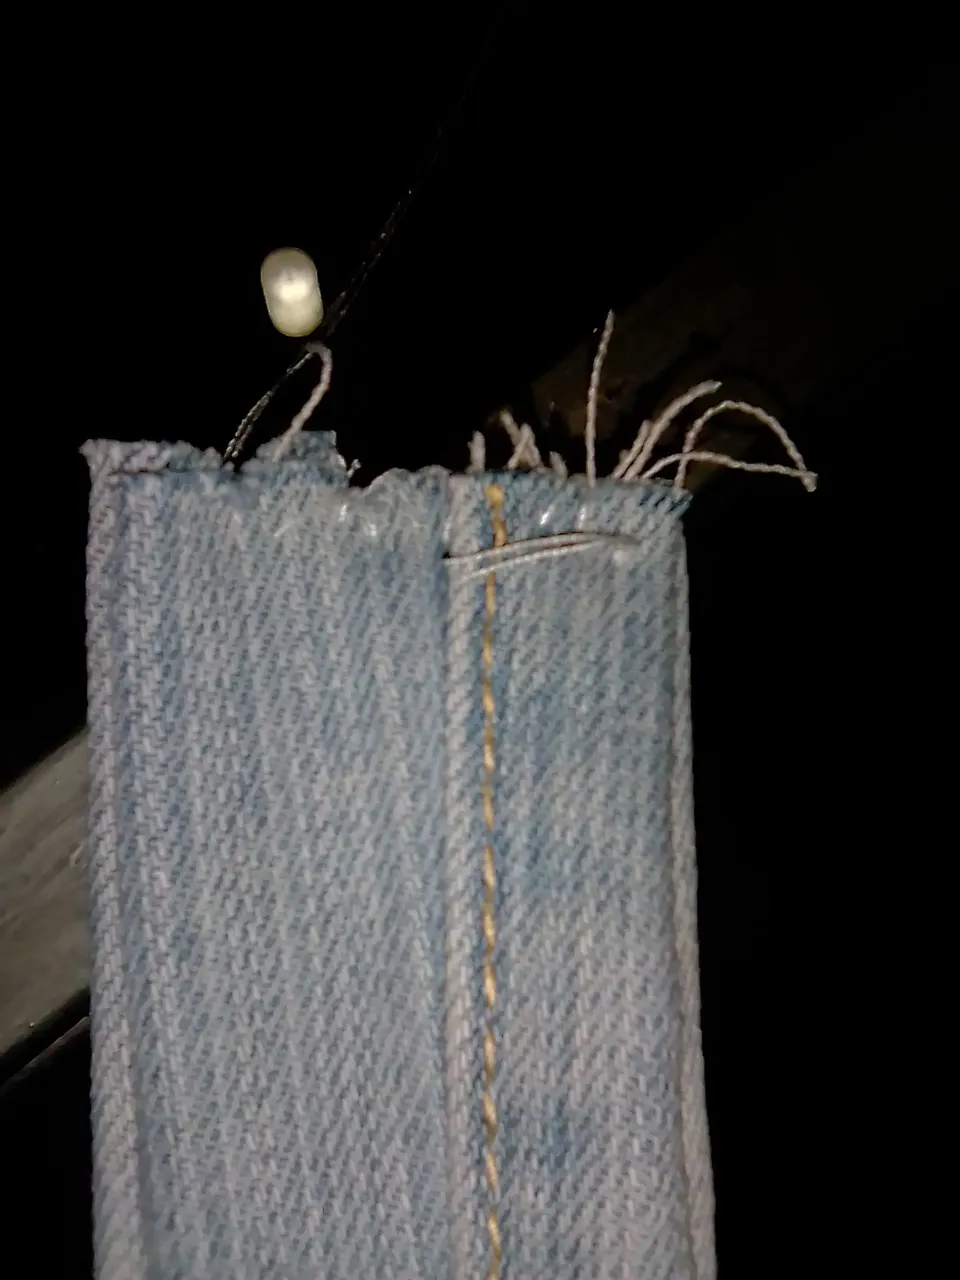
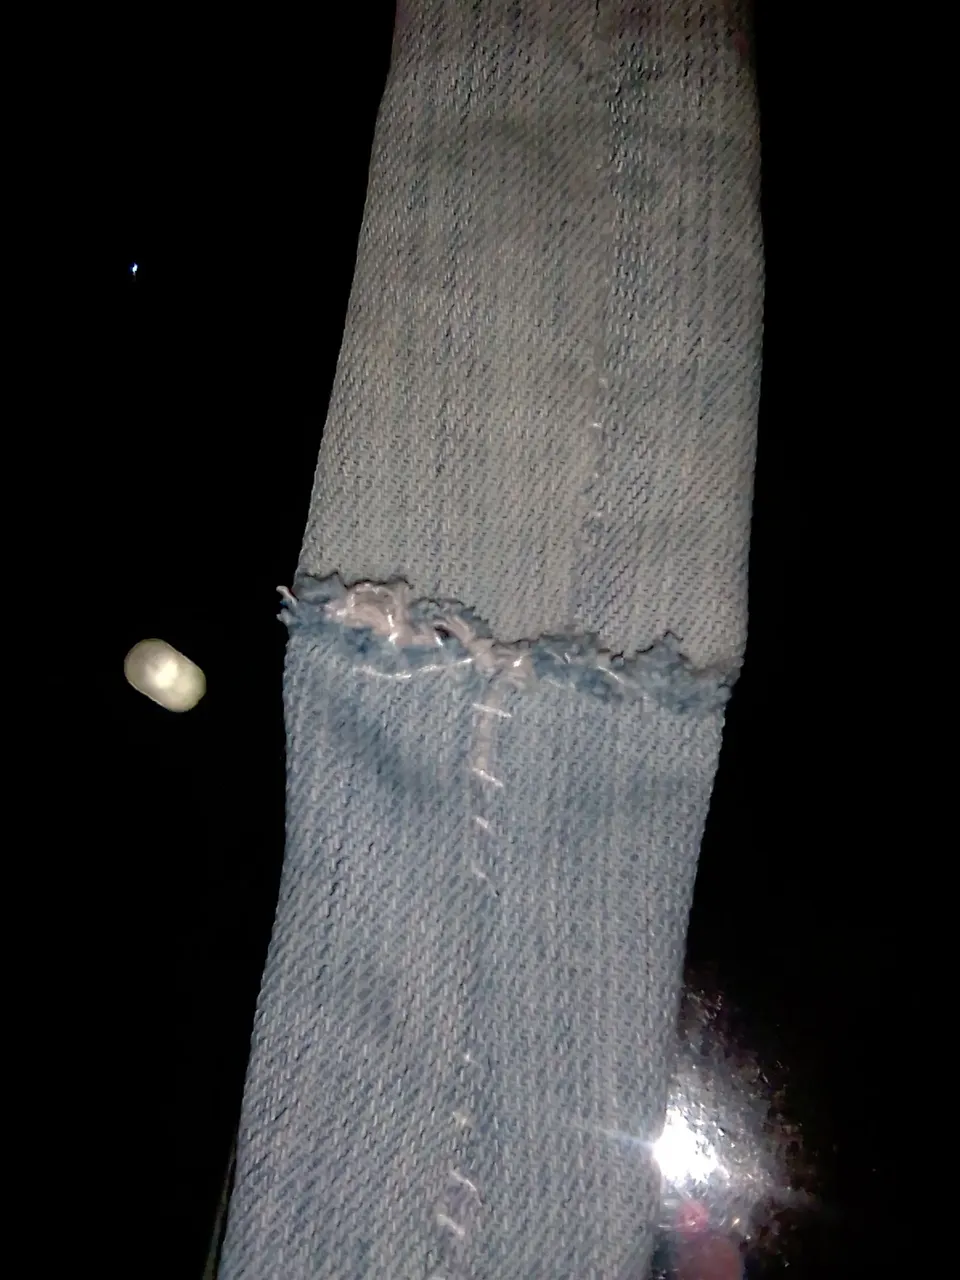
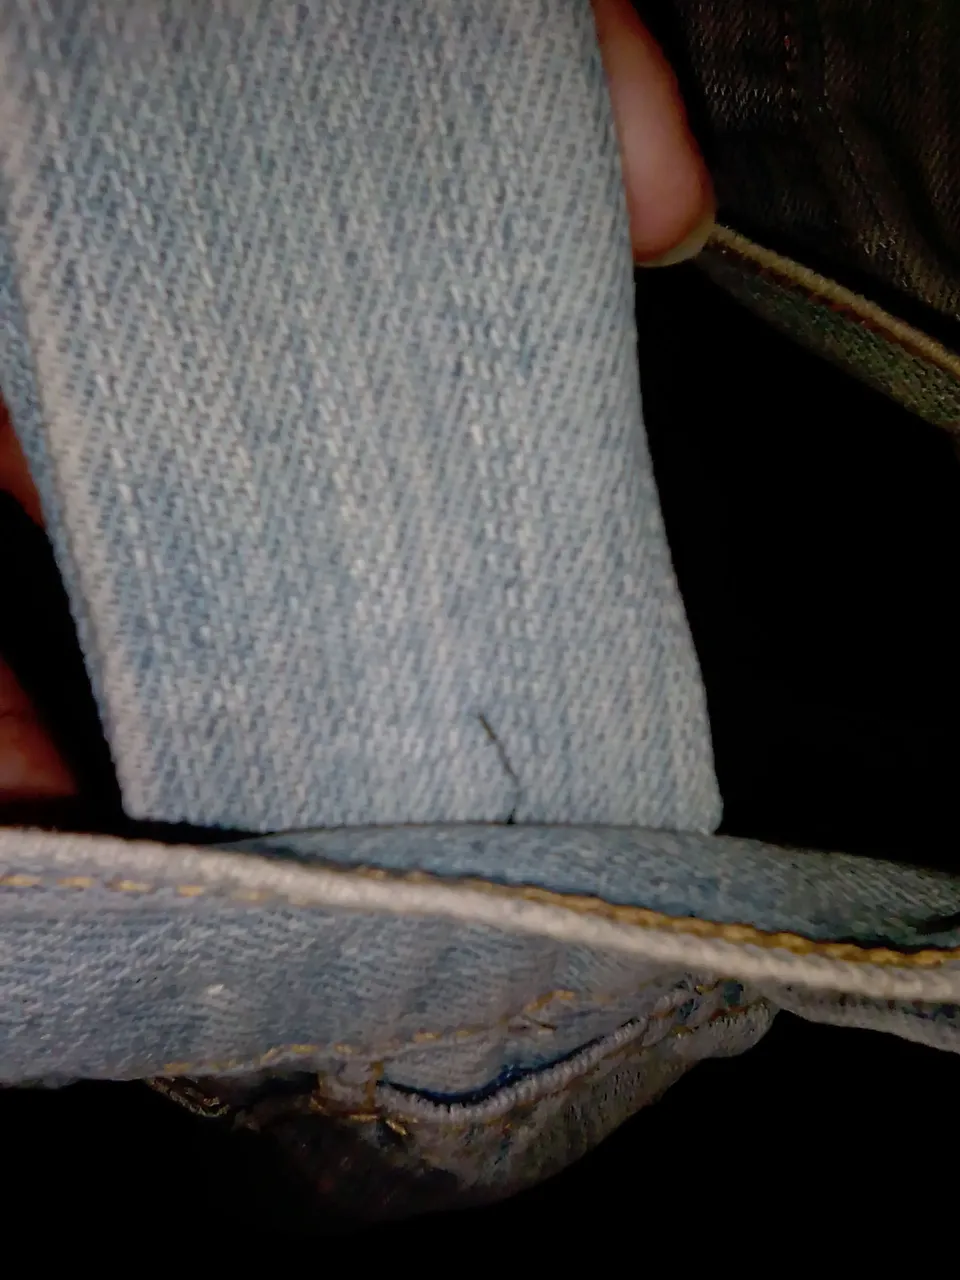
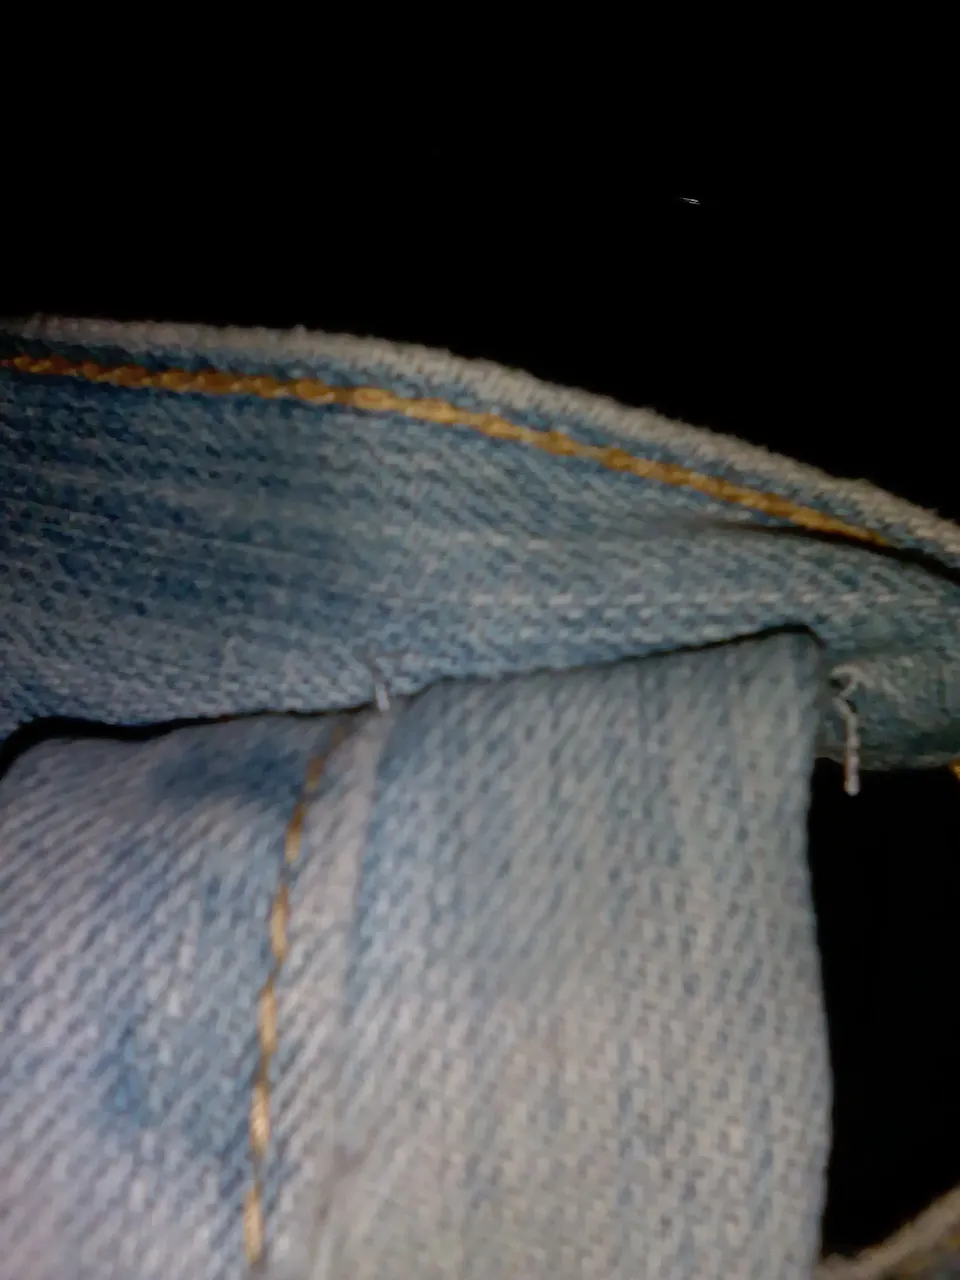
Bueno es momento de la tira. Para ello busque un pedazo de las piernas, de allí corte dos trozos, que uniré para que me quede el bolso de lado. Después de coser las, me toca darle la vuelta, para eso me ayudo usando un palo de escoba.

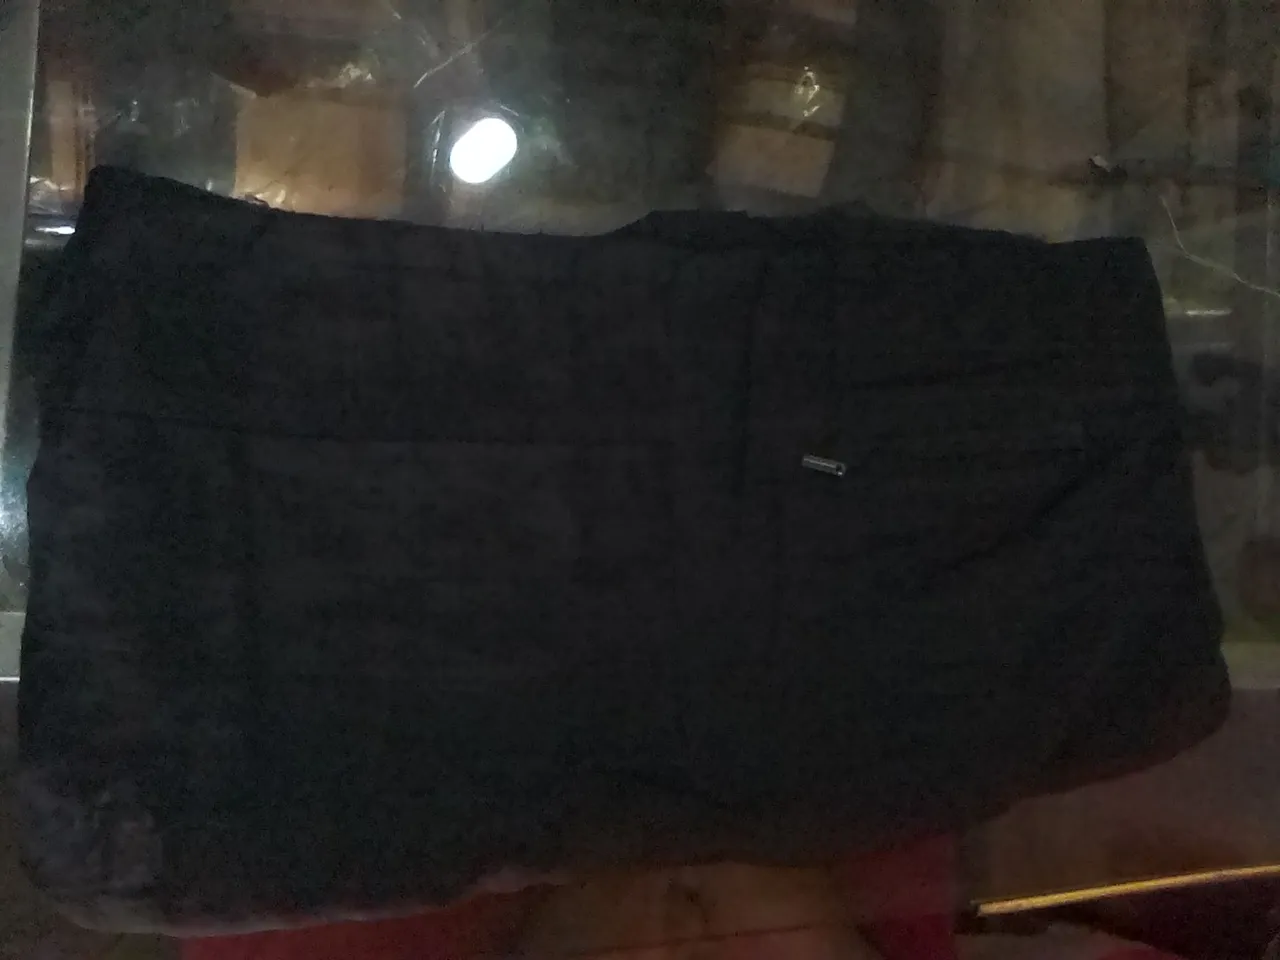
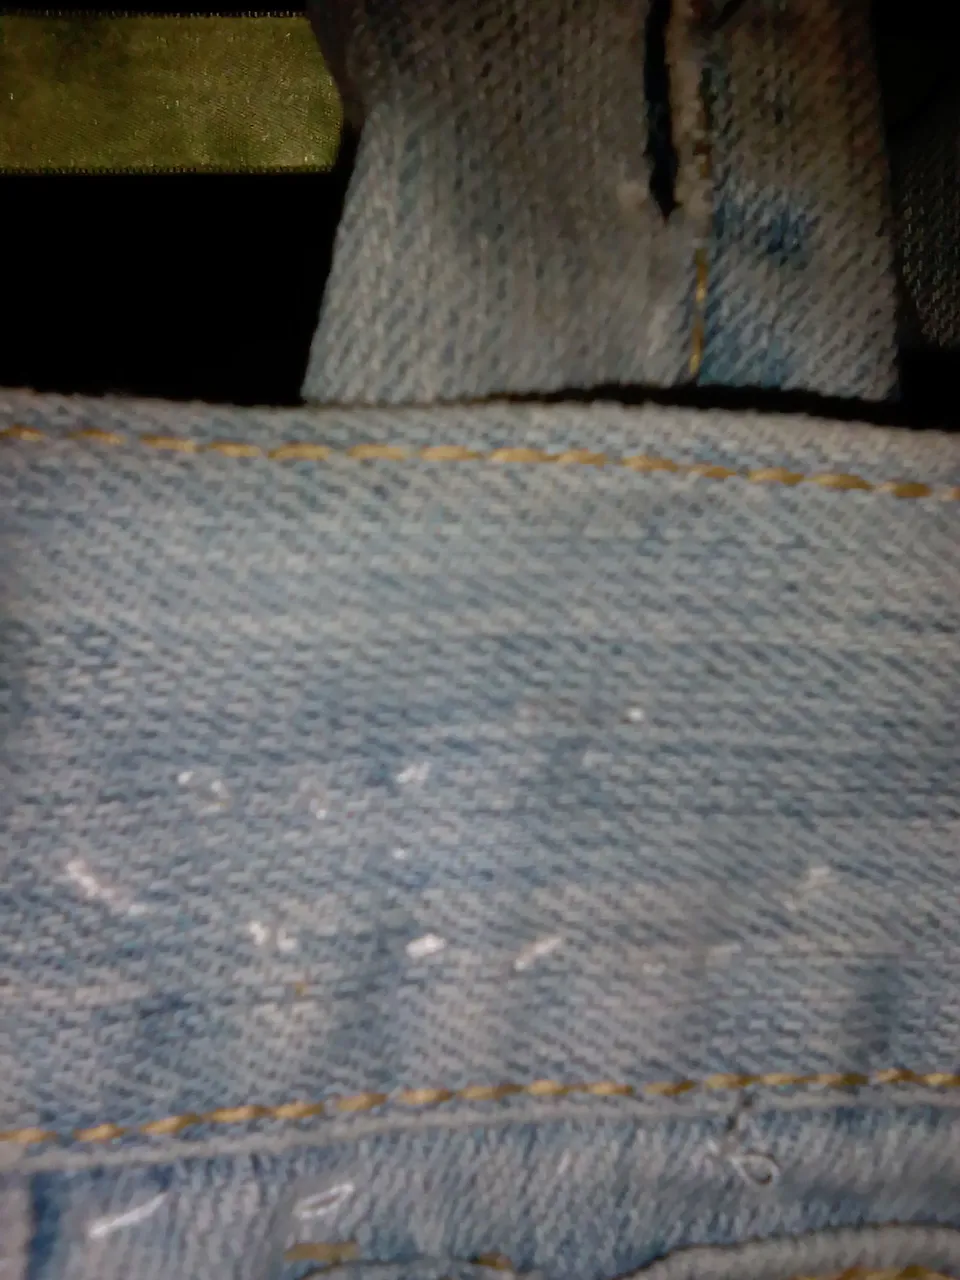
Es momento de coser las a el bolso, para terminarlo.

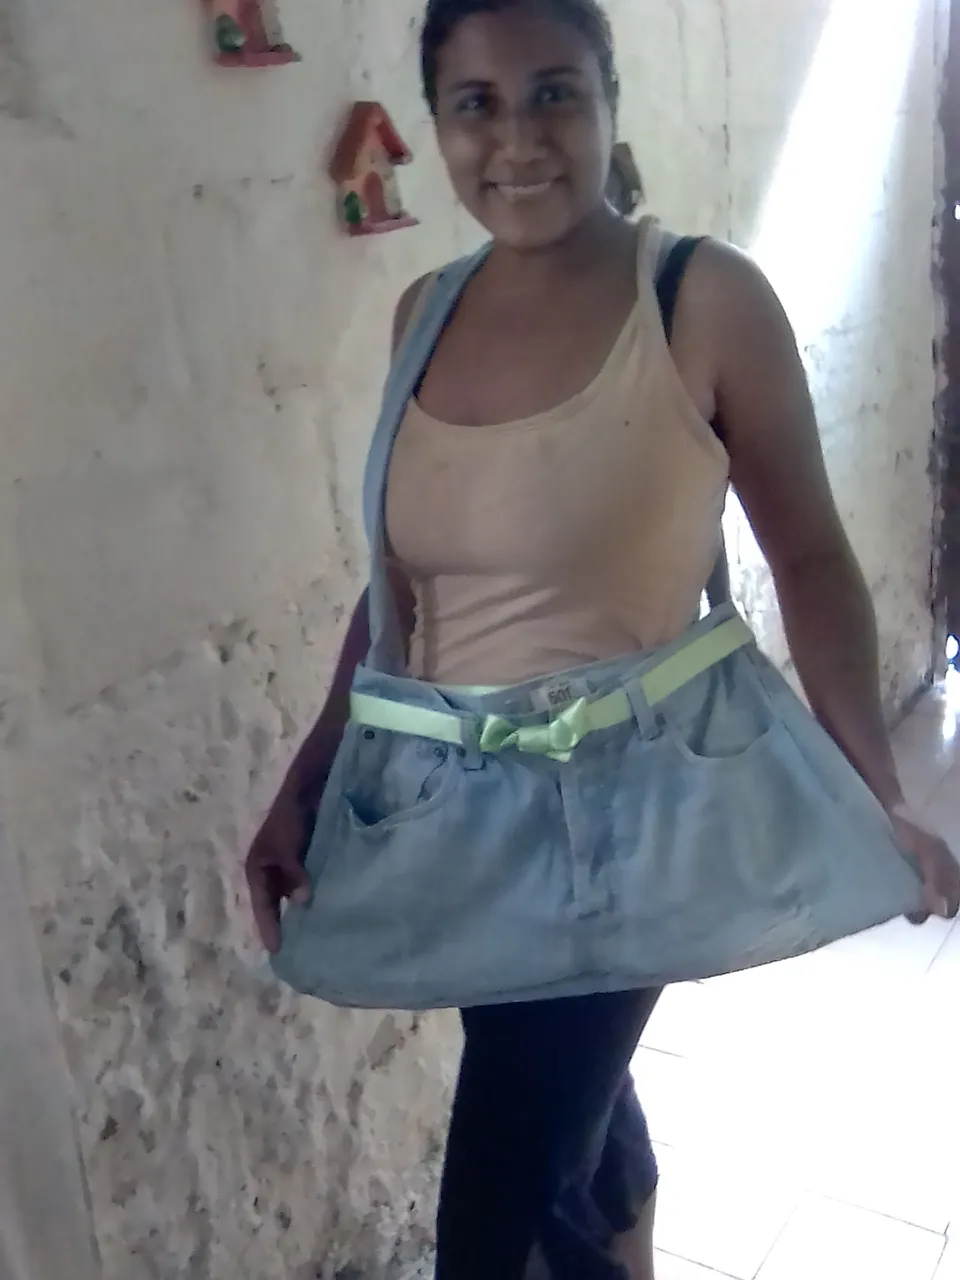
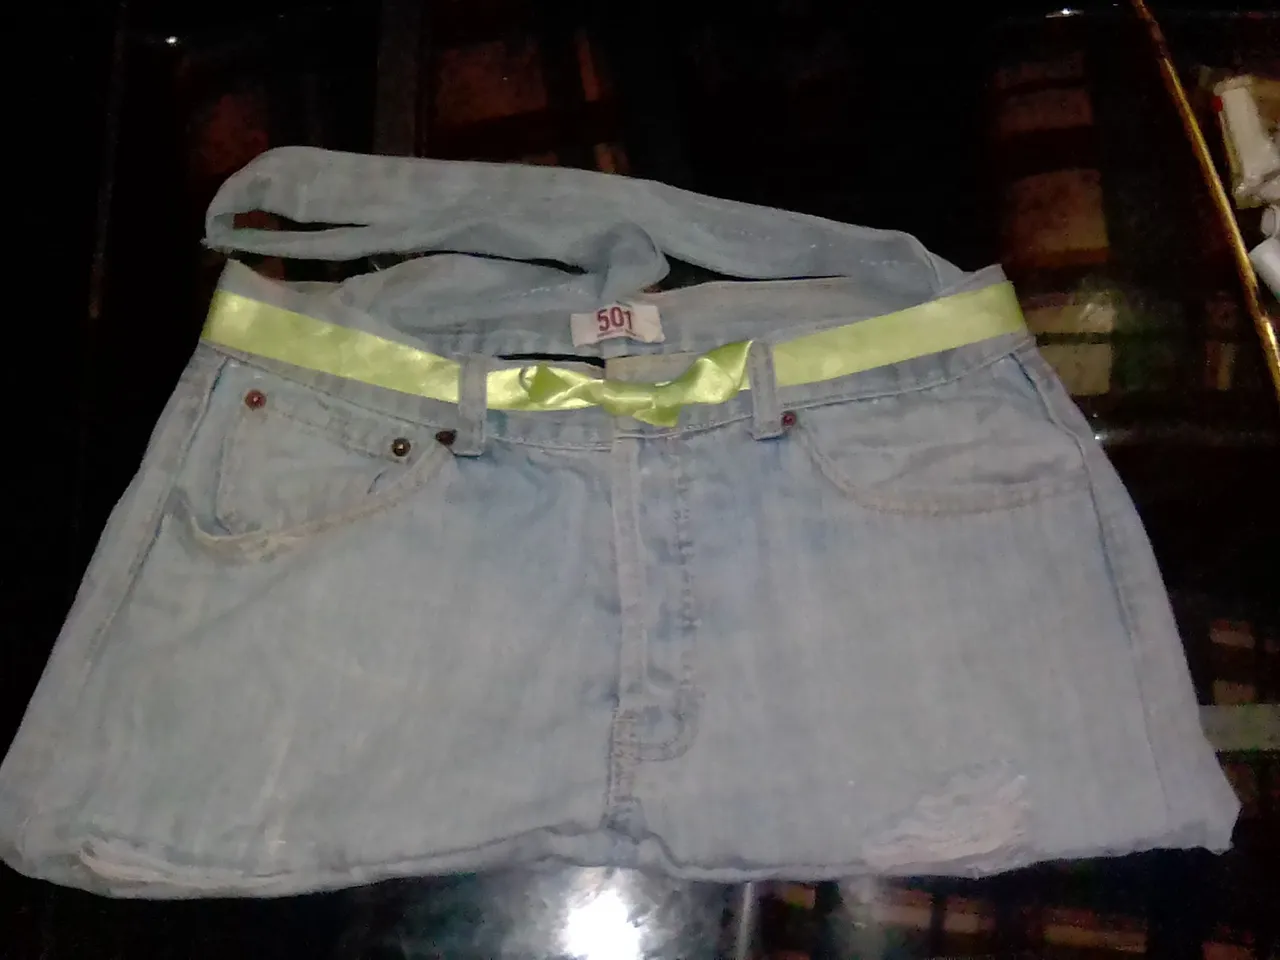
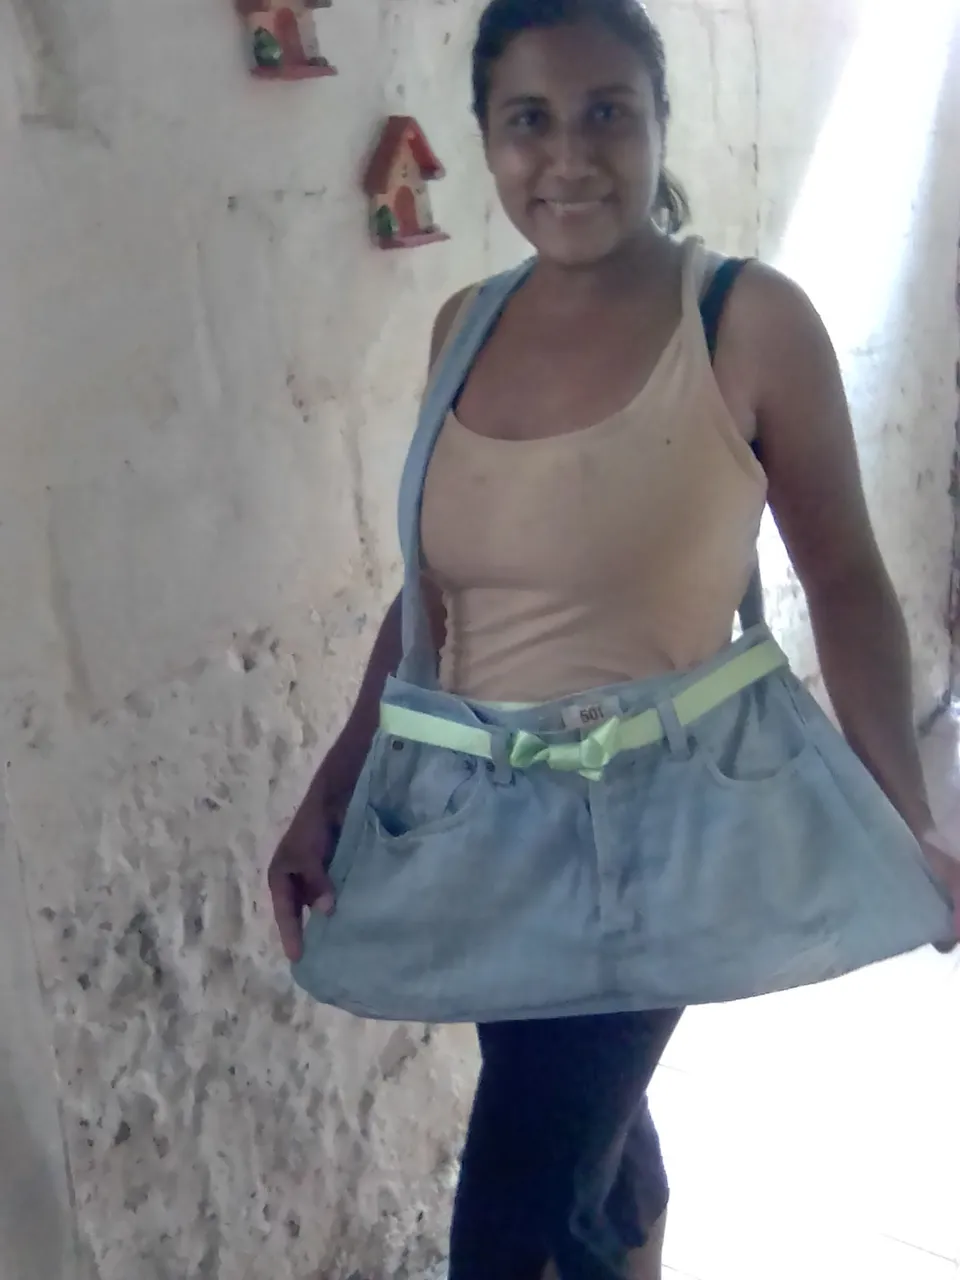
Ya está listo el bolso o cartera, pero decido colocarle un decorado para personalizarlo un poco, se trata de una cinta de color verde, ahora se ve mucho más bonita, y la puedo cambiar cuando quiera, para combinar.
Anímate, es sencillo de realizar y practico de usar. Además la puedes personalizar de la manera que quieras. Gracias por quedarte a ver y leer, hasta una próxima publicación.
English
Good good...
Hello, dear community. Once again I'm here, this time I want to share with you a creation of a purse or bag sideways, made with an old jean, which was going to be thrown away. My intention in making it sideways, is that I think it is more comfortable, at least for me, especially to go shopping, since I always walk with my children, so I see it practical. I invite you to stay and watch and read, you will like it.
Materials to use:
Old Jean
White thread
Needle
Scissors
Piece of fabric (for the lining)
Tape for decoration
Pencil
A broomstick
Elaboration:
The first thing is to find the old jean, I cut it just below the pockets, the front and the back ones. What's left of the legs I'm going to keep for later use.
Now I sew the bottom part, so that the pieces are joined, and it starts to take shape.
I continue with the lining. This is a piece of fabric that I had saved, it's like a raincoat and navy blue in color. I sewed it to the size for the wallet.
It's time to sew the lining inside the bag.
Now it's time for the strap. To do this I found a piece of the legs, from there I cut two pieces, which I will join so that I have the bag sideways. After sewing the legs, it's time to turn it inside out, for that I use a broomstick to help me.
Now it's time to sew the seams to the bag, to finish it.
The bag or purse is ready, but I decide to put a decoration to personalize it a little, it is a green ribbon, now it looks much prettier, and I can change it whenever I want, to combine.
Cheer up, it is easy to make and practical to use. Plus you can customize it any way you want. Thanks for staying to watch and read, see you next time.

Imágenes de mi propiedad
Texto traducido en Deepl
Baner y separador elaborado en Power point