
Hello everyone, hope you are all doing great. I posted a gown I made with granny squares a week ago and I promised to share the playsuit I made for my friend @fayour with granny squares also, so that is what I am sharing today. I am going to share a step-by-step way on how I achieved it.
Materials
Any medium weight yarn (i used 100% acrylic yarn)
Size 4mm crochet hook
Terms
DC: double crochet
SS: slip stitch
CH: chain
Step 1: making the granny squares.
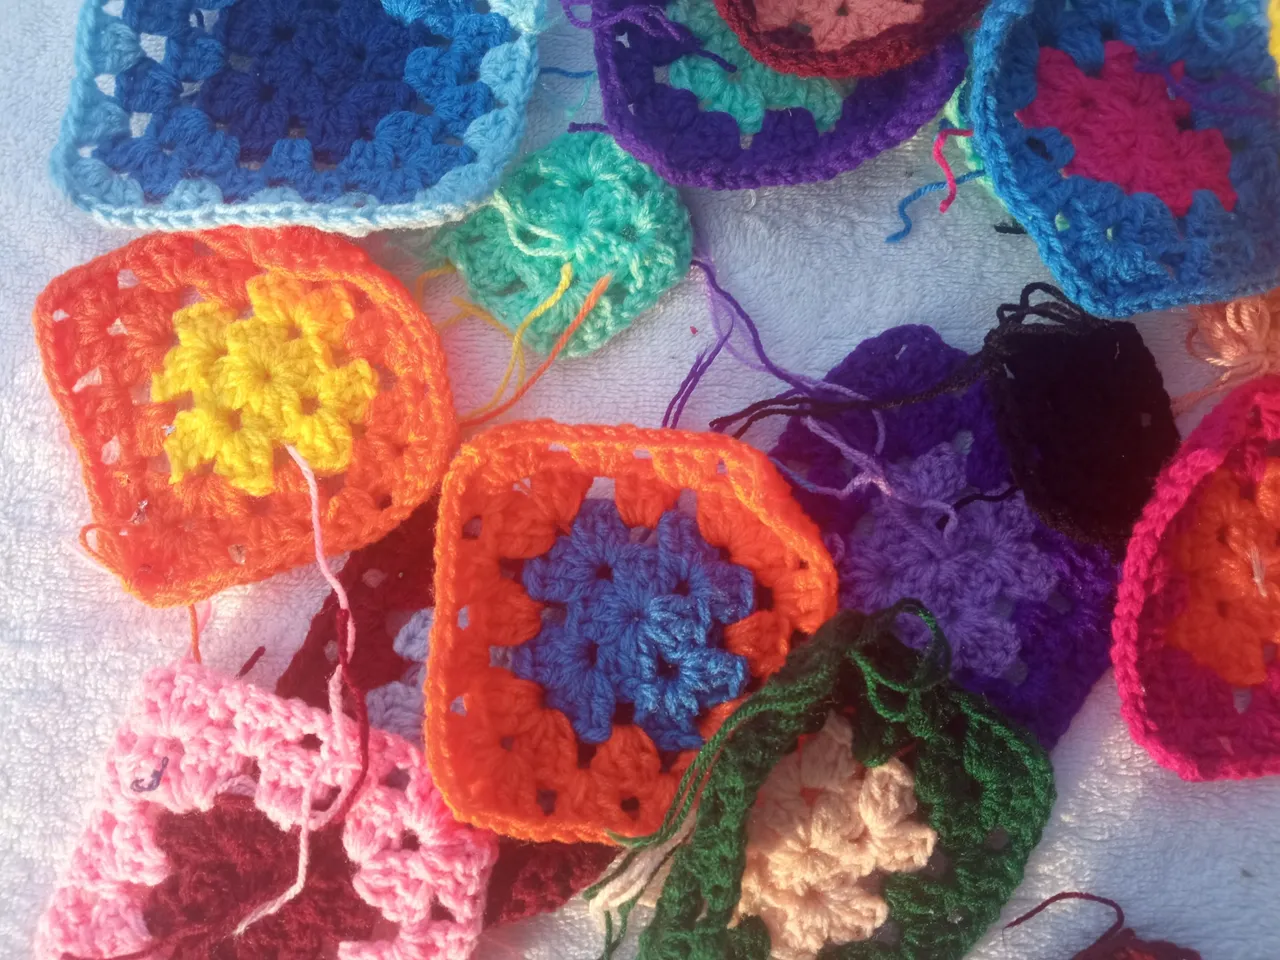
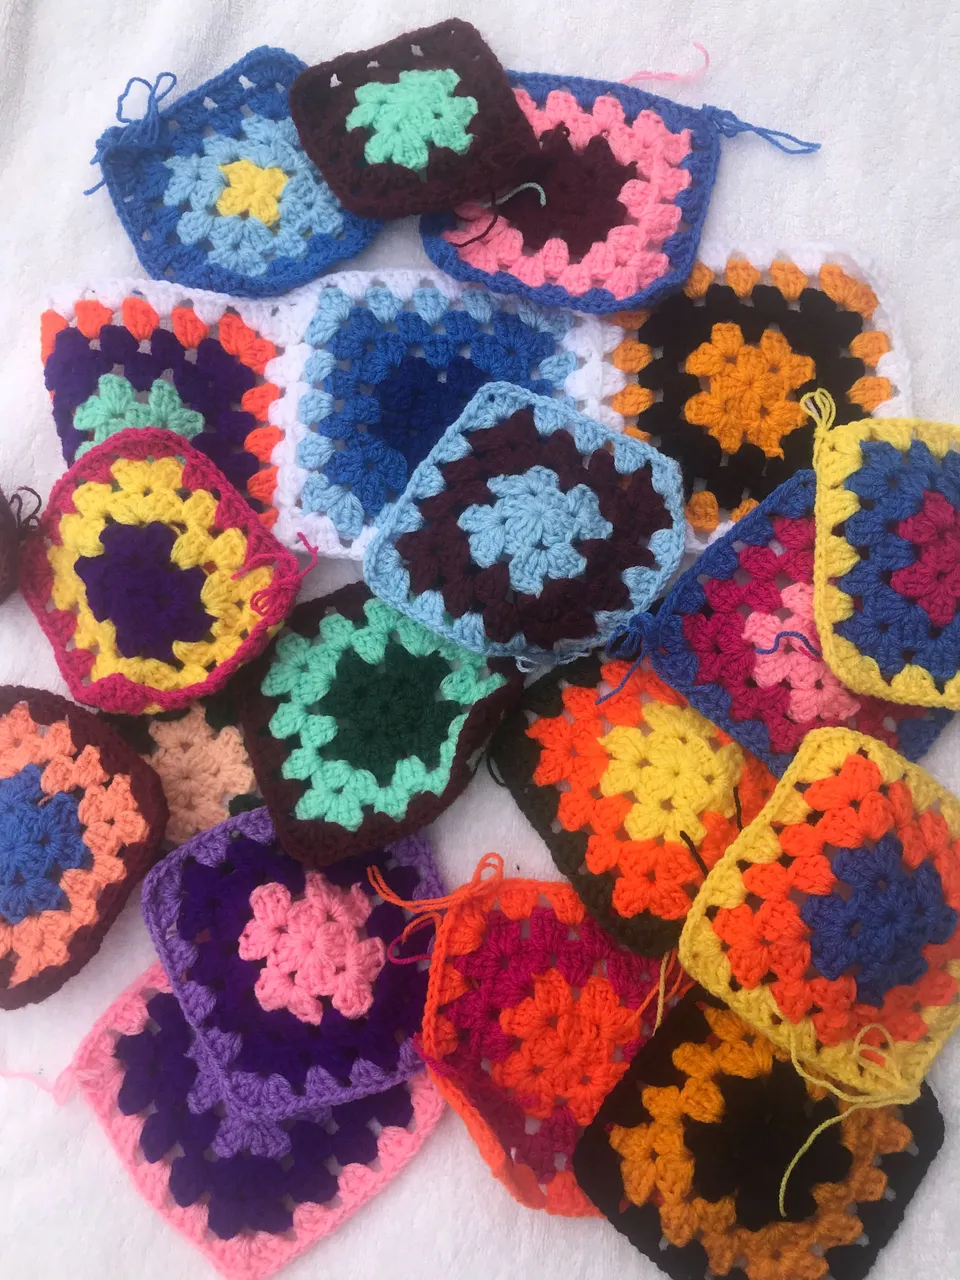
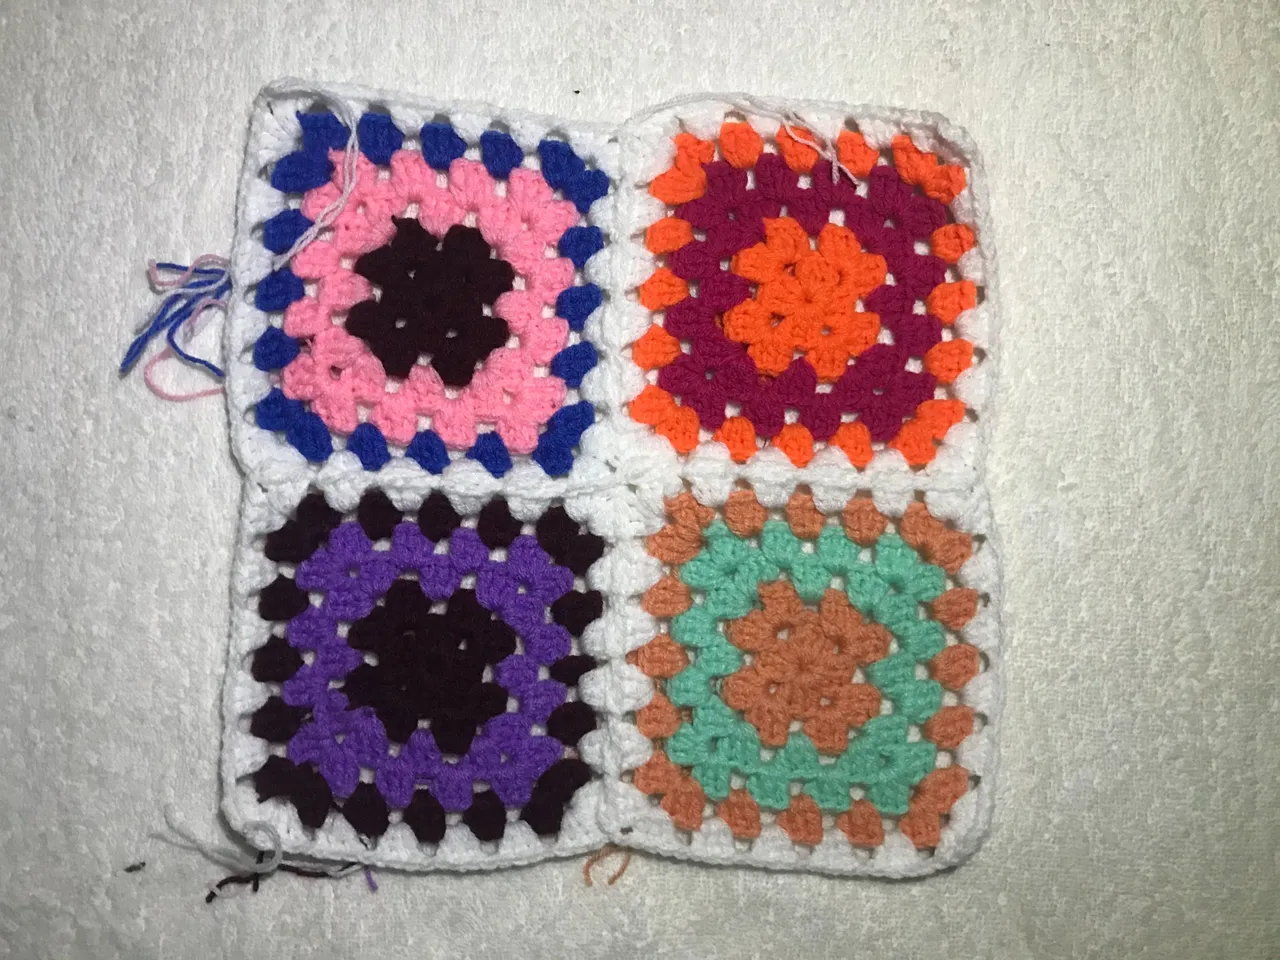
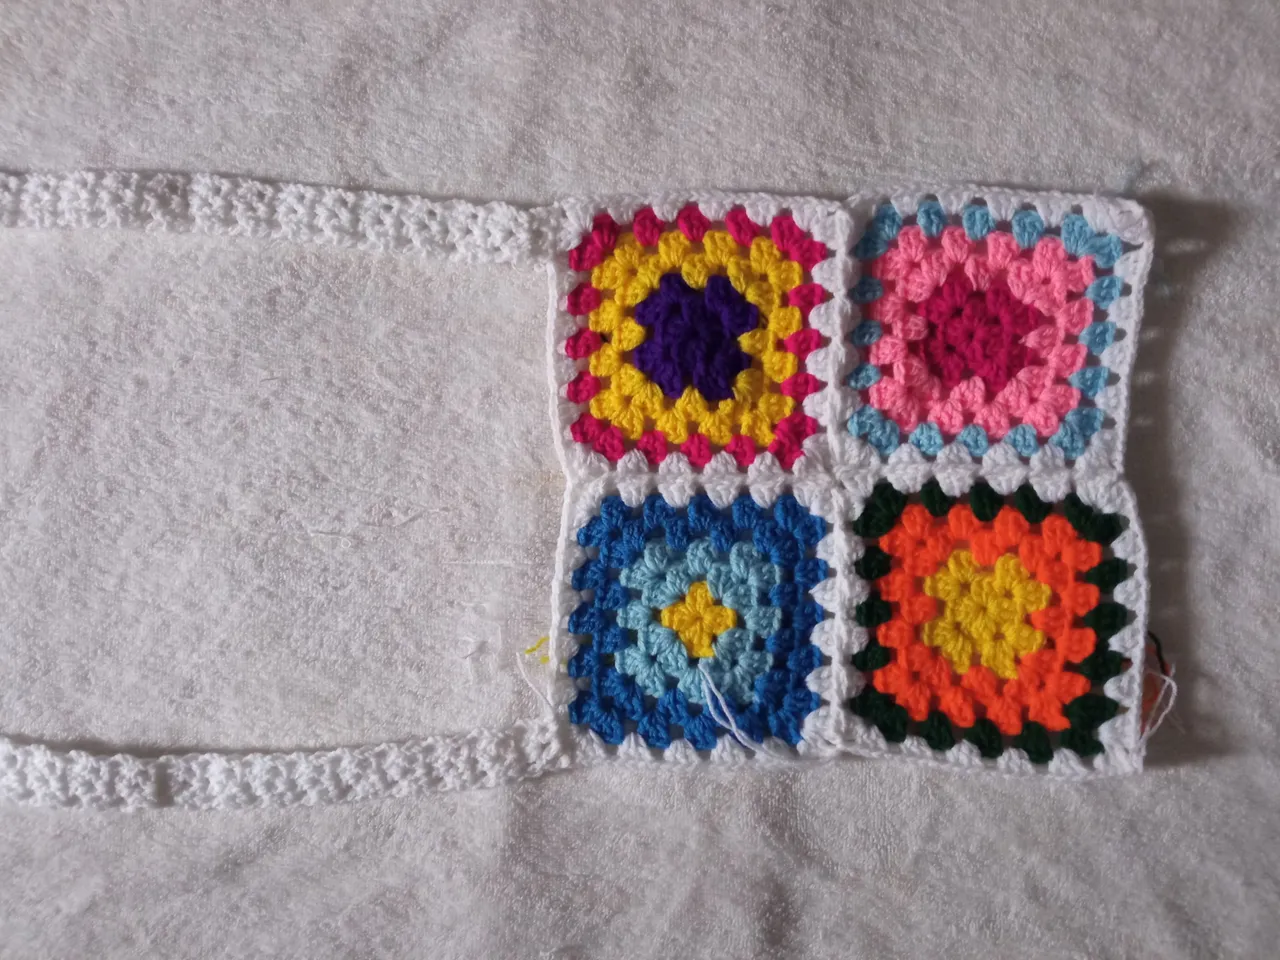
I made a total of 22 granny squares for this whole project, I did something a little different. In my first post I recommended the join-as-you-go method for joining the squares, so that is what I used for this whole project. I also used white as the border colour instead of black like the dress.
The playsuit is worked in two panels but the back panel is a bit bigger than the front panel, because we have to consider the back when making playsuits. Each square has a total of 6 rows which equals 5 inches in measurement.
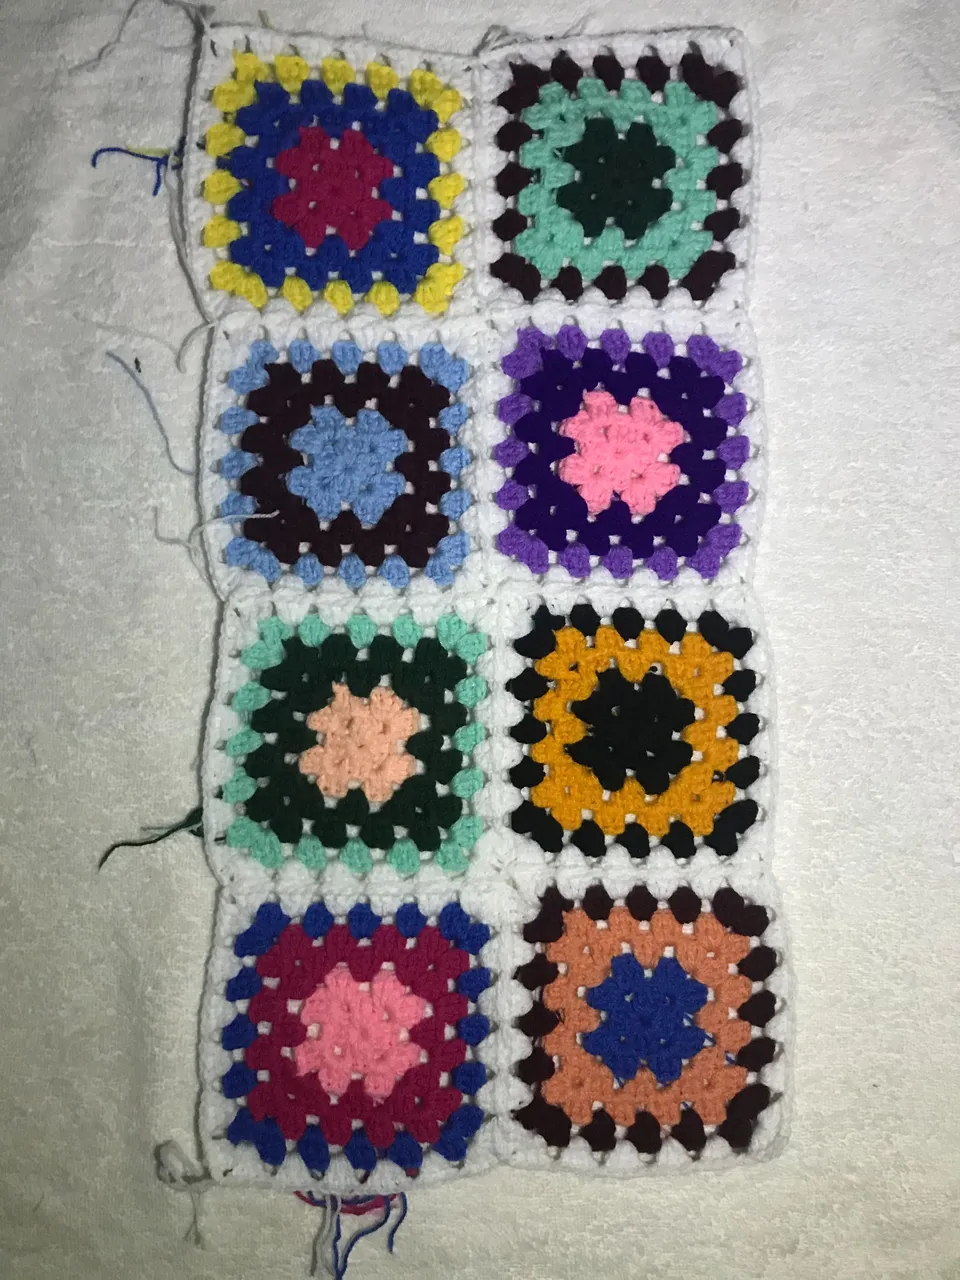
For the front panel I joined 3 granny squares, while the back panel has 4 granny squares horizontally. Vertically both the front and back panel have 2 granny squares each. Then I joined the back and front panel together.
To proceed I had to create the leg holes. For that i attached the yarn at the exact middle of the front panel and made 20 chains which is 4 inches in measurement, then attached the chain at the exact middle of the back panel.

When I was done separating the legs, I first worked on one leg before moving to the other. i used the border colour to make extra rows with 3 dc ch 1 3 dc till i close off the row. I did this for a total of 8 rows, then did the exact same thing on the other leg hole.
After I was done with that. I joined the upper granny squares, also in 2 parts, for both the front and back panel. Then I joined it in the exact middle of the front panel and did the same for the back. Then added the straps on both sides.
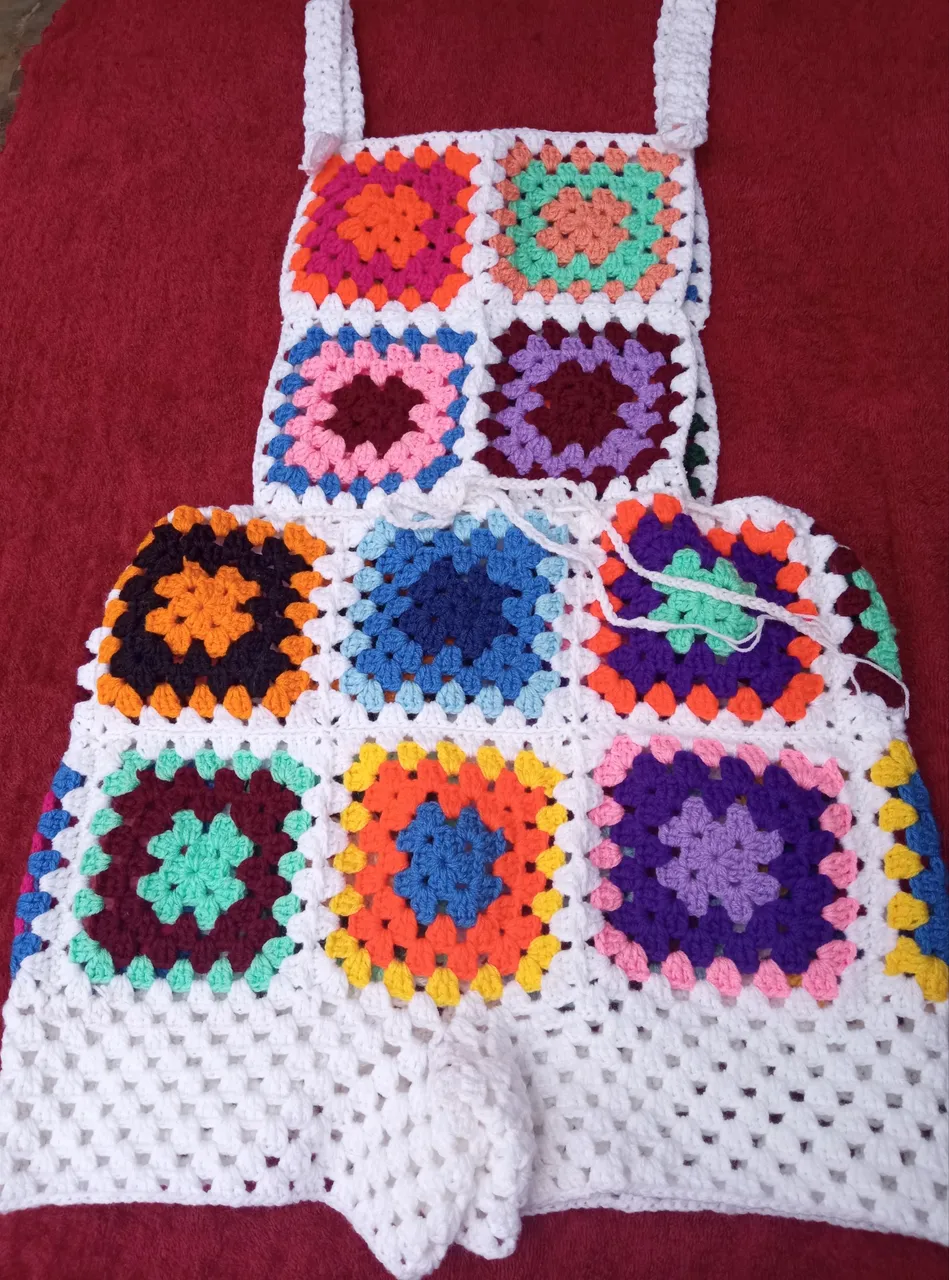
Here is the final result, I hope you like it.

Thanks for stopping by 💖