Hola amantes de la costura hoy les traigo una blusa fabulosa, pero lo más importante acá es que aprenderemos hacer el peplum o volado de la cintura, así que vamos manos a la tela. En esta ocasión utilice lycra, con una costura en zig zag y tensión del hilo 2, de esta manera se respeta la elasticidad de la tela y la costura no se rompe.
Hello sewing lovers and needleworkers, today I bring you a fabulous blouse, but the most important thing here is that we will learn how to make the peplum or ruffle at the waist, so let's get to the fabric. This time I used lycra, with a zig zag stitch and thread tension 2, this way the elasticity of the fabric is respected and the seam does not break.
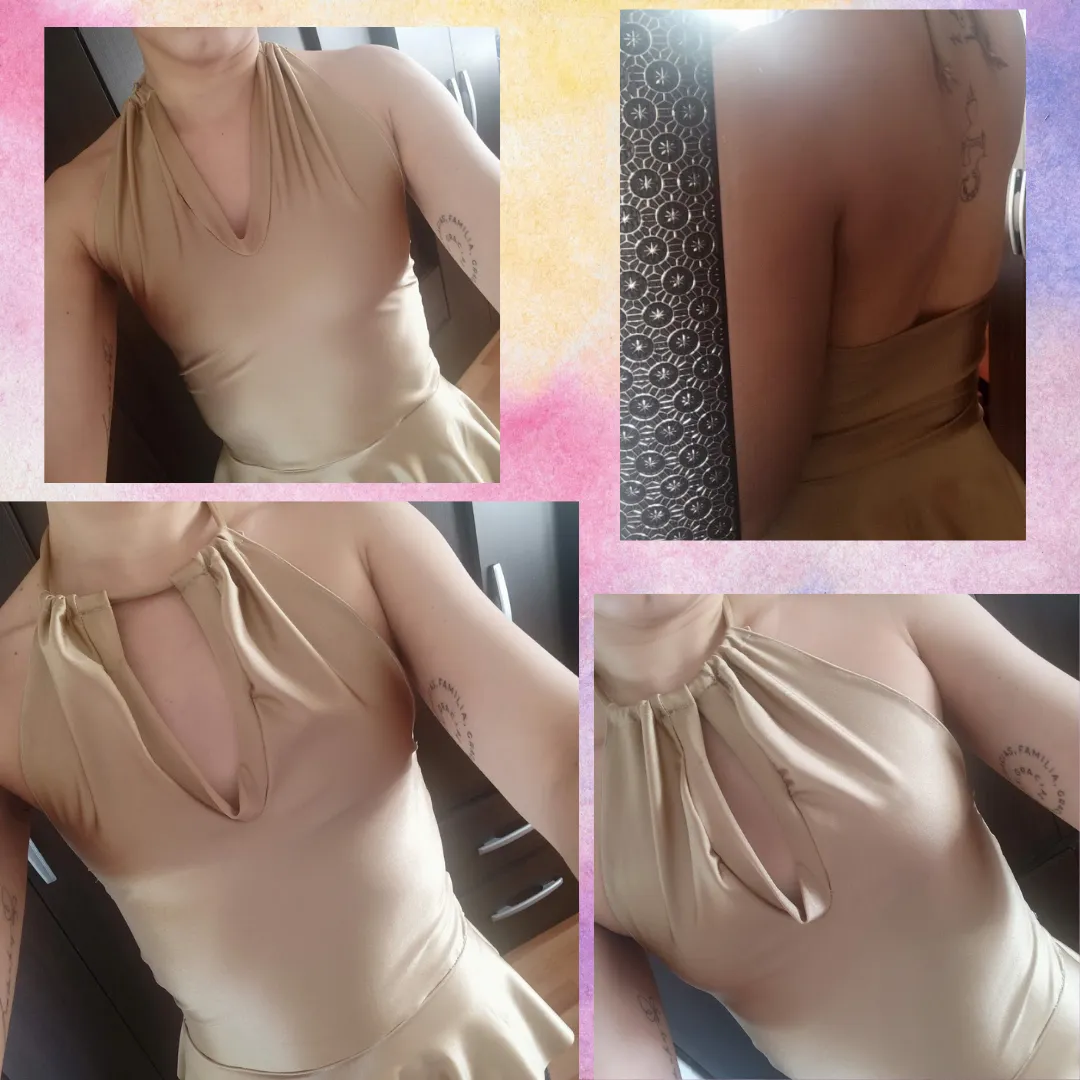
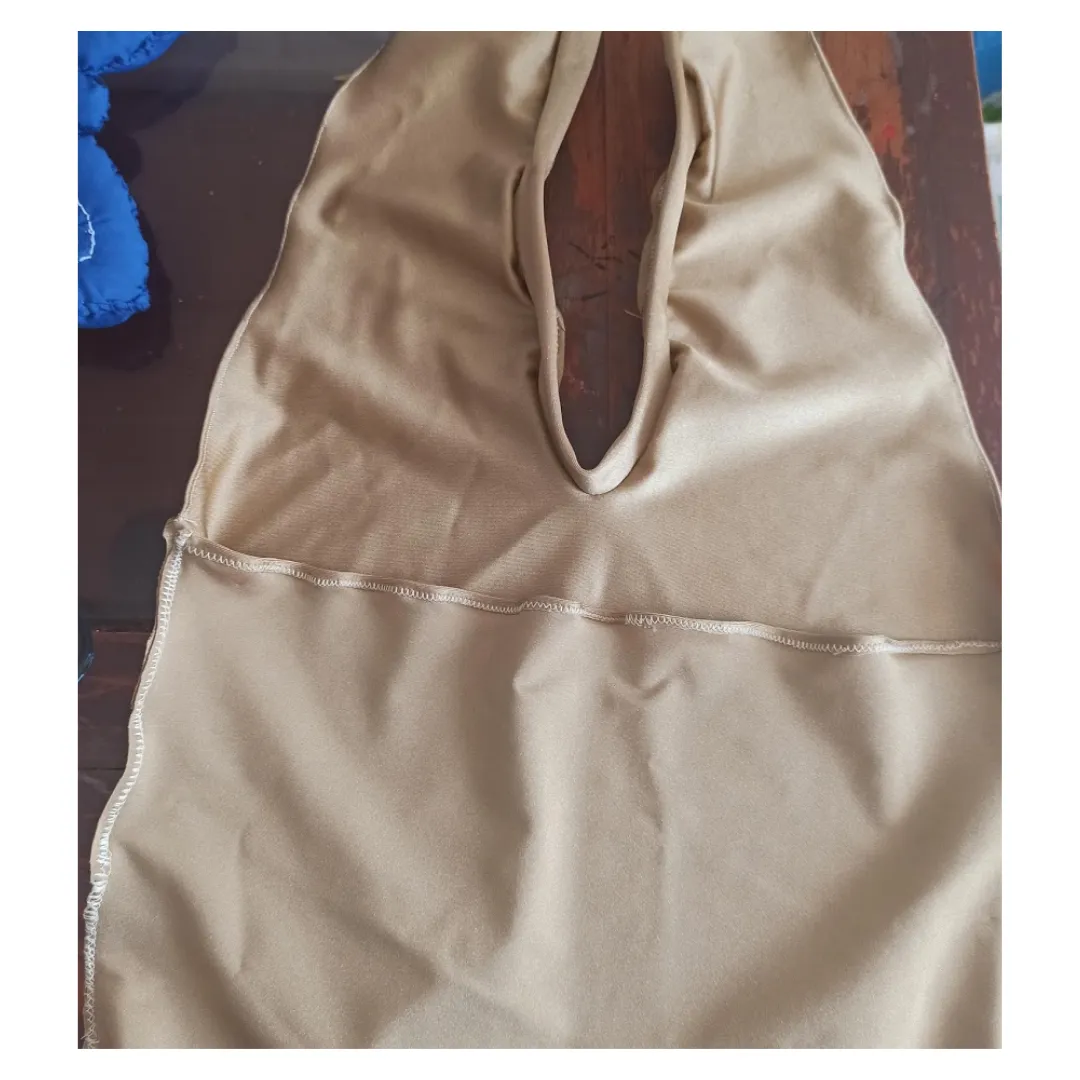
Esta es es un blusa ajustada pero de espalda descubierta, así que para la parte delantera tome de molde de una que ya he hecho, lo pueden ver en mi blog, para la trasera use el mismo cortando la mitad de la espalda, abrí un escote en el delantero y para ello corte una cinta de la misma medida de largo y 5 cm de ancho, para que sirva como bies.
This is a fitted blouse but with an open back, so for the front I took a pattern from one I have already made, you can see it in my blog, for the back I used the same one cutting half of the back, I opened a neckline in the front and for it I cut a ribbon of the same length and 5 cm wide, to serve as bias binding.
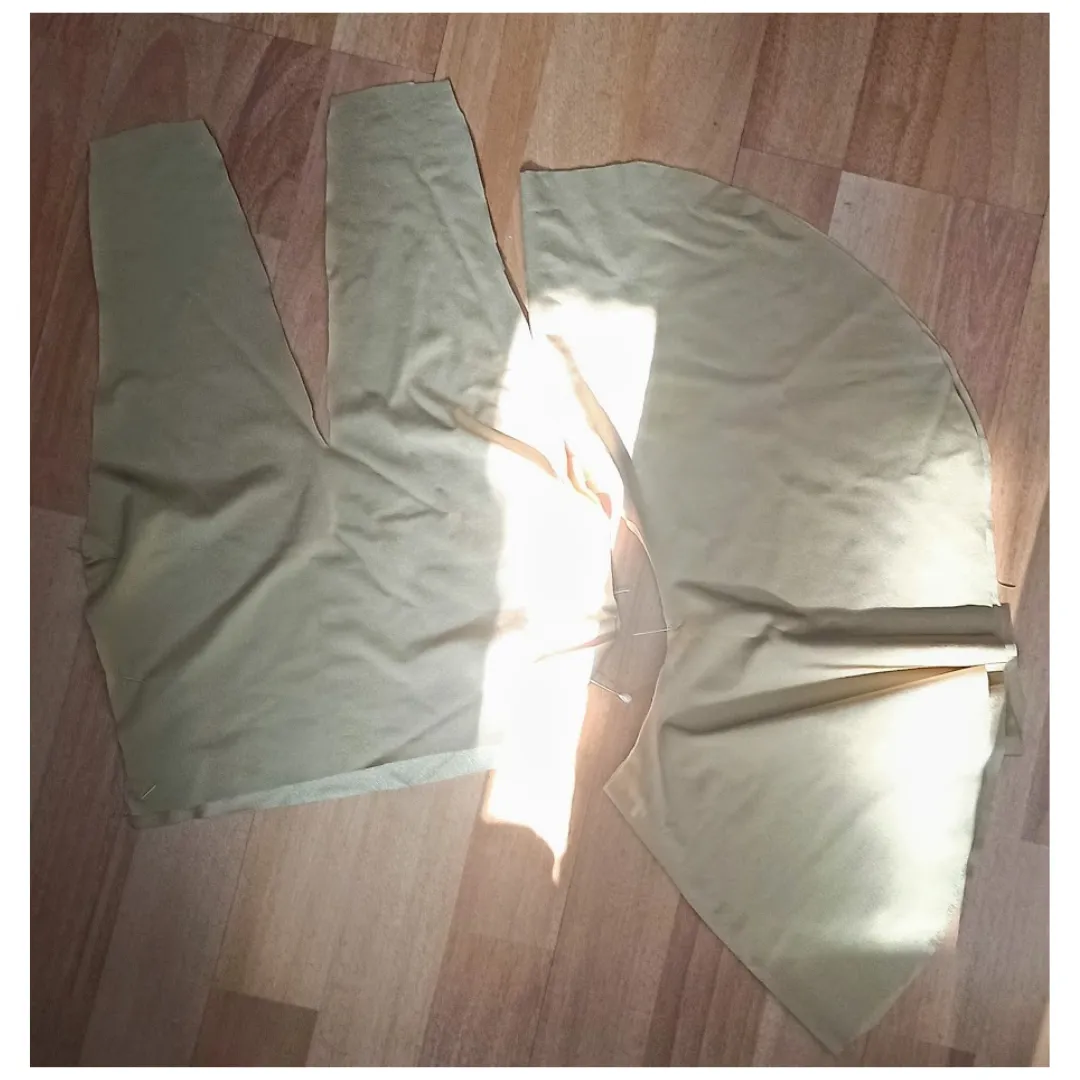
Para el peplum o volado toma el contorno de la medida de tu cintura, luego la divides en 6, pasamos a la tela y la doblas en 4, desde donde inicia la punta del doblez, ubica tu cinta métrica y de allí hacia abajo mides de lado a lado el resultado de la división de tu cintura, luego haces lo mismo desde el primer borde hasta la medida que has elegido para tu largo. Asegúrate de ajustar tu tela con alfileres para recortar por donde has marcado, y así tienes tu peplum, es la misma manera como haces la falda plato.
For the peplum or ruffle take the outline of your waist measurement, then divide it into 6, go to the fabric and fold it in 4, from where the tip of the fold starts, place your tape measure and from there downwards measure from side to side the result of the division of your waist, then do the same from the first edge to the measure you have chosen for your length. Be sure to adjust your fabric with pins to trim where you have marked, and so you have your peplum, it is the same way as you do the plate skirt.
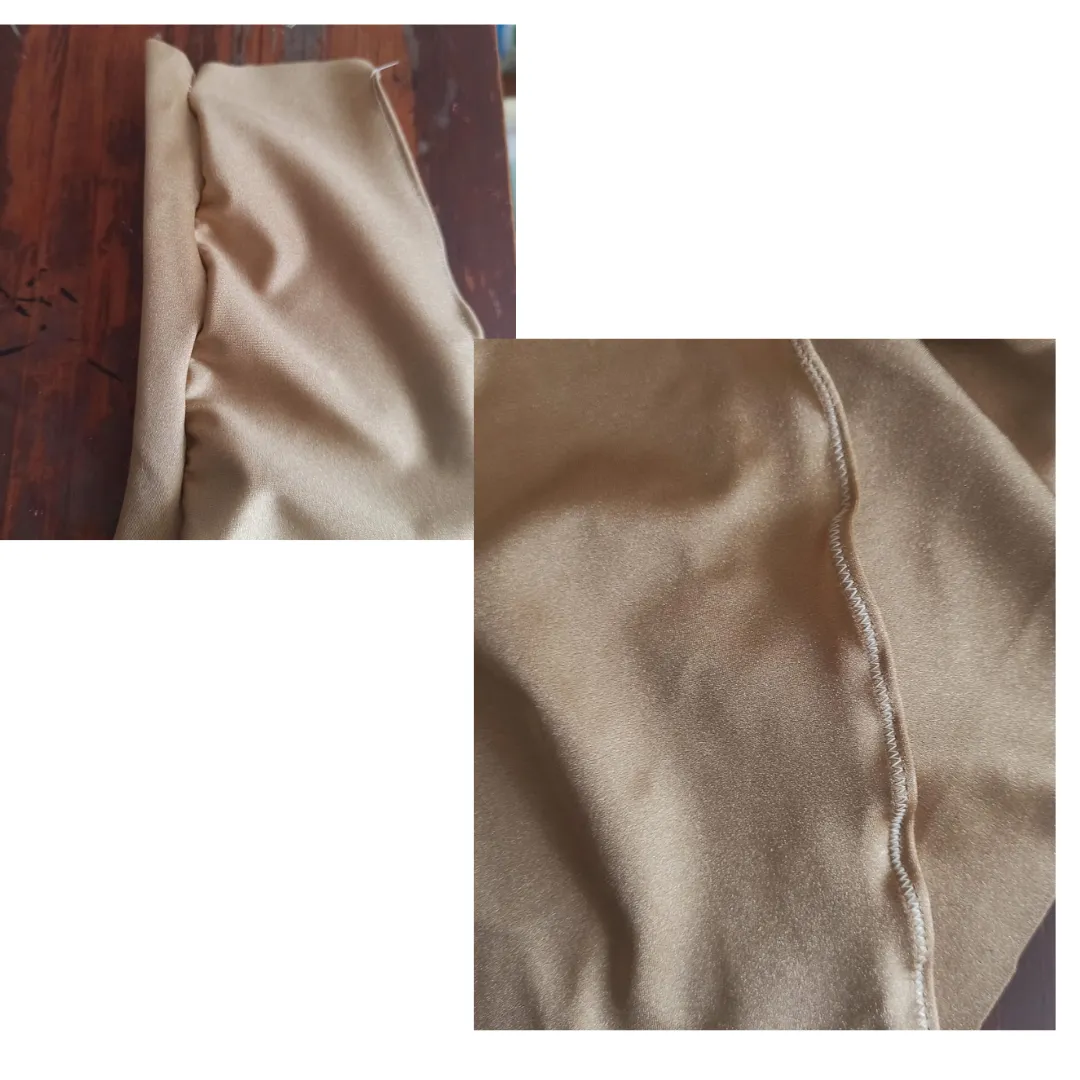
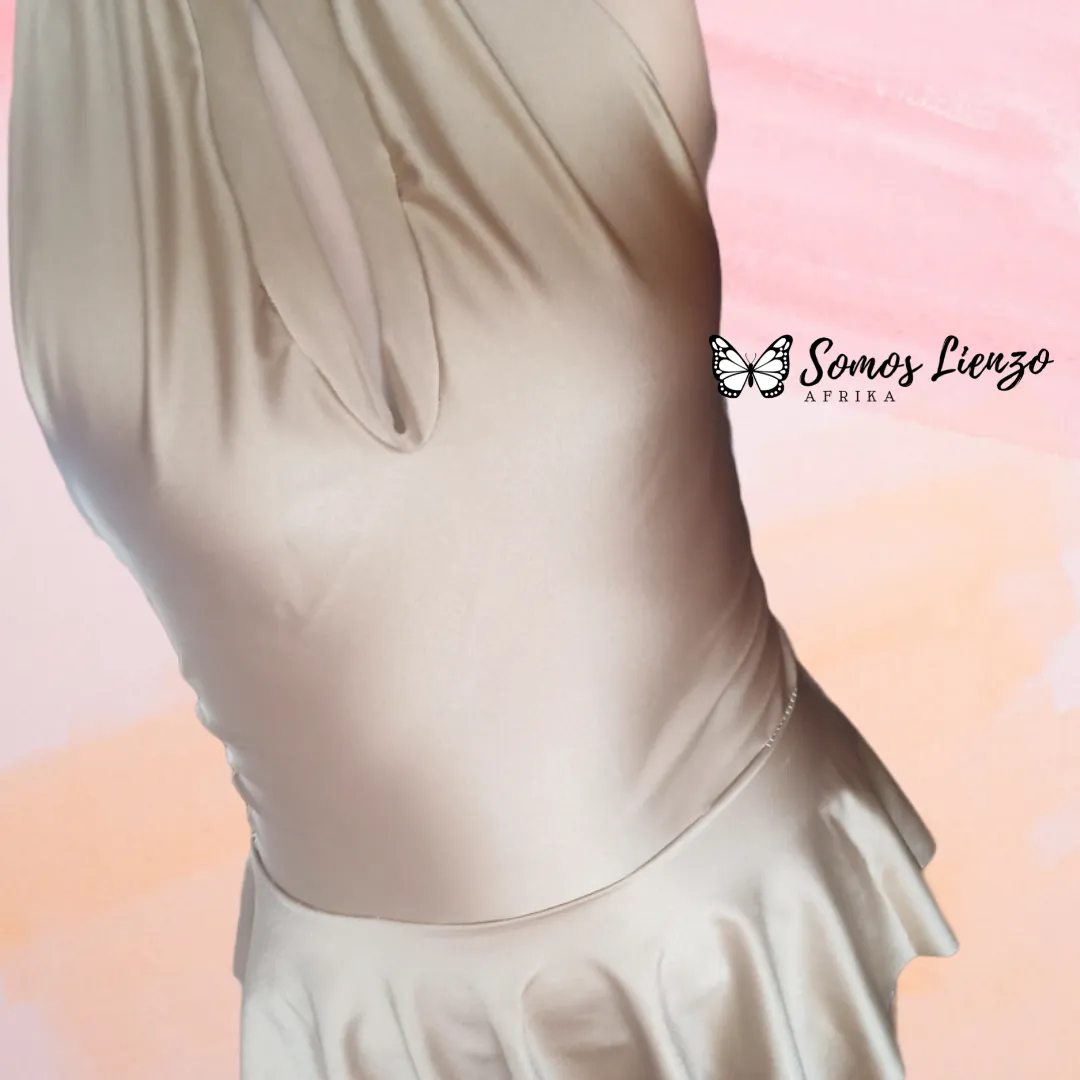
Ahora procedemos a coser, primero cosí el bies en el cuello, luego fui a los bordes de las mangas y los extremos en los hombros por donde va el cordel para amarrar en el cuello. Finalmente unimos la parte delantera con la trasera. Siempre recuerda revisar la tensión de tu hilo que sea la adecuada para tu tipo de tela. Ahora con alfileres unimos el peplum o volado a la blusa, cintura con cintura, luego pasas la costura, si te sirve estira un poco la tela para que quede mejor.
Now we proceed to sew, first I sewed the bias binding on the collar, then I went to the edges of the sleeves and the ends on the shoulders where the drawstring goes to tie at the neck. Finally we joined the front to the back. Always remember to check the tension of your thread to make sure it is the right one for your type of fabric. Now with pins we join the peplum or ruffle to the blouse, waist to waist, then pass the seam, if it helps you stretch the fabric a little to make it look better.
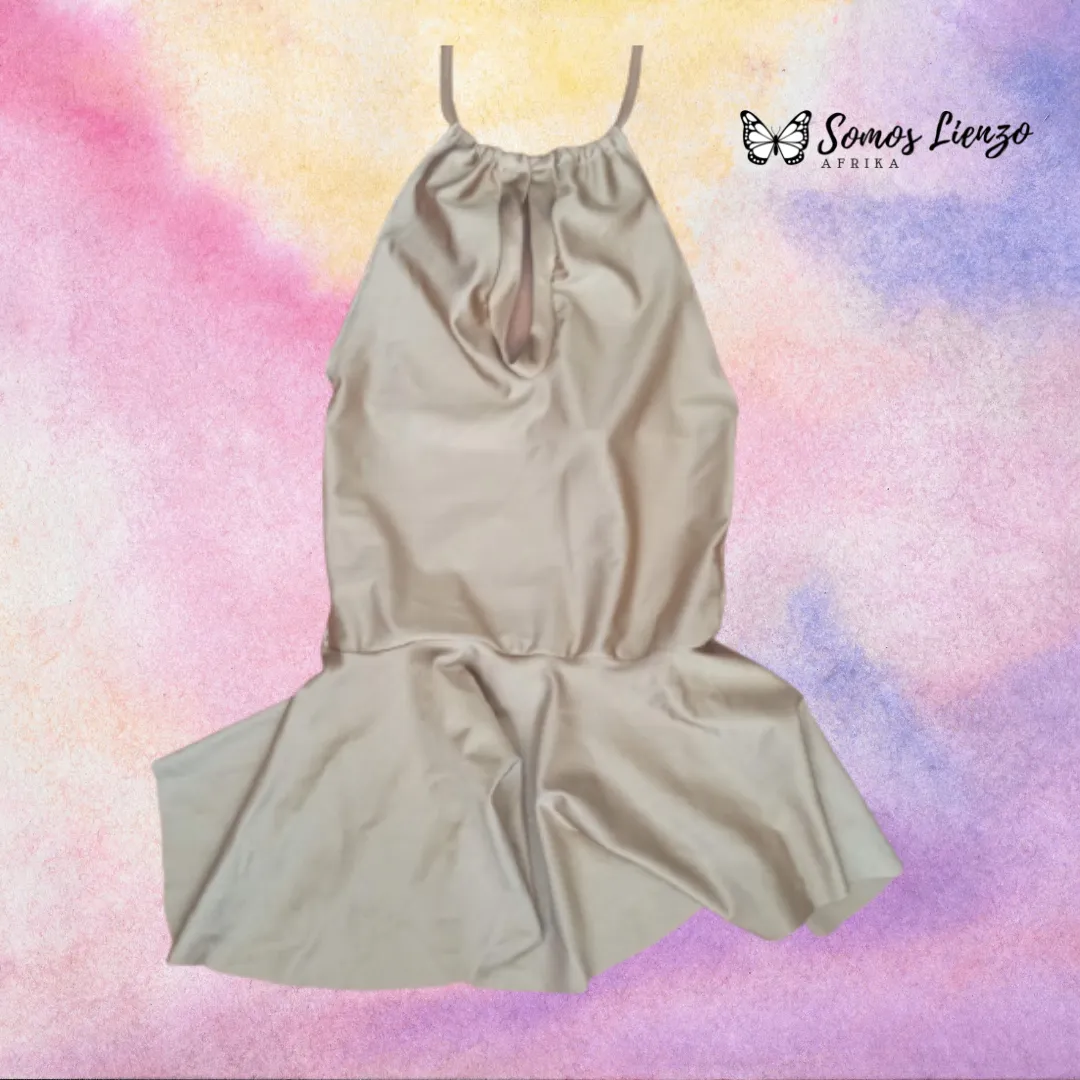
Y listo ya tienes la blusa peplum lista para lucir en la gala que elijas, con el cordel del cuello puedes jugar y usarla de diferentes formas. Gracias hivers por la compañía, si llegaste hasta acá tienes toda mi gratitud, para más inspiración visita mi blog y el de @needleworkmonday. Todas las fotos son registro personal capturadas con el teléfono redmi note 9, editadas en canvas. Cualquier duda, pregunta y sugerencia son bien recibidas en los comentarios. Gracias nuevamente hivers.
And now you have the peplum blouse ready to wear at the gala of your choice, with the neck string you can play and use it in different ways. Thanks hivers for the company, if you made it this far you have all my gratitude, for more inspiration visit my blog and @needleworkmonday. All photos are personal records captured with the redmi note 9 phone, edited in canvas. Any doubts, questions and suggestions are welcome in the comments. Thanks again hivers.