
Ever since I got my 3D printer, I've been collecting and using 3D filament like mad. Unless I need a specific color or type of exotic filament (like TPU, ASA, wood, carbon fiber), I order 10 spools at a time. This allows me to get filament for about $11.50 a spool (2.2 lbs or 1000kg) instead of the typical $20-30 price on Amazon.
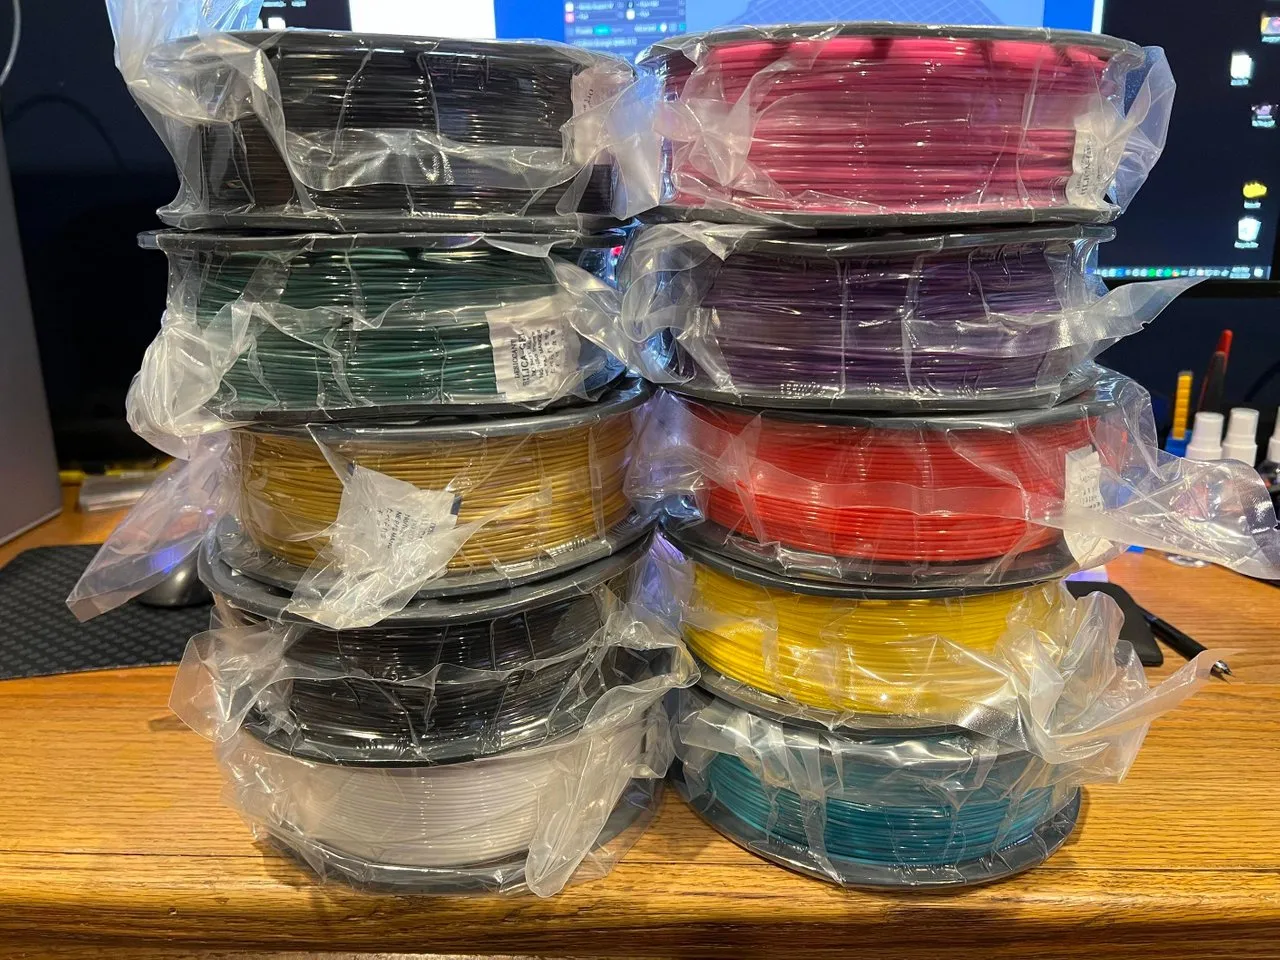
At this point I have 50-55 spools of filament in my workshop piled up in the corner of the room. I've been meaning to do something about it, and I finally started to tackle it.
Enter the open source, freely available RepRack system. This is a very easy to print and assembly system for hanging filament on a wall.
You can find the project on printables, my favorite site for 3D models (most are free!).
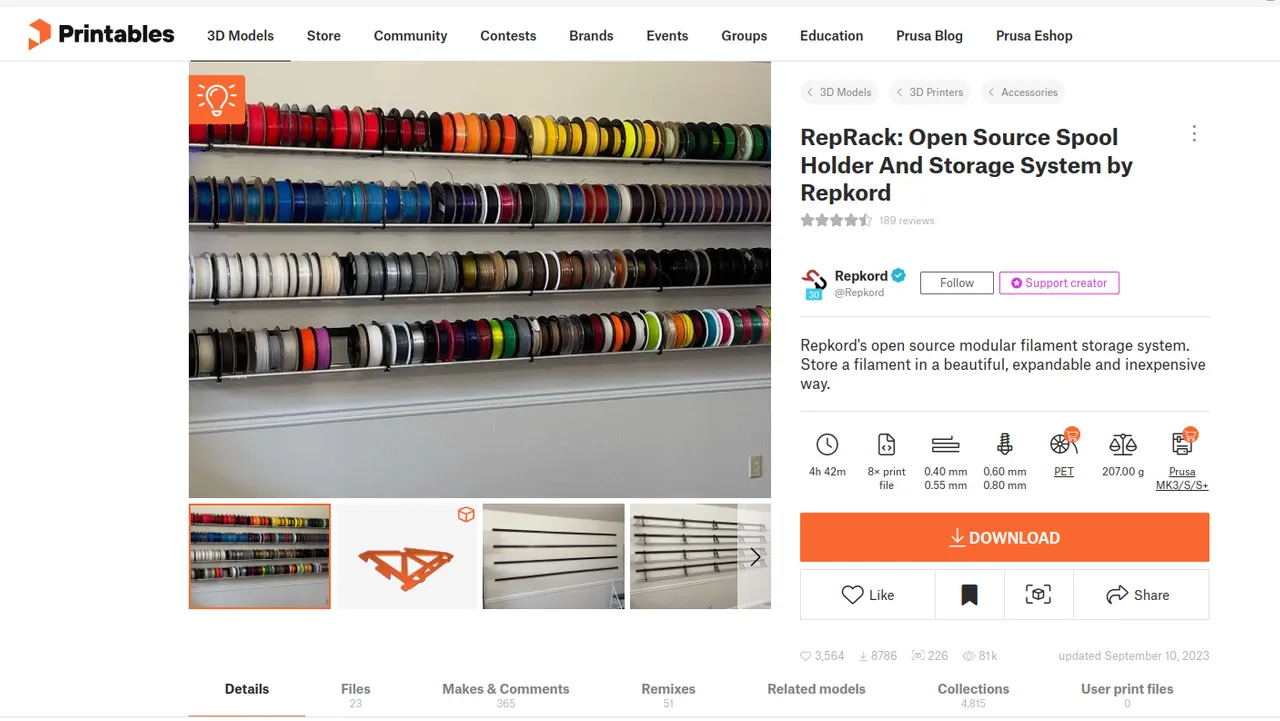
The system consists of three main printed parts, and two pieces of hardware.
The main part of the system is a cleat and hanger you drill into the wall.

I added additional support to the outter hangers. These clamps provide additional support for the holes where the rods go through.
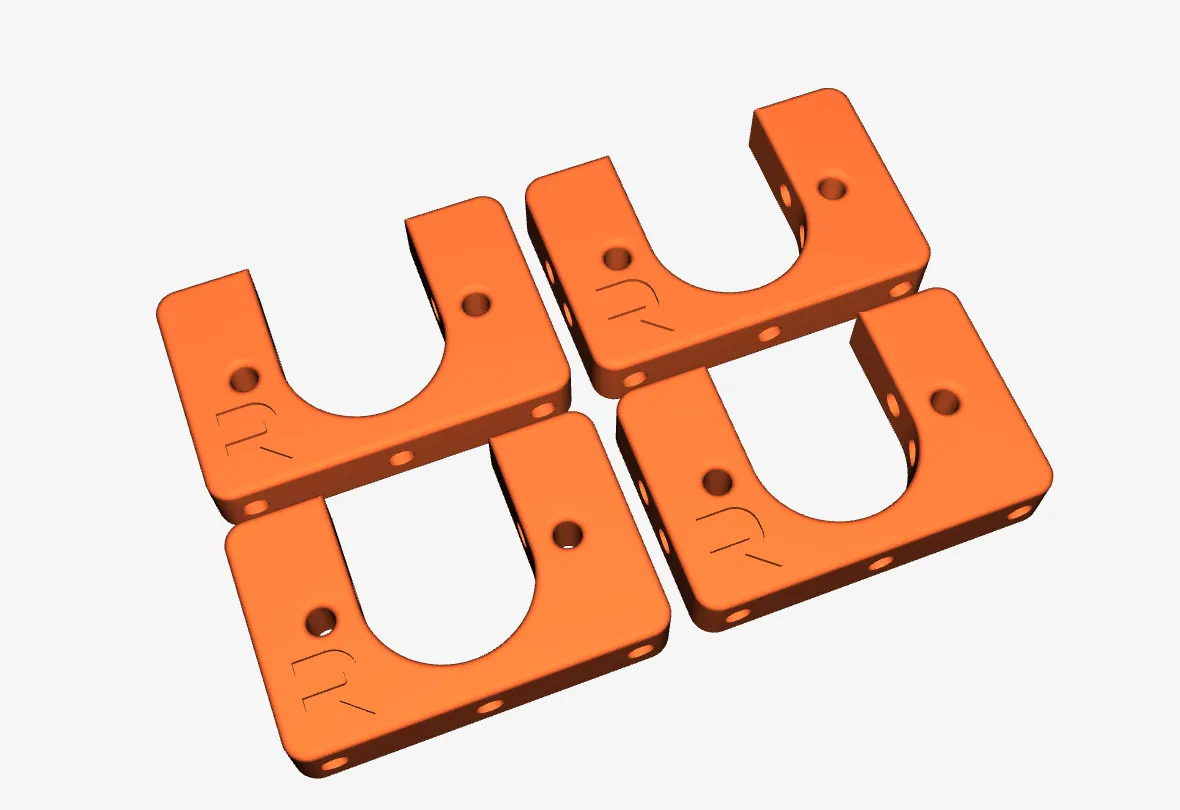
For my 4' long shelves, I went with three hangers. One on each end, and one in the center to provide some additional support. These pieces are printed with more infill than normal and additional walls and top/bottom layers to increase the strength. I typically print 10-15% infill with 3 walls, and 4 top/bottom layers. For these, I printed 25% infill, 5 walls, 5 top and bottom. I also printed the cleats at an 45% angle so the layer lines won't line up with the direction of force applied. This significiantly improves the strength of the 3D printed parts under stress. I errored on the side of overkil and so far it appears to be working.
My target shelves are 4' long and I expect to fit 15-18 spools of filament. That's 38-42lbs of weight that needs to be supported. So finding studs is important for a secure system.
After you print the cleats and hangers, you use standard 3" #8 wood screws to screw them into the studs. At any hardware store you can pick up 1/2" EMT conduit for the racks. I picked up a few 10' runs and cut them to 4' sitting in the parking lot so I can fit them in my trunk.

I got one shelf up yesterday and plan on putting up two more today. I managed to fit 17 spools on my shelf, which is all the room I had in the corner I want to mount this. In theory I could put a sleeve on the rod and even print directly from the rack, but since I use a Bambu X1C printer, I have a dedicated color changer AMS unit for that.
Most of what I print is PLA, which is not very sensitive to moisture unless you live in a very damp part of the world. I currently have about 33% humidity in this room, so I removed all the bags from my PLA filament.
For my more sensitive filaments, like ASA, carbon fiber, TPU (rubber), and so on, I will keep these in metal shielded bags that offer superior moisture protection. Some of these materials like TPU you have to dry before you print, even if you store them in low humidity. I have a Sunlu S1 filament dryer I use for this purpose, but if I printed more of this material I would probably custom build my own dryer system.
If I was to guess, I have about 54 spools of filament, 4 of these are carbon fiber, 8 of them are PETG, 1 of them is support material, I have one roll of ASA, and the rest are PLA. I will hang all the PLA and PETG on the racks.
If in the rare chance you need a system like this, check out the RepRack Project on printables. You can find a lot of mods here as well.