-EN
Hello to everyone! I hope you are well. Today I am here with a recipe that I love very much. We are approaching the end of the summer season and during these months, winter food is usually prepared. Preparing canned food or pickling is common these days.
Especially with the beginning of September, this process accelerates. Today I will give a pickle recipe. I learned this pickle from my grandmother, aunt and mother. I have to admit that when I ate this pickle for the first time, I didn't like it very much. I didn't even eat for a long time. I do not know why. Sometimes I overreact to certain foods. After a while, I realize my mistake and try again to be objective. This is such a food. And I'm stuck in this cycle :D.
My aunt lives in Izmir and I went to visit her about 3 years ago. And she asked if I like this pickle. Even though I didn't like it, I politely said yes. And then I realized that it really doesn't taste that bad. Again, I regret that I approached it in a biased way. lol.
There are a lot of people in Turkey who love this food. They even roast this pickle with onions and tomato paste during the winter months. This is a delicious meal. But I don't like it much. It is my preference to consume pickles plain. This is a simple recipe but takes a long time to make. Without further ado, let's take a look at the recipe!
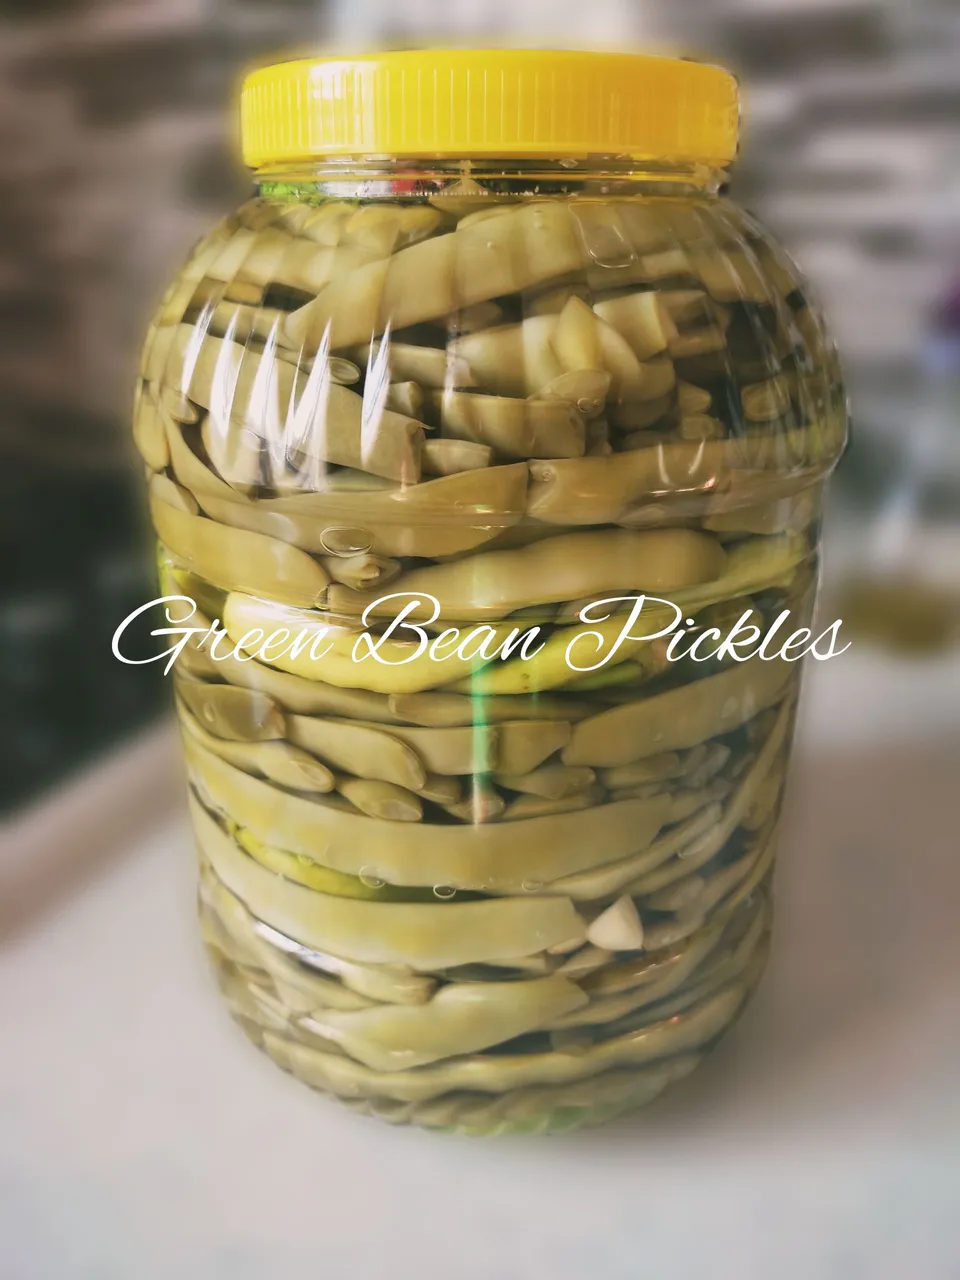
Green Bean Pickles
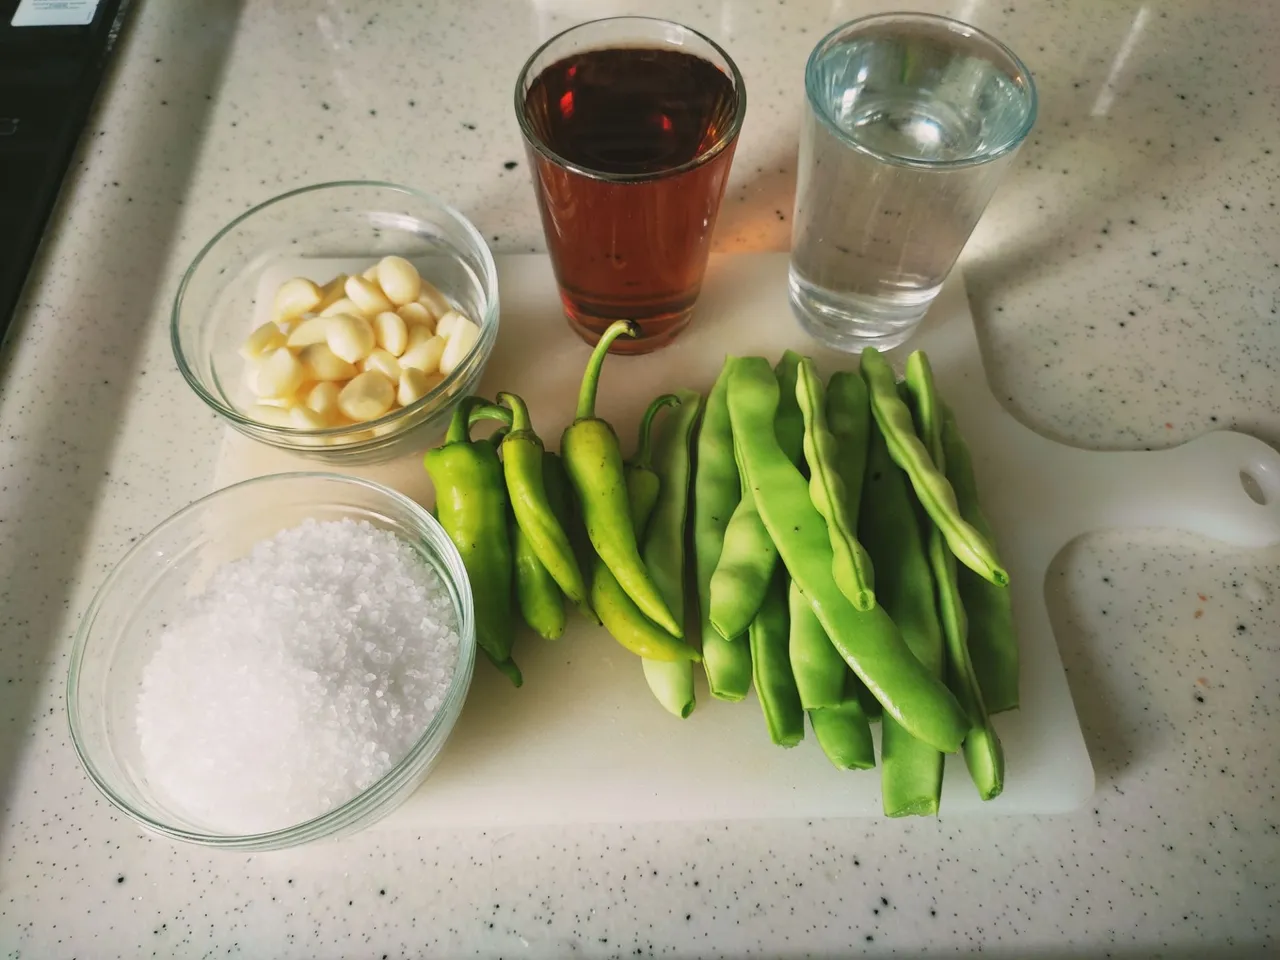
Ingredients
3 Kg Green Beans
20-25 Cloves of Garlic
5-10 Pieces of Hot Green Pepper
400 mL Grape Vinegar (Approximately 2 glasses. The volume of the glass I use is 200 mL.)
1.5 Liters of Water (Approximately 7.5 glasses)
9 Tablespoons of Rock Salt
Steps
First, we prepare the marinade water mixture that we will add to the green beans. Because we will use this mixture cold. Add 1.5 Liters of water to a pot and bring to a boil.
Add the salt to the boiling water and wait for the salt to dissolve.
When the salt is completely dissolved, add the grape vinegar and mix. End the cooking process. Let this mixture rest. It is important that the mixture is cold when using the mixture.
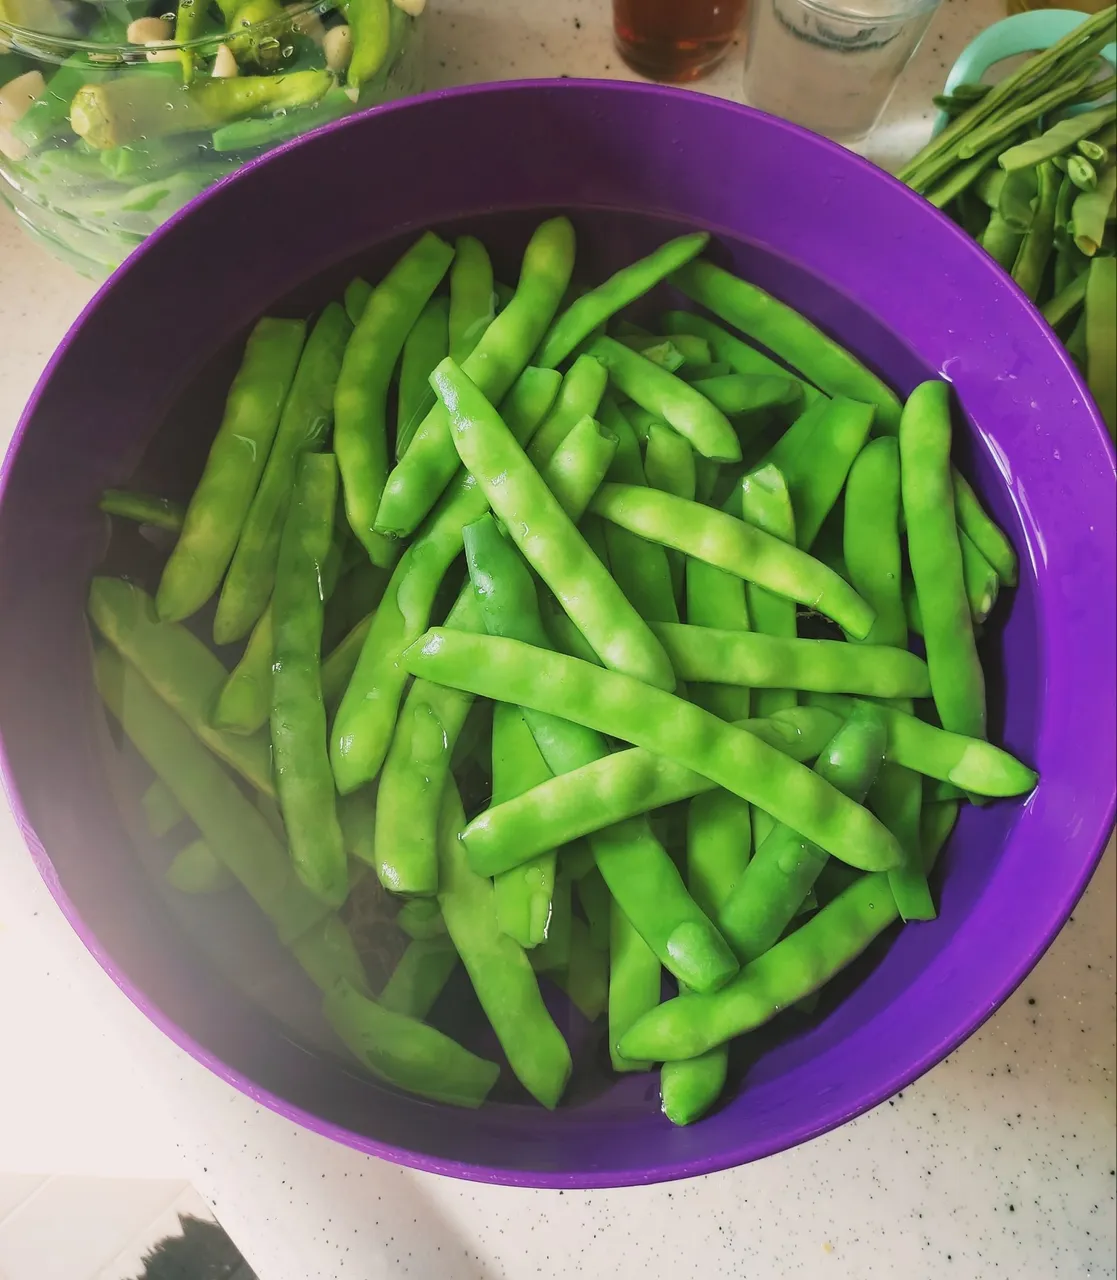
Cut off the stems of the green beans and wash them. Then boil water in a saucepan. Add the green beans to the boiling water and boil for 2-3 minutes. Fresh beans should not be cooked much , please do not boil for more than 2-3 minutes. Green beans should not be cooked much.
Add cold water to a deep bowl. Put the green beans you have boiled for 2-3 minutes in this deep container. Then chill the green beans. You can chill it by changing the water in the bowl several times.
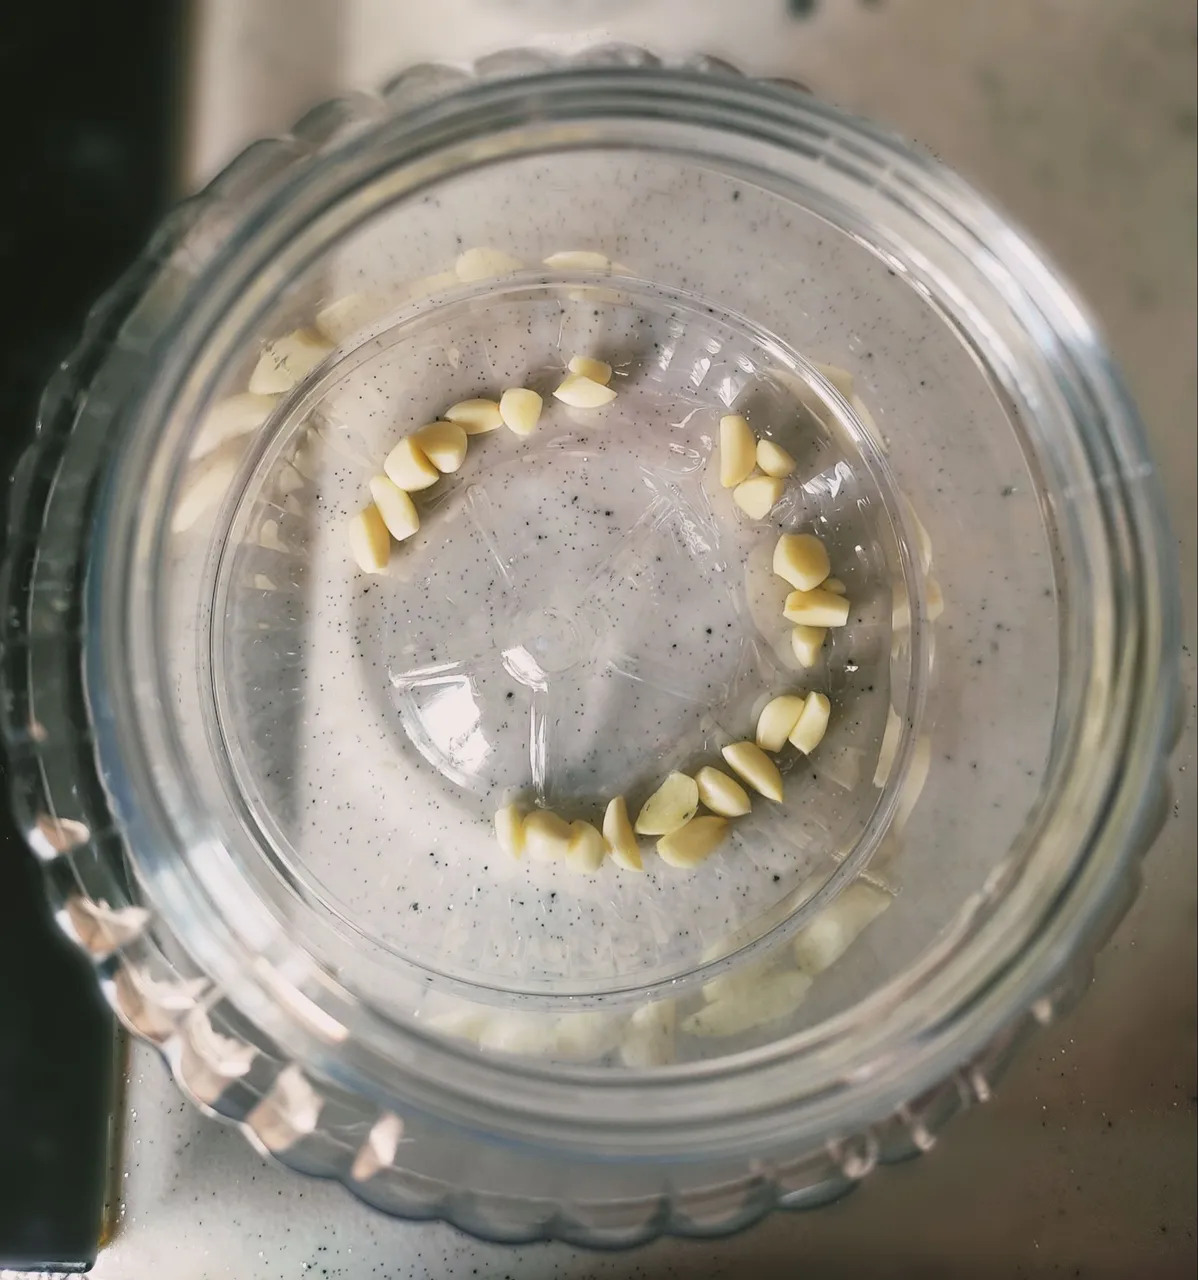
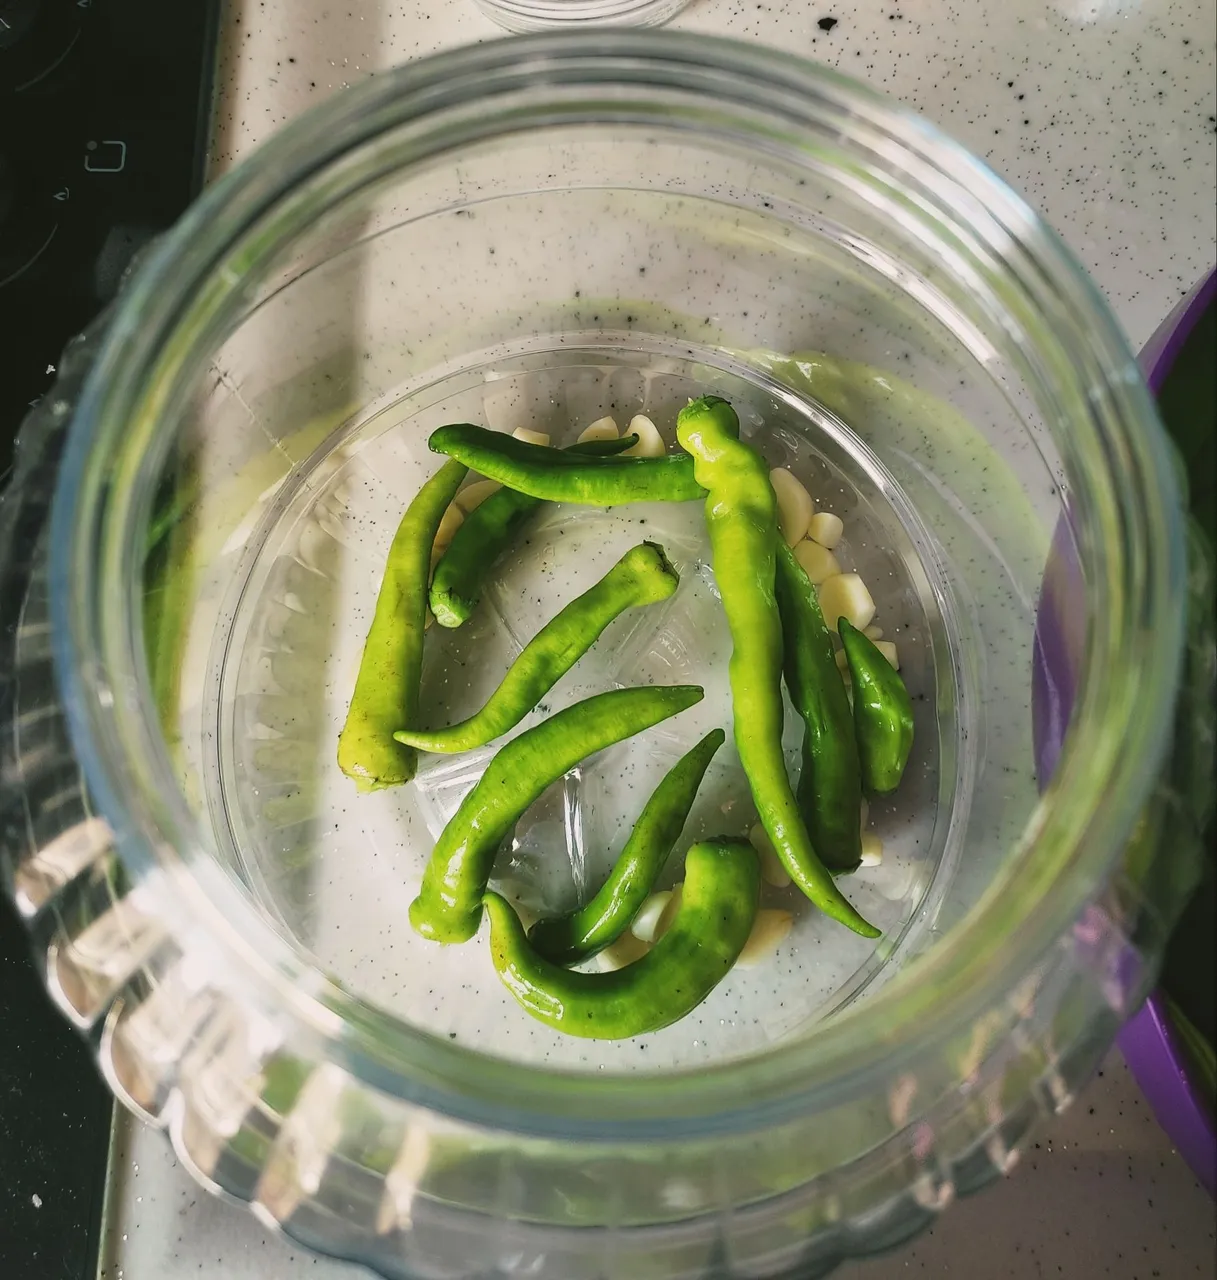
Peel the garlic cloves and cut each garlic into two parts. Then add some of the garlic to the bottom of the container where you will prepare the marinade. I used a 5 liter jar for 3 kg of green beans.
Make a few holes on the pepper with a knife and add it over the garlic.
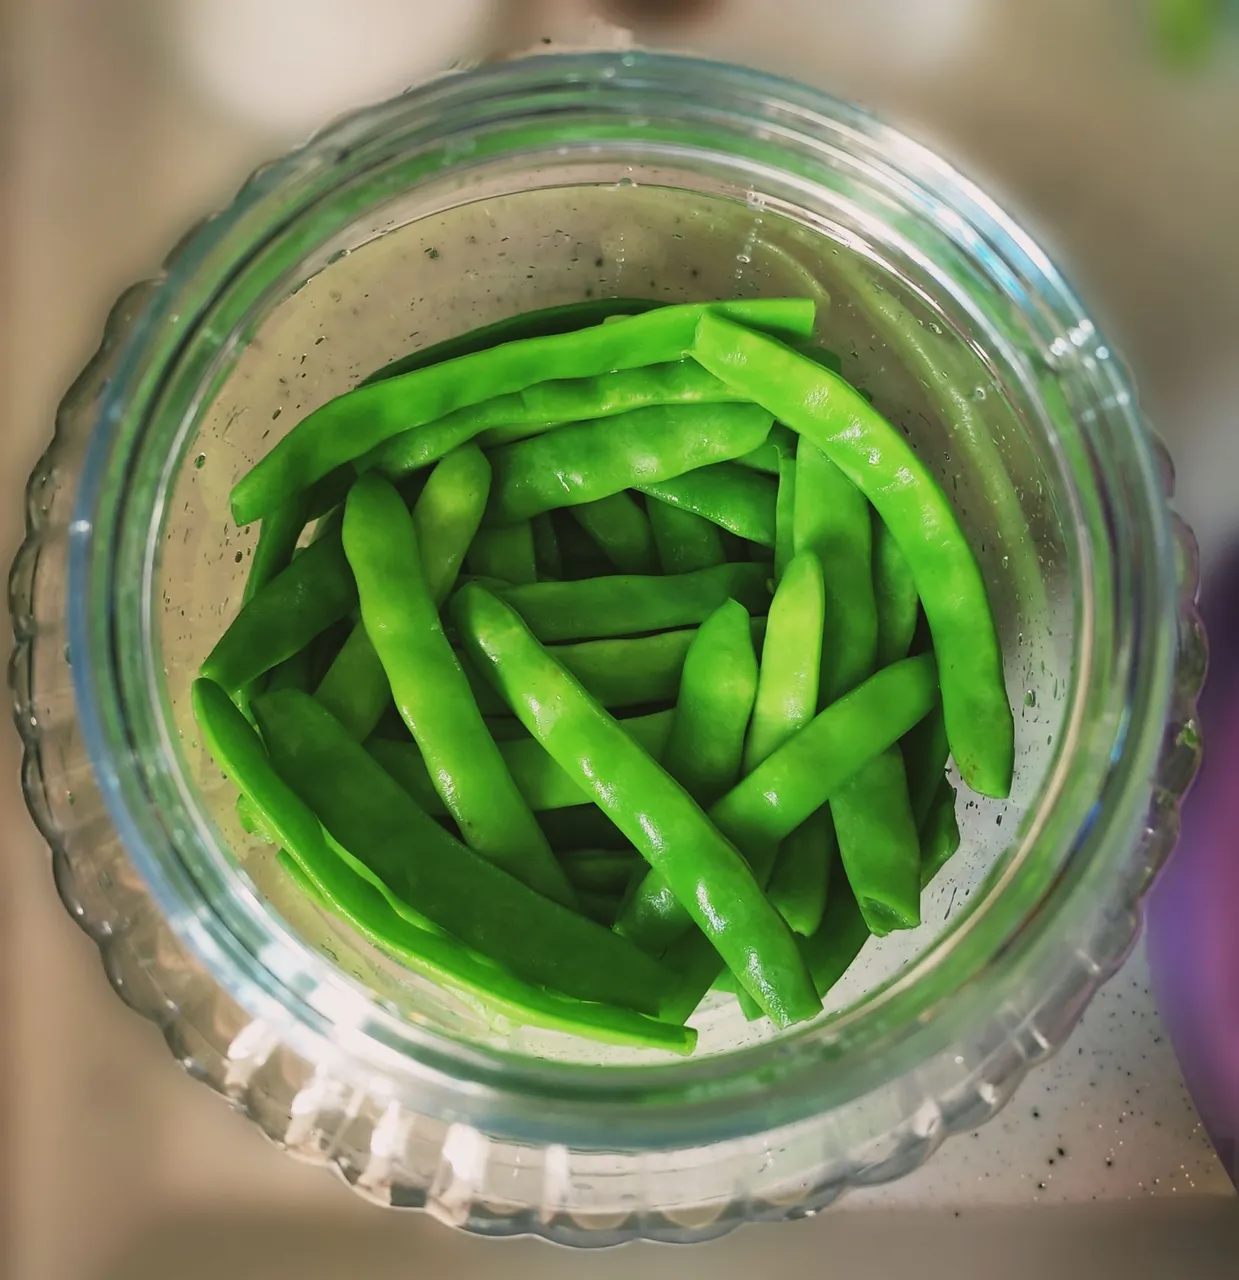
Place the cooled green beans in the jar so that there is not much space between them. Be careful not to break the green beans.
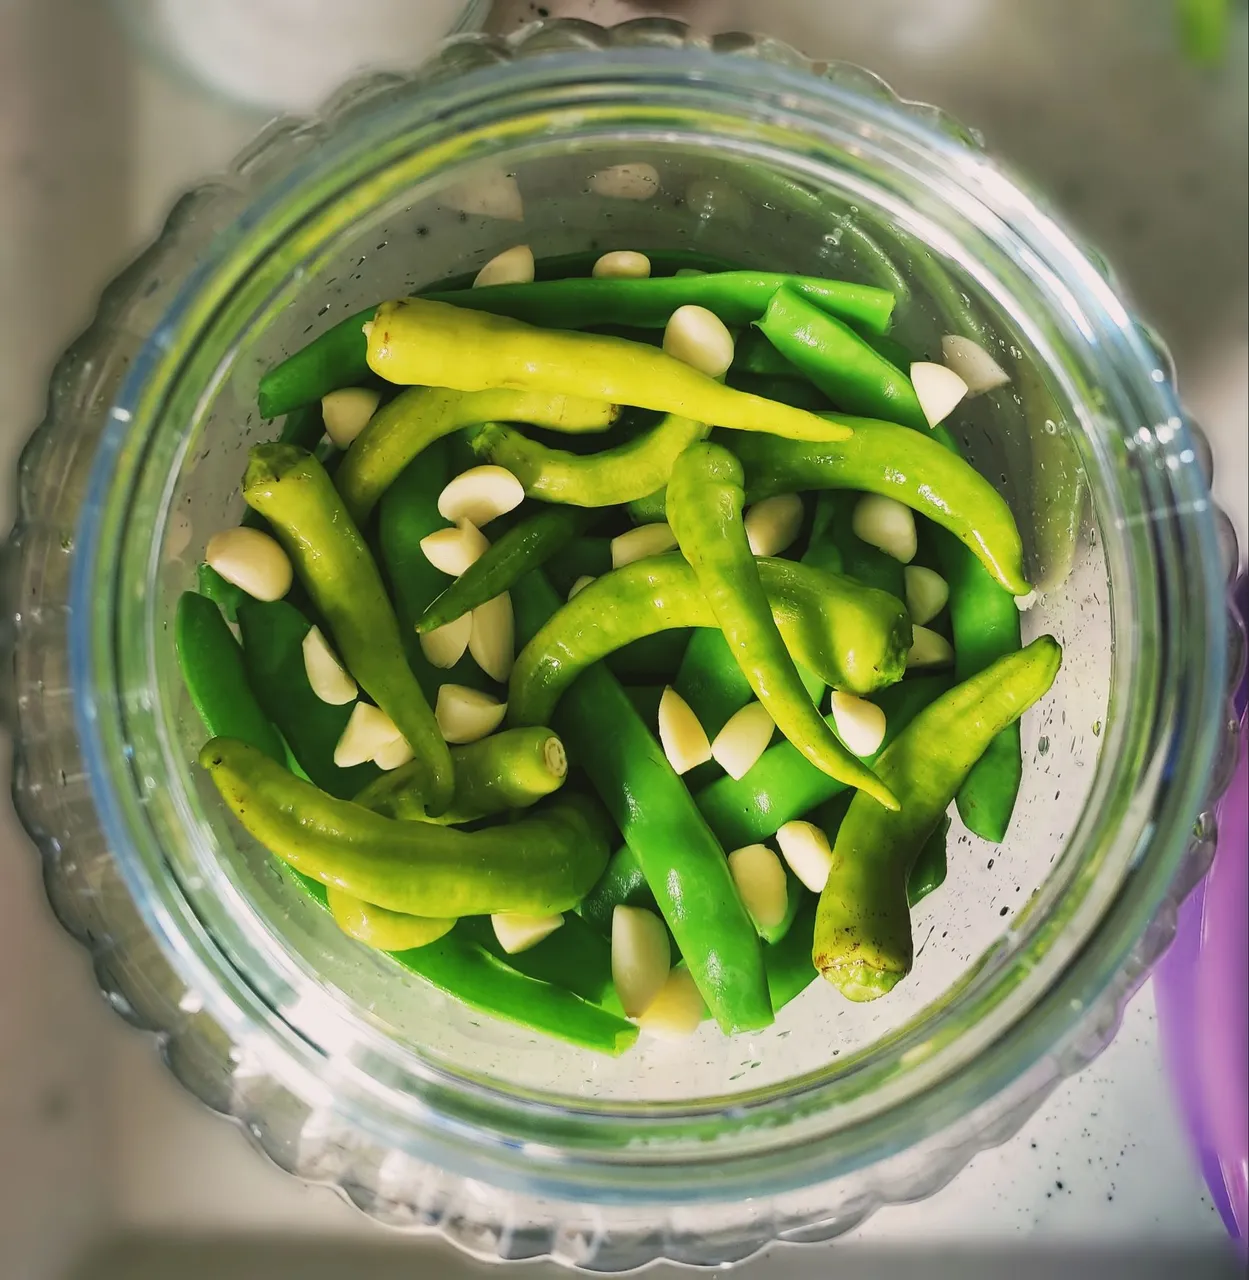
Then add pepper and garlic again. Add fresh beans to it. Repeat these steps until your jar is full.
After your jar is full, put a jar lid on the top and squeeze it. This process allows your pickle to absorb water better.
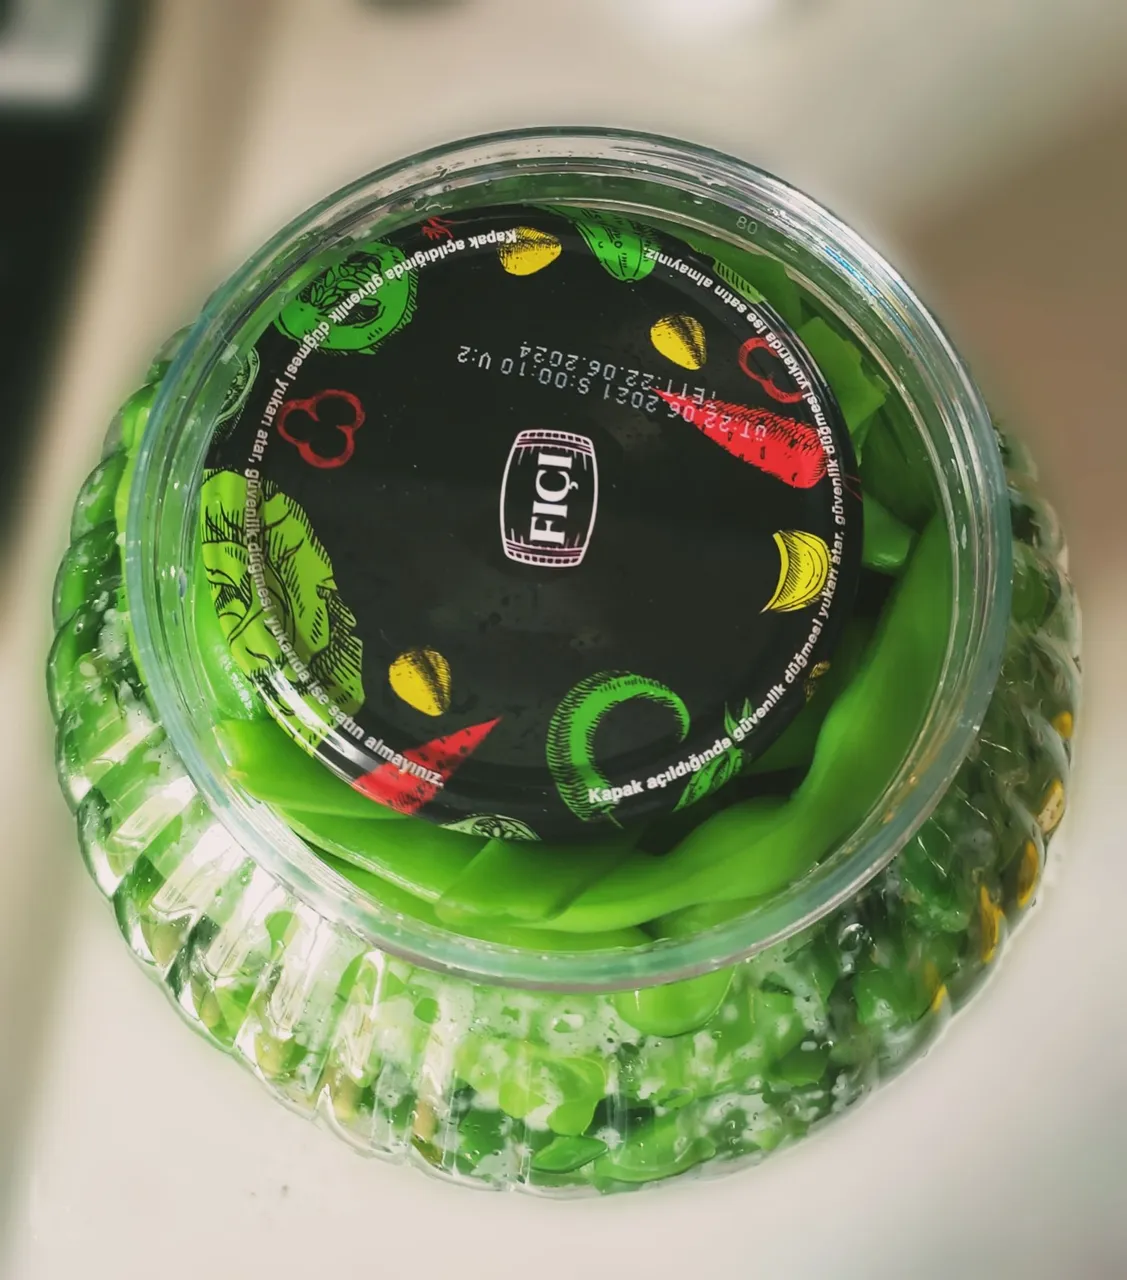
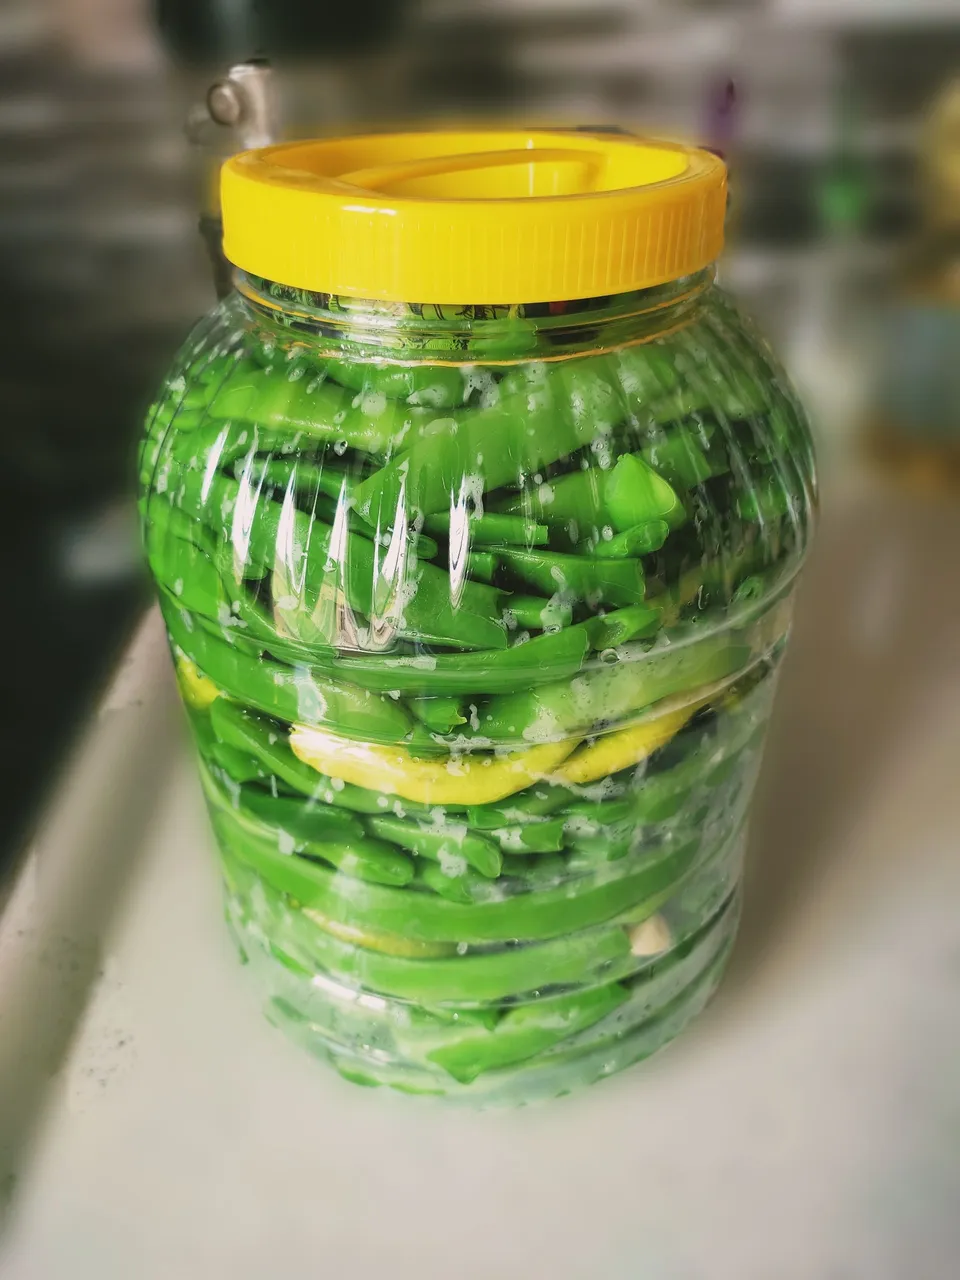
Add the marinade water mixture. I repeat, the marinade water must be cold. Then close the lid of the jar and store it in a dark place. During the first few days, water may overflow from the jar. Don't let this scare you. A challenge you may encounter when preparing pickles. Clean up any water that comes out, but do not open the lid of the jar.
Your pickle will be ready in about 3 weeks. Bon Appetit!
-All photographs are my own, unless otherwise stated.
-TR
Herkese Merhaba! Umarım iyisinizdir.Bugün çok sevdiğim bir tarifle buradayım. Yaz sezonunun sonuna yaklaşıyoruz ve bu aylarda genelde kışlık yiyecek hazırlanır. Konserve hazırlanması veya turşu yapılması genelde bugünlerde olur.
Özellikle eylül ayının başlangıcı ile bu süreç hızlanır. Bugün bir turşu tarifi vereceğim. Bu turşuyu anneannem,teyzem ve annemden öğrendim. İtiraf etmeliyim ki bu turşuyu ilk kez yediğim zaman pek hoşuma gitmemişti. Hatta uzun bir süre de yemedim. Nedenini ben de bilmiyorum. Bazen bazı yiyeceklere aşırı tepki veriyorum. Bir süre geçtikten sonra hatamın farkına varıyorum ve objektif olmak adına tekrar deniyorum. Bu da öyle bir yiyecek ve ben bu döngüye takıldım kaldım :D.
Teyzem, İzmir'de yaşıyor ve yaklaşık 3 yıl önce onu ziyarete gitmiştim. Ve o da bu turşuyu sever miyim diye sormuştu. Sevmediğim halde nezaketen evet demiştim. Ve sonra gerçekten o kadar kötü bir tadı olmadığını farkettim. Yine önyargılı bir şekilde yaklaştığım için pişman oldum. lol.
Türkiye'de bu yiyeceği seven çok fazla insan var. Hatta kış aylarında bu turşuyu soğan ve salça ile kavuruyorlar. Bu da lezzetli bir yemek. Ama ben pek fazla sevmiyorum. Turşuyu sade olarak tüketmek benim tercihim. Bu yapımı basit ama yapma süreci uzun olan bir tarif. Daha fazla uzatmadan tarife bir göz atalım!
Fasulye Turşusu
Malzemeler
3 Kg Taze Fasulye
20-25 Diş Sarımsak
5-10 Adet Acı Yeşil Biber
400 mL Üzüm Sirkesi ( Yaklaşık 2 su bardağı. Kullandığım bardağın hacmi 200 mL.)
1.5 Litre Su (Yaklaşık 7.5 su bardağı)
9 Çorba Kaşığı Kaya Tuzu
Adımlar
İlk önce turşuya ekleyeceğimiz su karışımını hazırlıyoruz. Çünkü bu karışımı soğuk kullanacağız. Bir tencereye 1.5 Litre suyu ekleyin ve kaynatın.
Kaynayan suya tuzu ekleyin ve tuzun erimesini bekleyin.
Tuz tamamen eriyince üzüm sirkesini ekleyin ve karıştırın. Pişirme işlemini sonlandırın. Bu karışımı dinlendirin. Karışımı kullanırken karışımın soğuk olması önemli.
Taze fasulyelerin saplarını koparın ve yıkayın. Daha sonra bir tencerede su kaynatın. Kaynayan suya taze fasulyeleri ekleyin ve 2-3 dakika haşlayın. Taze fasulyelerin pişmemesi gerekli lütfen 2-3 dakikadan daha uzun süre haşlamayın. Taze fasulye pişmemeli.
Derin bir kaba soğuk su ekleyin. 2-3 Dakika sıcak suda beklettiğiniz taze fasulyeleri bu derin kaba koyun. Daha sonra taze fasulyeleri soğutun. Kabın içindeki suyu birkaç kez değiştirerek soğutabilirsiniz.
Sarımsakların kabuğunu soyun ve her sarımsağı iki parçaya bölün. Daha sonra turşuyu hazırlayacağınız kabın tabanına sarımsakların bir kısmını ekleyin. Ben 3 kg taze fasulye için 5 litre hacmindeki bir kavanoz kullandım.
Biberin üzerine bıçak ile birkaç delik açın ve sarımsakların üzerine ekleyin.
Soğuttuğunuz taze fasulyeleri arasında çok boşluk kalmayacak şekilde kavanoza yerleştirin. Taze fasulyeleri parçalamamaya özen gösterin.
Daha sonra tekrardan biber ve sarımsak ekleyin. Üzerine taze fasulye ekleyin. Kavanozunuz dolana kadar bu işlemleri tekrarlayın.
Kavanozunuz dolduktan sonra en üste bir kavanoz kapağı koyun ve sıkıştırın. Bu işlem turşunuzun suyu daha iyi emmesini sağlar.
Hazırladığınız su karışımını ekleyin. Tekrar ediyorum sulu karışım soğuk olmalı. Daha sonra kavanozun kapağını kapatın ve karanlık bir yerde saklayın. İlk birkaç gün kavanozdan dışarı su taşabilir. Bu sizi korkutmasın. Turşu hazırlarken karşılaşabileceğiniz bir zorluk. Dışarı taşan suyu temizleyin ama kavanozun kapağını açmayın.
Yaklaşık 3 haftada turşunuz hazır olacaktır. Afiyet Olsun!
-Tüm fotoğraflar bana aittir.