Warning!
Wall of text, ahem, photos incoming!
Quite a while back a certain chap from down under that I will not name further or tag, which can get a bit annoying (or so I have heard), challenged me to write a post about making sourdough bread.
Until now I did not comply, because I felt that with the duration of the pandemic and the strides that were made to beat it (speaking only about my neck of the woods) there was is certain tiredness of all things that boomed during the height of the pandemic, not speaking of the pandemic itself here. Quite understandably so, I feel it too.

Long story short(er) - I didn't think it was the right timing for 'yet another homemade sourdough bread' post.
But this beautiful Saturday morning while another loaf of bread is baking in the oven and its fresh scent is filling the house - it somehow, hard to explain how, really, inspired me to finally post this. So, here goes...
Pre-requisite - you need to have a sourdough starter, which takes about a week to cultivate from scratch. Also, keep in mind this is my way of making sourdough bread, there are a gazillion different recipes out there.

For the levain / sponge:
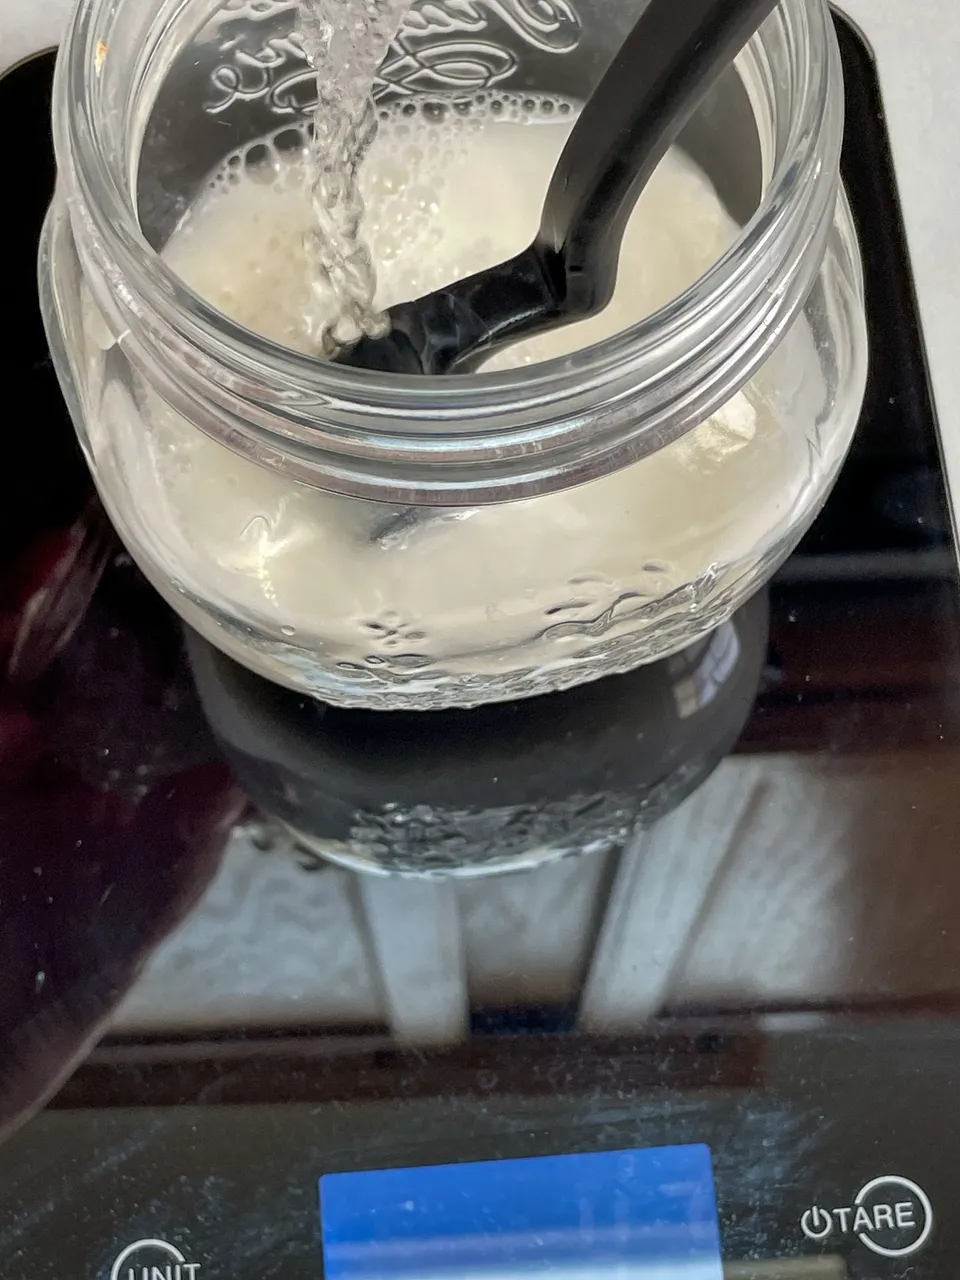
- 50 g sourdough starter
- 50 g water, luke warm, NO chlorine
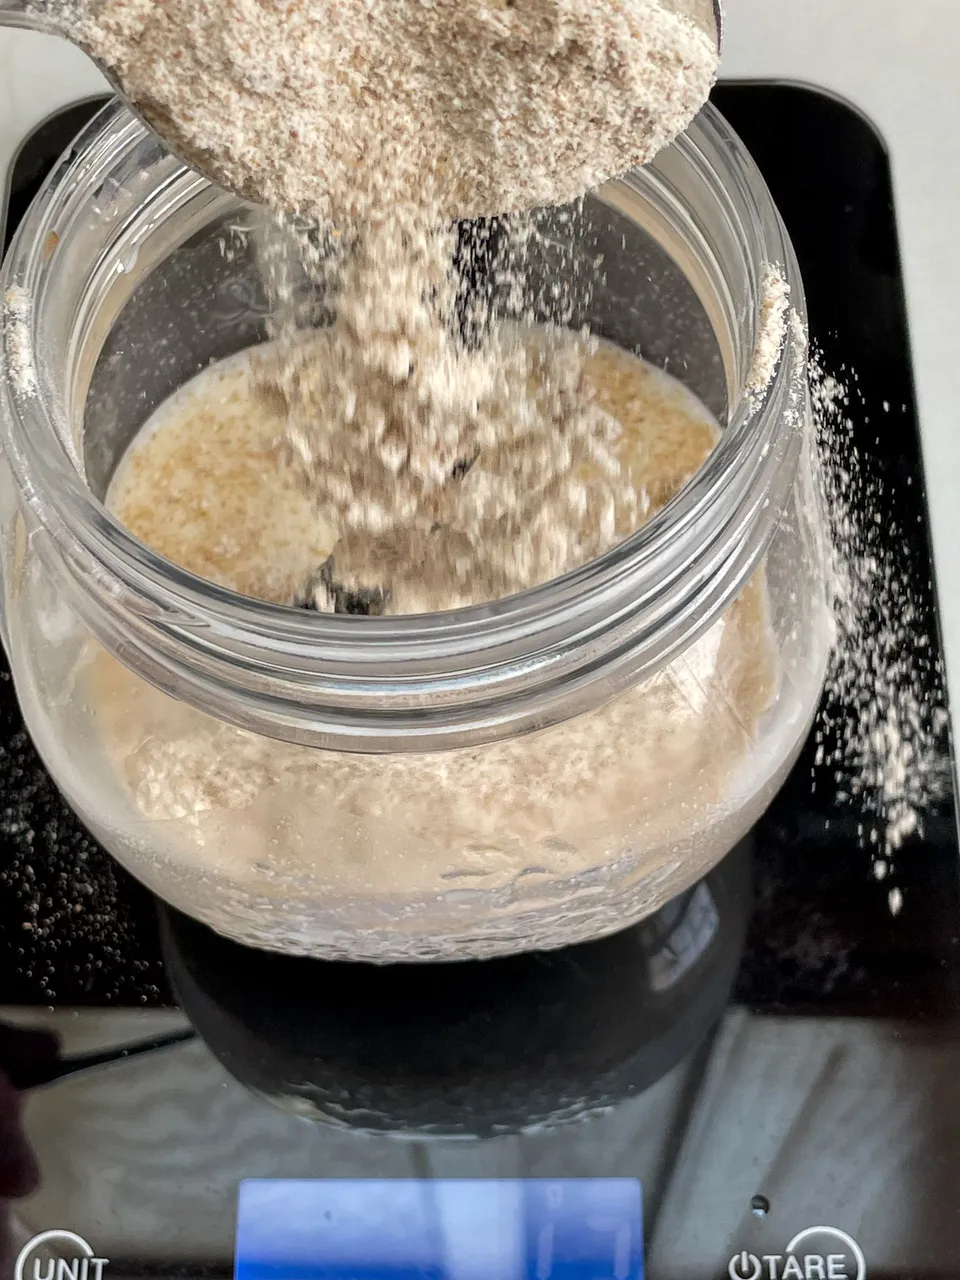
- 50 g whole wheat or bread flour
For the bread dough
- 384 g H2O
- 520 g bread flour
- 65 g whole wheat flour
- 14 g salt + additional little water (20 g) if needed
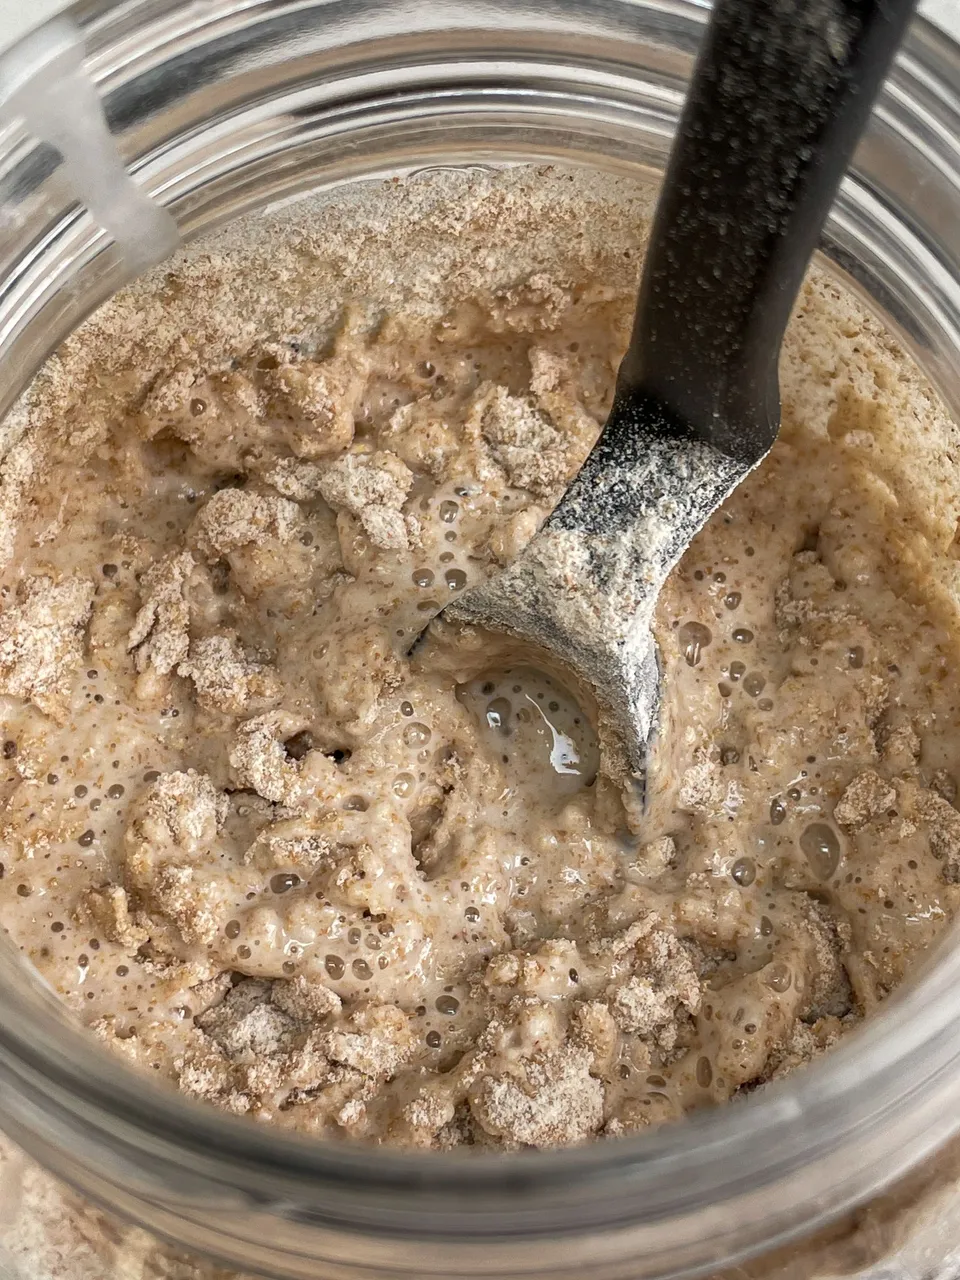
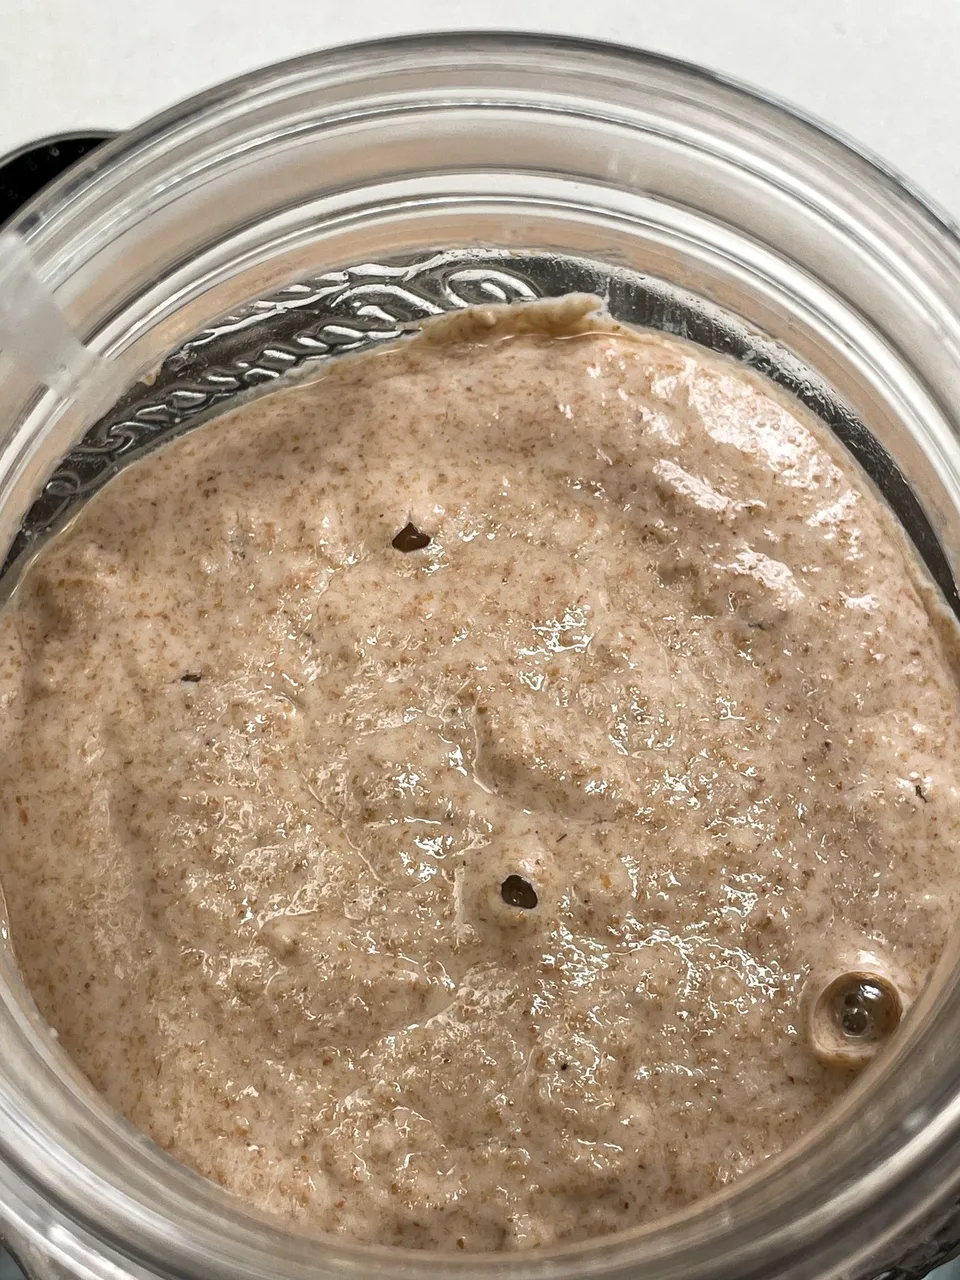
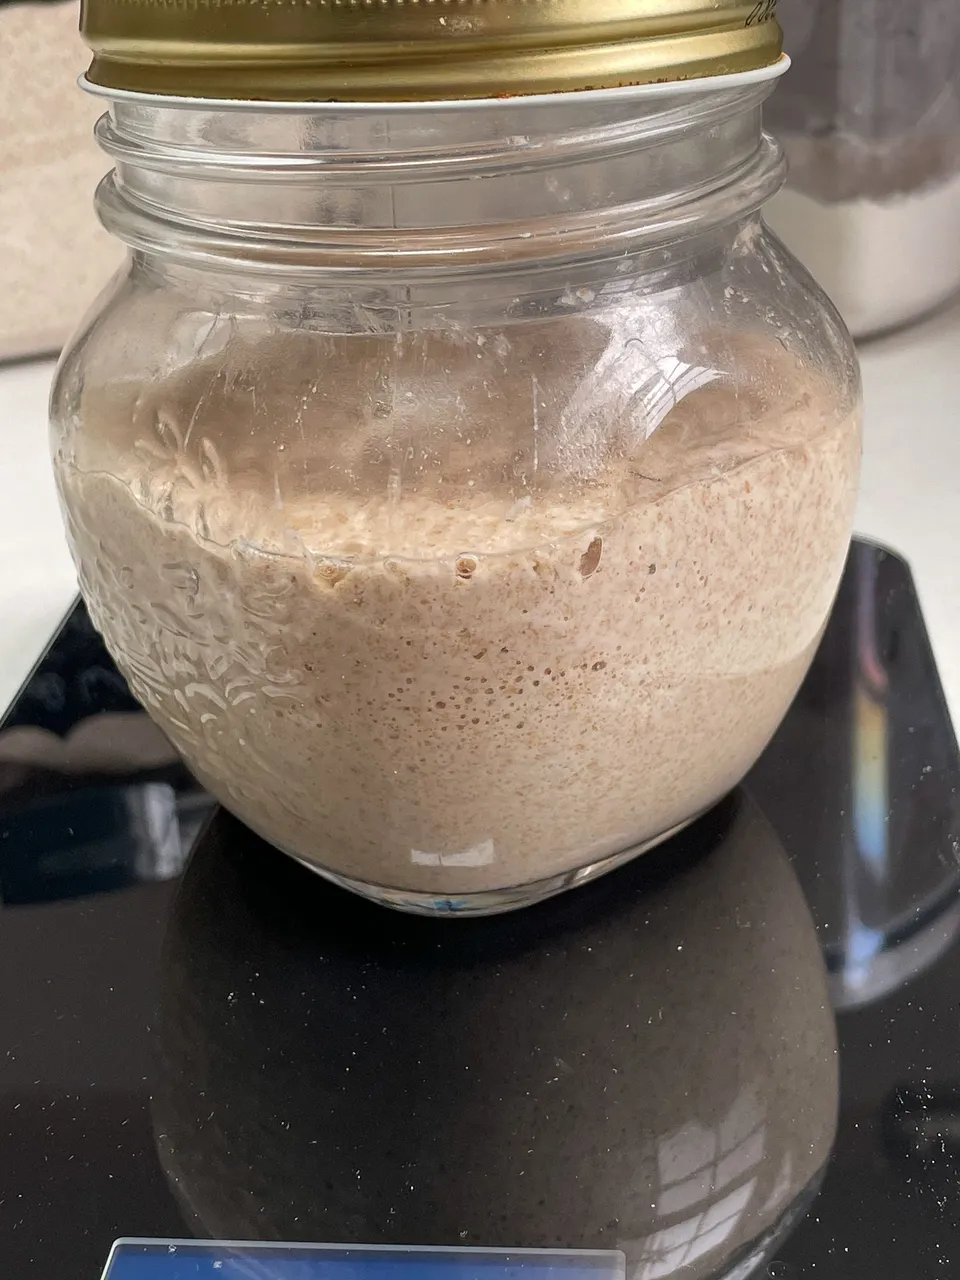
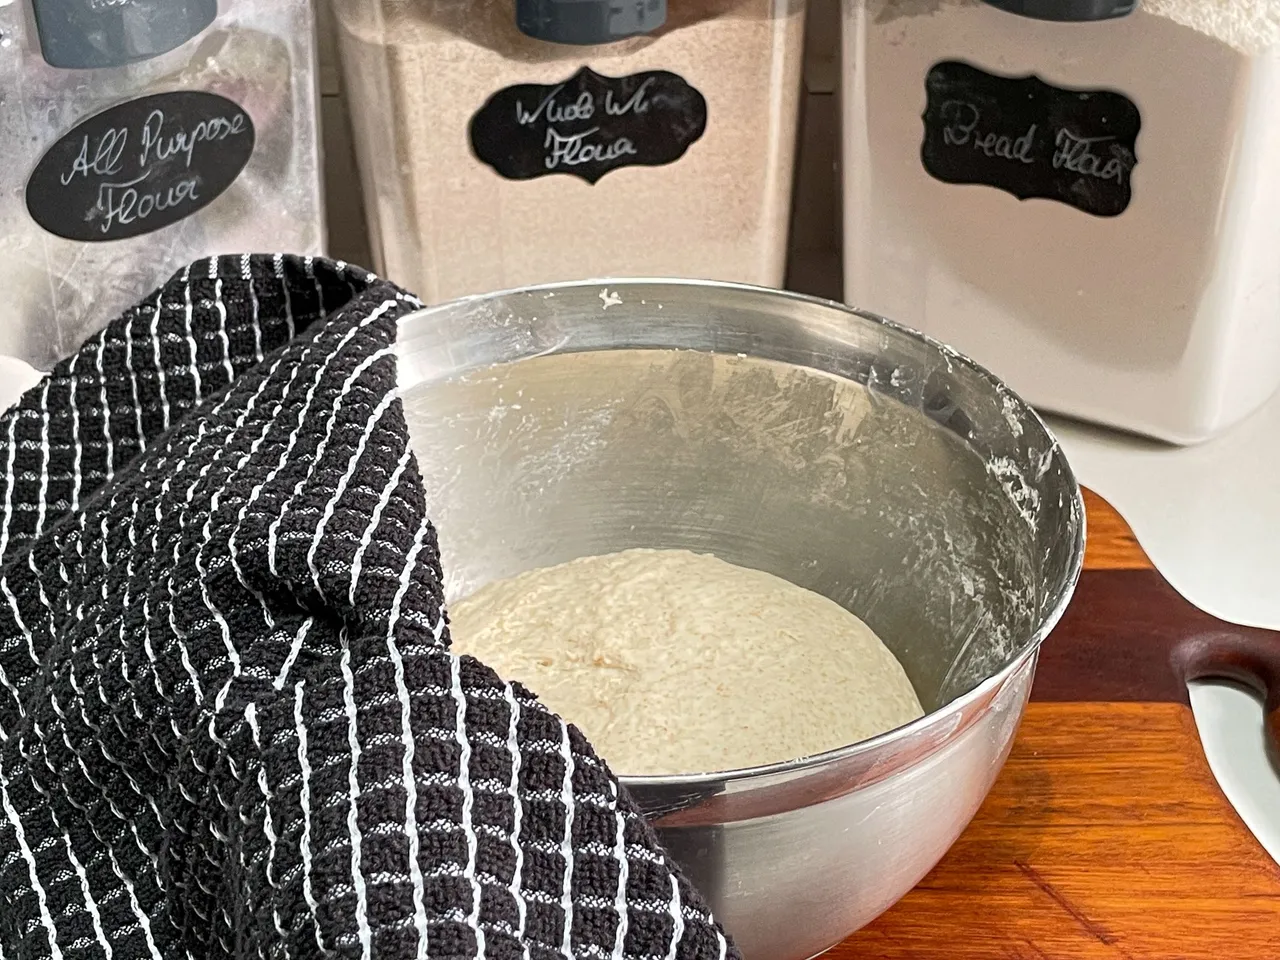
This first batch of photos shows me making the levain. Add water, starter, and flour into - preferably - a glass container, so you can see when the levain rises, mix everything thoroughly, cover it loosely not tight and let it stand for about 3 - 6 hours. The time depends on your starter's activity level.It is ready to proceed to the next step when it has about doubled. You should be seeing bubbles on top and also through the glass.

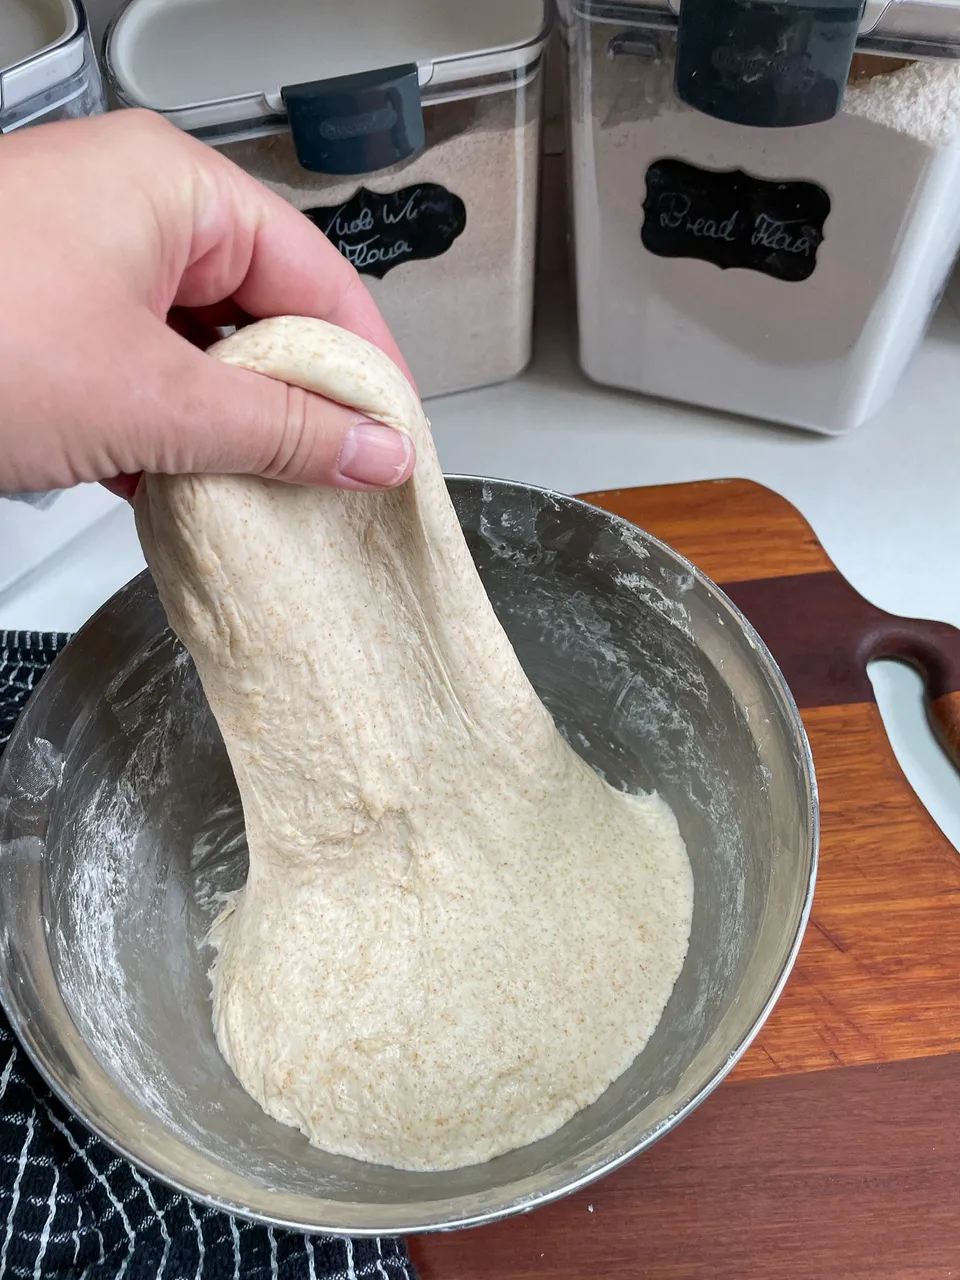
Now the part starts when you will get dirty, sticky fingers like when you were playing in the mud as a kid 🤣.
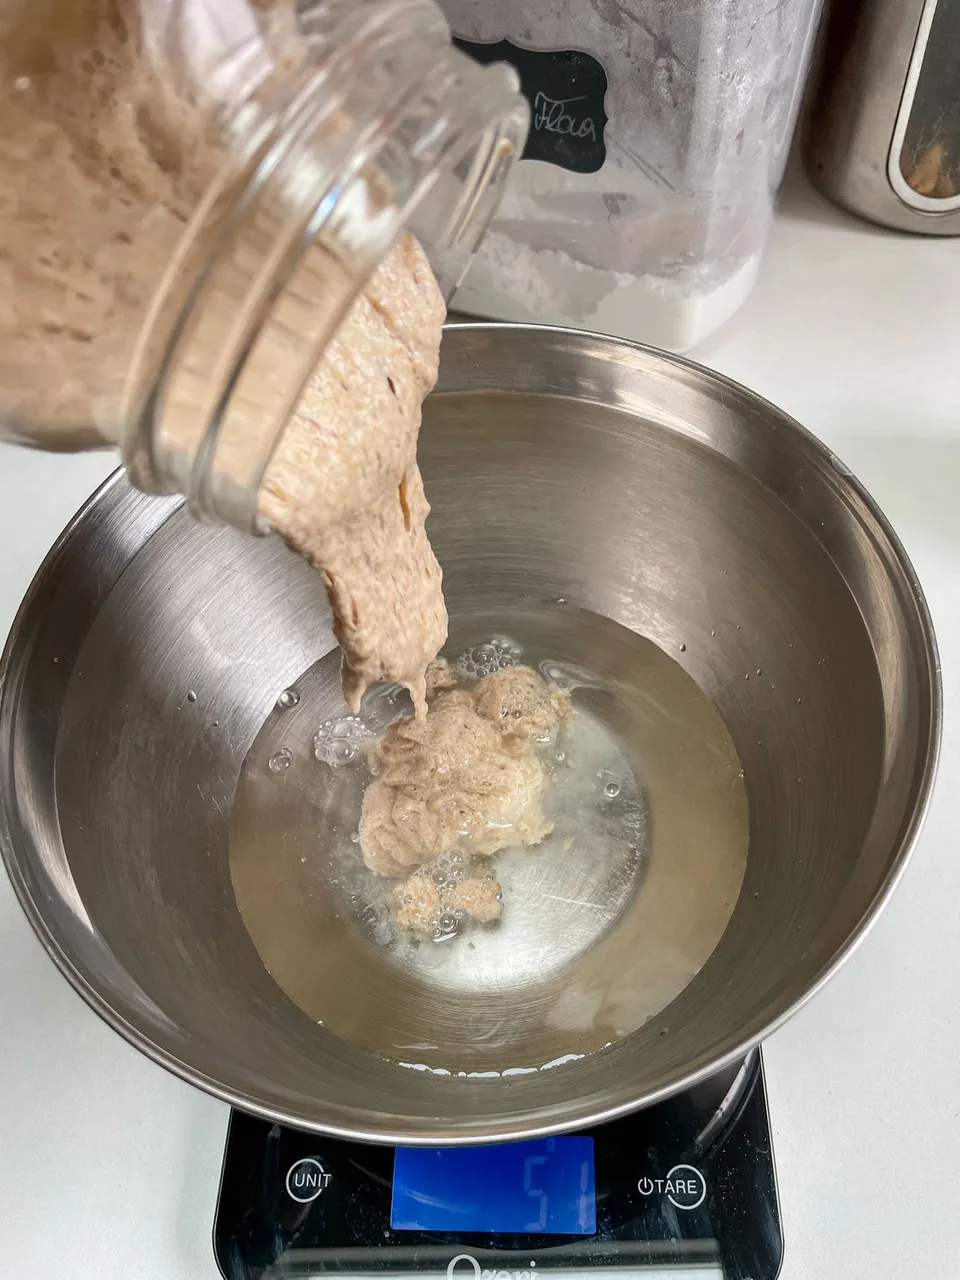
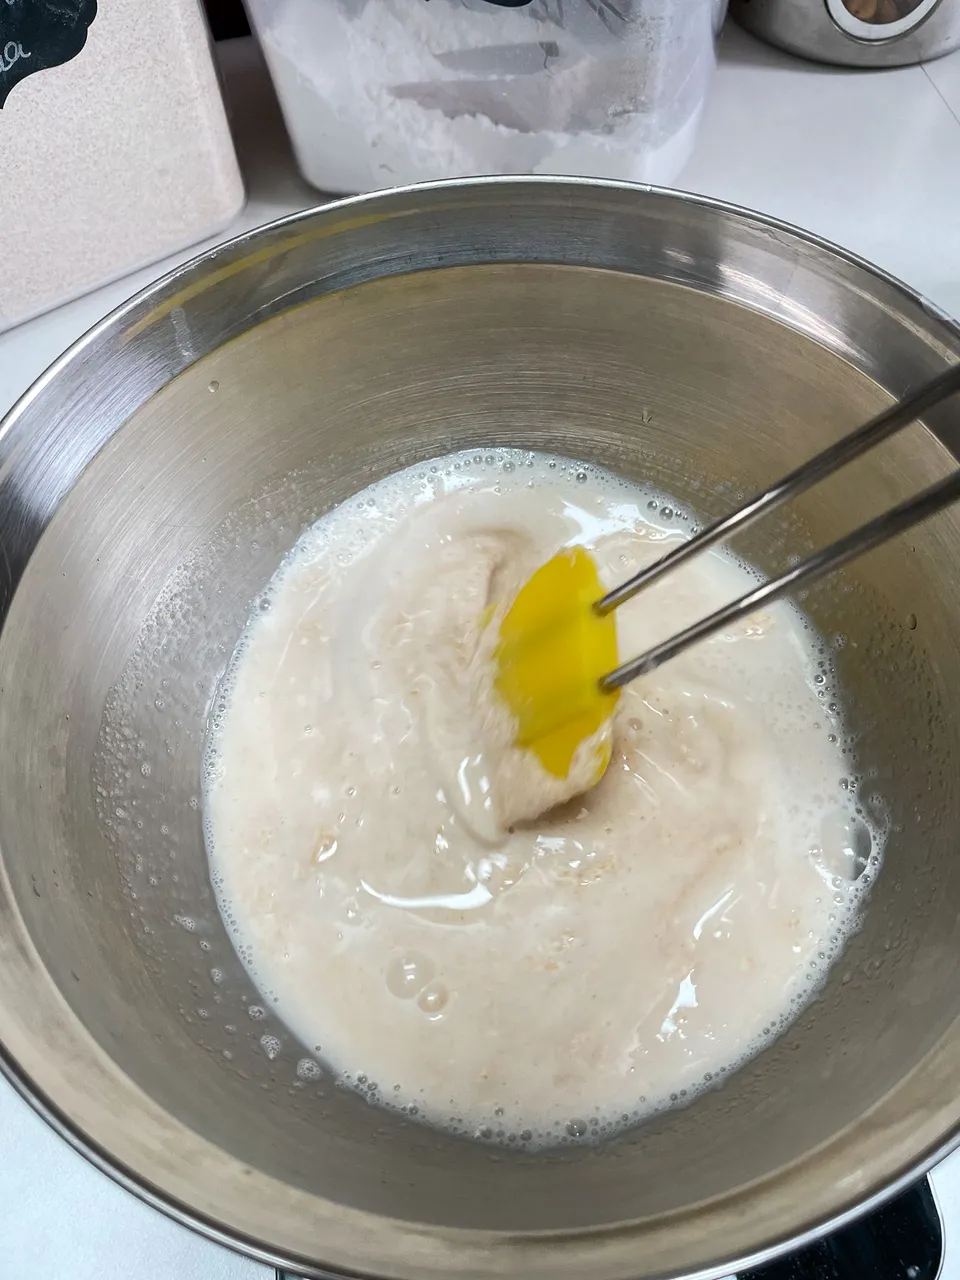
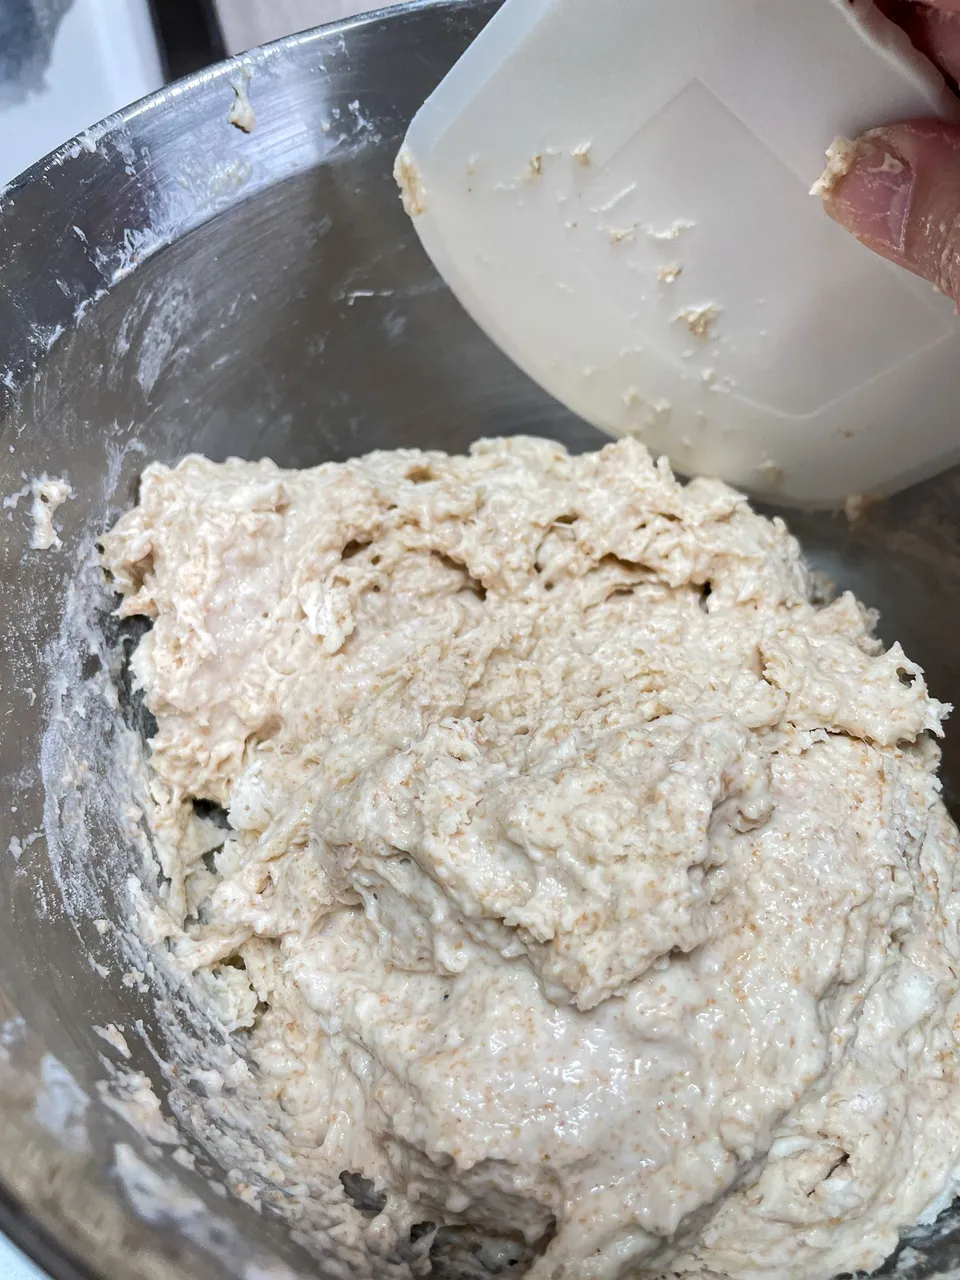
Mix the 2nd batch of ingredients, excluding the salt! starting with dissolving the levain in the water. You may do this by hand or with a whisk.
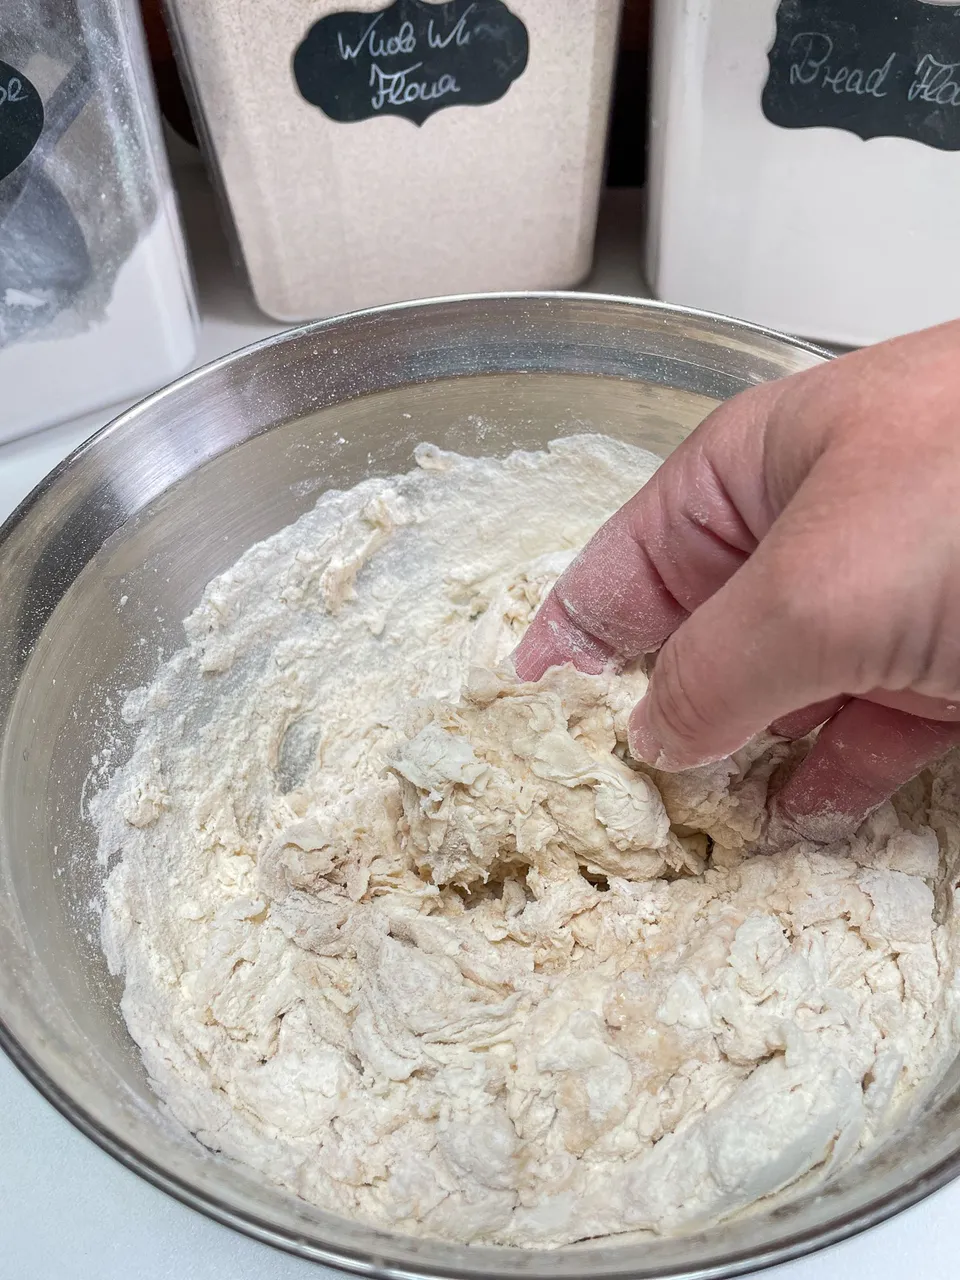
Then add all the flour and start kneading to get everything incorporated. After a few minutes you will have a pretty ragged-looking lump of wetness in the bowl and also on your fingers. Any kind of scraper or even cutlery will help get it off your hands.
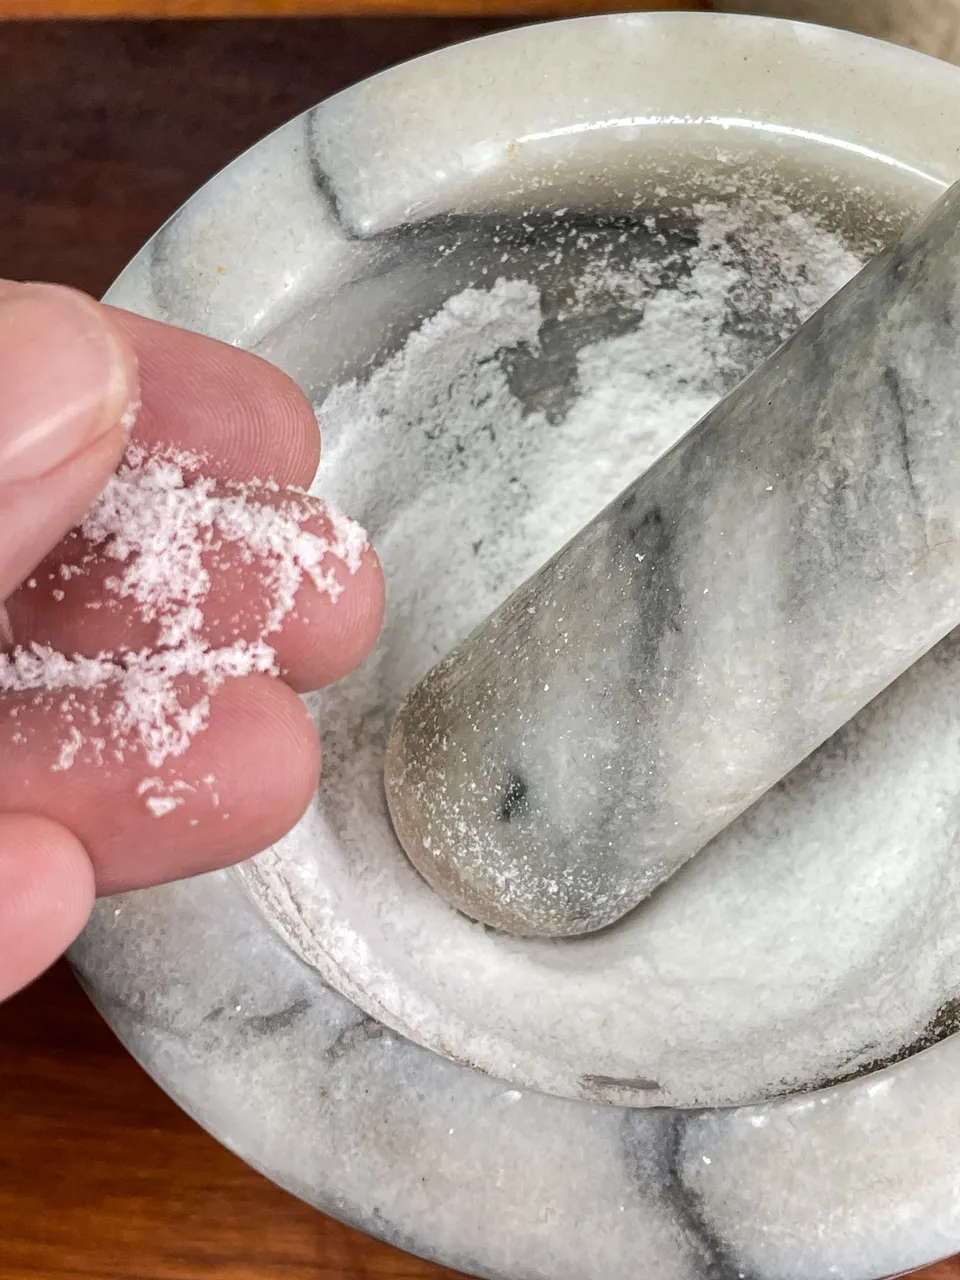
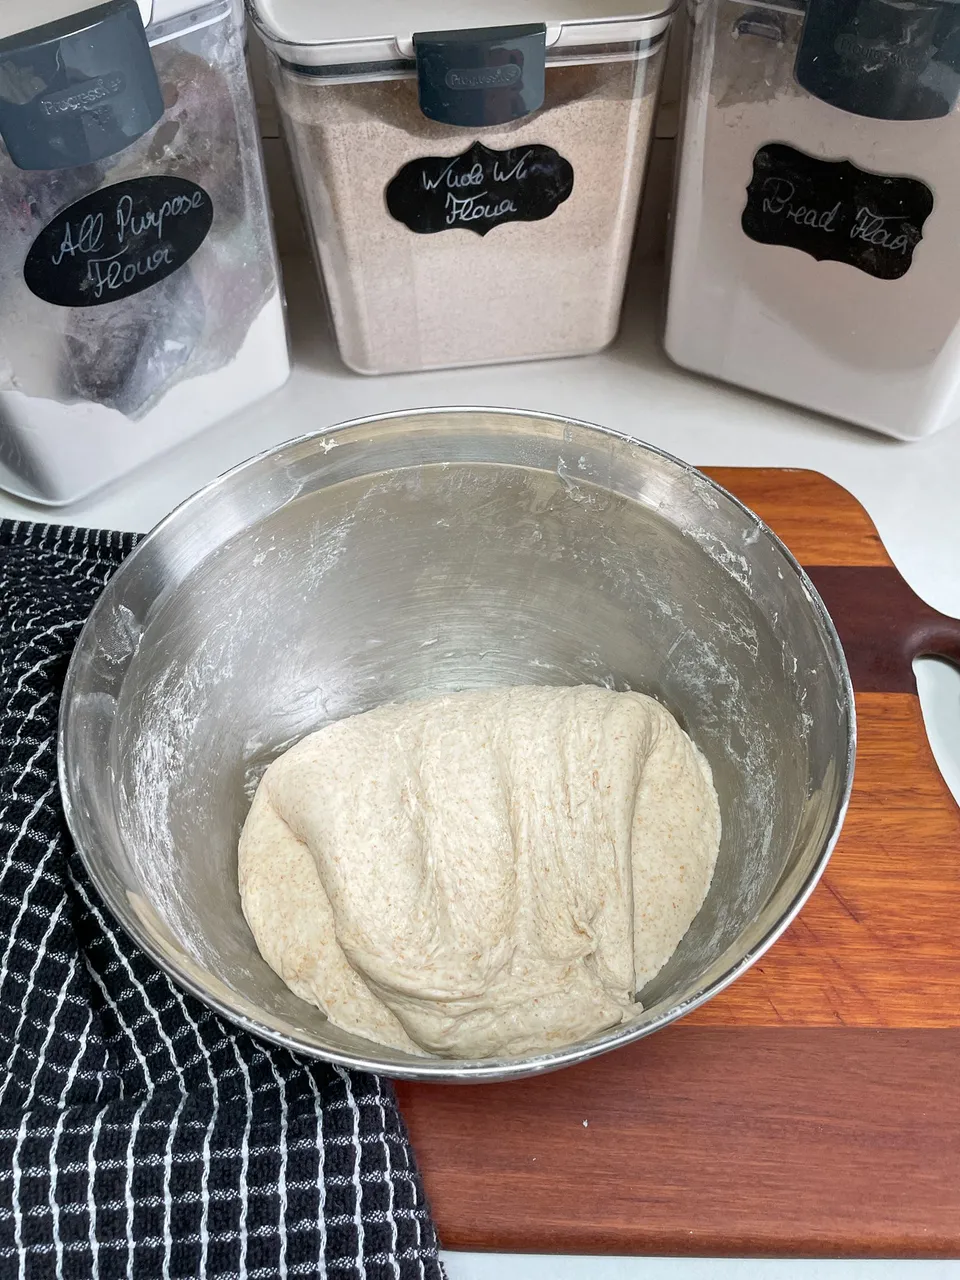
Let this sit for about half an hour. During this time I like to grind the salt so that it is easier to spread in the dough.
After half an hour sprinkle the salt over the dough, maybe add a little water or you may dissolve the salt in said water, and then start kneading again.
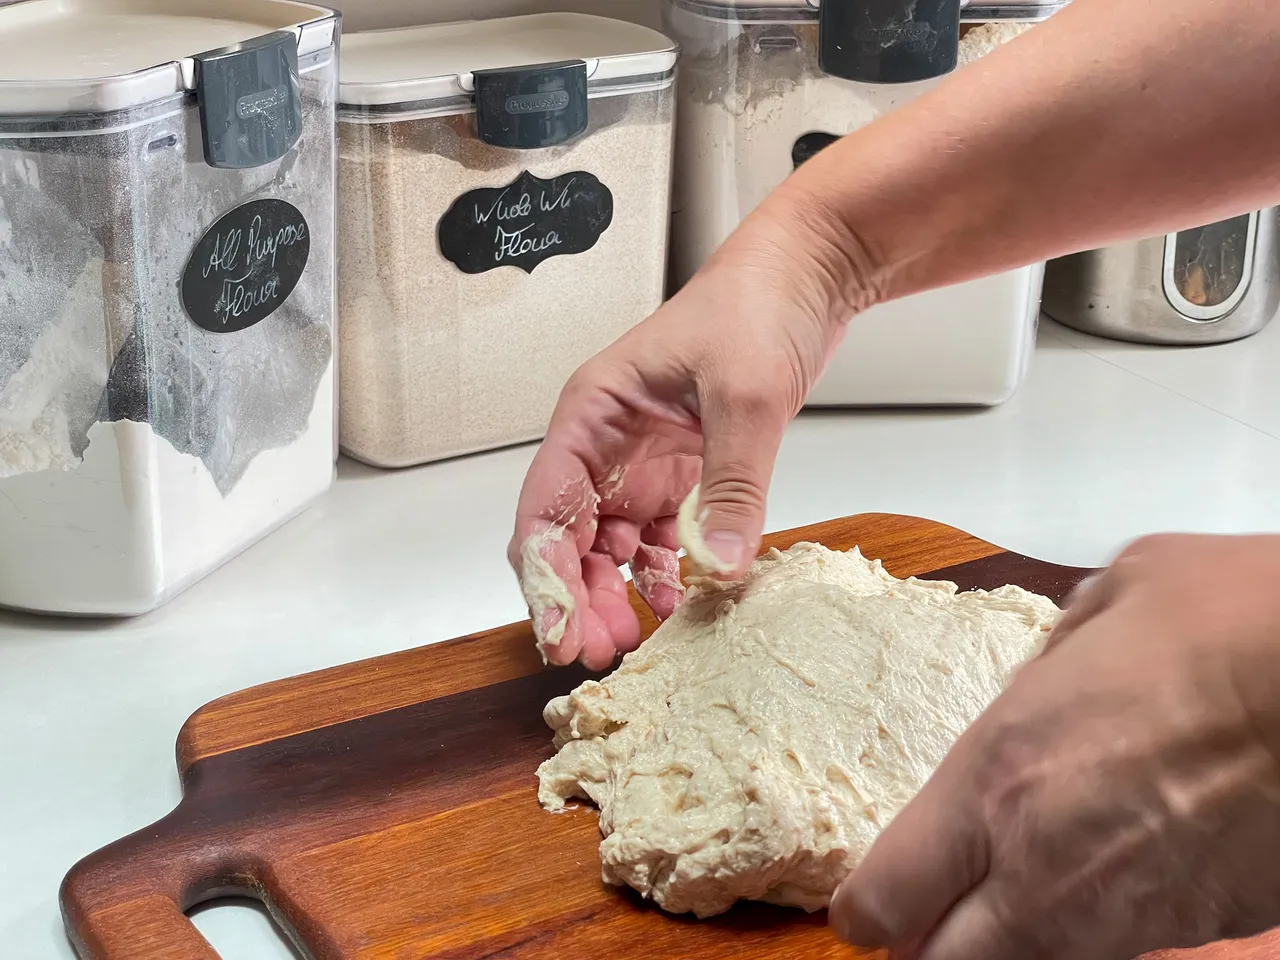
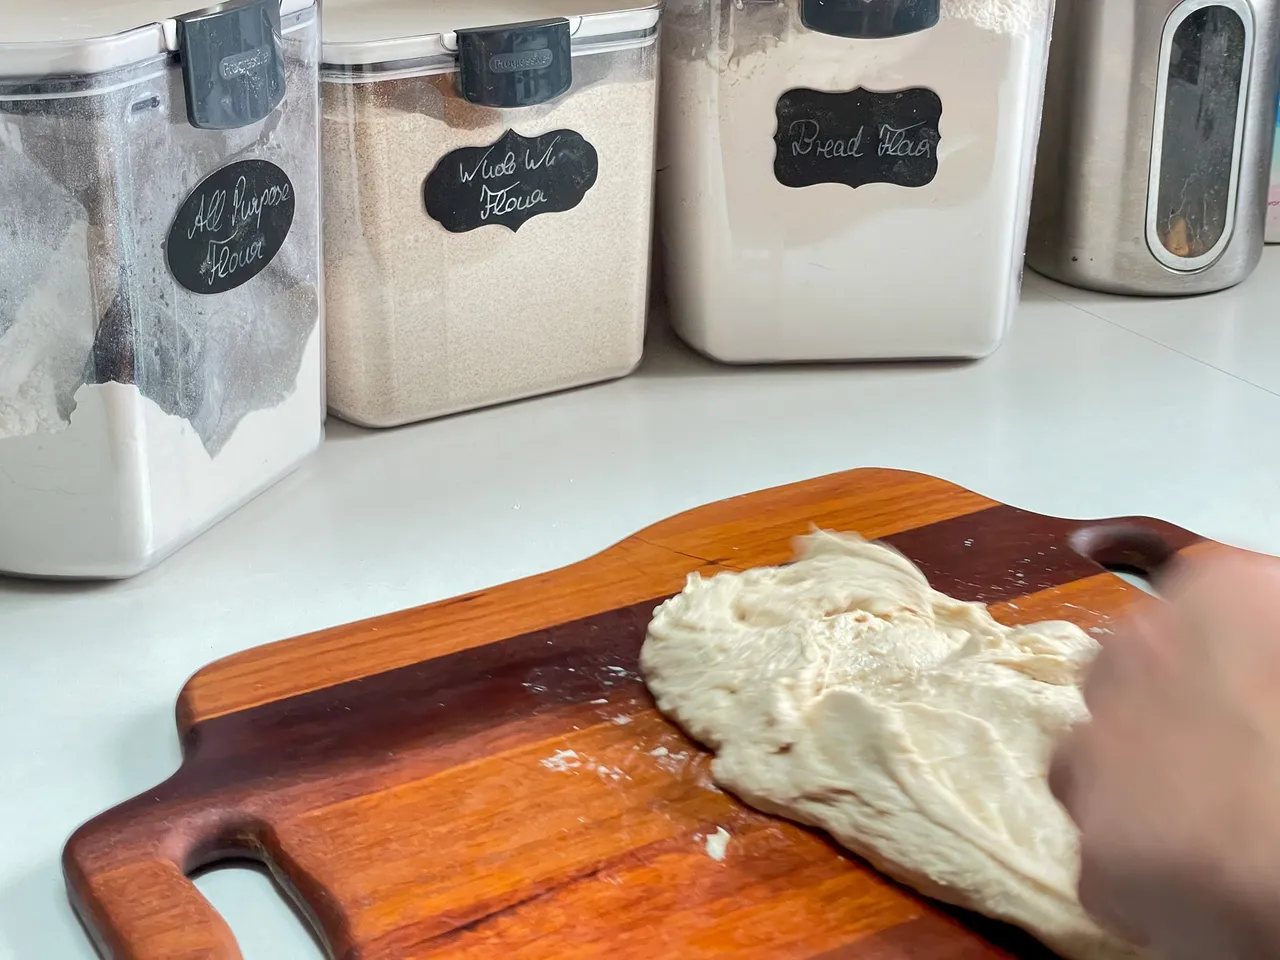
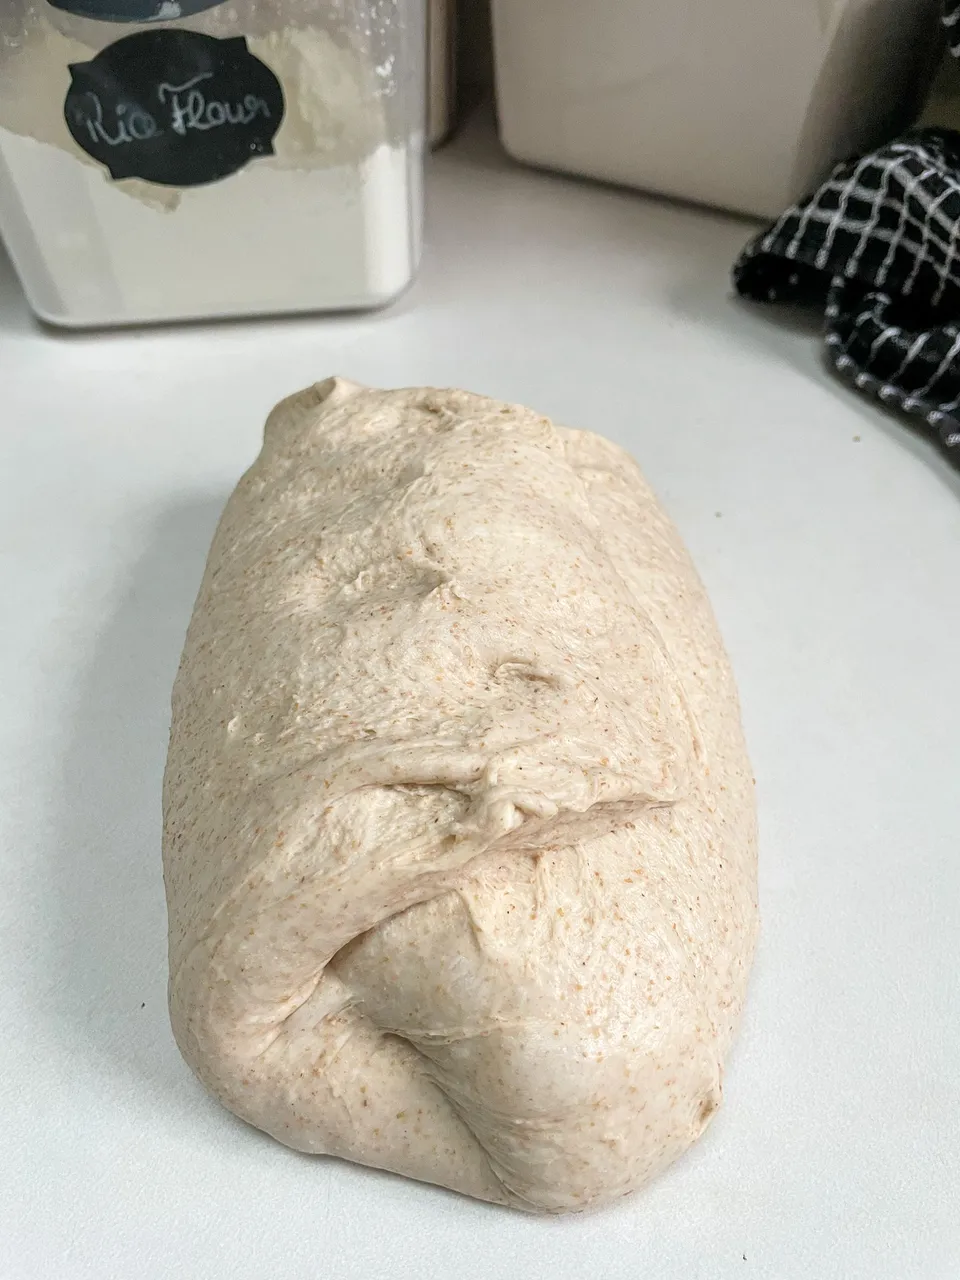
This is when I dump the dough onto the counter. The cutting board (made from Aussie red gum trees 😍) looks very pretty for the photos, but in reality - don't do that! Just use the counter.
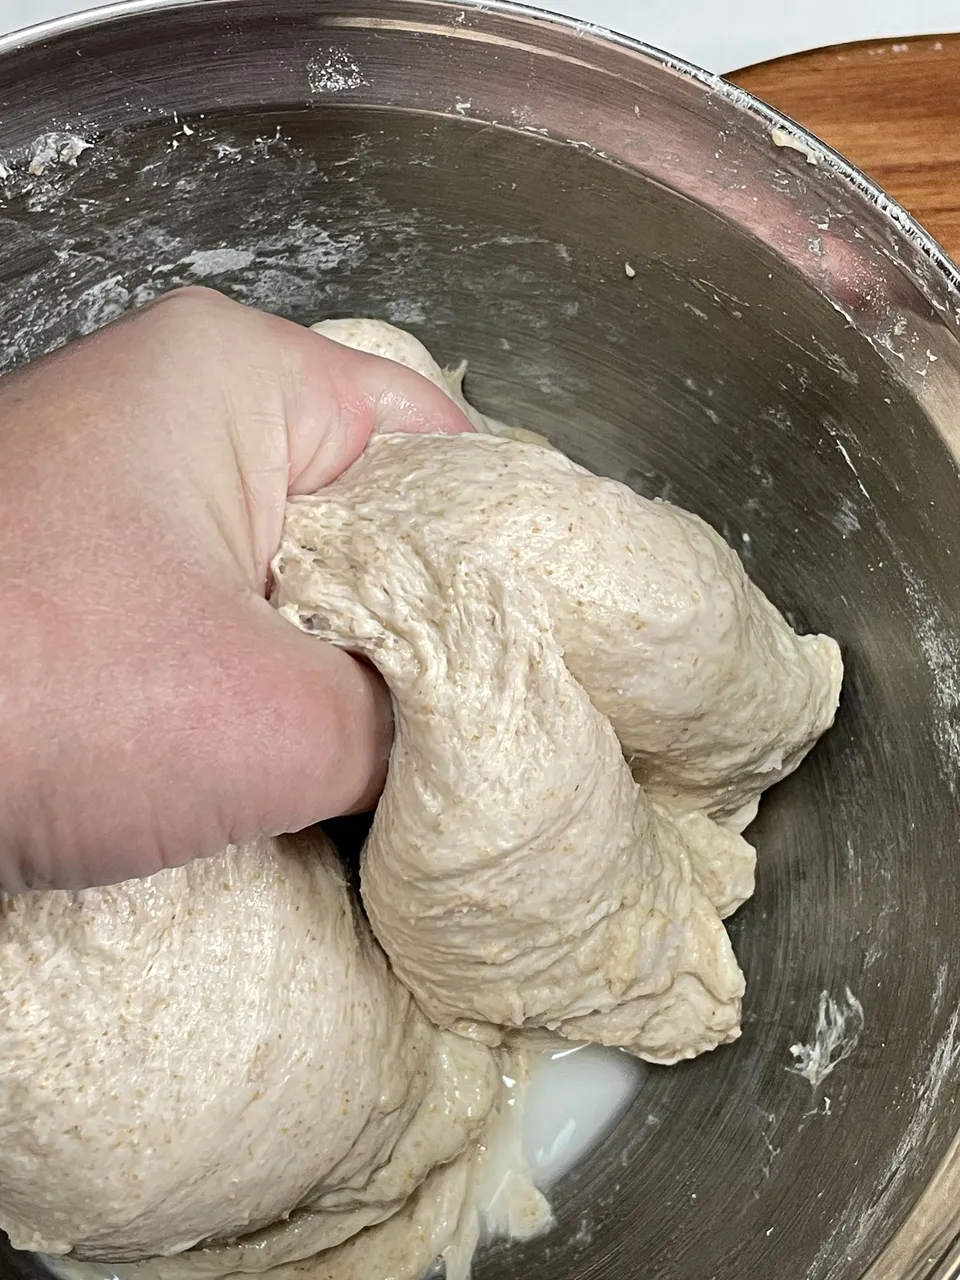
This is the slap-and-fold method of getting a nice and cohesive dough. Alternatively, you could also keep kneading by hand or with a heavy-duty mixer, which I don't own.
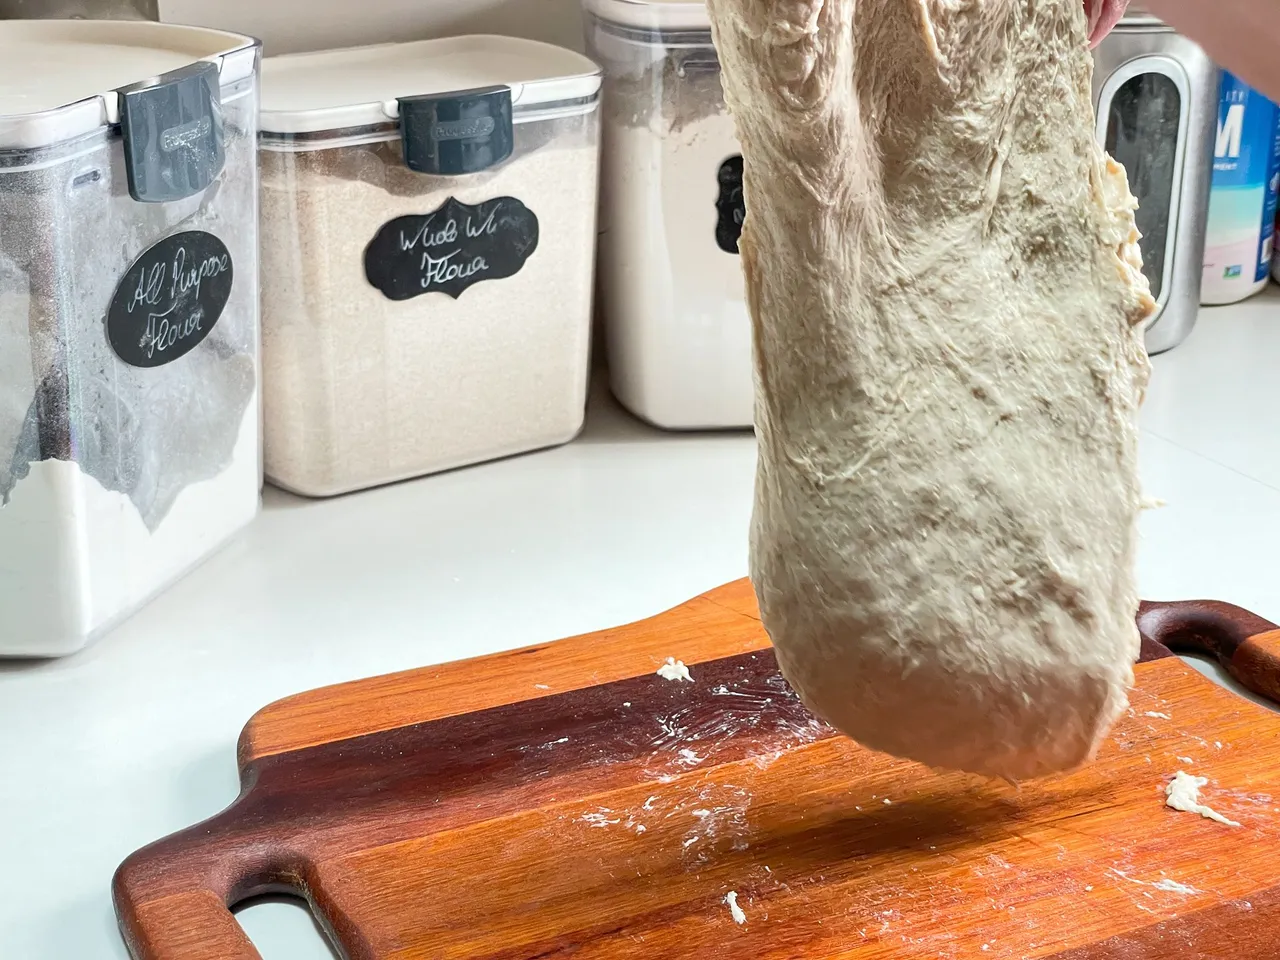
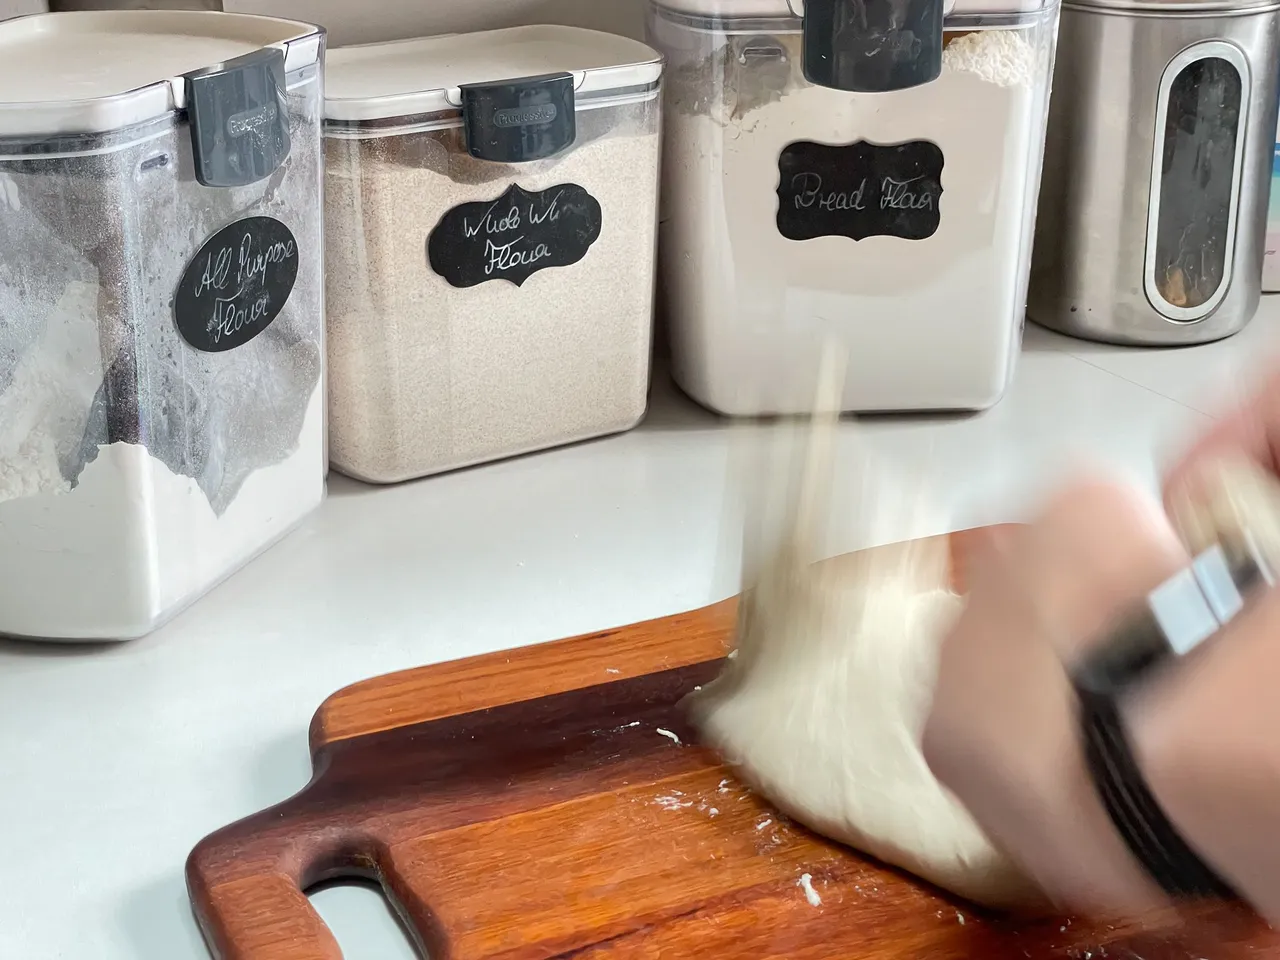
With slap-and-fold you pick one end of the dough with both hands, pull it up the bottom will stick to the counter for a bit, and then wham slap it down on the counter (hubby always comments 'aah, it is time to pound the dough' 🤣), do it again, and again and again.
While you do this you will feel and see how the dough transforms from being ragged to cohesive and smooth.
When you think you're done, back into the bowl it goes.
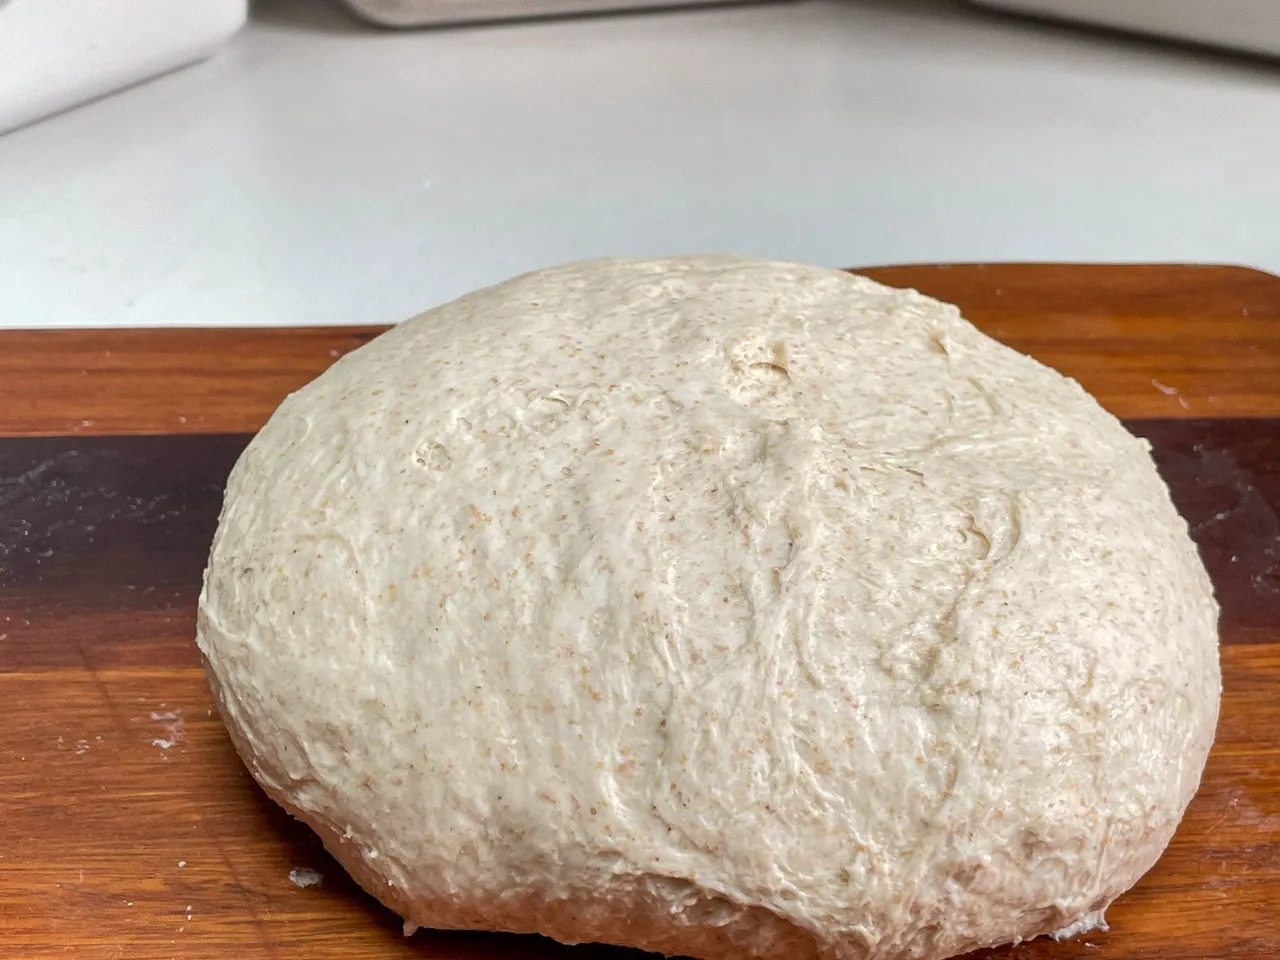
Let it stand covered somewhere warm about 24°C. If it is cold where you are the oven with just the oven light turned on works wonders!Every 30 minutes it is time for a round of 'stretch-and-fold' session.
As shown in the first and second pictures, grab a side of the dough in the bowl, stretch it up without tearing it and then fold it over. Turn the bowl 45° and repeat until you have made your round.
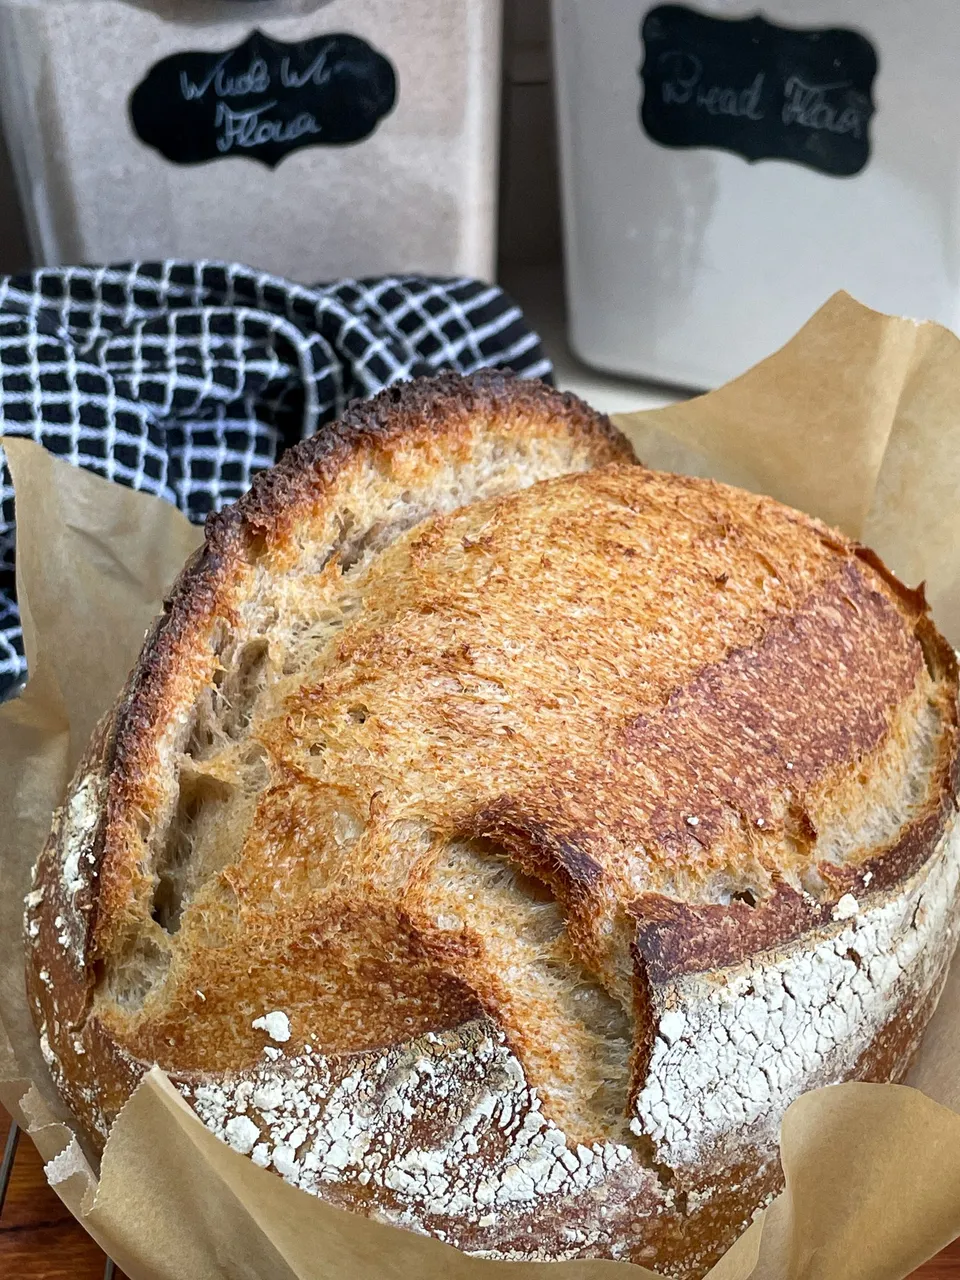
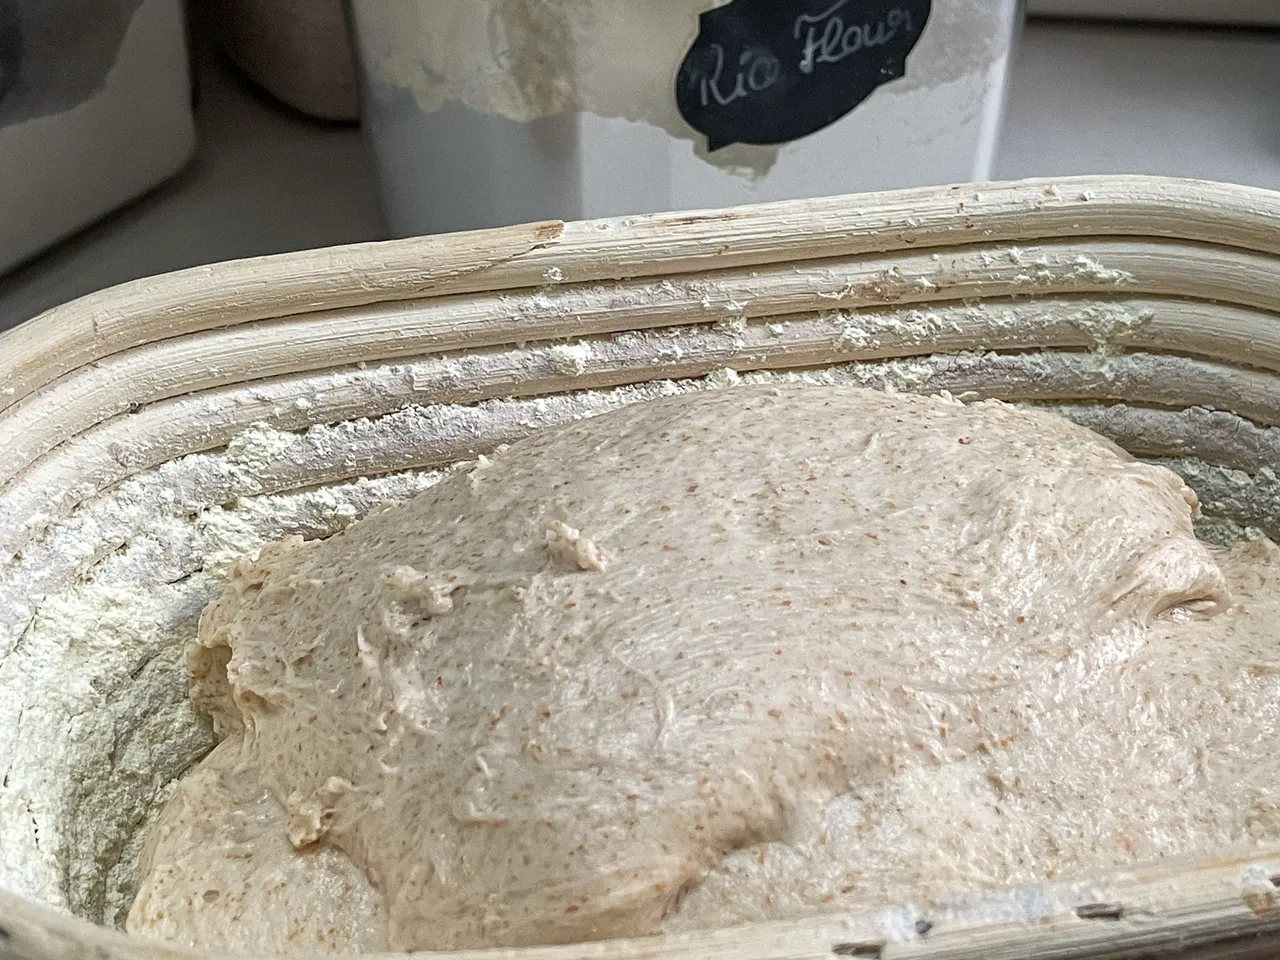
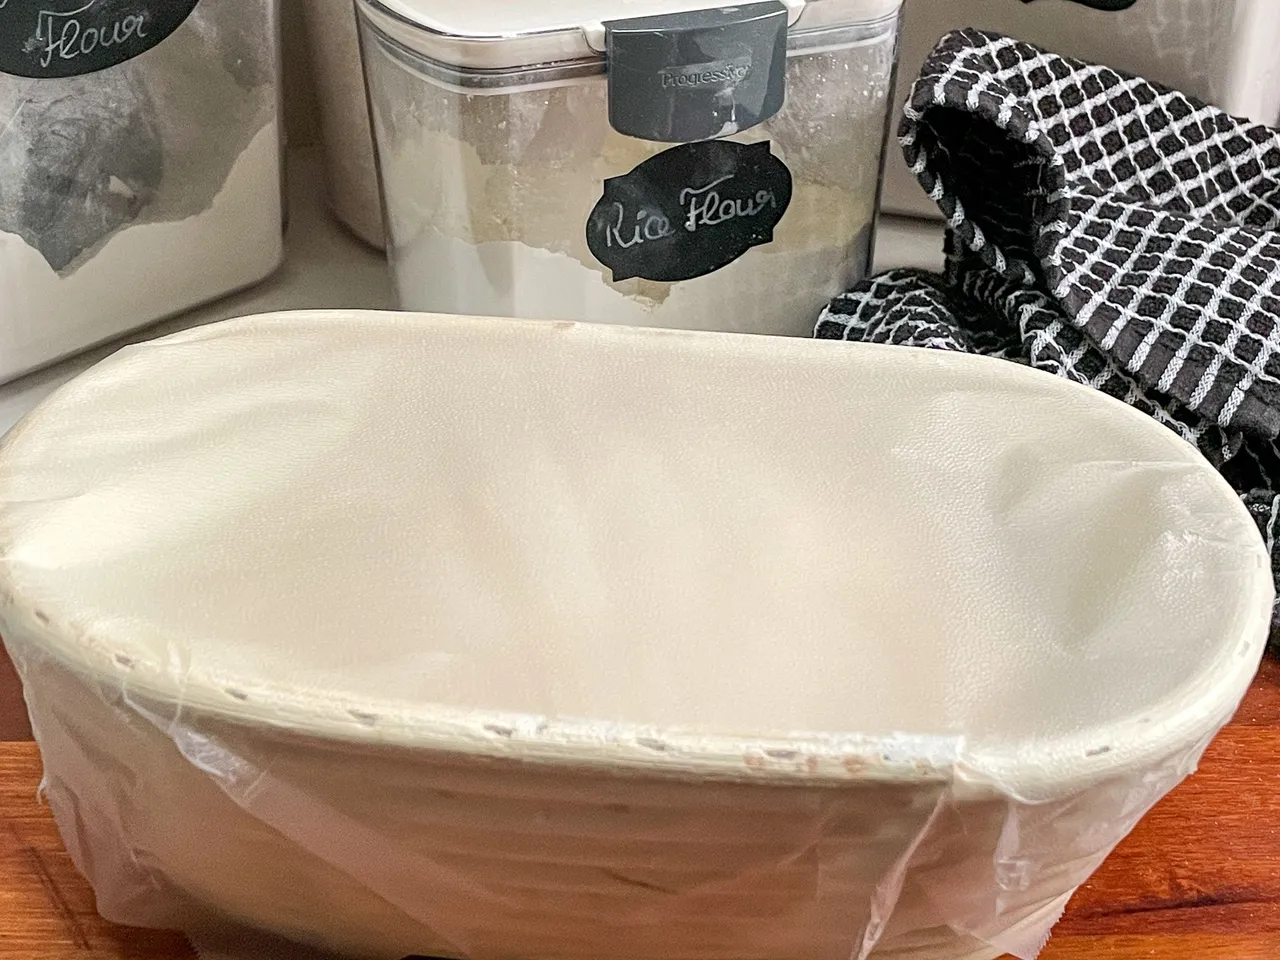
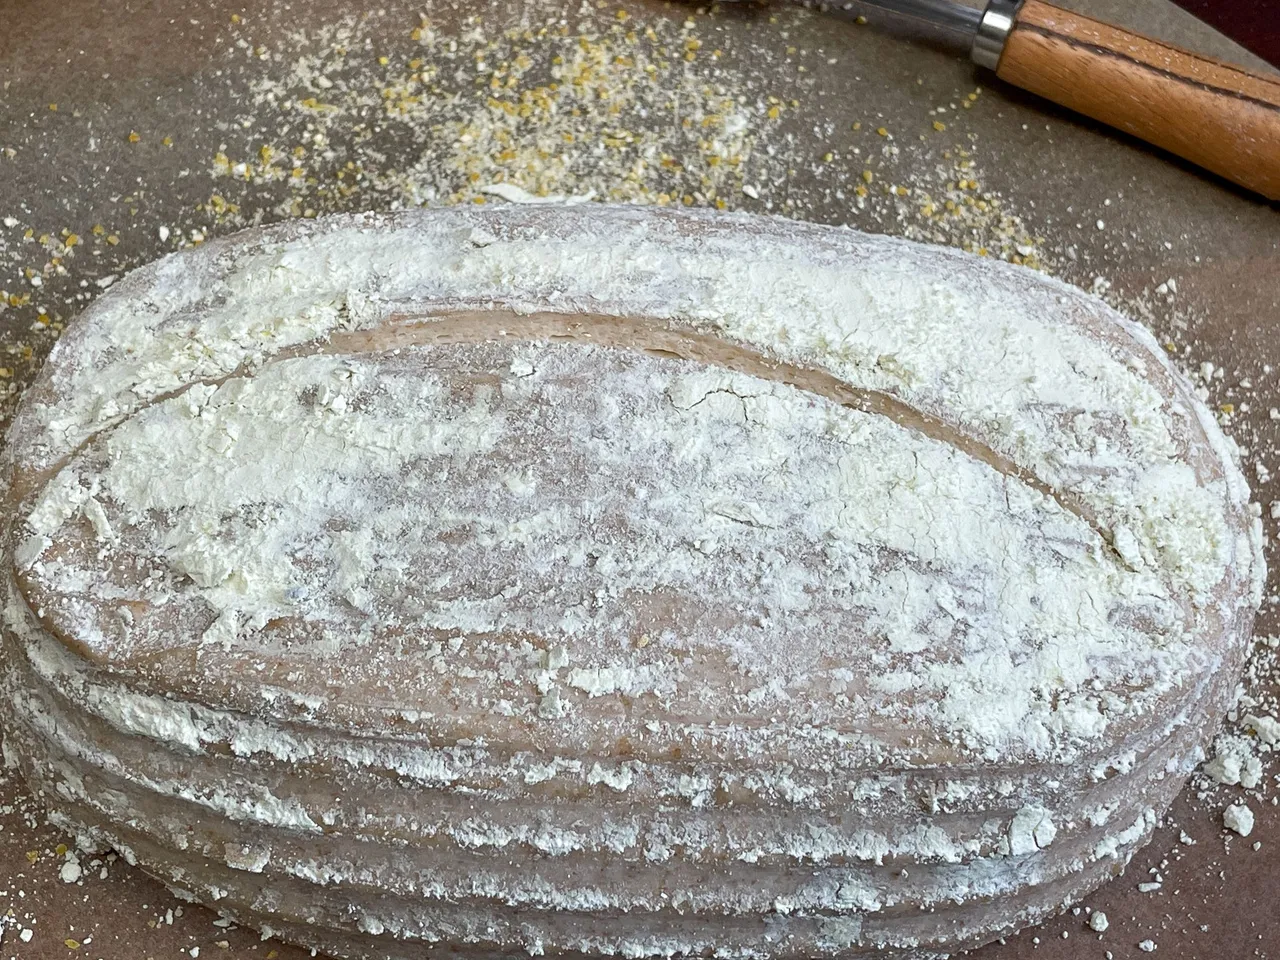
Do this for the next 2 hours and you will feel the dough gain strength i.e. it won't immediately float back to the sides of the bowl anymore. At that time dump it onto the counter, shape it and then it goes into a banneton, which I prepped with rice flour to prevent the dough from sticking. Then it gets covered and into the fridge.

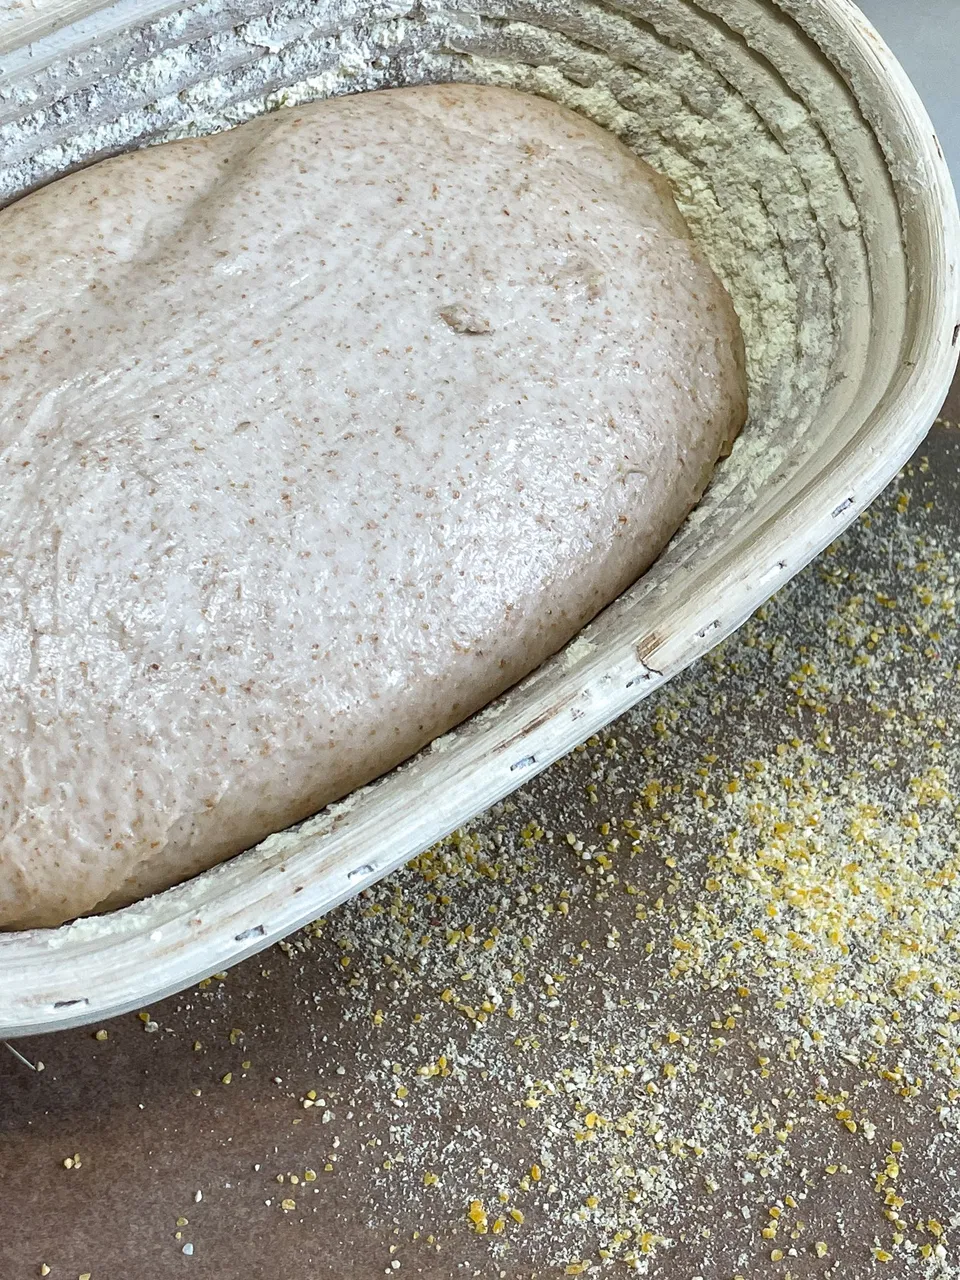
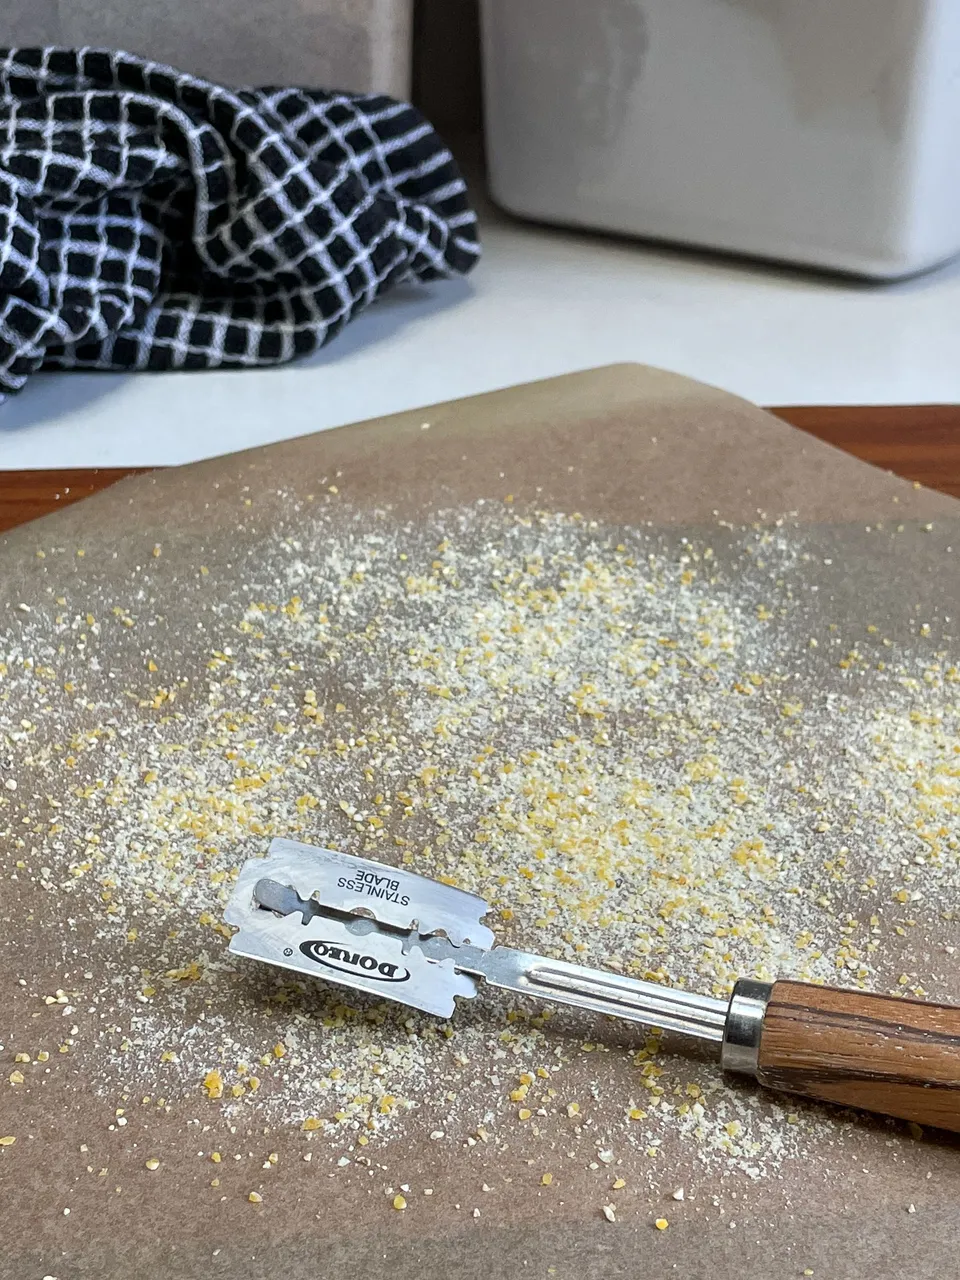
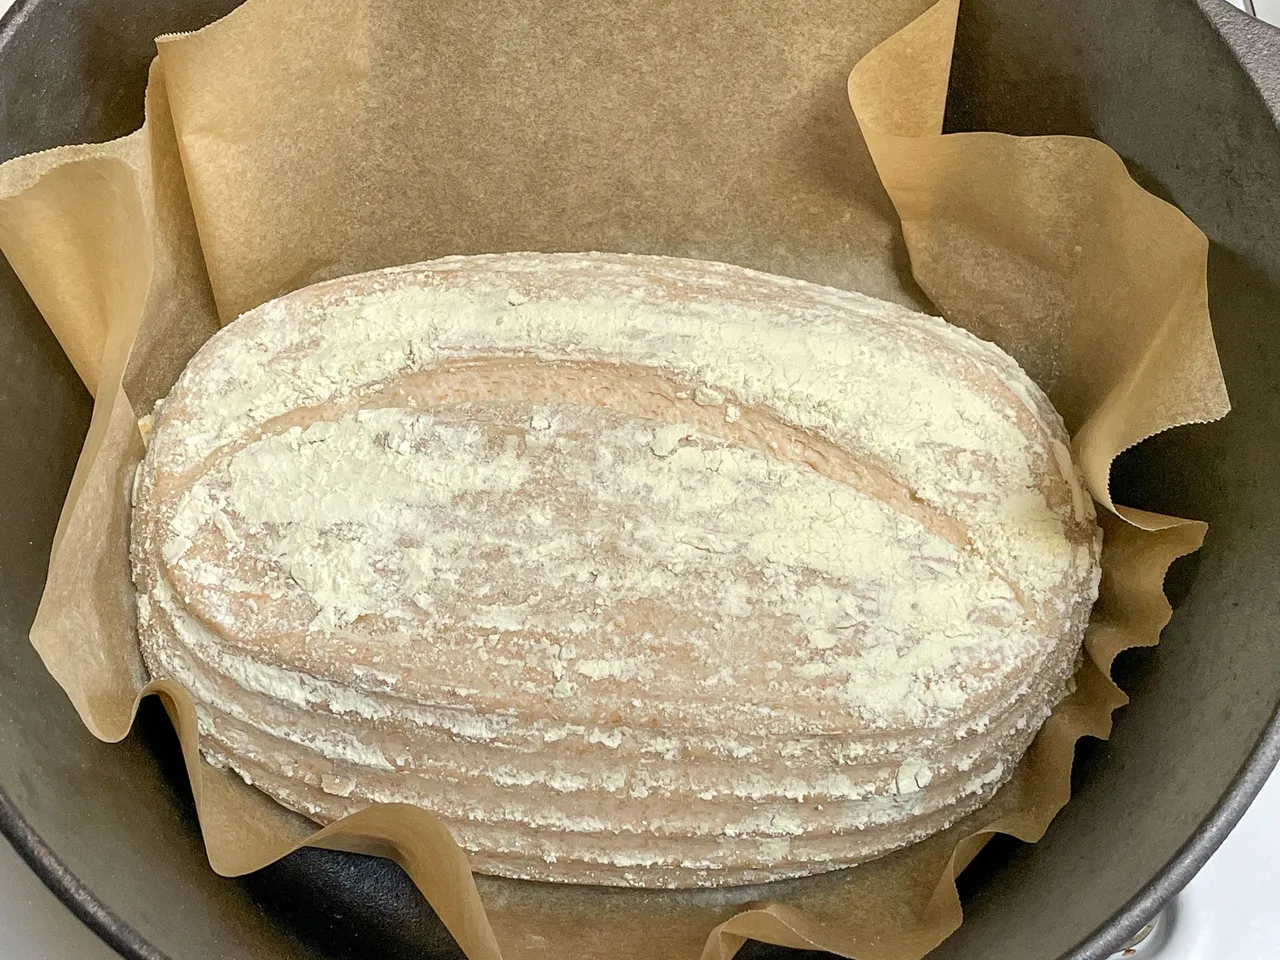
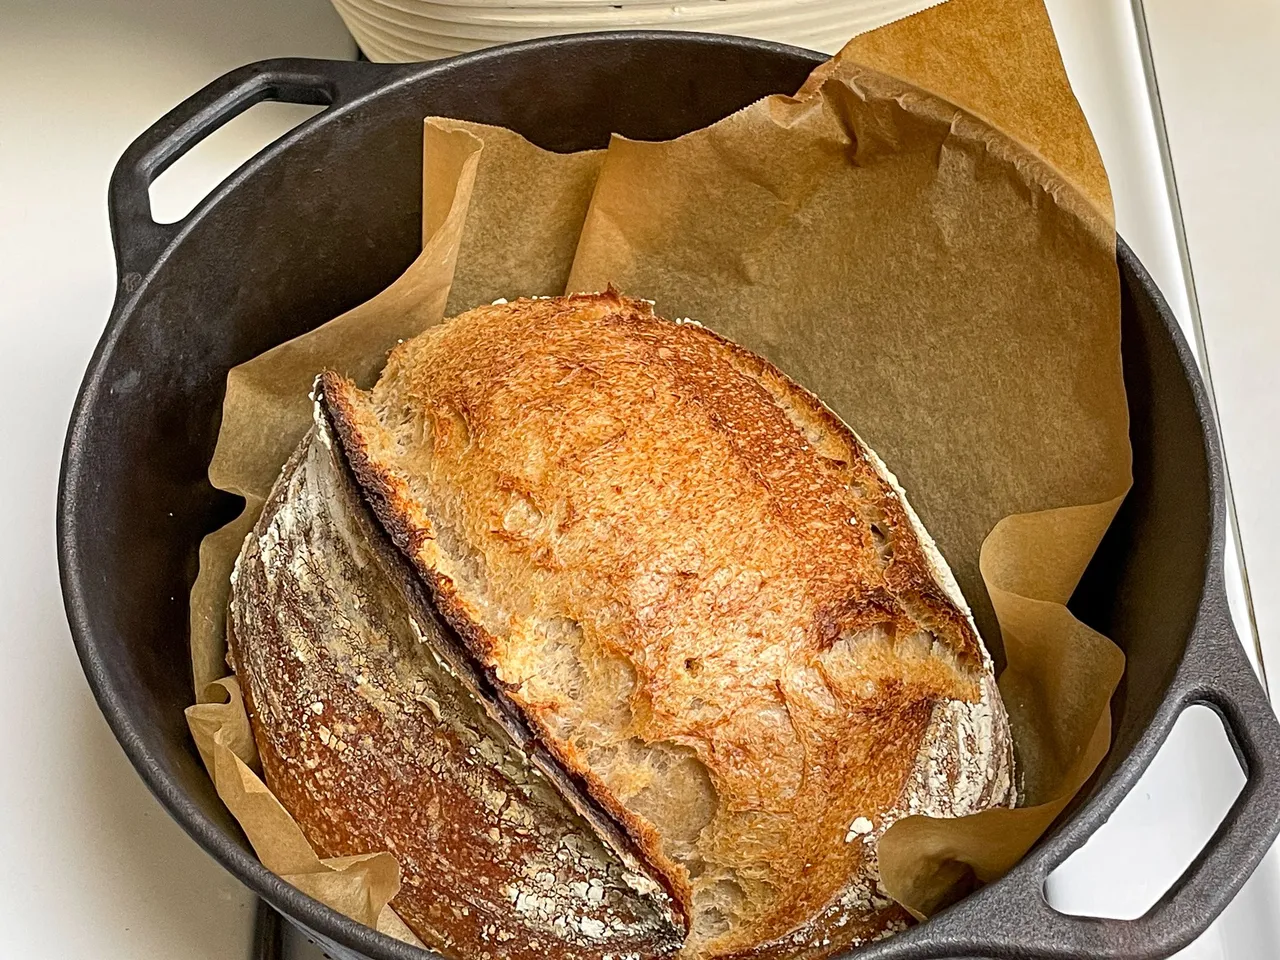
In the morning I heat the oven to 500°F/260°C and take out the banneton from the fridge, invert the dough onto a sheet of baking paper covered with some cornflour, and cut a crescent shape into the top to help the bread spring or rise.Then I place it into a dutch oven, which has been pre-heating in the oven for 30 minutes. It is hot! Put the cover on and bake for about 27 minutes. After that time it should look like the 2nd to the last picture on the left, the one on the right is the final bread still in the dutch oven.
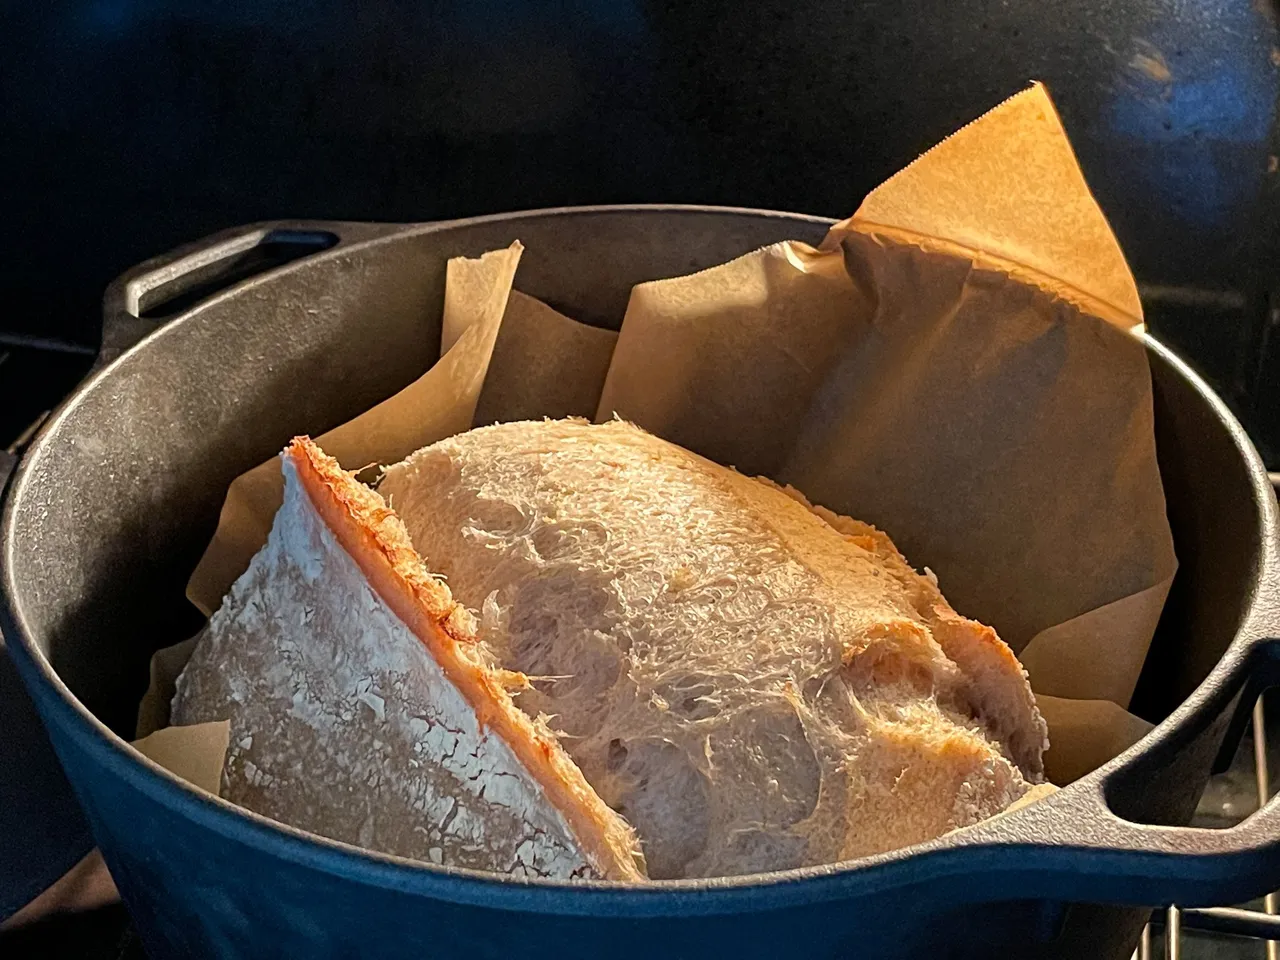
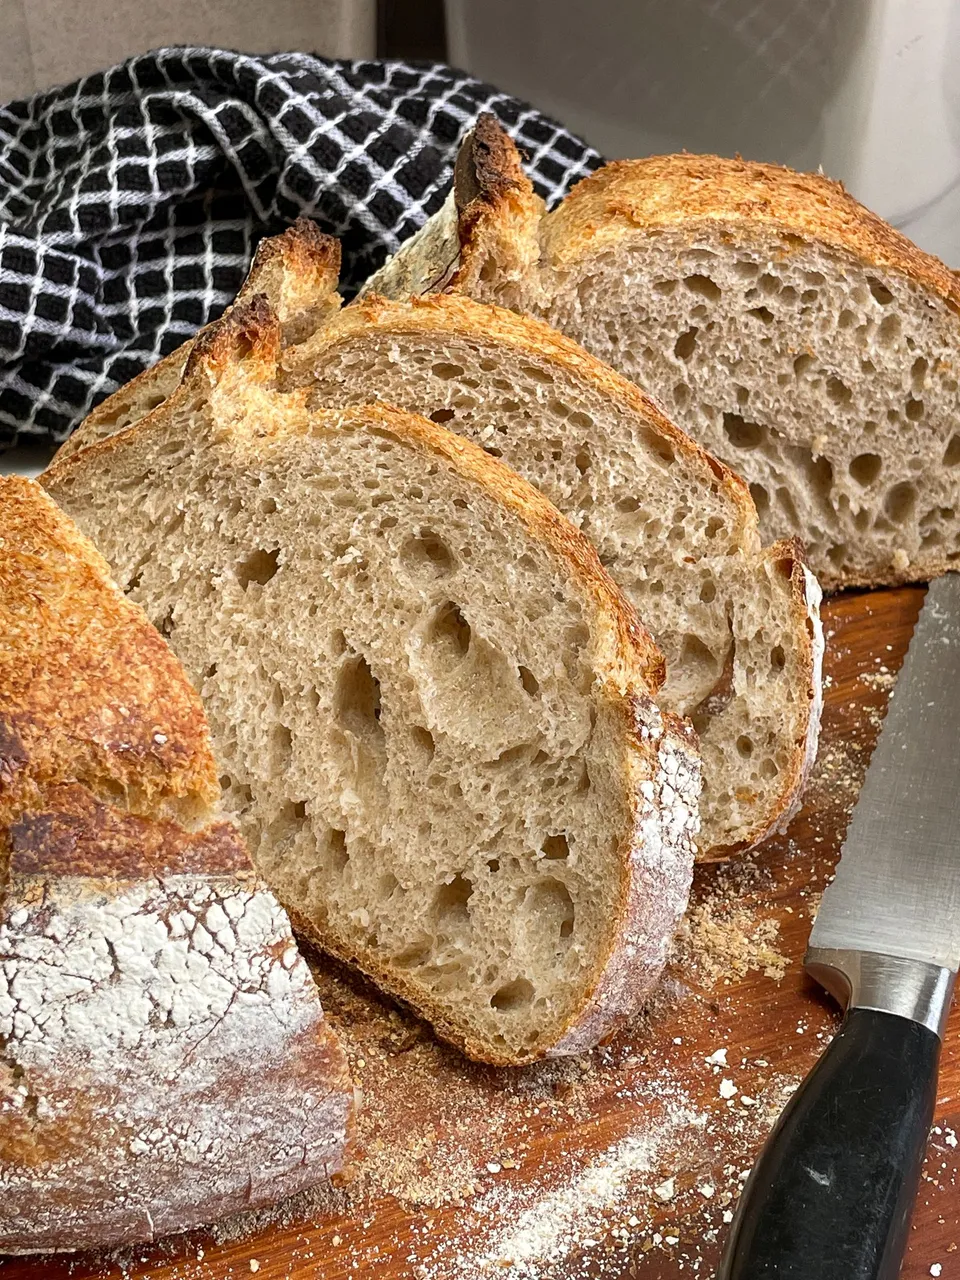
Typically I take the bread out of the dutch oven and put it on a cooling rack, or in my case, on the toaster oven rack 😆.Let it cool for at least 1 hour!
This is hard, people, because it looks and smells so good. But trust me on this, you don't want to cut bread that is too fresh. It needs to cool down and settle some. Even after one hour, it is still freakin' hot inside - you'll see.
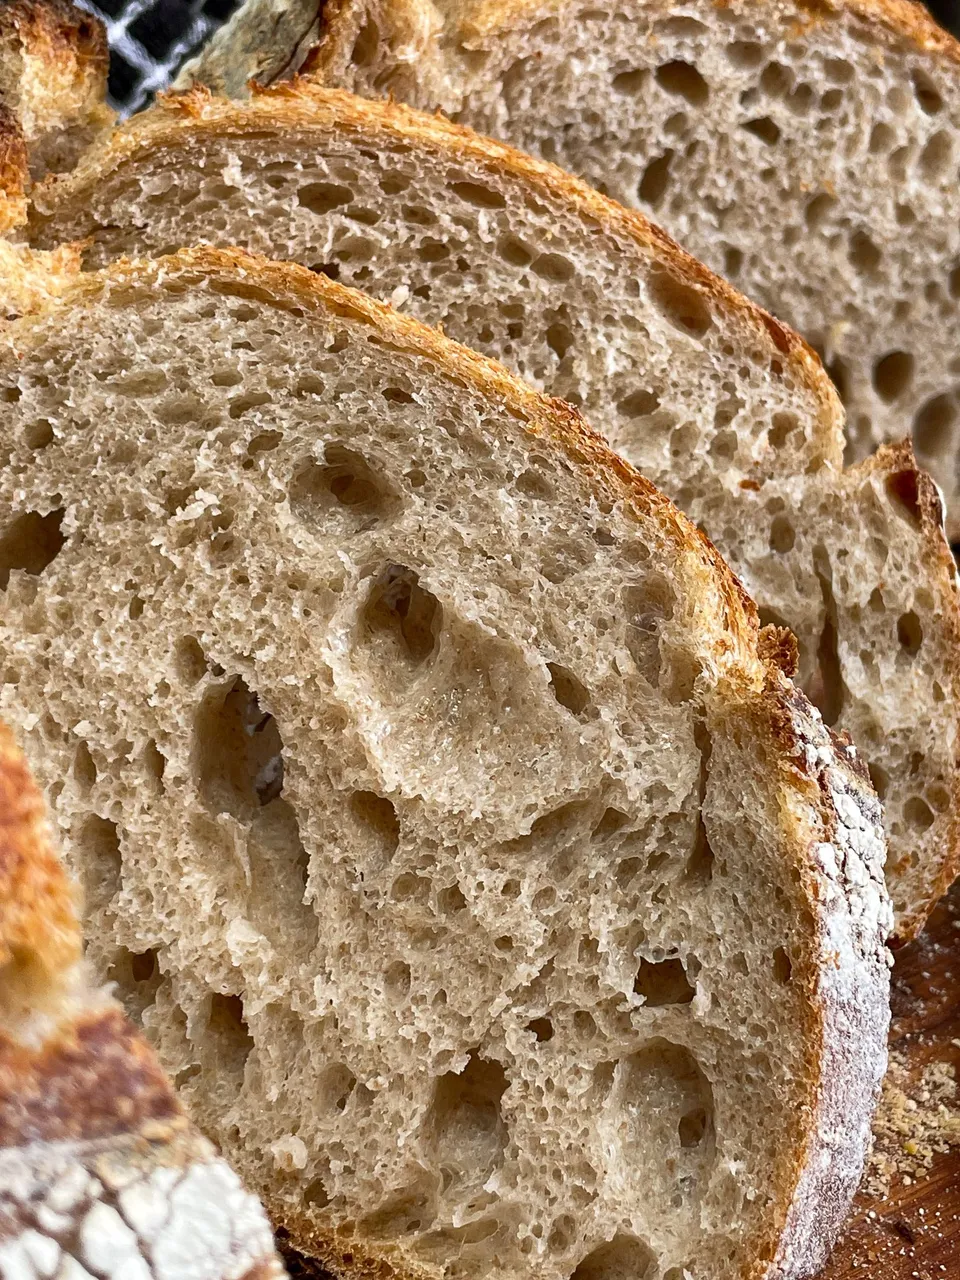
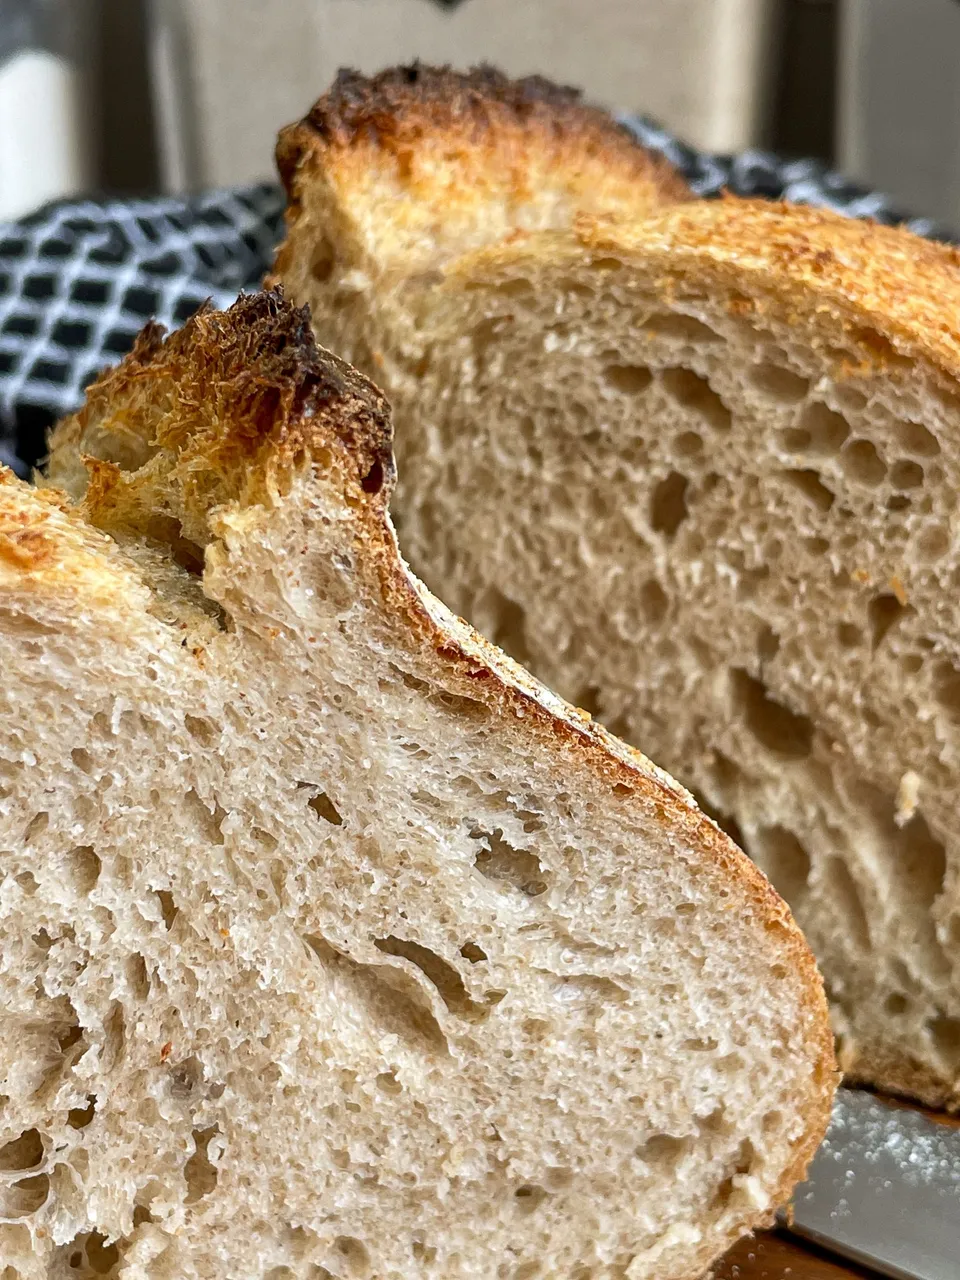
And then this is what you'll hopefully get - bon apetit and enjoy!