Hagamos una torta arcoiris

Hello to all my baking friends!
Today I want to share the step by step of how to make a delicious rainbow cake in an easy way.
Hola a todos mis amigos reposteros!
Hoy quiero compartir el paso a paso de como hacer una deliciosa torta arcoiris de una manera fácil.
Ingredients:
-1000gr Flour
-8 eggs
-500gr Sugar
-250gr unsalted butter
-1 tablespoon of baking powder
-6 drops of vegetable coloring: red, orange, yellow, blue, violet and green.
-250gr Vanilla cream
-100gr Colored sprinkles
Tools:
-Pastry bag
-Cake base
-Cake cutter
-Toothed paddle
-Spatula
Ingredientes:
-1000gr Harina
-8 Huevos
-500gr Azúcar
-250gr de mantequilla sin sal
-1 cucharada de Polvo para hornear
-6 gotas de Colorante vegetal: rojo, naranja, amarillo, azul, violeta y verde.
-250gr de Crema de vainilla
-100gr Chispitas de colores
Herramientas:
-Manga pastelera
-Base para tortas
-Cortador de tortas
-Paleta dentada
-Espátula
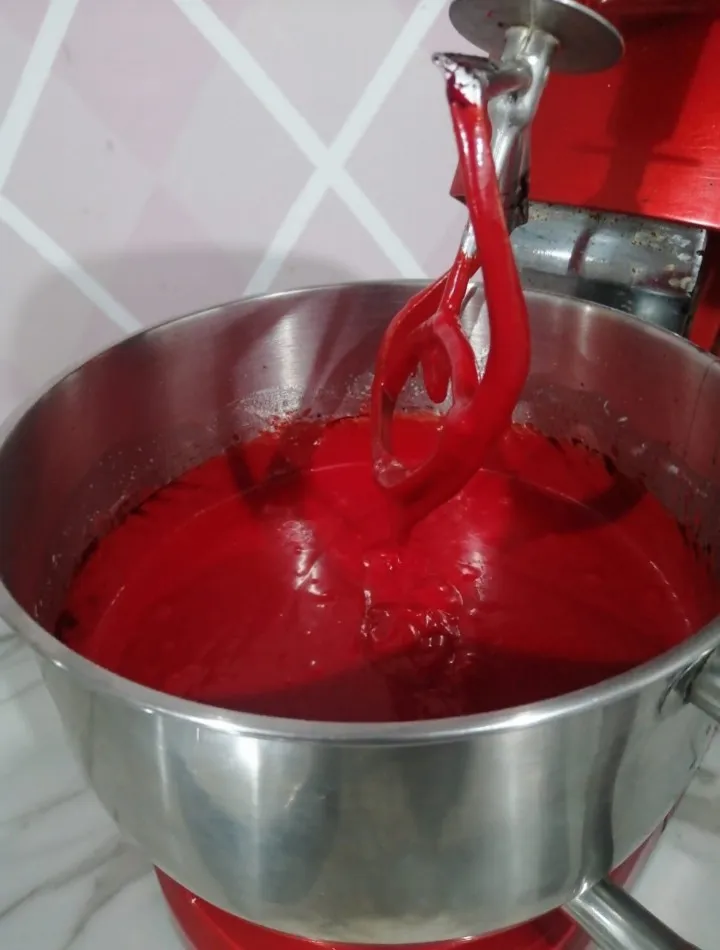
-The first thing we are going to do is to prepare the colored biscuits. For that we put the sugar and butter in a mixer until they are well integrated, we gradually add the sifted flour, baking powder and eggs.
-Lo primero que vamos a hacer es preparar los biscochos de colores. Para eso ponemos el azúcar y la mantequilla en una mezcladora hasta que se integren bien, vamos agregando poco a poco la harina tamizada, el polvo para hornear y los huevos.
-Once we have the mixture we will separate it into 6 equal portions to add the color separately.
-Una vez que tenemos la mezcla vamos a separar en 6 porciones iguales para agregar el color por separado.
 |  |
|---|---|
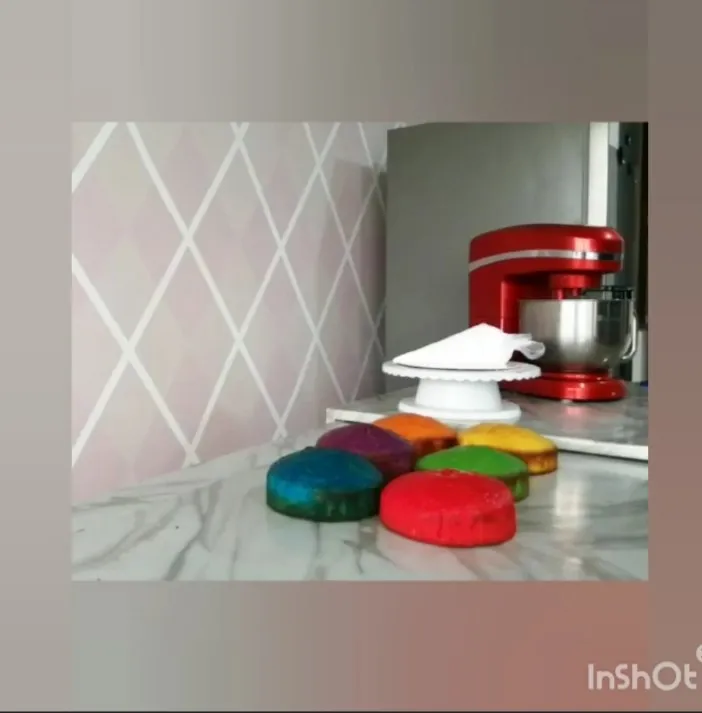
-Bake the 6 cakes separately. At medium heat for 10 minutes, check with a skewer stick to see if they are ready.
-Remove from the oven and let cool. When they are cool, unmold and proceed to assemble.
-Horneamos por separado las 6 tortas. A fuego medio durante 10 minutos, revisamos pinchando con un palito de brocheta para saber si estan listas.
-Sacamos del horno y dejamos enfriar. Cuando esten frías desmoldamos y procedemos al armado.
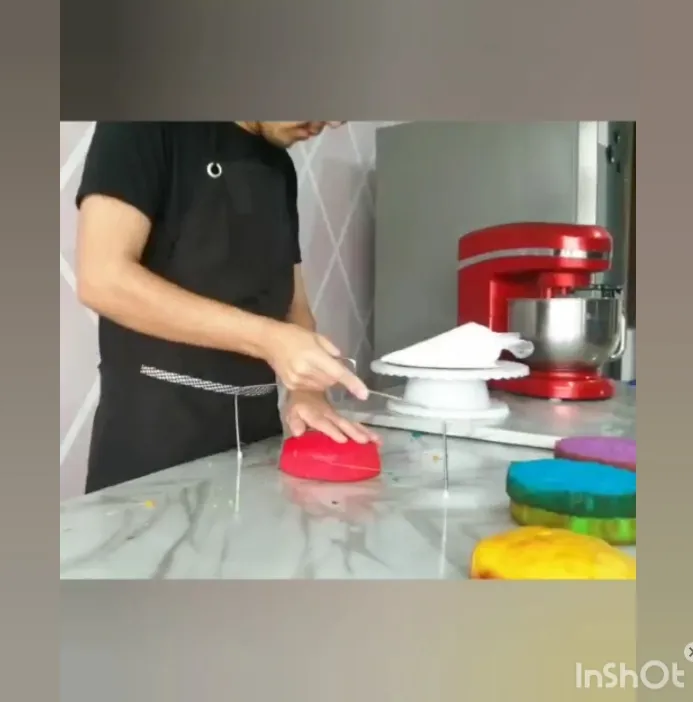
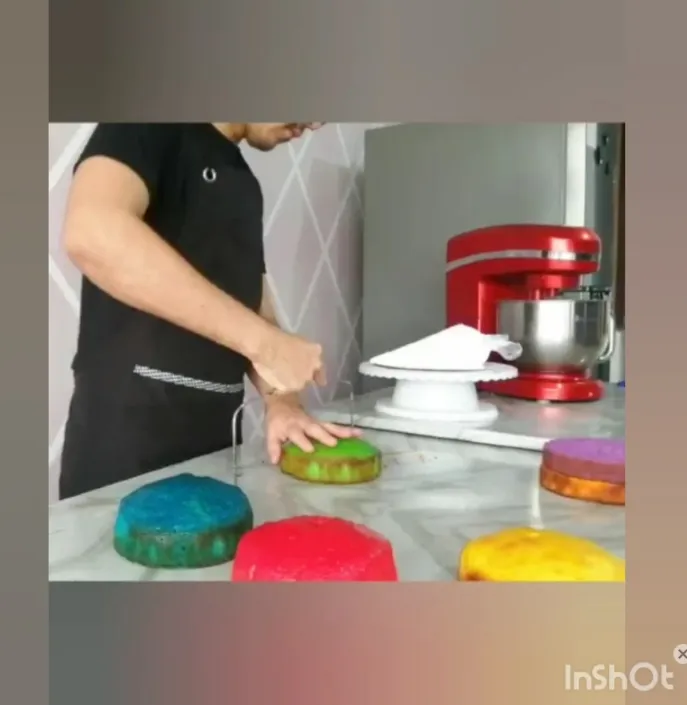
-We must level the cakes so that they are all flat and the support is better since they are one on top of the other. To do this we take the cutter and remove the excess. They should look like this:
-Debemos nivelar las tortas para que todas queden planas y sea mejor el soporte ya que van una sobre otra. Para eso tomamos el cortador y retiramos los excesos. Deben quedar asi:
 | 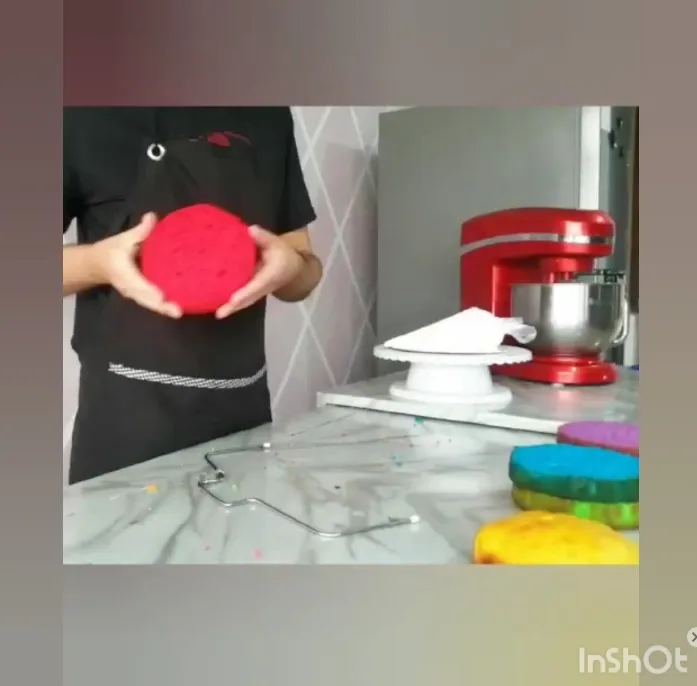 |
|---|---|
| We cut / Cortamos | It is flat / Queda plana |
We do the same with all 6 cakes.
Hacemos lo mismo con las 6 tortas.
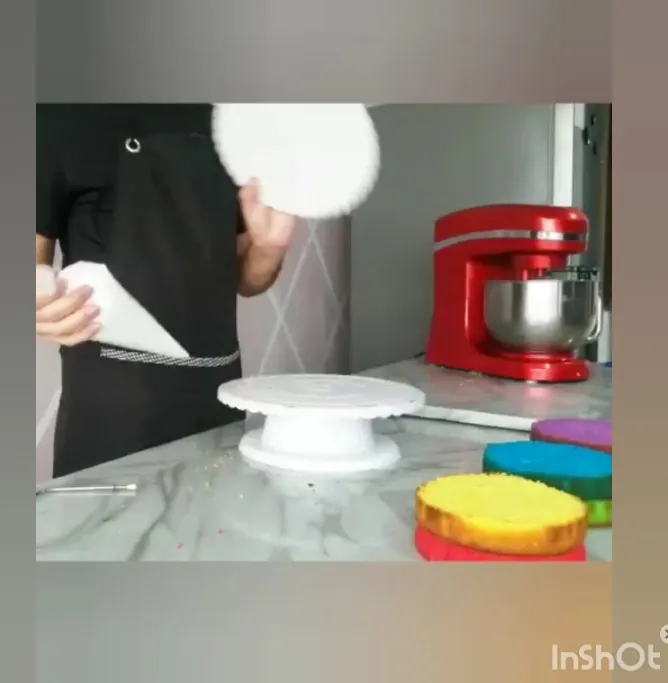
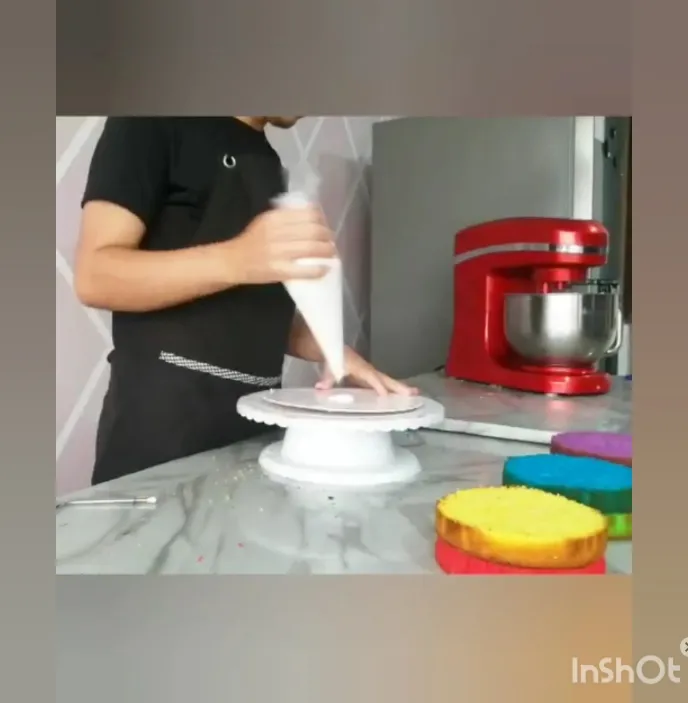
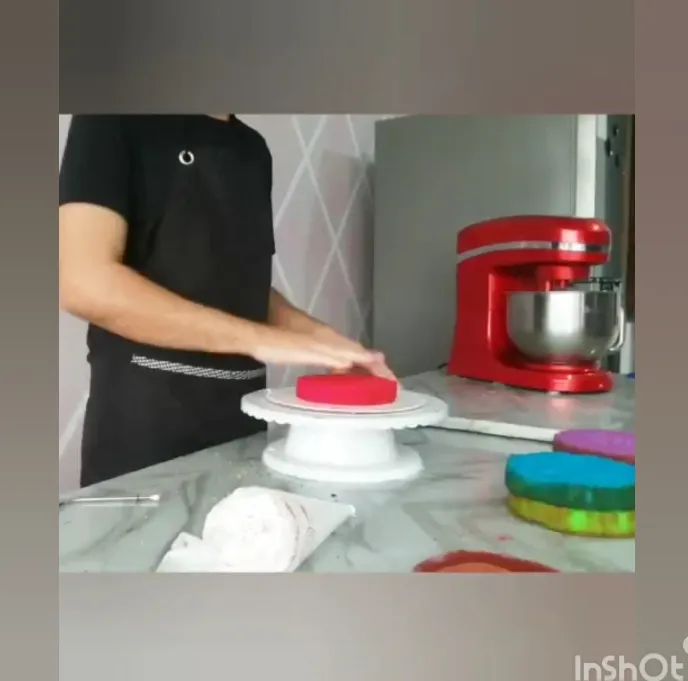
-We put the cake base and with the piping bag (previously filled with vanilla cream) we put some dots of cream on the base so that the first cake sticks and the structure is resistant. On the cream dots we put the first cake.
-Ponemos la base para tortas y con la manga pastelera (cargada previamente con la crema de vainilla) ponemos unos puntos de crema en la base para que se pegue la primera torta y quede resistente la estructura. Sobre los puntos de crema ponemos la primera torta.
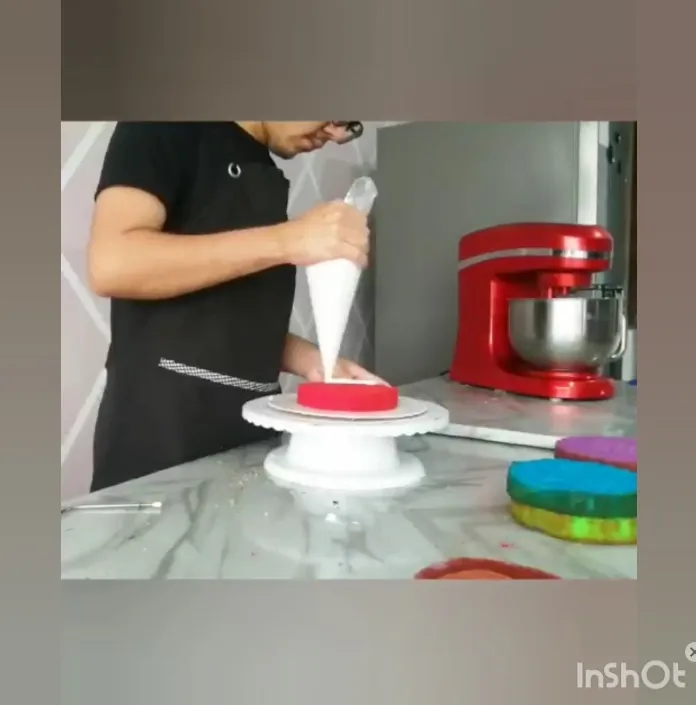
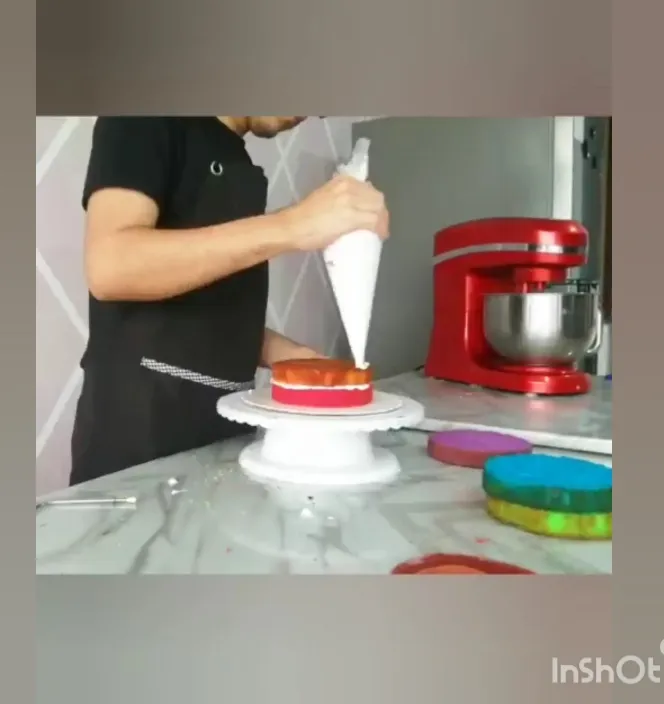
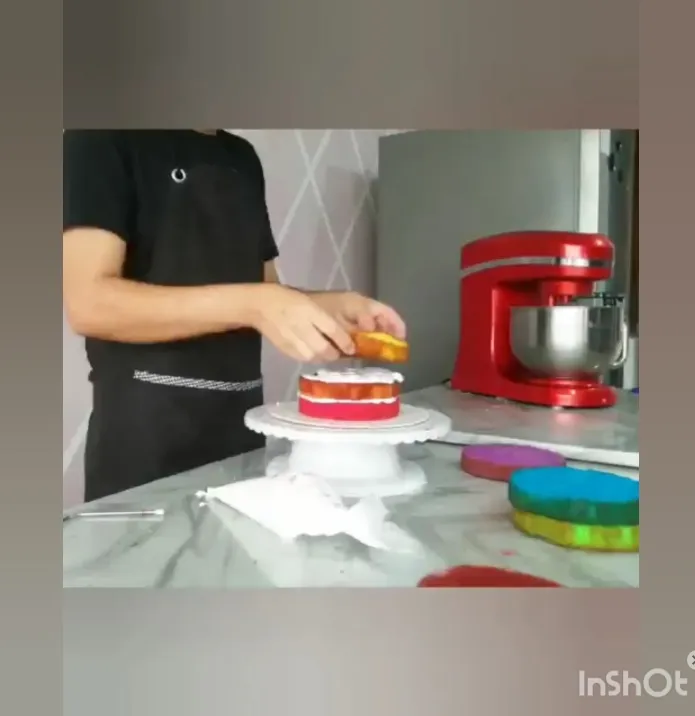
-We put a substantial spiral of vanilla cream and put one cake on top of the other. Repeat this with all the cakes making a tower.
-Ponemos un espiral sustancioso de crema de vainilla y ponemos una torta sobre la otra. Repetimos esto con todas las tortas haciendo una torre.
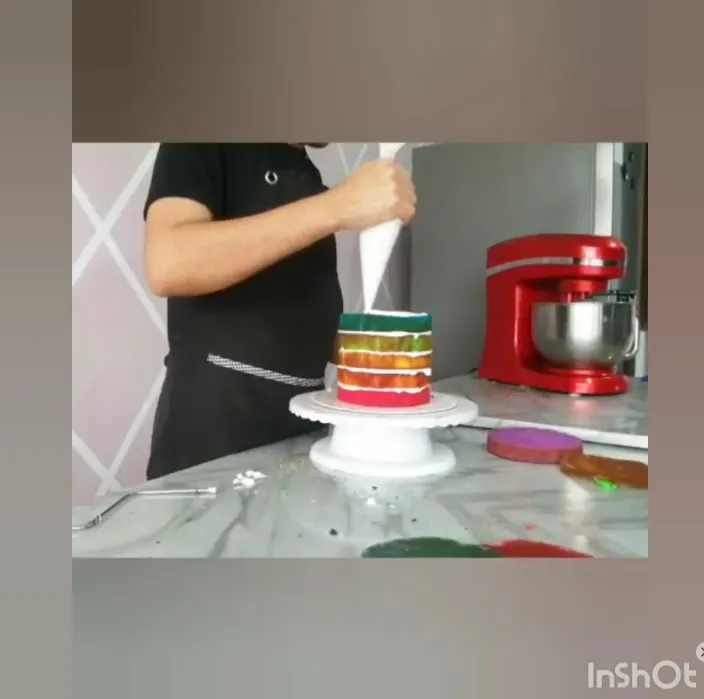
-Cover the cake tower with vanilla cream and smooth the cream layer with a spatula. Then with the notched trowel we are going to texturize the whole cake, so that it is in the form of channels.
-Cubrimos la torre de tortas con crema de vainilla y con ayuda de una espátula dejamos bien lisa la capa de crema. Luego con la paleta dentada vamos a texturizar toda la torta, para que quede en forma de canales.
-Finally we put the colored sprinkles to decorate. And our rainbow cake is ready. When cut, each slice will have all the colors of the rainbow.
I hope you like this delicious cake, that you are encouraged to prepare it and surprise everyone with this ingenious dessert.
-Para terminar ponemos las chispas de colores para decorar. Y está lista nuestra torta arcoiris. Al cortar, cada rebanada tendrá todos los colores del arcoiris.
Espero que les guste esta deliciosa torta, que se animen a prepararla y sorprender a todos con este ingenioso postre.
Thanks for reading, leave your comments and remember that Mike Cupcakes is a very sweet and fun way to sweeten your days.
Gracias por leerme, dejen sus comentarios y recuerden que Mike Cupcakes es una manera muy dulce y divertida de endulzar tus días.
Post of my authorship. Photos taken of my work with my phone Huawei Psmart 2019.
Recursors used: Lighroom // video inshot
Translated with Deepl.com
All Rights Reserved || © @mike.cupcakes 2021.
_
Post de mi autoría. Fotos tomadas a mis trabajos con mi teléfono Huawei Psmart 2019.
Recursors usados: Lighroom // video inshot
Traducido con Deepl.com
Todos los Derechos Reservados || © @mike.cupcakes 2021.
Social Networking // Redes Sociales