Yesterday an amazing thing happened! My friend T came back from visiting his dad in neighboring Washington state, and he came bearing gifts, 2 gallons of raw milk!
And not just any milk, it was Guernsey milk. I love Guernsey cattle, they are just so huggable, and I have dreams about the cream content!
In fact, the week previously at game night when T asked me if I wanted some raw milk, I jumped at the chance to acquire some as I have been wanting to have a sundae bar at one of our game nights. The key component of a sundae bar is ice cream, and as if the sundae bar stars were aligning, here was my chance to experiment with raw milk ice cream composition.
So, today's job was to create the base. I wanted a real, frozen custard sort of base. Which of course meant I needed close to a metric ton of cream. Okay, more like 12 cups, but that's a lot cream!
Good thing I had this:
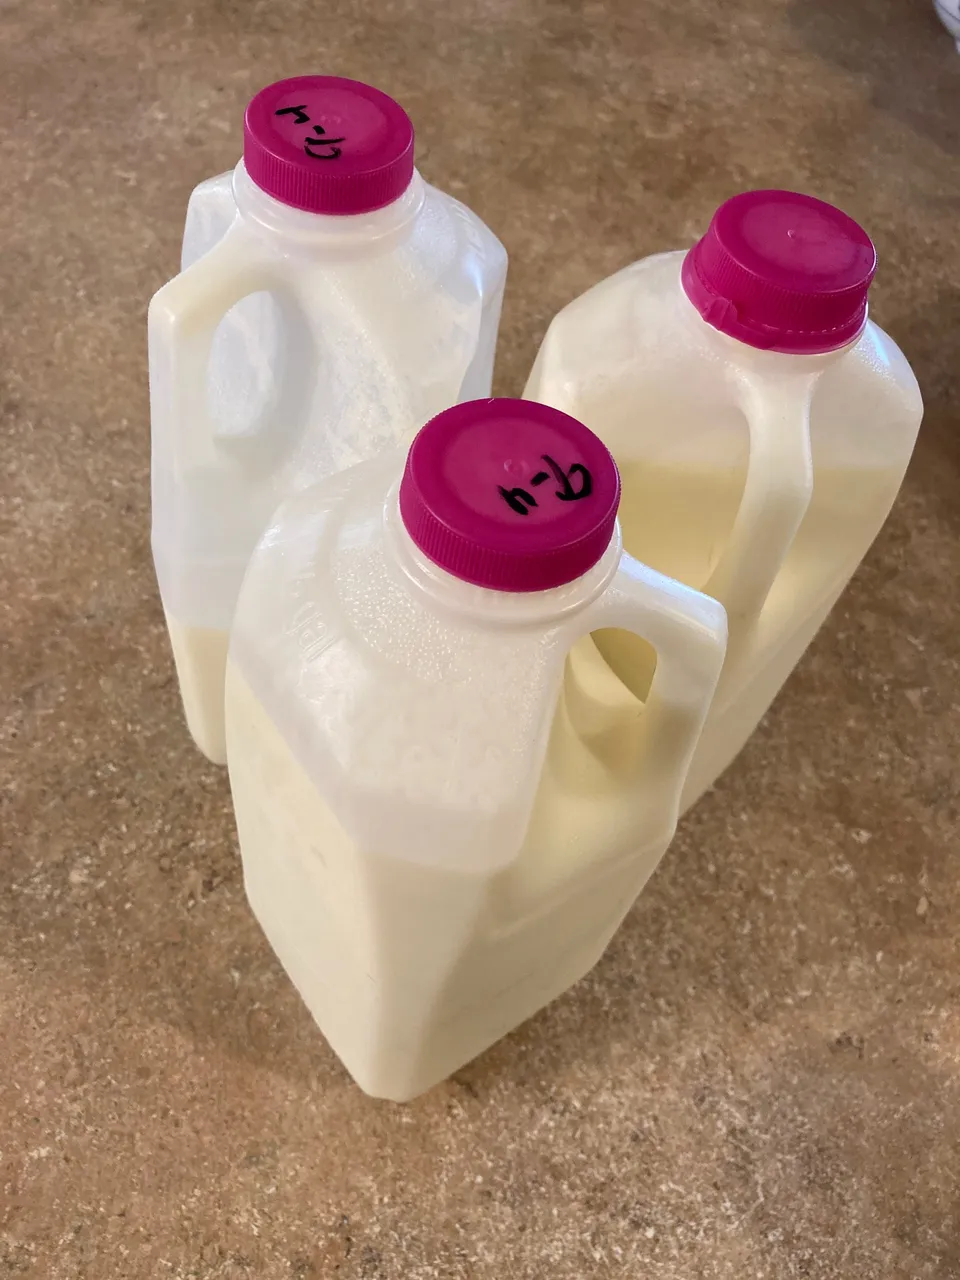
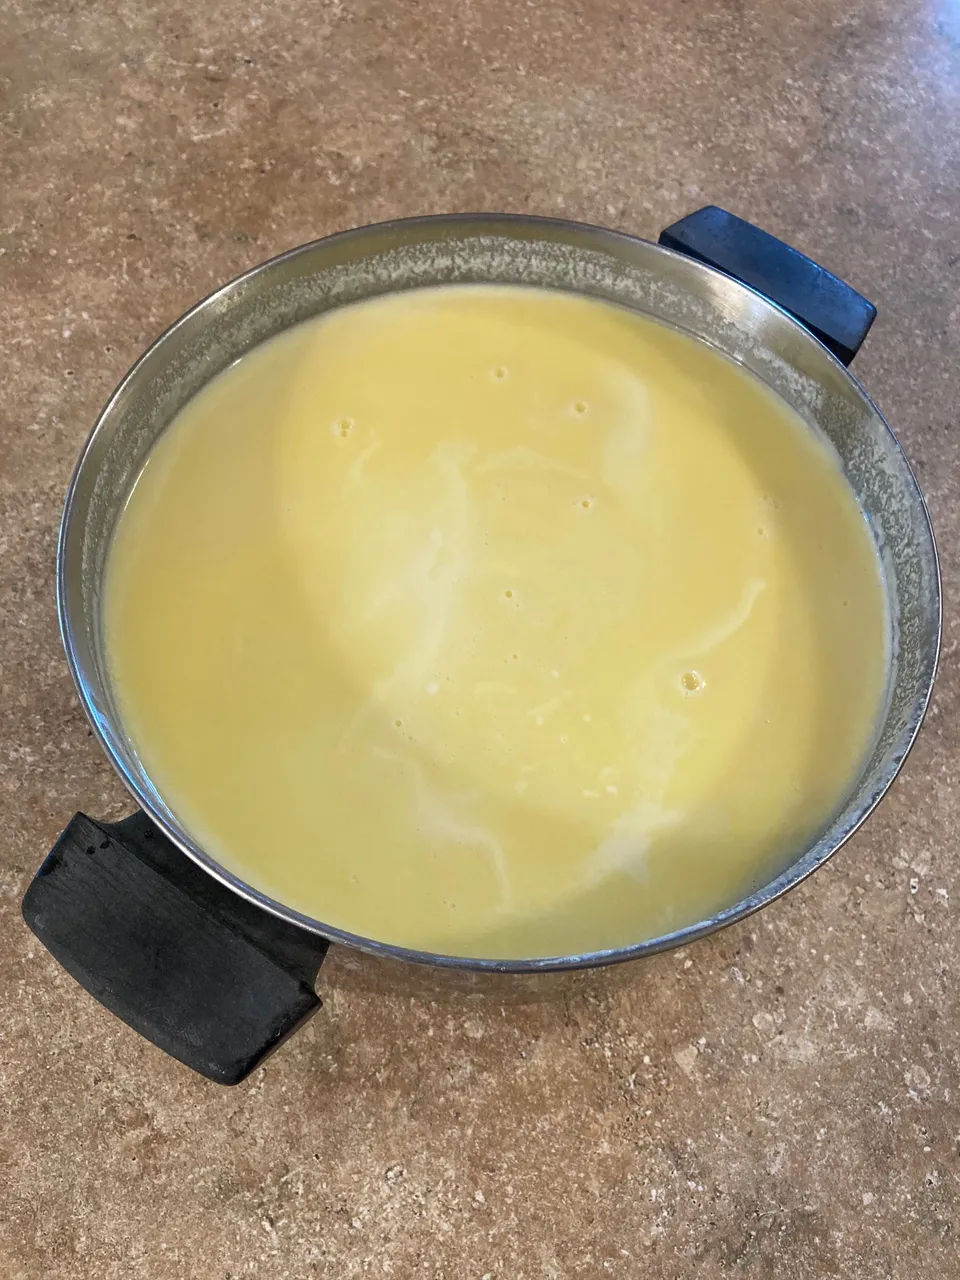
After sitting over night the cream had separated nicely in the half gallon containers, so to start my raw milk ice cream adventure I placed 3 cups of cream, 3 cups of milk, 3 cups of sugar, and 3 Tablespoons of vanilla extract in a stock pot and turned the heat to medium.
While that future moo juice frozen delectable dessert conglomeration was heating, I cracked and separated 8 large eggs. My dogs love it when I separate eggs, because that means some good puppers are getting a yolk or a white or two.
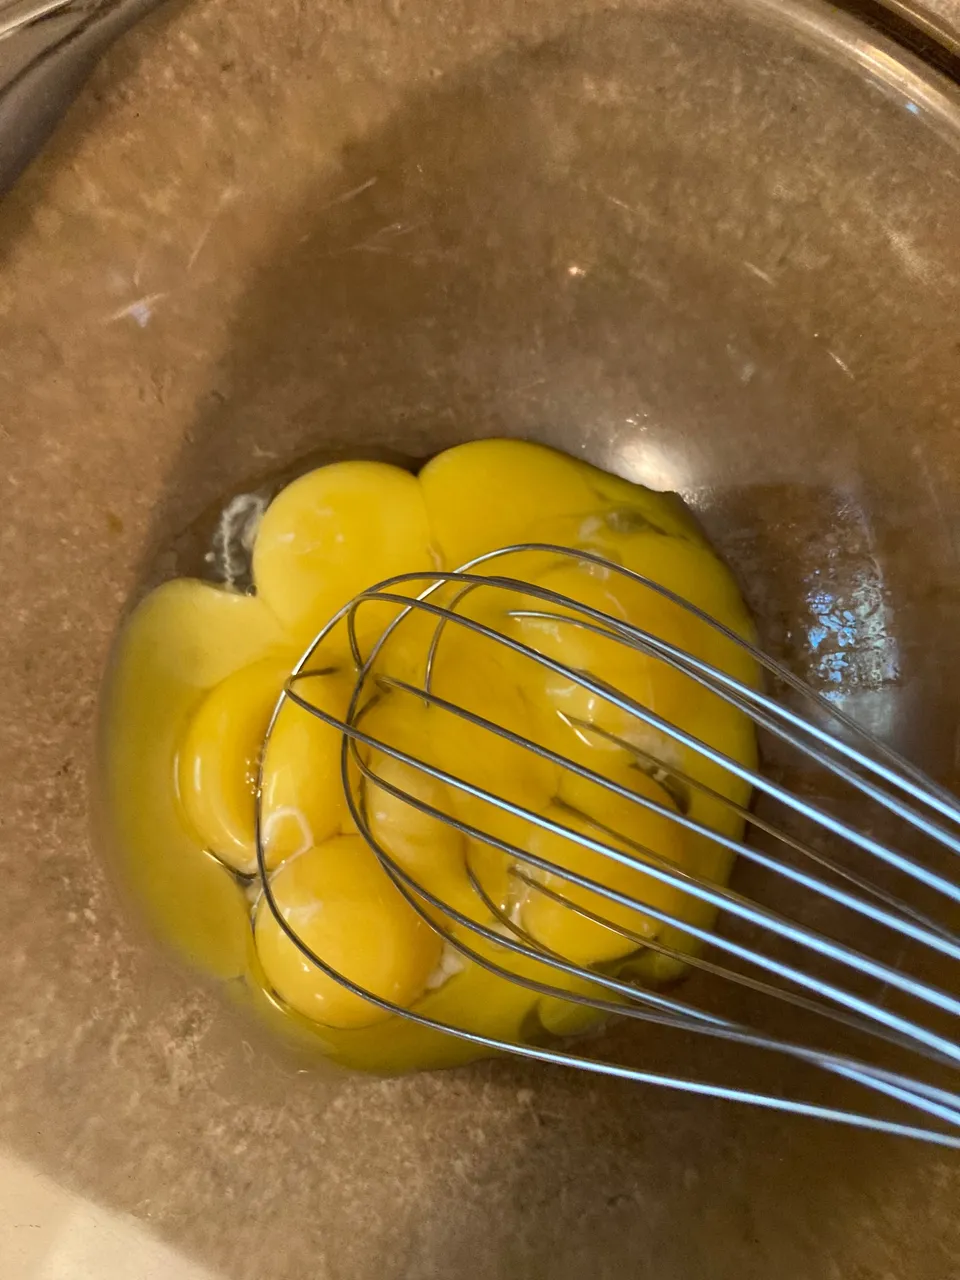
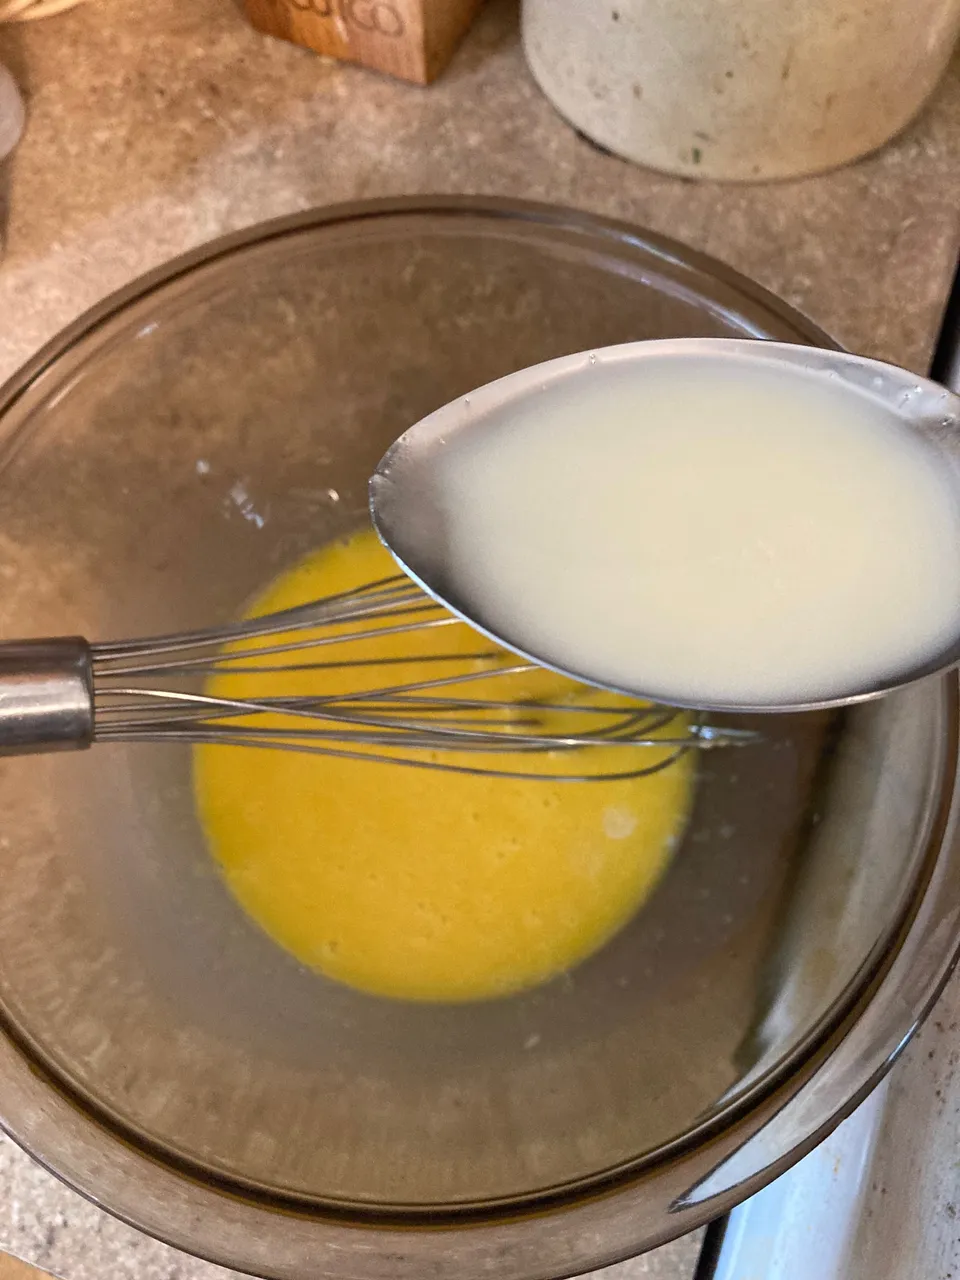
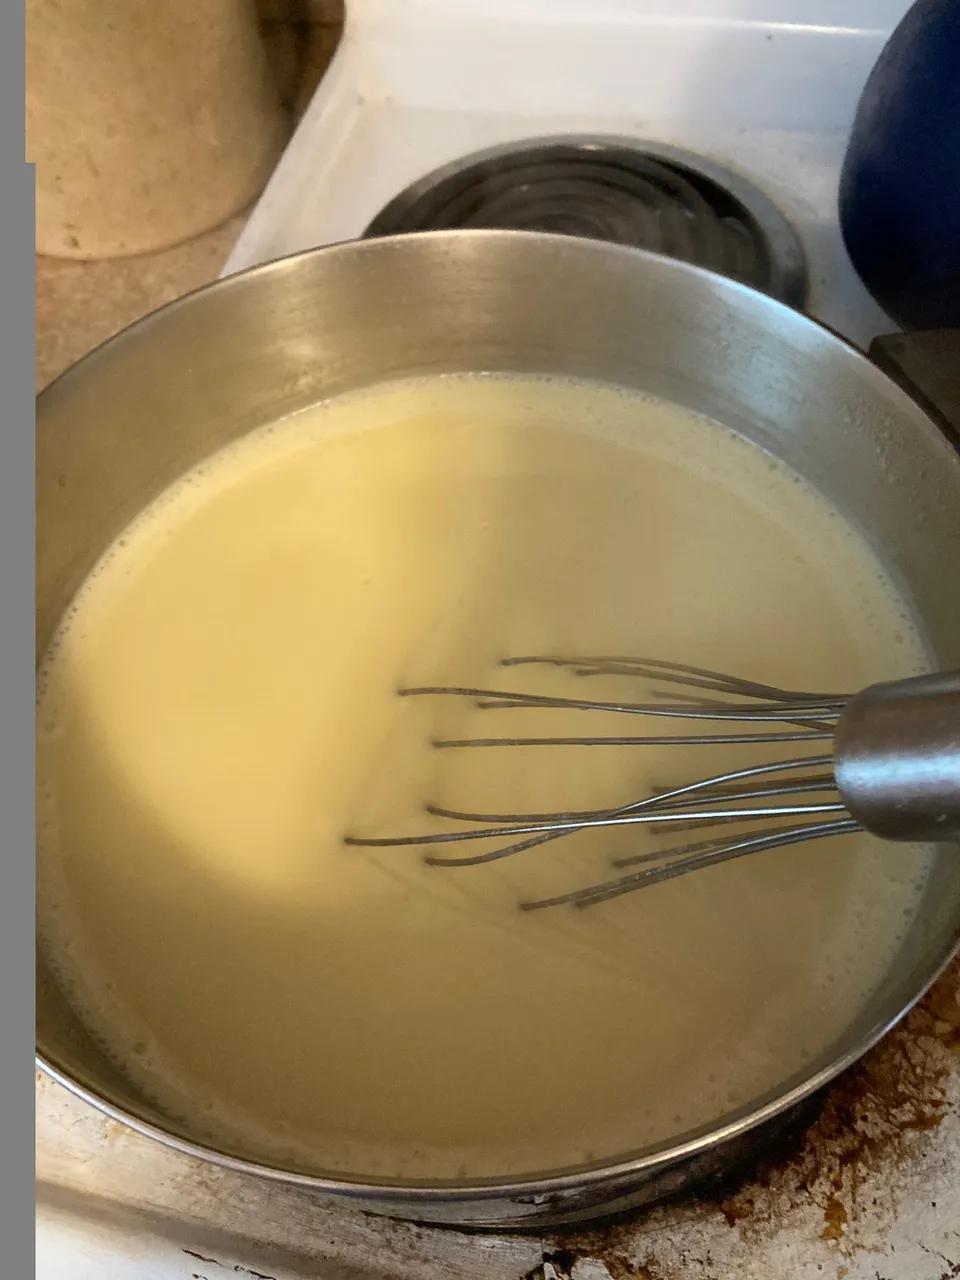
After separating the eggs, I checked my milk and sugar base, and once I determined it was warmish, I scooped a few spoonsful of warm cream/milk into the eggs as I whisked them. You want to temper egg yolks when making a custard, unless you like curdled yolk ice cream. I would never judge anyone if they liked egg flower soup consistency frozen dessert, me, well I just like the fully emulsified, creamy dreamy kind of ice cream, hence the tempering.
After the yolks were fully tempered, I whisked them into the on medium heat cream and milk mixture and cooked the concoction on medium heat for around 6 or 7 minutes. To get real technical, you want your base to reach about 170 degrees and be thick enough to coat the back of a spoon. I think mine might have got a touch hotter than that, but as I was stirring constantly I think it didn't scorch. Okay, okay, I tasted it, and hello yum!
After removing the base from the heat, I put a lid on the pot and let it cool a bit on the counter before covering the pot with plastic wrap and chucking it in the fridge for an overnight chill. Over the years I have learned that you really want your ice cream base thoroughly chilled before churning.
And that's it for this first post! I included my experimental recipe below, and next time I will show you all how I churn the stuff. Well, how my Cuisinart ice cream maker churns it, but still, to be continued.....
Ice Cream Base
3 Cups cream (I used raw but store bought heavy cream will do!)
3 Cups milk (I also used raw but whole milk from the store will do!)
3 Cups of sugar (I haven't experimented with any other sweeteners for this particular
recipe, if you do I would love to hear about it!)
3 Tbsp vanilla extract
8 egg yolks
6 More Cups of creamHeat milk, 3 cups of cream, sugar, and vanilla in a stock pot over medium heat. While the milk is heating, separate your eggs and give them a good whisking. Once your milk mixture is pretty warm, temper your yolks by whisking some hot cream liquid into the yolks. Once tempered you can whisk your yolks into your cream mixture. Continue cooking until the mixture thickens/coats the back of a spoon.
Refrigerate and chill thoroughly. I always make my base the day before I want to churn my ice cream.