In my previous post I showed how I whip up ice cream base and shared my recipe for it as well. In this little offering, I am going to show ya'll how I churn the ice cream from base to stuffing your face!
Now, I have made ice cream a ton of ways, from rolling it around in an ice and ice cream salt double coffee can apparatus, to kicking around an ice cream ball, to churning it in a big hand crank machine, as well as one of the electric, wooden paddle kind. And all of those, while fun, are also kinda messy. A couple of years ago, I went up a step in home ice cream production and bought a Cuisinart ice cream maker.
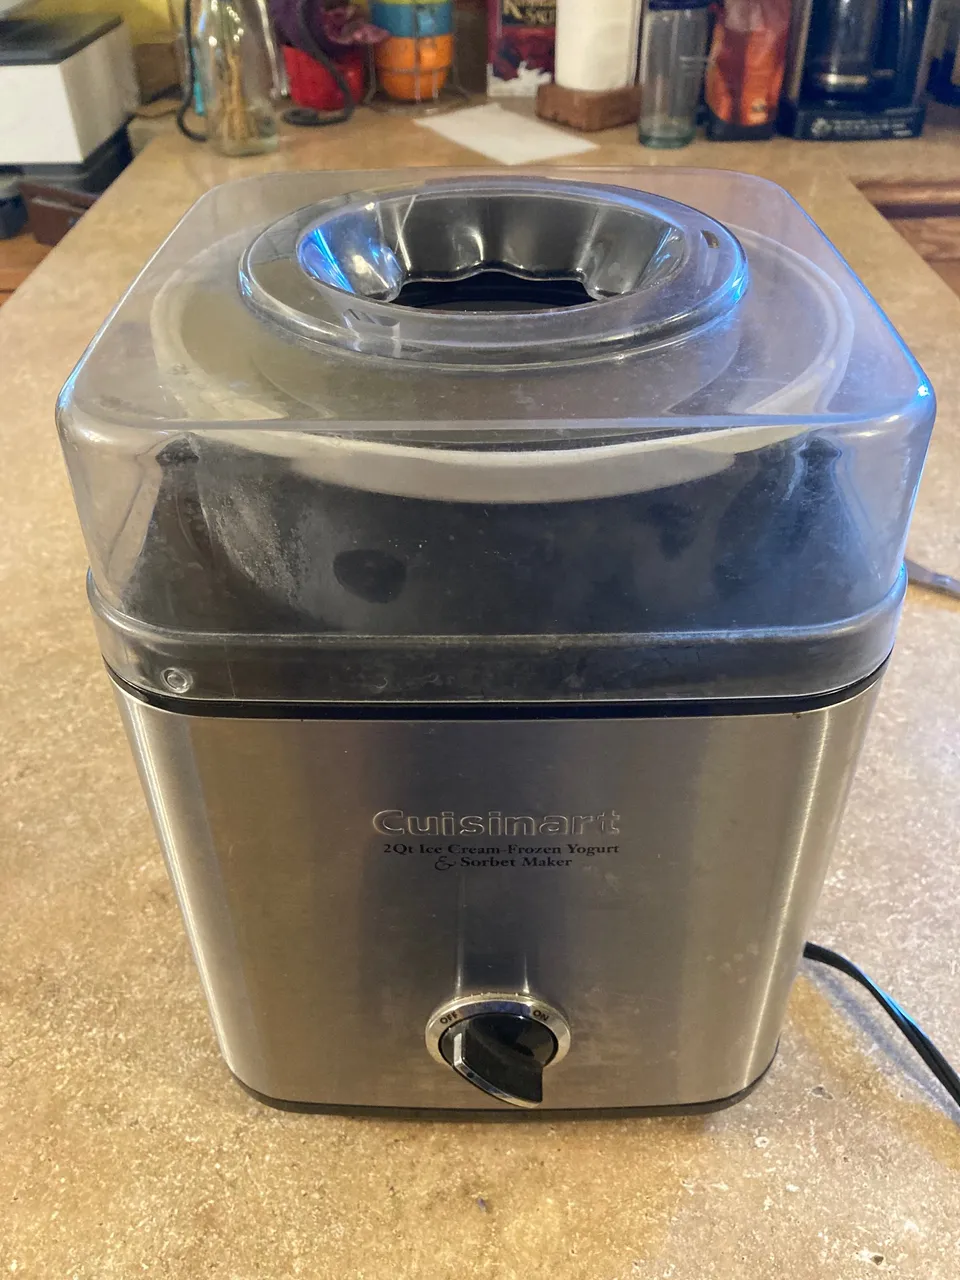
My Cuisinart ice cream maker is the kind where you freeze the bowl before you churn. So to be completely honest, if you want to have the laziest ice cream possible, I recommend just popping into the store and buying a quart or two, because ice cream making is a little bit planning and time intensive.
But oh, the rewards! The taste of homemade ice cream is out of this world, and you also know exactly what's in it!
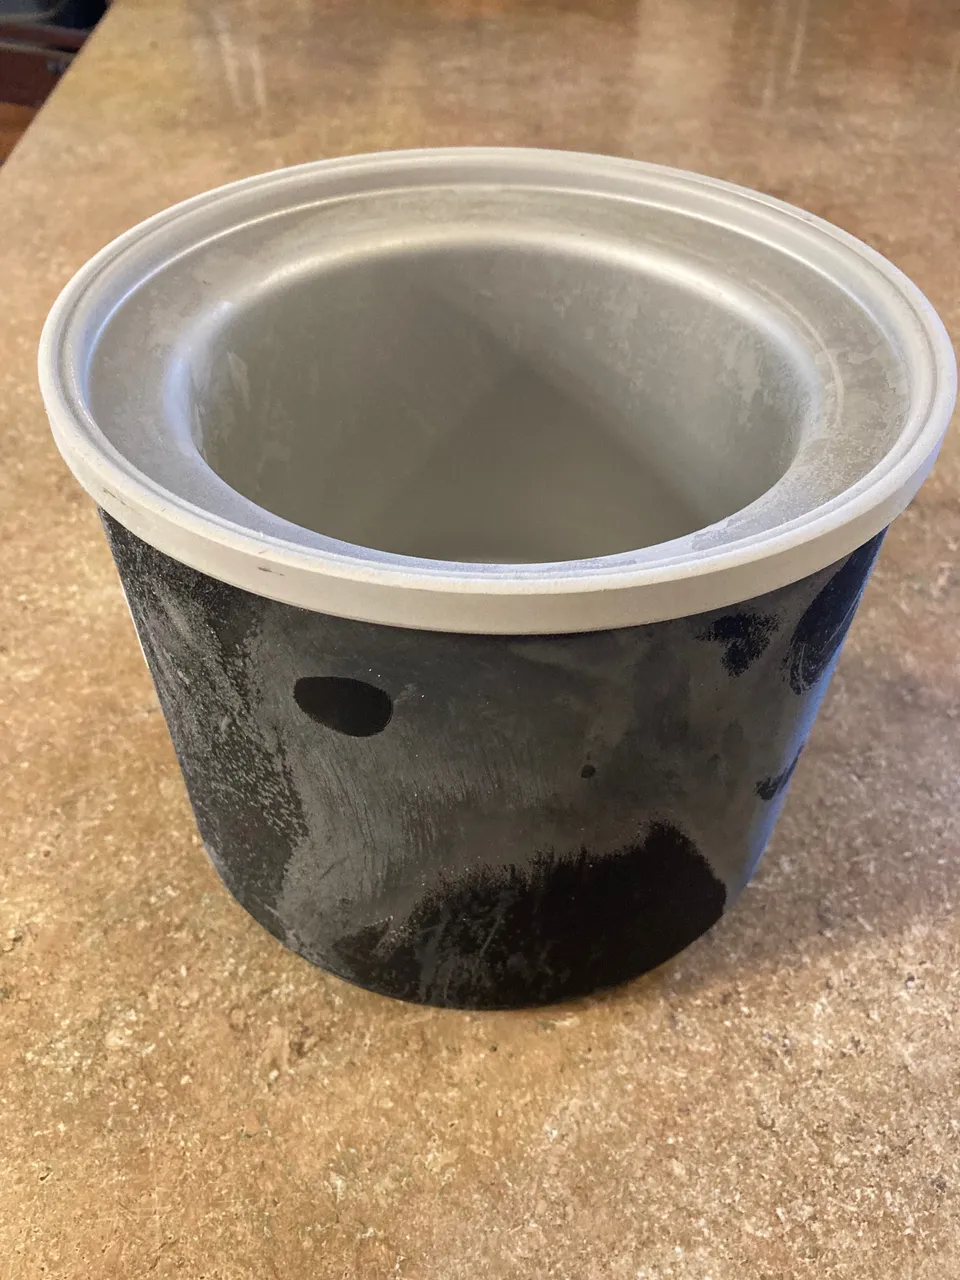
Oh, and here's a little tip for ya, buy an extra freezer container to go with your machine if you get a Cuisinart like mine. You have to have your bowl frozen solid before you churn, so it's nice to always have one waiting in the freezer. I keep both of mine in the chest freezer, ready to accept churn fodder at a moment's notice! I'm serious about ice cream.
Oh OH! Also: Never ever ever wash your cannister in the dishwasher, it will ruin it. That is all.
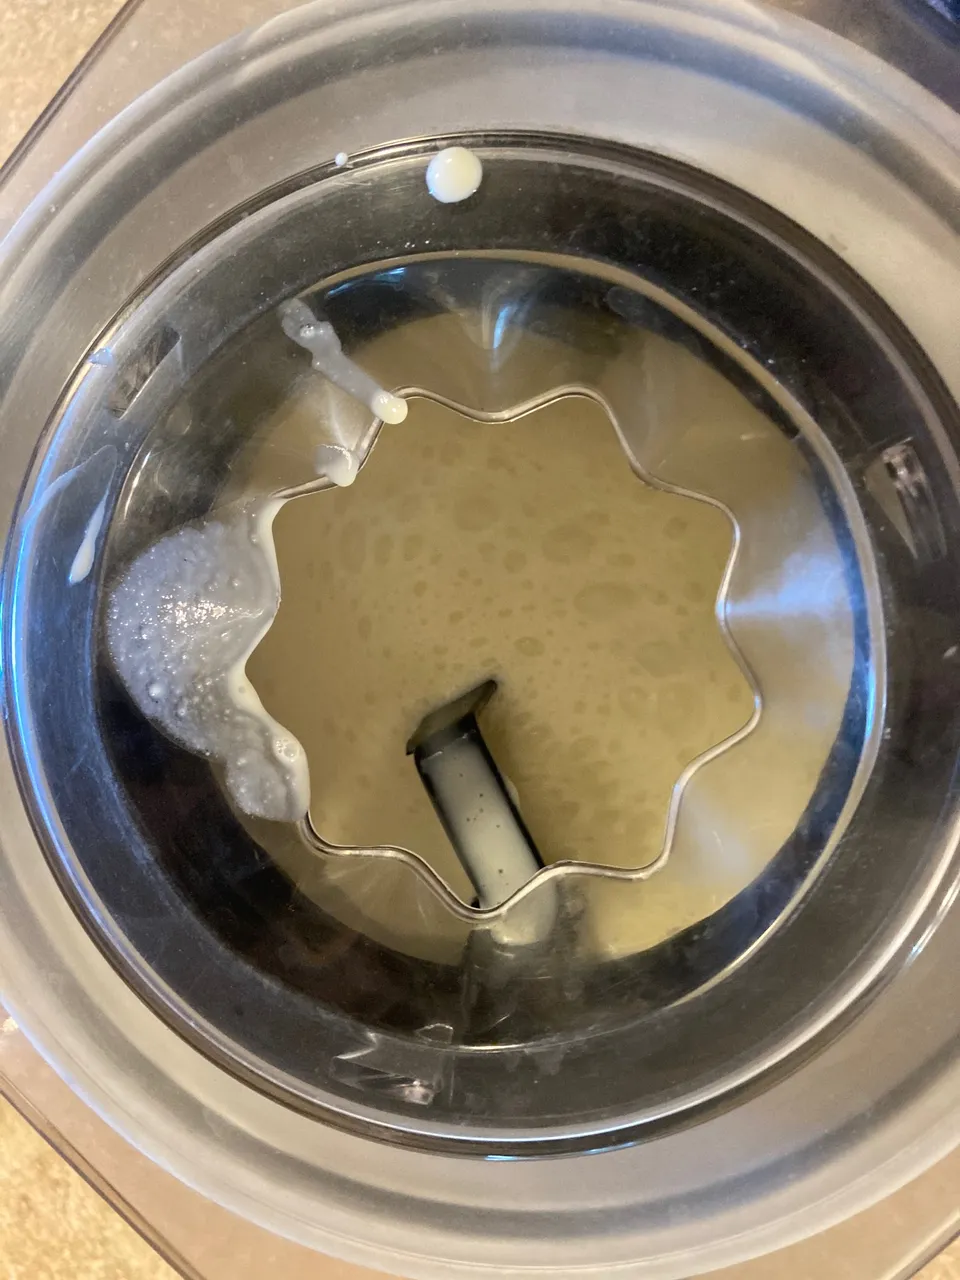
Okay, now we can get on to the churning. I always make my base the day before I churn. Mainly because I am not a 1%er and I don't have a blast chiller. Dang, that would be nice. Anyway, ice cream comes out best if everything is nice and cold. When I am ready to churn, I take the cannister out of the freezer, plop it into the machine, put in the paddle, put the lid on top to lock everything in, and turn the beastie on.
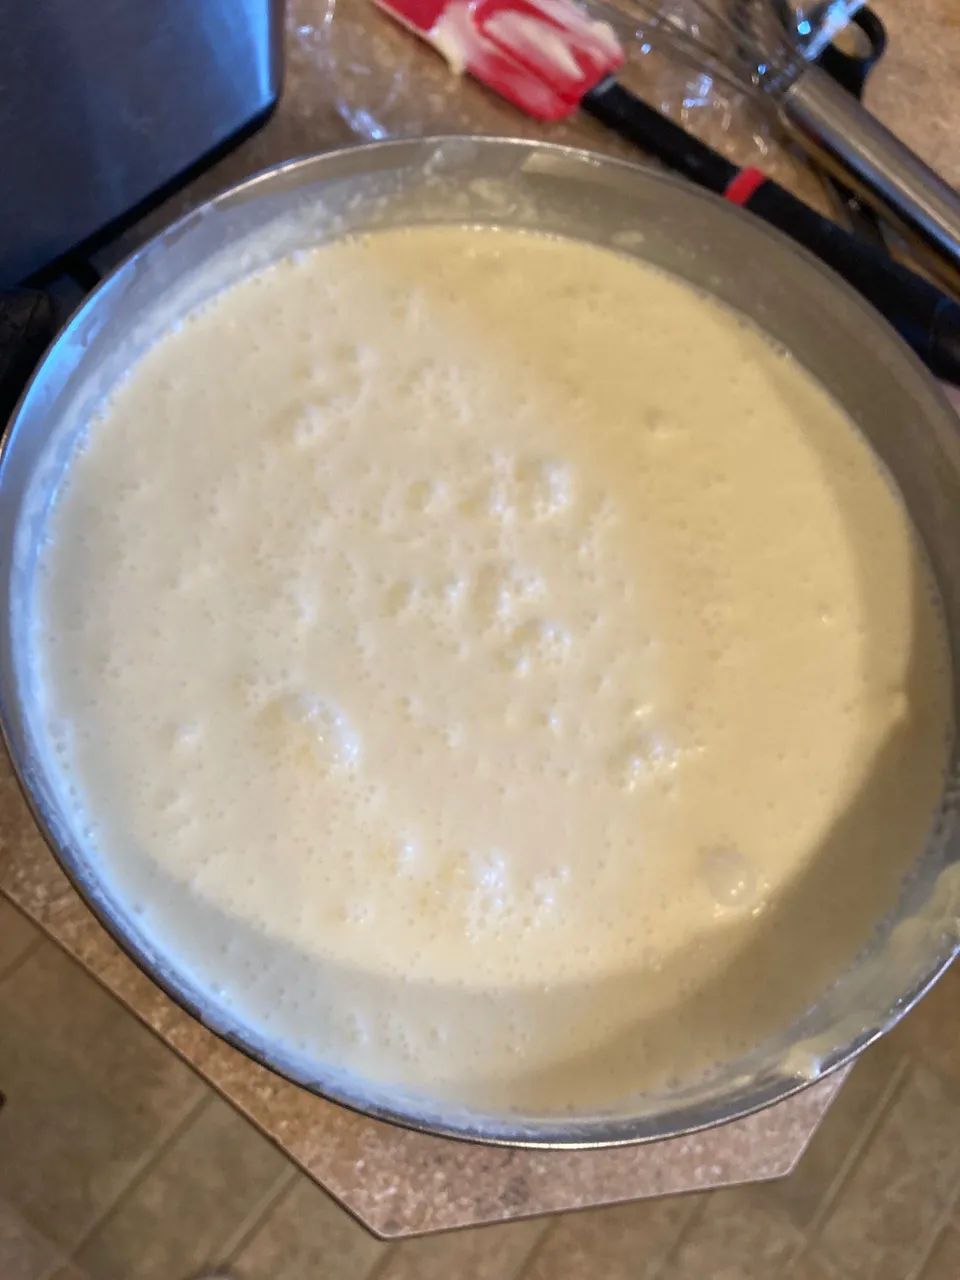
Next, I go to the fridge, take out my chilled base, and slowly pour it into the already churning machine. Between 25-30 minutes later my ice cream is fully churned and creamy, dreamy, fluffy.
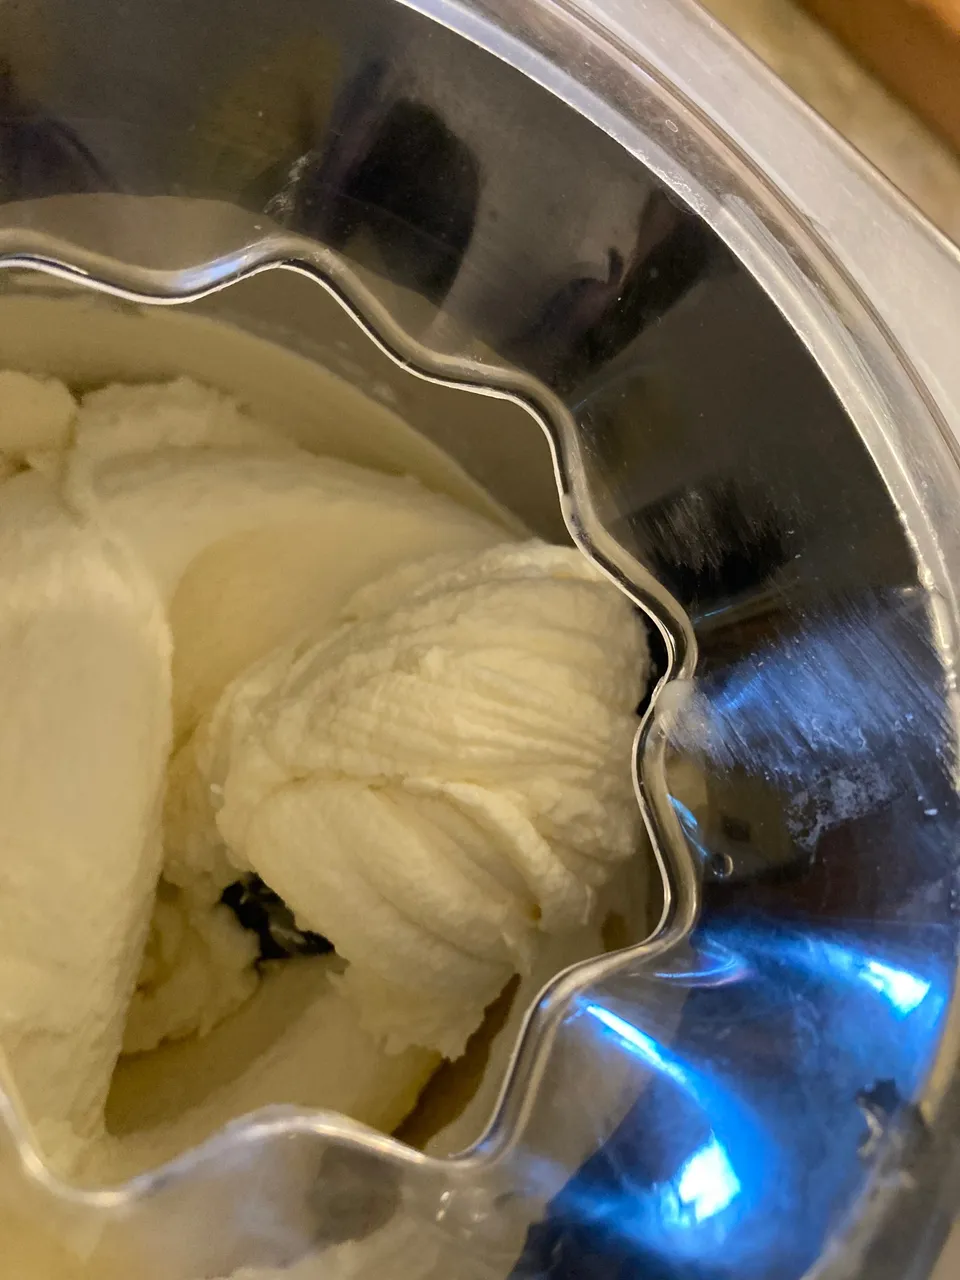
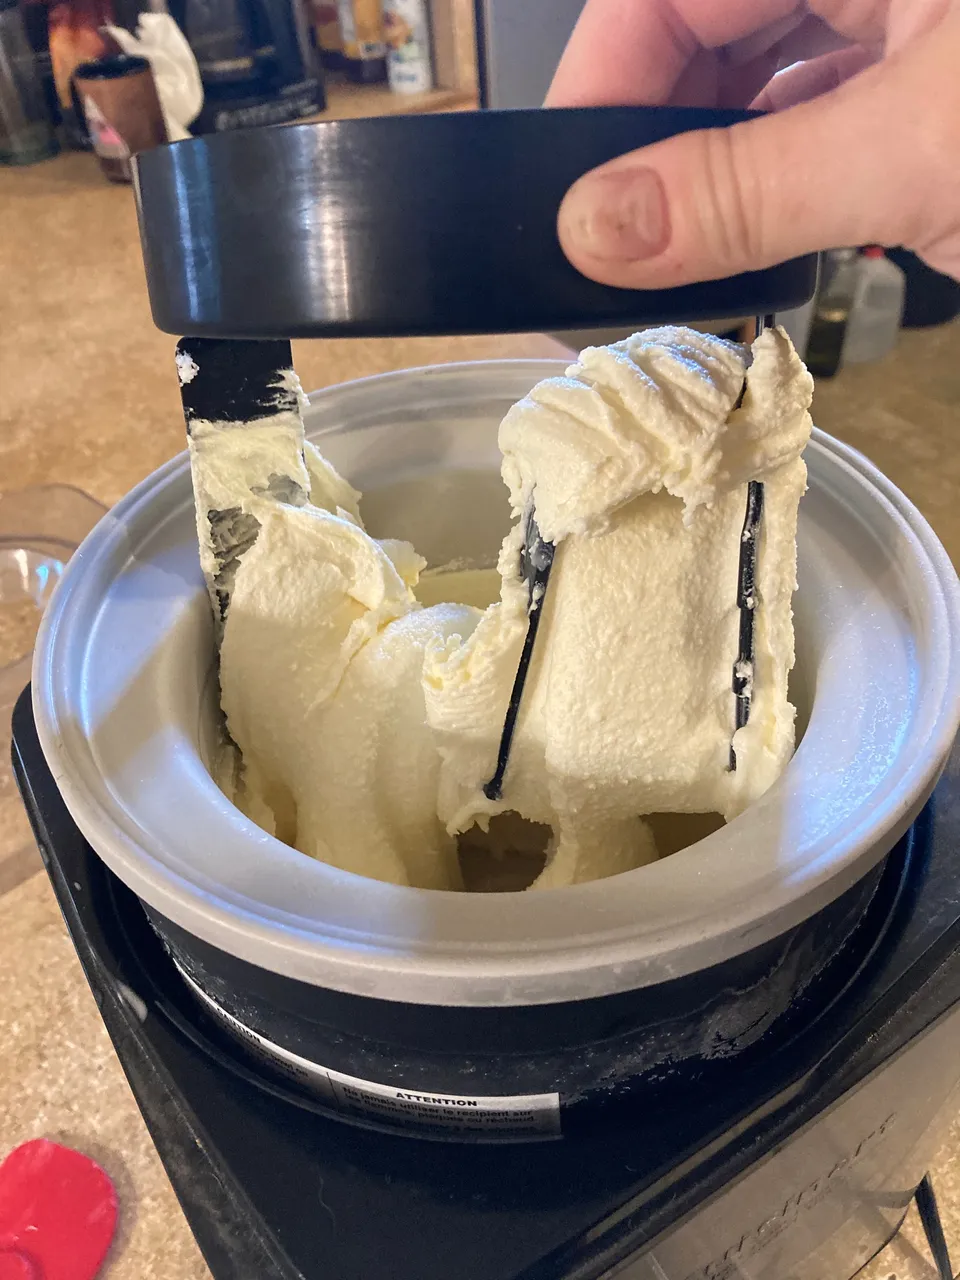
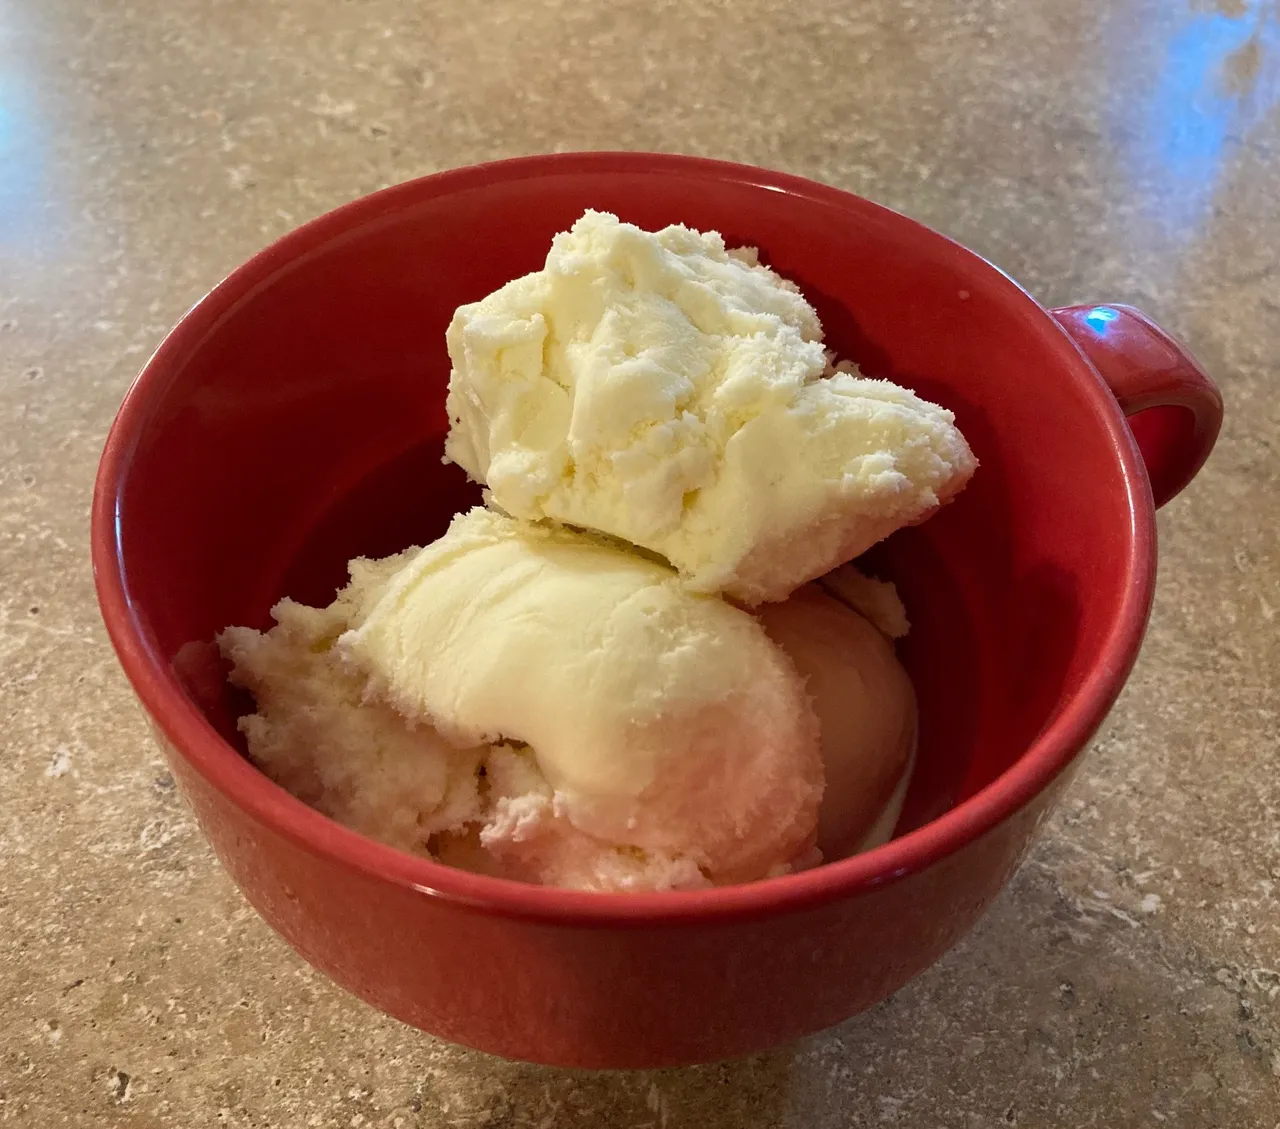
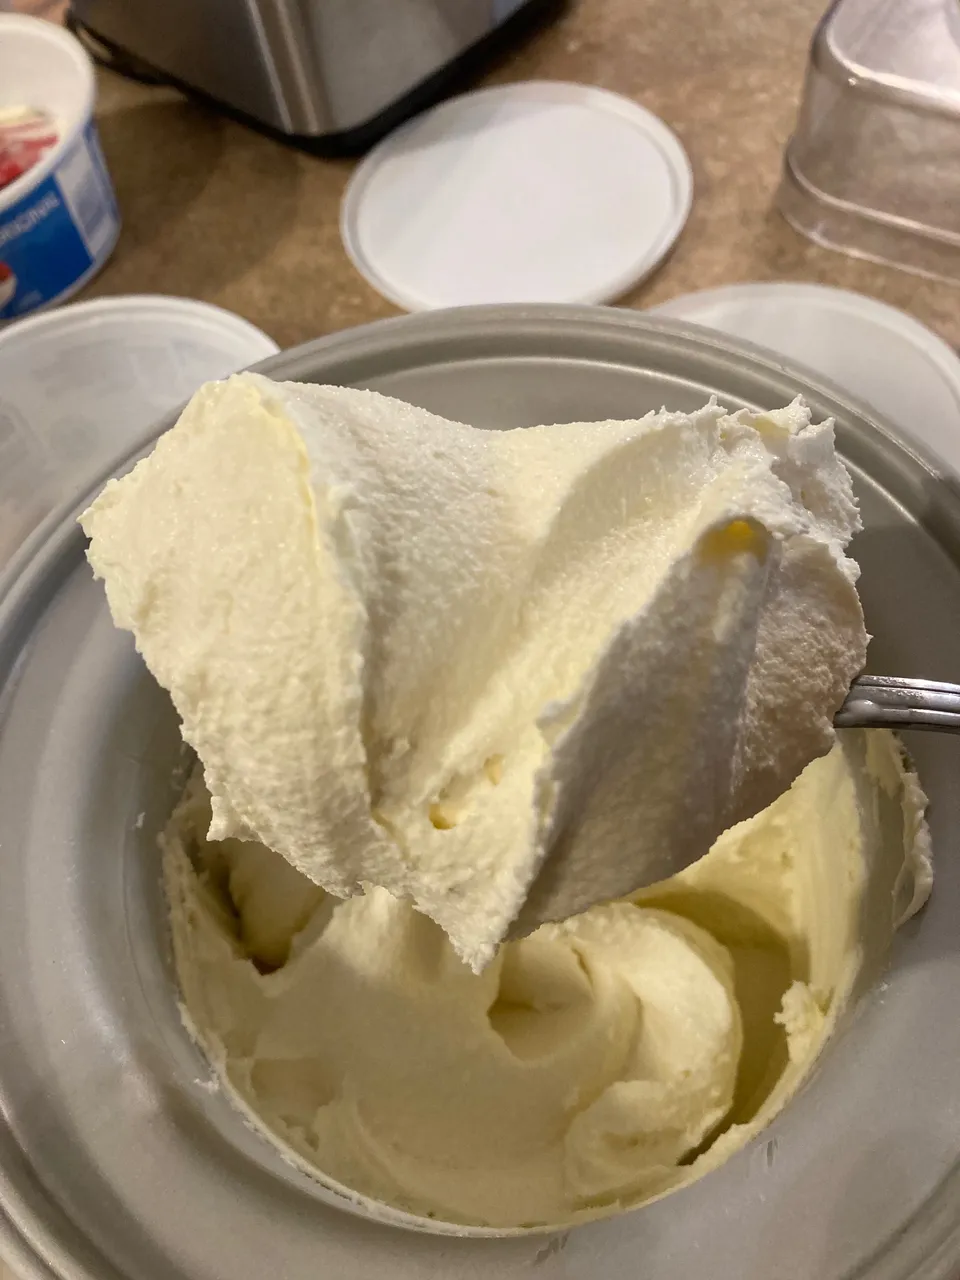
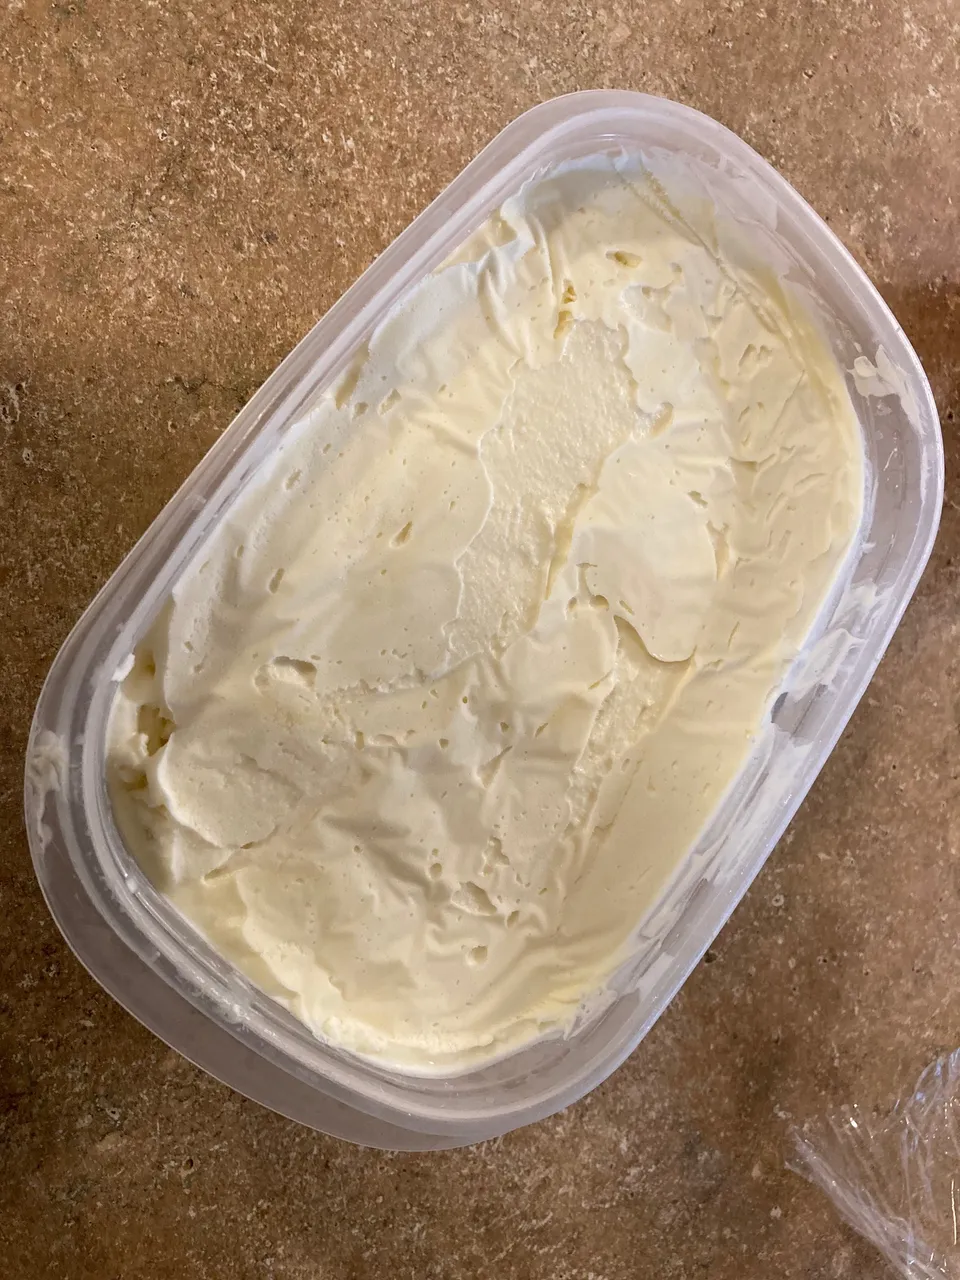
At this point it is soft serve like in consistency. In order for it to be the best ice cream it can be, I like to freeze it for at least a couple of hours. I scoop out the ice cream and put it into a container. Something I do, which I don't know if it is truly necessary or not, is I press plastic wrap right onto the surface of my ice cream before I seal the container. I hate ice crystals in ice cream, I want my homemade ice cream eating experience to be like eating silken velvet lusciousness, so I take every precaution to achieve an ice cream of that state. Hence the 8 egg yolks too, more fat equals more creamy, scoopable, non-ice crystally, ice cream. Cause science.
Another great thing about my recipe is that it makes A LOT of ice cream! I think I got around 5 or 6 quarts outta that batch. Small batch recipes are cool sometimes, but I tend to have a lot of people lurking around my house at any given moment. This particular batch of ice cream is going to be inhaled by my game night crew as one of them supplied the cream and milk, and another one is going to be celebrating a birthday this week, so the ice cream is my gift to them all.
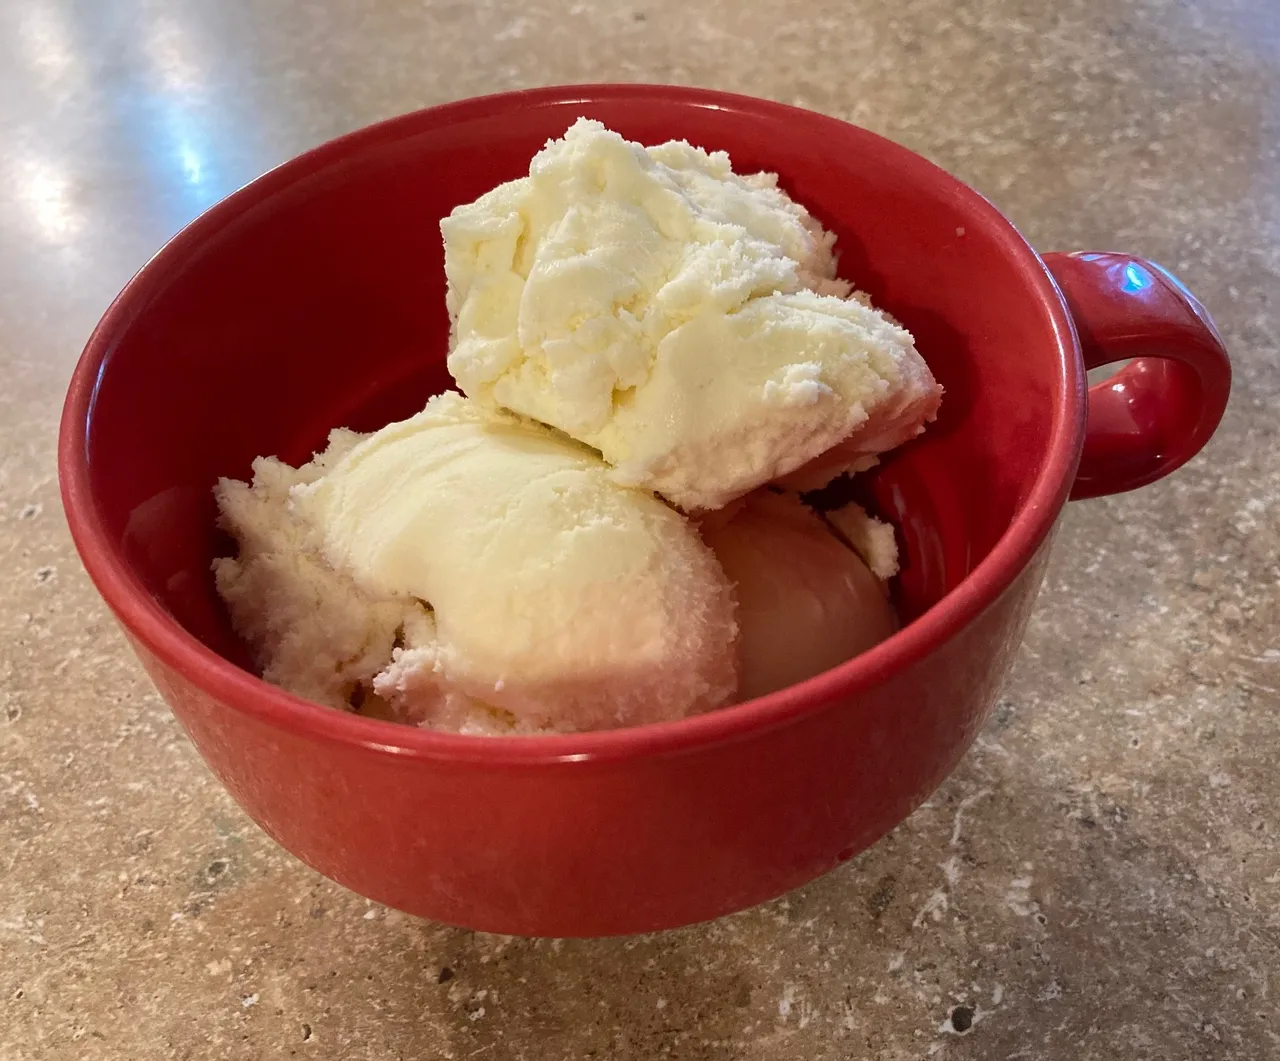
Well, and to myself too, because you can bet your favorite hot fudge topping that I will be eating a big bowl of the stuff!