I often hear that one obstacle to foraging for greens is that they are so hard to clean. Most humans do not care for gritty bits of sand in their food, and many prefer to buy their greens already rinsed and imprisoned in plastic so that their meals are guaranteed grit free. Here, I will show you a simple method to get every grain of sand out of your greens, even the muddiest of those low growing, but highly nutritious, greens.

Step One
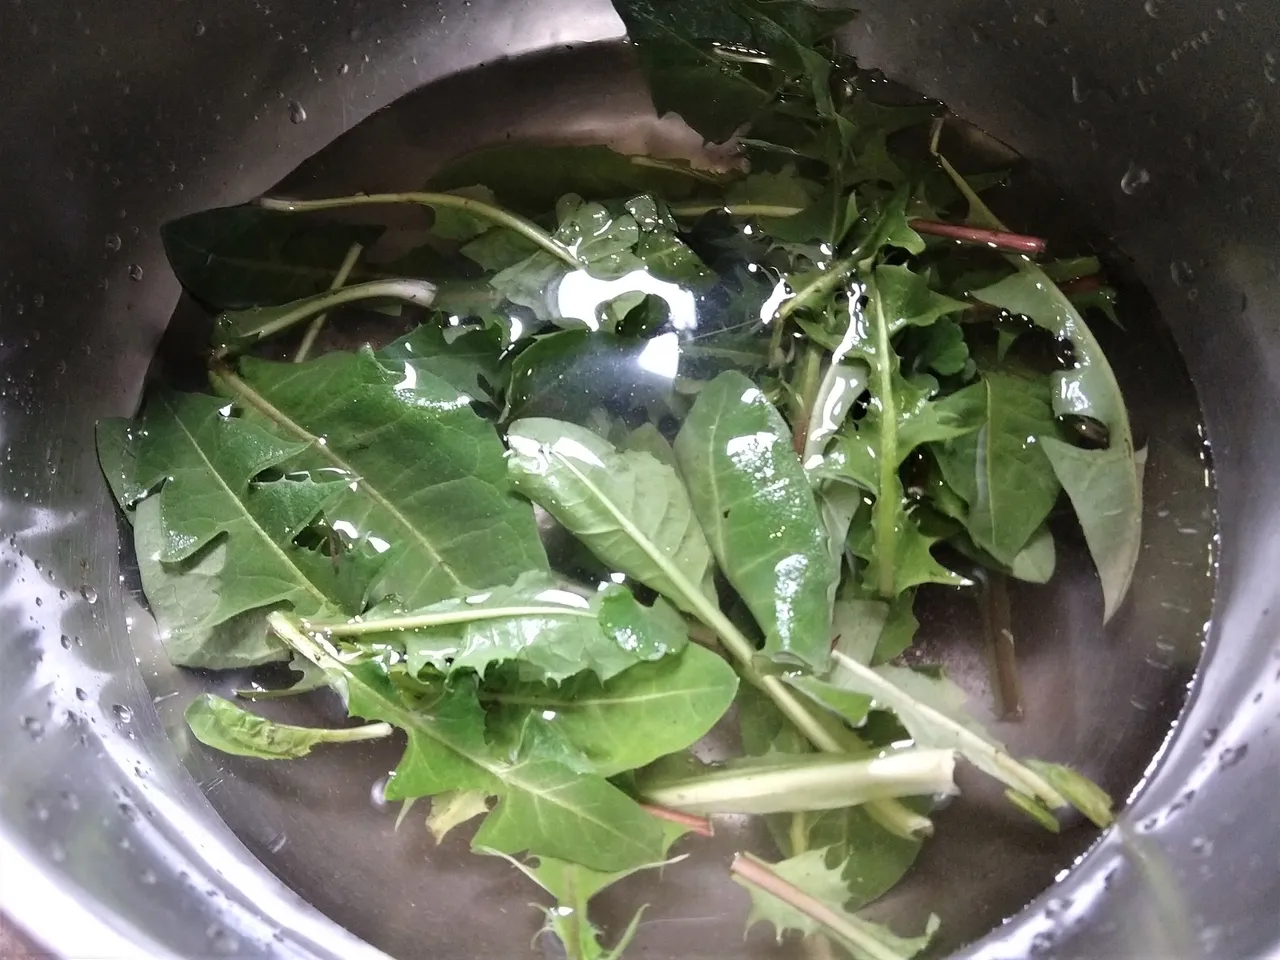
Float the greens in a bowl of cold water. Agitate them a bit, then let them sit just for a few moments. One mistake people make is to think that a long soak will help remove the sand. This is untrue, and in some cases will cause the greens to begin to rot. A minute at most is all you need. Make sure you have used enough water to allow all the greens to float a good inch or more above the bottom of the bowl.
Step Two
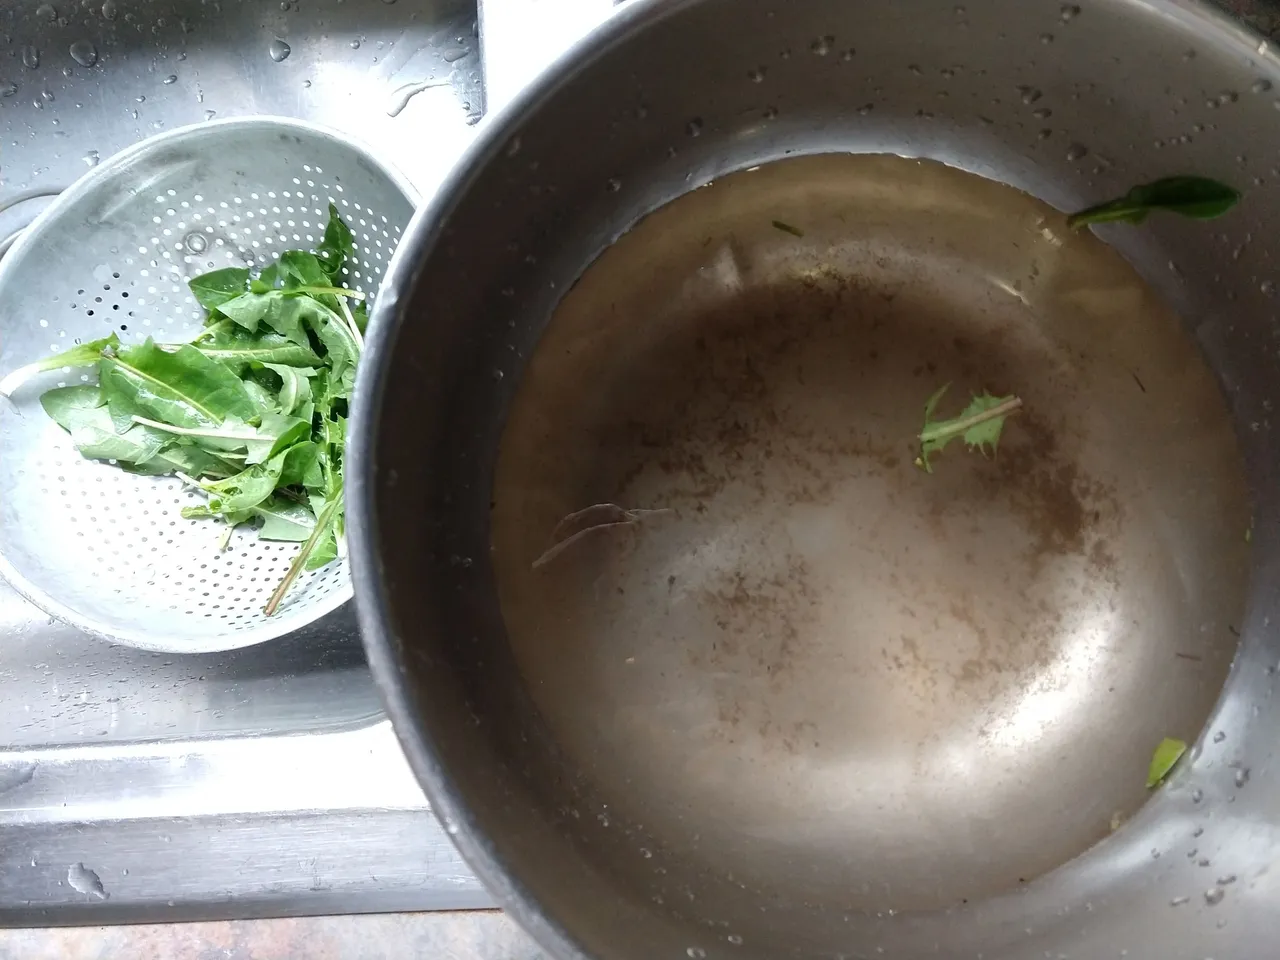
Remove the greens from the water by lifting them gently up and out of the water, into a strainer. Do NOT pour the whole shebang into the strainer. As you can see from the photo below, the sand and dirt remain in the bottom of the bowl. If you pour the whole shebang into the strainer, you will just pour all that sand and dirt back onto the greens you are trying to clean.
Step Three
Touch the bottom of the bowl to see if you feel any sand or grit. If you do, you will need to repeat steps one two again. Repeat those steps until the water is clear and you do not find one single grain of sand in the bottom of the bowl.
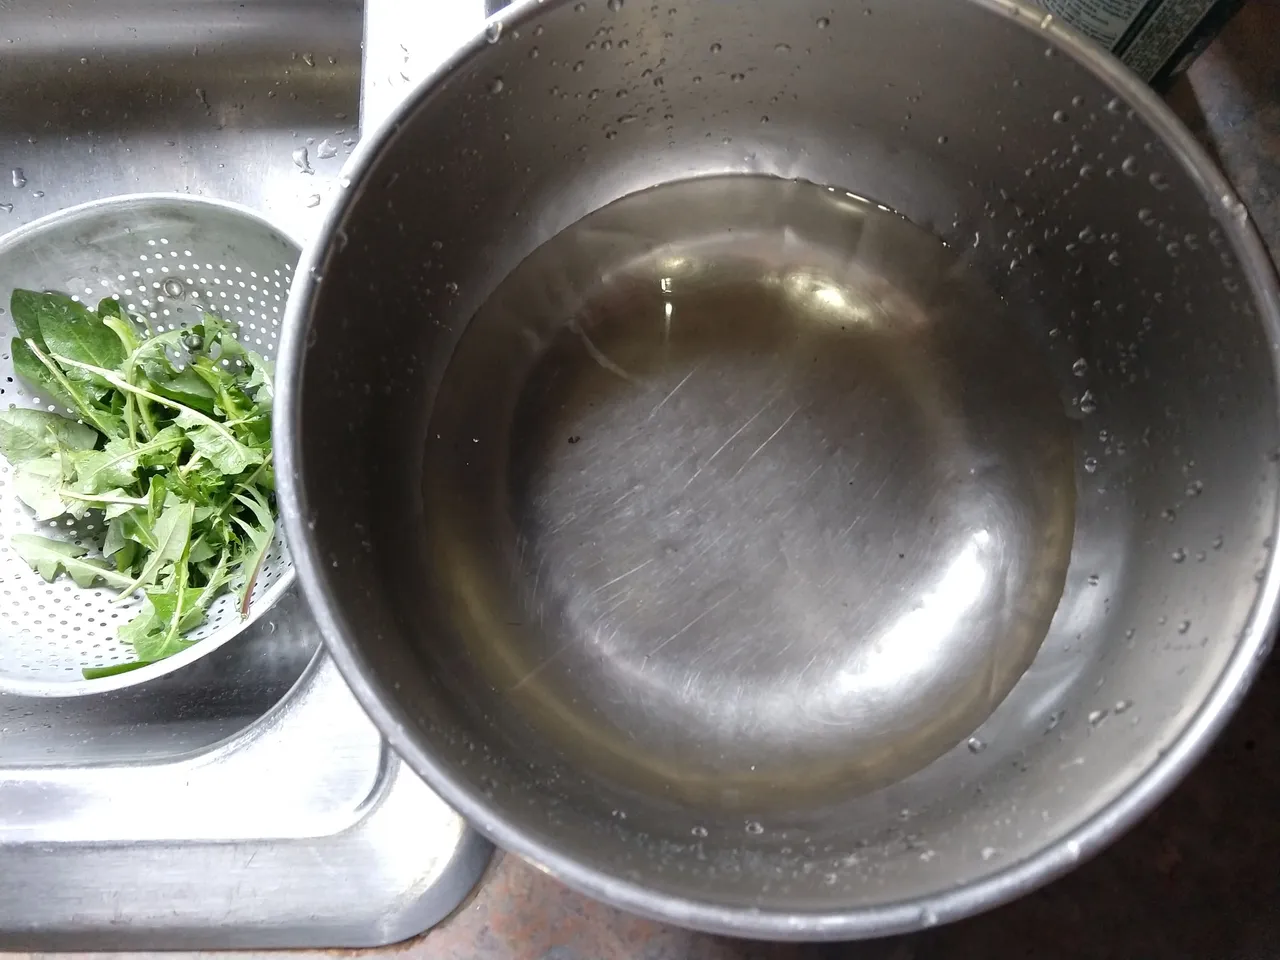
For my quite muddy dandelion greens, I felt just a couple bits of sand after the second rinse, and only had to rinse them one more time before the bottom of the bowl had no grit in it at all. I did not need to use tons of water, and it took me very little time.
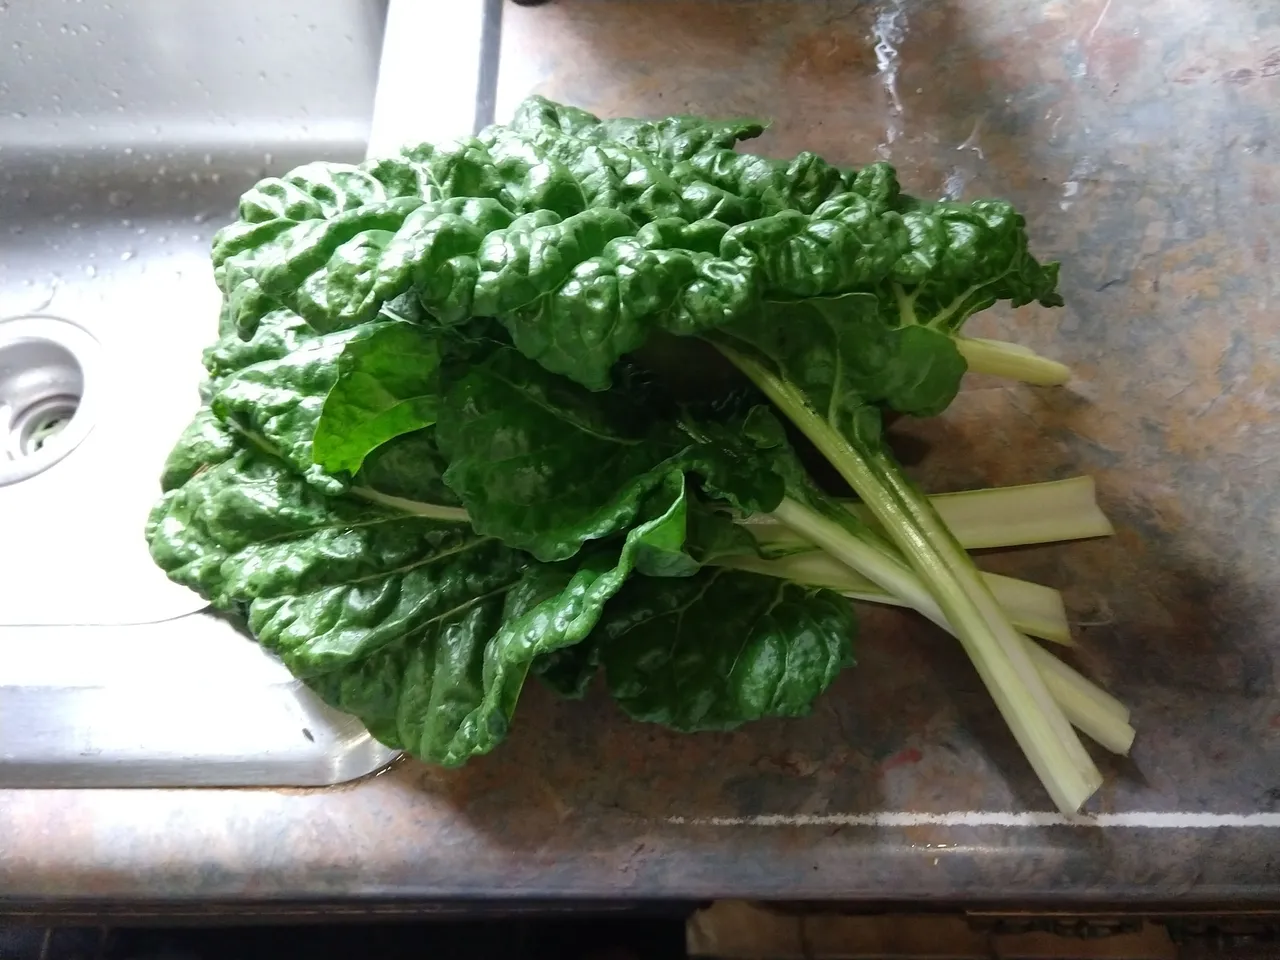
My first harvest of 2021
was a nice big bunch of swiss chard from a plant I had overwintered in my home in a south facing window. I kept it alive until well after it had stopped producing edible leaves, then planted it out in my cold frame a good month ago. It immediately began to grow vigorously again!
These leaves I simply held under running cold water to get the dirt and sand off, uncurling those edges to make sure I got it all. The floating rinse method would have worked too, but with leaves like these, rinsing under cold water is easier.
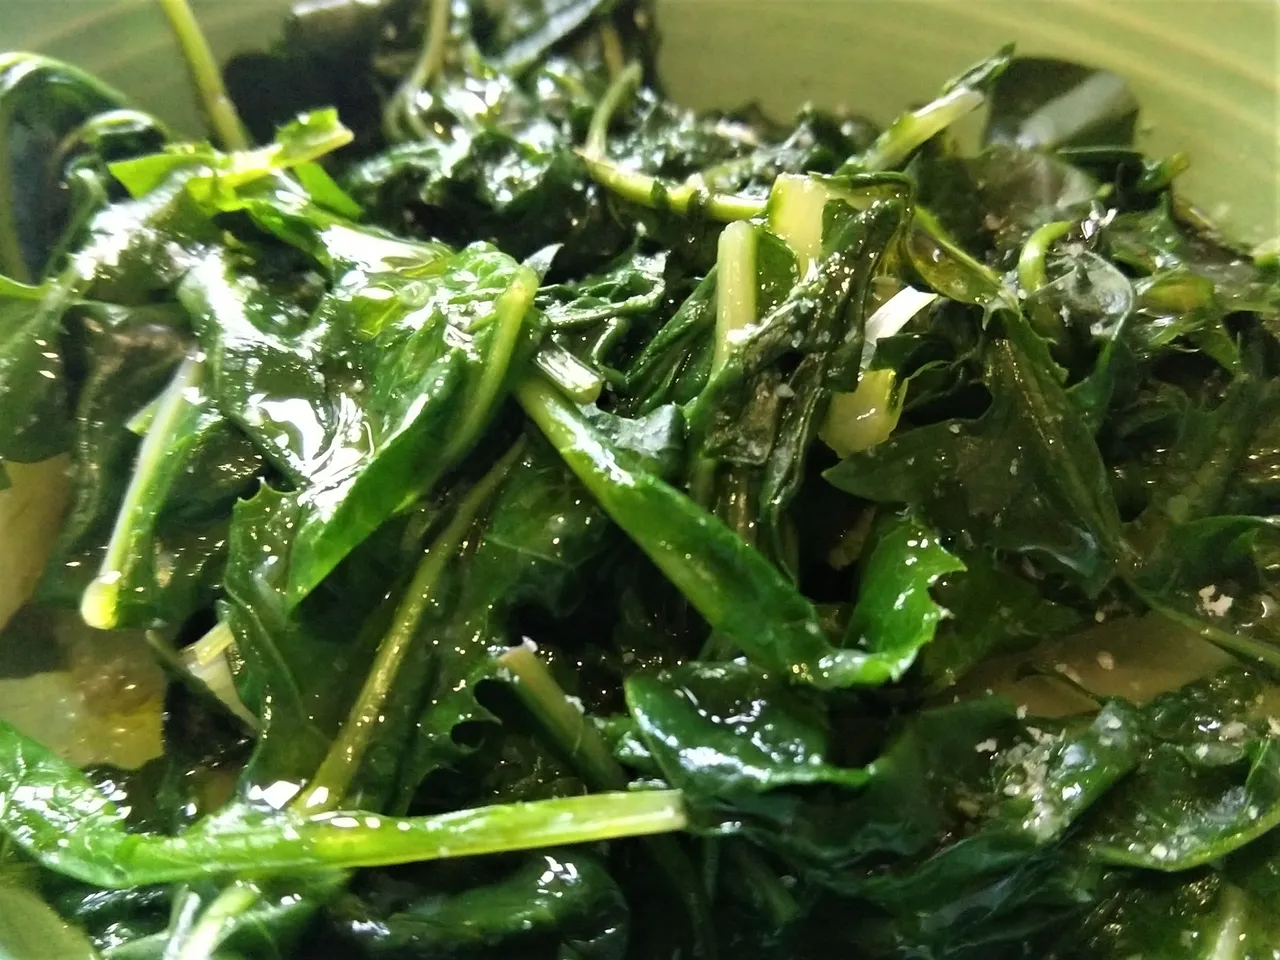
To produce the dish in my first image, I cut the chard into large two inch strips and stem segments. I then simmered the chard stems, uncovered, in salted water for a minute or two before adding the leaves, allowing it all to simmer until tender, another minute or so.
I lifted the chard out and into a strainer with a slotted spoon, then put the dandelion greens into the simmering water. These needed slightly longer than the chard to tame their bitterness some.
Then I combined both greens in a bowl, drizzled it all with fresh lemon juice, a good olive oil, and sprinkled with salt. It felt so very good to eat a large serving of greens in early May, reminding why I do all this in the first place. This dish tasted so much better than anything I could buy, pre-rinsed and imprisoned in plastic, at the grocery store.

barn page break by@thekittygirl