I love pickles, and after tweaking a recipe for Garlic Dill Pickles, several times last year, we finally came up with a winning recipe. I'll be more than happy to share this recipe with you, but the only catch is that once you try it, if you like it, you must promise to send me one Bitcoin. With the current price at $41,866 that may sound a little pricy, but if you love pickles as I do and you live for another 100 years you should be able to recoup your investment.

Last year we were able to make 14 one-quart mason jars of these bad boys. By the time the cold weather had set in last year, they were all gone. This year's goal is to make 30 quarts of Garlic Dill Pickels and hopefully have some left until February.
The way I eat pickles you would think I was pregnant.
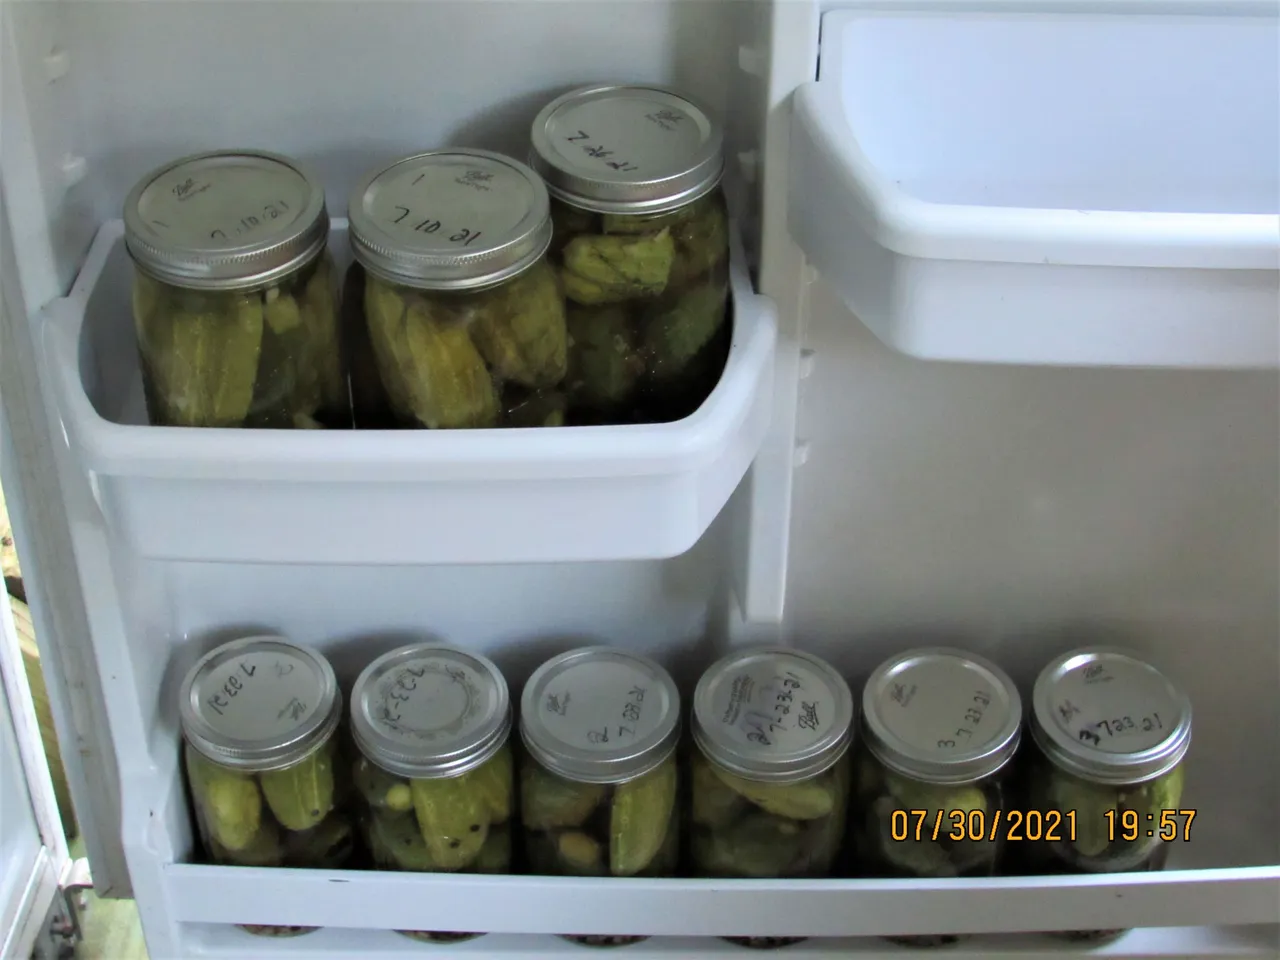
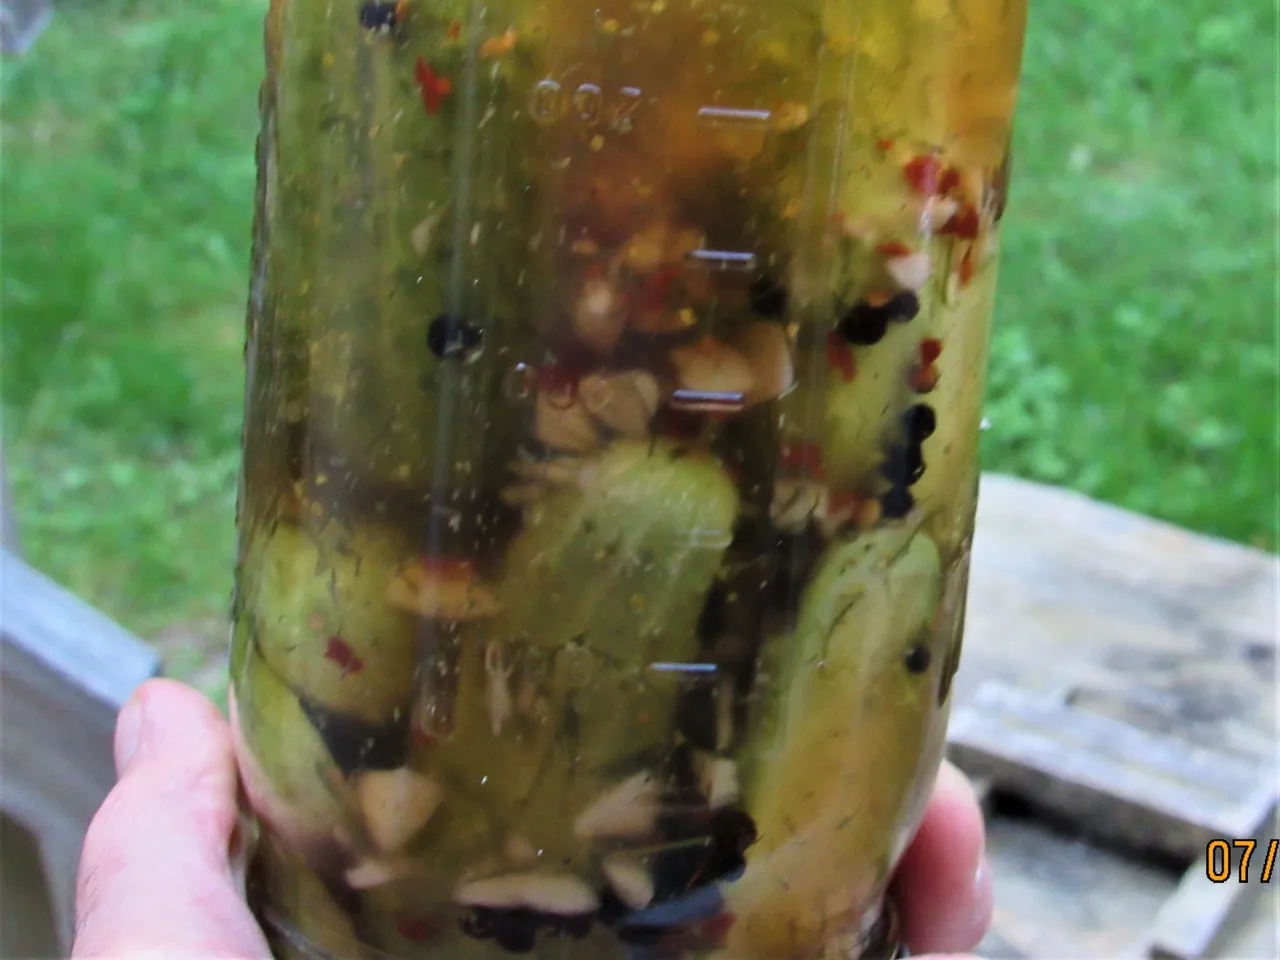
Don't they just look absolutely delicious?
Before reading any further and trying out my secret formula you must agree to the terms stated above. ( 1 BTC for the recipe for the best pickles this side of the planet.}
Okay, you agree, you can read on!
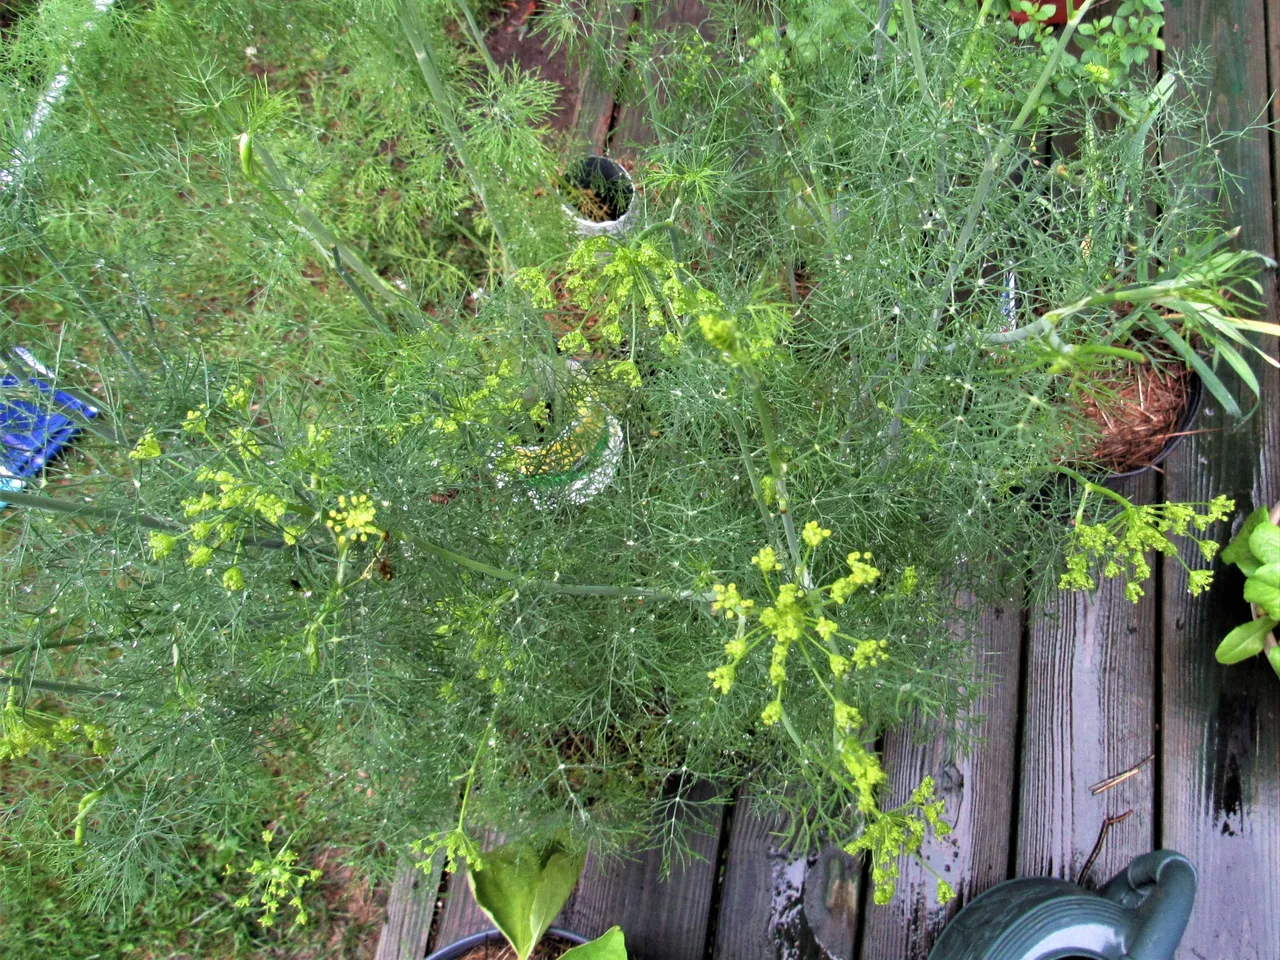
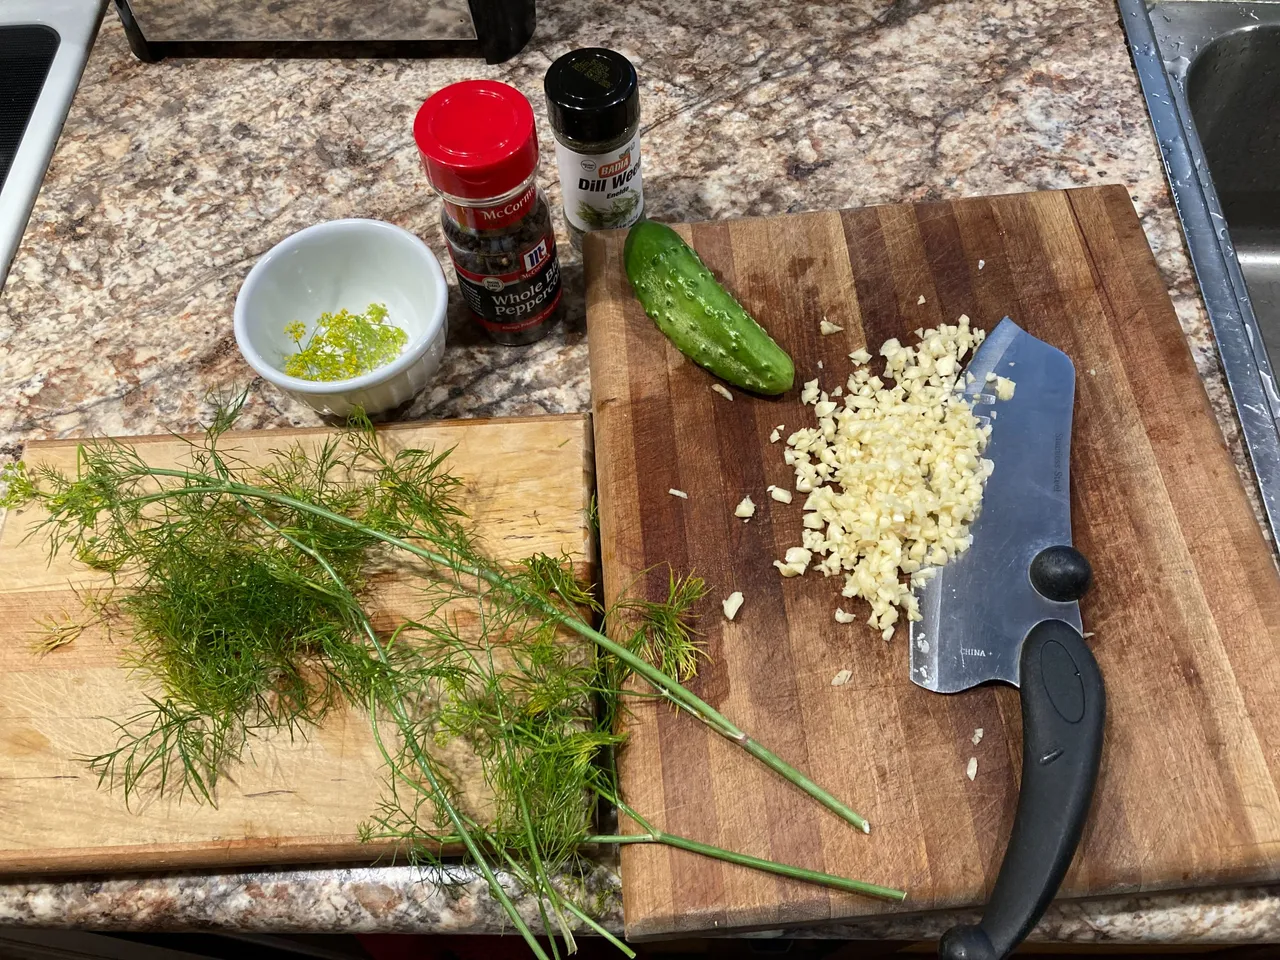
What would dill pickles be without the dill, not dill pickles of course?
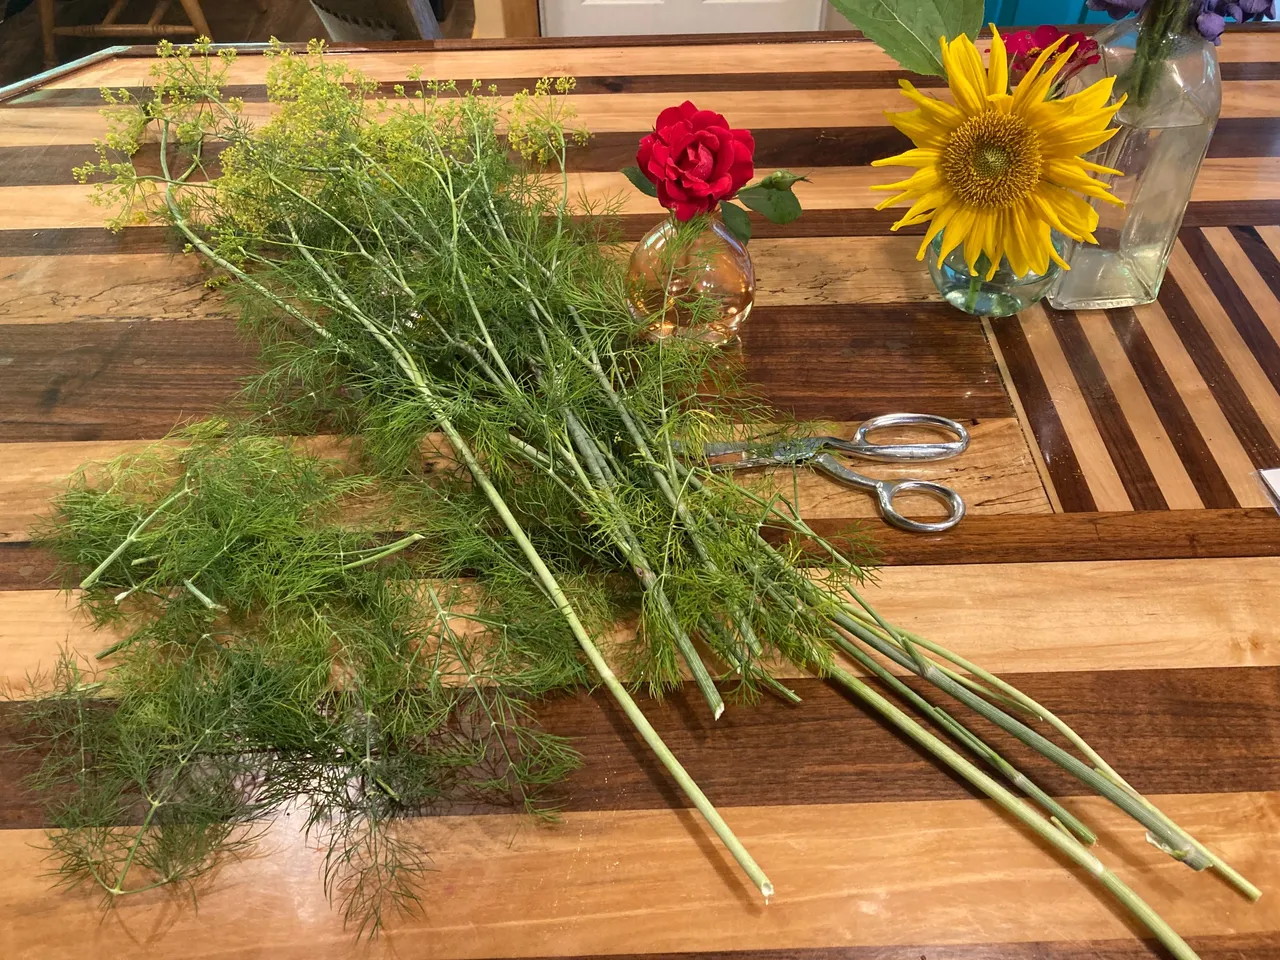
Growing our own dill adds a little more zest to the final outcome.
Fresh dill is added at the rate of 1 1/2 tablespoons of chopped dill per quart of pickles.
The flowers of the dill plant are also chopped up and a teaspoon of this beautiful flower gets added to the mix.
The aroma of the dill flower is enough to get a grown man all excited.
We are growing loads of garlic in anticipation of making lots of pickles. This year we grew three different kinds of garlic.
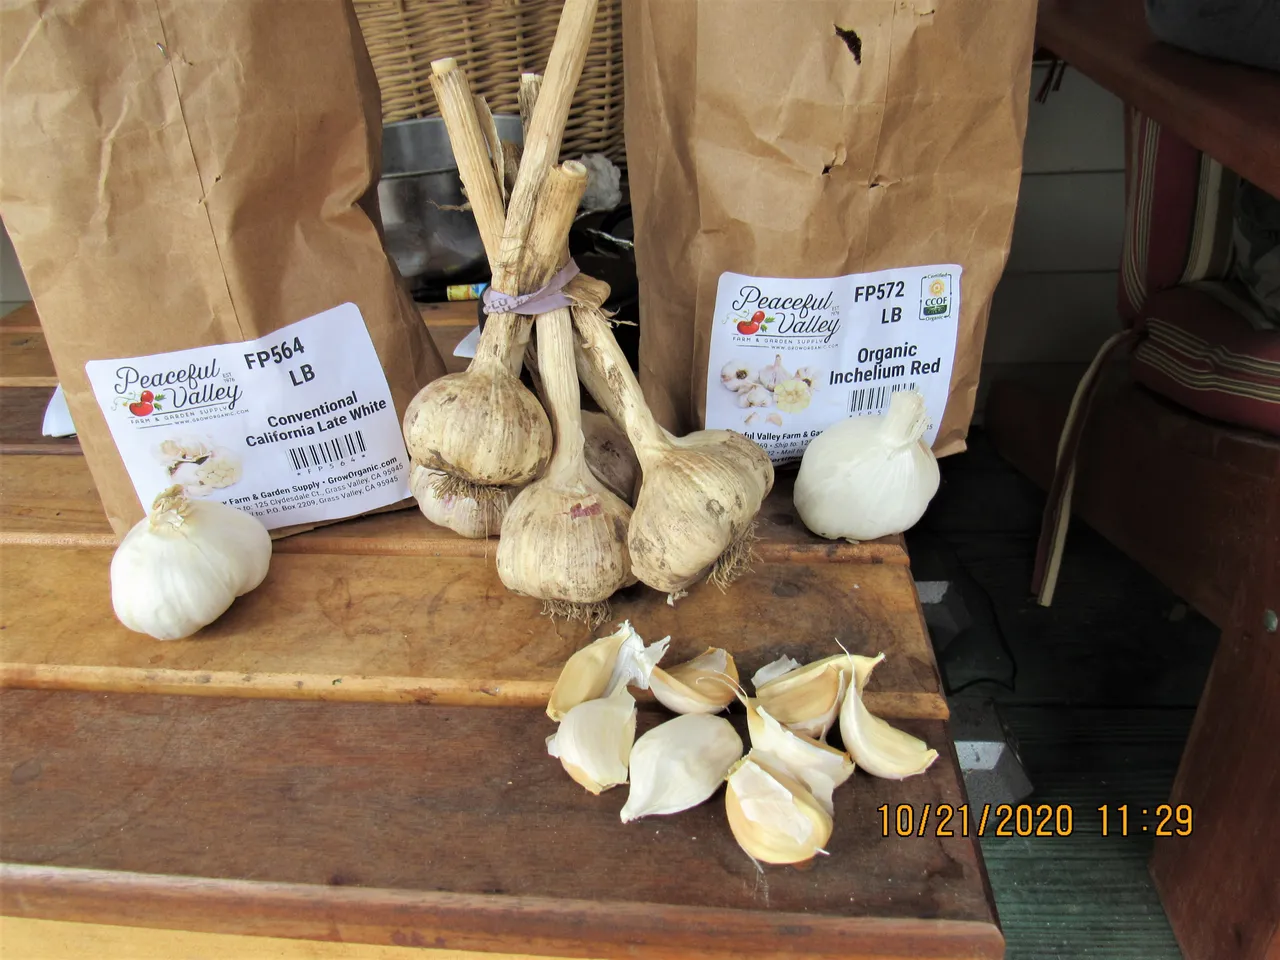
For this batch, we used the California Late White garlic, added at the rate of three large cloves.
Included in this recipe is a tablespoon of black peppercorn and a teaspoon of red pepper flakes.
The pickling brine includes,
- 1 cup of water
- 3/4 cups of white vinegar
- 1 tablespoon of maple syrup
- 1 tablespoon of kosher salt
This mixture is heated just enough to have the salt dissolve and then it is refrigerated before pouring over the pickles.
The pickles are also refrigated before being put into the mason jars.
Remember to sterilize the jars and lids by boiling them in hot water for a few minutes and then let the jars cool down.

The end of the pickle that was attached to the vine is cut off. Doing this will make your pickles last longer.
The cucumbers we use for making pickles are gherkins. All cucumbers can be used, but we find that the gherkins are the best. There is nothing worse than a soft pickle and making refrigerated garlic dill pickles with gherkins cucumbers will give you that crispy taste which is not always the case with ordinary cucumbers.
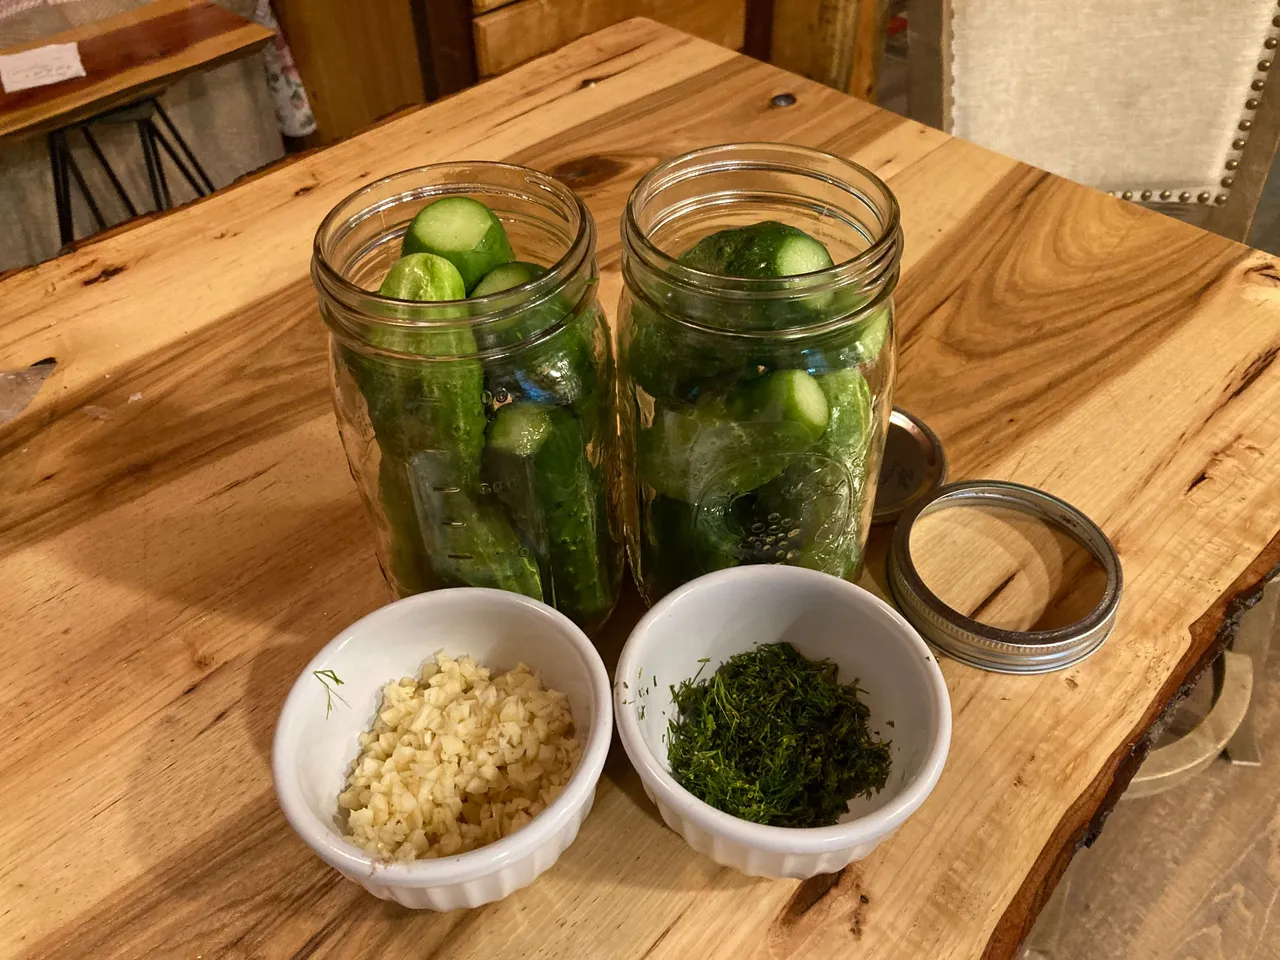
Remember to have everything nice and cold, the brine as well as the cucumbers, before putting it all together. Doing this will ensure that once you bite into one of them, the crispy, crunchy texture of the pickle will be like nothing you can get in the store.
Although you may want to consume one right away, it is best to allow two weeks or more for all of the ingredients to be absorbed by the cucumber. The longer you can resist the temptation of putting one in your pie hole the better.
These are refrigerated pickles so make sure to store them in your refrigerator. If the pickles have been properly packaged they will last up to six months.
While putting this post together, I thought of all of the wonderful people I have met here on #hive and it made me rethink my offer. Let us say you send me one Ethereum instead of one BTC, now that's a bargain.

That NATURAL MEDICINE Gardner Badge sure looks sweet, thanks @a1-shroom-spores.