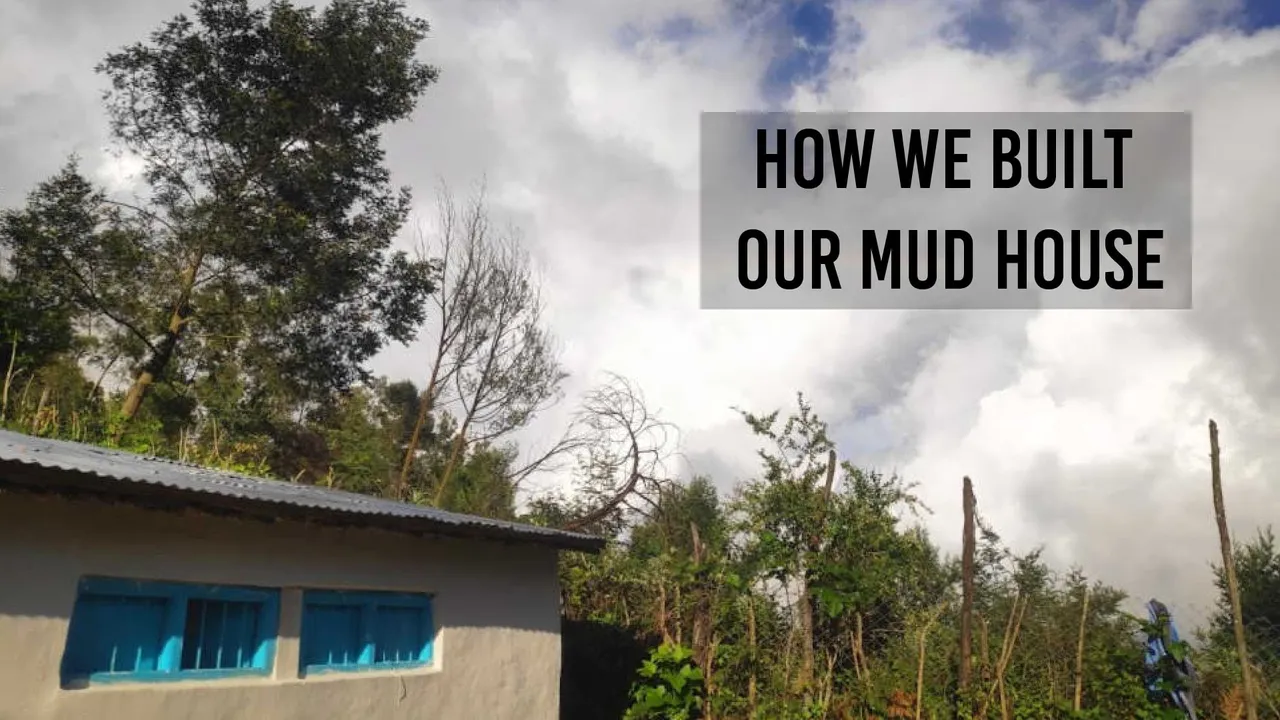
This post is about how we built an earthen home from scratch using materials found mostly on the land. This building has evolved over the years and is the place I now call home, from where I'm currently writing this post. After nearly two tears of living in a tent this was the first structure on the land that I inhabited. It's extremely liberating to know I'm living in a house that was built from scratch, by hand and with love. This post covers how we got the first part of the building completed.

Foundation
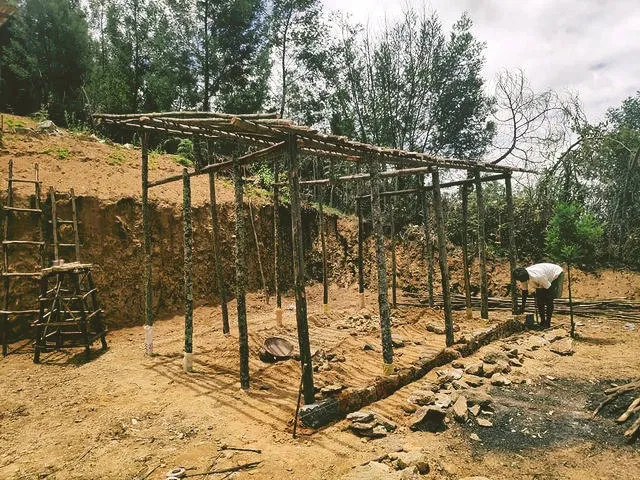 Like all the structures currently on the land, the construction of this building began with a log frame. The logs came from Acacia trees known as Black Wattle. These trees are extremely invasive and are native to Australia which makes them thrive in our lush semi tropical climate. Cutting down these trees is actually beneficial to the forest. Although they are competitive trees that use up all the ground resources, they are also nitrogen fixing trees. Chopping down the trees releases more nitrogen into the soil for the trees around to benefit from. Although they are not particularly sturdy or resilient for wood work or furniture projects, we use them in abundance with no guilt to make the frames of all the infrastructure on the land.
The ends of the logs are wrapped in sacks and coal tar to prevent the soil eroding them. Once the wood frame is completed, work begins on a stone foundation using hand cut boulders that are also found throughout the land and available free.
Like all the structures currently on the land, the construction of this building began with a log frame. The logs came from Acacia trees known as Black Wattle. These trees are extremely invasive and are native to Australia which makes them thrive in our lush semi tropical climate. Cutting down these trees is actually beneficial to the forest. Although they are competitive trees that use up all the ground resources, they are also nitrogen fixing trees. Chopping down the trees releases more nitrogen into the soil for the trees around to benefit from. Although they are not particularly sturdy or resilient for wood work or furniture projects, we use them in abundance with no guilt to make the frames of all the infrastructure on the land.
The ends of the logs are wrapped in sacks and coal tar to prevent the soil eroding them. Once the wood frame is completed, work begins on a stone foundation using hand cut boulders that are also found throughout the land and available free.
Walls
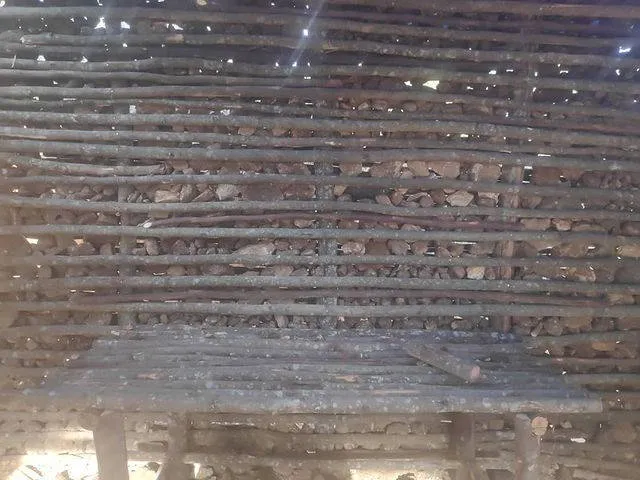
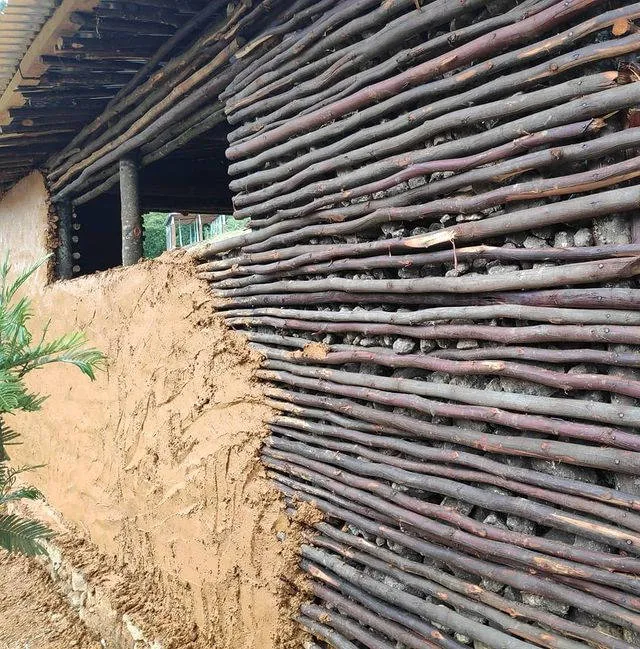
We filled in our walls using an improvised wattle and daub method. To do this, we first attach thinner acacia poles across the walls horizontally. It's possible to use rope for a more sustainable build but we ended up using nails to save time, in favour of efficiency.
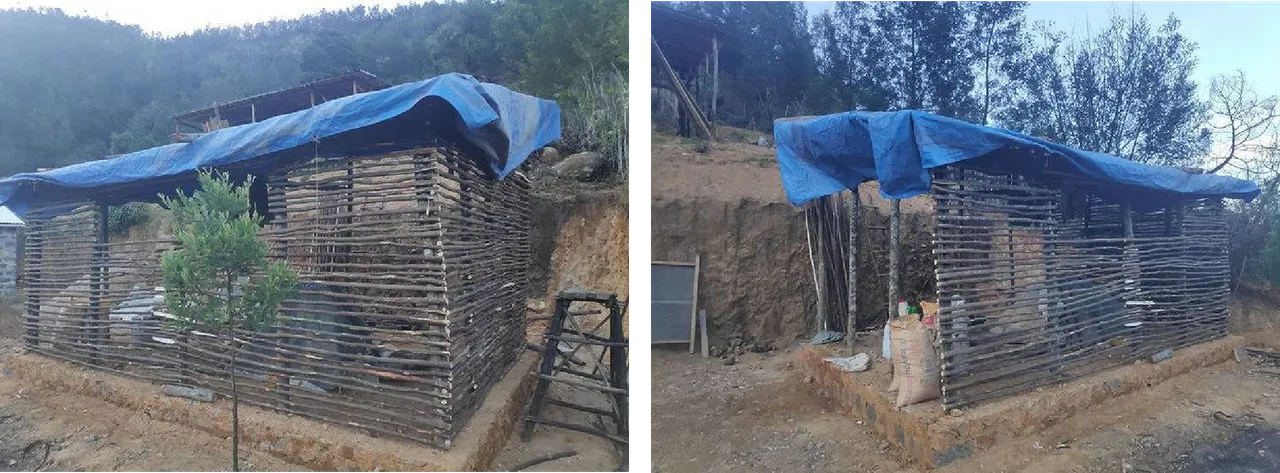
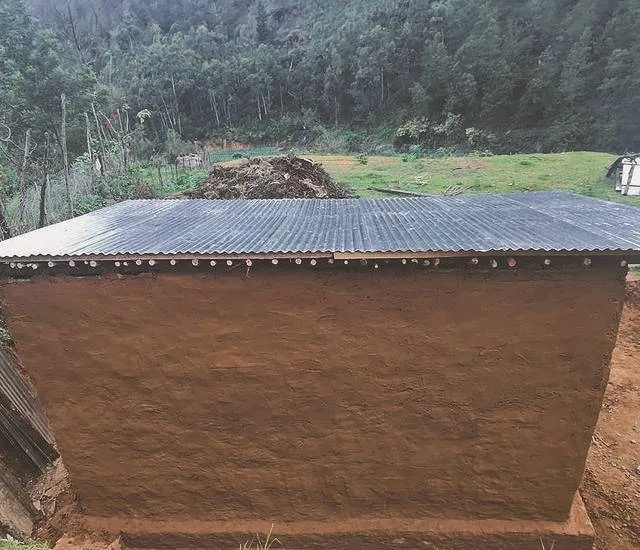
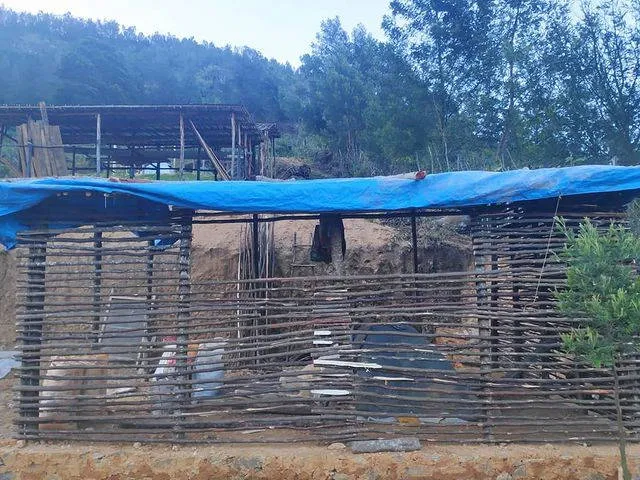 We temporarily used a tarp to keep the area dry while we filled in the walls with horizontal poles. The same process was replicated on both the exterior and interior of the vertical log frame. This created a space between of around 4-5 inches that would be filled in with small rocks that provide more surface area for the mud plaster to adhere to as an alternative for straw that is harder to source in our area. The entire building is covered this way, leaving space for the doors and windows. The roofing is then done with tin sheets which is the only material sourced externally. Bamboo or tiling may have been more sustainable options but again, this is a compromise we made in favour of efficiency and for the long term. When it comes to a sustainable build, materials are important but so is durability. At the time tin sheets were the most cost effective and long lasting option I could think of that kept the rain out. If anyone knows of any eco friendly roofing or weatherproofing options, let me know in the comments.
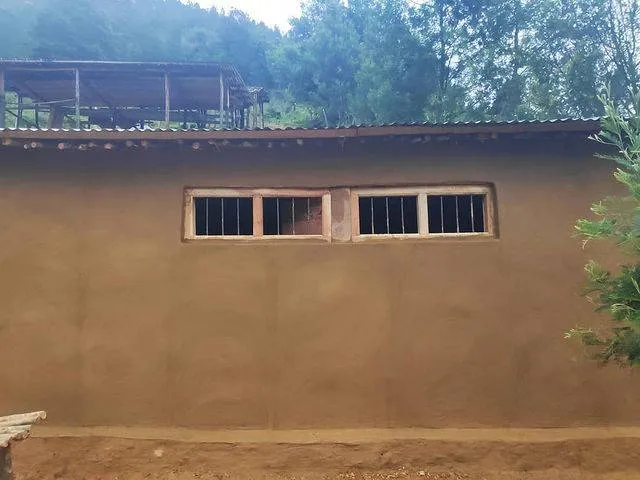
Once the shape of the walls are created using the poles and rocks filled in between, the most fun part of this build begins with the plaster work.
Plaster
The first plaster is with plain mud. The mud goes into crevices in the rocks and has a strong grip on the wall. the mud we use is also dug up straight from the land and has somewhat of a clay like consistency.
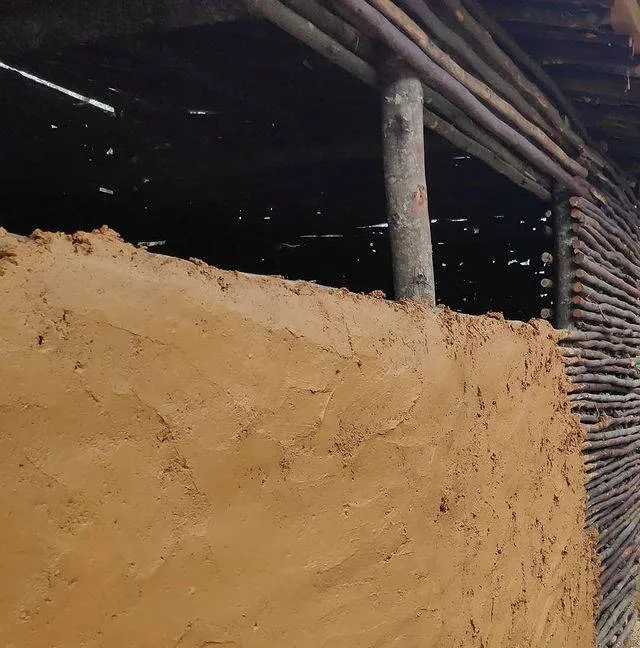
Since the first plaster is done with just mud, it's inevitable that it starts cracking in the sun. We allow the plaster to dry before applying a second coat with cow dung. The fibre in the dung covers up these tiny cracks and allows for a smoother finish.
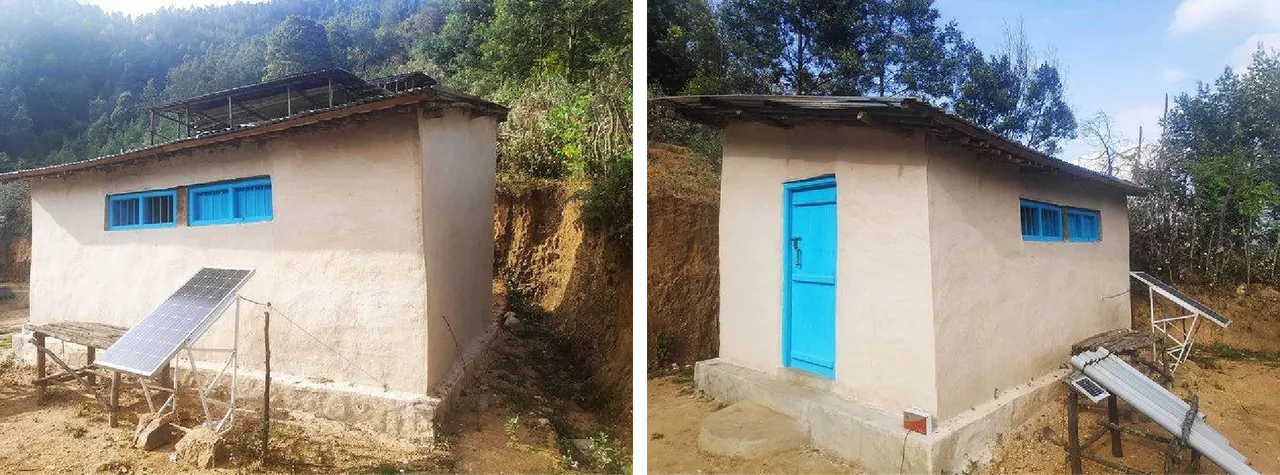
Lime Wash
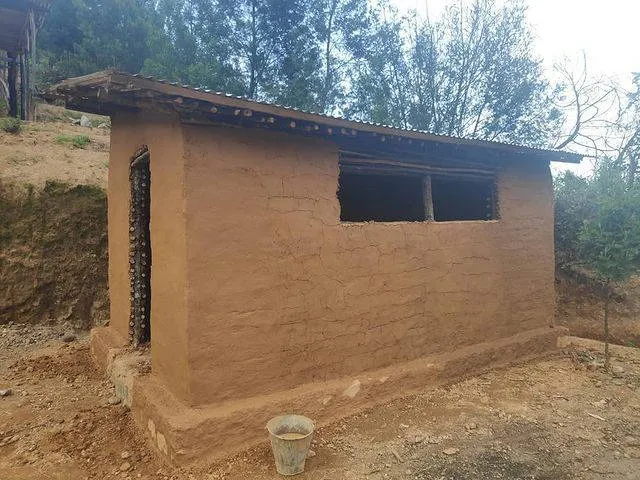
Once the two coats of plaster are applied and dried, the entire building is then painted with lime. Lime is a more sustainable option than concrete or distemper. It's applied wet and as it dries, it hardens into a coat that protects the building from weather and insects. In addition to this the doors and windows are fitted and painted. Nothing complicated here, simple shapes for a simple build.

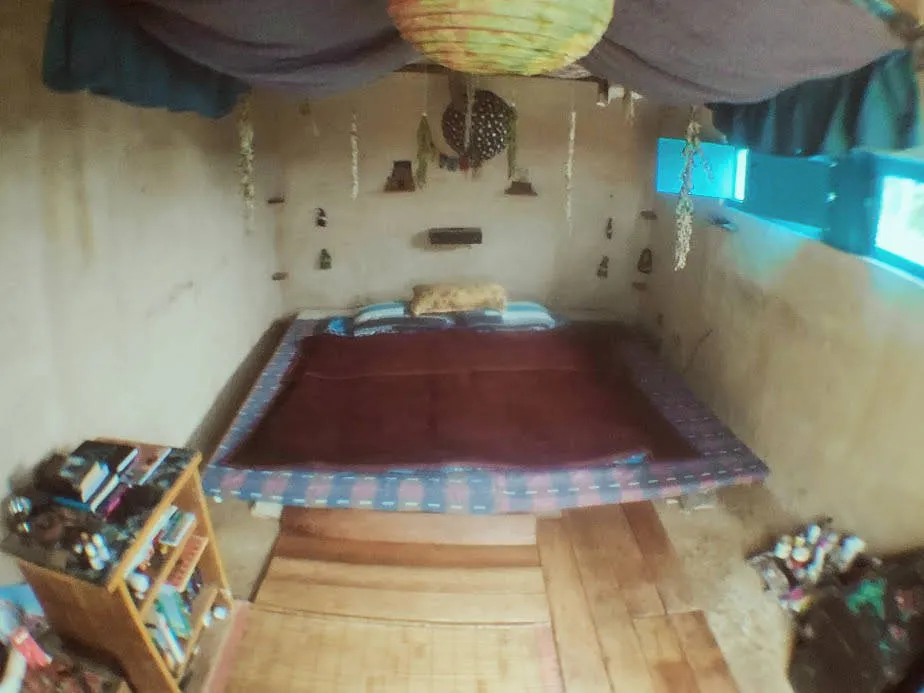
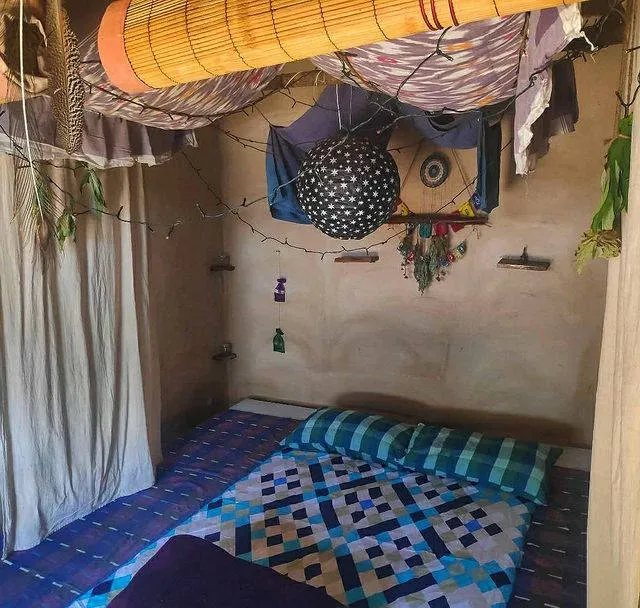
Interiors
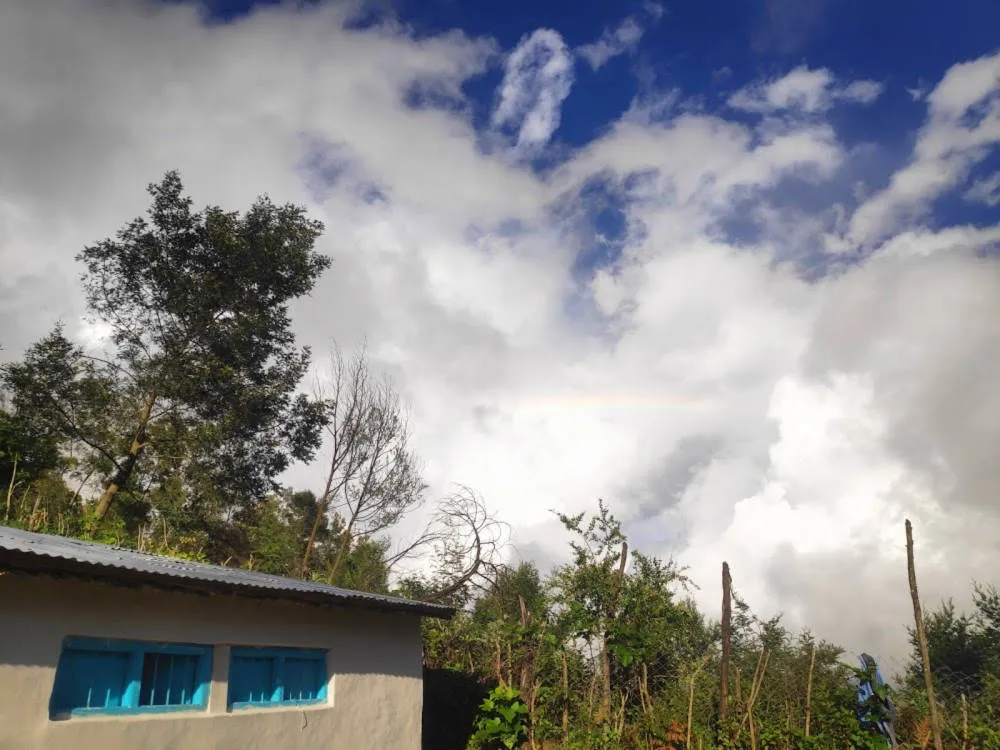
With the lime wash done, the build is almost complete with the last step being a coat of linseed oil to make the walls even more waterproof. I then set to work on the inside of the room. The room has taken many forms and has gradually evolved over time. I'll cover more of the process in a subsequent post but for now here's a glimpse into the house.
 This post covers the first phase of building my dream home by hand from scratch here in the hills of South India. Stay tuned for more posts about this wonderful journey I'm on.
