

Hello dear friends, good afternoon greetings everyone. Today I want to show you how to take a photo from our computer and convert it into an image.
Hola queridos amigos muy buenas tardes saludos todos. El día de hoy quiero enseñarles como tomar una foto desde nuestro computador y convertirla en una imagen.
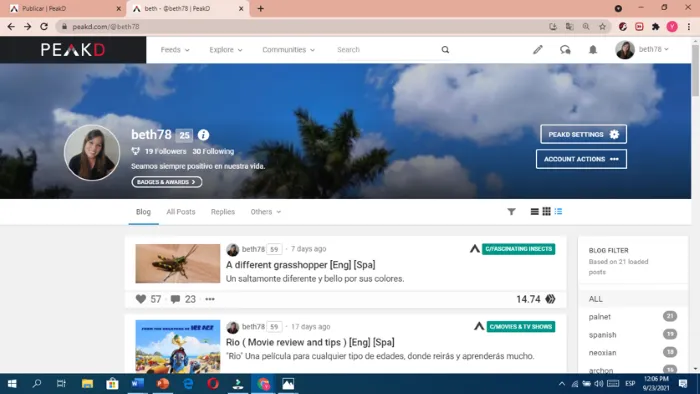
Sometimes we do not know many things that we can do on our computer and can help us to do some work or project. Many times we find a picture on the internet or we want to explain about our PC and we need a picture of them and we can't copy it, but we want it, what do we do to get it?
A veces desconocemos muchas cosas que en nuestra computadora podemos realizar y pueden ayudarnos a hacer algún trabajo o proyecto. Muchas veces encontramos una foto en internet o queremos explicar sobre nuestra PC y necesitamos alguna foto de ellas y no podemos copiarla, pero la queremos ¿Qué hacemos para obtenerla?
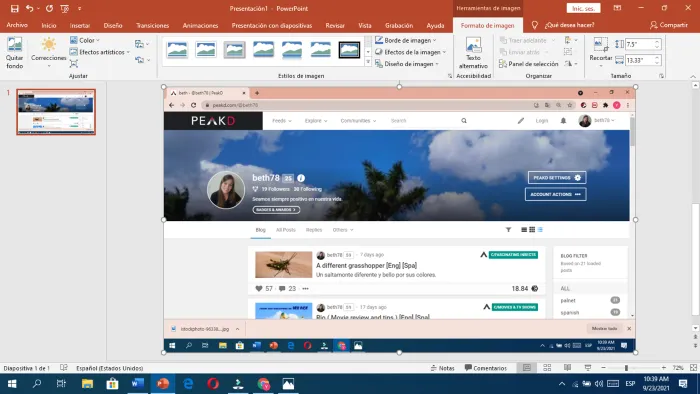
In our keyboard to take a photo or capture of the current window we press the button Imp Pnt Pet Sis in some is called print screen, once we press this key the Pc will take that screenshot. To visualize it we can copy it in Word or PowerPoint where they want to edit the image, in my case I use PowerPoint once the program is open I give right click to the mouse and paste if I do not see that option I can also press the Ctrl key and the "V" key at the same time to paste the image.
En nuestro teclado para tomar una foto o capture de la ventana actual presionamos el botón Imp Pnt Pet Sis en algunos se llama imprimir pantalla, una vez que presionamos esta tecla la Pc tomara esa captura de pantalla. Para visualizarla podemos copiarla en Word o PowerPoint donde deseen editar la imagen, en mi caso utilizo PowerPoint una vez el programa abierto le doy clic derecho al mouse y pegar si no me aparece esa opción también puedo presionar las teclas Ctrl y la tecla "V" al mismo tiempo para pegar la imagen

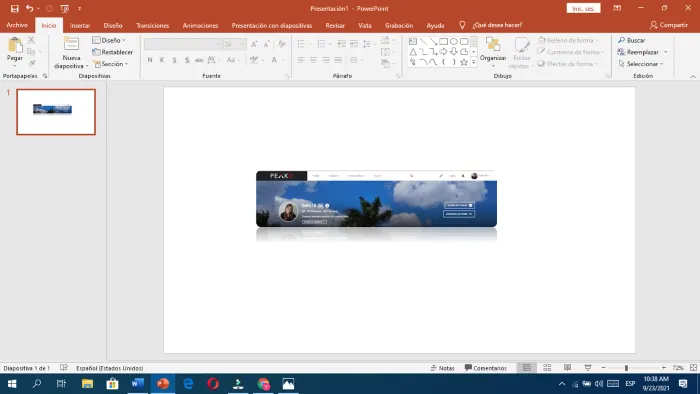
Once the image is pasted in the program, you can edit it, that is to say, crop the image, add colors as you wish, when it is ready, to save it as an image we select it, right click on it, a screen will appear and we select save as image, there we locate where we want it to be saved, then we click on accept and the image is ready to use.
Una vez pegada la imagen en el programa, pueden editarla, es decir recortar la imagen, colocarles colores lo que deseen, cuando ya esté lista, para guardarla como una imagen la seleccionamos, le damos clic derecho, se nos va arrojar una pantalla y seleccionamos guardar como imagen allí ubicamos donde queremos que se guarde luego le damos a aceptar y ya la imagen esta guardad lista para utilizar.
It is very simple friends I hope it can be useful to you in some opportunity, success for all. If you have any doubt you can comment me, I will be glad to help you. Best regards.
Es muy sencillo amigos espero que les pueda ser de utilidad en alguna oportunidad, éxito para todos. Cualquier duda pueden comentarme, con mucho gusto los ayudare. Un abrazo.

Editing in Filmora X
Edición en Filmora X
All photos are mine, taken with a Redmi note pro 8 cell phone and captured with my Siragon MNS-50 computer.
Todas las fotos son mías, tomadas con un teléfono celular Redmi note pro 8 y capturas con mi computadora Siragon MNS-50
The separator was made from an image of Pixabay edited in PowerPoint.
El separador fue realizado desde una imagen de Pixabay editado en PowerPoint.

▶️ 3Speak