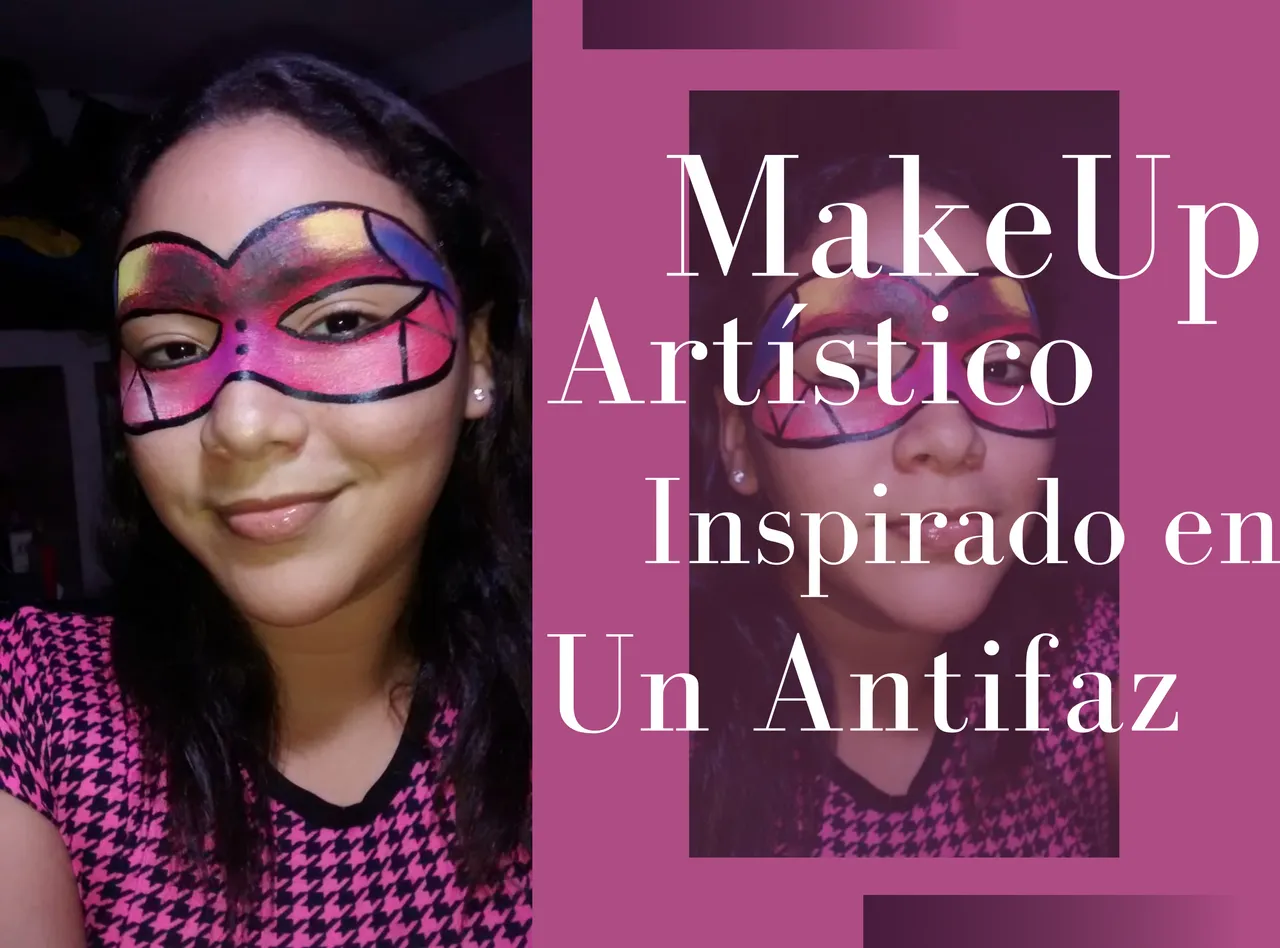
Hello my beautiful Hive Family, today for me is a pleasure to share with you all one more makeup, taken from my imagination, inspired by a Antifaz, I have always loved them, and the truth is I wanted to do something totally different in this makeup, so I put no limits to my imagination, let's start.

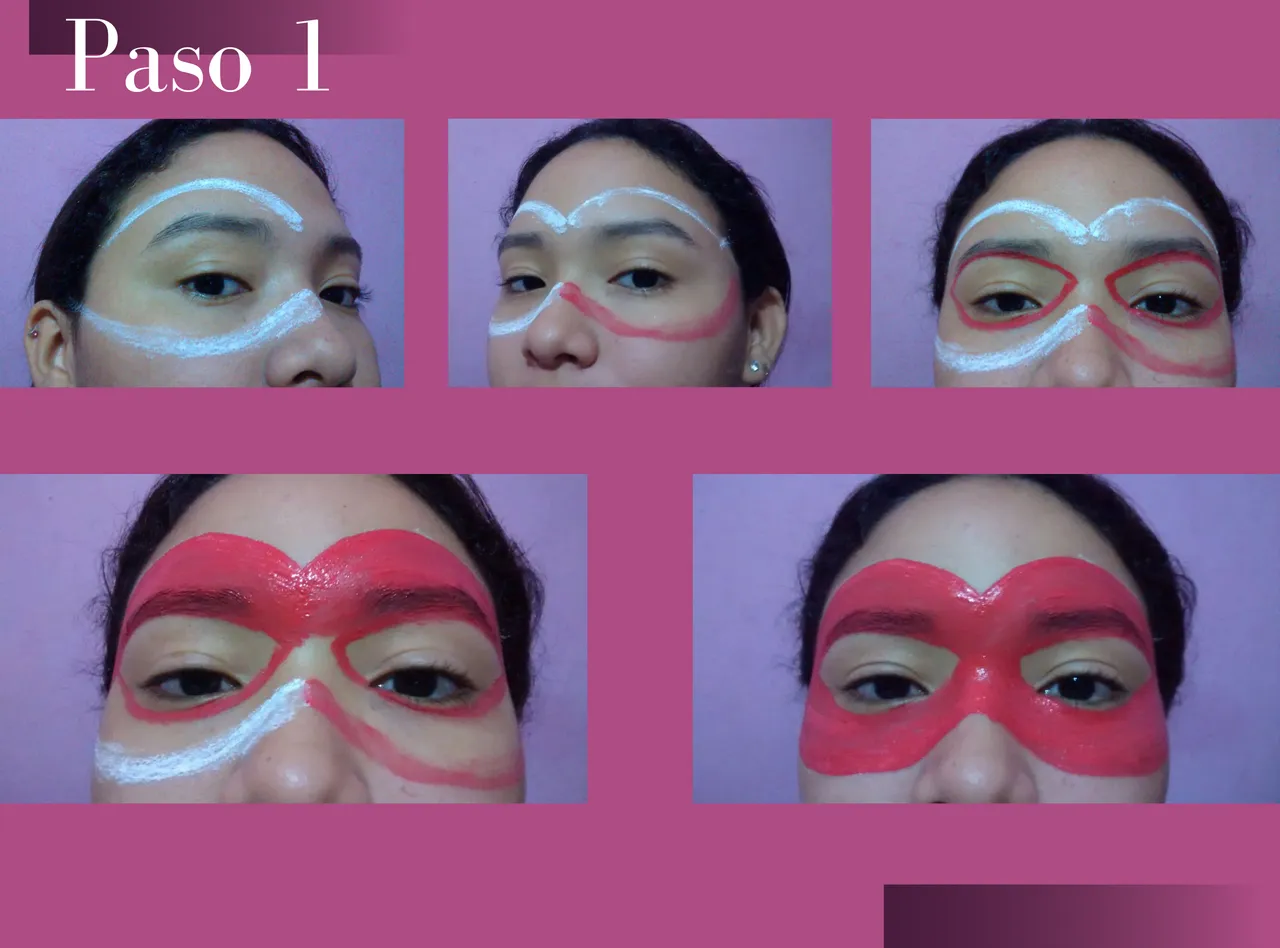
-Paso 1: Primero que todo, con pintura blanca, comenzamos a hacer el molde de nuestro Antifaz, del tamaño deseado, y del modelo deseado. Hacemos primero un lado del rostro para guiarnos, y de allí partimos a hacer el resto del Antifaz, hacemos también la parte por donde nuestros ojos verán. Procedemos a pintar nuestro Antifaz, el color base para el mío es Rojo, luego haré el resto de los diseños, dejamos secar la pintura por 4 minutos.
-Step 1: First of all, with white paint, we start to make the mold of our mask, the desired size, and the desired model. We first make one side of the face to guide us, and from there we start to make the rest of the mask, we also make the part where our eyes will see. We proceed to paint our mask, the base color for mine is red, then I will do the rest of the designs, let the paint dry for 4 minutes.
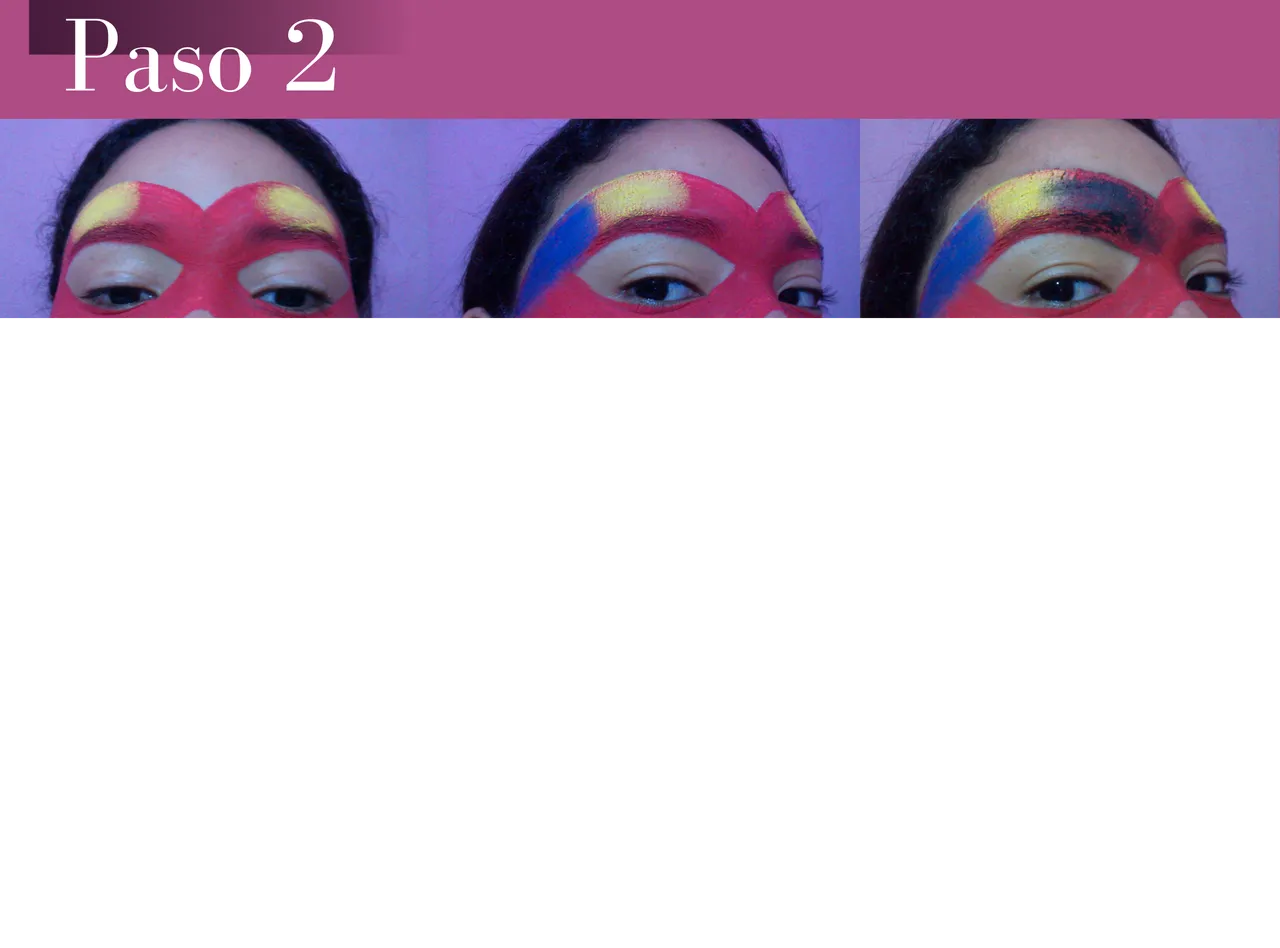
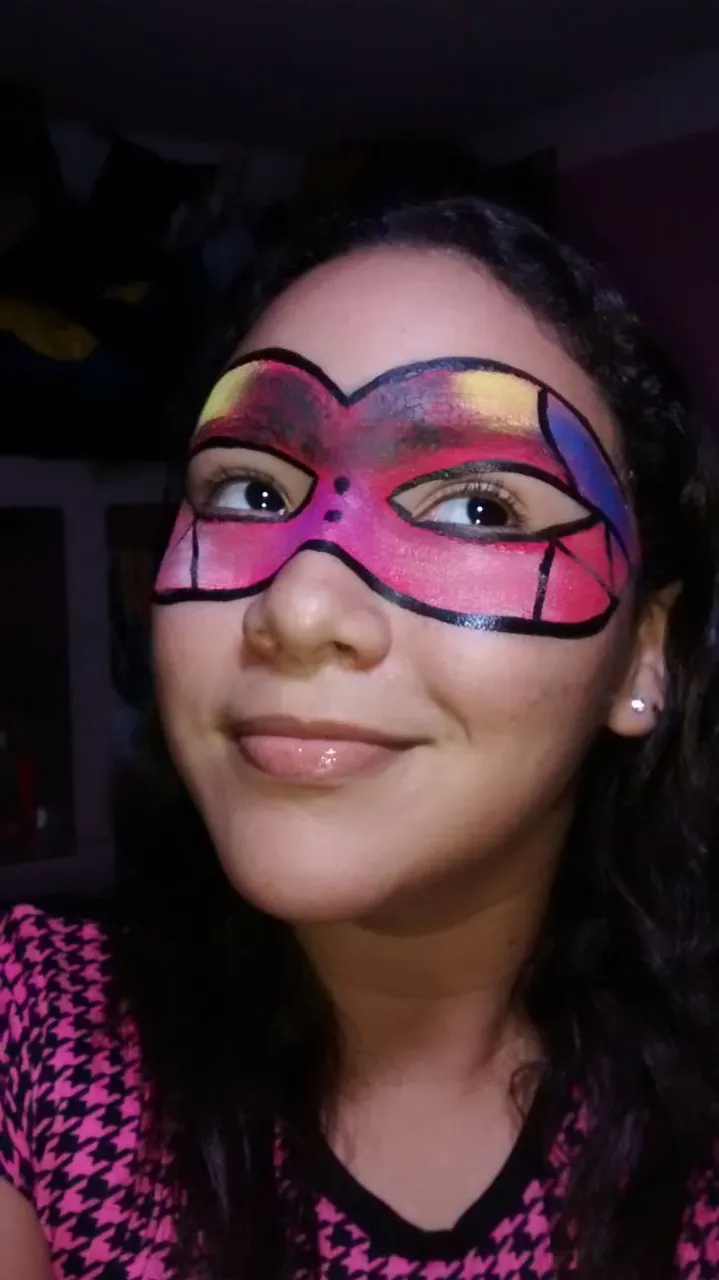
-Paso 2: Procedemos a hacer los detalles luego de haber dejado secar nuestro Antifaz, si notan, apliqué una sombra amarilla en la parte de arriba, sobre las cejas, luego apliqué una sombra azul, luego una negra en la parte delantera de arriba, luego una morada partiendo de la mitad de la nariz hacia abajo y por último una blanca, la idea fue jugar con los colores, para hacer un divertido Antifaz.
-Step 2: We proceed to make the details after having let our mask dry, if you notice, I applied a yellow shadow on the top, above the eyebrows, then I applied a blue shadow, then a black one on the front part of the top, then a purple one starting from the middle of the nose down and finally a white one, the idea was to play with the colors, to make a fun mask.
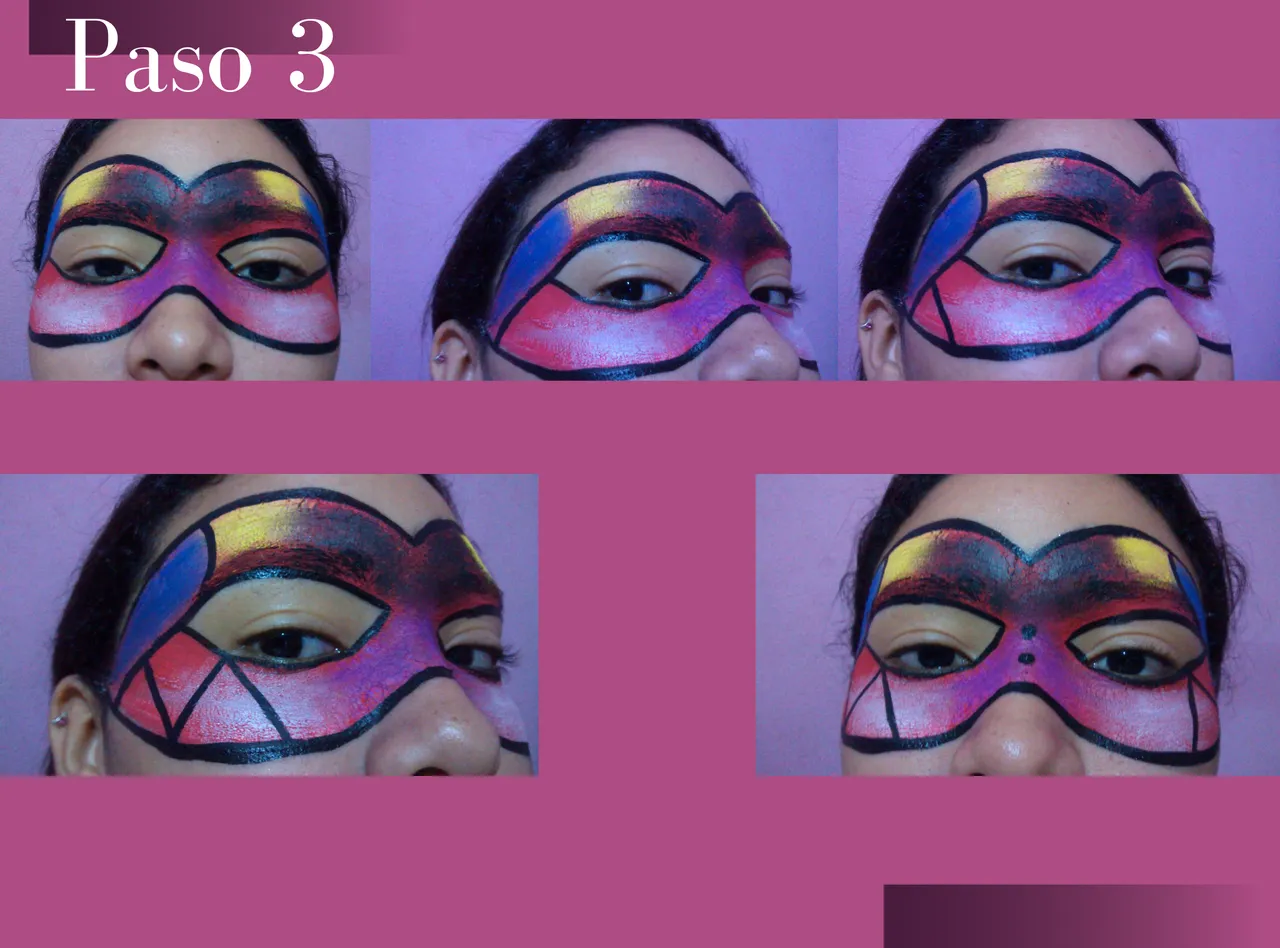
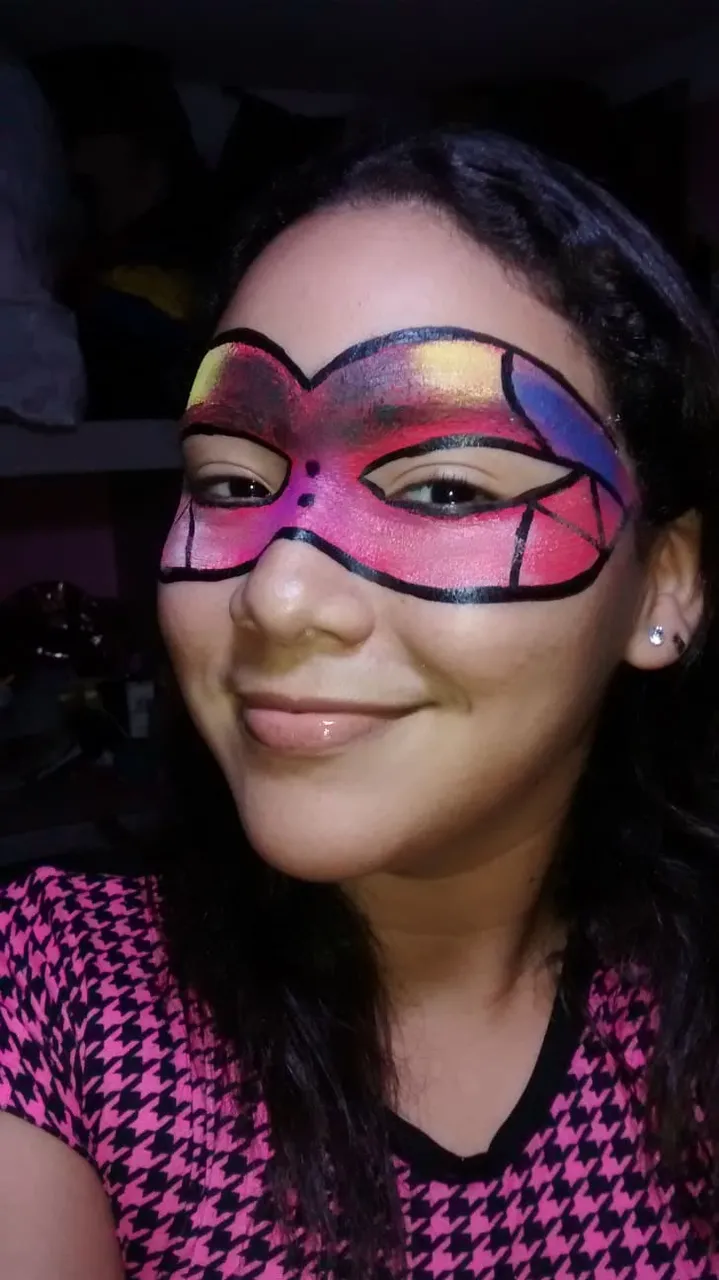
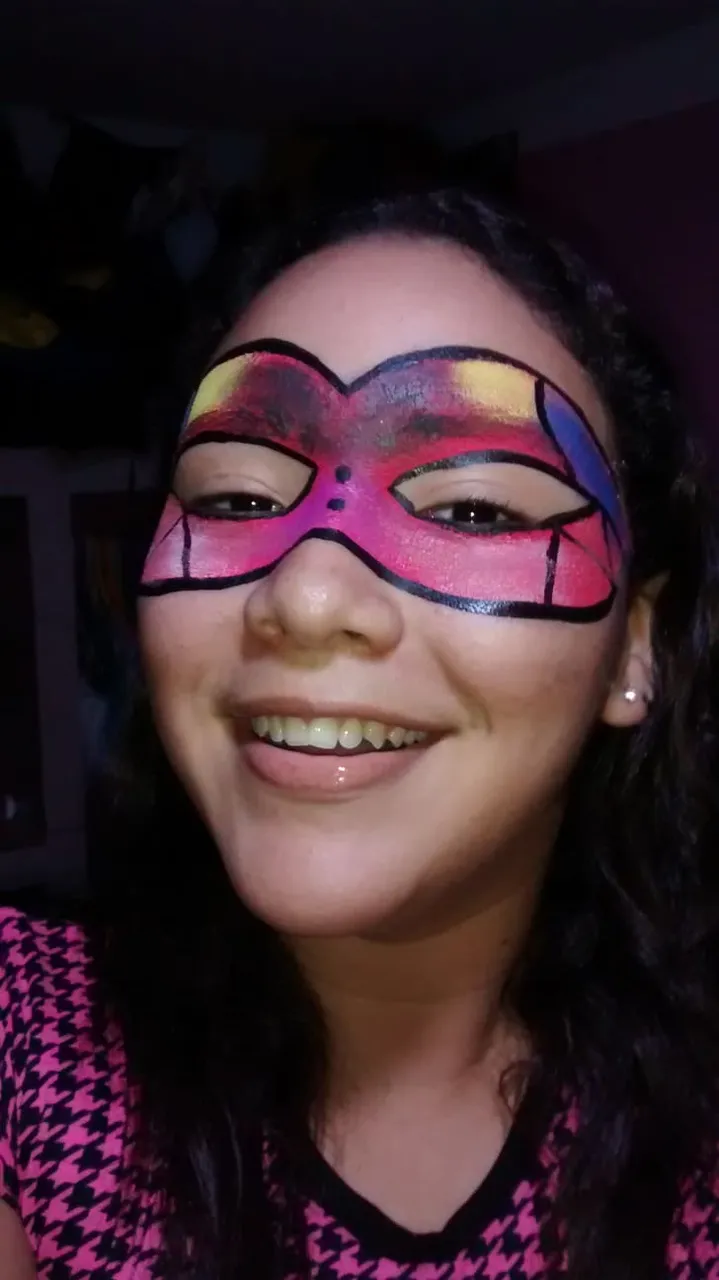
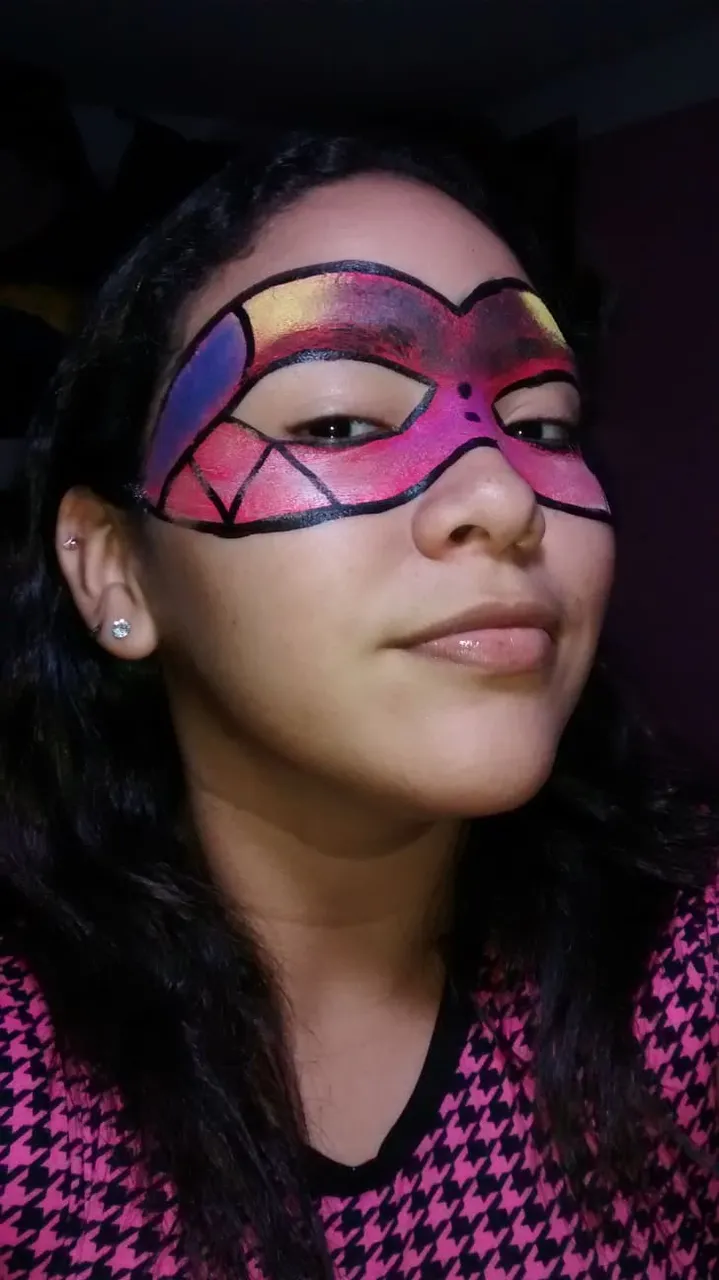
-Paso 3: Procedemos a delinear nuestro Antifaz, cada uno de los bordes, para resaltarlo un poco más, luego comencé a hacer líneas de acuerdo a mi gusto y a mi imaginación, tratando de que todo combinara, y así fue, luego por último hice dos puntos en la parte de la nariz, y así culminé con los detalles de mi Antifaz.
-Step 3: We proceed to outline our mask, each of the edges, to highlight it a little more, then I began to make lines according to my taste and my imagination, trying to match everything, and so it was, then finally I made two points in the part of the nose, and thus culminated with the details of my mask.
This is my final result, I hope you liked it, I really loved the result, thanks for visiting my blog, blessings to all.
All photos are of my authorship and edited with canva.