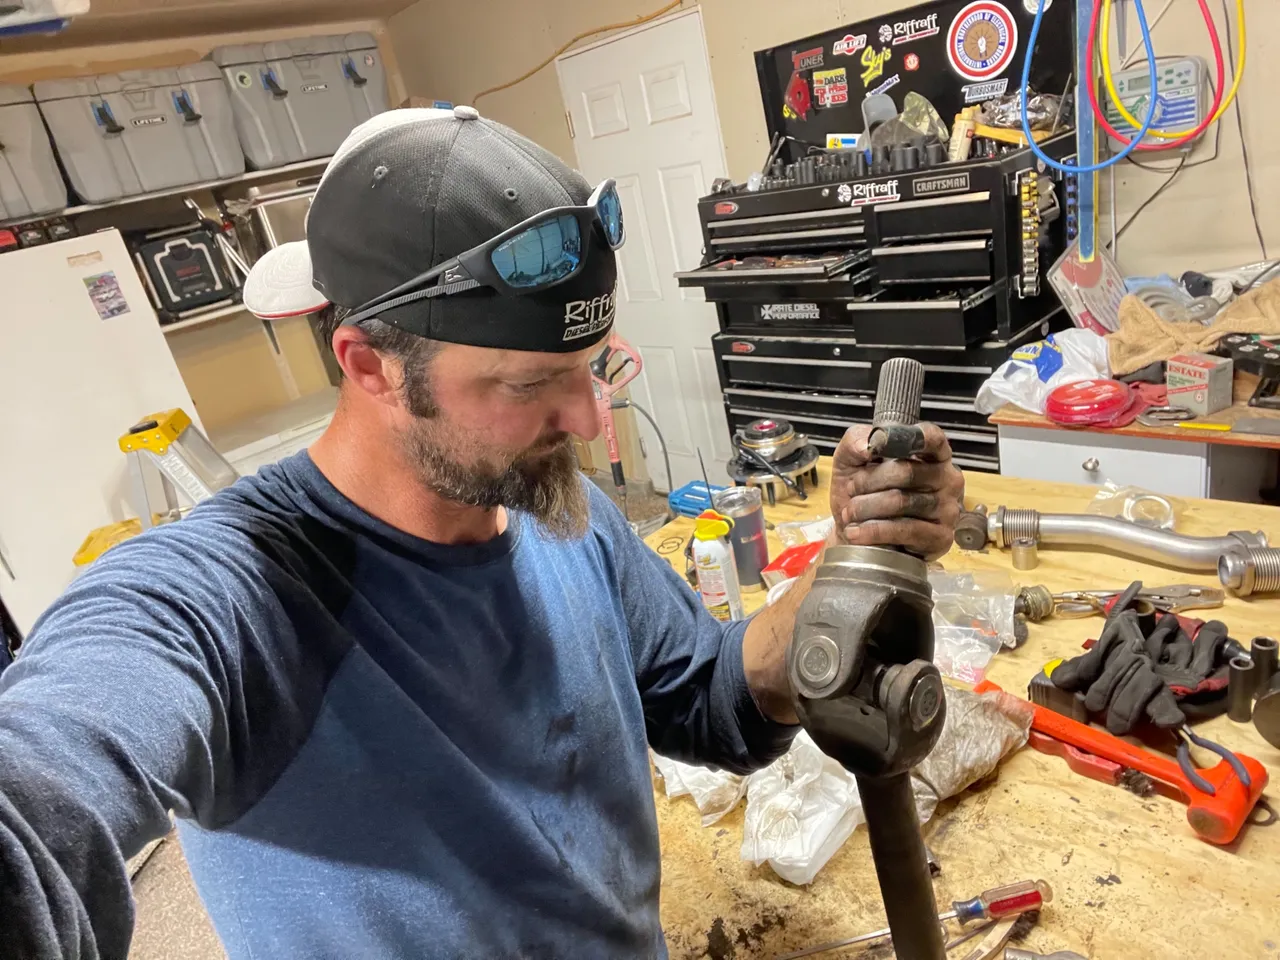
The front end rebuild of my 2001 Ford Excursion continues as I work my way farther into this beast. With the front Hub & Bearing replaced in Part 1 and the Front Axle Dust and Vacuum Seals replaced in Part 2, I guess it’s time to move on to Part 3 of this process. It’s time to get that favorite little sledge hammer of mine and bang some U-joints out and press the new ones back in.
2001 Ford Excursion Front Axle Rebuild Part 3
Front Axle U-joint Replacement
The process of changing the front axle u-joints is that same for Ford F-250/350 model years 1999-2005 and Ford Excursion 2000-2005. There is quite a process that needs to be done before you are able to start working on replacing the U-joints. So in order to keep this post from being 10 miles long refer to Part 1 & Part 2. These previous posts contain the process at which the front axle is accessed and removed from the vehicle.
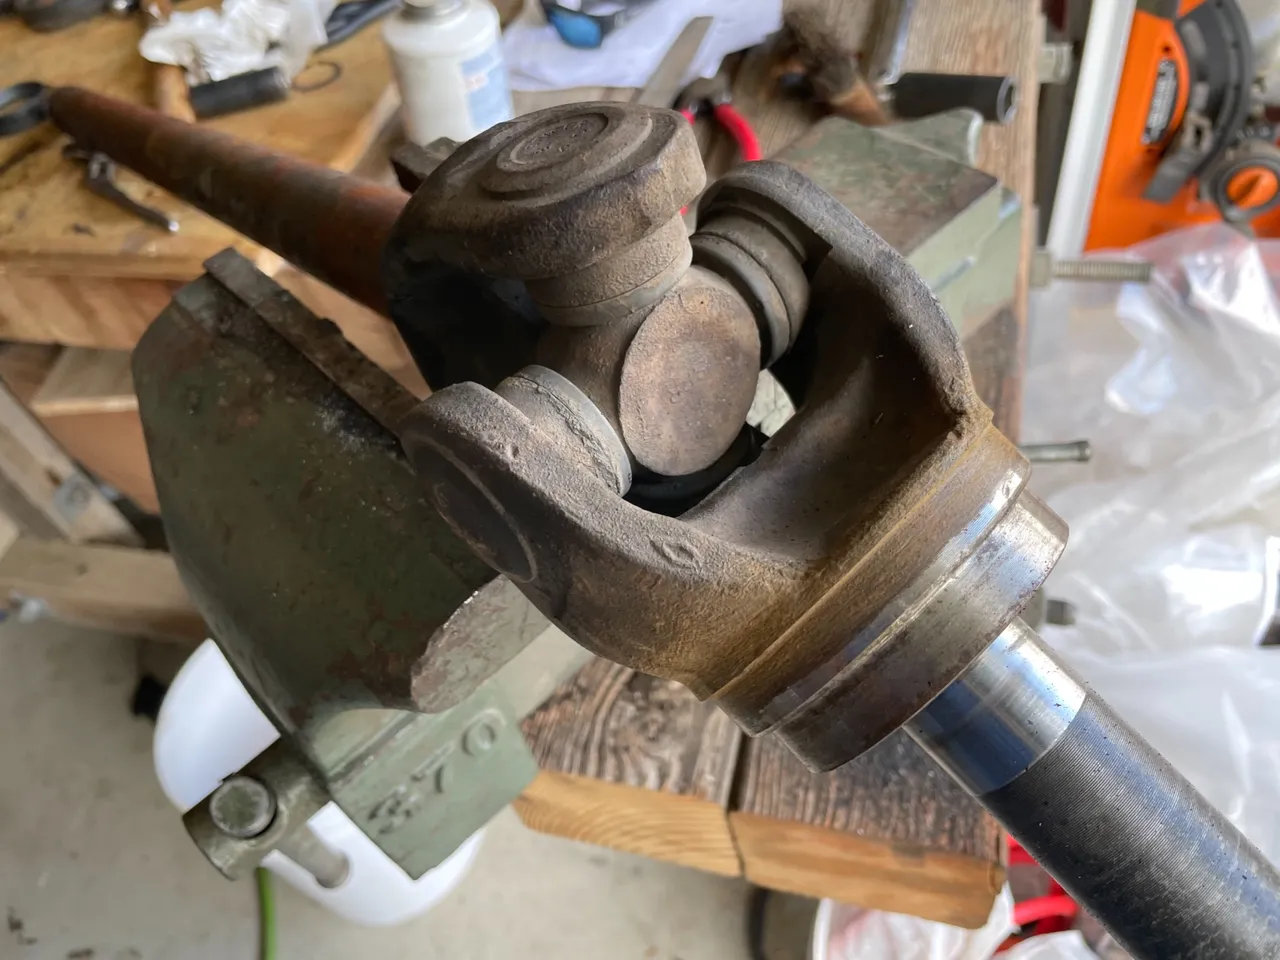
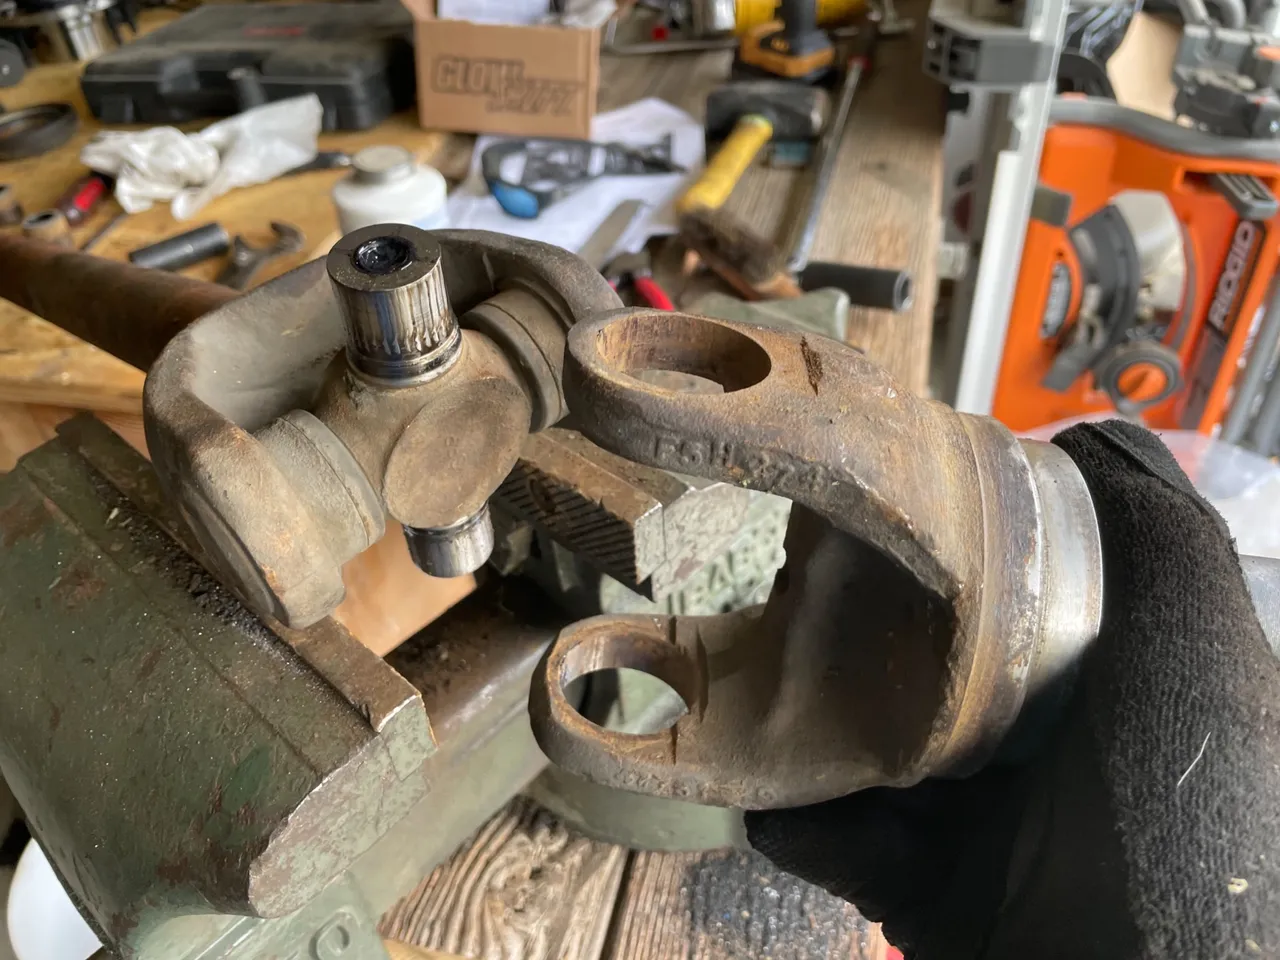
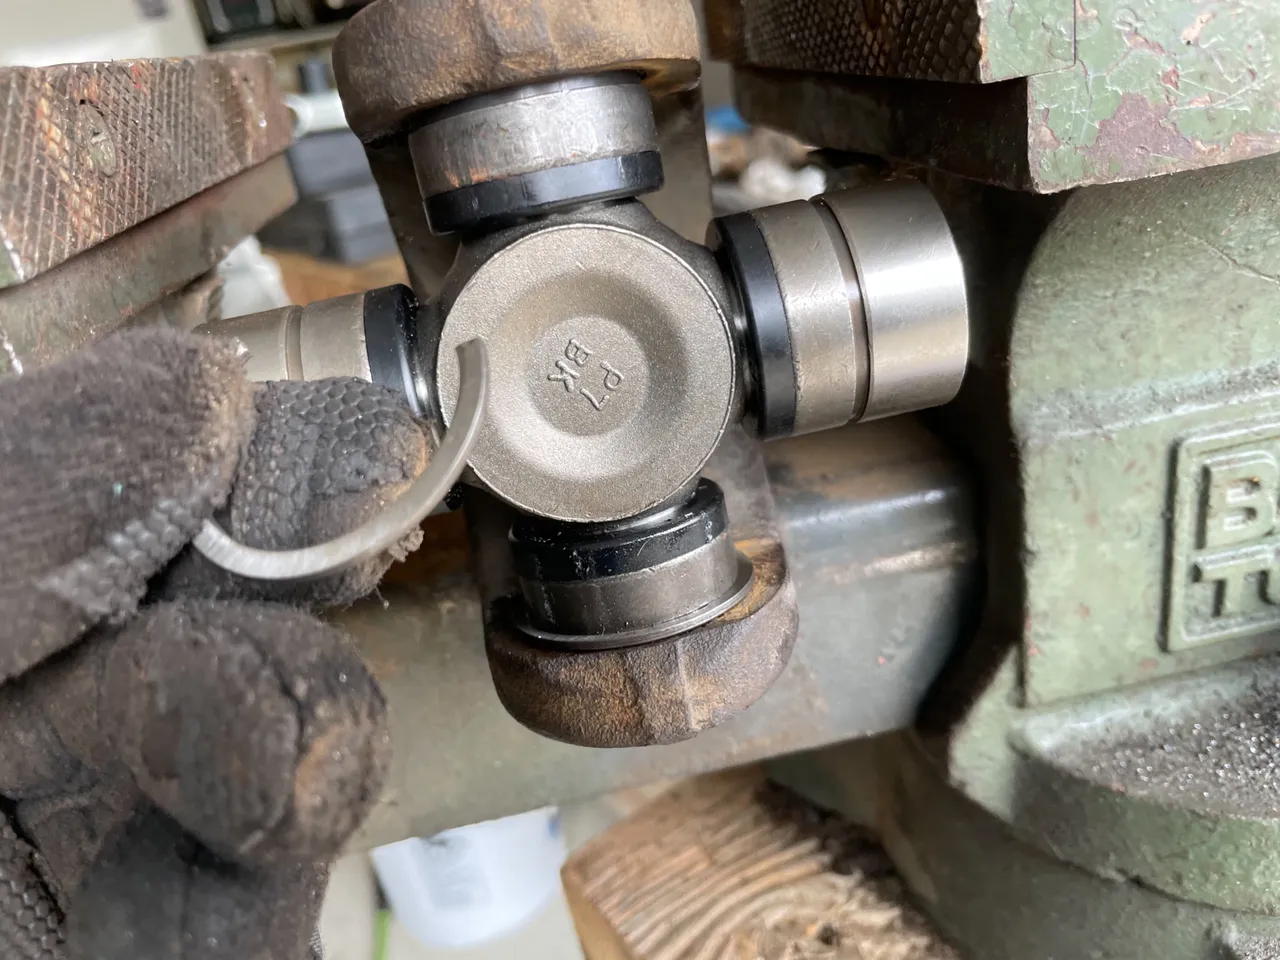
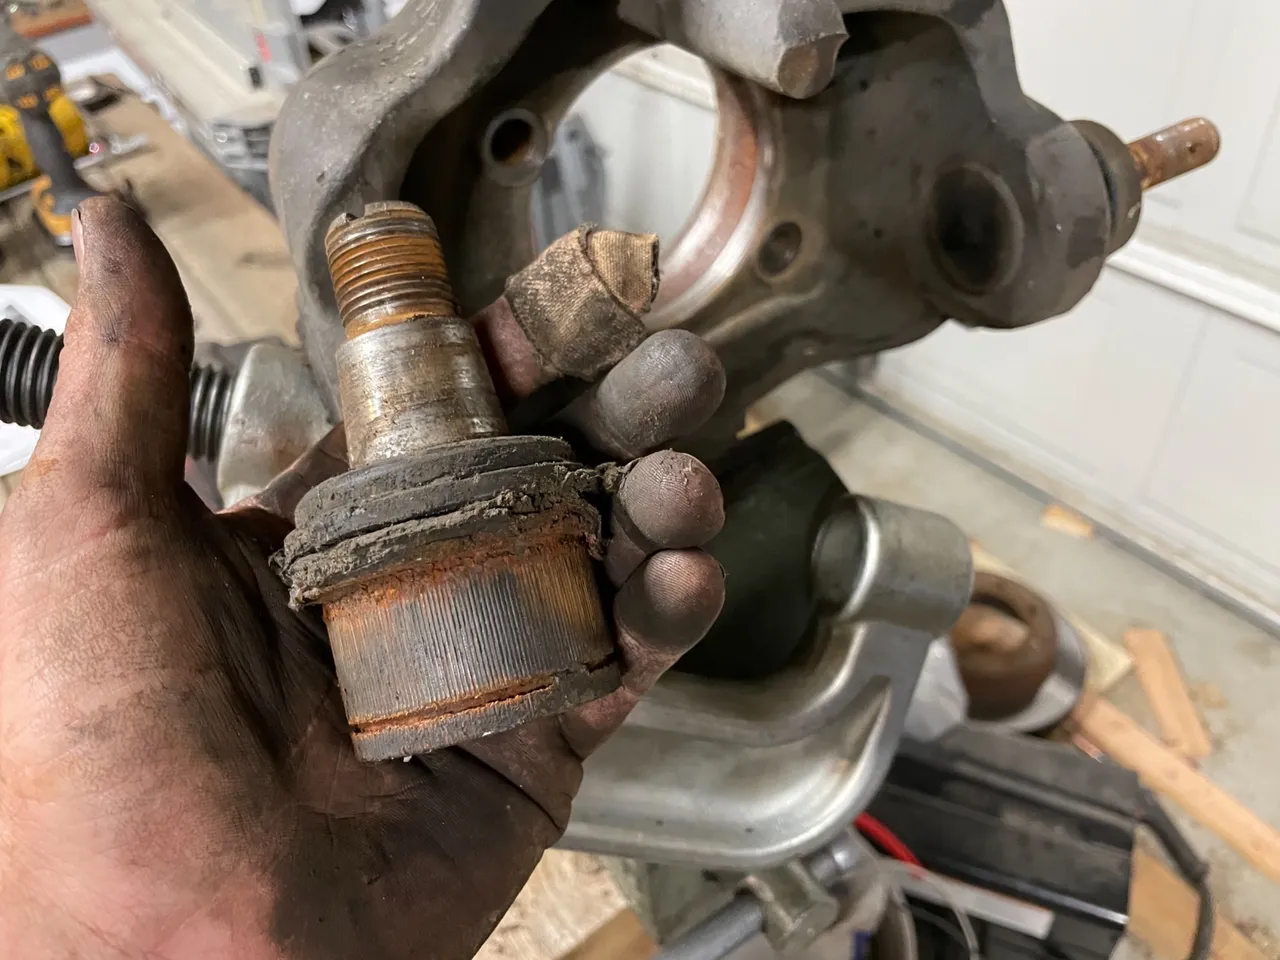
Now that the axle is removed, we need to get the old U-joints out. I highly suggest placing it in a vice, I’ve done it without one and it was… not fun at all!! It took forever!! The first thing you need to do is remove the C clips holding the u-joint in place. If you look on the inside of the joint you will be able to find them.
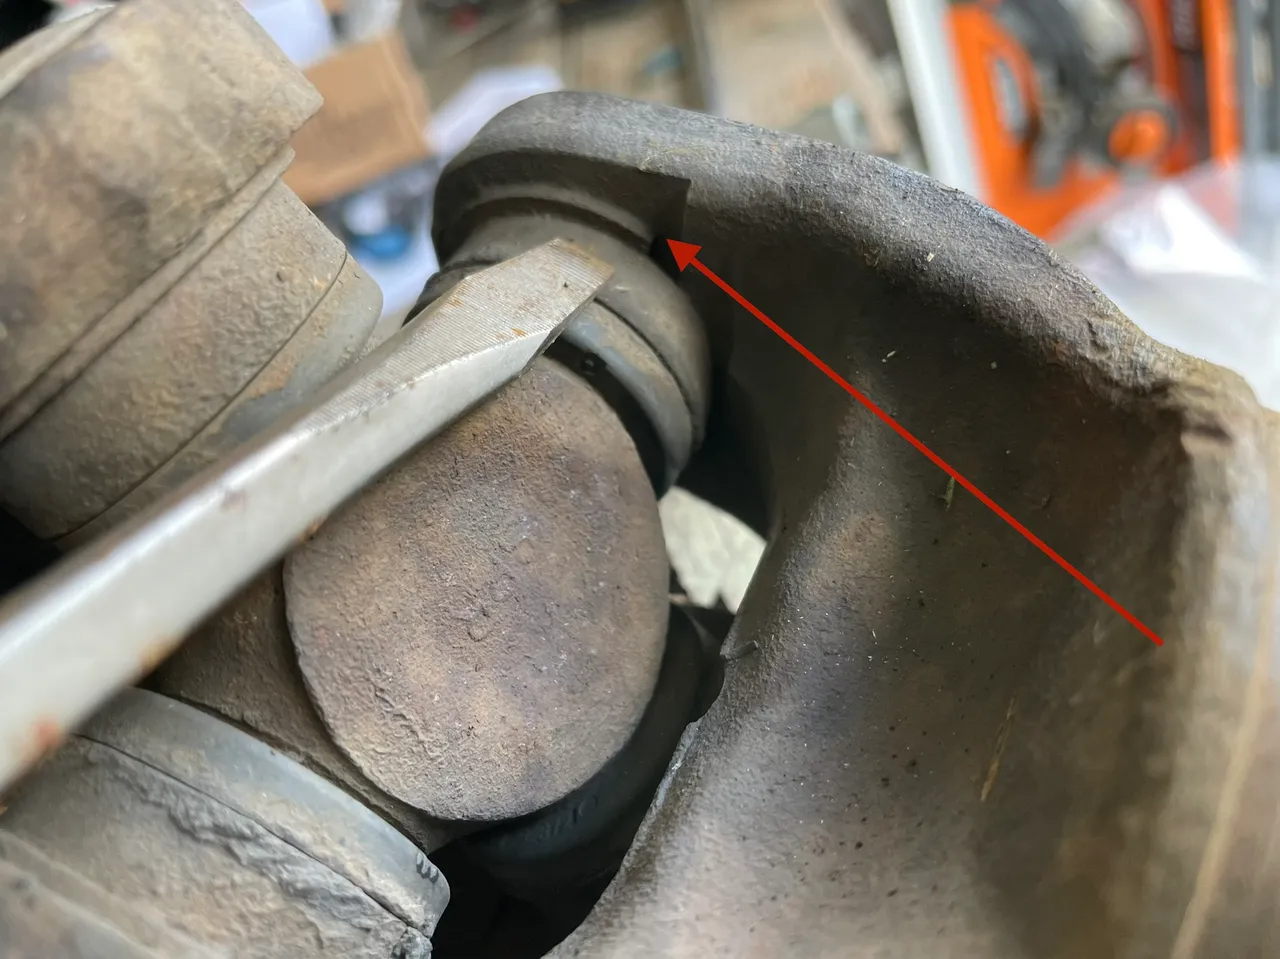
Start by removing all 4 of the C clips with a screw driver. Find the end of it and use a screw driver and a hammer to drive it off. It’s gonna take a bit of work to get them to free up. They can be very difficult to remove due to rust. What I found to help was getting my little sledge hammer out and hitting the cup of the ball joint down to lessen the pressure against the axle knuckle
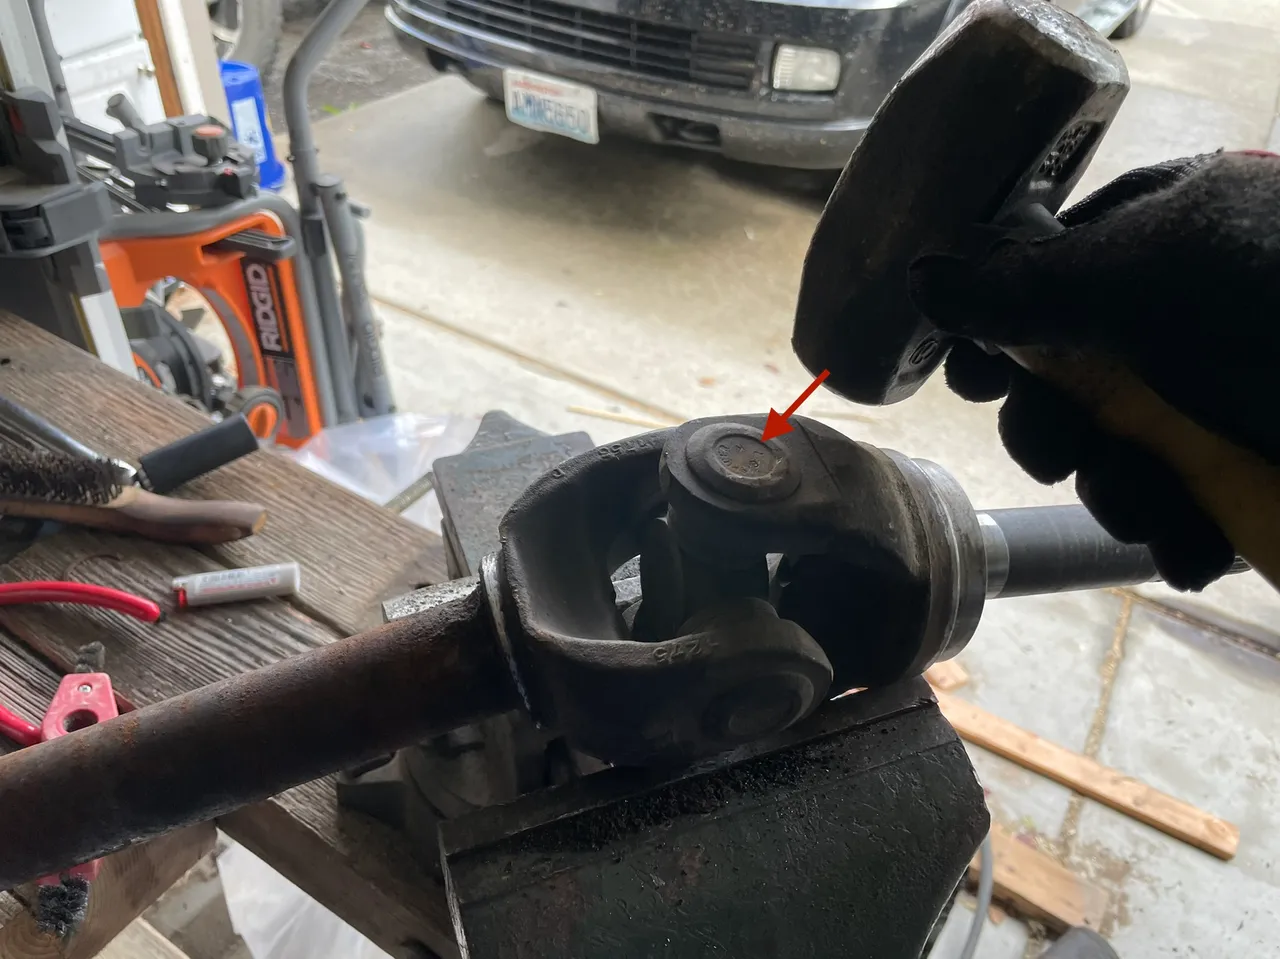
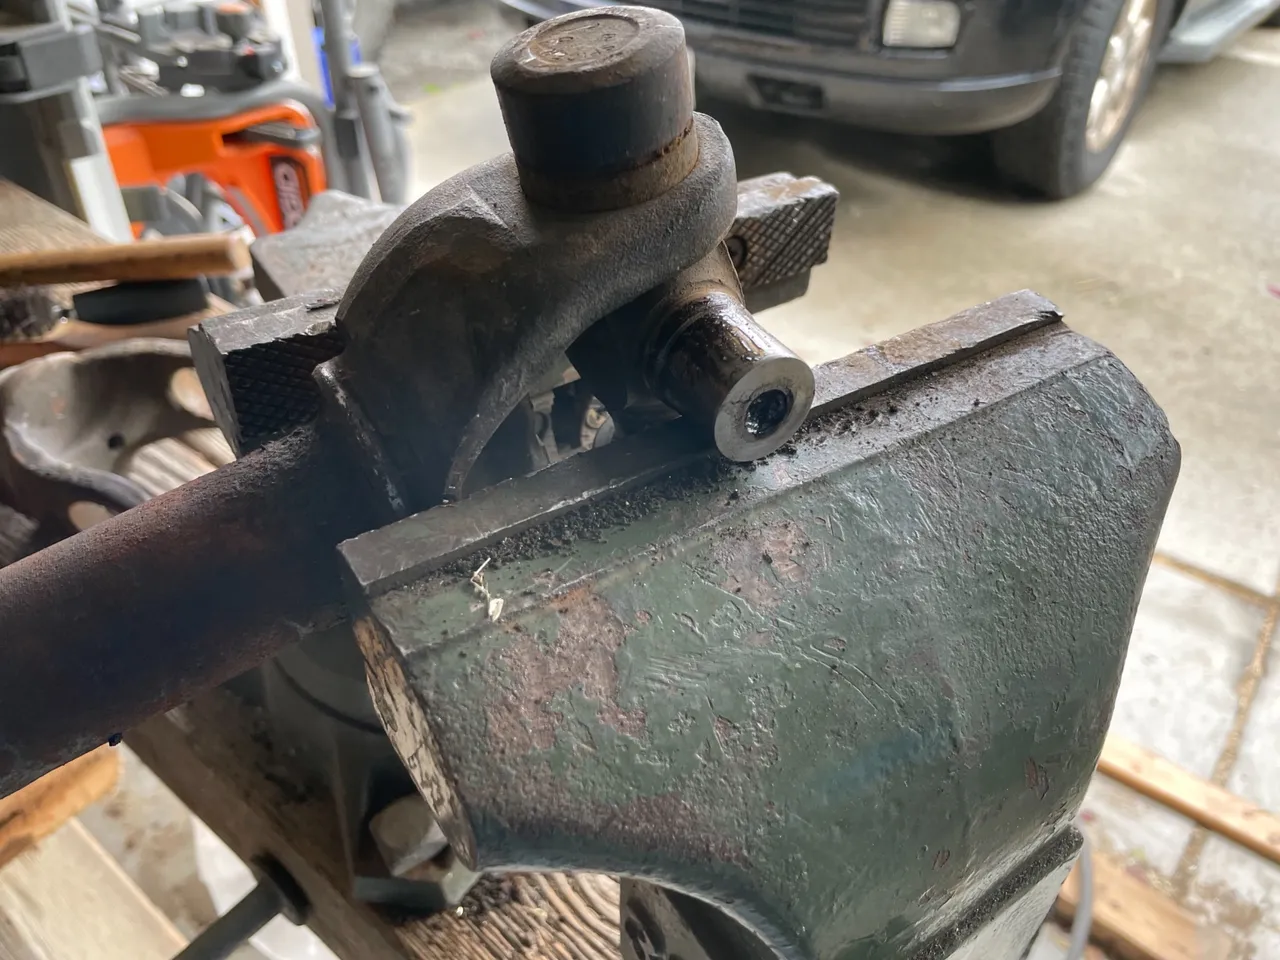
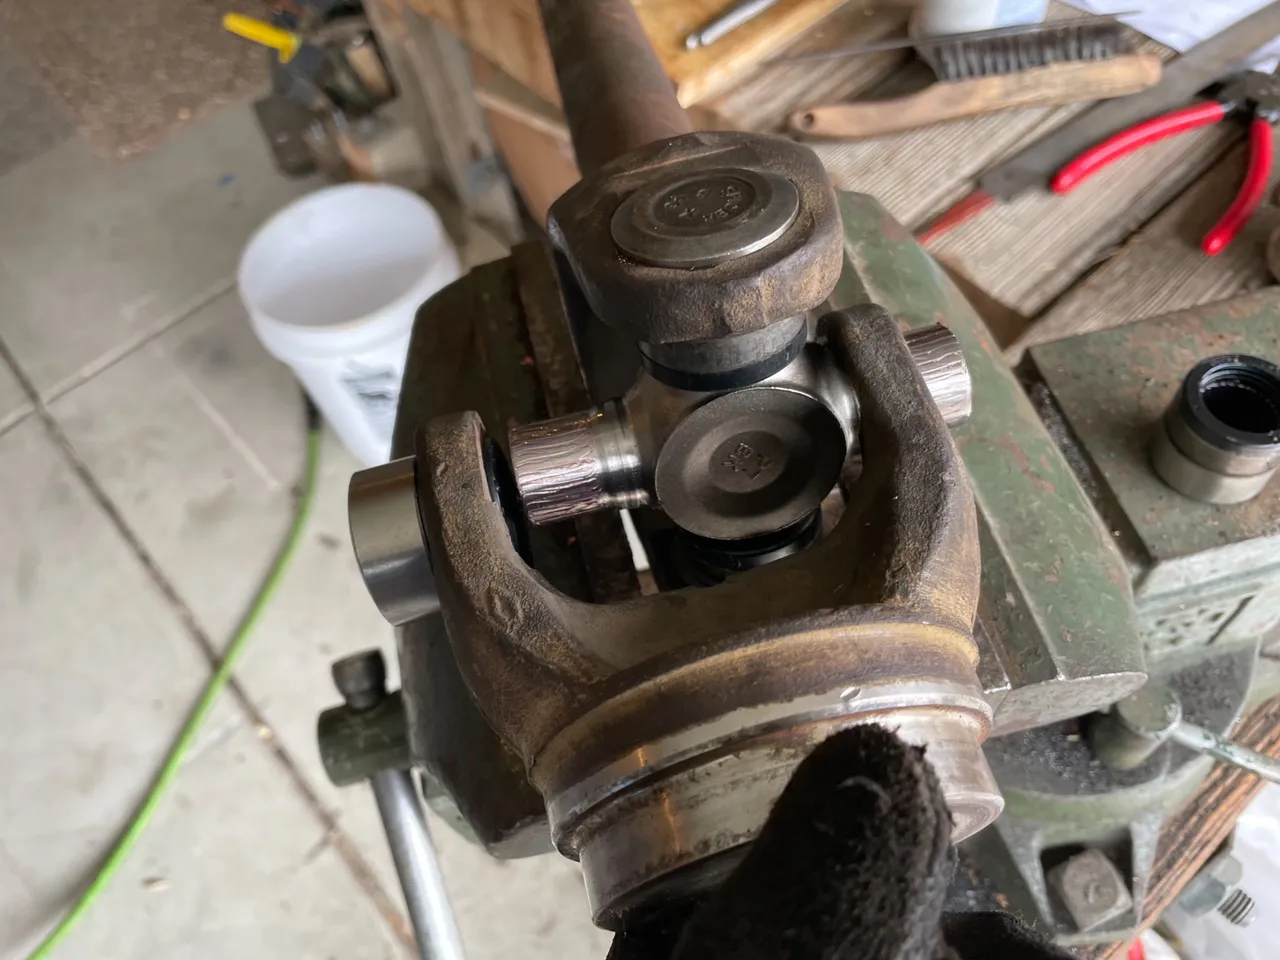
Once all the C clips are removed the beat down process begins. Using a sledge hammer, drive the u-joint knuckle down and into the joint itself. Support the other half of the joint on a vice or between two wooden blocks. Make sure there is enough room for the u-joint knuckle you are beating on to slide down into the joint. It’s gonna take some force so don’t be nice to it and hit it with your purse. Hit that sucker with some force!!
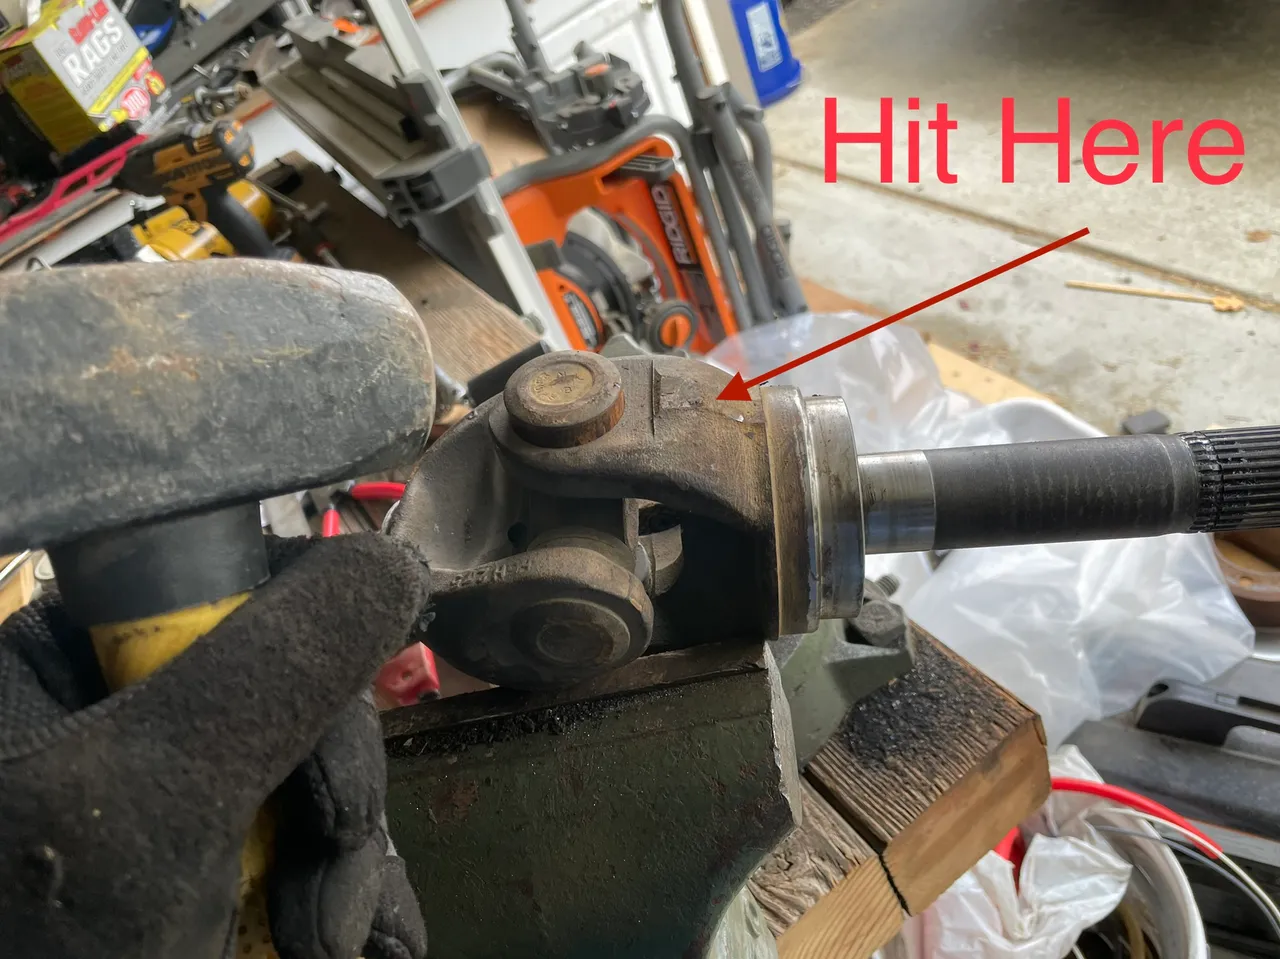
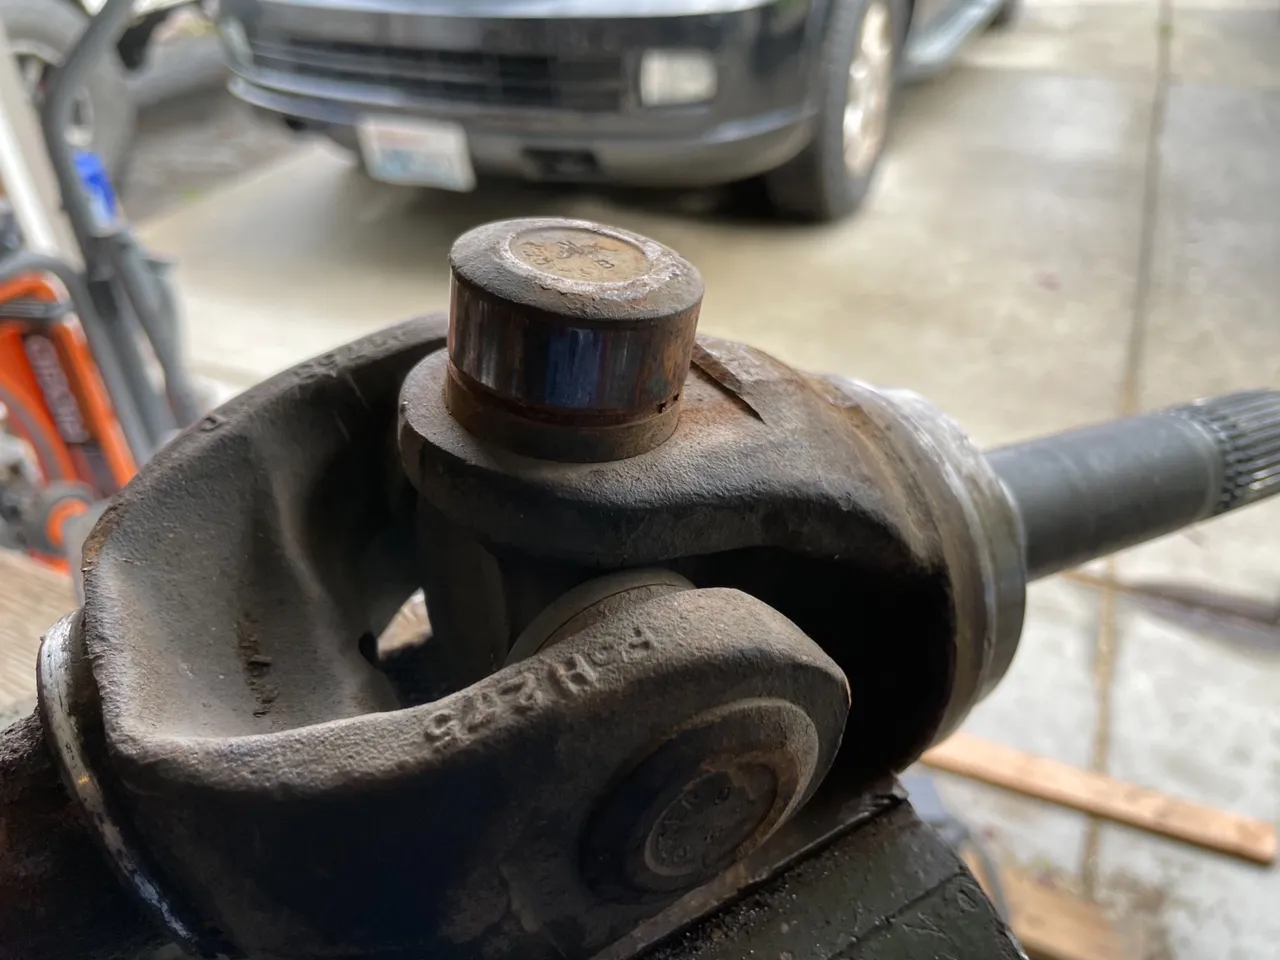
Once you have driven it all the way down and bottomed it out against the u-joint, the cup should come out.
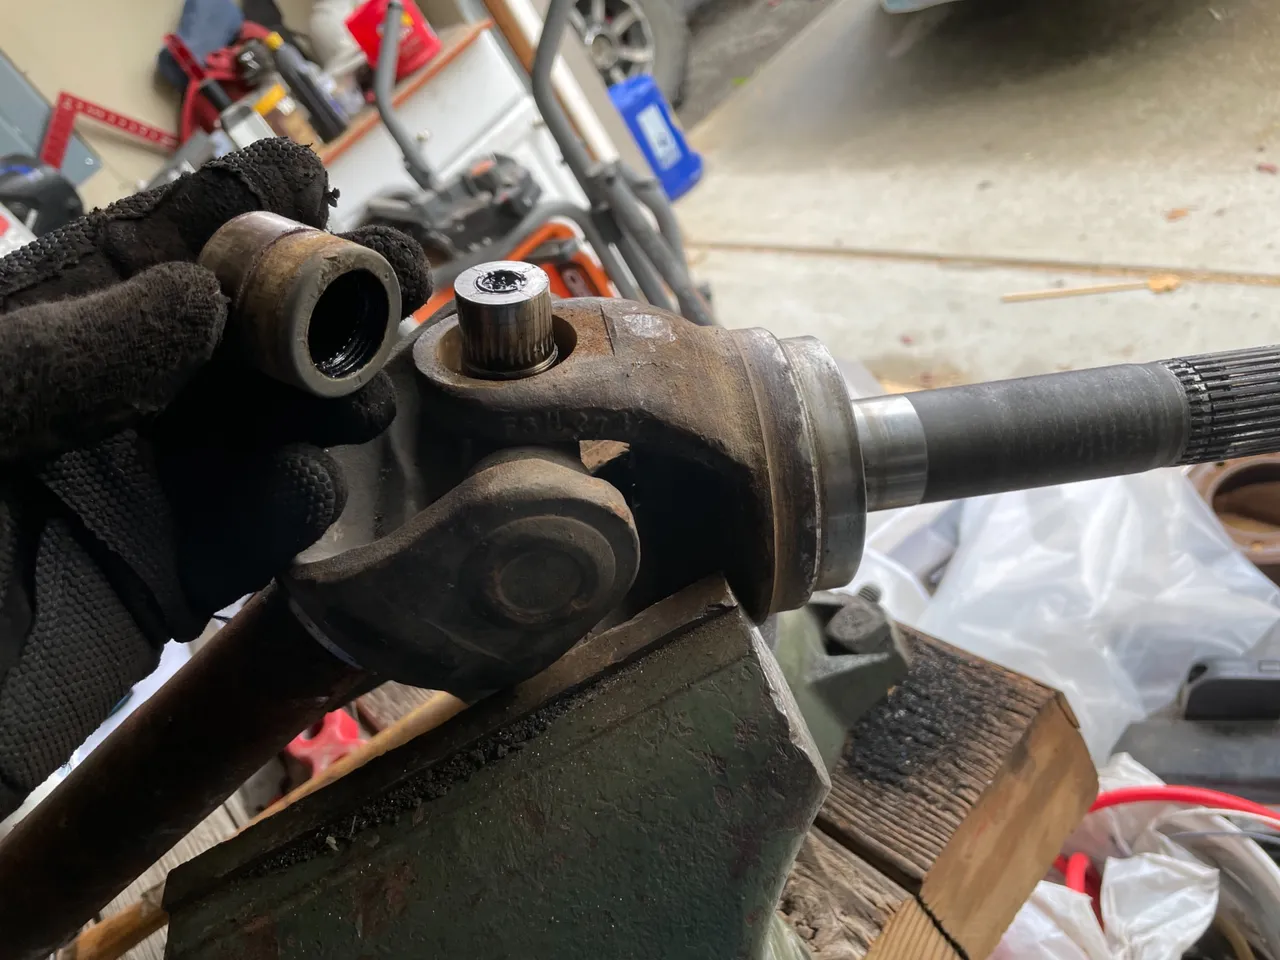
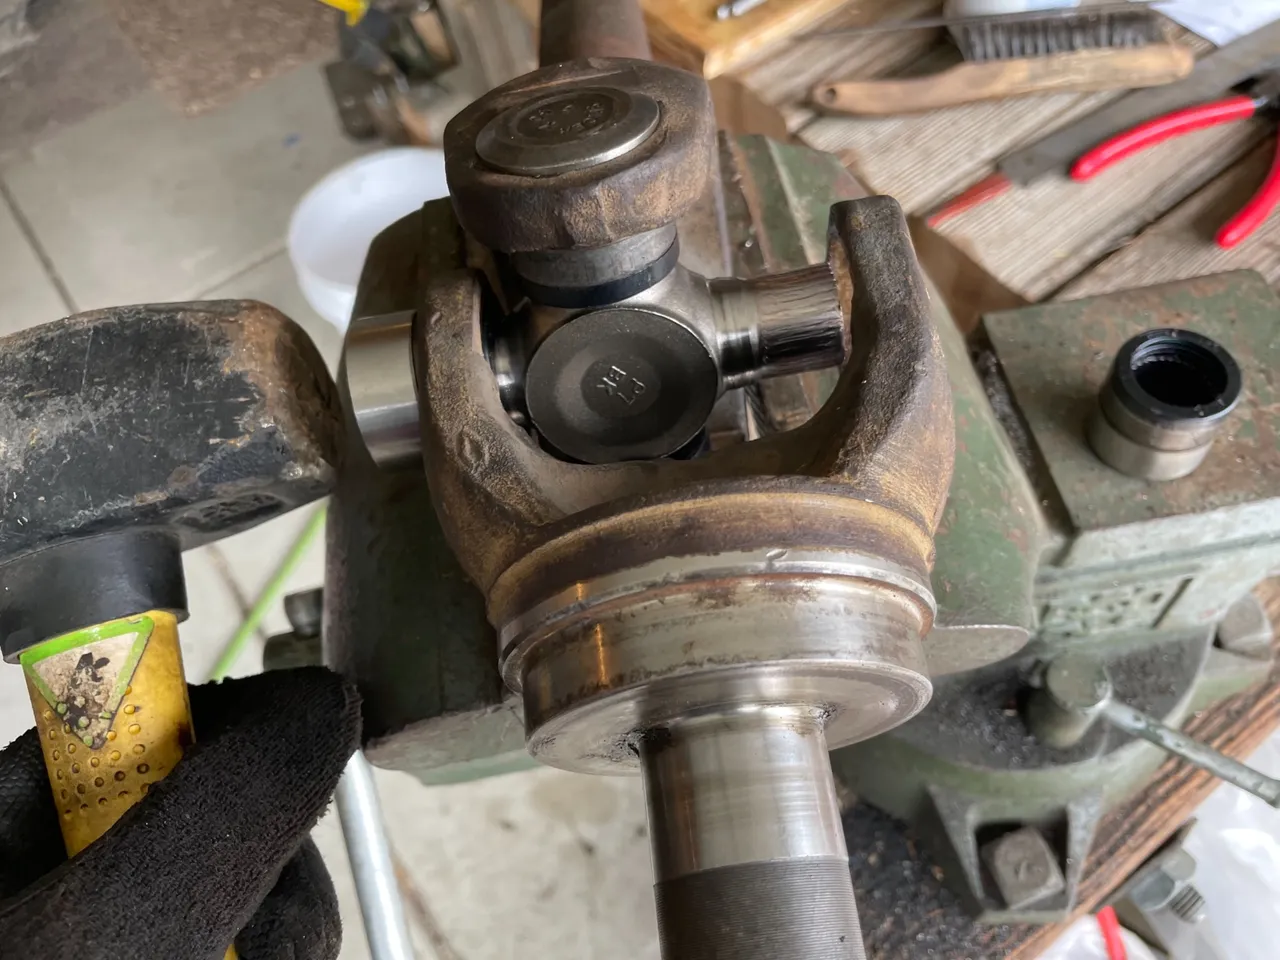
Now flip it over and drive it the opposite direction to get the other cup out. Once both cups are remove, that half of the joint can be separated.
To get the u-joint out of the other side, rest the u-joint itself on the vice or blocks. Then get that sledge hammer and beat the devil out of it!! Like Bob Ross
source
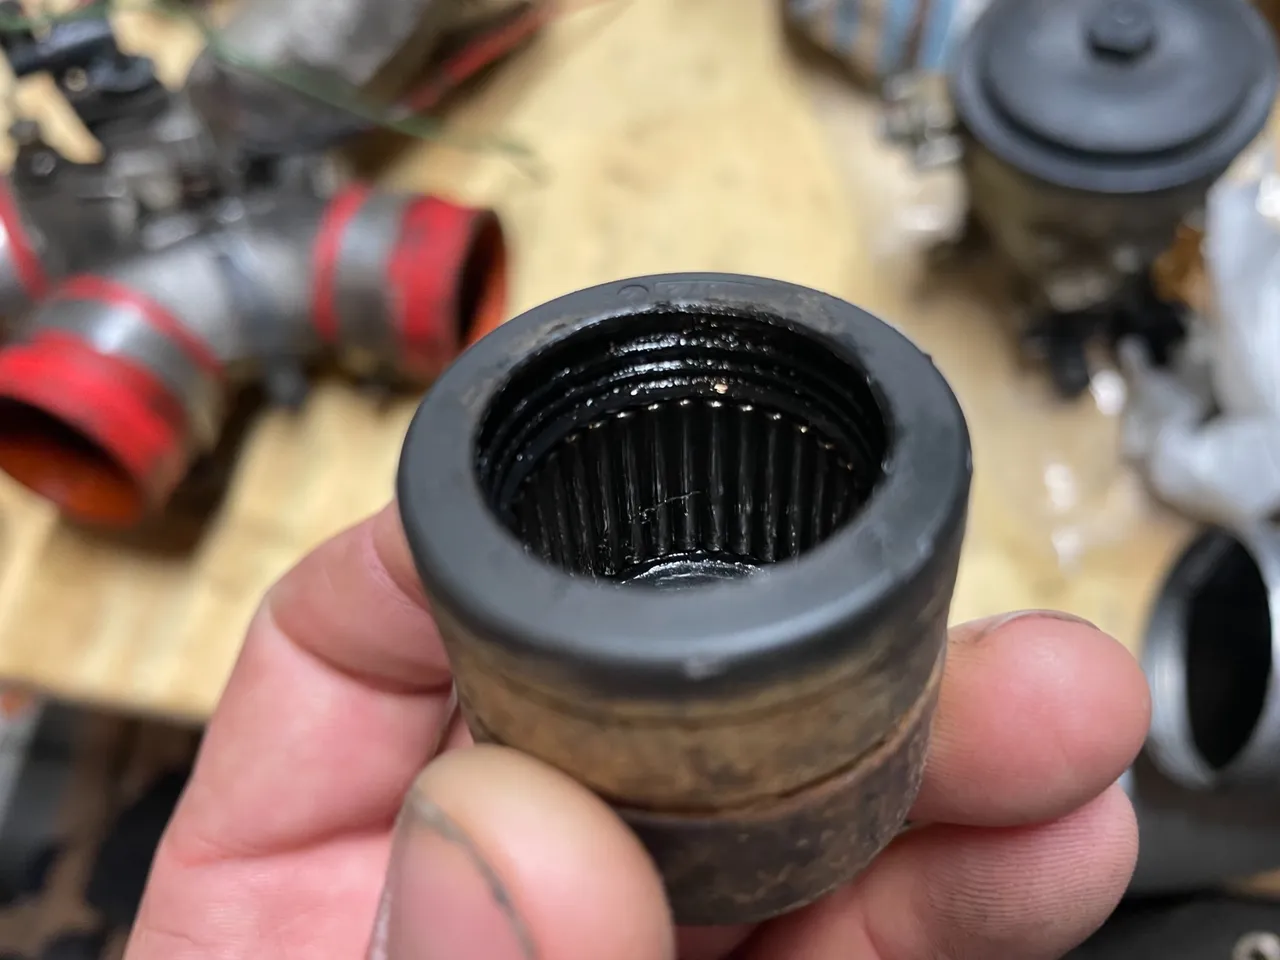
Now that the u-joint is completely removed it’s time to install the new shiny ones. Be very careful because inside the end cups are needle bearings. Basically a bunch of small rods that line the inside of the cup.
When installing the new u-joint be extra careful not to drop or get any dirt into the cups. I’ve dropped one before and the needle bearings went everywhere!! Not fun… not fun at all.
The Install
Remove the opposing cups from the ends of the u-joint. Don’t drop them!! They can be kind of suctioned on so you may need to pry them off. Once they are off look inside to make sure the needle bearings haven’t moved. They should be stood in a perfect line around the inside of the cup. Take one cup and place it in the u-joint knuckle, pressing it in firmly by hand.
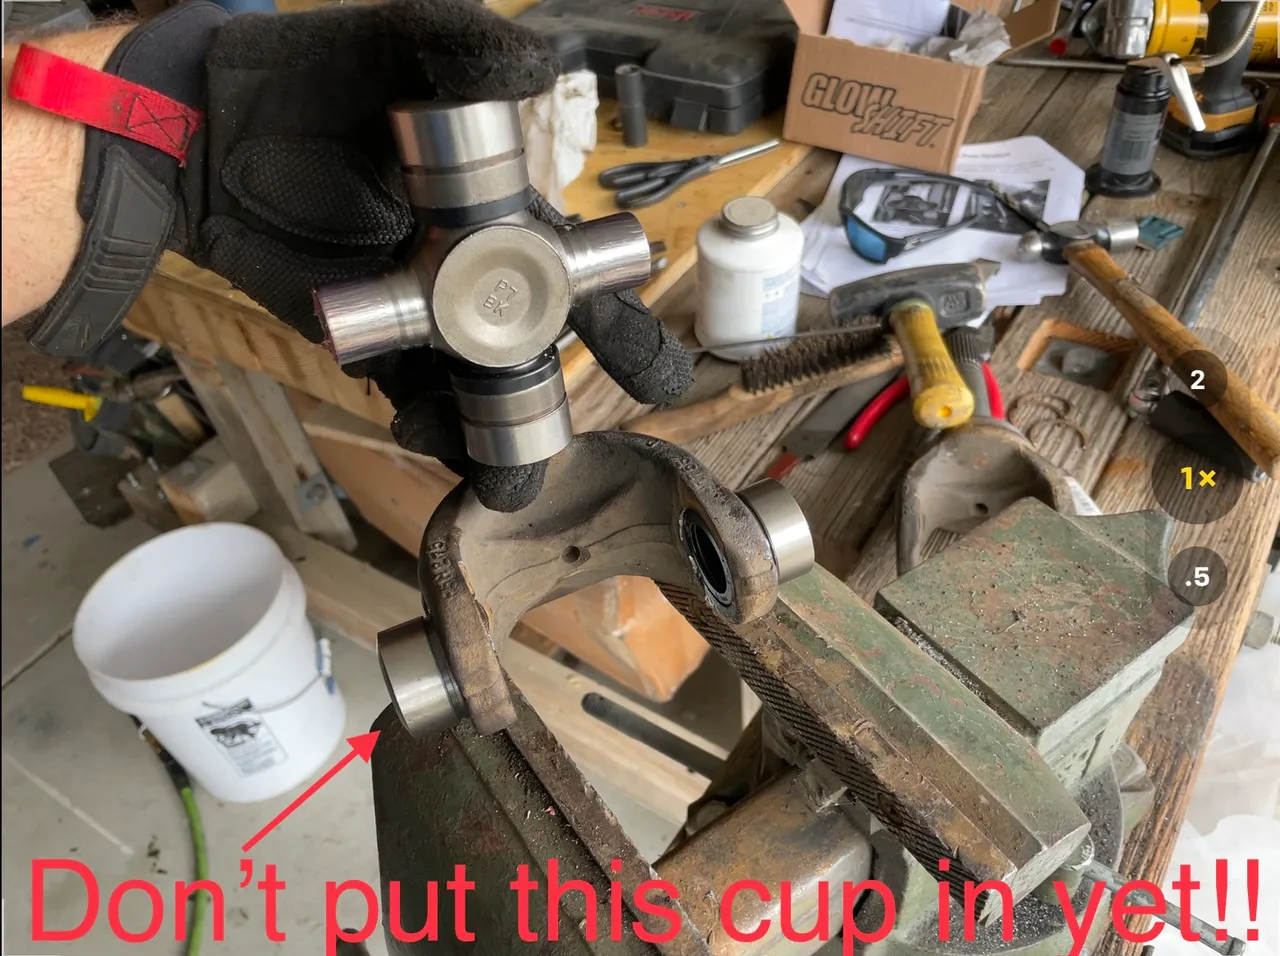
Then slide the u-joint into the open side then slide it into the cup that was placed in the knuckle. Give the cup a few taps with a hammer with the u-joint al the way inside of it. Be careful and slide it straight in. You don’t want to knock those needle bearings out of place. Once it is slid into one cup, press the cup into position on the other side by hand just to hold it there. Then carefully place it in a vice. The vice will press the 2 cups into place at the same time.
Now don’t just go cranking down on the vice. The u-joint has too much play and can get off center in one of the cups. So slowly crank down on the vice with the u-joint all the way to one side. Once the cups start pressing together, slide the u-joint into the other cup. Then slide it back and try to get the ends of the u-joint started into each cup. Be patient because this is where you can knock some needle bearing out of place. Take a couple turns with the vice, slide the u-joint back and forth making sure it is setting into the cups properly.
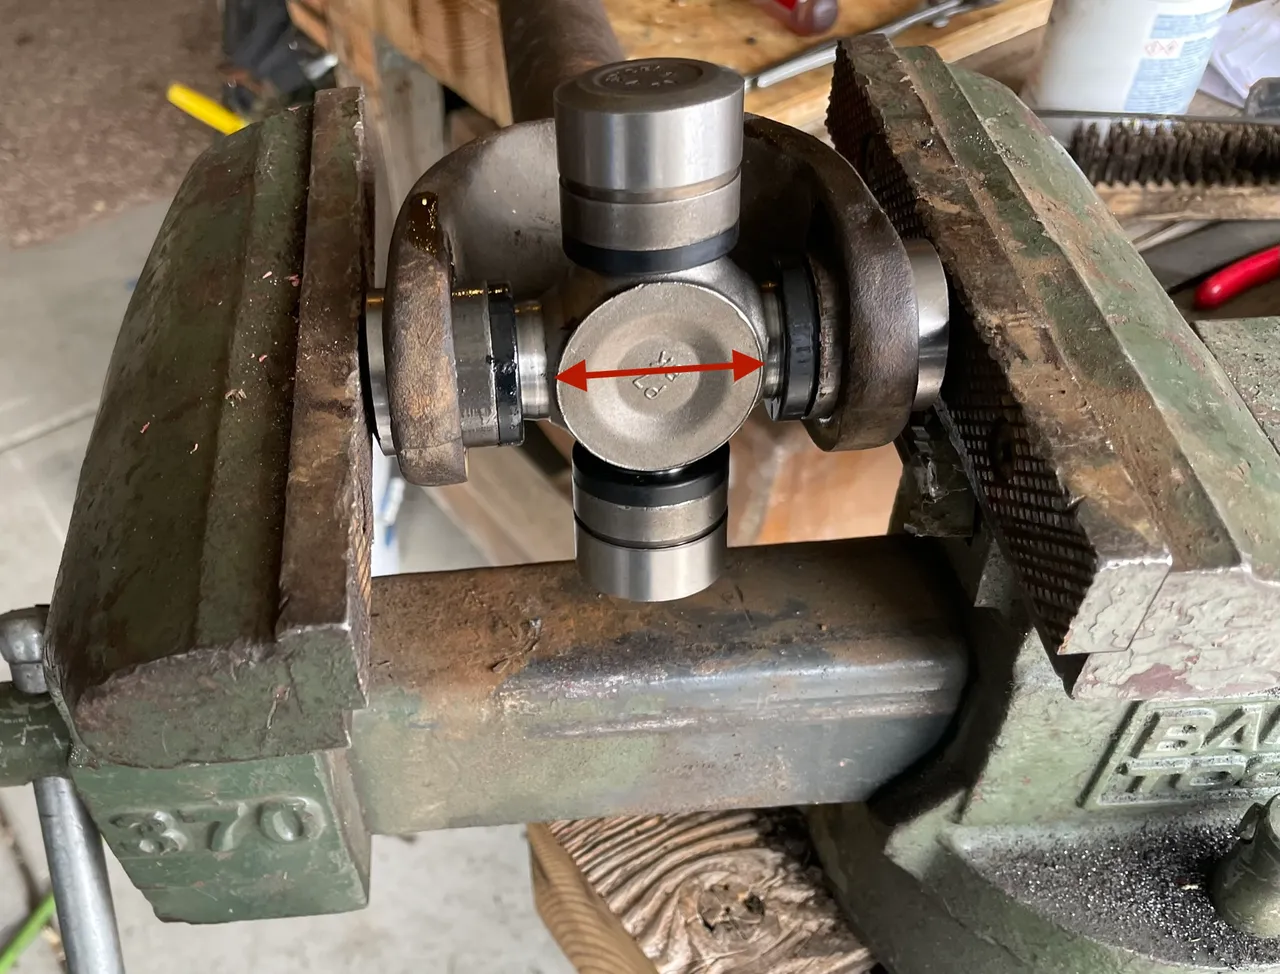
Then crank down on the vice until you can see the grove that the new C clips snap into. Now if you can’t crank the vice any further, you may need to hit the end of the cup with a sledge to get it seated all the way. Then install the C clips on both of the cups.
Next it’s time to put the other half of the joint together. Here is a better demonstration of how the u-joint gets installed into the cups.
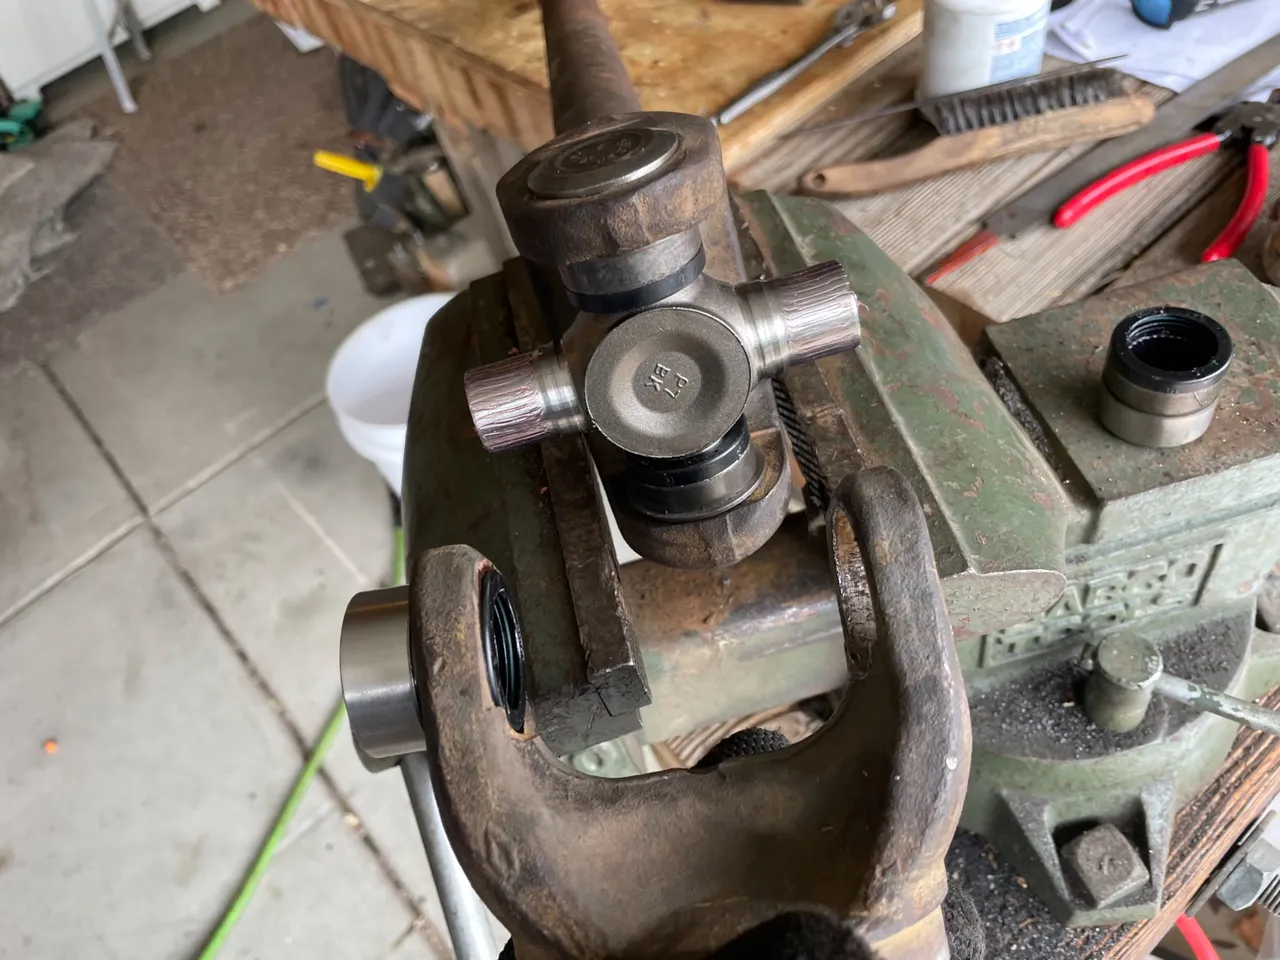
Then slide the u-joint into the open side of the knuckle
Slide the u-joint into the cup and give it a couple taps with a hammer
Install the other cup

Then press them in with the vise until the opposite side cup contacts the u-joint. Then slide the u-joint over to the point when it is partially in both cups. Then put the squeeze in it with the vice. Install the C clips and you are done!!
The joint shouldn’t floo around but it should move freely with just a little bit of force. Don’t forget to install the grease zert and pump in a little grease to make sure those needle bearing are all nice and greased up.
That’s a wrap for Part 3 of the 2001 Ford Excursion front axle rebuild. Stay tuned for Part 4 when I remove the outer axle knuckle and replace the ball joints. Be ready for some more sledge hammer action!!

Your Random
Dose of...