ESPAÑOL
Bienvenidos
ENGLISH
Welcome

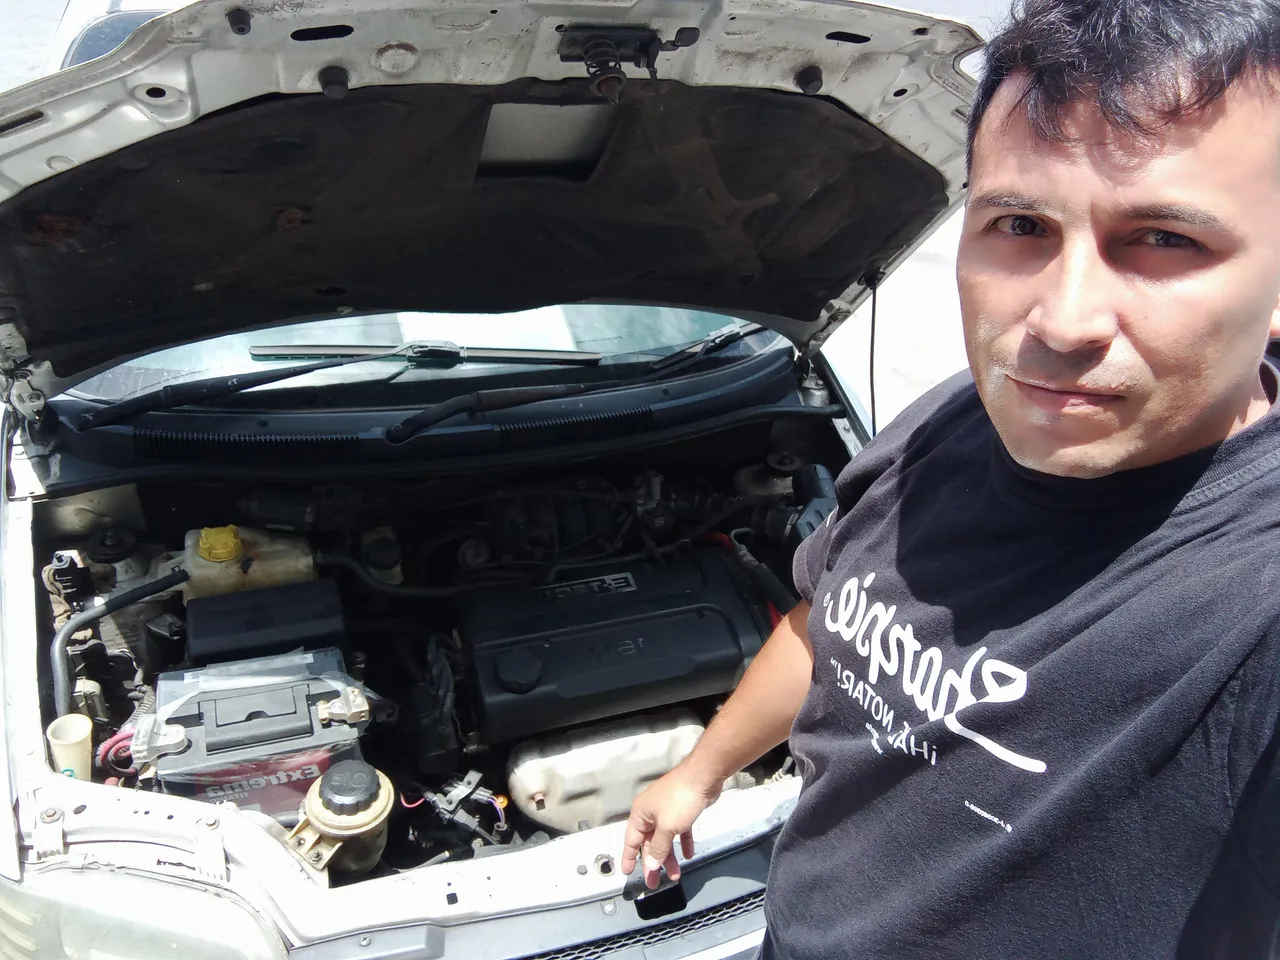
Hola mis amigos de hive motors!
Tenía pendiente realizar este post, que por razones de trabajo en viajes no había podido realizar... Así que les contaré la forma inesperada en la cual me encontré con mi carrito Aveo año 2007.
De ante mano les digo que es un excelente vehículo y para viajar es cómodo. Lo compre de segunda mano, los dueños originales lo cuidaron bastante bien, pero como siempre, de seguro hay mecánicos que se aprovechan de la buena fe de las damas para hacer su agosto.
Hello my friends of hive motors!
I had pending to make this post, which for reasons of travel work I had not been able to do .... So I will tell you the unexpected way in which I found my 2007 Aveo.
Beforehand I tell you that it is an excellent vehicle and to travel is comfortable. I bought it second hand, the original owners took good care of it, but as always, for sure there are mechanics that take advantage of the good faith of the ladies to make a profit.

Si, soy el segundo dueño y quien lo tenía era una señora que muy honestamente me indicó las condiciones del carrito. Con decirles que aún tiene sus papeles originales de agencia como el certificado de origen, para lo cual debo en lo próximo hacer el papeleo ante tránsito.
Pues bien, ya con el carrito en mi poder, me dispuse a revisar y a buscar la manera de corregir algunas cosas que visiblemente estaban mal hechas, como por ejemplo el invento de algún mecánico al colocar los bombines del croche, reparar las luces antiniebla que estaban inoperativas, cambiar la bobina eléctrica y sus cables, cambiar las bujías, etc....
Lo cierto es que en una oportunidad el carrito, tenía con el dos meses, y andando por una de las avenidas de la ciudad donde vivo, sin más ni más... Se me apago sin aviso de absolutamente nada... Me quede sorprendido, e inmediatamente intente prender el carro... No prendió...
Me puse a pensar que pudo haber sucedido y a especular cual sería la falla. No me quedó otra que remolcarlo hasta la residencia.
Yes, I am the second owner and who had it was a lady who very honestly told me the condition of the car. I have to tell you that it still has its original agency papers such as the certificate of origin, for which I have to do the paperwork before the transit office in the near future.
Well, with the car in my possession, I set out to review and find a way to correct some things that were visibly wrong, such as the invention of a mechanic to place the bulbs of the croche, repair the fog lights that were inoperative, change the electrical coil and its wires, change the spark plugs, etc. ....
The truth is that in an opportunity the car, had with him two months, and walking along one of the avenues of the city where I live, without more or more .... It turned off without any warning at all.... I was shocked, and immediately tried to start the car.... It did not start...
I started to think about what could have happened and to speculate what could be the fault. I had no choice but to tow it to the residence.

Estando accidentado llame a mi amigo mecánico, al cual le te mucha confianza porque además es familiar. Lo primero que me dijo es que no intentará prenderlo... SORPRESA! un nuevo aprendizaje... Lo que me dijo con la explicación que le di es que la falla pudo haber sido la rotura de la correa, que no debía intentar prenderlo porque podía doblar todas las válvulas y el daño iba a ser mayor., ya el mal estaba realizado! 🙄😬😬😬
Al llevar al mecánico a mi residencia donde tenía el carrito, nos dispusimos a revisarlo con calma y más detalle... Las malas noticias no se hicieron esperar... Habia roto la correa y lo más seguro es que había doblado válvulas, por lo que tenía que hacerle el motor al carrito prácticamente.
Ya eran las 10 am aproximadamente y nos pusimos hacer la lista de los repuestos que necesitaria para poner nuevamente en carro operativo...
While I was in the accident I called my mechanic friend, whom I trust a lot because he is also a family member. The first thing he told me was not to try to start it... SURPRISE! a new apprenticeship... What he told me with the explanation I gave him is that the failure could have been the belt breaking, that I should not try to turn it on because it could bend all the valves and the damage was going to be greater, the evil was already done! 🙄😬😬😬
Taking the mechanic to my residence where I had the cart, we set out to check it calmly and in more detail.... The bad news was not long in coming.... He had broken the belt and most likely had bent valves, so he had to do the engine to the cart practically.
It was already about 10 am and we started to make a list of the spare parts we would need to put the car back in operation...
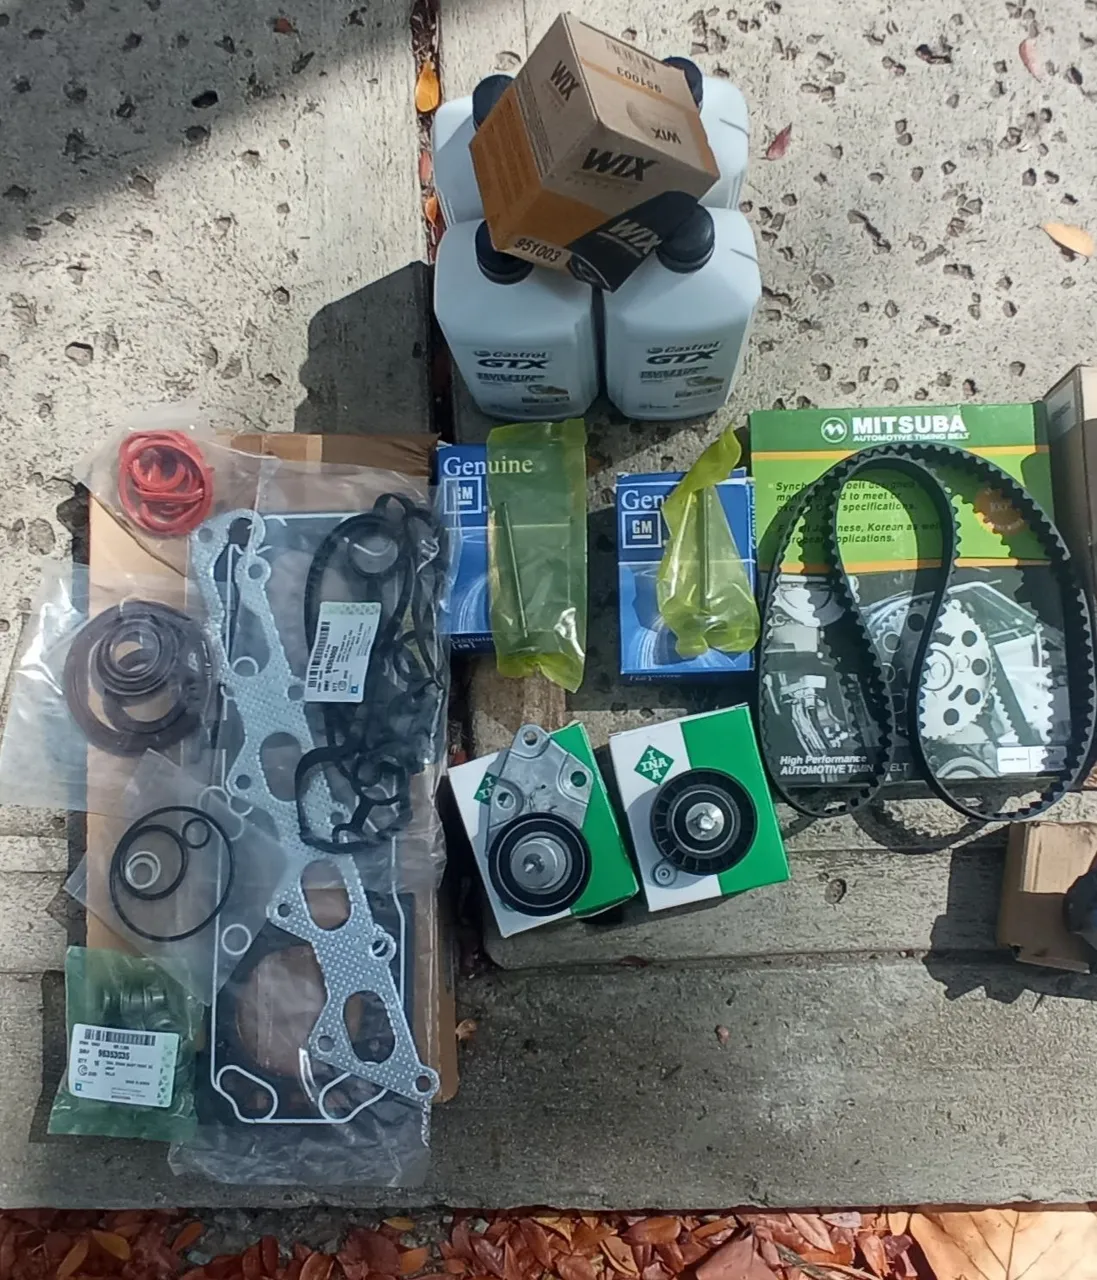
Lista de repuestos y materiales.
- Correa de tiempo
- tensores de la corra de tiwmño
- kid de orrines y empaques
- válvulas de admisión y compresión
- sellos
- 4 bujias
- cables para bujías de Aveo
- Bobina electrica
- filtro de aceite
- 4 litros aceite 20/50 w para motor a gasolina
- silicon
Herramientas
Llaves de 10, 12, 14 y 16 mm
Dados de 10, 12, 14 y 16 mm
Rache
Dado y extension para bujías
List of spare parts and materials.
- Timing belt
- timing belt tensioners
- kid of orrines and gaskets
- intake and compression valves
- seals
- 4 spark plugs
- Aveo spark plug wires
- electric coil
- oil filter
- 4 liters oil 20/50 w for gasoline engine
- silicon
Tools
10, 12, 14 and 16 mm wrenches
10, 12, 14 and 16 mm sockets
Rache
Dies and extension for spark plugs
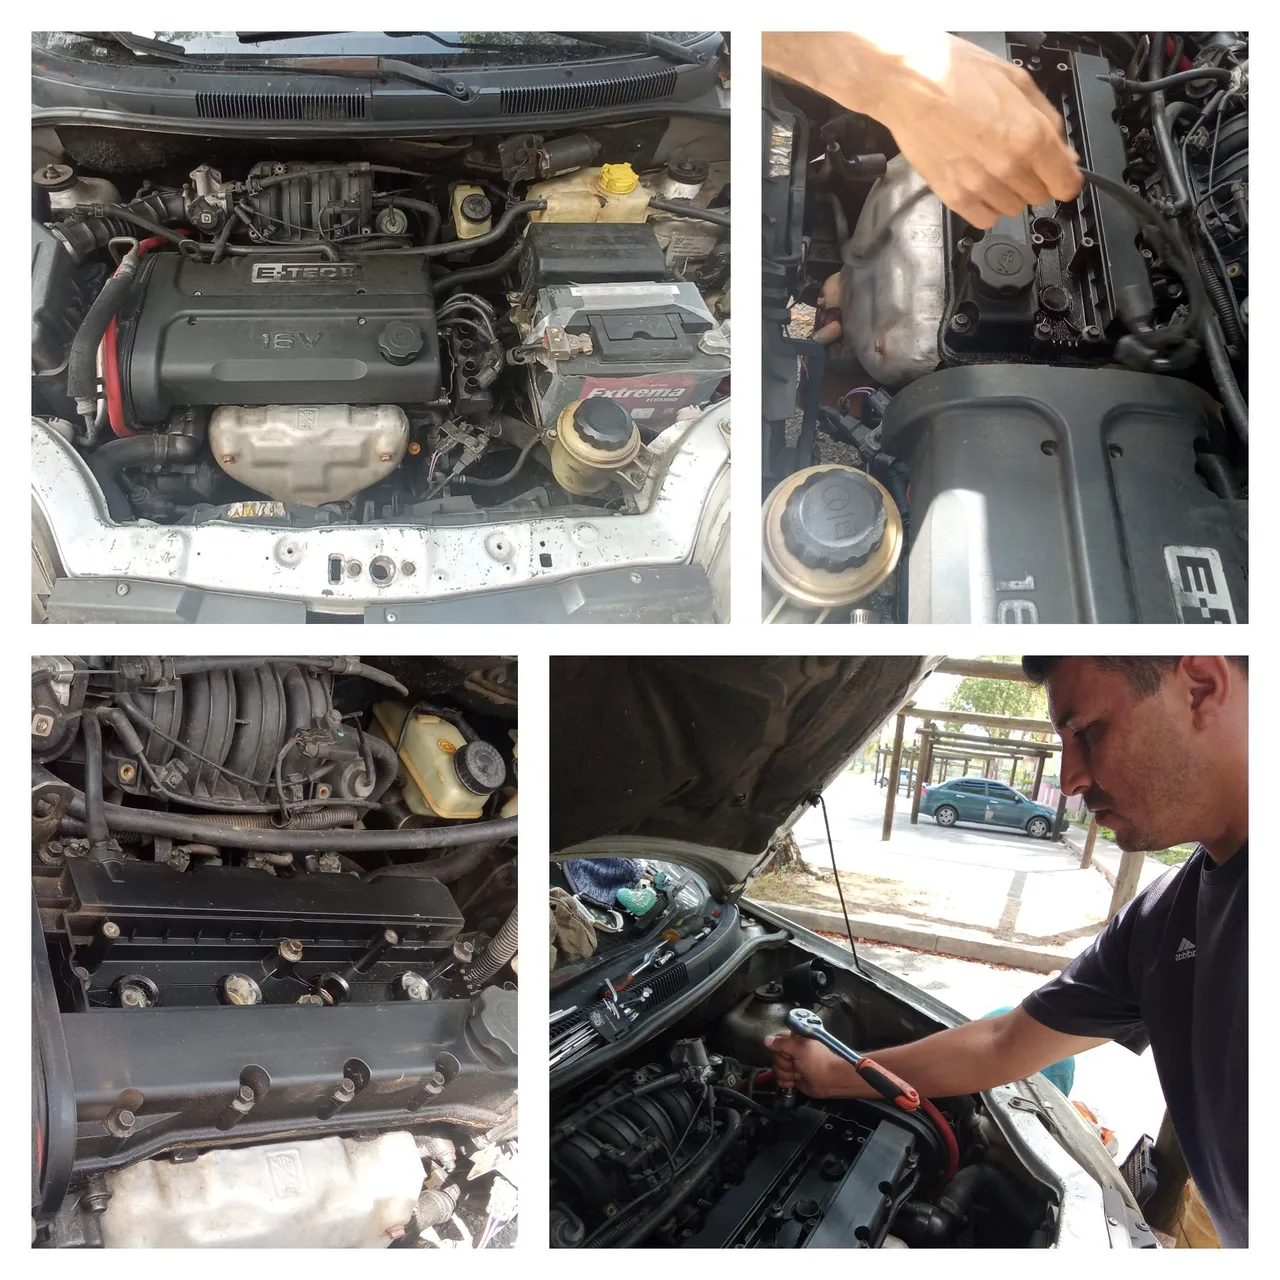
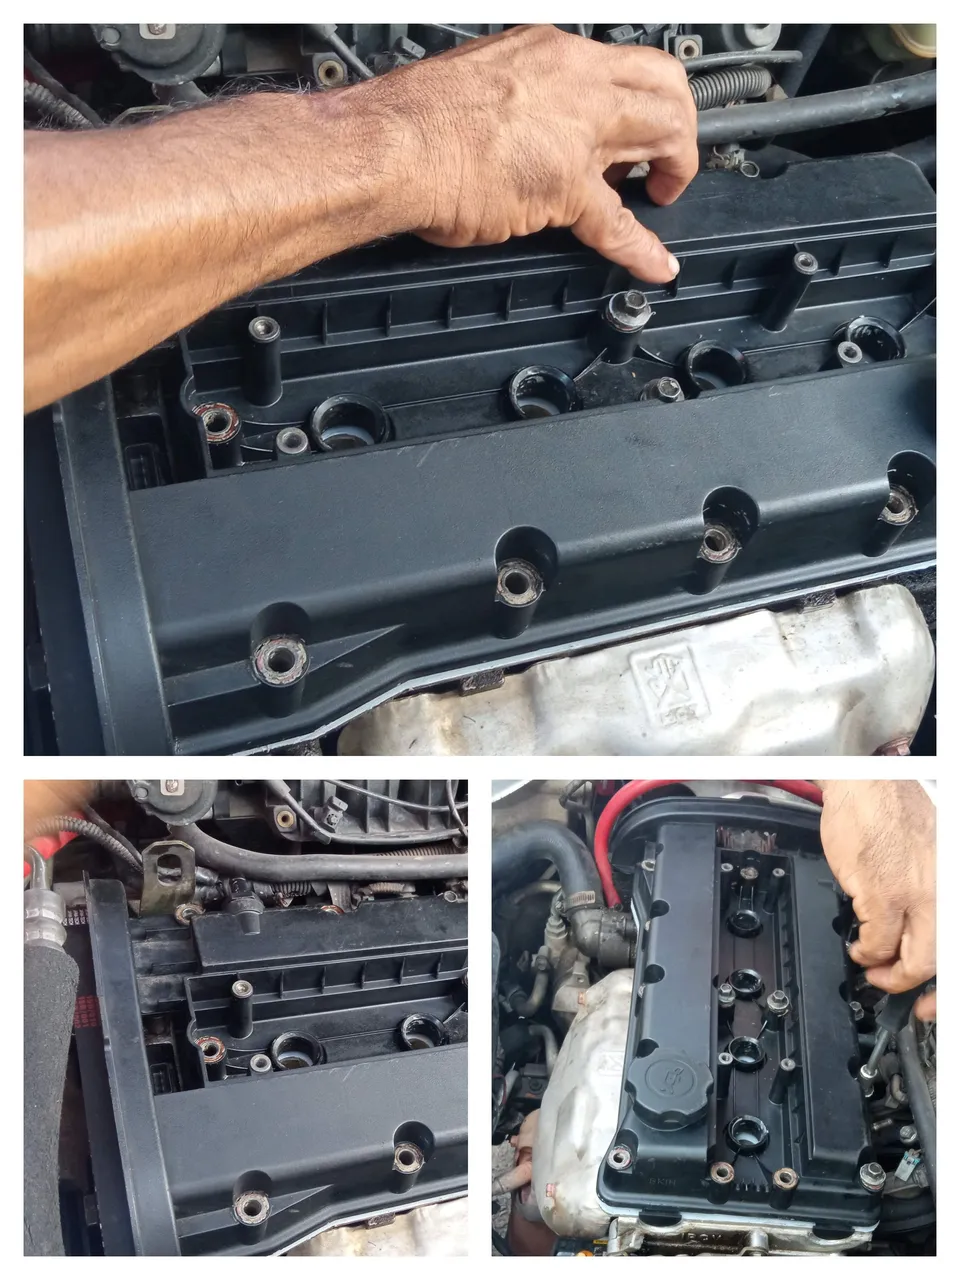
Bien... Ya revisado el estado del vehículo, con las herramientas y los repuestos nos dispusimos a desarmar el motor, quitando la tapa que lo cubre con llave 10 mm y dado 10 mm con rache, dejando el motor expuesto.
Desconectamos los cables de las bujías y nos dispusimos a quitar la bobina eléctrica con llave y rache con dado 12 mm.
Luego quitamos los tornillos que sujetan la tapa dlnde va la correa de tiempo, acá usamos rache con dado 12 mm. Esto nos permitió ver la posición de los piñones donde se coloca la correa. Allí confirmamos que la correas de tiempo se había roto, la removimos.
Well... Already revised the state of the vehicle, with the tools and spare parts we disassembled the engine, removing the cover that covers it with 10 mm wrench and 10 mm die with rache, leaving the engine exposed.
We disconnected the spark plug wires and removed the electric coil with a 12 mm wrench and a 12 mm socket.
Then we removed the screws that hold the timing belt cover, here we used a 12 mm die wrench. This allowed us to see the position of the sprockets where the belt is placed. There we confirmed that the timing belt had broken, we removed it.
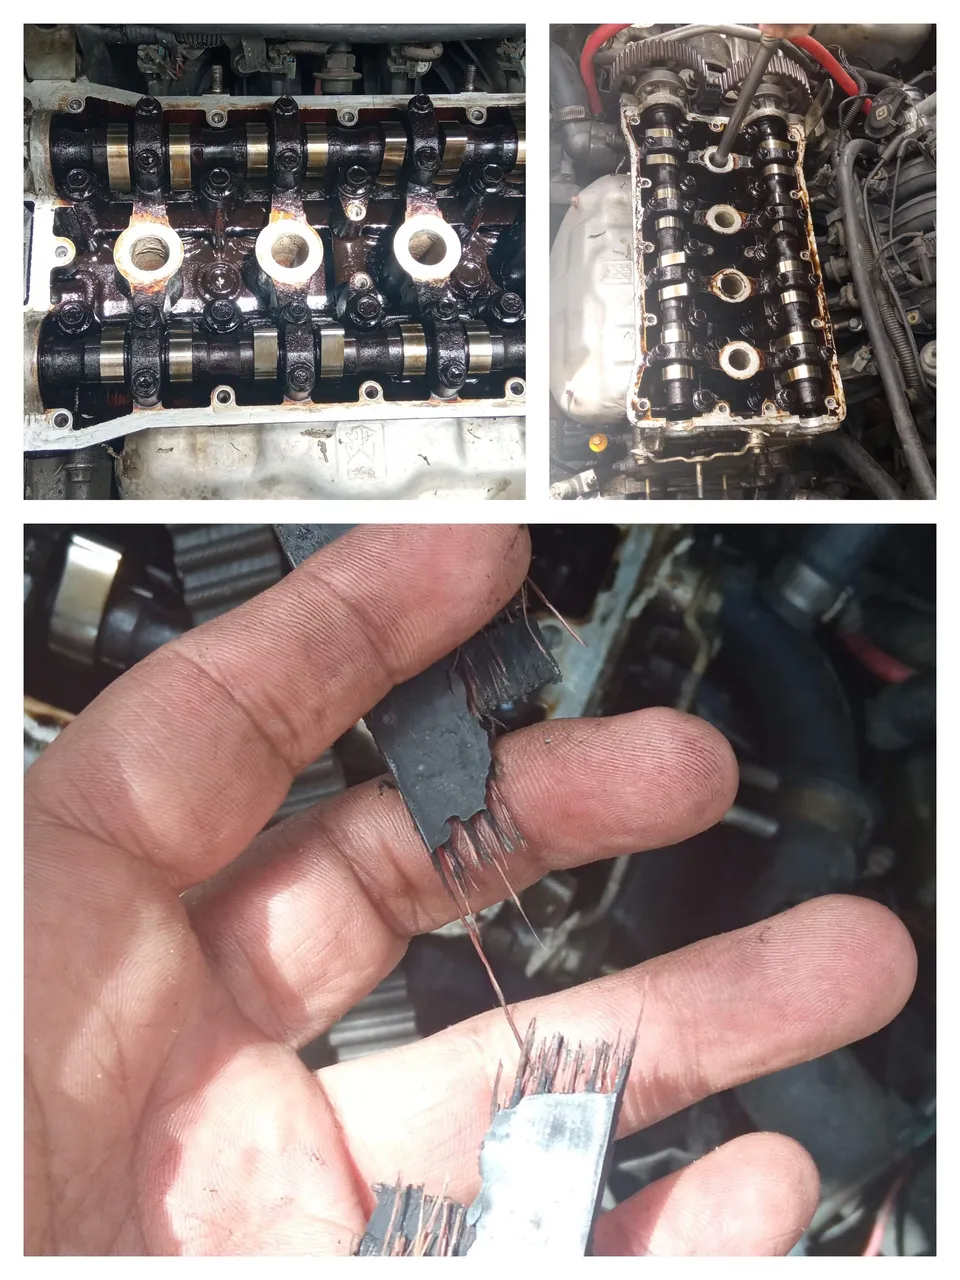
Desarmamos los tensores y sacamos con ayuda de un destornillador los sellos que evitan que el aceite salga del motor.
Usando el rache y la extensión para bujías, retiramos cada una de ellas para sustituirlas posteriormente.
Con ayuda del rache con dado 16 mm se verificó el estado del motor, haciéndolo girar y colocando un dedo en uno de los hueco donde van las bujías, esto con la intención de conocer la situación de la admisión y compresión del motor, lo que confirmaría si había doblado válvulas.
Esta prueba se hizo con cada hueco. Pará sorpresa de nosotros y alegría fue que el motor tenía compresión, lo que indicaba que las válvulas lo se habías doblado, que es lo común cuando se rompe la correa de tiempo. Indicándonos inmediatamente que a este motor le habían realizado un trabajo para que no doblará las válvulas.
We disassemble the tensioners and remove with the help of a screwdriver the seals that prevent the oil from coming out of the engine.
Using the rache and the spark plug extension, we removed each one of them to replace them later.
With the help of the rache with a 16 mm die we verified the state of the engine, making it rotate and placing a finger in one of the holes where the spark plugs go, this with the intention of knowing the situation of the admission and compression of the engine, which would confirm if it had bent valves.
This test was done with each hole. To our surprise and joy was that the engine had compression, which indicated that the valves were not bent, which is common when the timing belt breaks. We were immediately told that this engine had been reworked to prevent the valves from bending.

Este trabajo, del cual no sabíamos, tiene dos formas de hacer, una es colocando doble empaque la motor y la segunda es haciéndole una muezca a los pistones para que no se doblen las válvulas. Por tanto el gasto o inversión a realizar se reducía considerablemente, ya que no se iban a necesitar ni los empaque ni las válvulas de admisión y compresión.
Con esta maravillosa noticia noticia, nos concentramos en remover la correa de tiempo, colocar los sellos y los tensores. Ya colocados pusimos los piñones en tiempo ta colocar la correa. Esto nos llevó un tiempito ya que la correa se negaba a entrar... Hasta que calzo completamente.
Limpiamos la tapa del motor, quietamos el exceso de silicon que tenía, un tamos con silicon y pusimos uno de los empaques que traía el kid. Montamos la tapa. Colocamos sus respectivos tornillos a un torque mínimo, puesto que el motor es de aluminio y si se llegara a apretar de más correría mis el riego de aislar el tornillo.
This work, of which we did not know, has two ways to do, one is to place double gaskets on the engine and the second is to make a move to the pistons so that the valves do not bend. Therefore, the expense or investment to be made was considerably reduced, since neither the gaskets nor the intake and compression valves were going to be needed.
With this wonderful news, we concentrated on removing the timing belt, placing the seals and tensioners. Once they were in place we put the sprockets on the timing belt. This took us a while as the belt refused to fit.... Until it fit completely.
We cleaned the engine cover, removed the excess of silicone that had, we put some silicone and put one of the gaskets that came with the kid. We mounted the cover. We placed their respective screws to a minimum torque, since the engine is aluminum and if it were to overtighten would run my risk of isolating the screw.
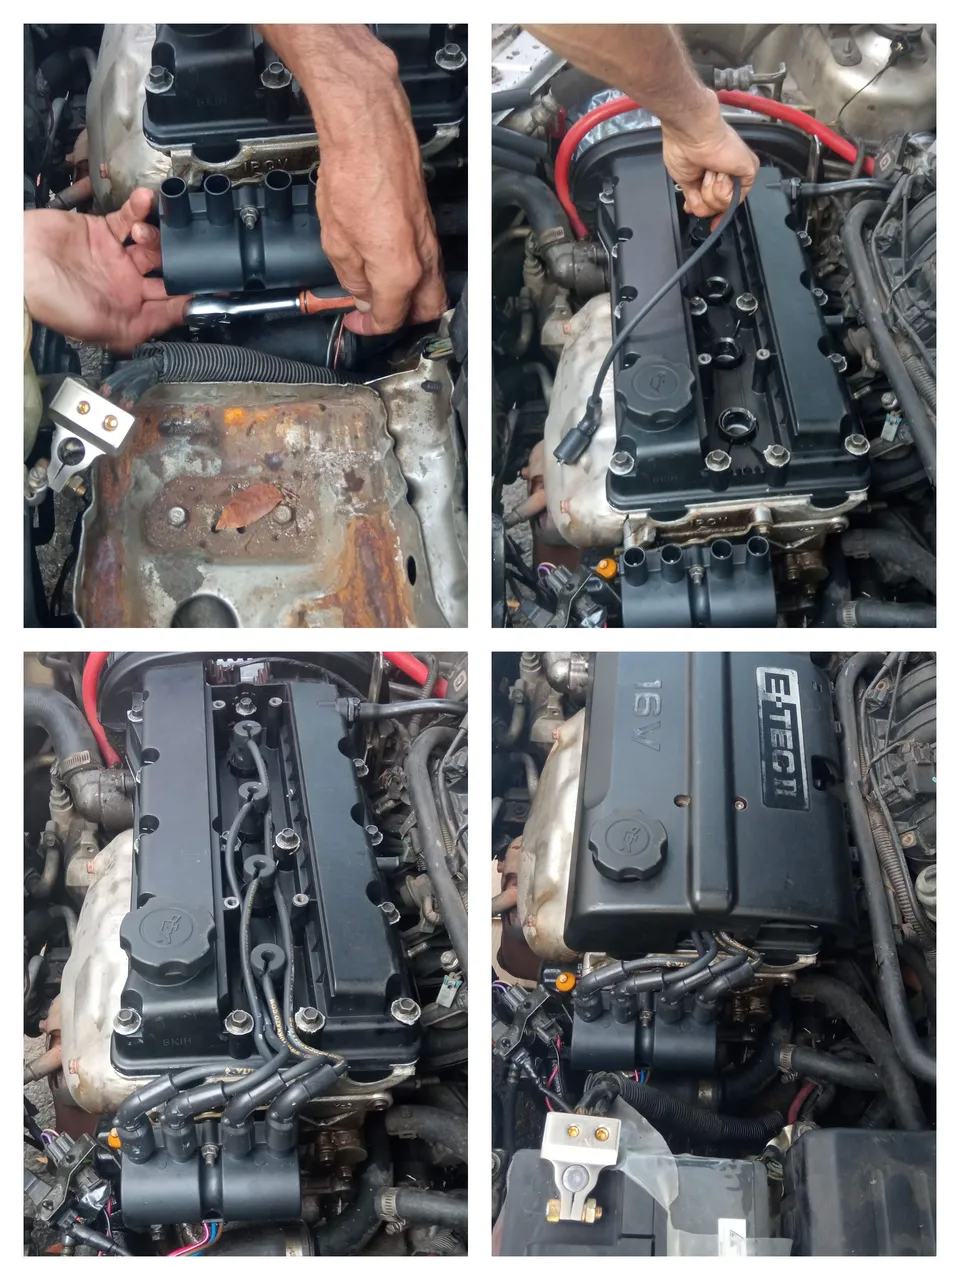
Ya colocada la tapa del motor nos dispusimos a montar la tapa de la correa de tiempo con sus respectivos tornillos.
Colocamos la nueva bobina eléctrica, metimos las bujías y pusimos los cables de las bujías en el orden que indica el mismo motor. Cada cable va en una posición específica
Con todo listo por el lado de reparación del motor, con la llave 16 mm quitamos el tampon que está debajo del motor para sacra el aceite. Quitamos el filtro de aceite y lo sustituimos con uno nuevo. Pasado un rato que escurriera el aceite, pusimos el tapón y por la parte superior le colocamos 4 litros de aceite 20/50.
Ya armado el motor y colocado el aceite nuevo, nos ocupamos de encender el carrito. Gracias al conocimiento del amigo mecánico, aprendí que cuando a un Aveo se le hace el motor o se le cambia la correa de tiempo, tarda muchísimo en encender, tanto que tuvimos que usar dos baterías, una para que el sistema de taquetes cargará y cuando se descargo usamos la segunda... Felicidad cuando encendió!
Asi fue como reparamos el carrito Aveo 2007.
Once the engine cover was in place, we mounted the timing belt cover with its respective screws.
We placed the new electric coil, inserted the spark plugs and put the spark plug wires in the order indicated by the engine itself. Each wire goes in a specific position
With everything ready on the repair side of the engine, with the 16 mm wrench we removed the plug that is under the engine to remove the oil. We remove the oil filter and replace it with a new one. After a while to drain the oil, we put the cap and put 4 liters of oil 20/50 in the upper part.
Once the engine was assembled and the new oil was in place, we started the cart. Thanks to the knowledge of my mechanic friend, I learned that when an Aveo has its engine overhauled or the timing belt changed, it takes a long time to start, so much so that we had to use two batteries, one for the tappet system to charge and when it discharged we used the second one.... Happiness when it started!
This is how we repaired the 2007 Aveo car.

Gracias por leer y votar este post...
Un abrazo!
Hasta otra oportunidad!
Puedes visitar mi blog de arte digital en Nftshowroom
Thank you for reading and voting this post...*** *** Thanks!
A hug!
See you again!
You can visit my digital art blog at Nftshowroom
Nota: todas las imágenes son de mi propiedad y fueron tomadas con mi dispositivo móvil Xiaomi.

Note: all images are my property and were taken with my Xiaomi mobile device.