
friends at work to install a meter in a new shop that has a voltage of 220 volts, because for 5 days my team has no work outside the area, we are a team sent home to rest for a while, instead of being bored at home I join a friend to install a few meters today this.
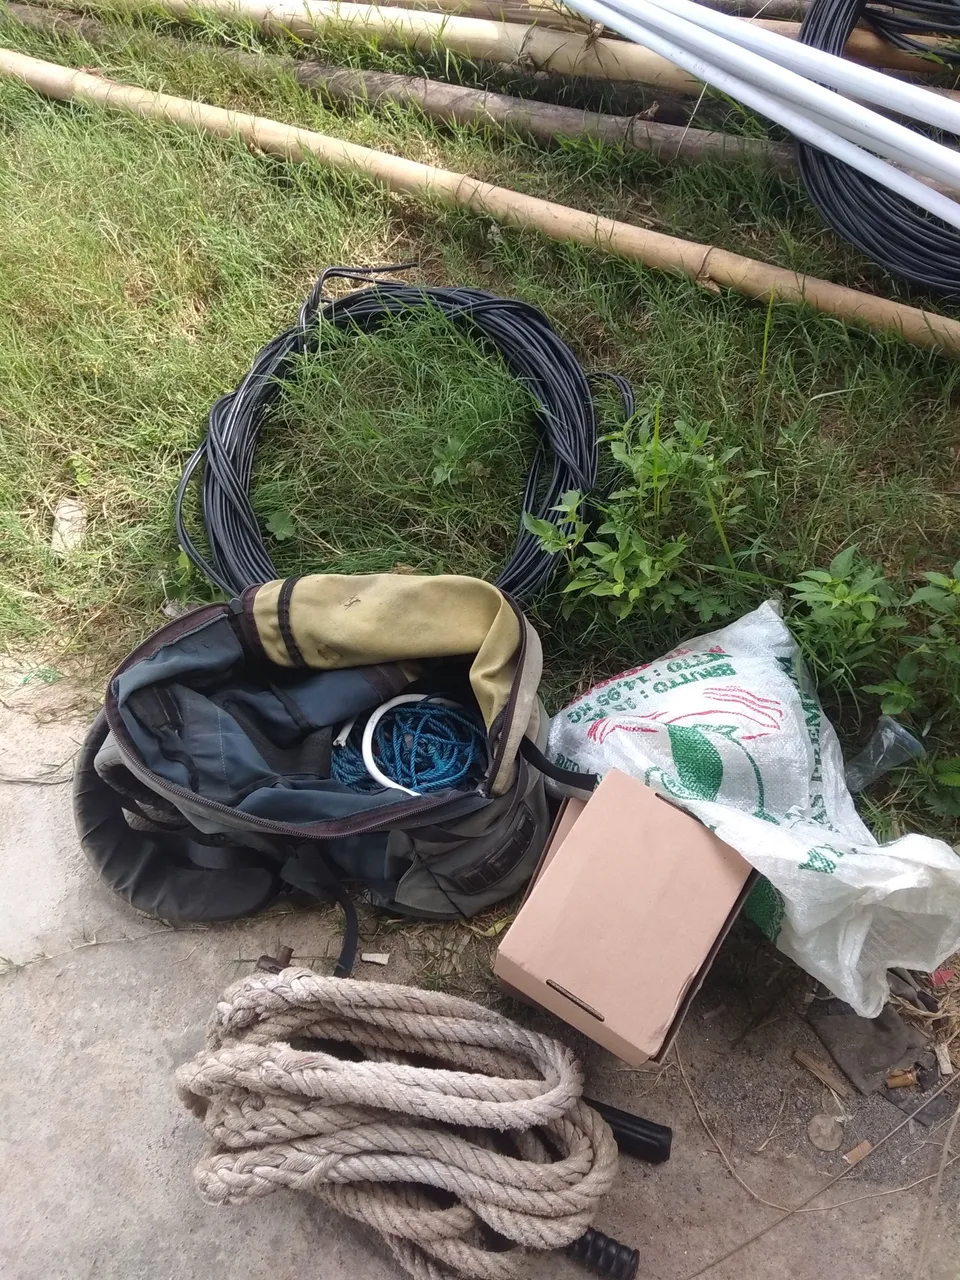
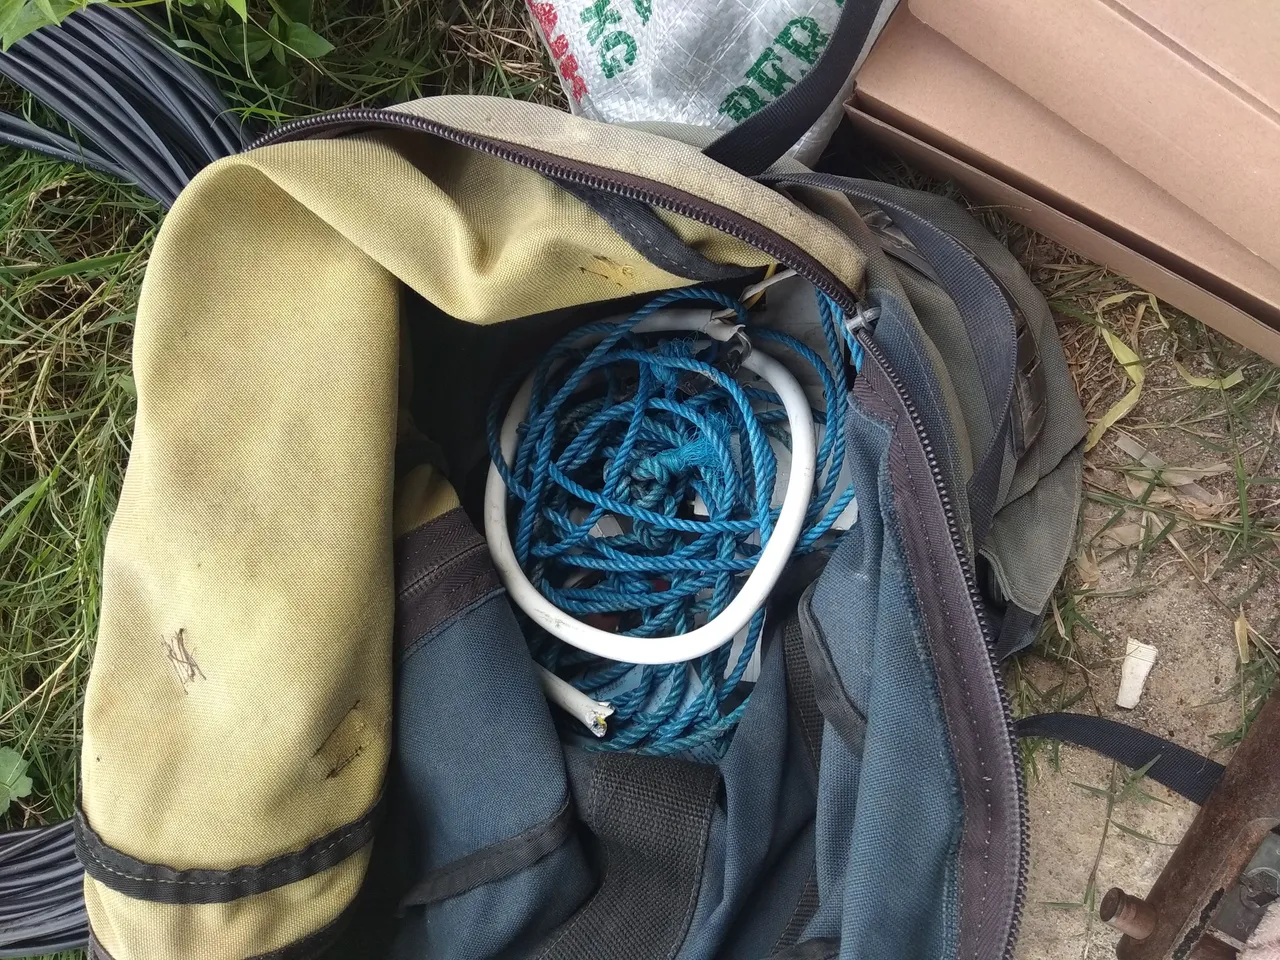
before we go down to the field we have to go to the office first to get equipment such as a meter, 2×10 SR cable, complete data, and the key that we will use.
When we got to the field, the first thing we had to do was measure the character of the electric pole with the meter to be installed.
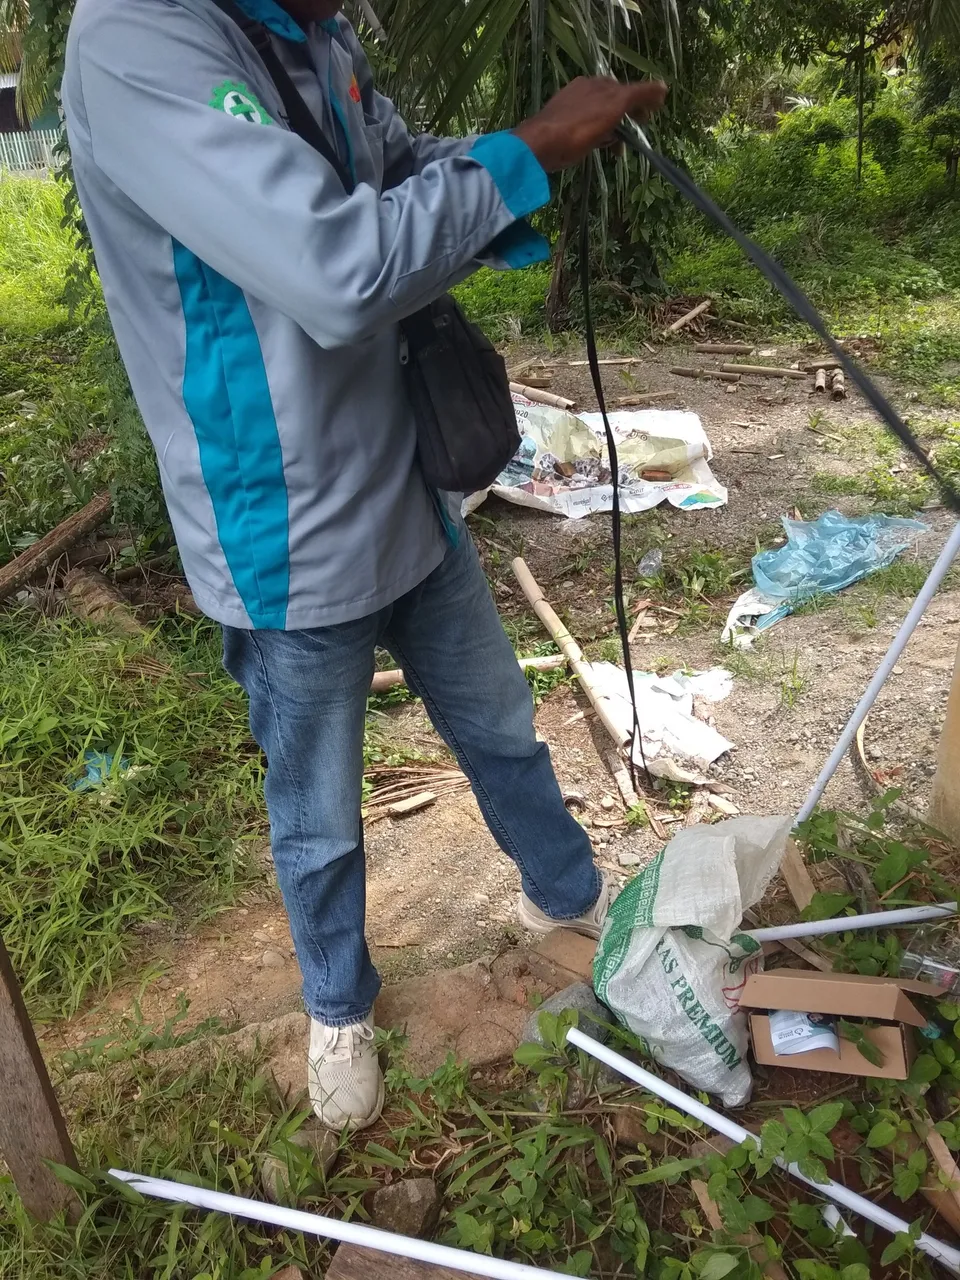
After the distance between the meter and the power pole has been measured, we immediately remove all work equipment and cables.
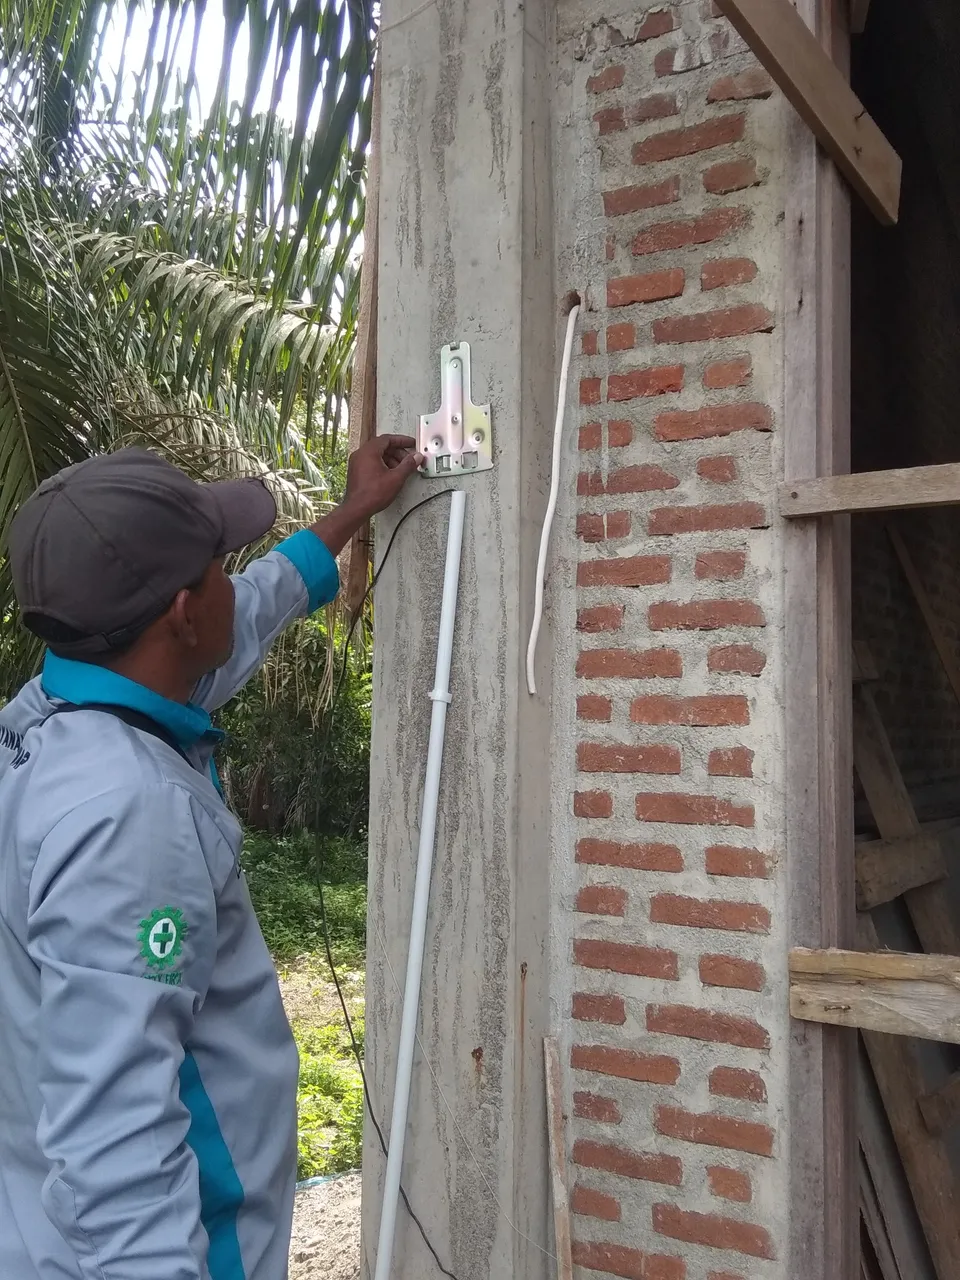


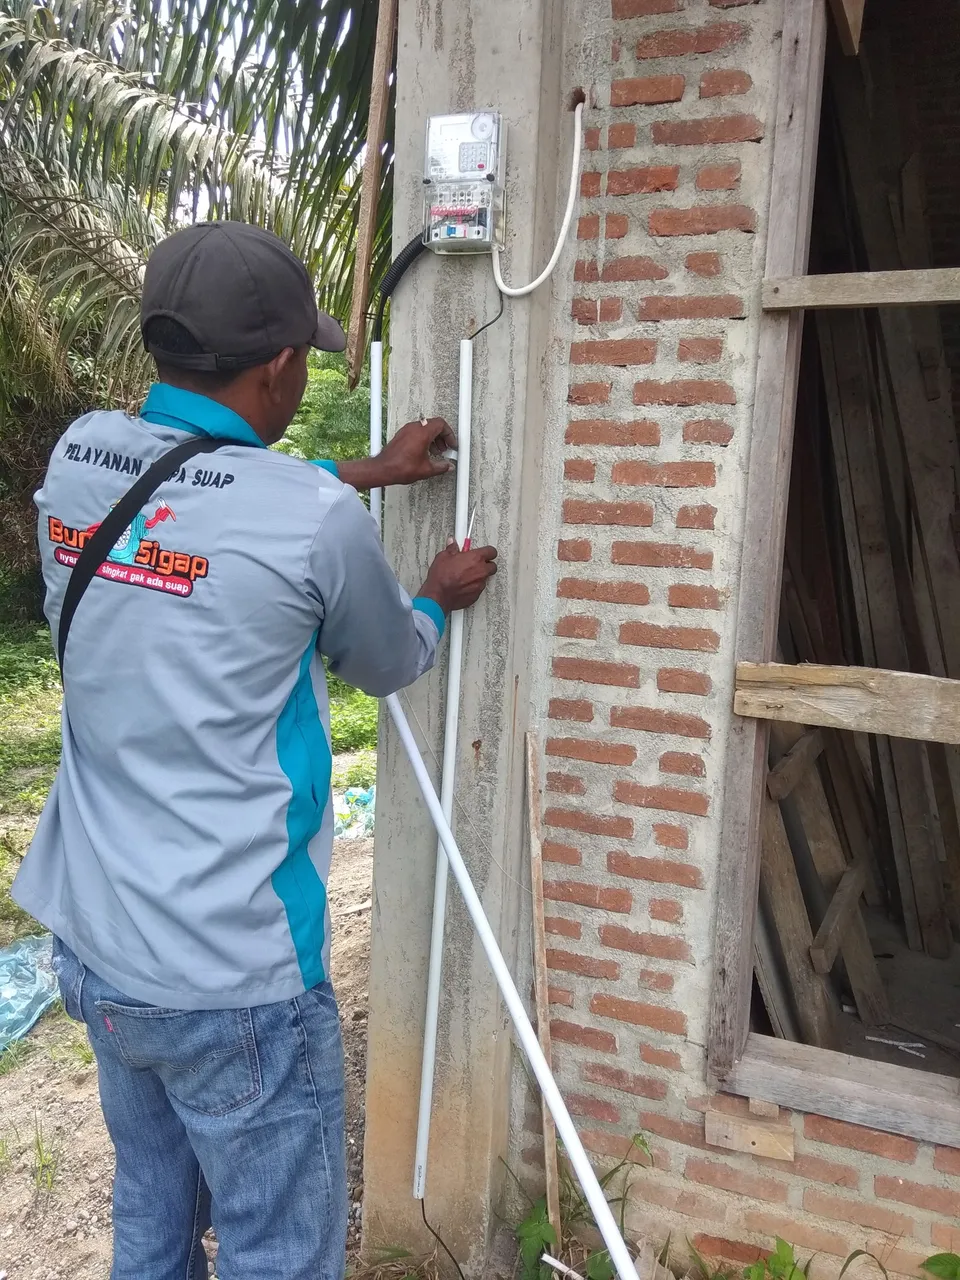
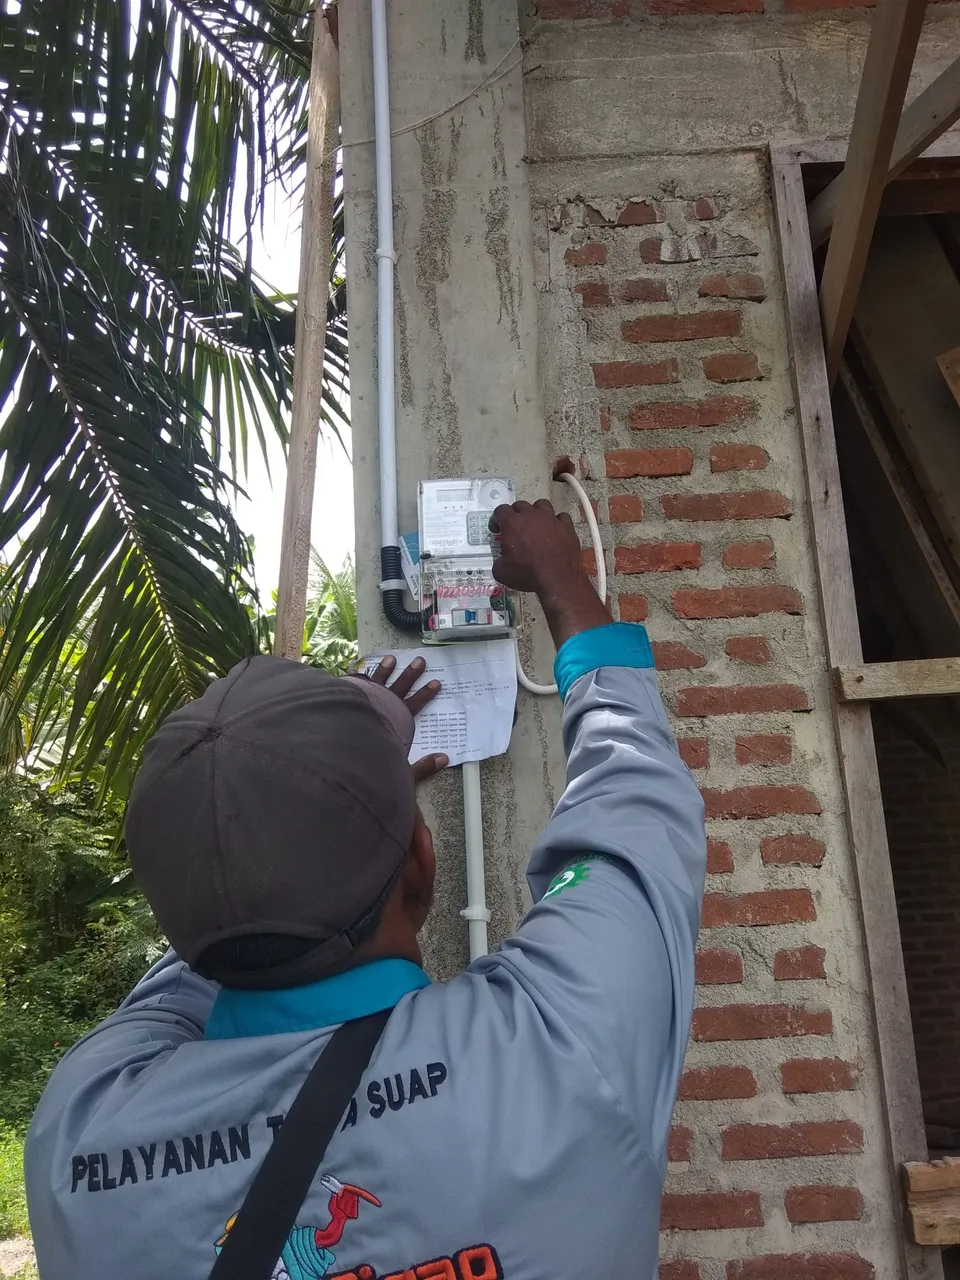
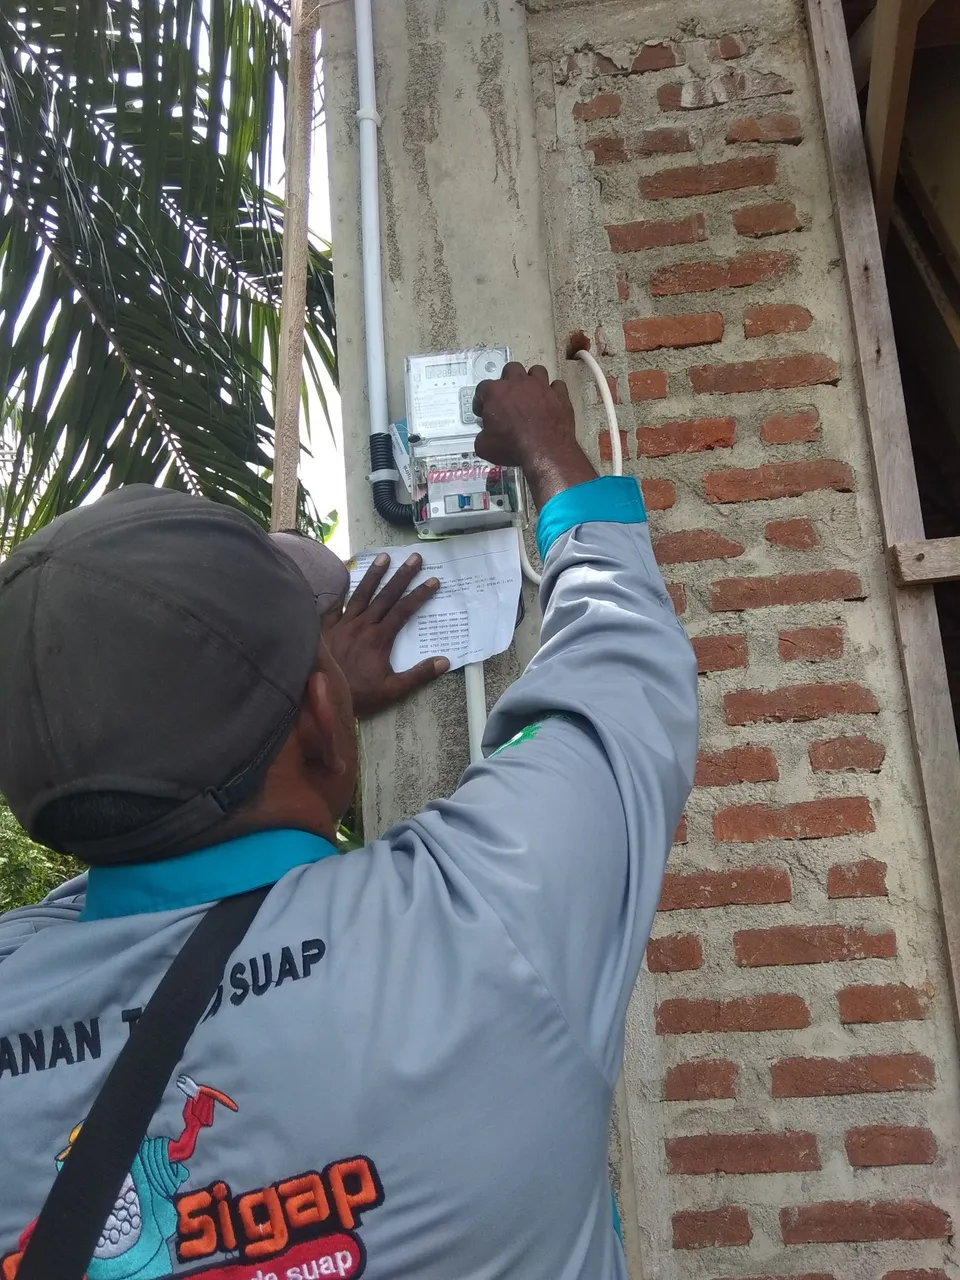
after we measured the distance we immediately installed a 220volt meter, the most important thing when installing the meter is to determine the distance of the meter from the floor, the minimum distance is 1.5 meters, so that it is out of reach of children and raindrops,
the installation of a meter in a new building like this requires a lot of calculations to be done, especially in a building that has not been plastered, because later when plastering the walls, the thickness of the walls will increase, and if the meter installed is not given a bearing in the form of a wooden board on the wall. the back, most likely the meter will have to be reopened later when it will be plastered.
but in my work this time we didn't give the meter a cushion in the form of a wooden board at the back because the wall where the meter was attached would not be in thick plaster, only given a little cement to flatten the surface


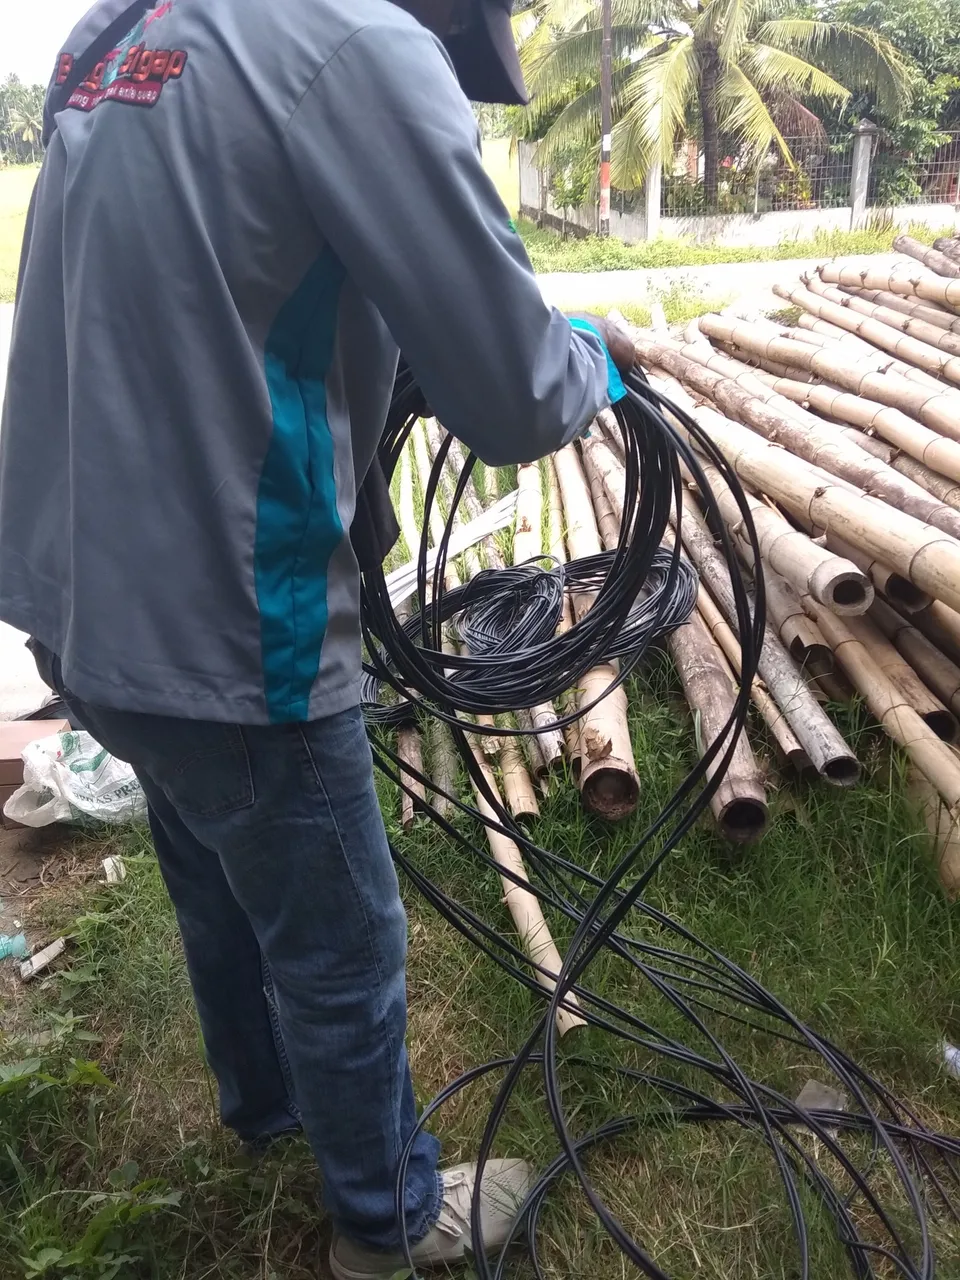
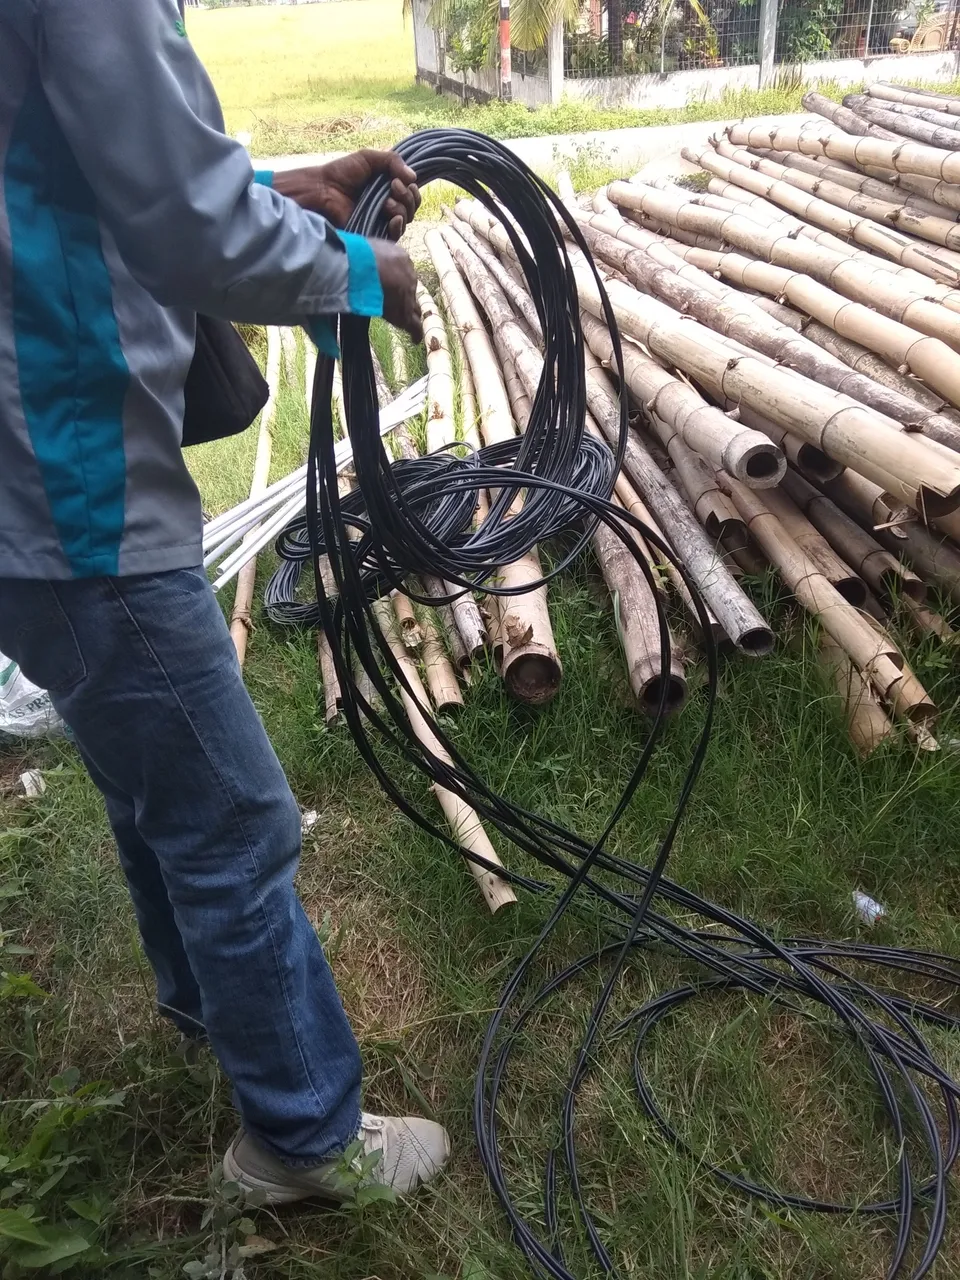
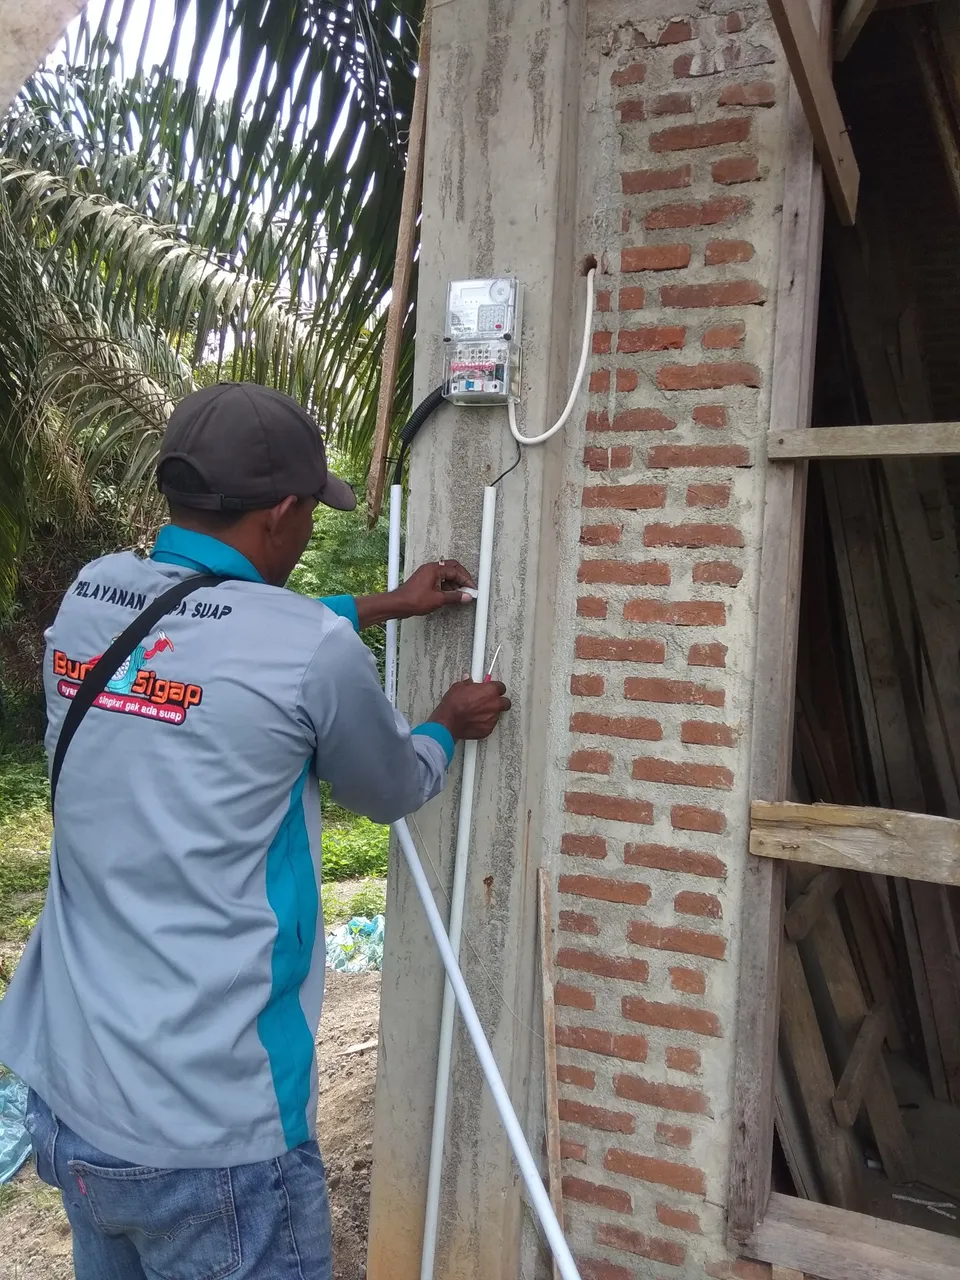
after the meter is installed proceed to the installation of SR 2×10 cable (home line).
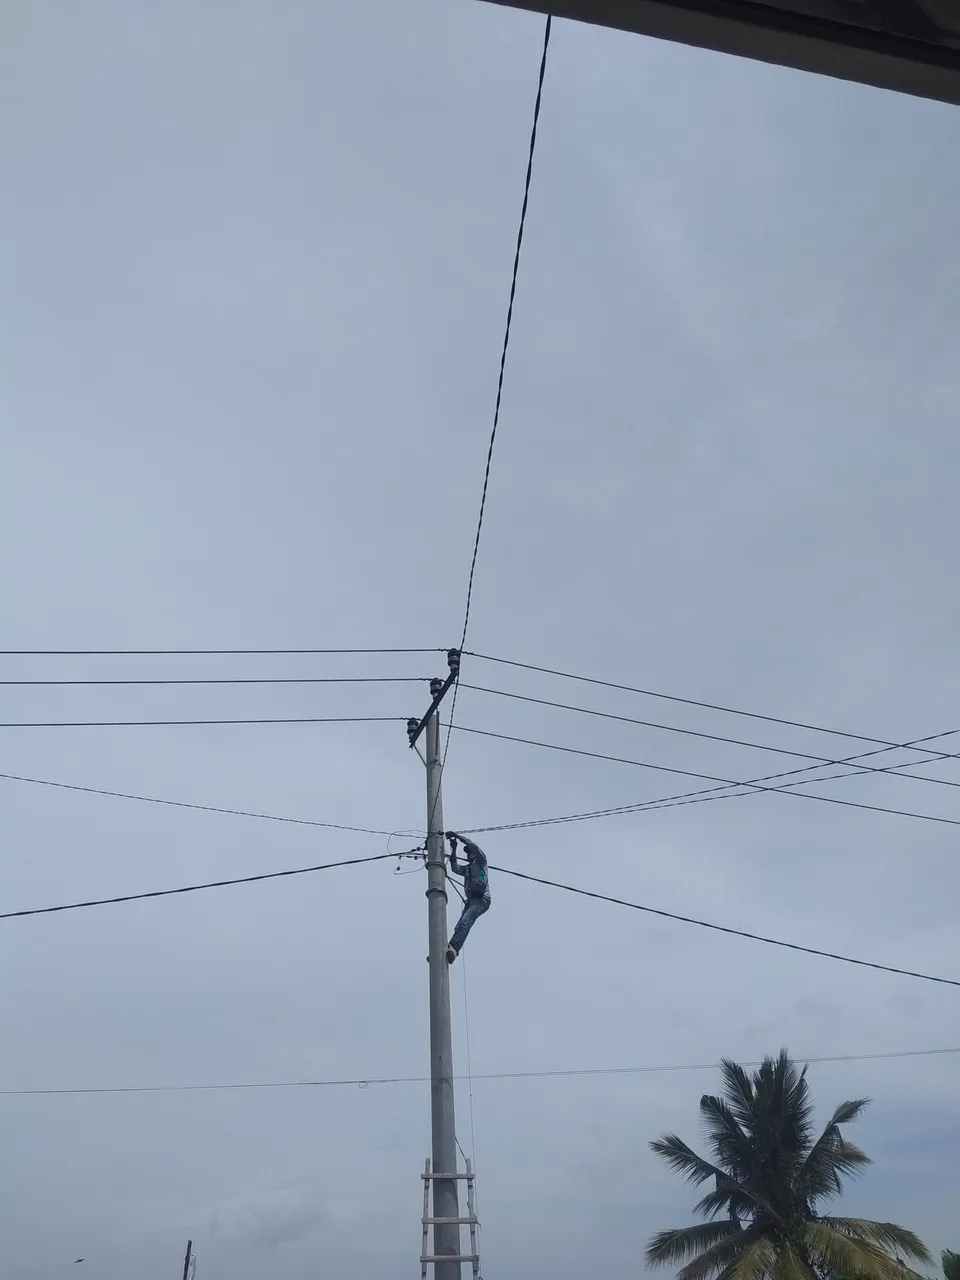
because the main point/stream that we will use is on the road pole, we have to attach the cable to the top, in contrast to the method of taking the point on the side building meter which only uses a 5 meter long cable which only takes a distance of 4 to 5 meters from the meter.
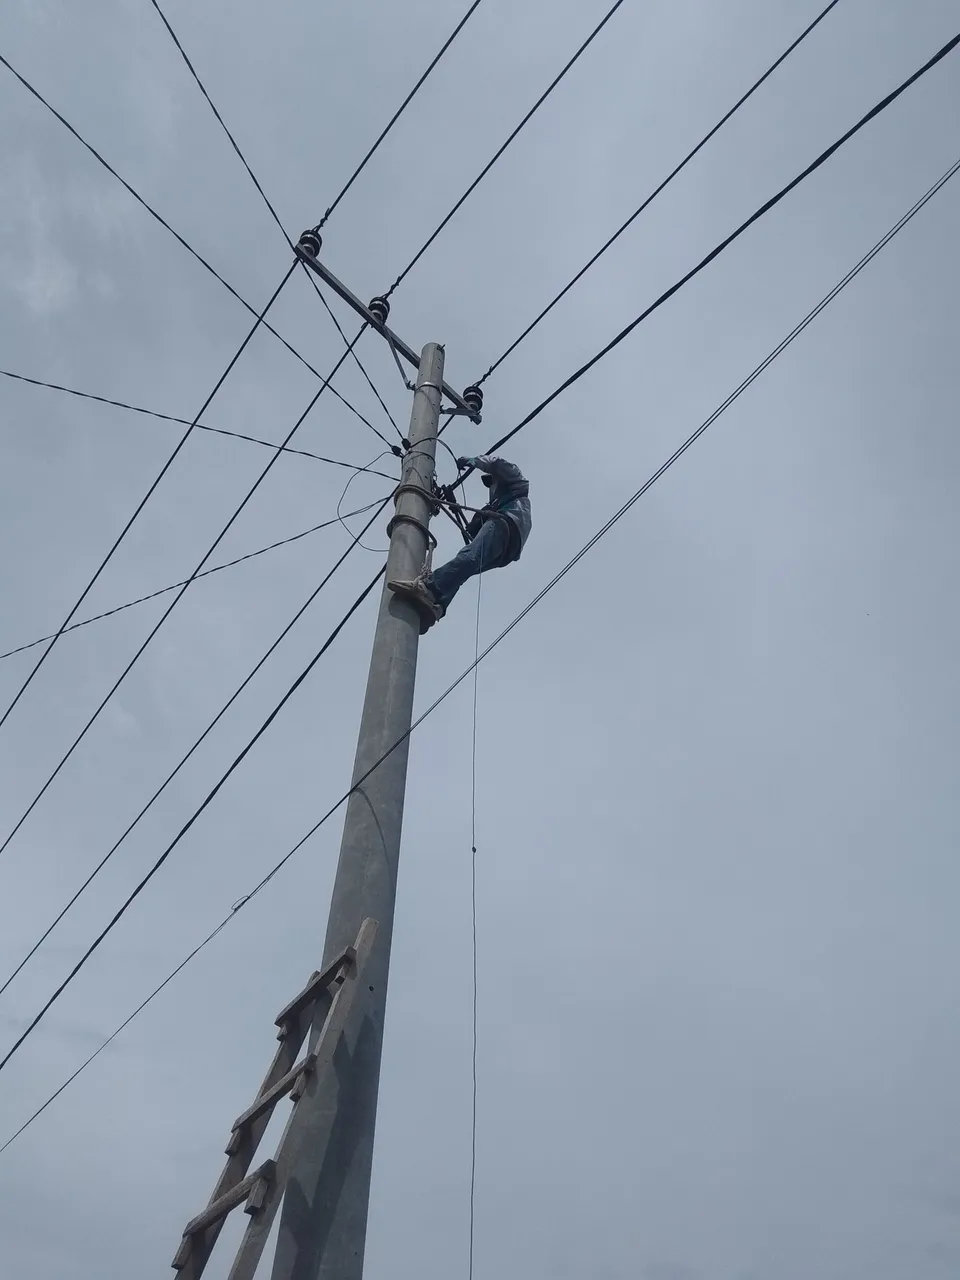

Don't copy and try if you are not experienced
taking and installing the cable that will go to the building meter.
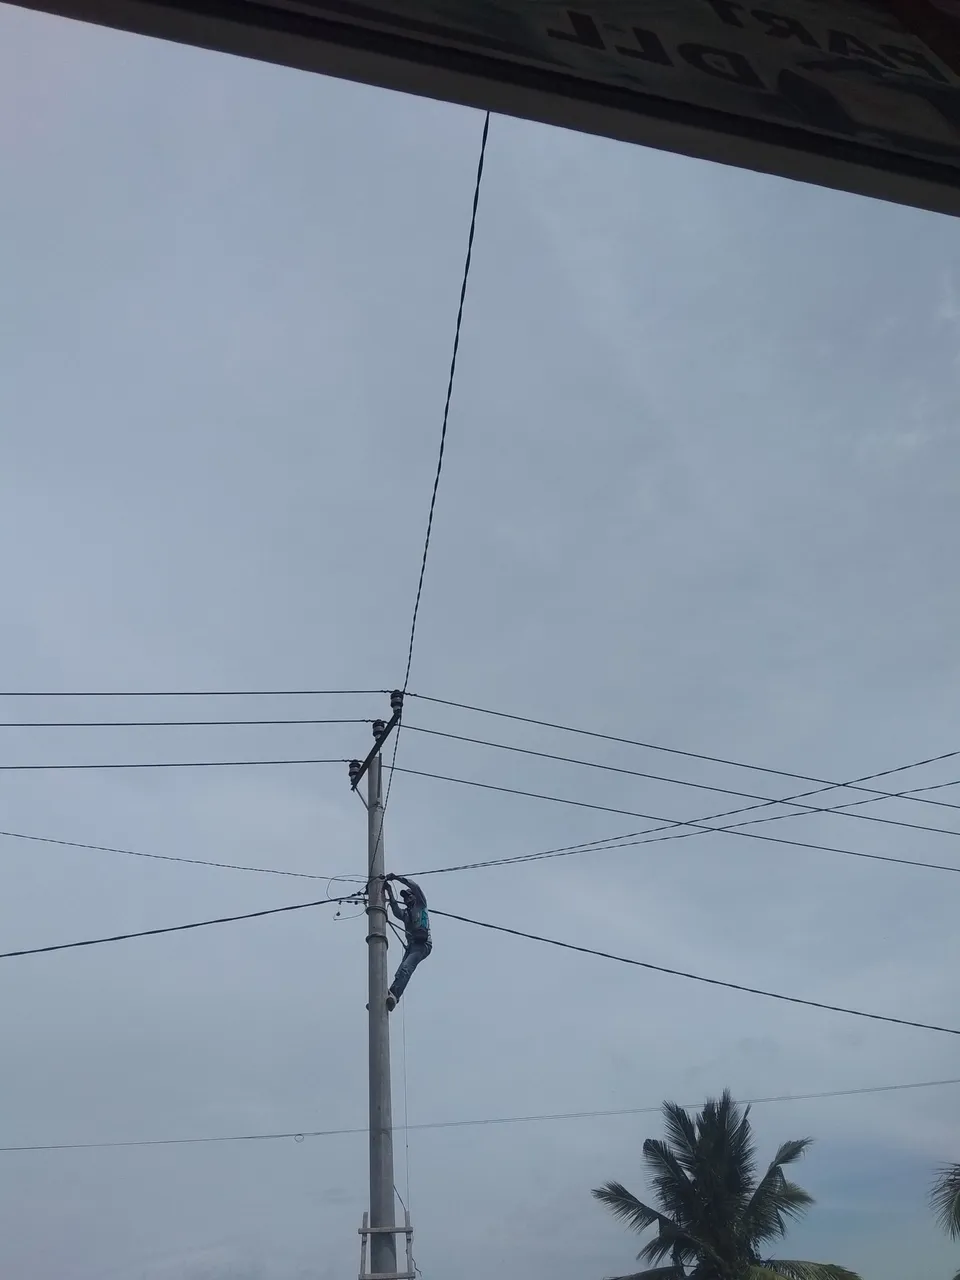
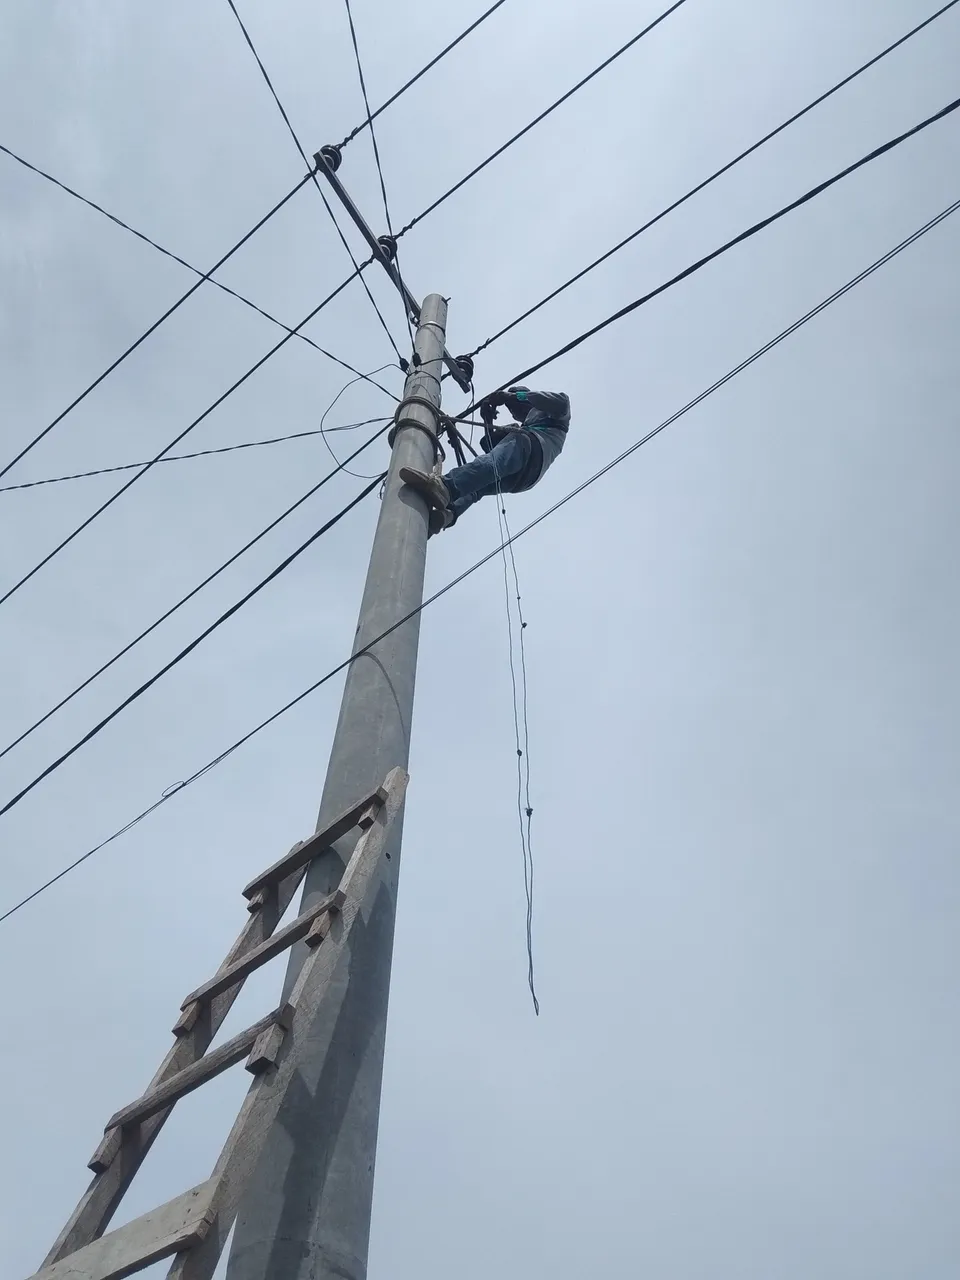
this is the most dangerous job because the cable line that crosses the road if it's just a little wrong and the cable falls while installing it will be at risk of disaster to those who cross this road, so I'm very careful here.
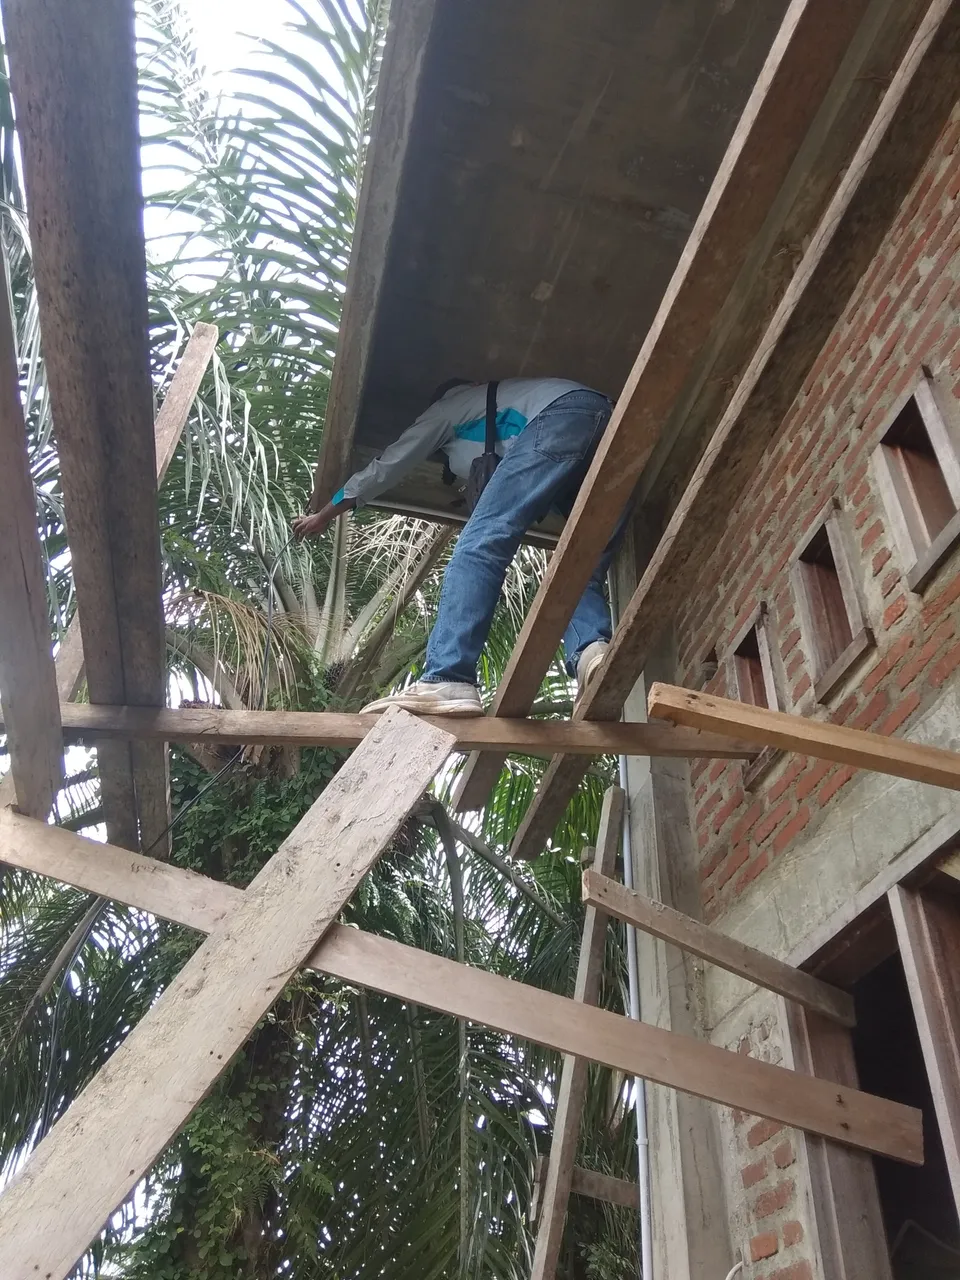
try to see the weirdness in this photo??
I don't know what's in my friend's brain on this one what's the function of the ladder below, my friend?? even though you don't need a ladder to go up to the pole, but I don't know what he means and his purpose is like this.
maybe this time he is trying to use two methods, the first is the half-stair way, the second way is using nylon rope, most of the electricians use nylon rope.
Once again I say, NEVER TRY TO CLIMB A POLE WITHOUT USING SAFETY AND EXPERIENCE.
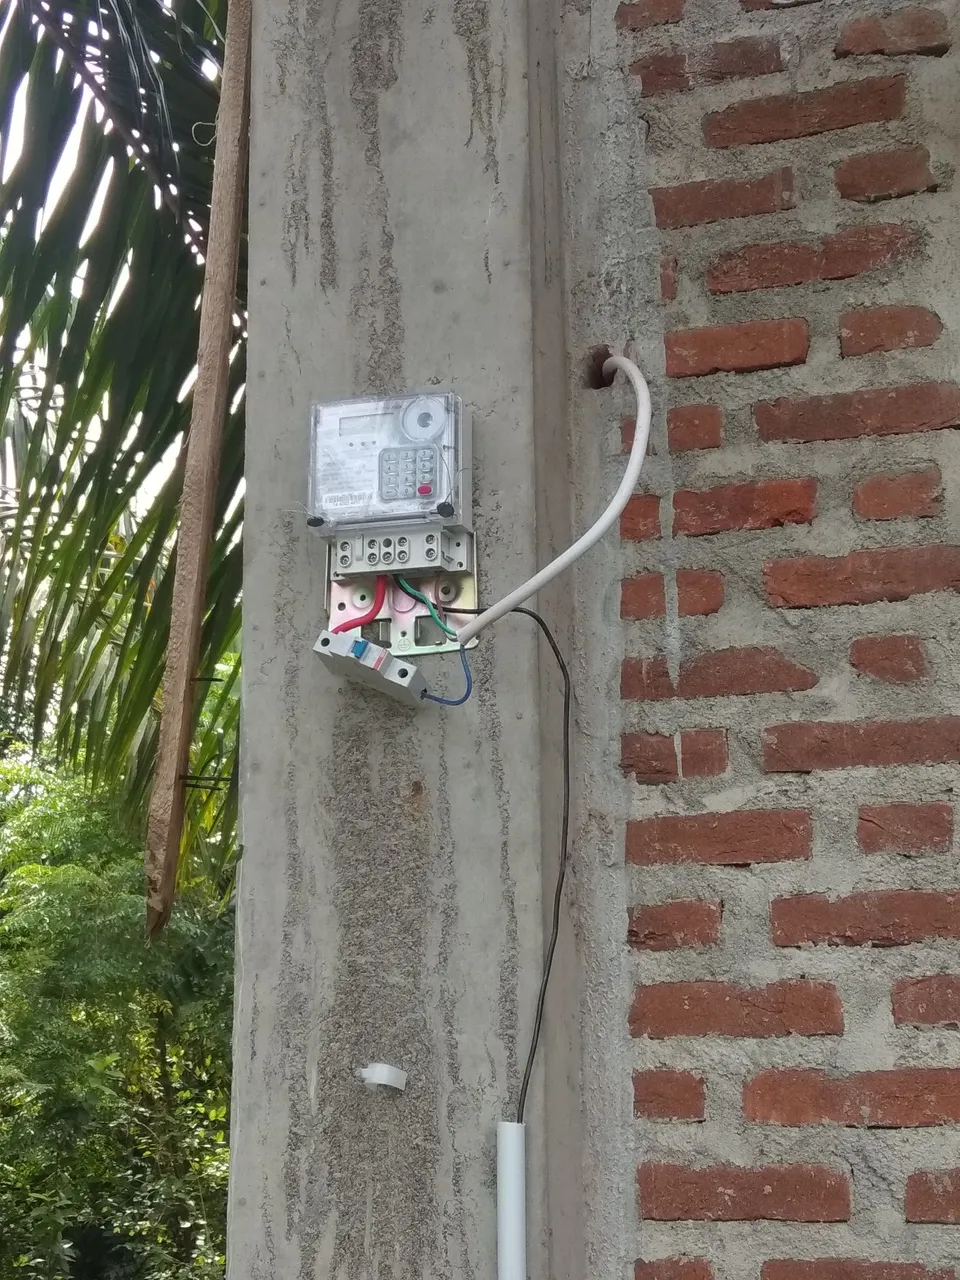
pole cables, connecting labels, and meters HAVE BEEN INSTALLED PERFECTLY, the last stage is checking and testing, before entering the electric current through all the cables in the building, we first check the current entering the meter.
the second is checking the outflow, which we only use one lamp, and proceed to checking the inflow and outflow, because this second check is better checked one by one.
proceed to enter the code and activate the meter. the last thing is to check the position of the meter and the position of the cable, don't forget to check the whole thing starting from the cable connection on the power pole to the meter cable connection, to make sure there are no sparks caused because the connection is not good.