

Buenas noches amigos de #HIVEMOTORS. Es un placer para mí saludarles y presentarles mi primera publicación en esta gran comunidad. Esta publicación será larga, así que empecemos de una vez. Espero no se aburran y les guste.
Good evening friends of #HIVEMOTORS. It is a pleasure for me to greet you and present my first publication in this great community. This post will be long, so let's get started. I hope you are not bored and you like it.
Segmento #1 Teoría y diagnóstico
Segment # 1 Theory and diagnosis
Segmento #1 Teoría y diagnóstico
Segment # 1 Theory and diagnosis
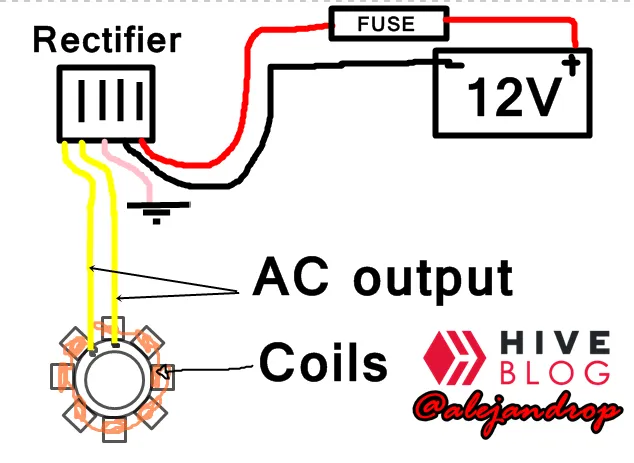
Aunque no pude tomar fotos en el proceso, les cuento que realicé una medición al rectificador y efectivamente éste no estaba enviando carga a la batería, pues salía una tensión de 1V lo cual es una total falla, así que para no dar diagnósticos adelantados, les recuerdo que se deben de medir ambos componentes del sistema ¿Correcto?, así que también procedí a medir la entrada de voltaje AC en el rectificador y me consigo con la sorpresa de que tampoco estaba recibiendo nada de nada. Bien, ya hemos detectado la falla: Al parecer nuestro alternador dejó de funcionar por alguna razón, así que procedemos a la práctica y desarmado. ¿Preparados? ¡Empecemos!.
Although I could not take photos in the process, I tell you that I made a measurement to the rectifier and indeed it was not sending a charge to the battery, since a voltage of 1V was coming out which is a total failure, so in order not to give advanced diagnoses, I I remember that both components of the system must be measured, correct ?, so I also proceeded to measure the AC voltage input in the rectifier and I was surprised that I was not receiving anything at all. Well, we have already detected the fault: Apparently our alternator stopped working for some reason, so we proceed to practice and disassemble. Are you ready? Let's get started !.
Segmento #2: Revisión
Segment # 2: Revision
Segmento #2: Revisión
Segment # 2: Revision

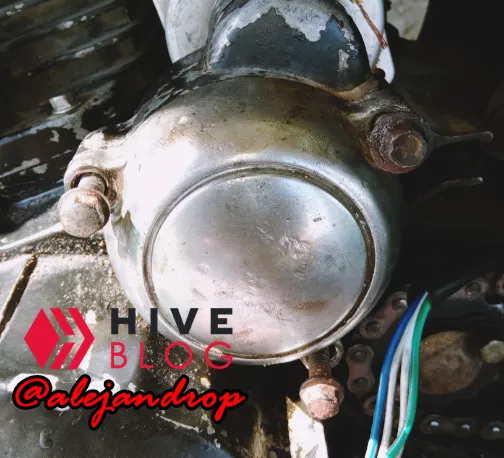
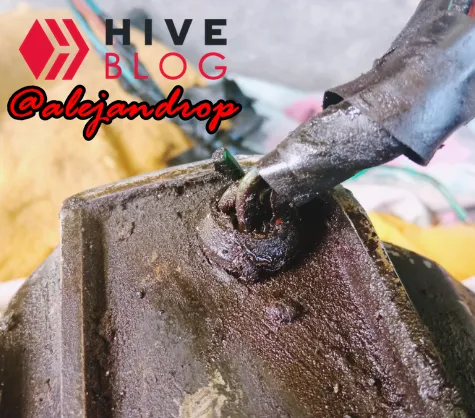
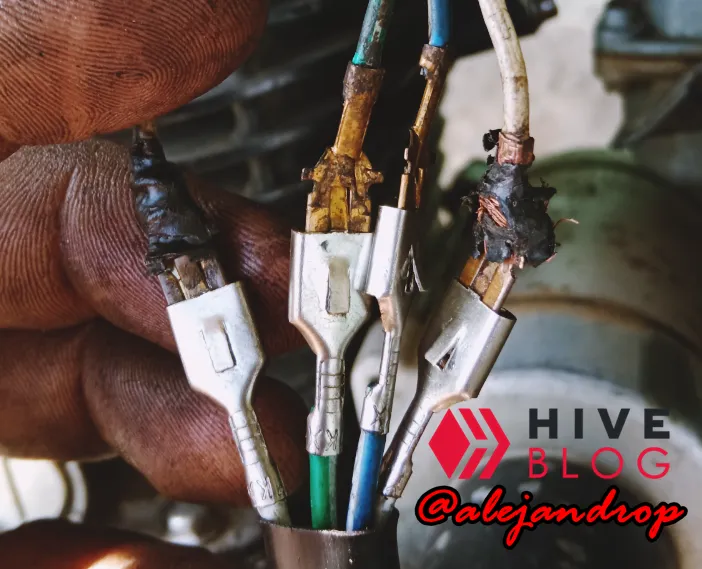
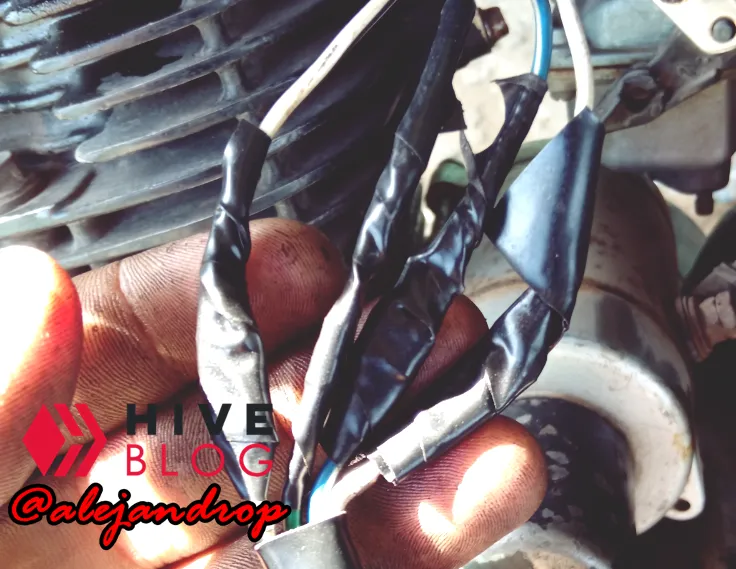
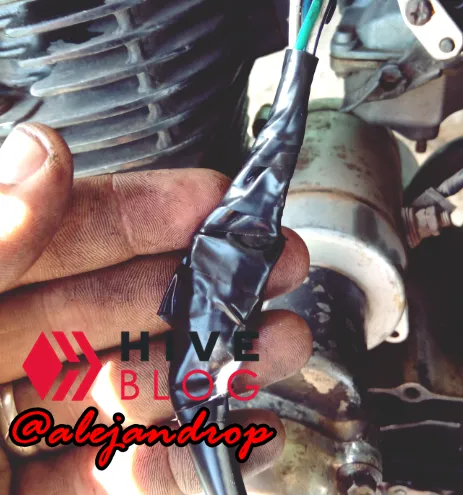
Lo primero a realizar, fue retirar los empalmes de cables realizada por anteriores mecánicos. || The first thing to do was remove the cable splices made by previous mechanics.
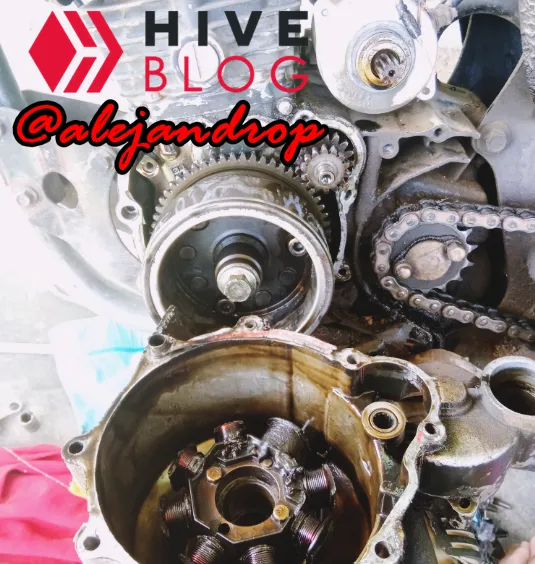
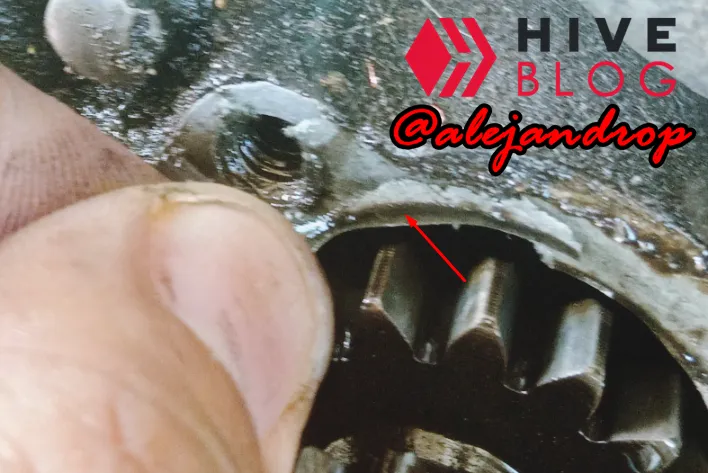
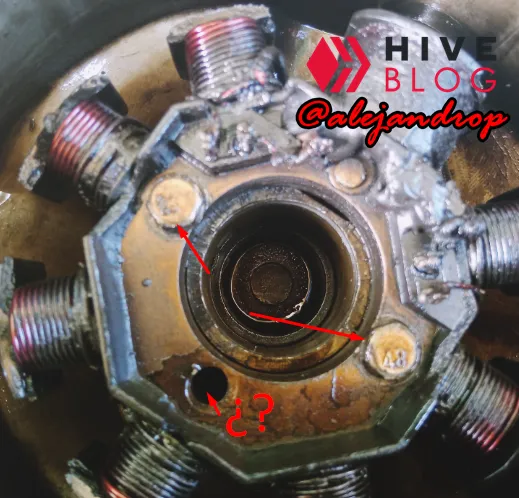
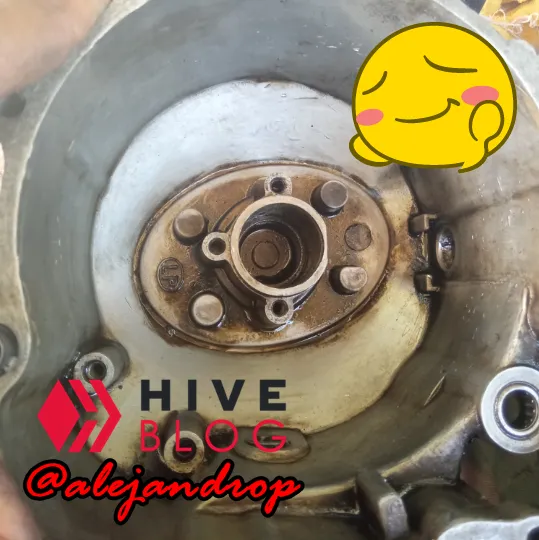
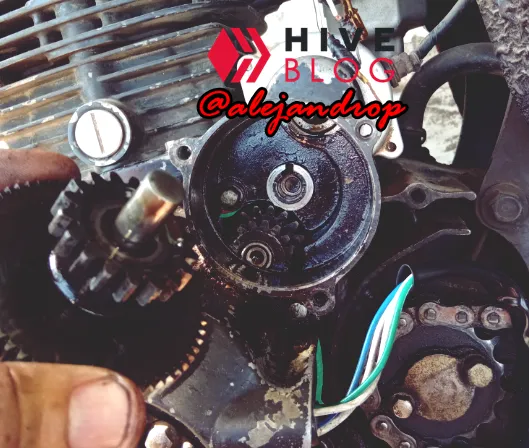
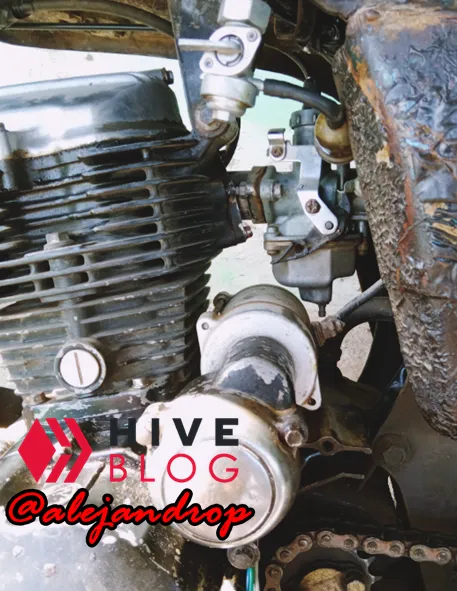
After removing the pinions and also removing the screws, the cover was removed revealing the part that we need to check, and surprise ...
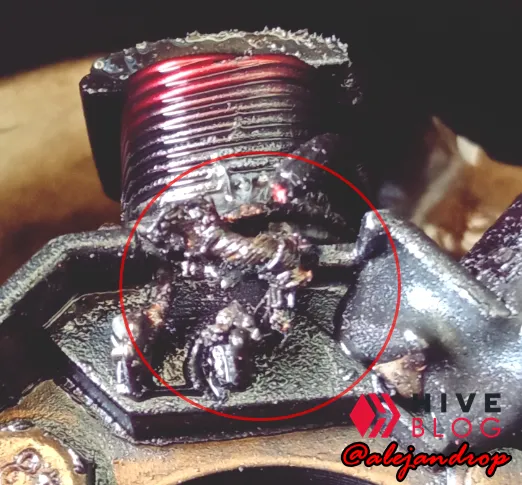
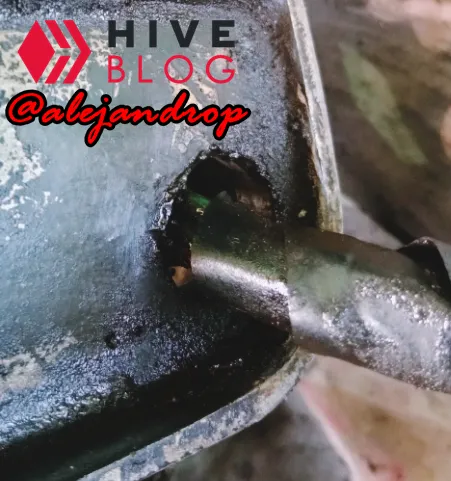
Cabe mencionar que el otro también estaba en la misma situación. Benditos mecánicos...
It is worth mentioning that the other was also in the same situation. Blessed mechanics ...
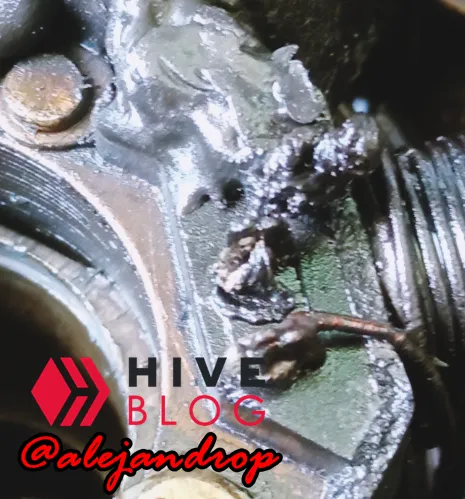
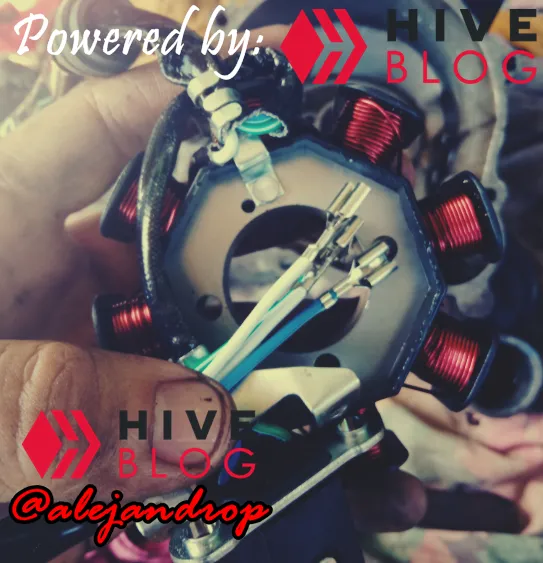
También, hay un quinto cable que no sé qué hace ni dónde va, solo está ahí picado por alguna razón desconocida.
Also, there is a fifth wire that I don't know what it does or where it goes, it's just pinched there for some unknown reason.
Segmento #3: Limpieza
Segment # 3: Cleaning
Segmento #3: Limpieza
Segment # 3: Cleaning
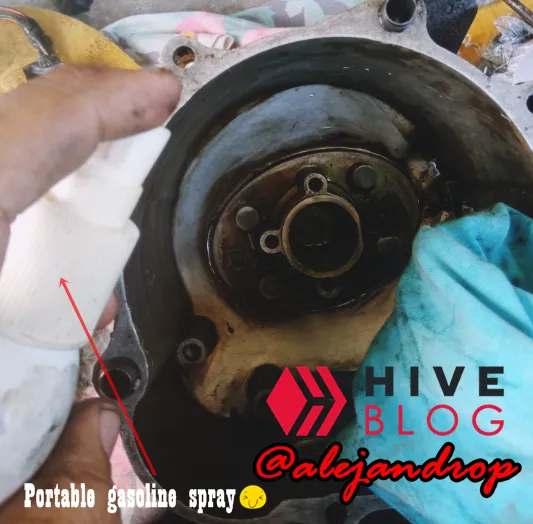
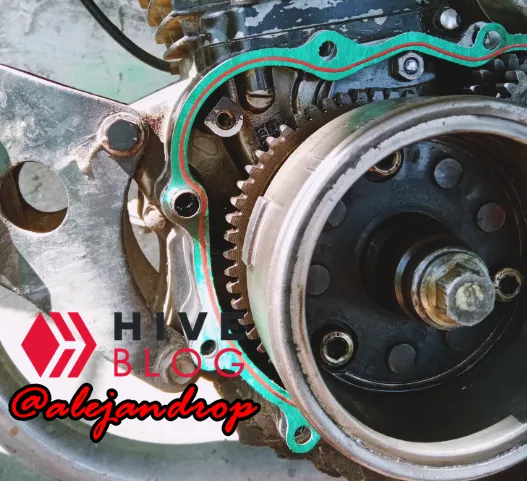
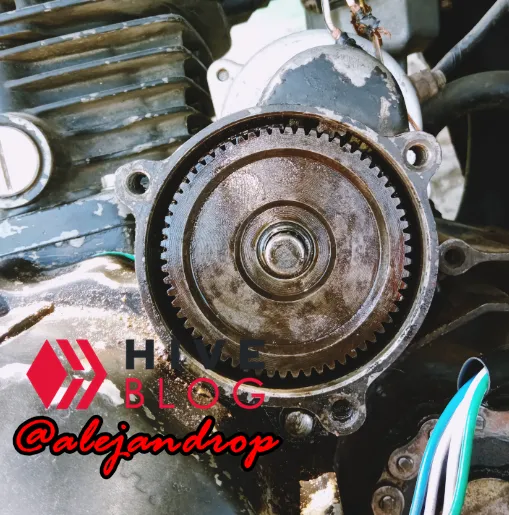
We clean the flywheel of the magneto, which is the second part in charge of activating and generating the magnetic impulses that end up generating the alternating current in the motorcycle. Although it was not necessary to do so, I wanted to do my job flawlessly.
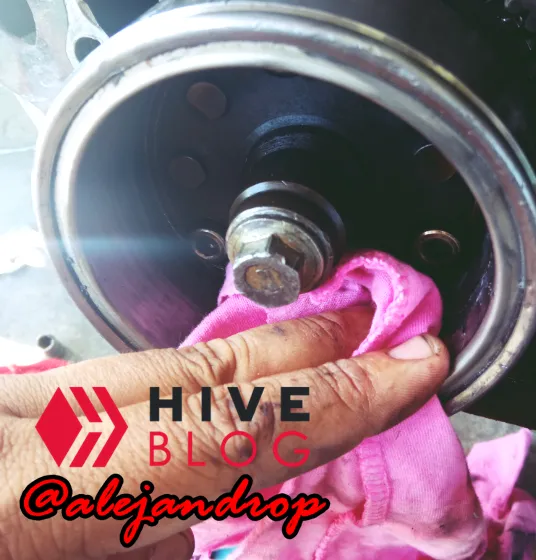
Also, we remove the gasket residue that was broken and damaged when the cover was removed. They should always take this into consideration every time they go to uncover a motorcycle engine, this can happen and more if it has been a long time since it has not been uncovered.

¡Todo listo por este lado!
All set on this side!
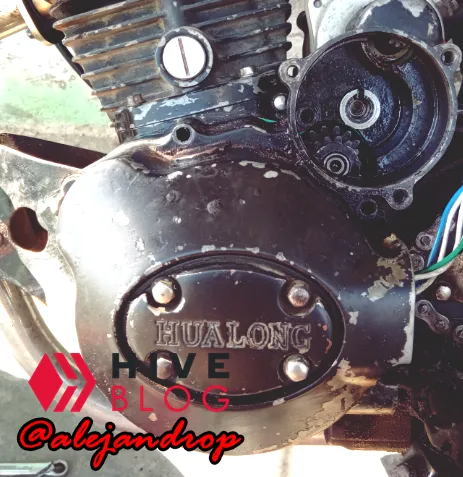
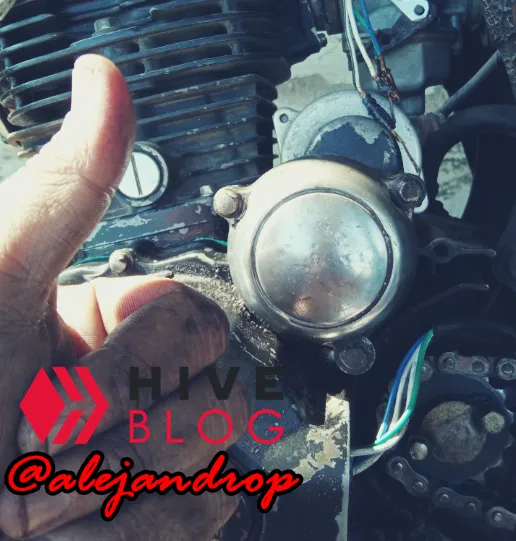
Ahora procedemos a limpiar la otra cubierta.// Now we proceed to clean the other cover.
Segmento #4: Desmontaje e instalación
Segment # 4: Disassembly and Installation
Segmento #4: Desmontaje e instalación
Segment # 4: Disassembly and Installation
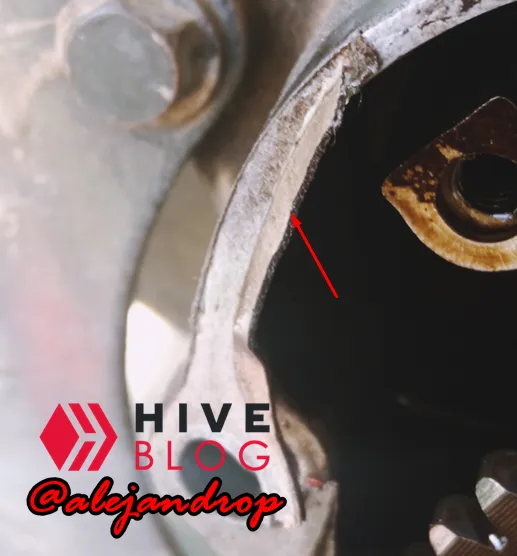
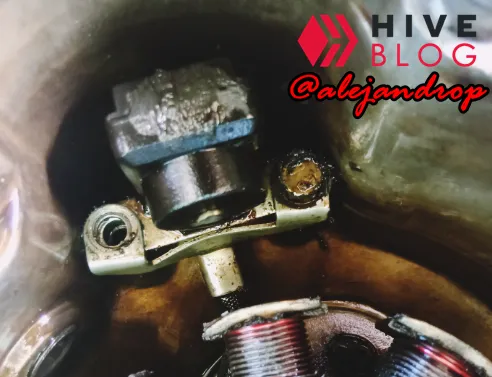
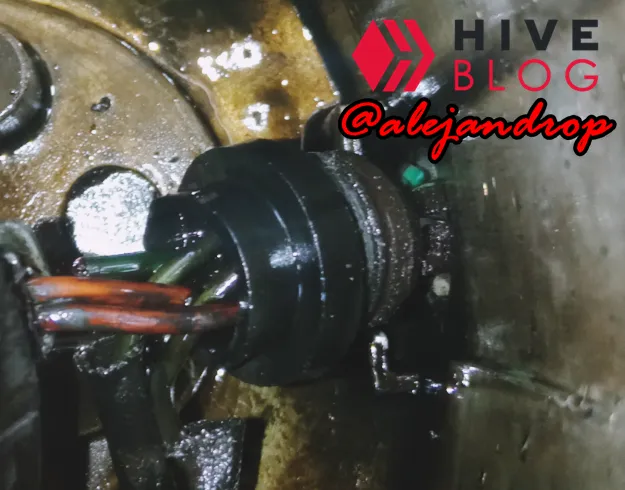
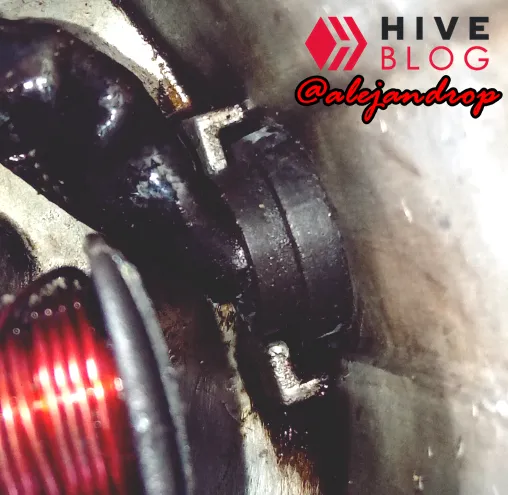
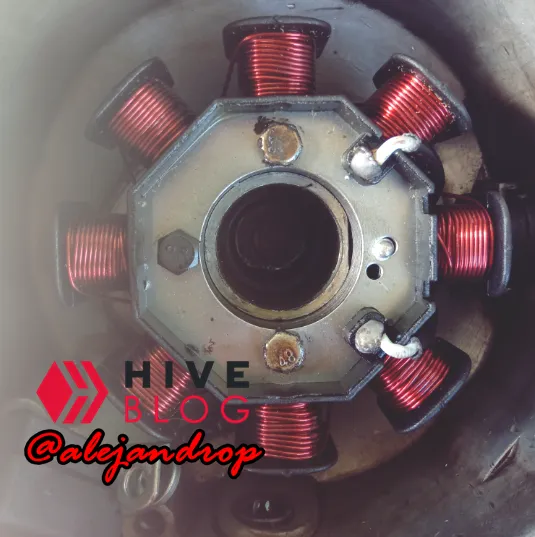
And surprises do not stop appearing. There should be 3 screws that hold the stator, but I only had 2, and also that the stator is covered with that creamy mixture that is very similar to when the water passes to the motor and merges with the oil (he passed me one time on my previous bike, a Kawasaki KLR650), and I didn't want to think the worst ...
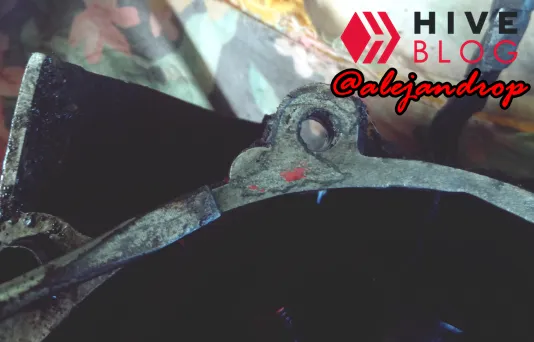
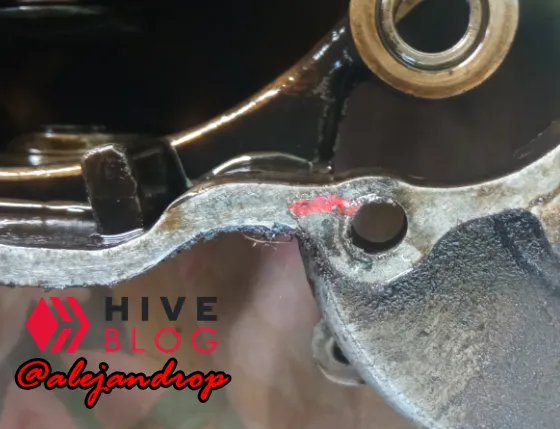
De igual manera la captadora, que es una pieza que forma parte del sistema de ignición, se supone que debe de tener 2 tornillos para sotenerla, pues solo tenía uno, arriesgándose a que se mueva de su lugar y cause un daño permanente en el volante del magneto, aunque no sé si notaron en una de las fotografías se puede ver que el volante está golpeado y se le han desprendido pedazos, no quiero ni imaginar qué fue lo que sucedió ahí...
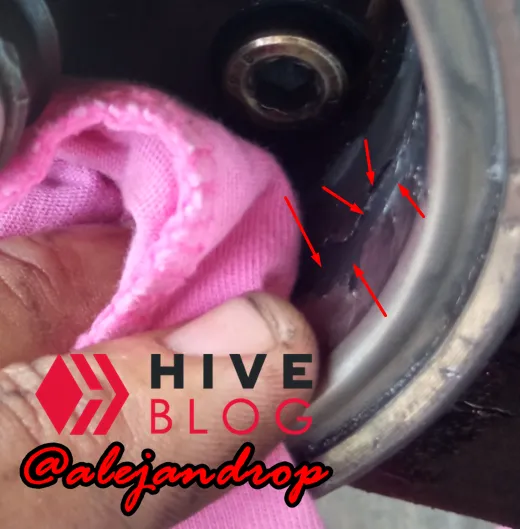
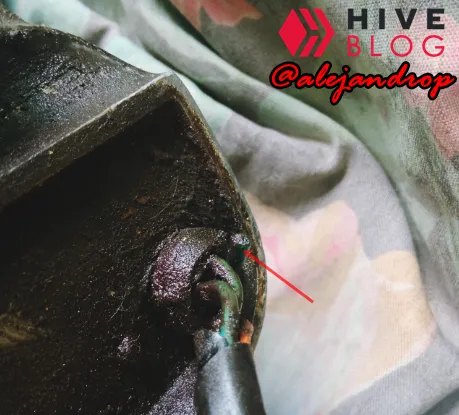
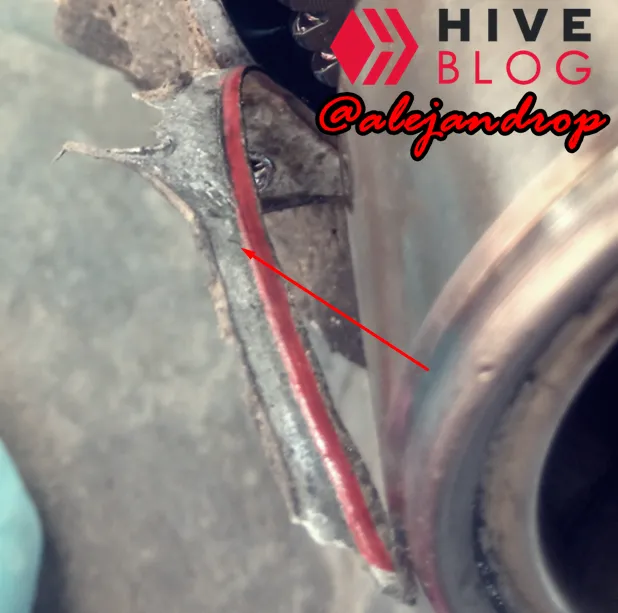
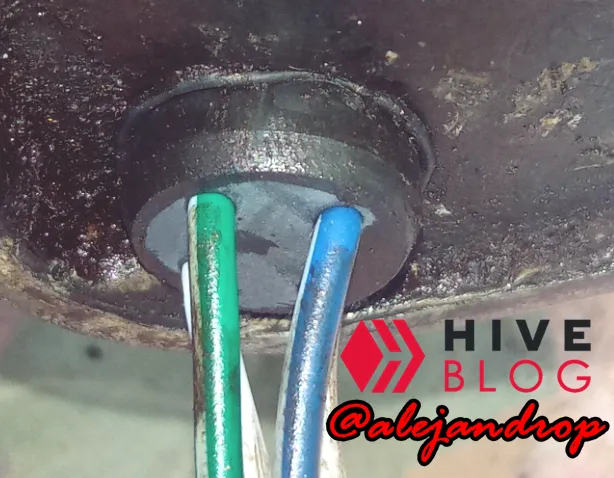
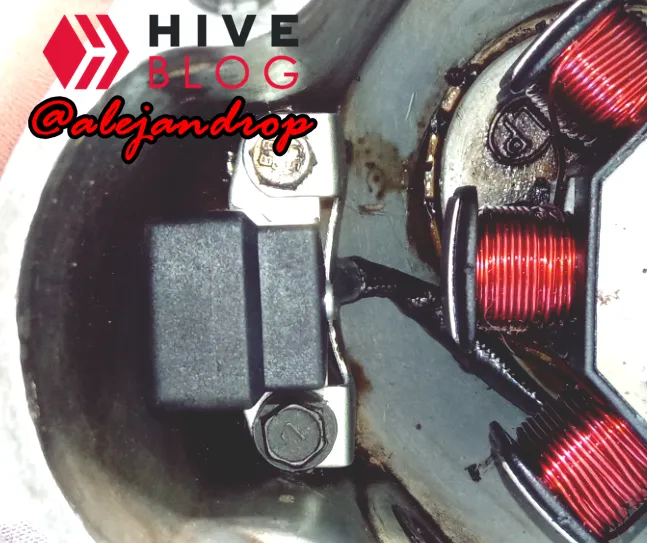
The next piece is a rubber that prevents engine oil from leaking out of this opening. To remove the stator, we must first sink this rubber so that it comes out inwards and be able to remove the cables when removing the stator. You'll see what I mean.
With our rubber out, we proceed to unscrew the stator from the cover and extract it.

Y aunque tampoco es necesario limpiarlo, yo quise hacerlo para mantener impecable el trabajo.
And although it is not necessary to clean it, I wanted to do it to keep the work impeccable.
Ya con nuestra cubierta limpia, procedemos a colocar el estator.
With our cover clean, we proceed to place the stator.
This part was bought thanks to the rewards obtained on this great #HIVE platform. Thank you very much for all the support received, since without you, this publication would not have been possible (and I mean it).
Se coloca primeramente la goma o sello que impide que el aceite salga por el orificio, para luego proceder a ajustar el estator.
The rubber or seal that prevents the oil from coming out through the hole is first placed, and then proceeds to adjust the stator.
Conseguí el tornillo que faltaba y se lo coloqué.
I got the missing screw and put it in.
Y de igual manera el tornillo que le faltaba a la captadora, también fue colocado:
And in the same way, the screw that was missing from the collector was also placed:
Colocamos la empacadura de la cubierta en su lugar:
We put the cover gasket in place:
Colocamos la cubierta y sus respectivos tornillos, y los ajustamos:
We place the cover and its respective screws, and adjust them:
Colocamos el engranaje del arranque en su lugar nuevamente.
We put the starter gear in its place again.
Colocamos la cubierta del arranque y ahora procederemos a colocar los cables:
We place the boot cover and now we will proceed to place the cables:
Colocamos cinta aislante en los cables para evitar un cortocircuito entre ellos debido a la vibración.
We put insulating tape on the wires to avoid shorting between them due to vibration.
Y por último, los envolvemos todos en un solo segmento, con cinta aislante nuevamente:
And finally, we wrap them all in a single segment, with electrical tape again:
Por último, escondemos en un lugar seguro los cables para que no queden a la vista y se puedan dañar con algo:
Finally, we hide the cables in a safe place so that they are not visible and can be damaged by something:
Segmento #5: Prueba y finalización
Segment # 5: Testing and Completion
Segmento #5: Prueba y finalización
Segment # 5: Testing and Completion
En mi motocicleta, retirar la cubierta en donde se encuentra la batería es un poco tedioso ya que la tuerca que sostiene uno de los tornillos está un poco mal y luego para volver a colocar un tornillo se hace muy difícil, y para evitar eso decidí realizar la medición del funcionamiento directamente desde el rectificador, obteniendo el resultado esperado:
On my motorcycle, removing the cover where the battery is located is a bit tedious since the nut that holds one of the screws is a bit bad and then to replace a screw is very difficult, and to avoid that I decided to perform the performance measurement directly from the rectifier, obtaining the expected result:

Y efectivamente la reparación fue un éxito. El rectificador nos indica que el voltaje de salida con 14.11VDC, suficiente para cargar sin ningún problema la batería de mi motocicleta, y a continuación un pequeño GIF demostrativo de la fluctuación del voltaje con la moto encendida:
And indeed the repair was a success. The rectifier tells us that the output voltage is 14.11VDC, enough to charge my motorcycle's battery without any problem, and below is a small GIF demonstrating the voltage fluctuation with the motorcycle on:
Well friend this is all for today, I hope it helps someone who is going through the same problem as me. This solution can be applied to any motorcycle, but you should always take into consideration what type of stator you use, and always consult your trusted mechanic. See you in an upcoming installment, good night folks.
Todo el contenido, tanto fotografías y texto, son de mi autoría. Las fotografías fueron tomadas con un Xiaomi Redmi 9 y la motocicleta utilizada en esta publicación es de mi propiedad, marca HUALONG modelo CG150-2 año 2007 con motor 150cc.

All the content, both photographs and text, are my own. The photographs were taken with a Xiaomi Redmi 9 and the motorcycle used in this publication is my property, brand HUALONG model CG150-2 year 2007 with 150cc engine.