Hello, hivers!
In part 1 of this series, I talked about moving my 7-1/2 inch gauge railroad from the side yard fence line to the garden, and starting the process of laying out the railroad. That was done during the month of March, starting before all the snow was gone.
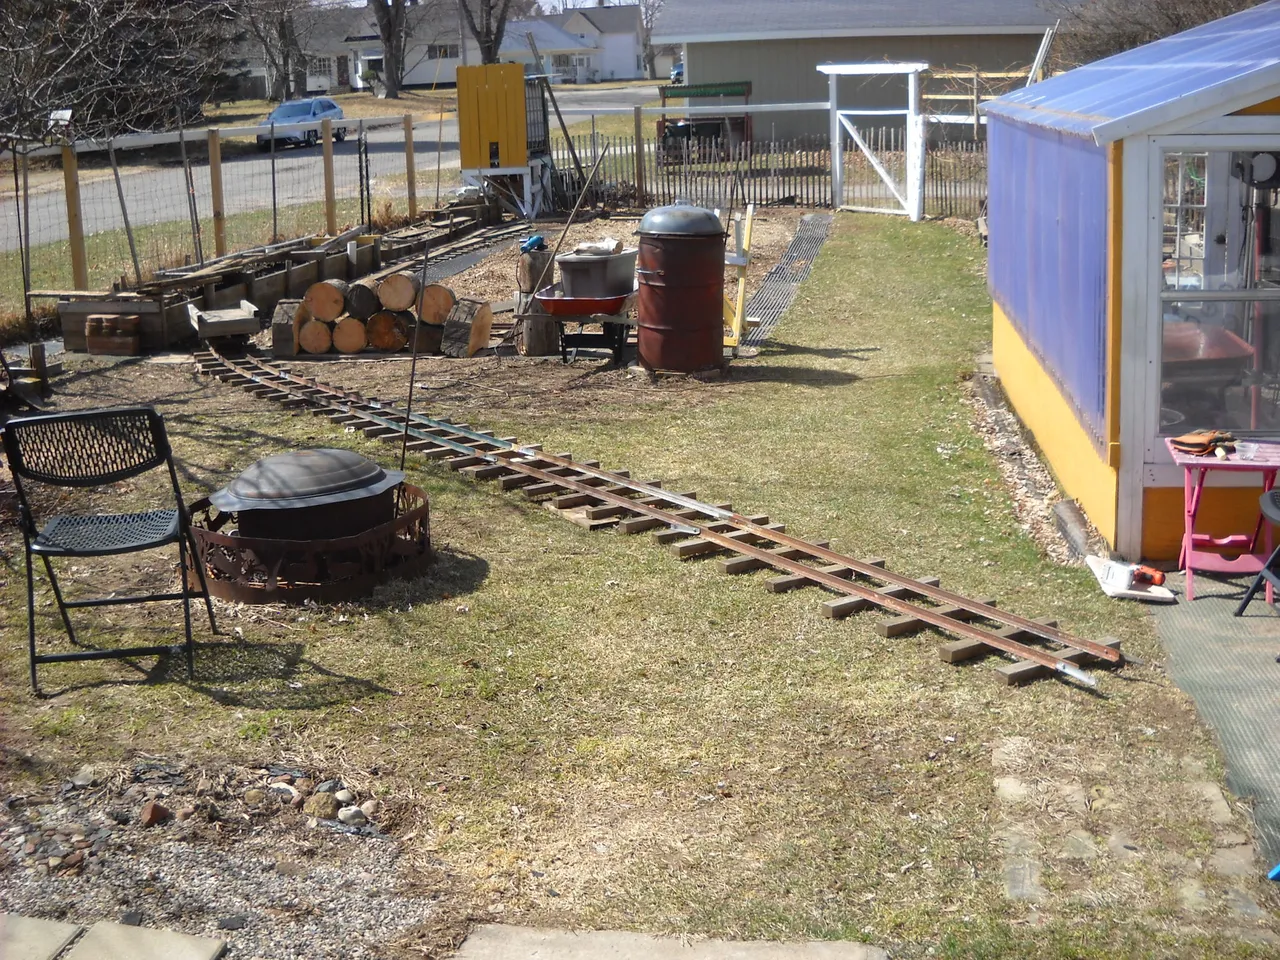
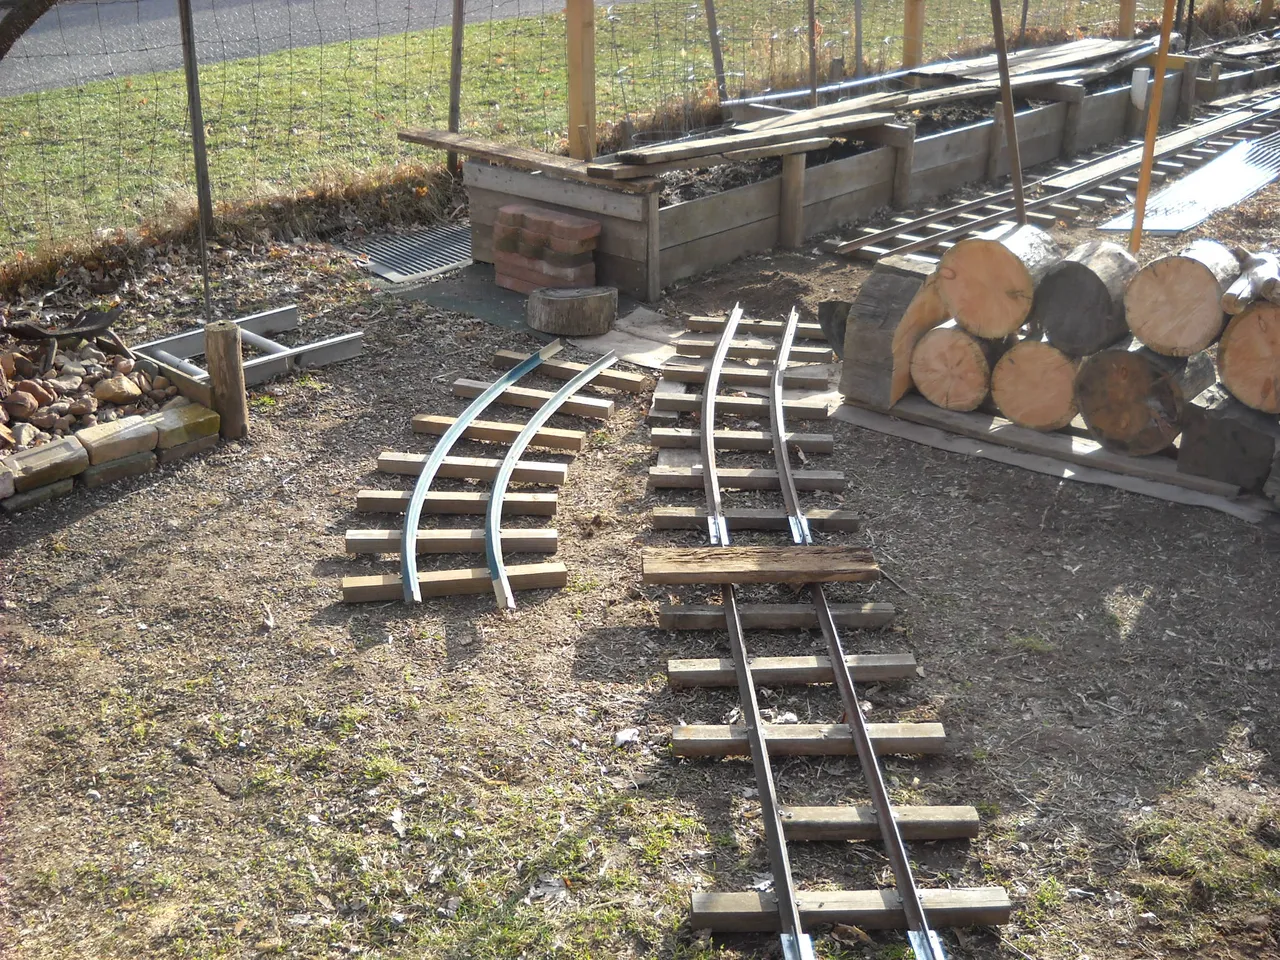
At the end of March, I decided to put a curve in the track so that I could run the railroad from the garden to the greenhouse. In order to lay out the track to see where I wanted it to end up, I took the curve pieces off the far end and used them to set up the curve toward the greenhouse. This was the first test to see where the track would go.
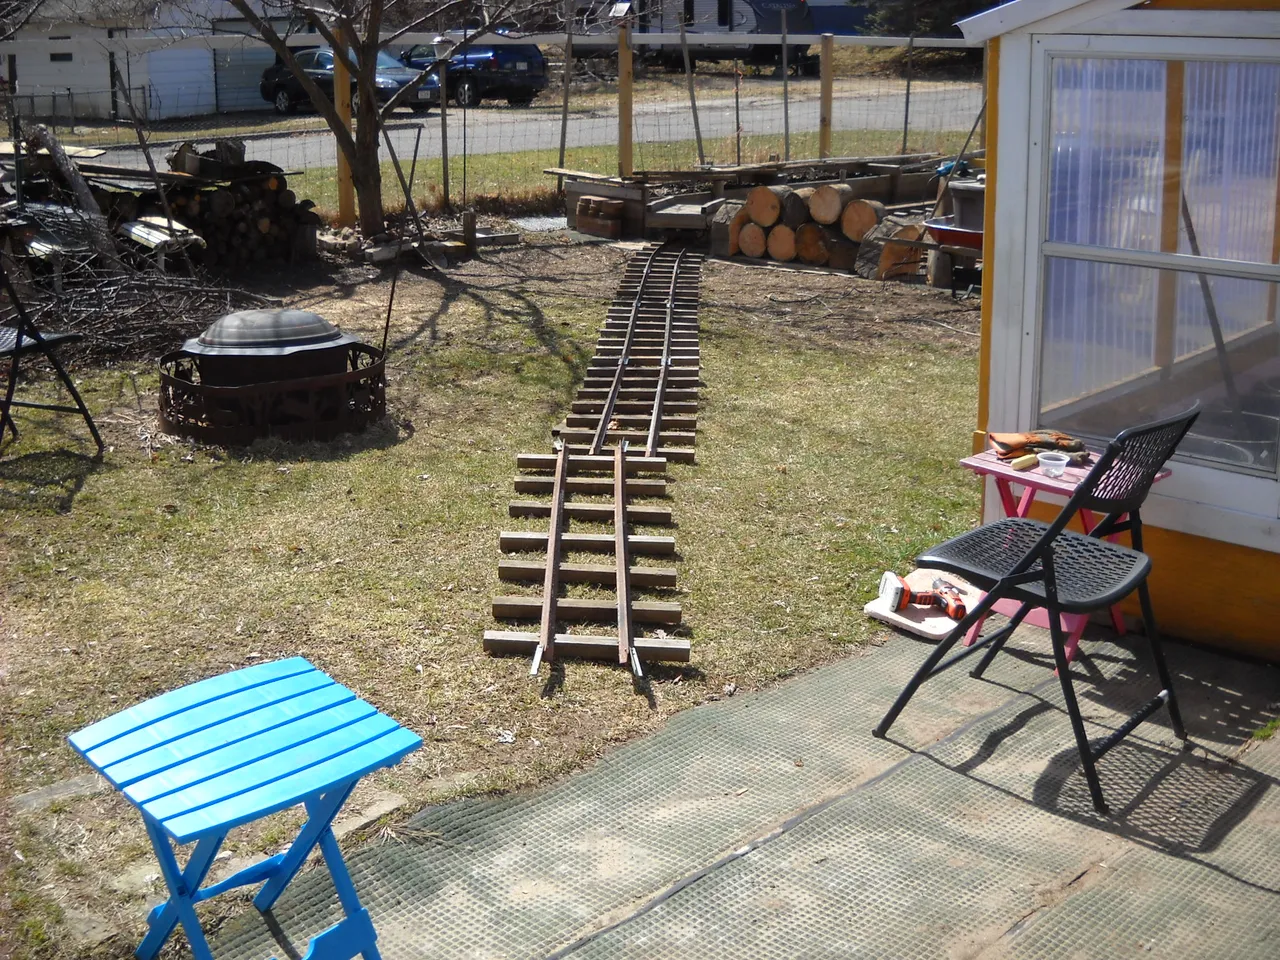
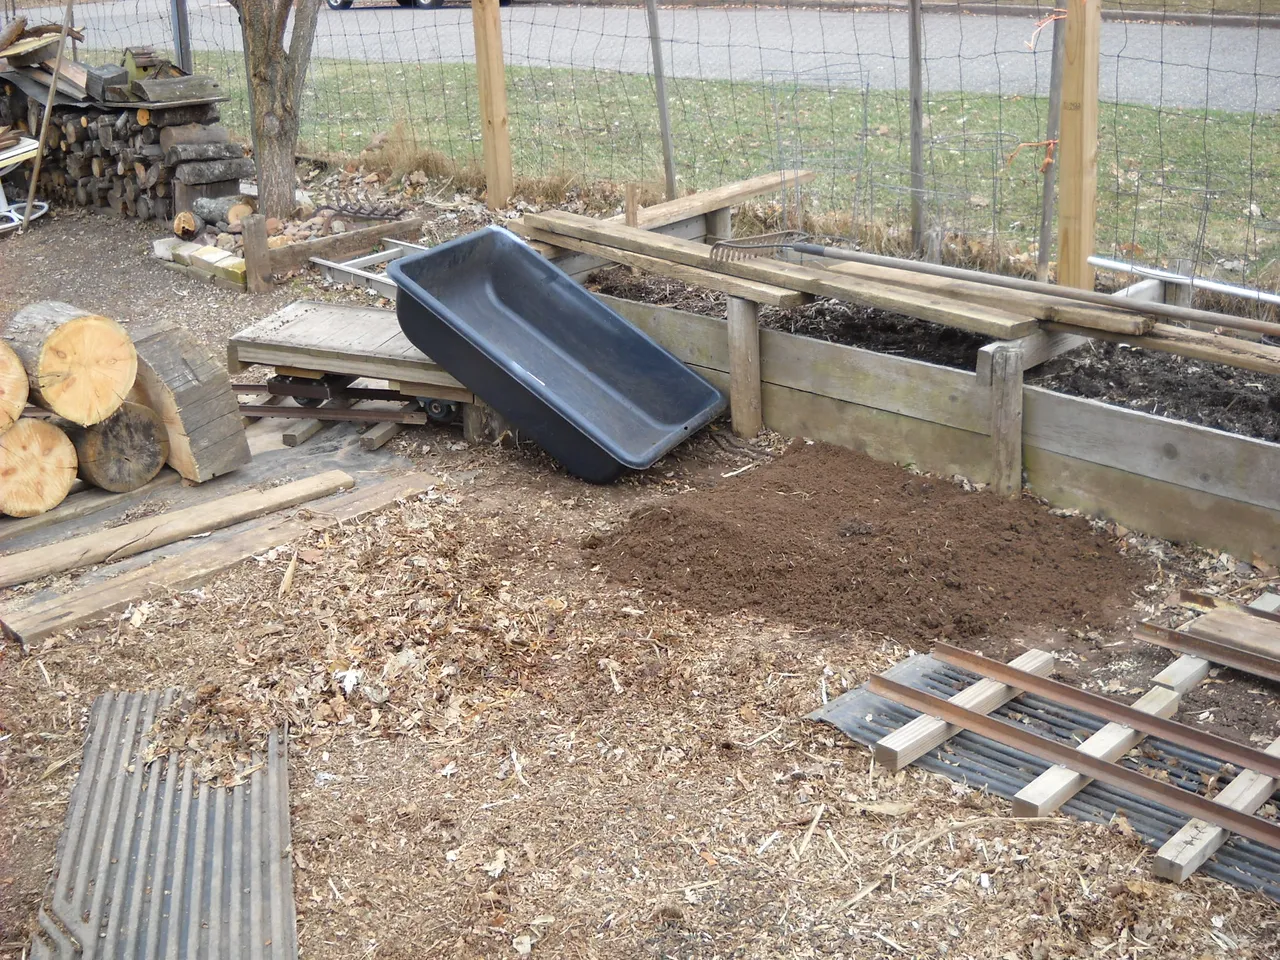
That seemed like a good place to put it, so I started leveling the ground so that the track would sit more level. I removed the sod first because I wanted to use the dirt for fill in the garden, but I didn't want the sod in the garden.

I decided to use one of my dirt mixing pans to haul the dirt on the railroad from where I was digging to the garden.
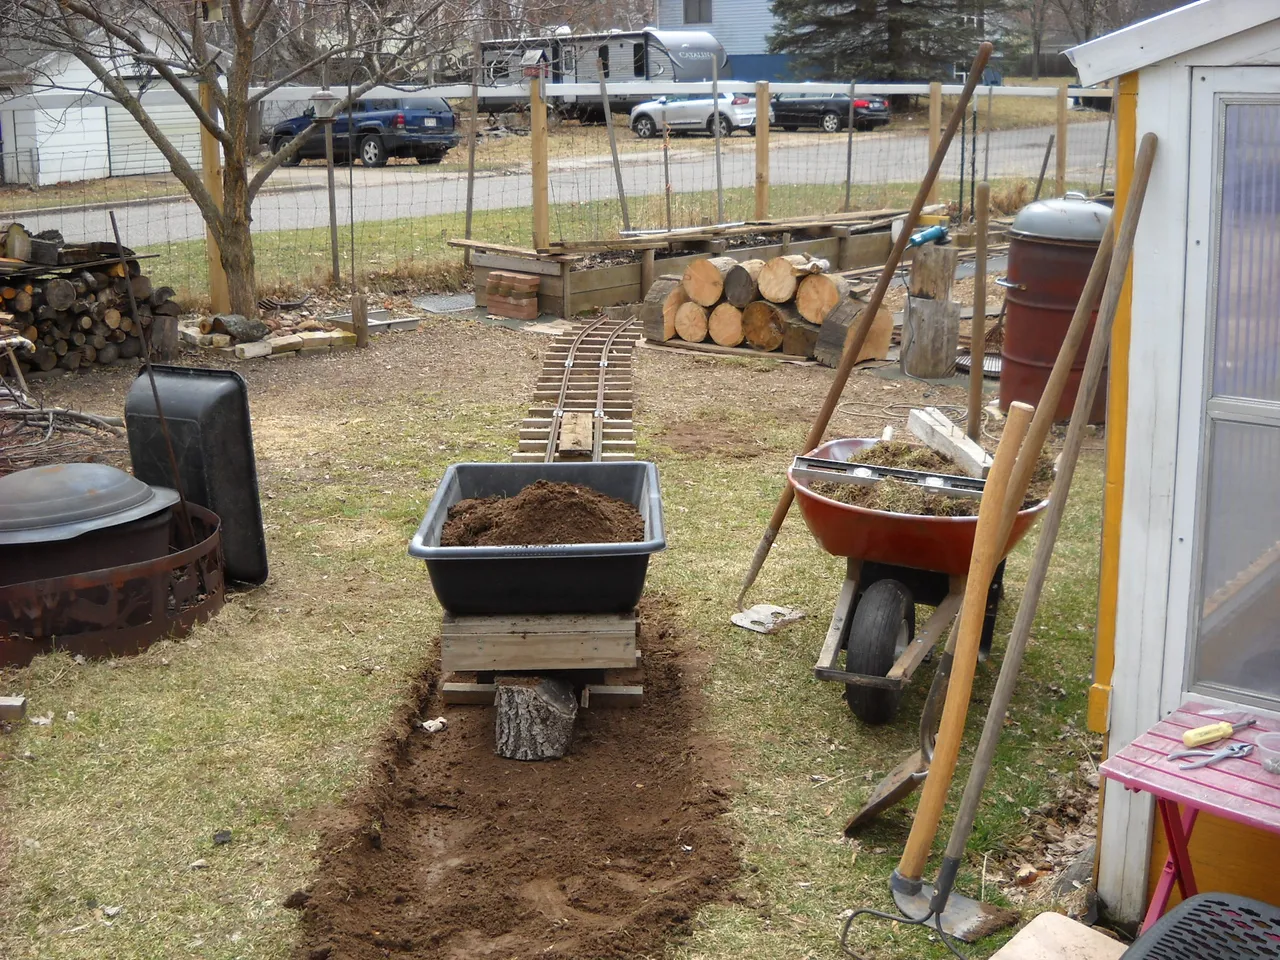
There was a lot of uneven ground in the garden where I wanted to put the track along the raised bed, so I started using the dirt to level off the area.
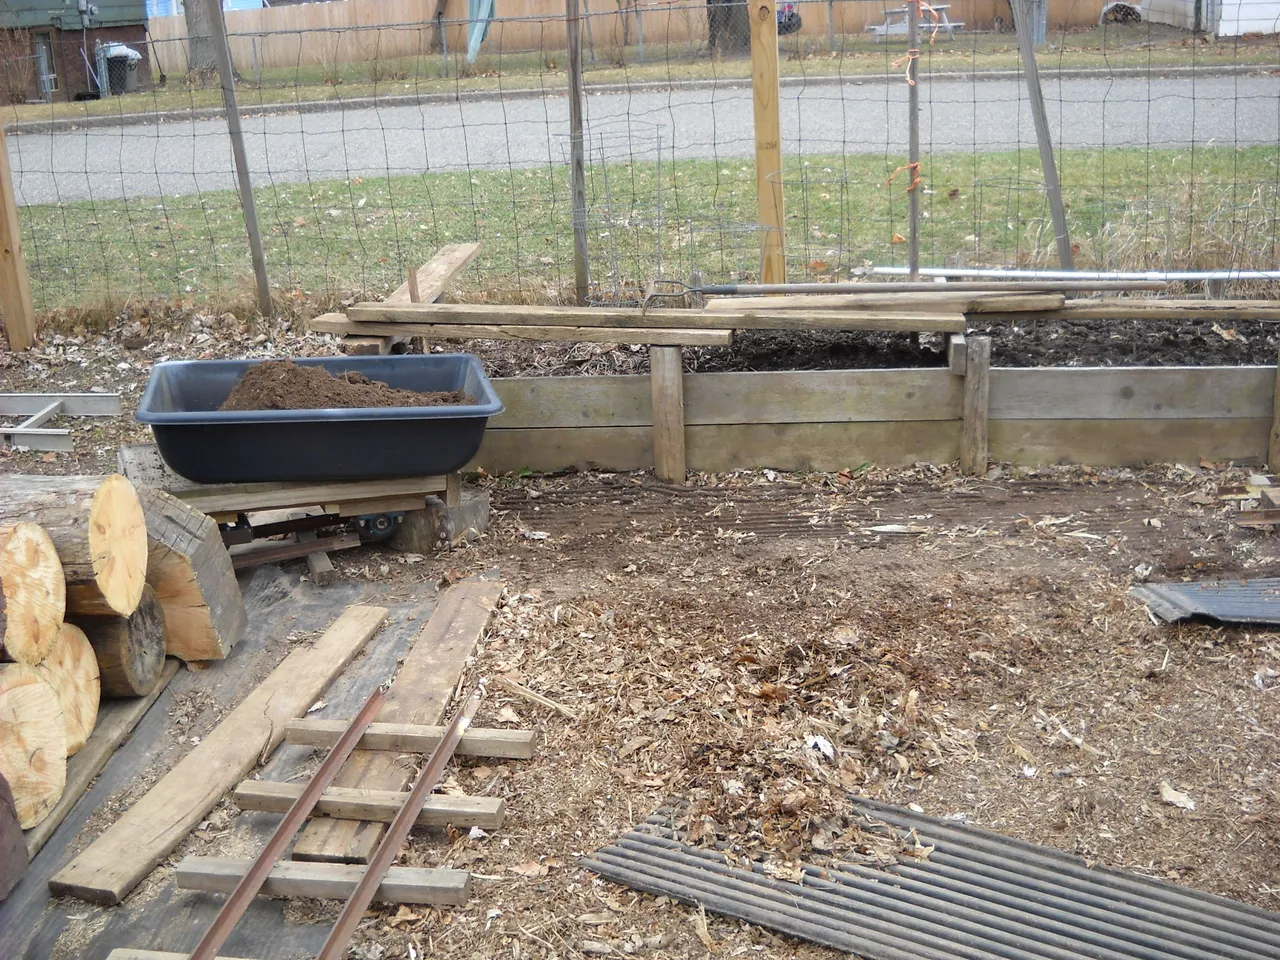
The piece of curve track that I had at the end of the track from the greenhouse to the raised bed was not curved enough to go around the corner, so I made a sharper curve and put that in place.
This picture is fuzzy due to my camera's slow shutter in low light. You can see how the 2 sections of track are connected together by the curve section.
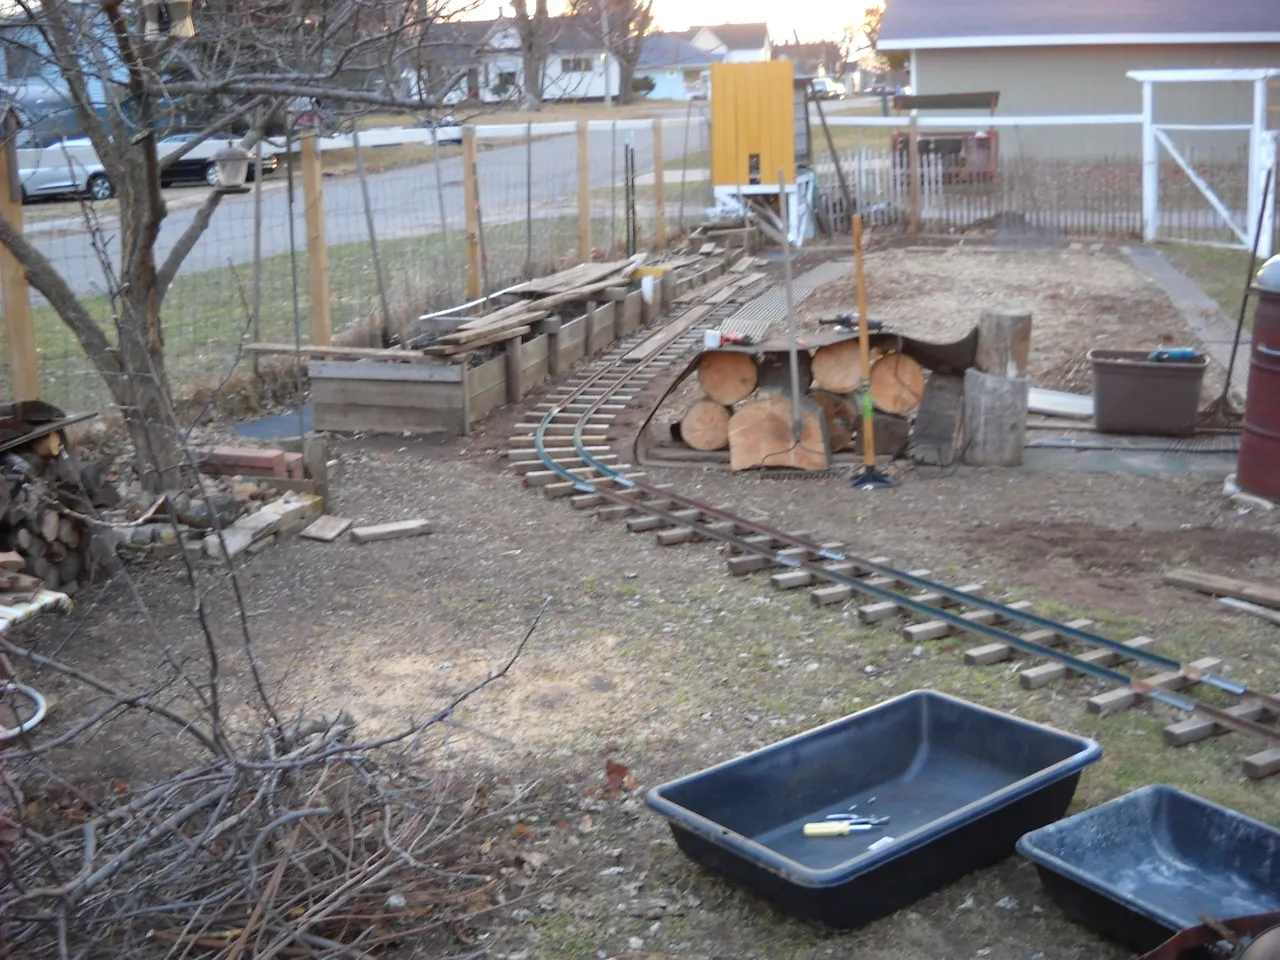
This was all I could do until I built some more track sections. I'll cover that topic in my nest post about building the railroad.
That's all I have for this post, thanks for stopping by to check it out!