Hi everyone!
So, you might remember this guy:

Who we turned into this guy:

In this post :Pixel Art Tutorial - Walking
So guess what?
I didn't save the file.
Ugh! I came back to work on him... and he doesn't exist on my computer at all.
Source
The worst!
I don't think it would be too crazy to reanimate him, but I hate redoing work, it hurts my soul, so I'm just going to build a brand new guy and go again.
Meet Bald Guy, he's a friend of Hat Guy who again I found here.
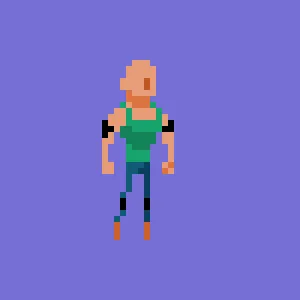
Let's go through the colours for this guy now:Brown Boots #cc6029, Front Leg Jeans #105a75, Back Leg Jeans #0a3f5f, Shadow Skin #db7441, Normal Skin #e69d79, Light Green Tank Top Green #17a36d, Dark Green Tank Top Shadow Green #128258 & Black is Black Black #000000:

Here is the dude in grid form if you want to build him up:

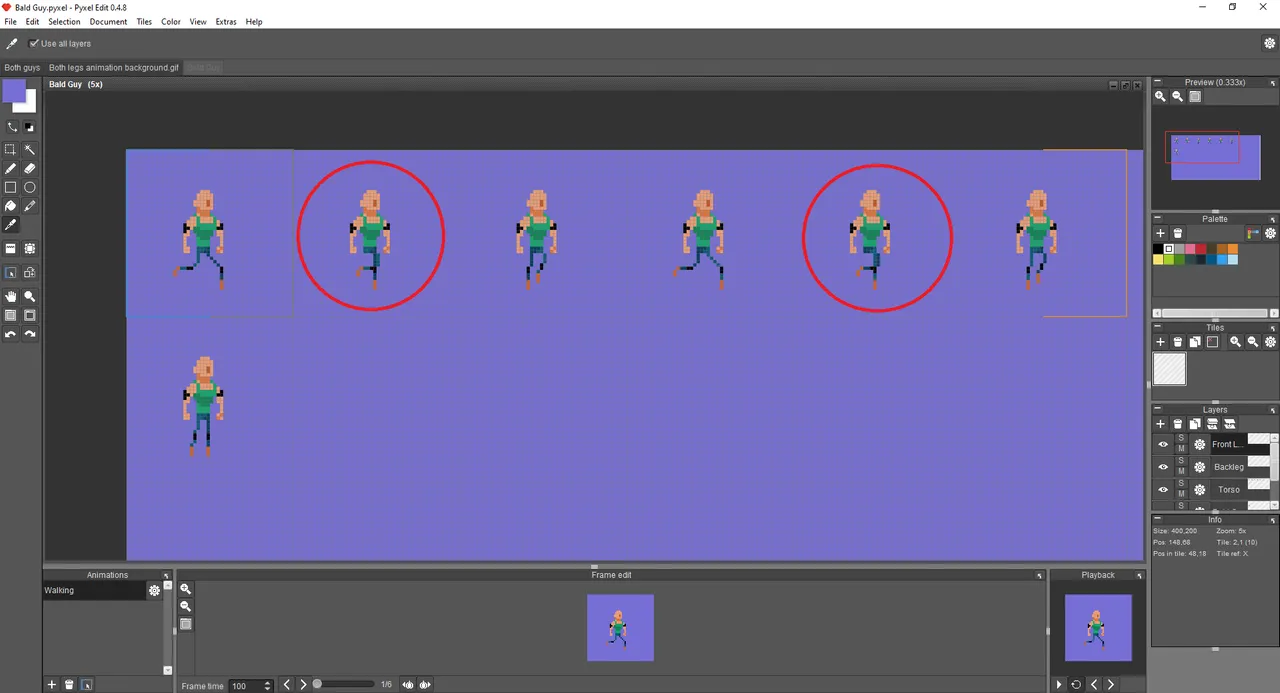
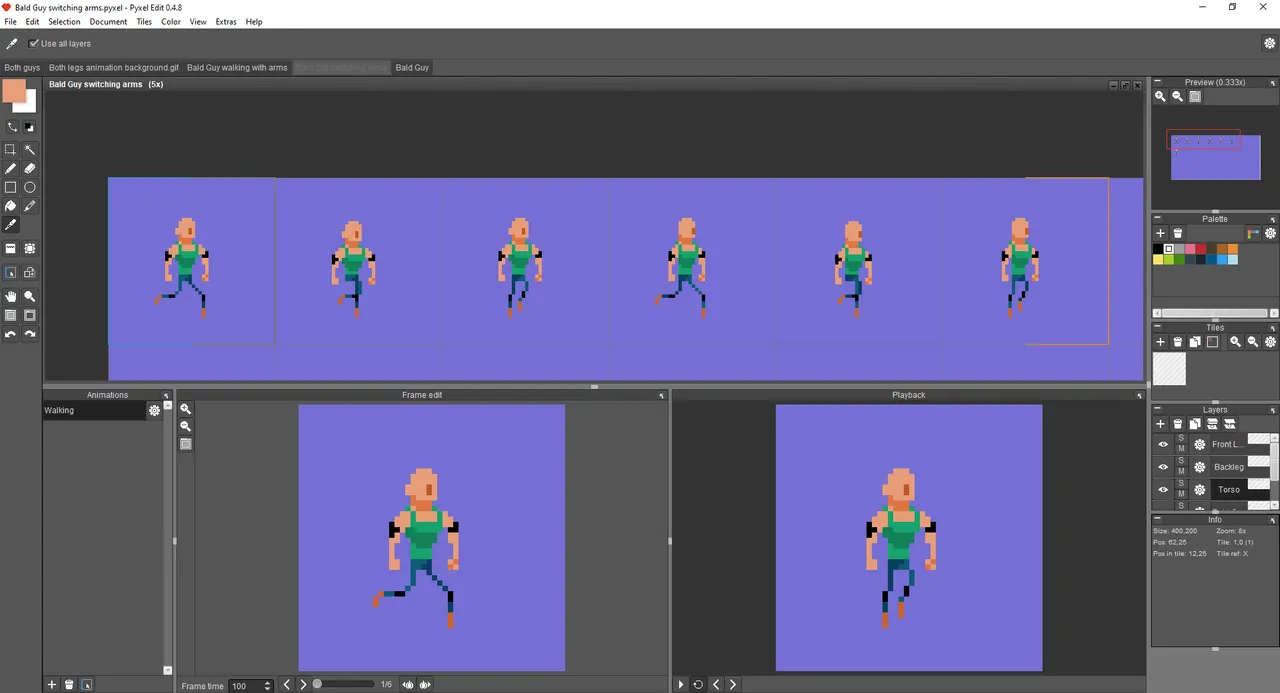
So, first we build up the walking animation in the exact same way we did in the last tutorial (Pixel Art Tutorial - Walking), to get this:

I like the way that Pyxel Edit does animation. You can see above the blue border and the orange border... those are for the walking animation I set up.
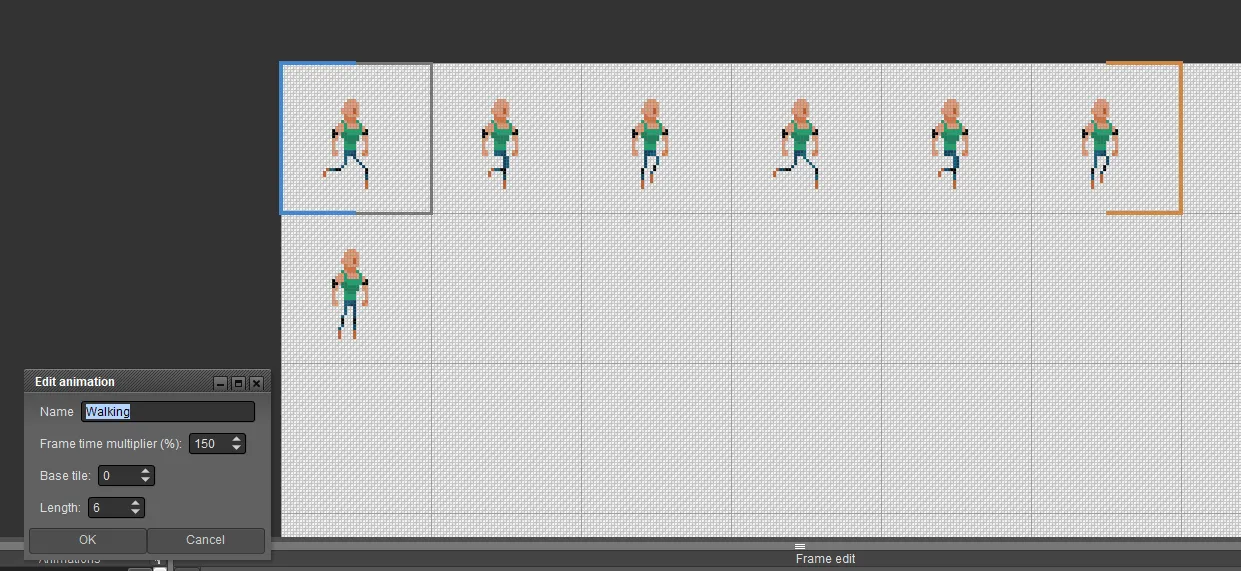
You create an animation section, tell it where the start is, the blue border and how many frames are in the animation so that it works out the end, the orange border.
This means you can have multiple animations on one page, which is super handy because you end up copy and pasting a lot from various frames.
The other good thing about Pyxel Edit is that you can then export only the animation that you want. I think this is something I really struggled with in Photoshop.
So... we're now in a spot where I intended to start the tutorial:

When we add in the background, our two dudes can look for trouble together:
Ah dang, I forgot Coil doesn't do images side by side. Oh well, they're side by side if the street is running parallel to this page... like Double Dragon:

Source
Alright, to make this walk look more realistic, we want to bob the whole torso slightly when there is a leg taking the full weight of the step:
Since the torso is on a separate layer, it was super easy to drop the whole torso layer by a single pixel on the frames that I highlighted in the screen shot above.
This gives our guy a little spring in his step:

I'd also like to work on his arms... most people move their arms when they step... and most people swing the opposite arm to the foot that is stepping... for balance... unless you're Jack Donaghy in your first television appearance:
Source
Okay, so this is my first attempt:

I think it's way too much... it's like he's twisting his body and then his arms suddenly get bigger for no reason.
I thought if I move the arms in and out, it might do the job... but he looks like his arms are going ballistic and are completely out of sync with his legs...

I tried to slow it down a touch, but it's still totally out of sync:
Even though this one looks like his arms are going in and out of his body like so many turtle limbs, I think this is the right move. It gives the impression that his body is twisting with each step:

I realised the secret is to get the head to sell it:

This is a 6 frame walk cycle, with 3 frames to move the front leg from front to back and then the back leg to move from front to back. Obviously things look way smoother when you make 12 frame walk cycles and more...
I can't imagine how many frames are in this walk cycle:

Source
This is what our 6 frame walk cycle looks like broken down:
So, in summary I created this walk cycle like this:
- Create the first 3 frames with the different leg positions
- Copied those 3 frames and swapped the leg colours
- Made the character dip on the 2nd and 5th frames
- Moved the back arm out in the first 3 frames
- Moved the arms in last 3 frames
- Turned the head on the last 3 frames
In grid form it looks like this:

Here is the original Super Mario.Our walk cycle was 6 frames, this one is only 3. The trick here is to have the legs the same colour so that our imagination assumes he's changing legs:
Source
Super Mario 3 uses 4 frames, but the 2nd and 4th frame are identical:
Source
Castlevania II did a similar thing... but reused the 1st and 3rd frames:

I found this handy GIF on 12 frame walk cycles, which provides a great example of the difference between a 12 and a 6 frame cycle:
Source
You'll be pleased to know I just saved the file. (Or did I?) (I did)
Thanks for reading this Pixel Art Tutorial - Walking II post! Please hit me up on Twitter if you'd like to chat about pixel art.

--------------Sources: All artwork and screenshots were created by me in Pyxel Edit unless otherwise sourced.-----------
Posted from my blog with Exxp : https://lifebe.com.au/artistic/pixel-art-tutorial-walking-ii/