Here is a very basic list of things I would have found useful starting from scratch with electricity generation when I went 'off grid' a little over a year ago.
There is some advice in here as well but follow it at your own risk and peril. This is not a complete list but a basic list so please keep that in mind because I'm not listing tools/fasteners/wire nuts/etc. This list also primarily focuses on solar but the principles applied are the same for 12 volt DC electricity generation via solar, hydro, wind, hand crank and pedal power. Something to keep in mind is that certain wind and hydro setups may require a 'dump load' which is not something this particular 'rig' covers.
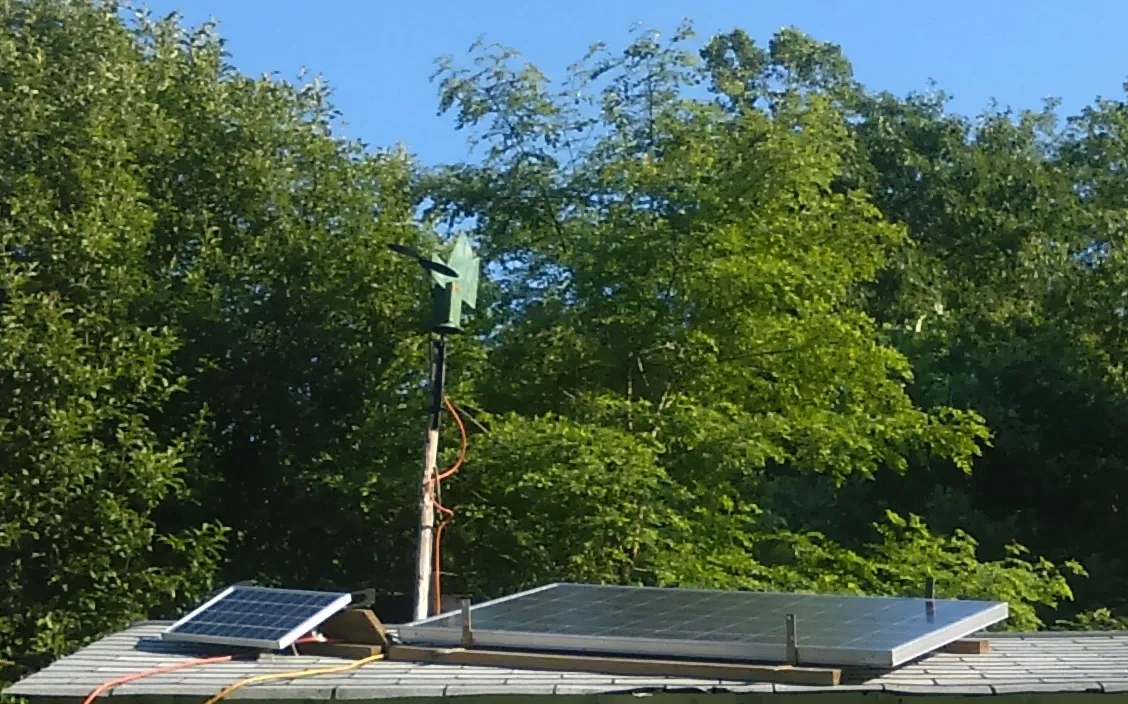
12 Volt, 100 Watt (or 200 Watt) Solar (Photvoltic) Panel. With mounting framework, hardware and fasteners.
12 Volt, 100+ Amp Hour Deep Cycle Battery. With a properly sized plastic battery housing to store it in.
12-24 Volt, 20 Amp Solar/Wind Charge Controller preferably with MPPT technology. Note: Always hookup the battery to the charge controller first and the solar panel second. Then in reverse when disconnecting. Failing to do this will damage the Charge Controller. I like the BSV20A Charge Controller but it is a PWM Charge Controller and not an MPPT one.
Three 12 Volt Utility Ports. Note: Preferably marine grade ones but automotive ones work also. Commonly called a 'car cigarette lighter port'.
Three 12-24 Volt DC to 5 Volt USB charging adapters. Note: High Amperage output ones are best but having at least one Low Amperage one is good for running LED lights and for trickle charging. I like the ones that accommodate 12-24 volts because they can deal with the voltage fluctuations coming off a solar panel.
Two multi-meters. One that is very 'high end' and accurate and another (of any quality) that can be stored at what I think of as my 'Power Station' or 'Charging Station'.
Two Voltage Meter Displays. One connected directly to the Deep Cycle battery and one for the 'Load' on the Solar/Wind Charge Controller.
One 400-500 Watt 12 Volt DC to 120 Volt AC Power Inverter. The cheap 'low quality' ones are fine but I like to add extra cooling fans to them if I'm going to subject them to long periods of usage. The better more 'high quality' the inverter the cleaner the electricity is and thus safer to use with sensitive electronics. Note: Only connect the Inverter to the Battery. Never connect it to the 'Load' on a Charge Controller unless it is a high quality one built for doing so. Also if not using a Charge Controller do not connect an Inverter to the battery while the Solar Panel is connected to the battery because it will draw power directly from the Solar Panel and damage it.
One 100 foot heavy gauge three prong extension cord. This gets cut up for use with the solar panel to the length required to reach the Charging Station from the panel. Leave the female plug on the wire that is connected to the solar panel. The male plug and a short piece of the cord is then connected either to the battery directly or to the Charge Controller's 'solar' input if using a Charge Controller.
Note: When sizing the length of cord (wire) used, keep in mind that there is a roughly 2 watt loss for every 50 feet of wire. So a positive and negative lead that is 25 feet long is totaled as a 50 foot length and thus 2 watts can be the expected loss. The remaining cord can be cut to the necessary lengths to wire the battery to the Charge Controller, wire the Inverter to the battery, wire the 12 volt utility ports to the battery and/or to the 'Load' circuit on the Charge Controller, and to wire the volt meters to the battery and to the 'Load' circuit.
That is all Good Luck!